
The most cheap and economical way to equip your own plot of land is to build a beautiful and comfortable gazebo on its territory. What choose the size so that you can accommodate a small company and not to spend greatly?
12 square meters will be the optimal area for the intended construction. We will consider the installation of such a design in this article.
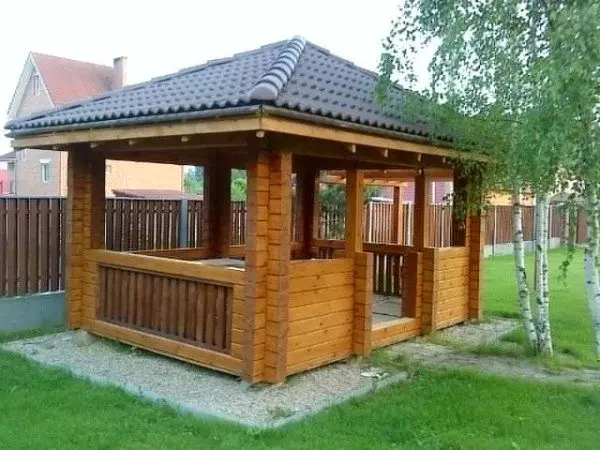
Arbor 3x4 from timber
Preparation
The design of 3x4 gazebos first needs a scheme. It can be drawn by himself, the good is not a multi-storey mansion, or take advantage of the finished planning.
Tip: If you have difficulty with the descriptive geometry, please contact a specialist or make searching for a project suitable for you, which are provided on our website, you will probably find suitable for your needs.
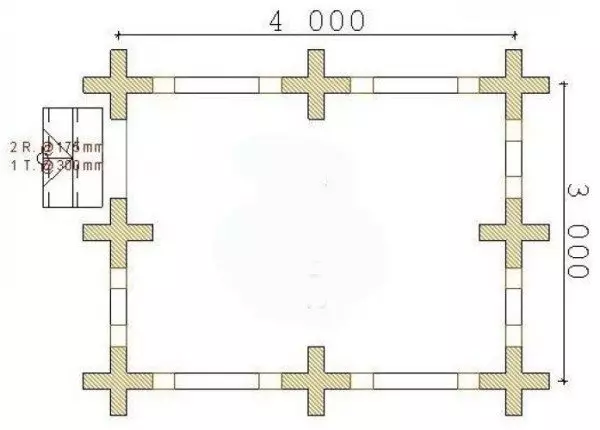
Plan of building
Having a diagram of drawing in the hands can be processed to the calculation of materials.
Articles on the topic:
- Gazebo 3x3 do it yourself: drawings and sizes
- Arbor 4 on 4 do it yourself
- Gazebo 3 on 3 do it yourself
Materials
You may have the number of certain products and most likely will be different according to your desires and financial opportunities. Here we will analyze the approximate project.
So, we will need:
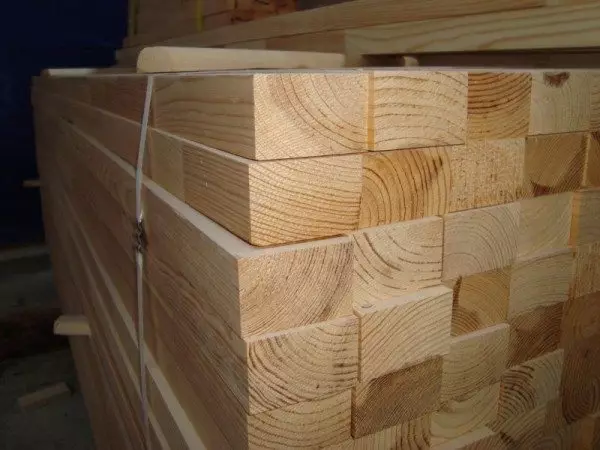
Wooden bar
- Brussia with a cross section of 10 cm for 10 cm three-meter length - 3 pcs.
- Brux with a cross section of 10 cm for 10 cm of four meter length - 3 pcs.
- Brux with a cross section of 10 cm for 10 cm with a length of 2.3 m - 4 pcs.
- Brux with a cross section of 10 cm for 10 cm meter length - 5 pcs.
- Brussia with a cross section of 5 cm for 10 cm two-meter length - 8 pcs.
- Brussia with a cross section of 5 cm for 10 cm three-meter length - 7 pcs.
- Brux with a cross section of 5 cm for 10 cm meter length - 2 pcs.
- Brux with a cross section of 5 cm for 10 cm long 4.3 m - 2 pcs.
Article on the topic: Glass partitions: types, glass thickness, installation
Stock Foto Wagon from light tones
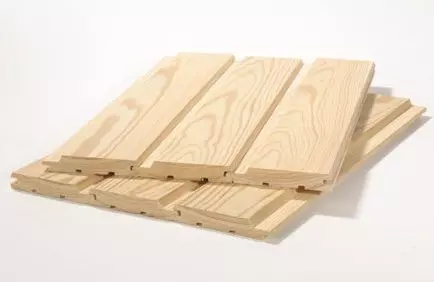
- Lining - not less than 22 square meters. m.
- Bookboard - 12 square meters. m.
- Inch boards for roofing works.
- Rake with a cross section 2 cm for 3 cm.
- Bituminous roof tiles.
- Bag cement Mark M 400.
- Bricks for piles.
- Saws.
Here is an approximate composition of all necessary, adjust according to your ideas. Moreover, for walls, foundations and roofs, you can choose any other materials in order to save, the price of which will be lower.
Instruments
In order for all of the above to assemble into a single whole, we will need:
- Circular saw for sawing wood under the desired size.
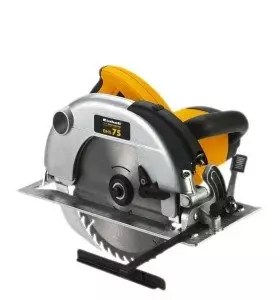
Circular Saw
Tip: If you use the same building materials as shown in the example, you can use an electric logging to compactness. The limit of the depth of it is usually just 11 cm, thicker it will not pull it.
- Electric wrappers for surface treatment.
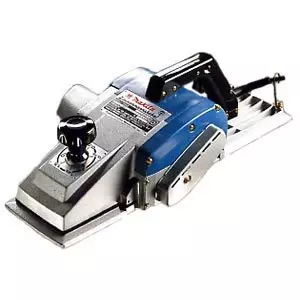
Electrolabanok.
- Sculpture.
- Pencil, roulette and line marking.
Installation
The gazebo 4x3 begins with the base.Foundation
Pile Fundam
For our design, the economical columnar base is quite suitable.
Instructions for laying:
- We apply marking for twelve piles in increments of one meter with a smooth rectangle.
- Copy semi-meter pits.
- I fall asleep pillow from gravel thick in twenty centimeters.
- Pour a thin layer of concrete.
- From above, we derive the columns with a thickness of two bricks and a height also for two bricks above the ground level.
Tip: For the purpose of economy, it is quite suitable for creating piles bricks, used. Anyway, most of them will be not visible to the gaze under the ground, and the remaining will not be difficult to bring in aesthetic appearance using the putty.
- The gaps between the earth and pillars are poured with cement mortar.
Article on the topic: Treatment of laminate after laying on the floor
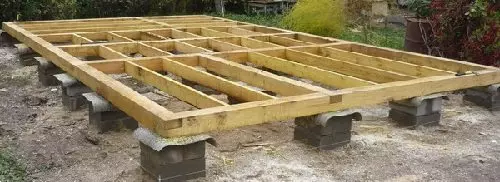
Frame
Wooden skeleton frame
- On the resulting pillars for arbor, the stele layer of the rubberoid to create waterproofing.
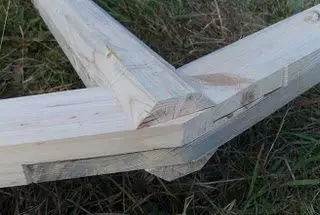
- We take 100 mm beams 100 mm three and four meters long and connect them "in the paw" with each other, forming a rectangle of the lower crown.
Connection "in paw"
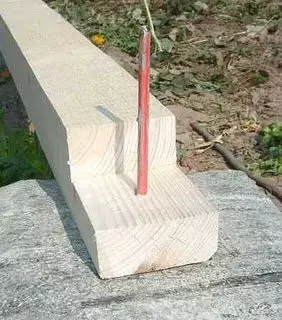
- Wood products with a length of 2.3 m set as reference pillars in the corners of the structure, pre-taking up the upstream for fixing the diagonal ligament.
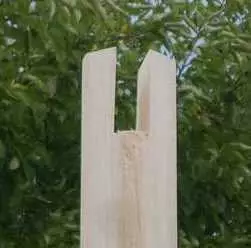
Docted on corner columns
- From above, mount the diagonal ligament and around the perimeter by an upper crown.
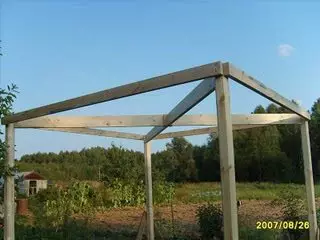
Top of a wooden frame
- From the beams 100 by 50 mm, thoroughly overtakes, make the railing at an altitude of one meter.
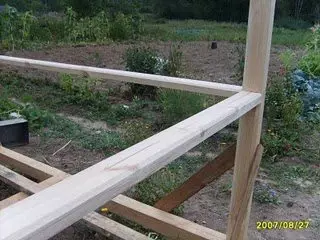
Wood smooth railing
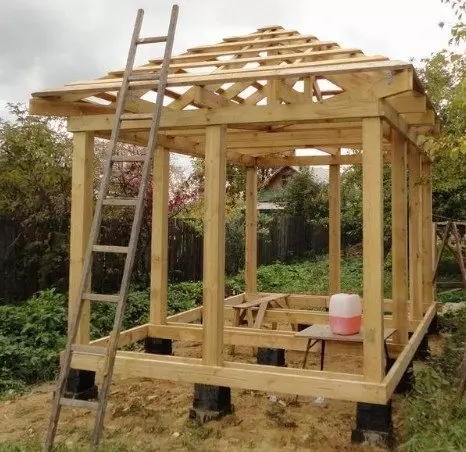
Roof
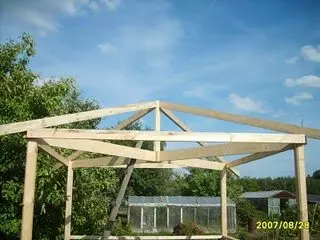
Roofing four-grade design
- Bar 100 per 100 mm and 0.8 m long set in the middle of the caskets of the ligament.
- From above on it, we make rosters under the rafter beams and install them.
Connection rafters with central post
Sheaving
The finished framework of the building, including the roof, we are wearing. The first goes the floor to which we lay the tiled board, then mount the bitumen tile to the surface of the roof and we are wearing the flooring distance from the floor to the railil.
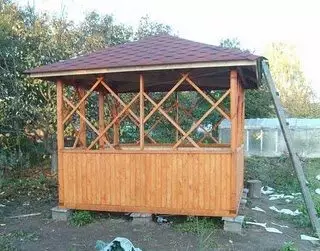
Received gazebo
Tip: Starting from the foundation and ending with roofing works, all horizontally measure the Waterpasam. Otherwise, the finish will turn out with the slits, irregularities and bad fasteners.
Outcome
The most optimal gazebo on its own site has 3 meters wide and four in length. Her construction is, although it requires some carpentry skills and attentiveness, is quite fulfilled independently, without the help of specialists.
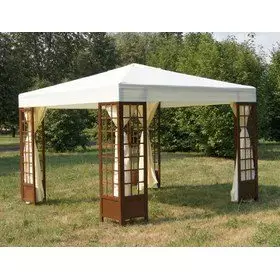
With a limited budget, you can save on the material, then work will be easier. The most economical and easy to install, for example, gazebo tent 3x4, although this design is seasonal.
The cheapest option to implement a gazebo of 12 square meters. M.
Article on the topic: Shopping panel house
The video in this article will provide you with additional information. Successful mounting work!