
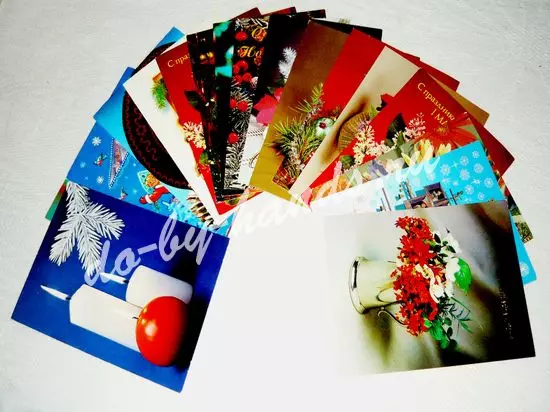
Caskets from postcards with their own hands were very popular in the manufacture of our moms and grandmothers. Now you will learn how such crafts can be made it yourself. Each girl sewed such a thing from the stunned old postcards, cardboard, colored paper and flavors of the fabric. Therefore, it is possible to find materials for creativity in every home, for sure there is something in your storage room!
The gift will be not only fascinating beautiful, but also very necessary! After all, each lady loves to put her jewelry, hobby accessories and just all sorts of little things in detached places. The box will give the room special creativity, so you can select the design of the future product not only on the occasion, but also under the interior.

Methods and their implementation
There are a wide variety of ways to sew a box of cards. This master class will demonstrate some of them.First option

Such a box is ran away even to the very small Creator, and the time will take quite a bit - literally a couple of hours!
Pick up the postcards: old used or purchased new ones. It is advisable to stick to one topic or color scheme. Suppose if you want to give a gift for the new year, then choose the drawings of the New Year's subject. And if you make a crawler, picking up the floral motif, then use no more than three shades.
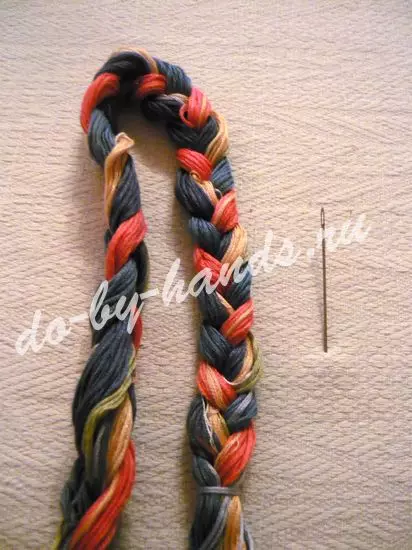
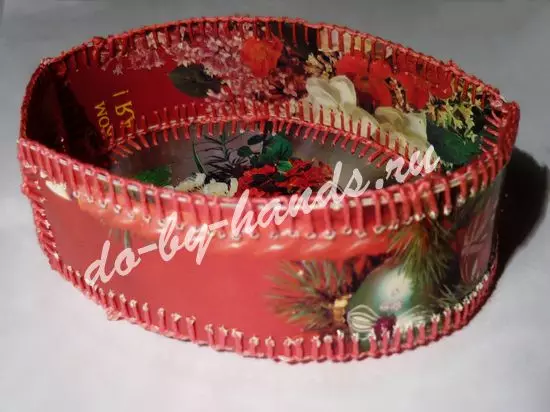
For such work, we will need: 8 postcards, threads Muline, a special needle for embroidery with a long ear. The color of Moulin is selected according to the color of the selected postcards. Threads must lightly contrast with a common palette, but not too much to stand out.
Prepare details that make up our future product. This is done in this way: draw an even oval on the drawing card by type of drawing, then caulate on the contour with scissors. On this stencil, cut out a few of the same ovals. Four figures will be released: two on the top of the casket and two on the bottom.
Article on the topic: Shade of rolls from toilet paper
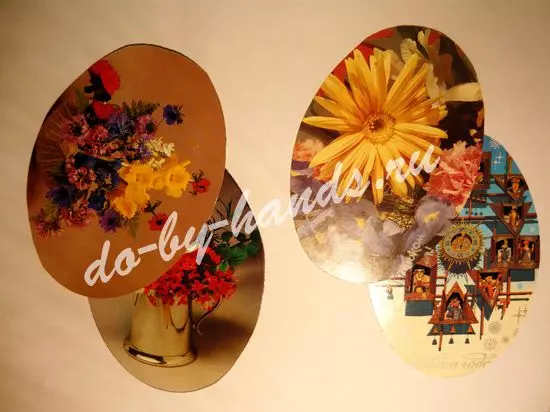
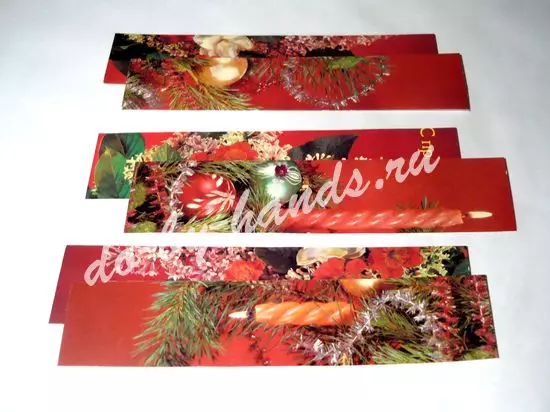
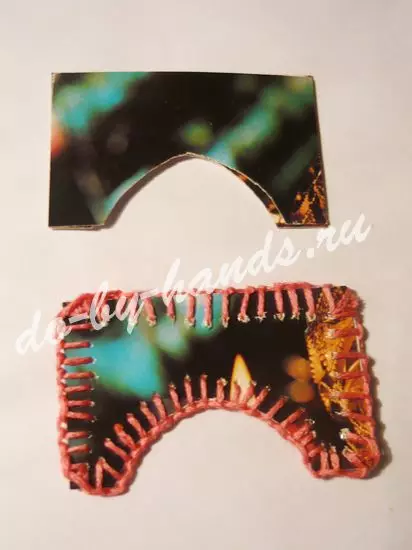
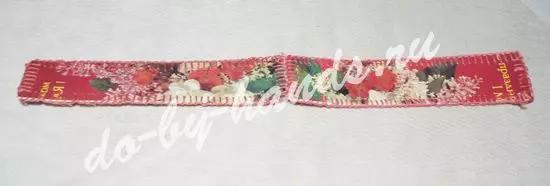
Frams of our casket - strips of 2-2.5 cm. Measure the extent length of the oval. In the amount of long strips should get the same. The best option will connect strips by making one whole, or cut out of a large, long postcard.
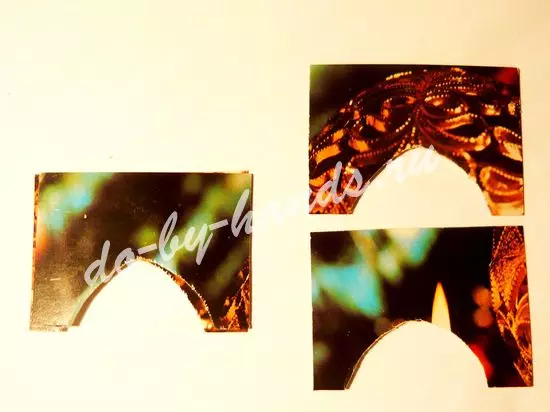
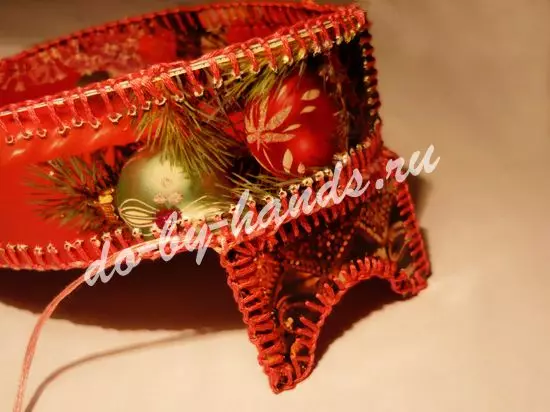
The leg for the box is equal to a length of 3.5 cm and height 2 cm. Prepare four similar elements.
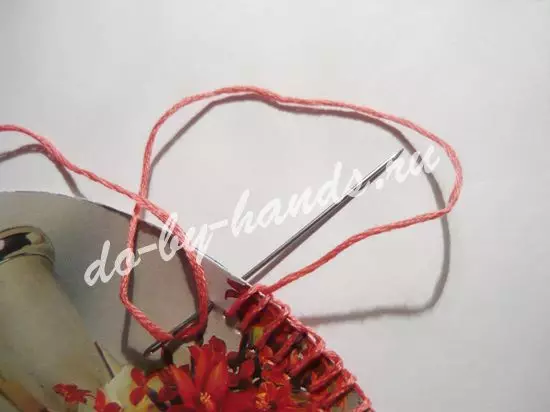
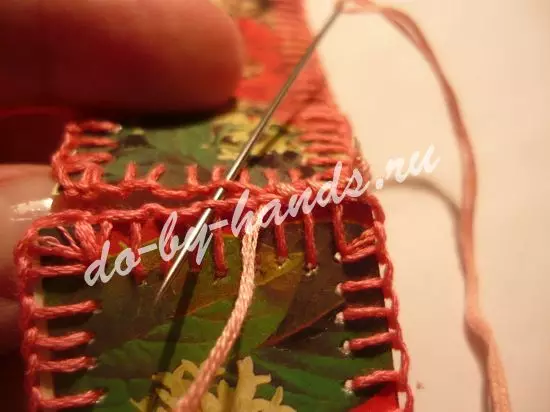
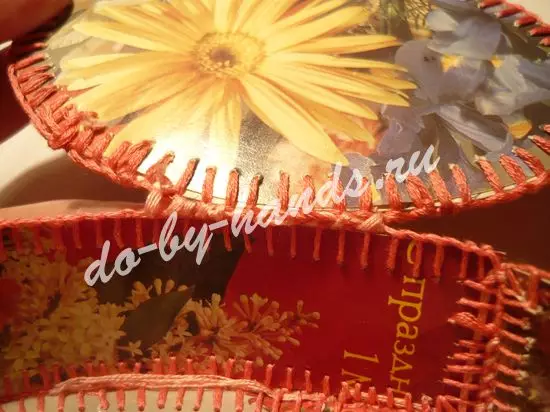
Fit prepared details pairwise, images upwards, then cover them with threads around the perimeter.
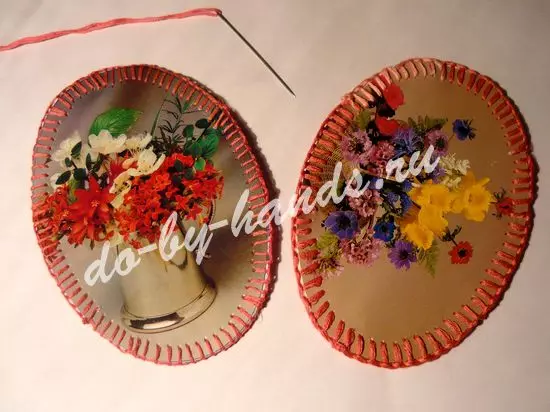
Looped seamless stitches elements are trimmed. The remains of the thread and knot hide from the back side of the part.
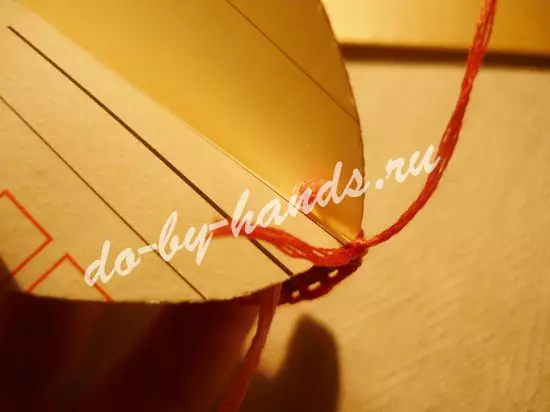
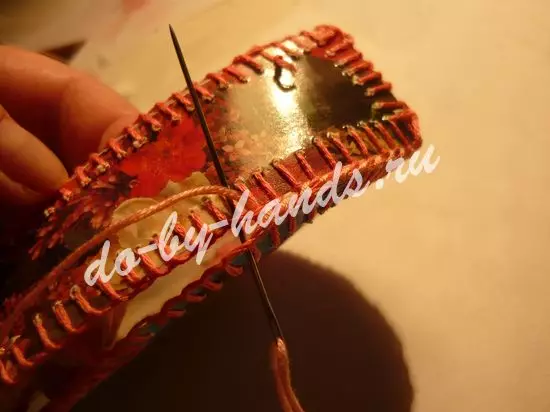
Cut the legs, leaving the image from the outside. To do this, make three stitches, introducing a needle to one hole.
Welcome strips for sides. And after three elements, connect into one.
The thread should pass through the edge loops of the seams of both parts.
Finished sides are stitching with the bottom, applying it.
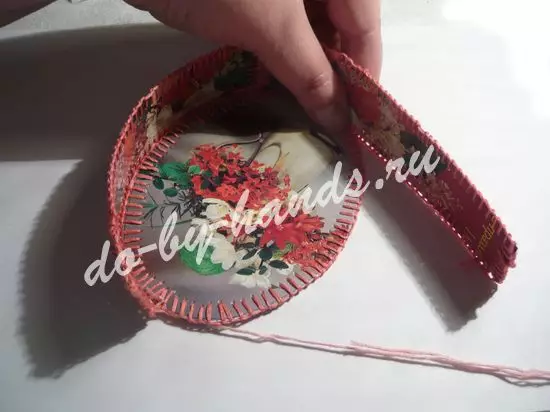
The bulk of our product is already ready.
The bands are better to leave one piece, since if they sew them separately, then with their connection with the bottom it turns out a lot of irregularities that are not at all appropriate. Yes, and this is much easier for us!
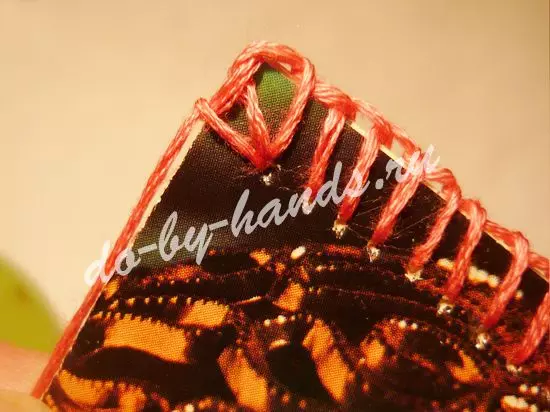
Next, the tricks of the legs of our casket.
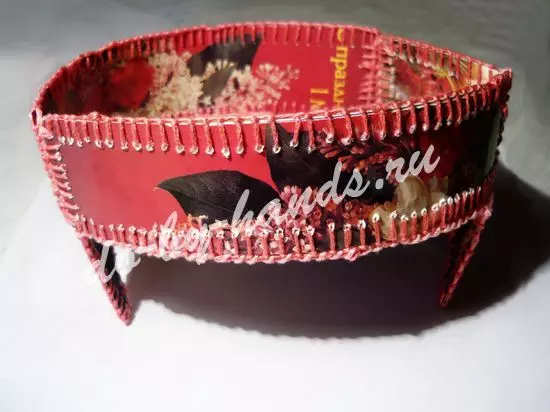
The lid of the trick, and on one side of the product, connect the loop of the side and the lid.
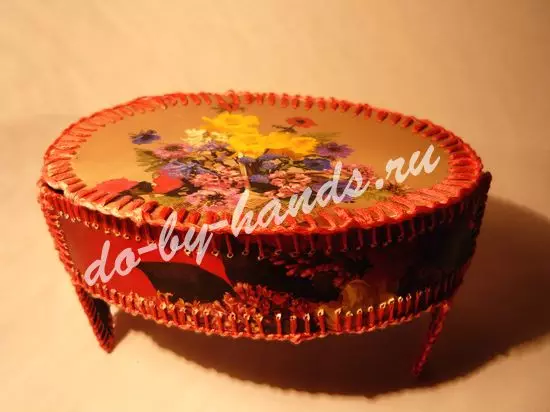
Our box, although it is created from ordinary, it would seem, paper cards, but its design is rather durable and stable!
Second way
The second master class is also very simple, while the casket looks very elegant and spectacular!
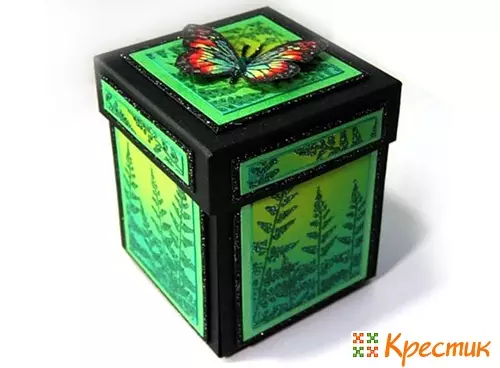
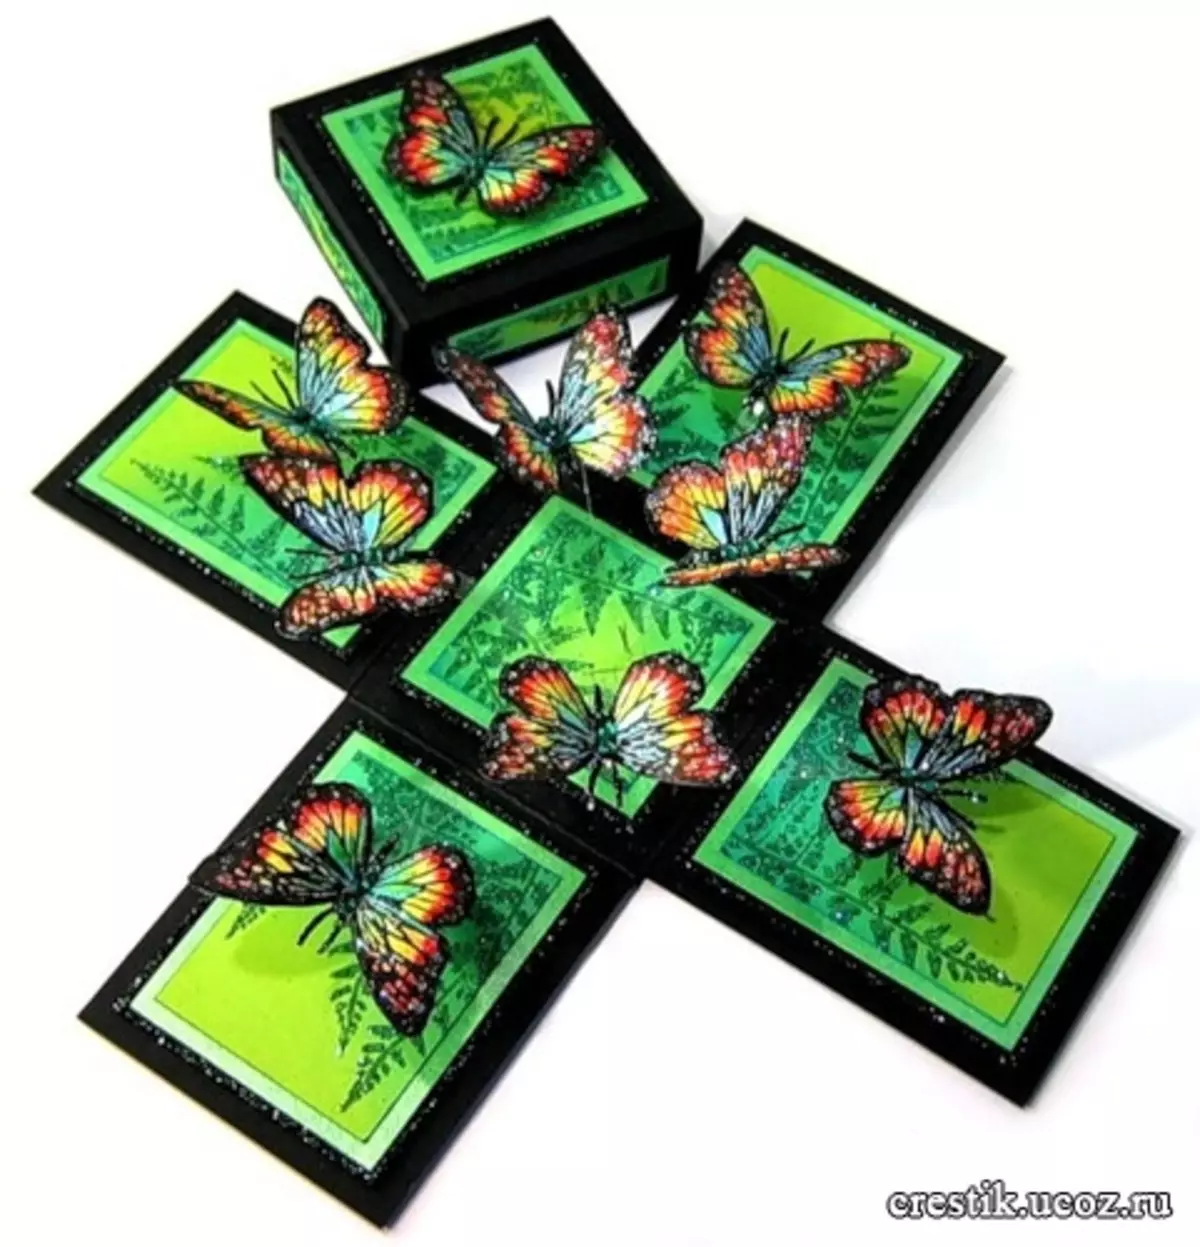
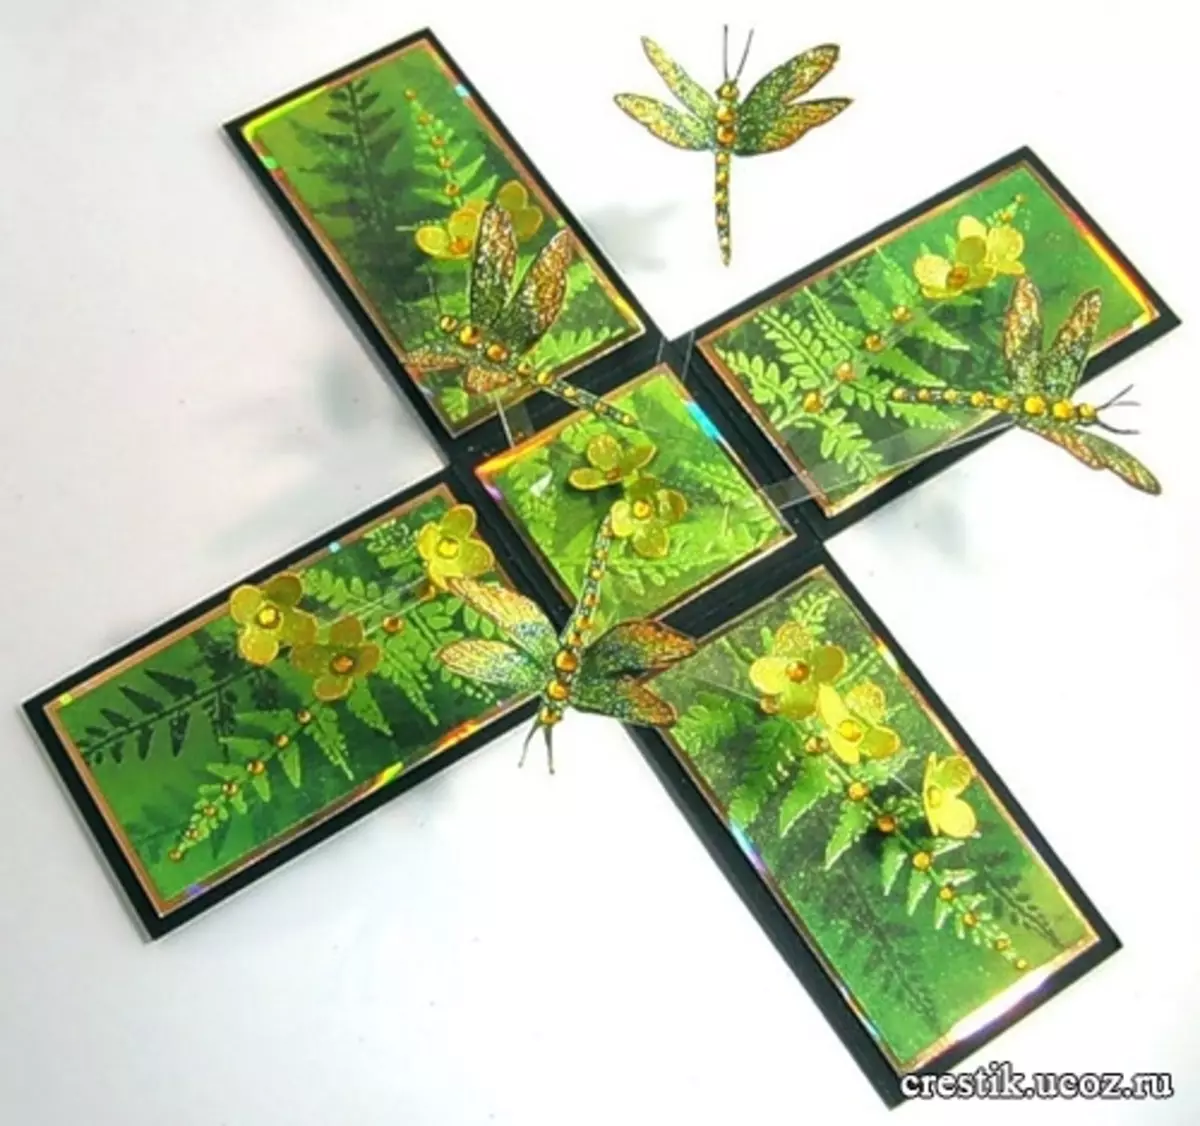
This is not just a casket, it's a casket with a surprise!
You will need the following materials: Color Cardboard (20cm x 9 cm In this case, you can pick up the desired size), colorless transparent plastic, double-sided tape, scrapbooking paper, paper butterflies (drawn independently printed or purchased in the store), decoration materials Your choice (it can be sparkles, rhinestones, ribbons, flowers (any: ready, paper, embroidered, kapron, etc.)
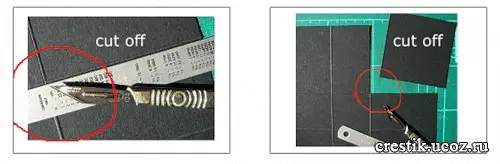
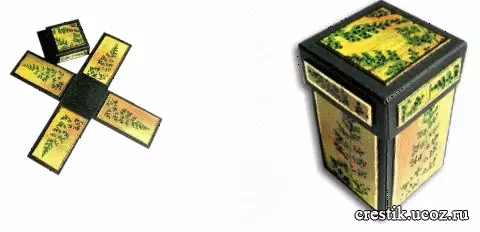
So how to make a casket. To begin with, we need to build a box. It all depends on the desired size of the future casket. Take the square from the cardboard, retreating from each edge, swipe parallel lines. Cut corners. Now we have the center of the future box in the form of a cross.
Article on the topic: Iquiban "Autumn" do it yourself for schoolchildren from natural material
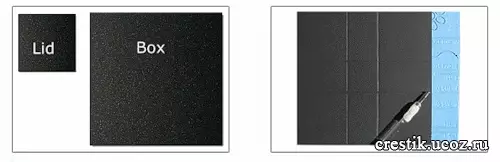

Bend the design so that the bottom is smooth and square, the same as the parties. The lid is done in this way: retreat from the edge (about 2 cm in the specified case) and get the side of our lid.
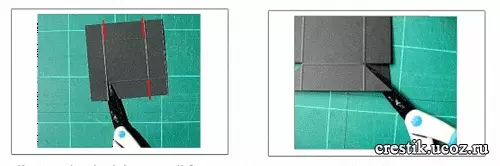
According to the scheme plan, cut out small corners.
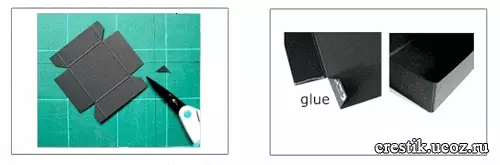
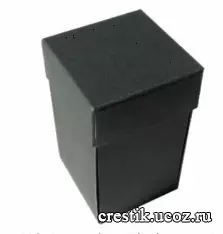
Now the cover must be glued. As a result, the box will be approximately this type:
We decorate what we have turned out, multicolored paper, various cuts, images and other things. You can not use paper at all, as shown in the original, but decorate the glytter bowl. It will also be very unusual, unique and beautiful.
If you have chosen paper, then glisten it all but directly the middle.
Now we will take the stripes where the butterflies will be located. It is best suitable for colorless transparent plastic. Note that the bands bended, fit and calmly revealed after opening the lid. In fact, it is very not necessary to specifically buy materials. As mentioned earlier, everything can be found in old things, if we show due interest to this.
Cut the stripes (19 cm or other length, according to the size of your box).
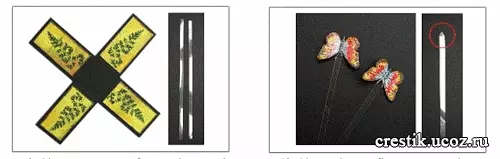
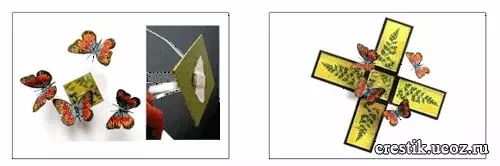
Now attach butterflies themselves. To do this, in color paper, which next should be attached to the bottom, make cuts, insert plastic and fix it. On the other side of the strips sit beautiful butterflies and are attached to bilateral scotch.
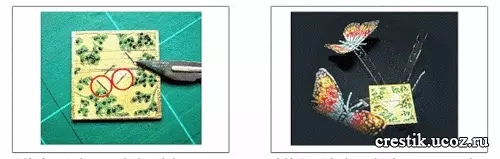
Glue all to the bottom of the box.
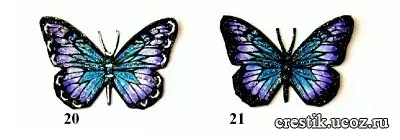
This template will tell you how to make butterflies:
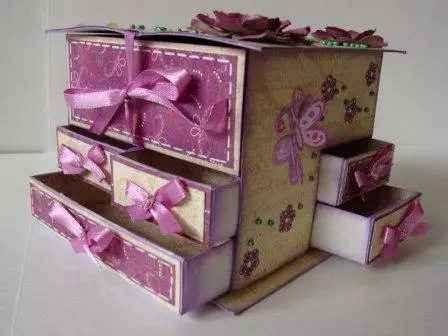
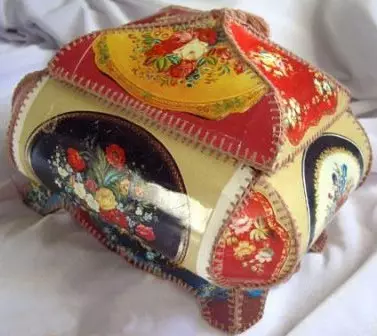
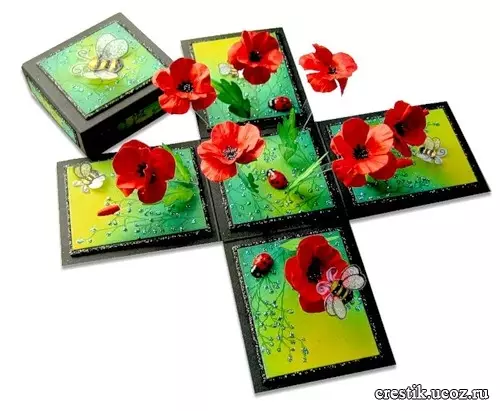
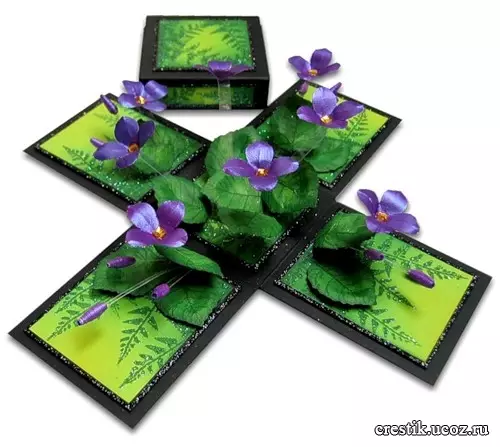
It is not necessary to use butterflies at all. Make any alternative box. Here are some inspirational photos:

Video on the topic
Video that can be interesting for you, crafts from old postcards: