
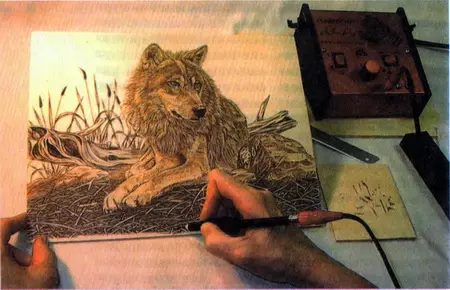
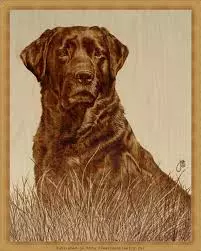
Pyrography - burning around the tree, sketches you can see in our material. To date, pyrography, like art, has become very fashionable. Most likely this is due to the fact that many began to appreciate manual work. Yes, and give such a gift is not ashamed. The theme of pyrography should be understood even a newcomer. Today we will share the main advice that will help to determine the choice of tools and material. And also imagine a selection of pictures (sketches) for your first works.
Materials and tools
Consider the most basic criteria in choosing wood for the background of the product:
- First, look at the color. In no case should not be dark, use exceptionally light shades. Then your drawing will be visible.
- The texture of the tree should be smooth, without any different streams or protrusions. Then it will work much more convenient and easier.
- Hardness It is necessary to choose, based on the power of your ignoraory instrument. The more powerful, the harder requires the surface. But despite this, it is still better to acquire softer varieties of wood, because with them you can work with any device.
- Select the form based on what will happen in the future with your work. If it is a picture - use the blanks of the correct geometric shape.
The best varieties in this case - Lipa, beech, aspen, cedar, cherry, maple or cypress. It is these trees a very good wood. The color is light, on the texture - smooth.
The most basic tool is a pyrographic device with a pencil for burning. There are two types of them:
- Pencils with solid feathers;
- Pencils with wire feathers.
The first devices are constant heating temperature. Although in the kit they have additional feathers, the background burning they perform the best of all, as they have a wide nozzle.
Article on the topic: Master class on a cup of fetra: Schemes with photos and video
The second type is more convenient. They have the ability to regulate the temperature, as well as their nozzle is thinner than the first type. Thus, you can perform both thin strokes and more complete.
Feather also has its own species diversity:
- oblique feather;
- Putty feather;
- Pen for retouching.
So, the first look has a spike straight surface. They can be smelted very thin and clear lines, for example, it is very convenient to use when burning icons, since there are a lot of small strokes. The second look has some roundness at the tip. It is this kind of very convenient to write poems, as well as to draw small details. The third view is intended exclusively for the background or large wide elements, as it has a flat wide surface.
Technique implementation
This skill can not be limited to one technique. After reviewing better work, you will notice that each of them has its own feature.
Consider the main burning techniques that can be applied in practice:
- Standard. The easiest way. Move on the background drawing and begin to burn out.
- Negative. This method is based on highlighting the pattern with light color, by burning the background.
- Preliminary thread. This is necessary in order for the drawing to acquire a relief view.
- Burning with a hot metal;
- Burning with sun rays through the prism.
The two latest technicians are very complicated, so they rarely use them. You can also purchase books for a more detailed study of each of the burning techniques.
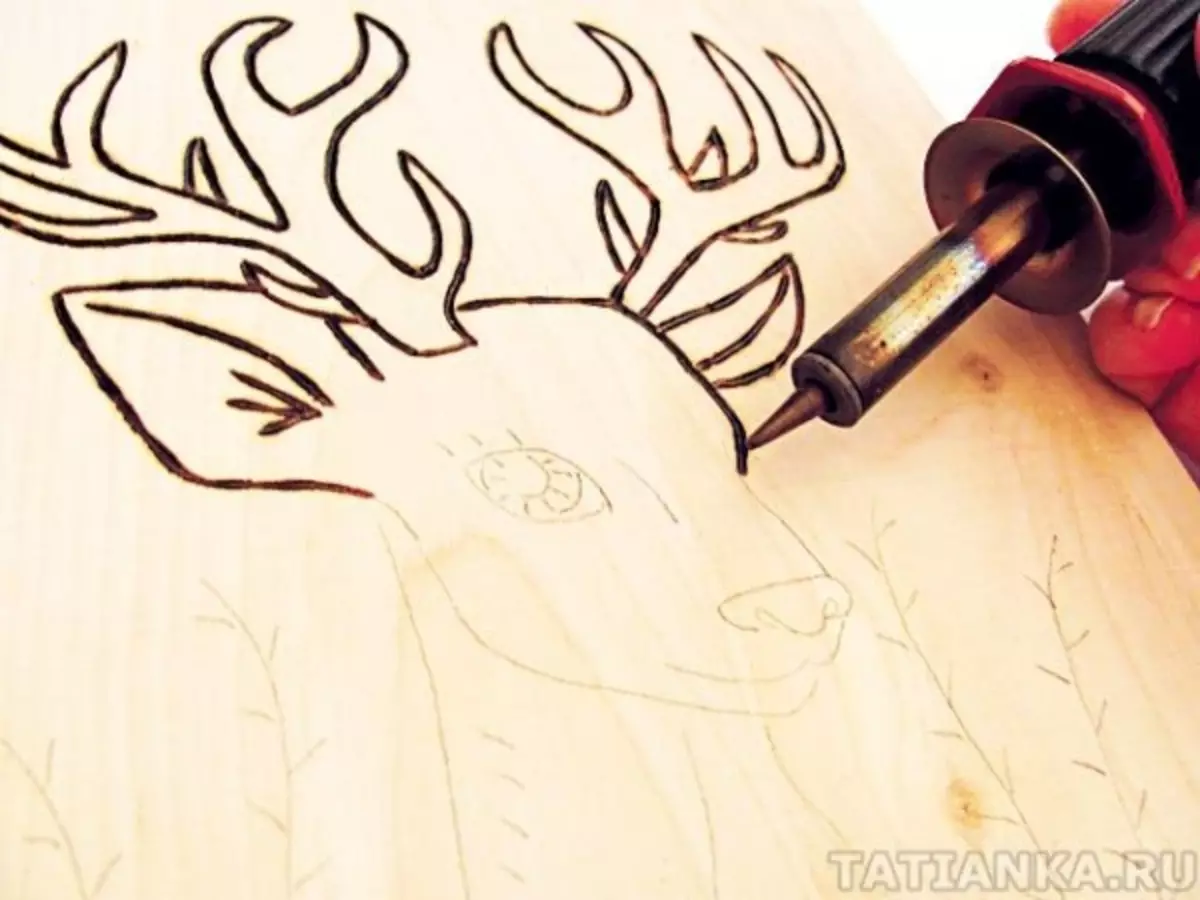
Now it's time to consider the master class on burning for beginners.
Light lesson
For beginners in this case, it is recommended to start with the easiest and simple drawings. So, choose the easiest sketch, there should be no small details or patterns on it. Before starting work, remember the safety technique.
- We take into the hands of sandpaper and begin to sandwood, thereby we make it smoother.
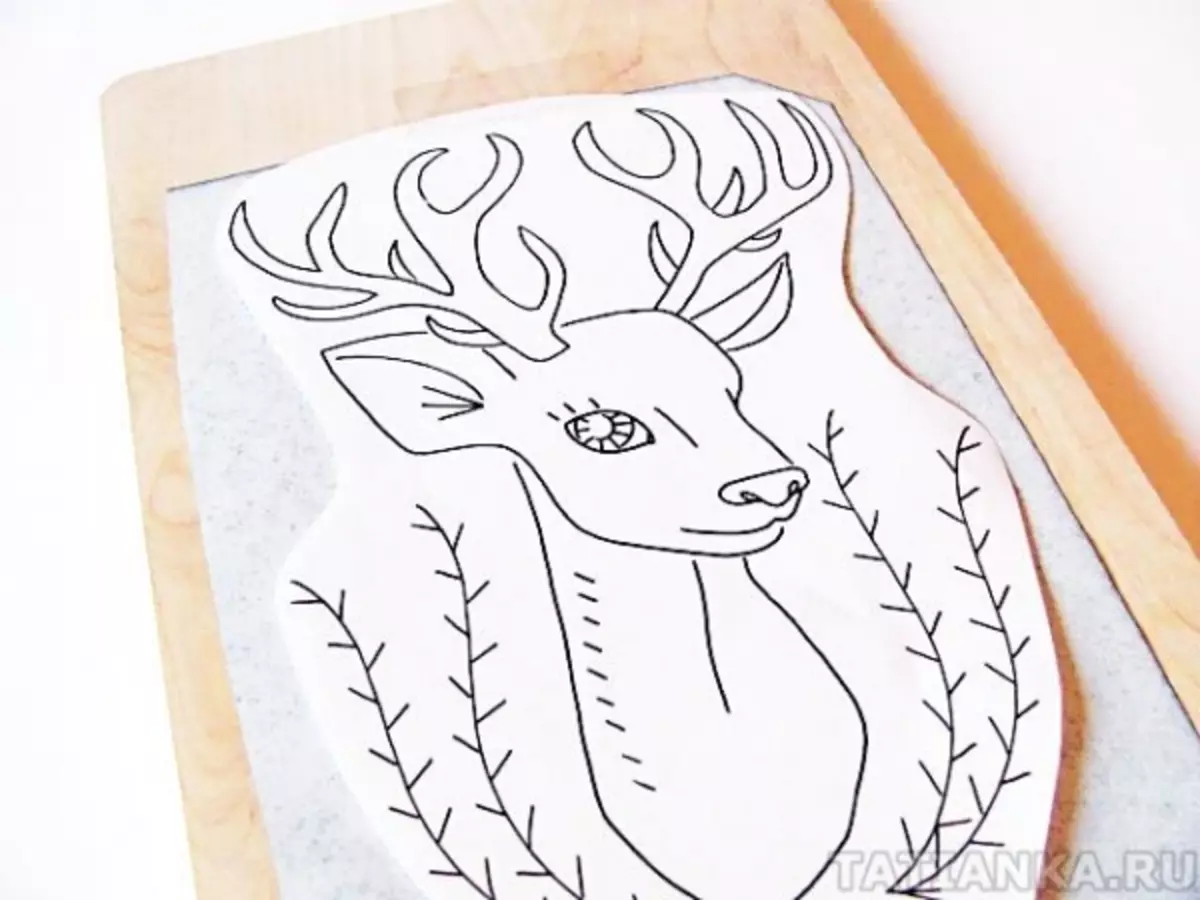
- With the help of the copy, we transfer our sketch on the finished surface.
- Initially, you need to burn the contour of the pattern.
- Then go to the background. Gradually, we make it darker, using different feathers.
- We remove the drawing aside and wait until it cools. Then we remove the remnants with your hand and rub the remaining pencil to the erasing rubber.
- On the finished product we apply a layer of transparent varnish. It is required for the picture not scattered and quickly did not come. After completing the simple drawing, you can choose more.
Article on the topic: Cardmeking for beginners: Patterns with photos and video
Video on the topic
And also we offer you a few entertaining video lessons that will help you to master the osses of burning.