
Burning on wooden planks or pyrography in translation from ancient Greek means "drawing fire". This craft was very popular in the Victorian era. And today it is again at the peak of popularity. It is very difficult to say why it happens. So, today we will analyze the following topic - "burning around the tree, master class." All presented master classes are aimed for children.
Cute animals
For work, the following tools and materials will be required:
- Plywood size 15 cm by 20 cm;
- Sandpaper;
- Copy paper;
- Sketch;
- Simple black pencil;
- Paints;
- Tassels;
- Burning machine;
- Clear nail polish;
- Foam;
- Latex gloves.
Getting to work.
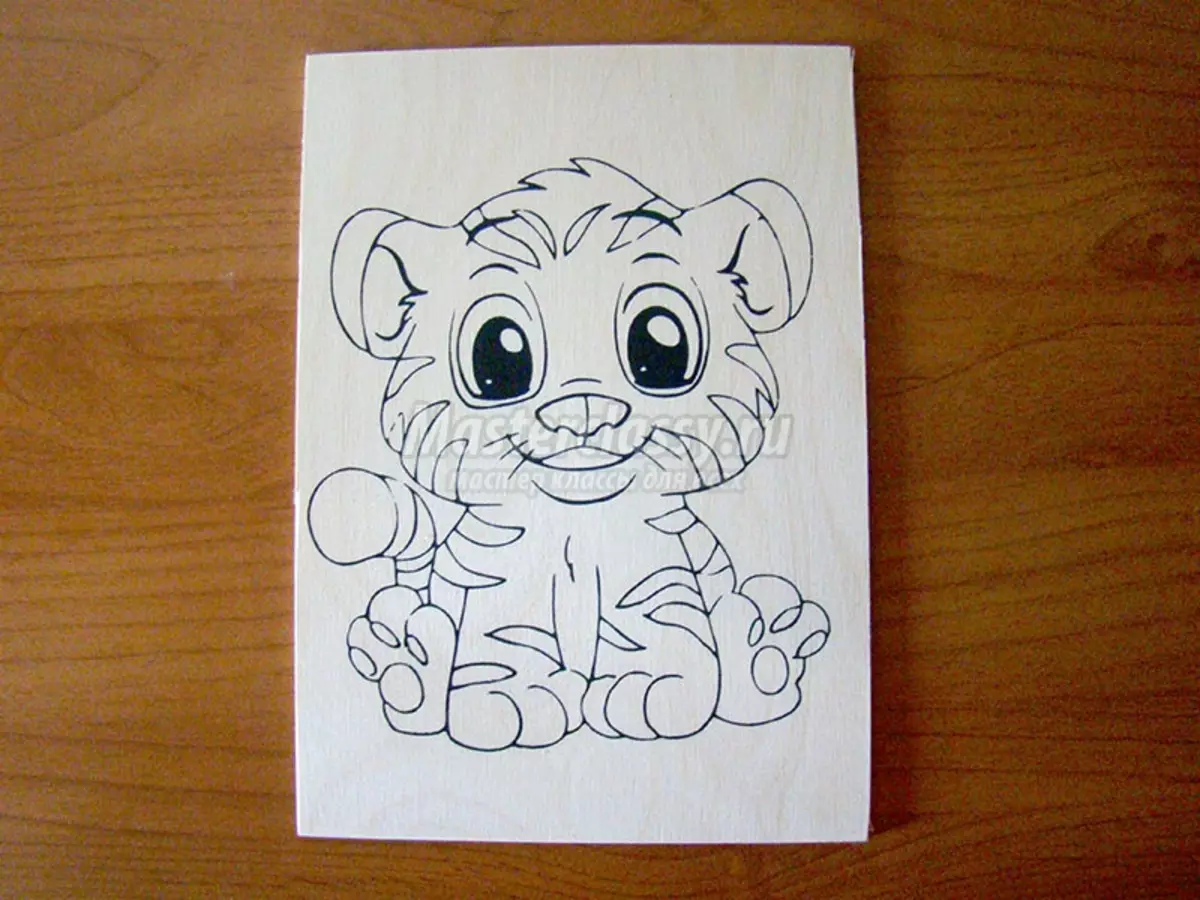
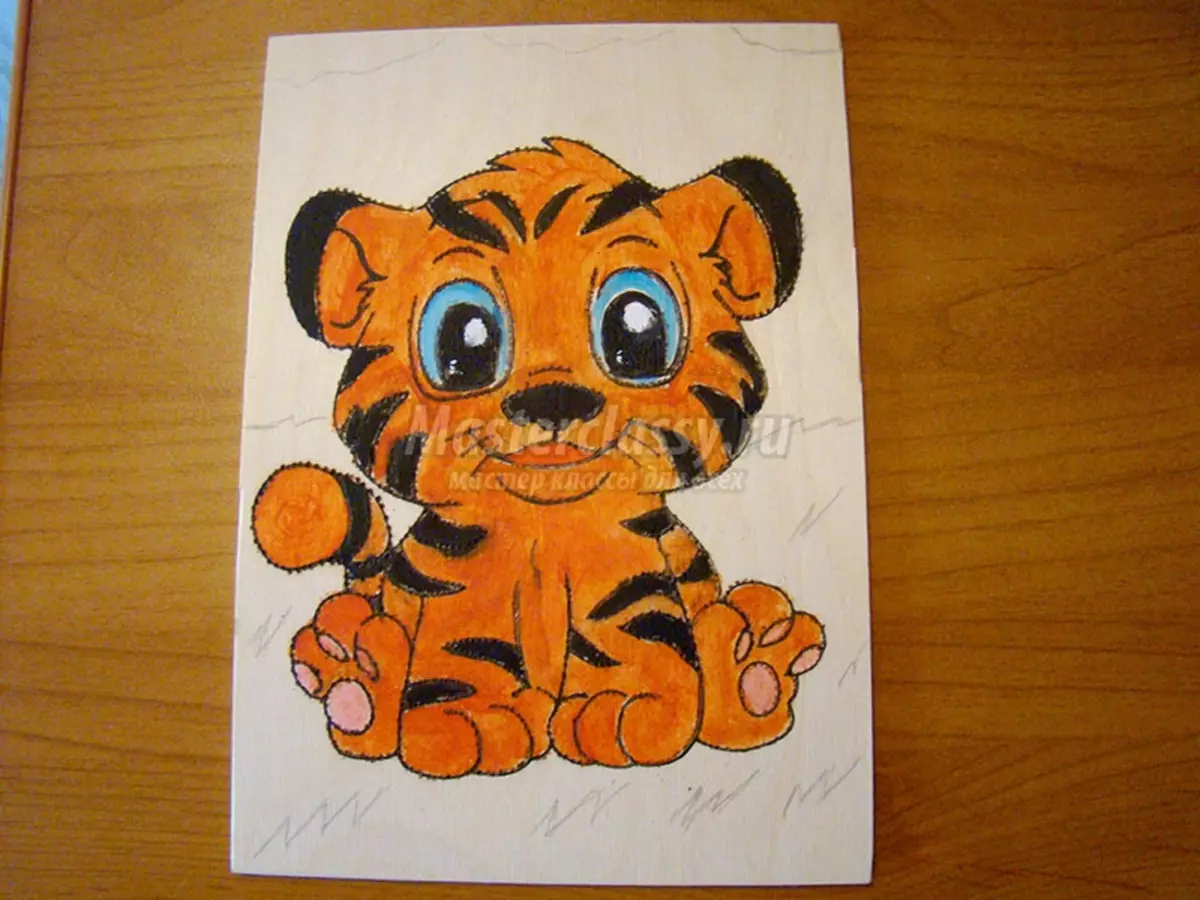
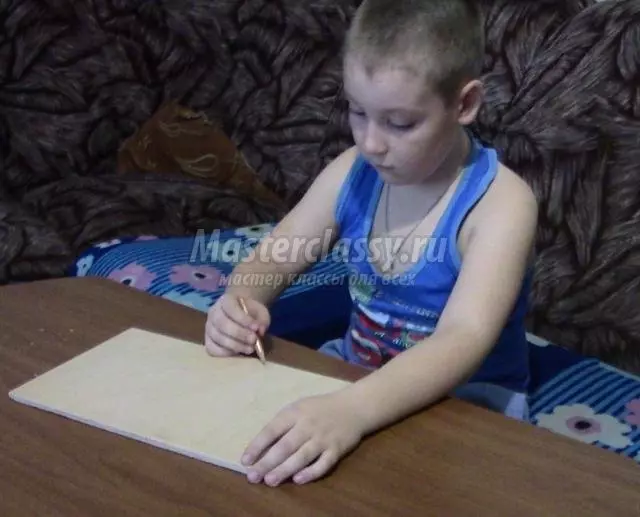
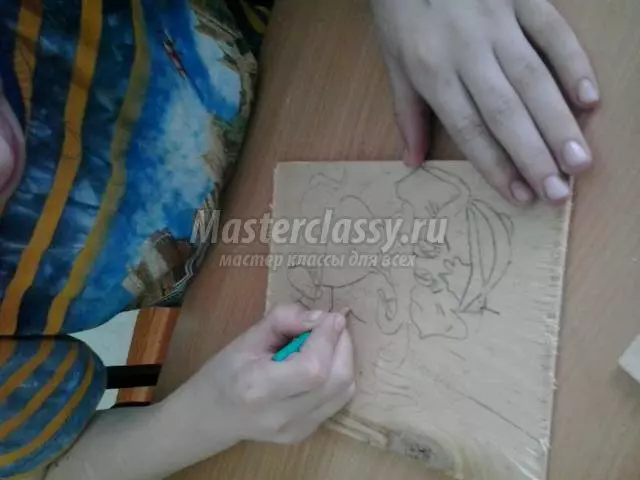
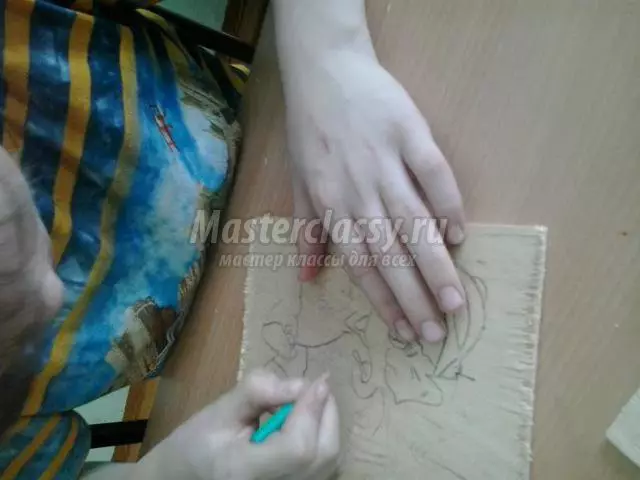
First of all, we prepare the foundation. To do this, sanding Phaneru, making it smooth and smooth. Through the copy paper we translate the sketch.
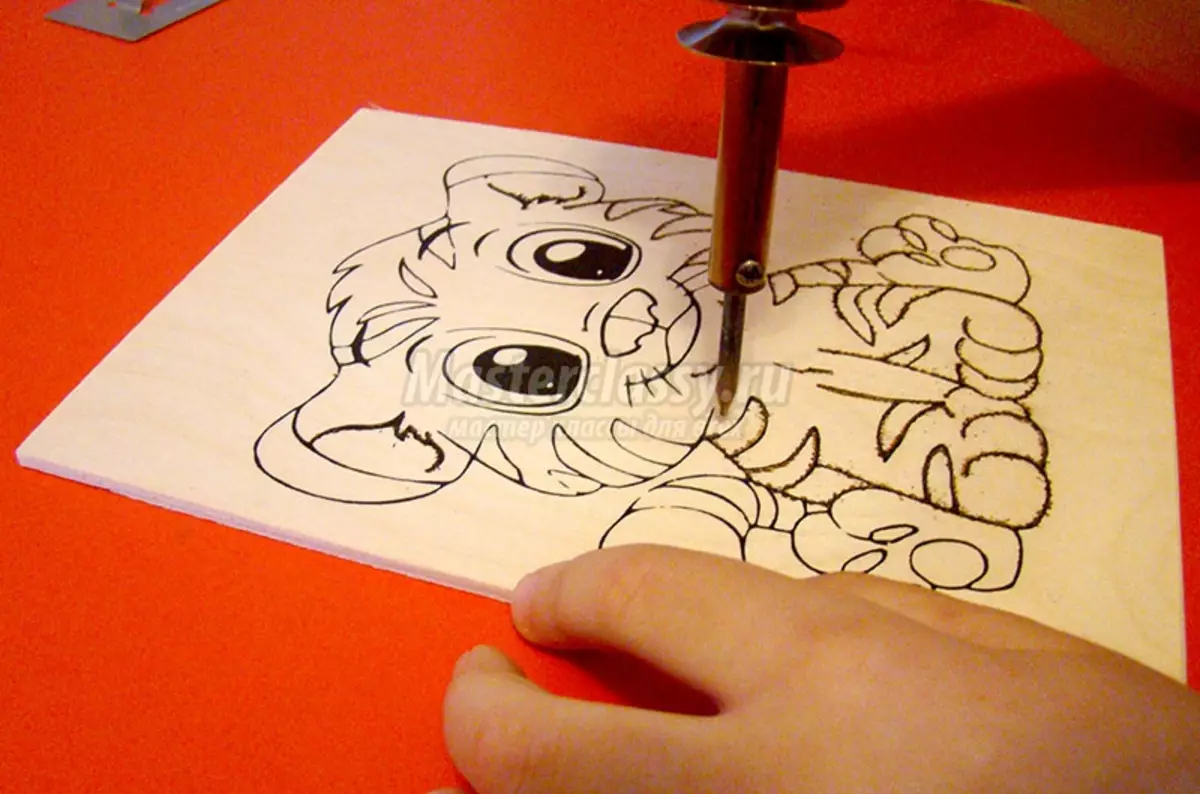
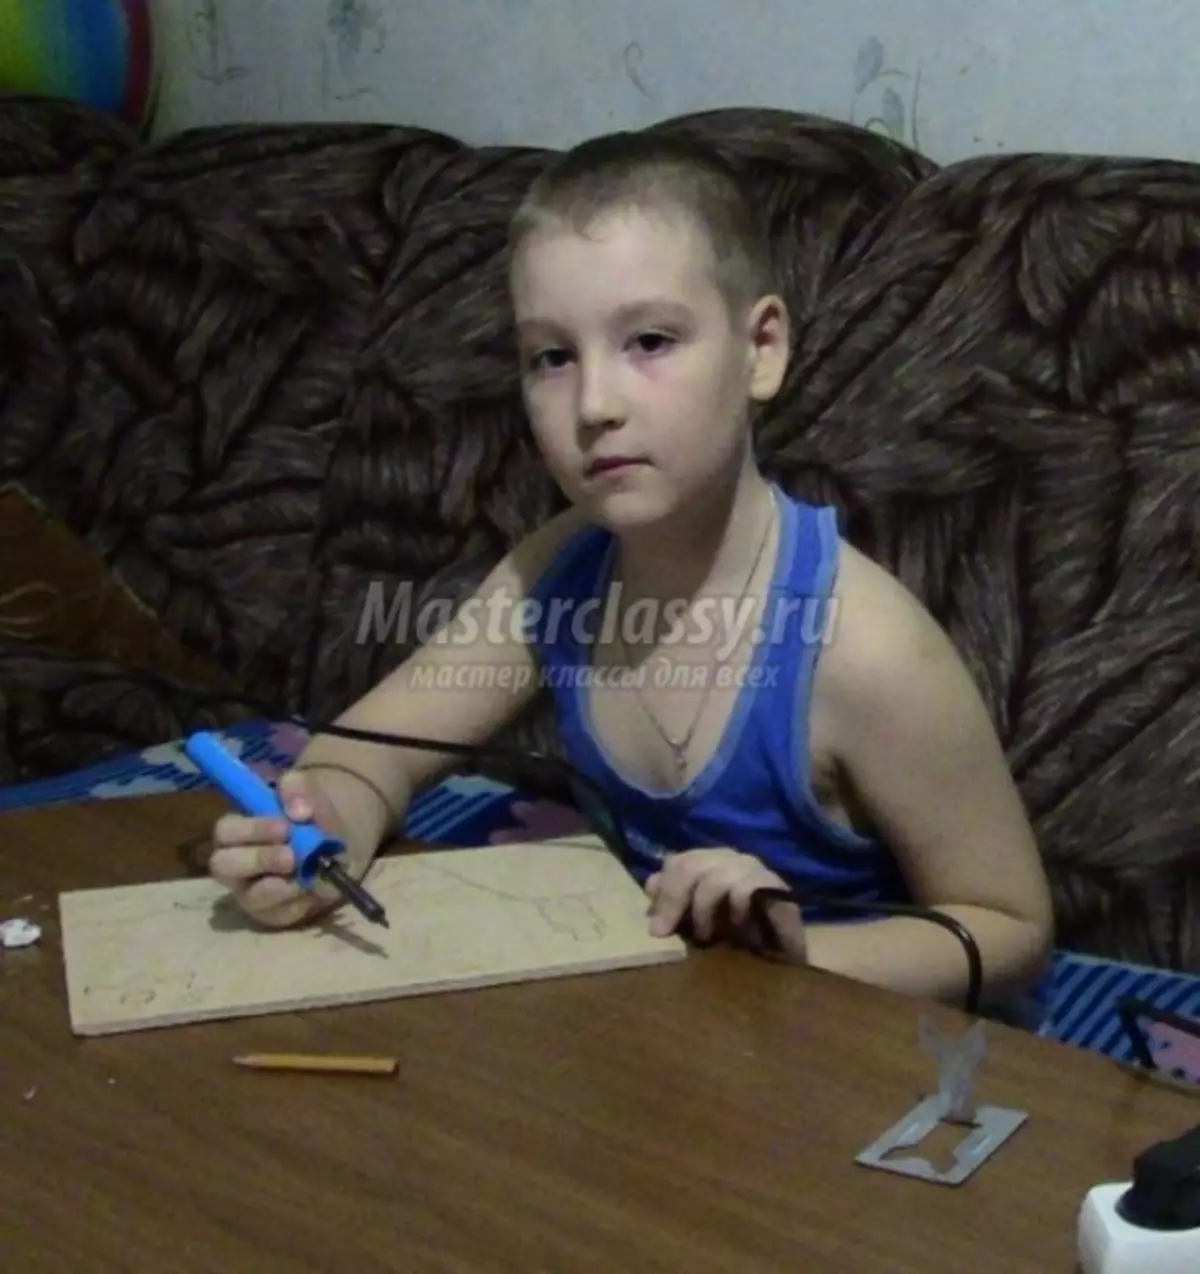
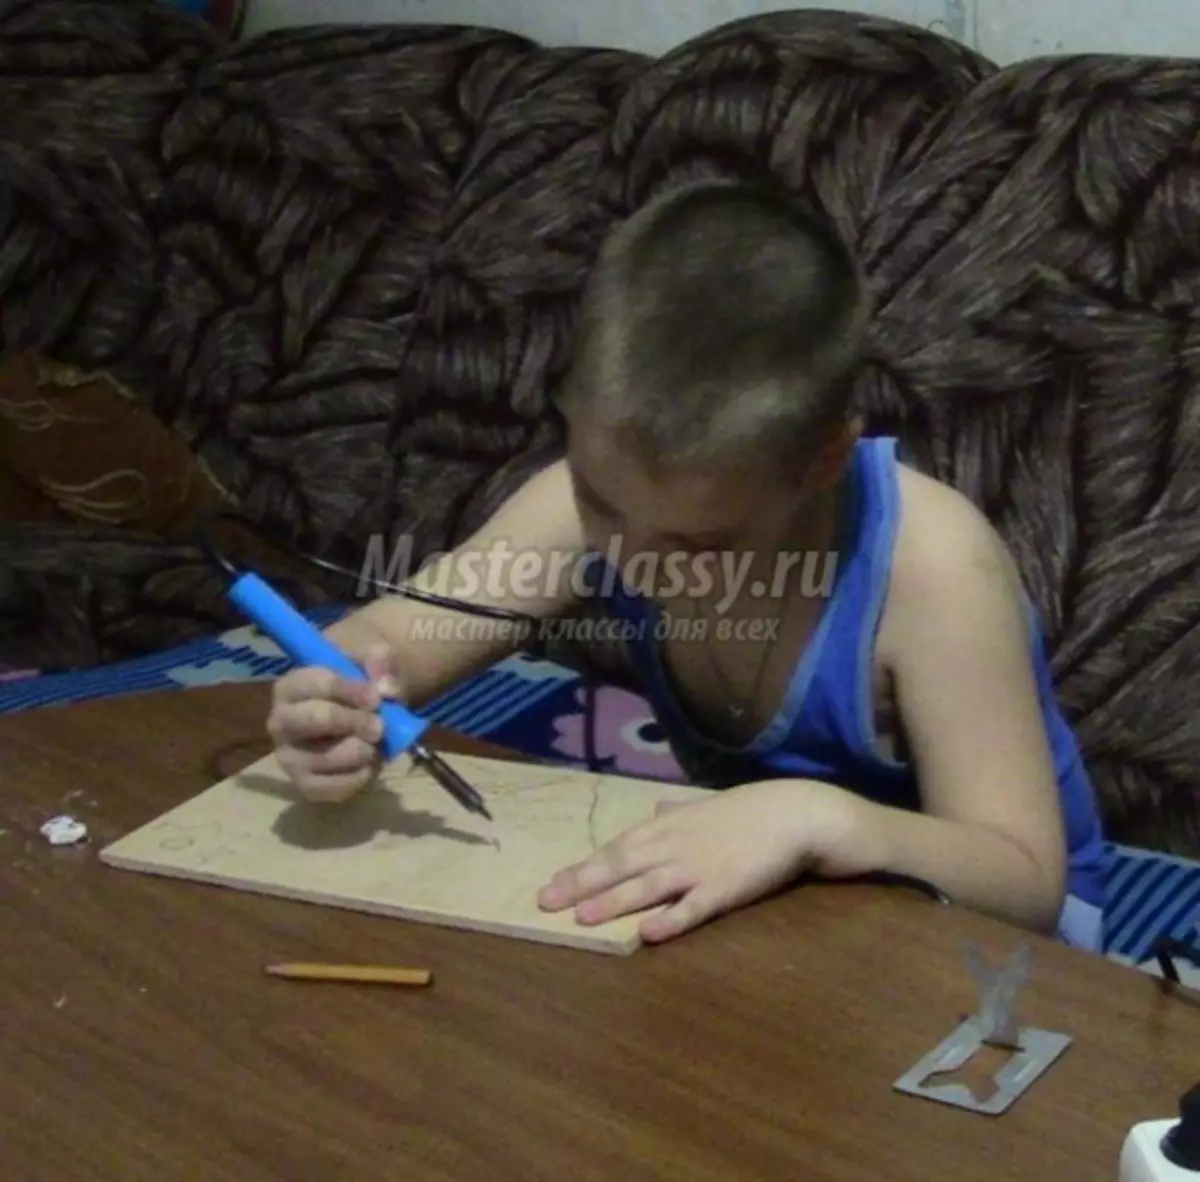
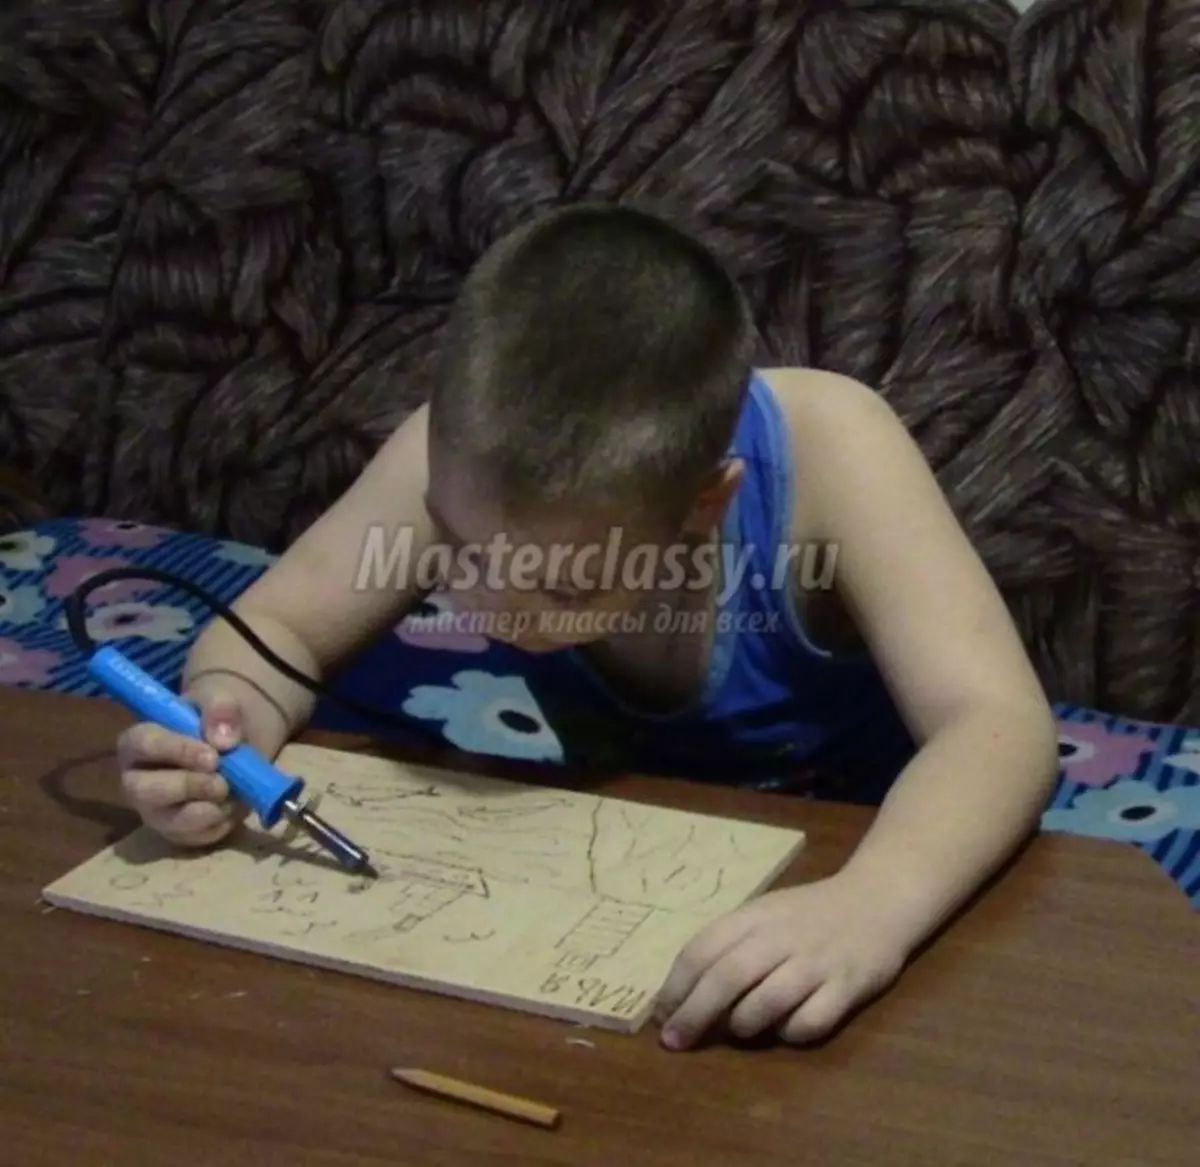
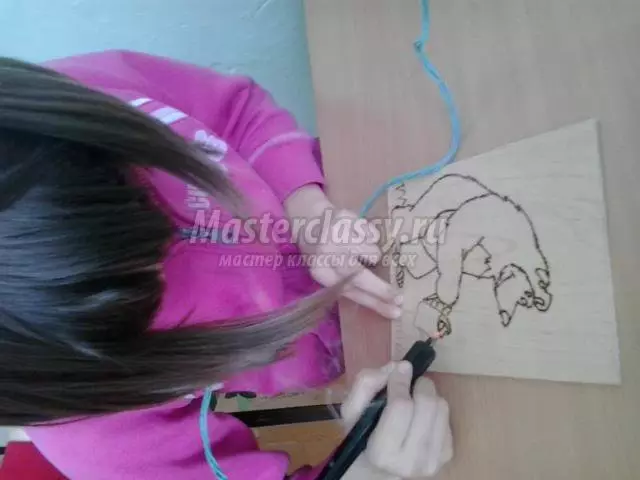
Include an inland device into an electrical network and wait for full heating. We start the burning process. Burn out small strokes.
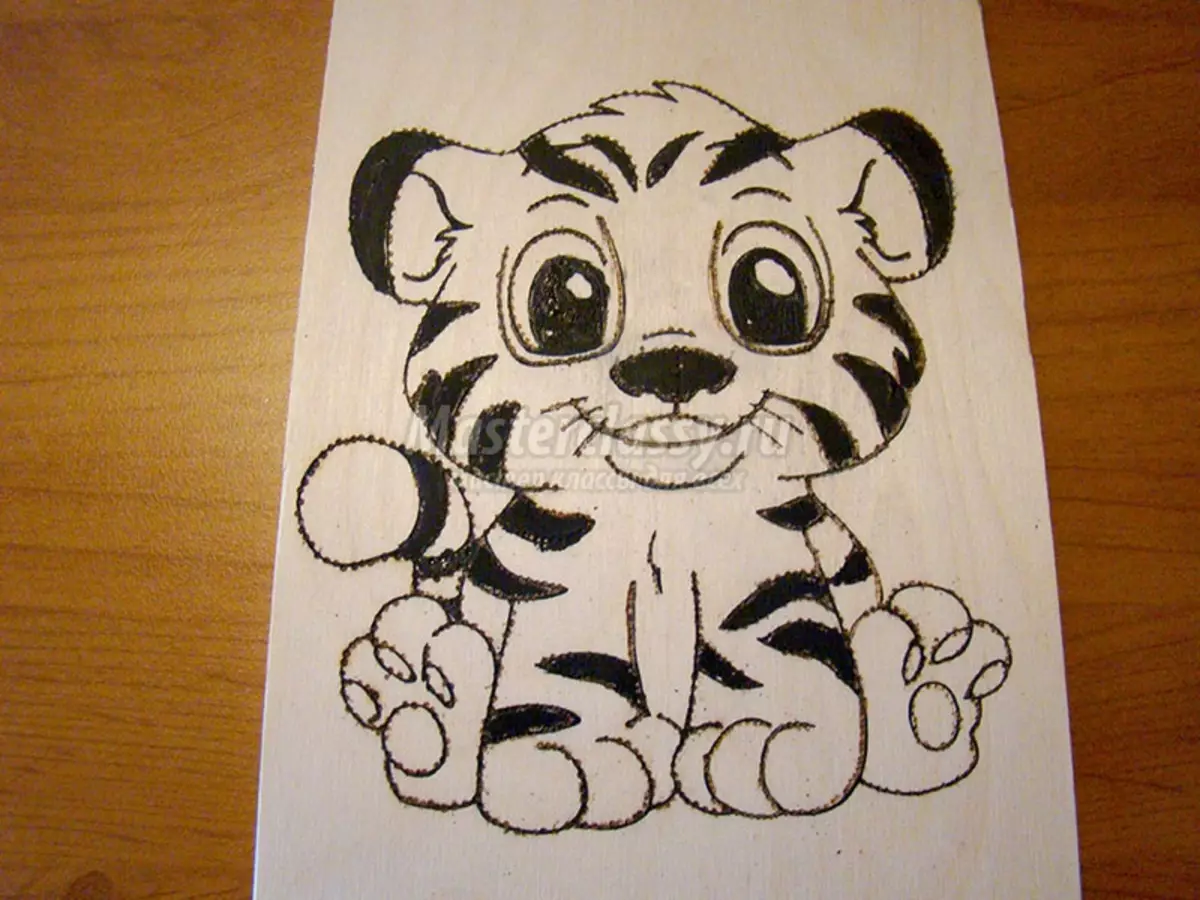
That's what we get according to the result. Go to paint painting.

Note! The paint should not be very water, otherwise the drawing itself will be ugly.
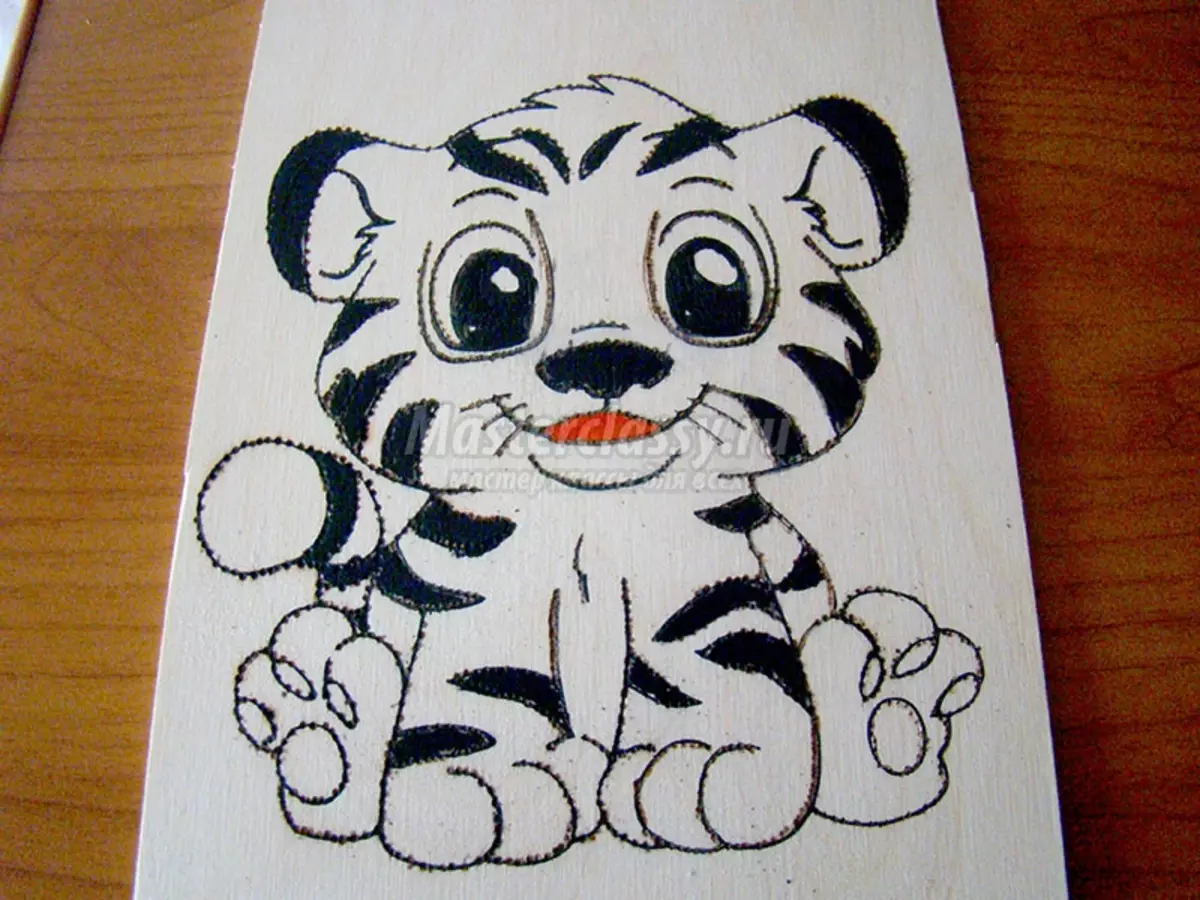
The painting field is waiting until the picture is dry. Here are a tigering almost ready.
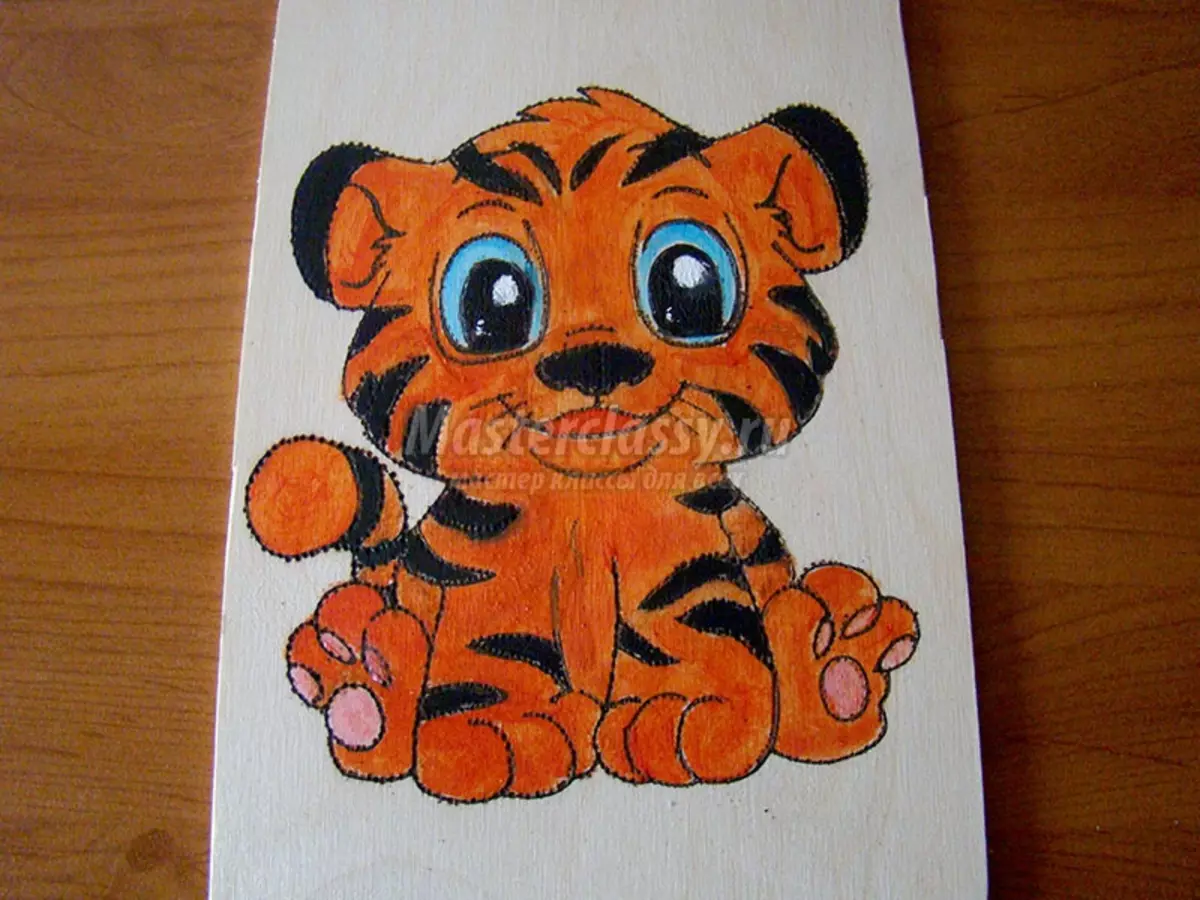
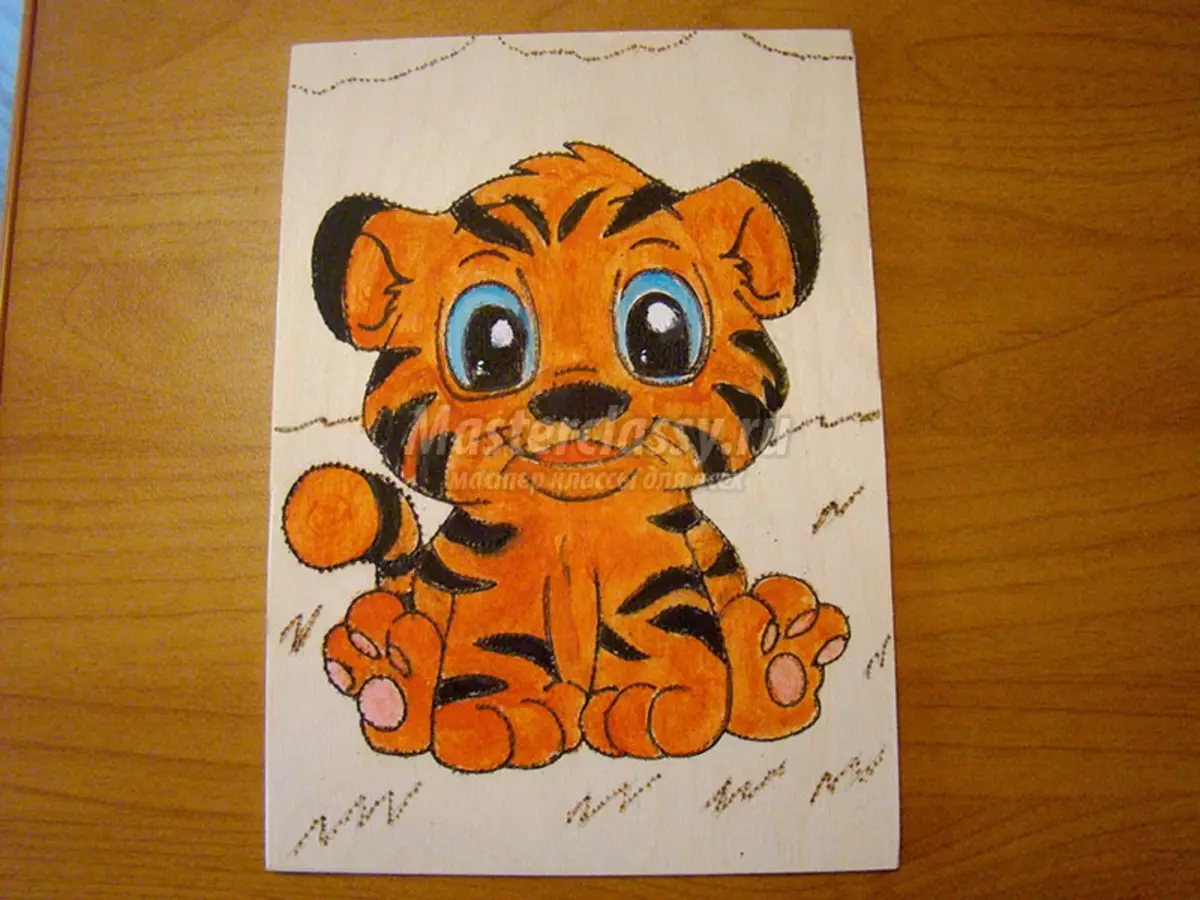
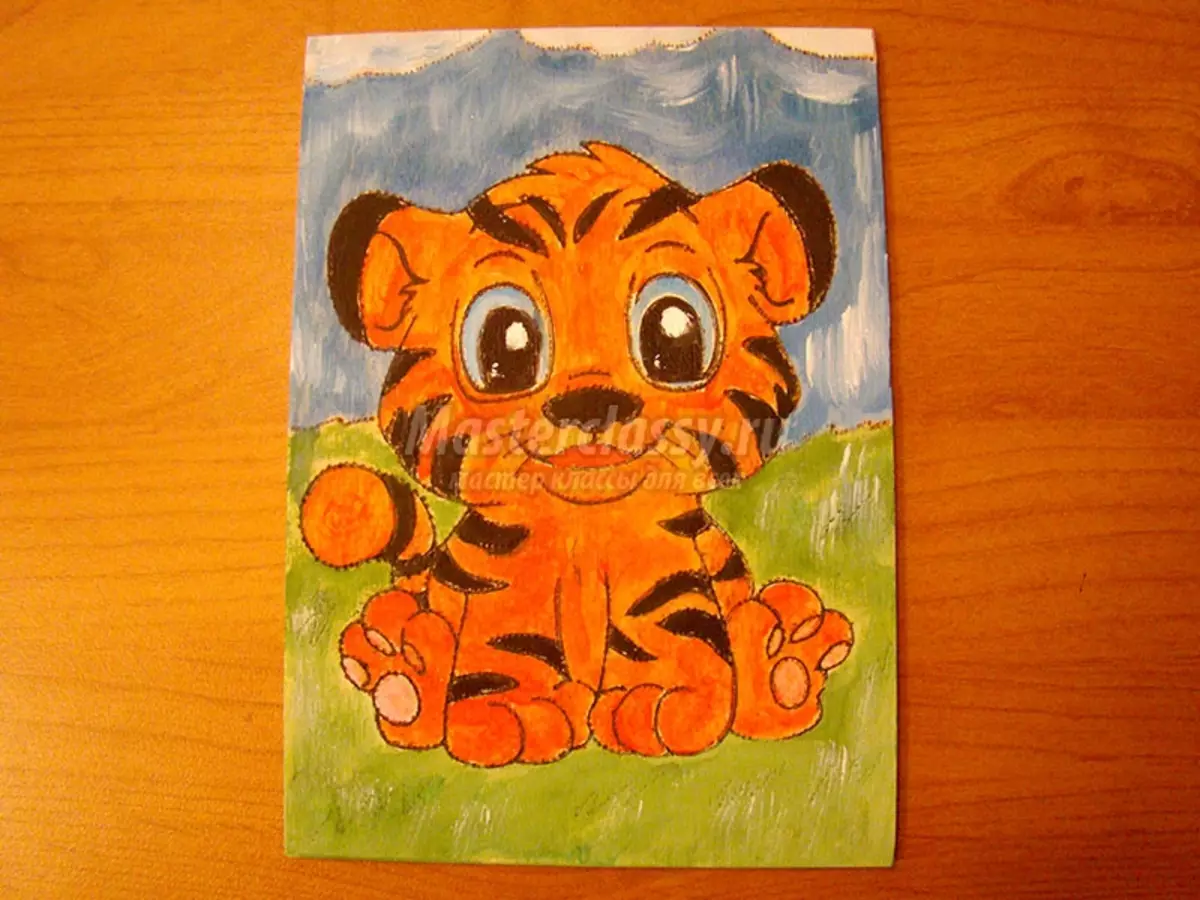
Now it is necessary to draw a background drawing from behind Tiger.
Burn the background.
That's all, our work is completely ready.
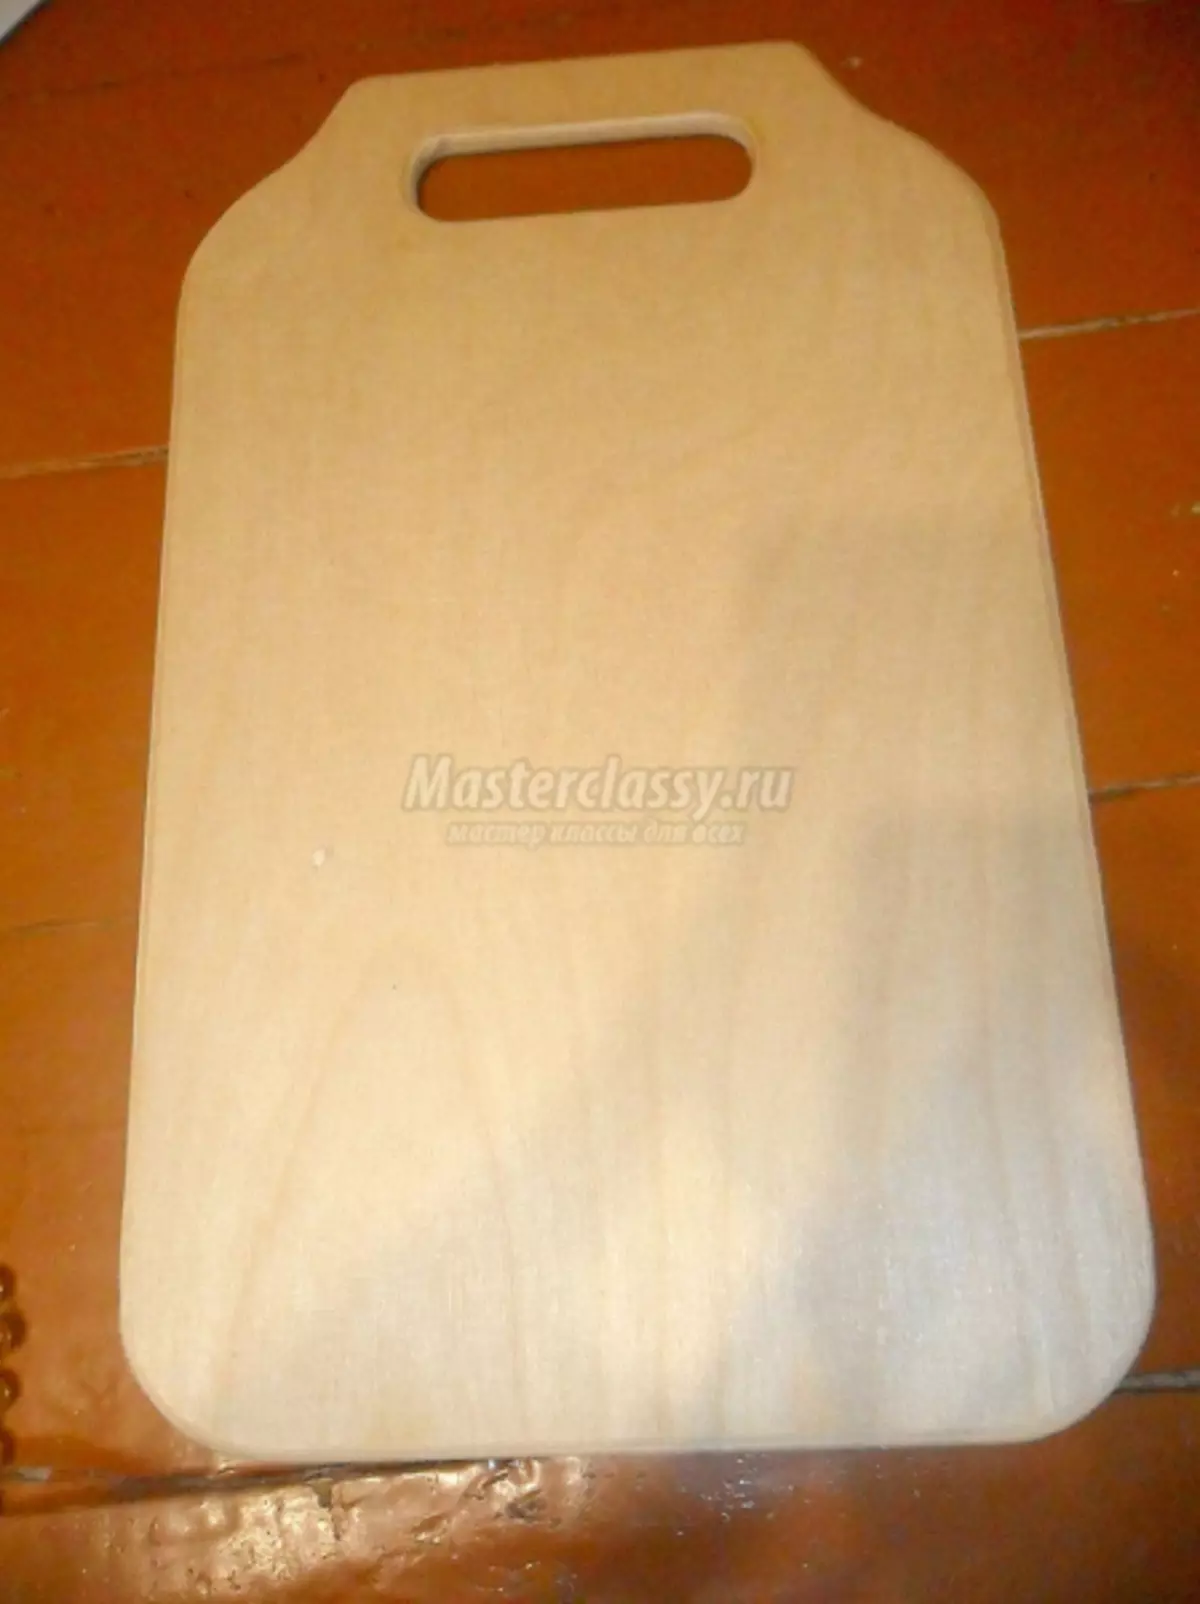
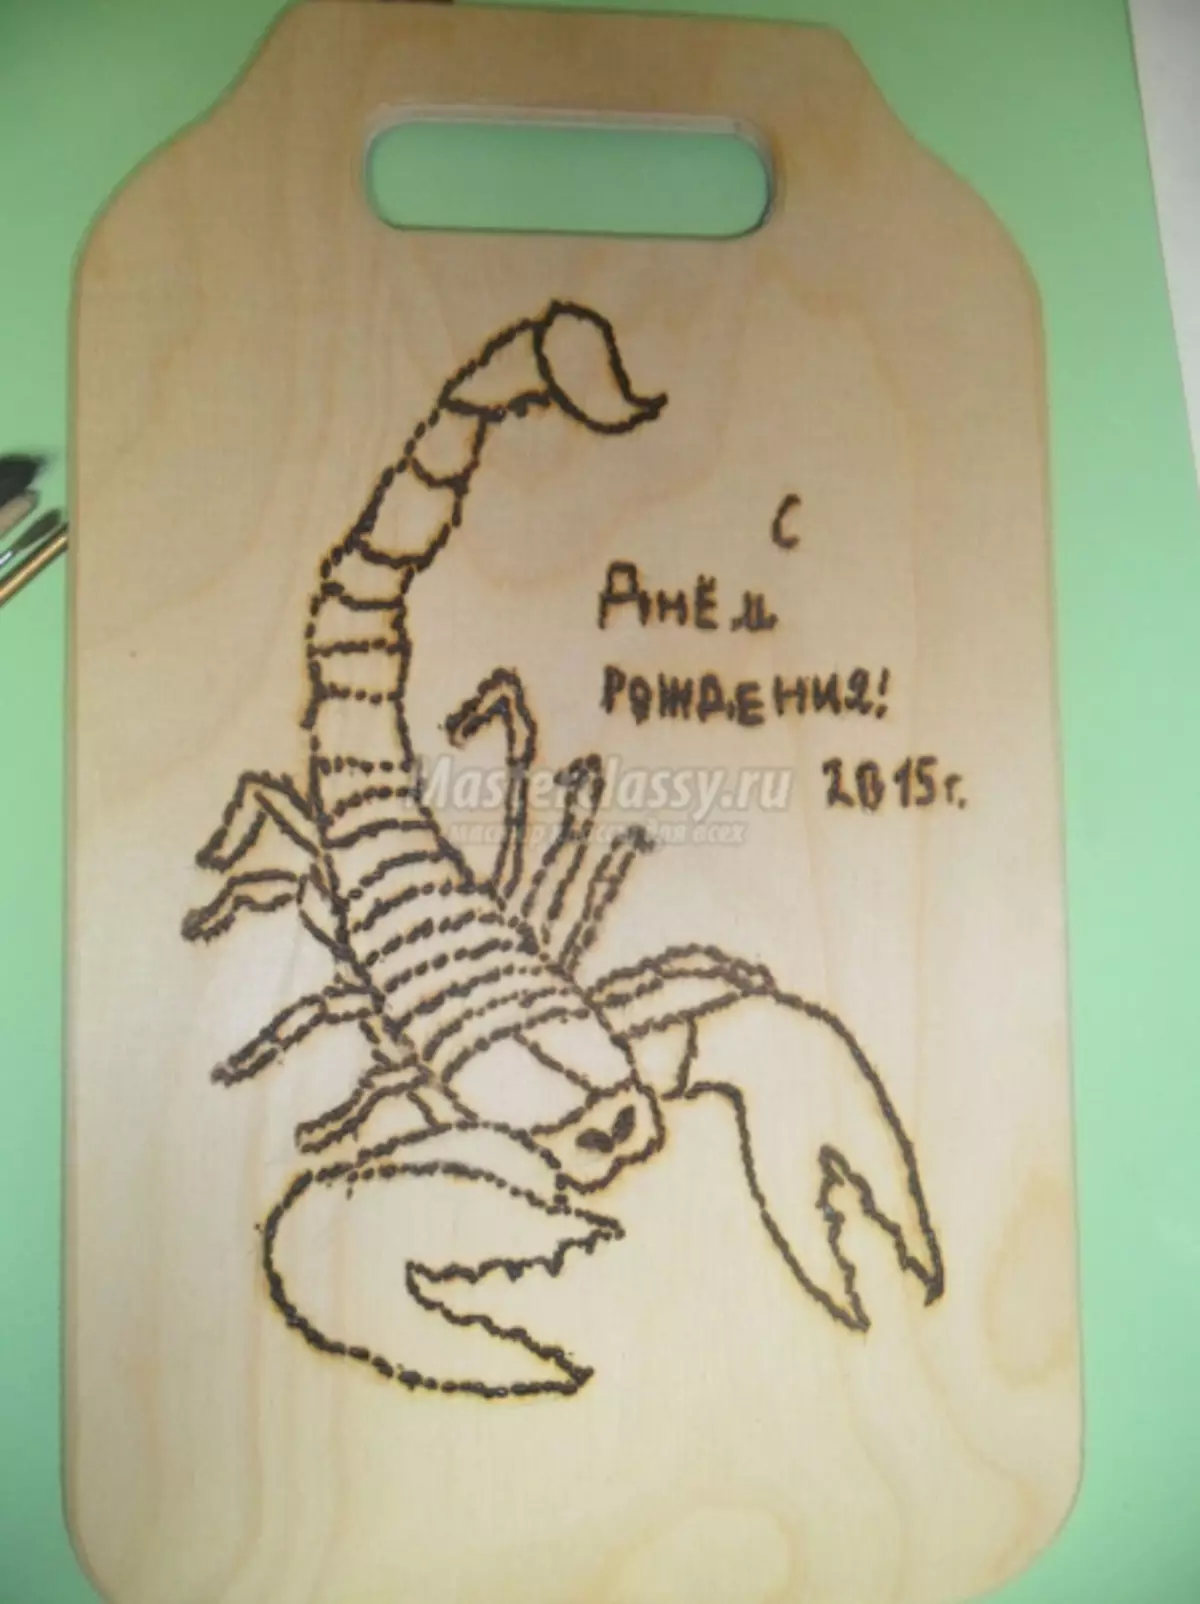
Cutting board "Scorpio"
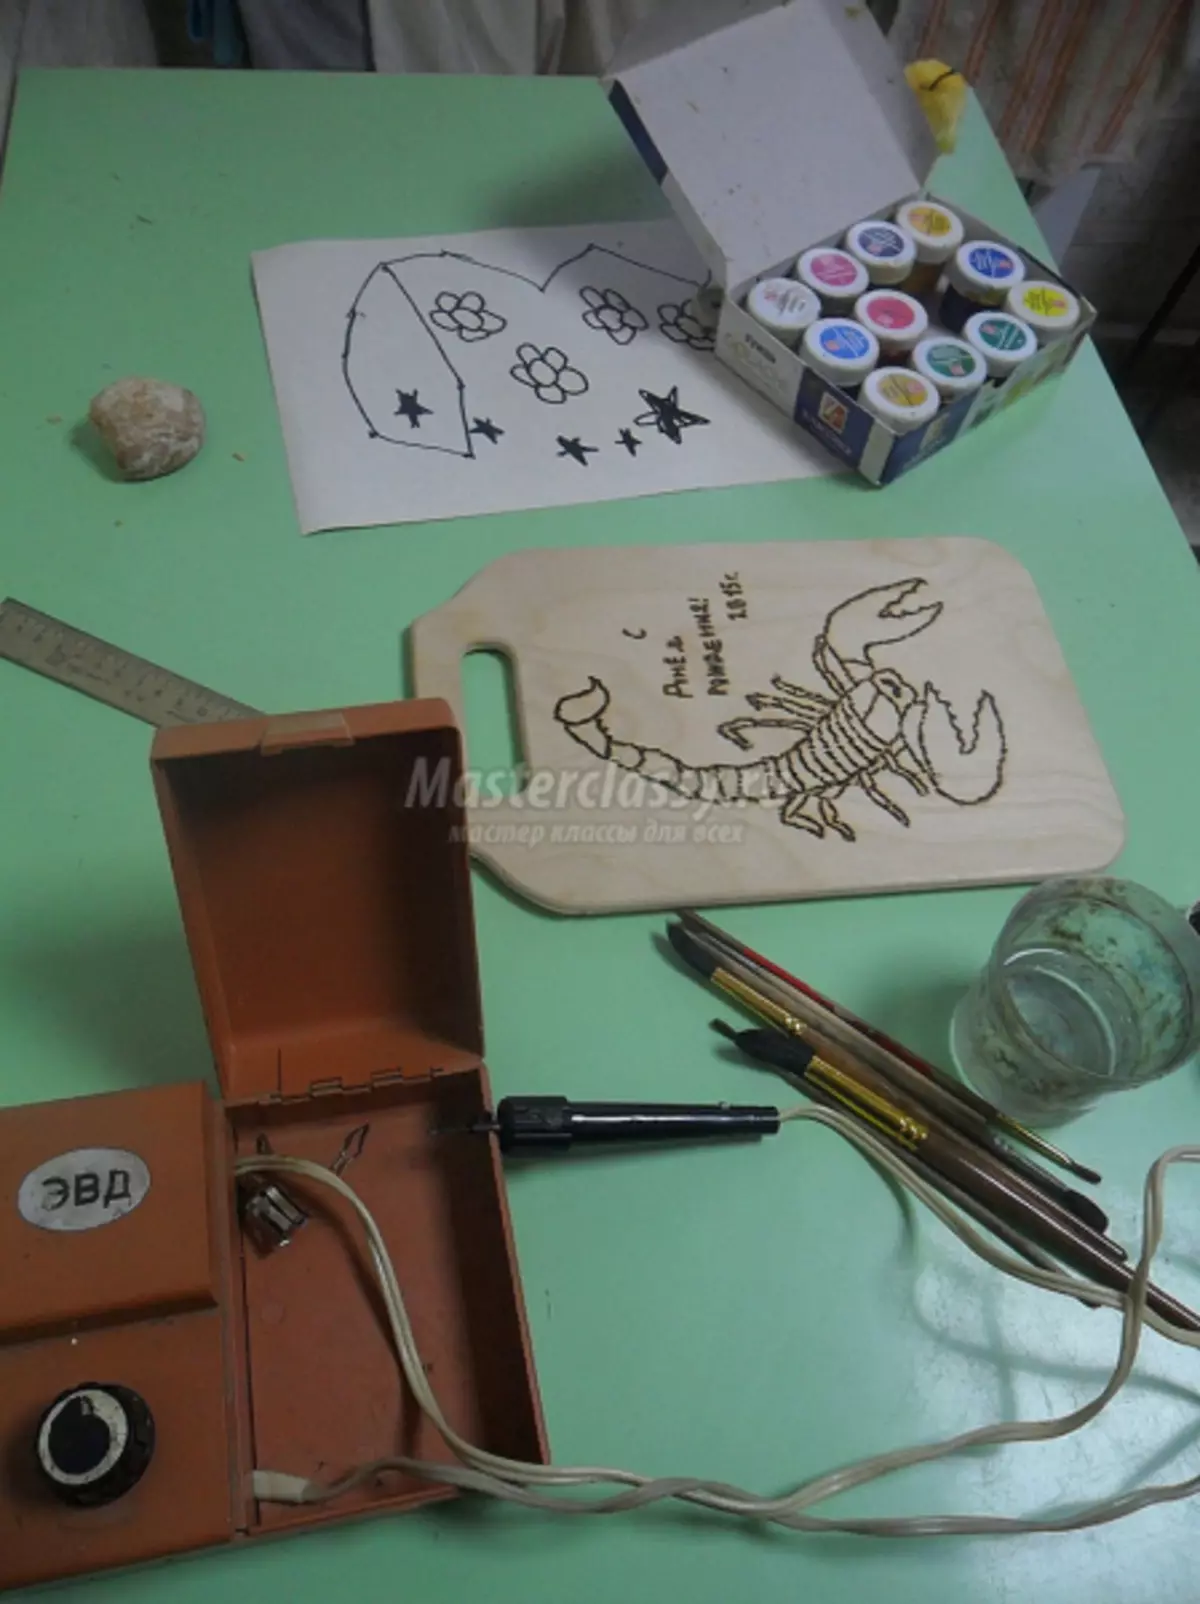
For work, the following tools and materials will be required:
- Purchased finished cutting board (which is intended for burning);
- Black simple pencil;
- Burning device;
- Paints;
- Tassels.
So, proceed to the performance of work.
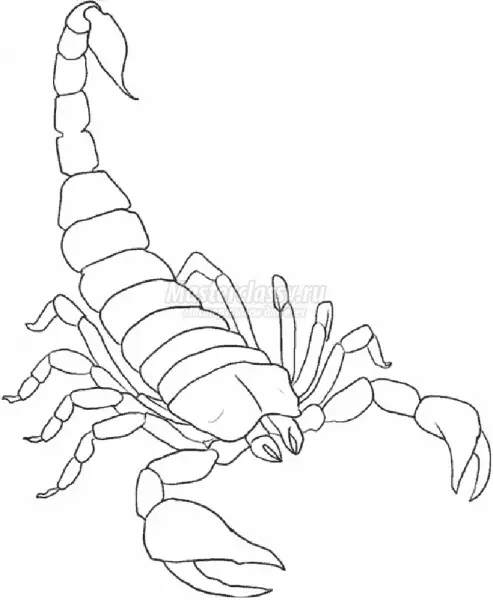
First we find the image of Scorpio (you can on the Internet or in the book). Print sketch. On the finished board we carry a sketch using a copy paper.
The burning device must be enabled in the outlet. We are waiting for full heating. And start burning sketch. We do it carefully.
Article on the topic: Knitted puffs for the interior with their own hands
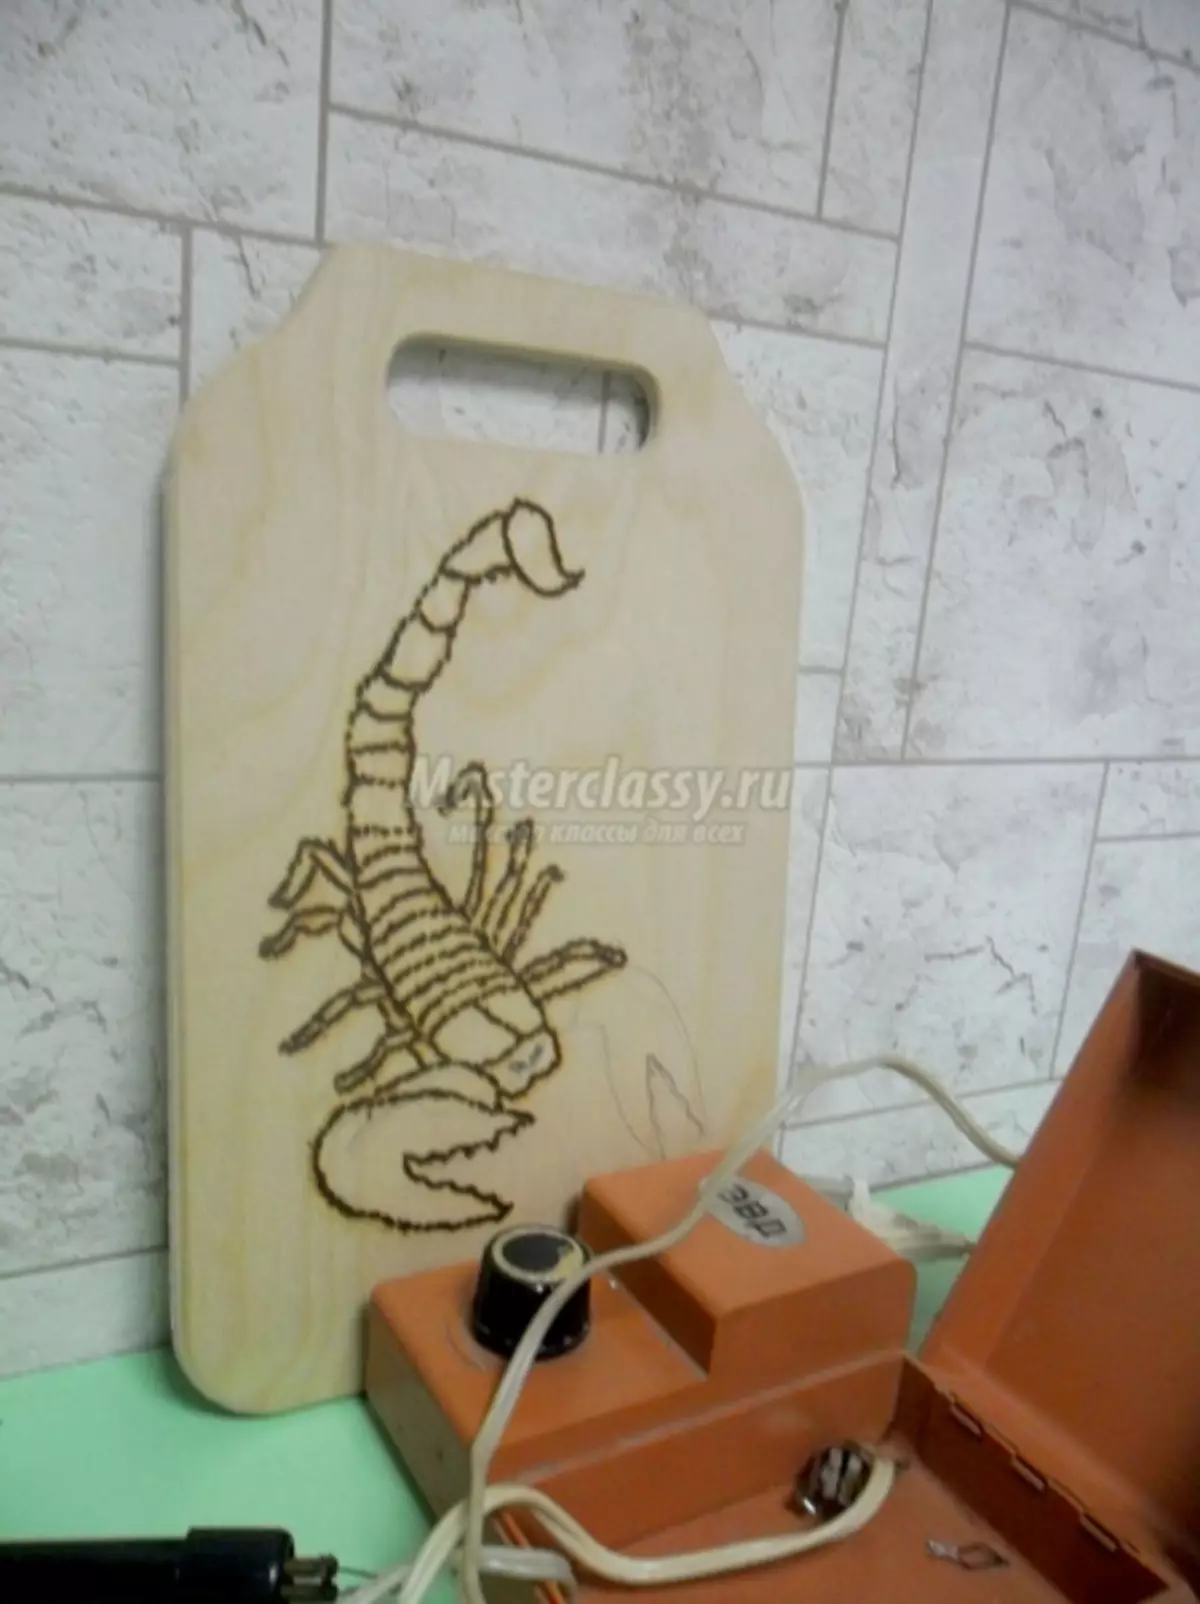
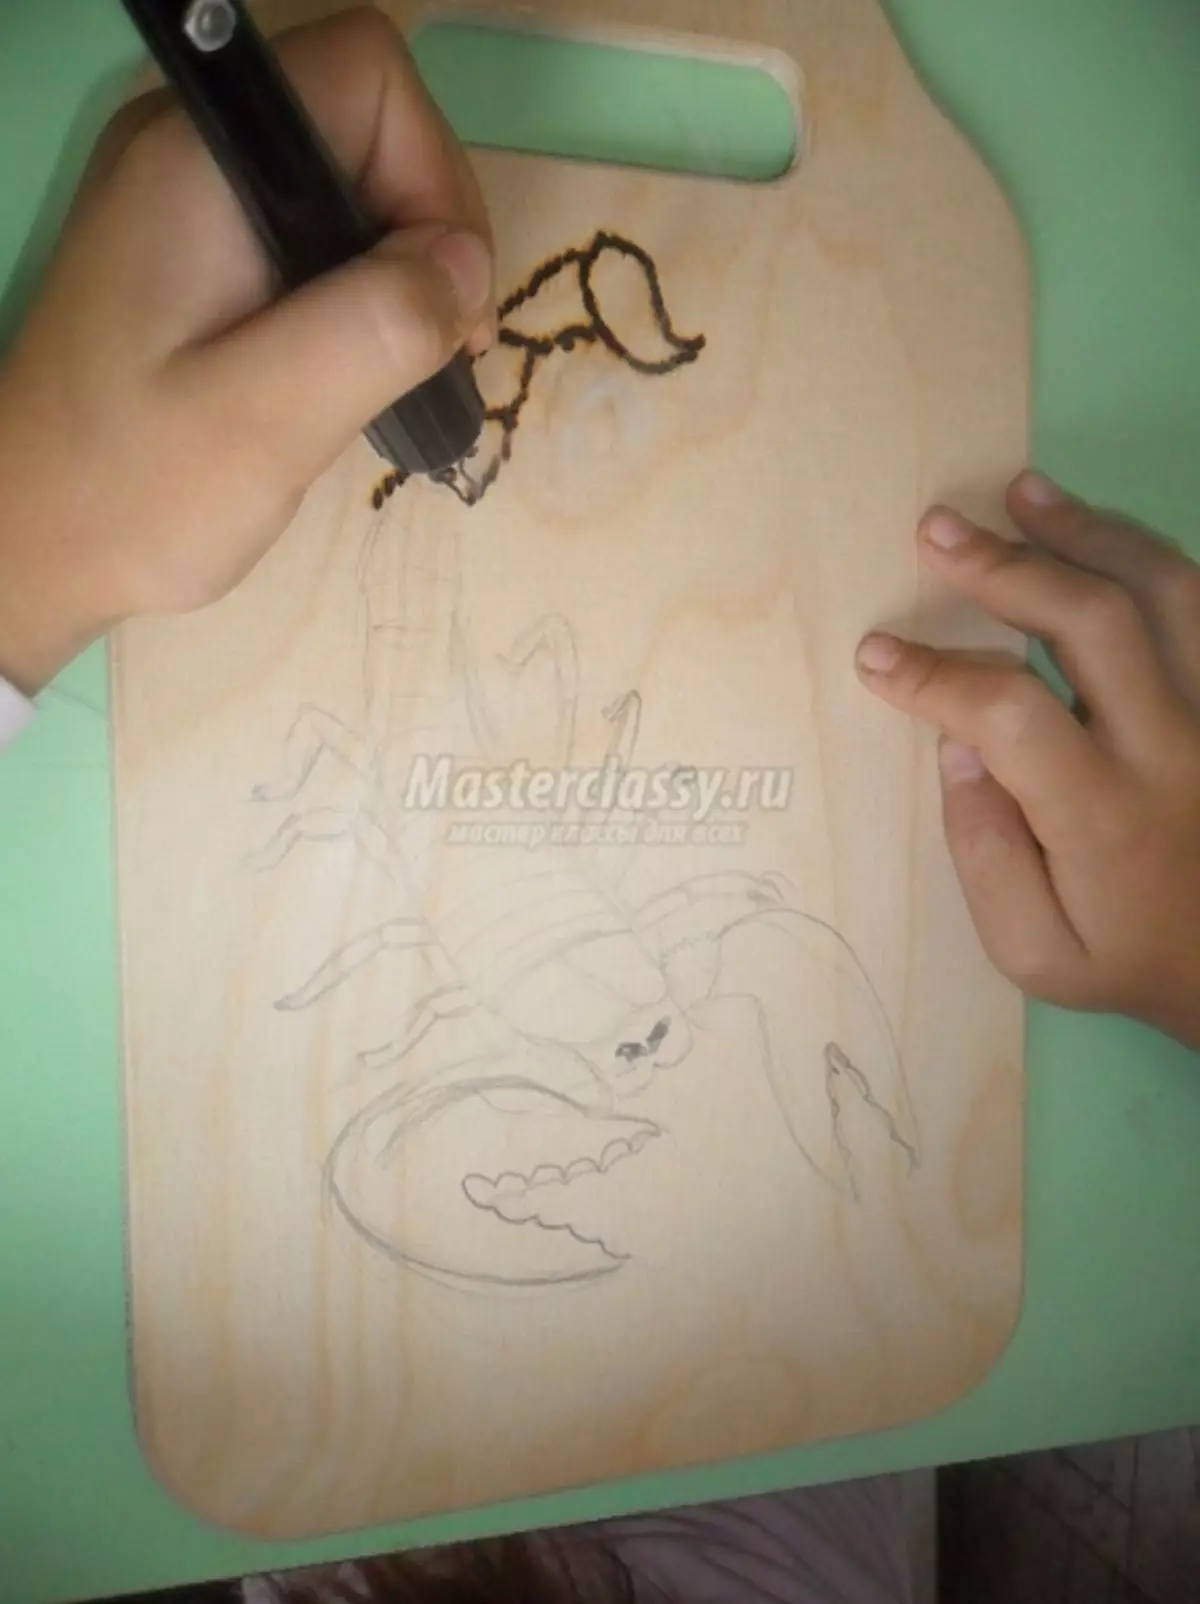
Do not forget about safety safety.
If your plate is a gift, then you can write various wishes on it on it. And just burn it.
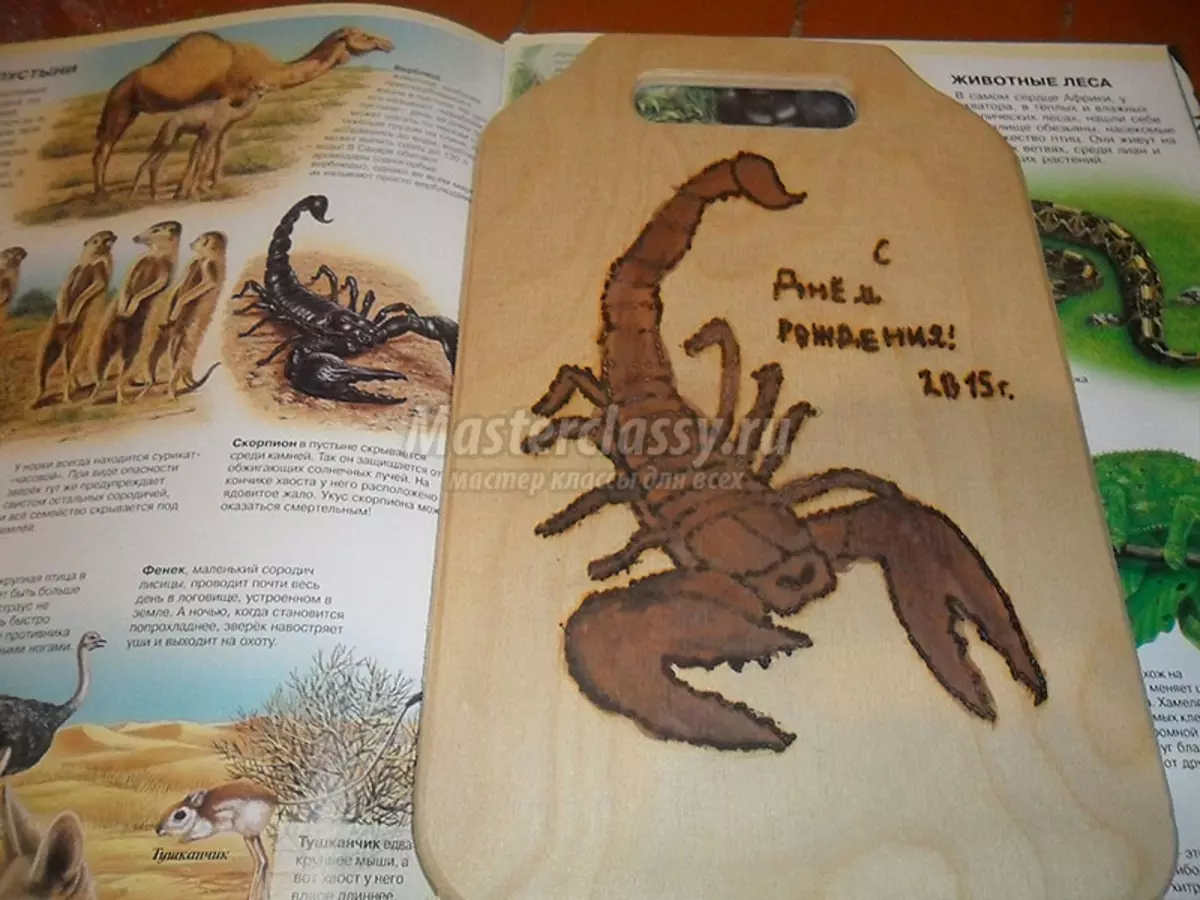
Now you need to paint the ready-made board. For this we take paint, brush and water. And start.

On the side where the drawing is placed, coated with a transparent varnish and remove to complete drying. That's all, our gift cutting board is fully ready.
Gift for mom
For work, the following tools and materials will be required:
- Board;
- Saw;
- Black pencil;
- Device for burning;
- Varnish colorless;
- Brush.
We will proceed to work.
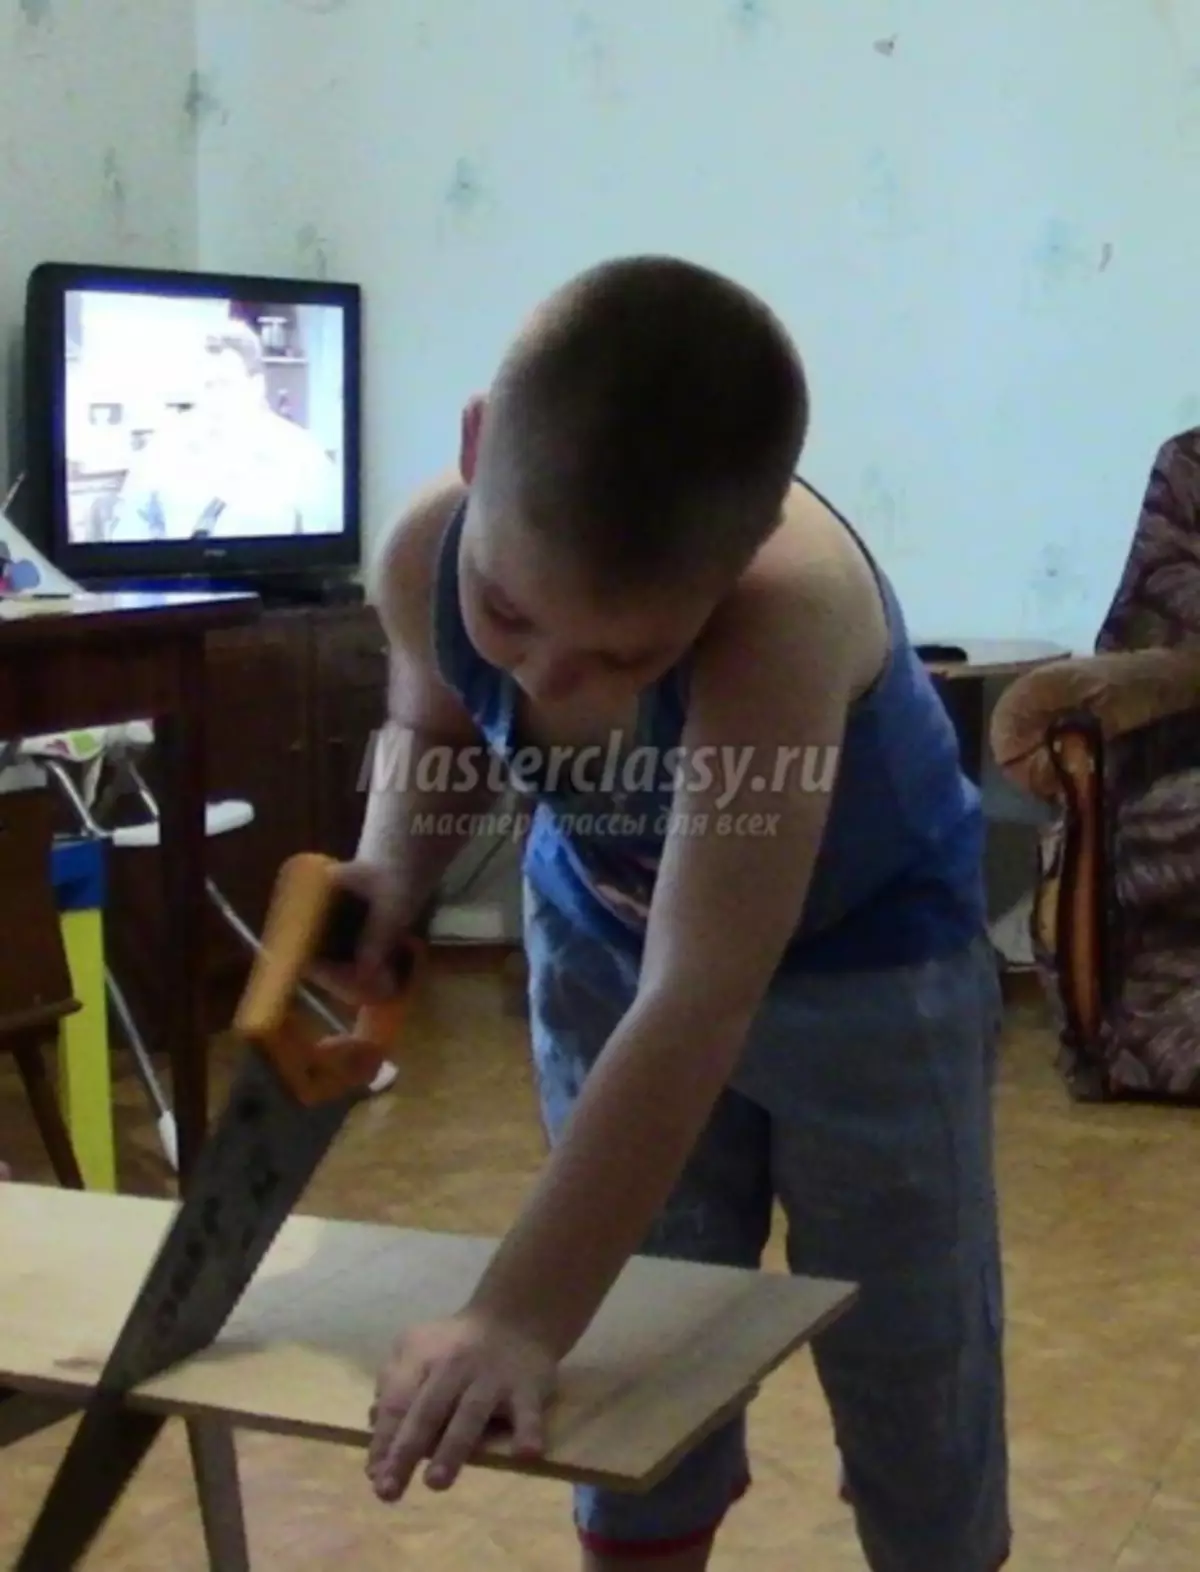
So, first of all it is necessary to prepare the basis. To do this, we take a drink and cut the size you need from a big board. Do not forget about compliance with acute items. After we produce sandpaper sandpaper in order to make the basis more even.
Then go to the selection of the picture. It can be either printed, or draw yourself. We draw or translate through the copy paper sketch on the board.
The device for burning is included in the outlet. We are waiting until it is warmed up for the required temperature. We start the burning process. We do it until the whole drawing is made.
After complete burning, it is necessary to cover the board with colorless varnish.
That's all. On this, our master class came to an end. Optionally, you can also paint this product.

Making cartoon
For work, we need the following tools and materials:
- Plywood sheet;
- Sketches (pictures);
- Burning machine;
- Paints;
- Tassels;
- Colorless varnish;
- Copy paper;
- Sandpaper.
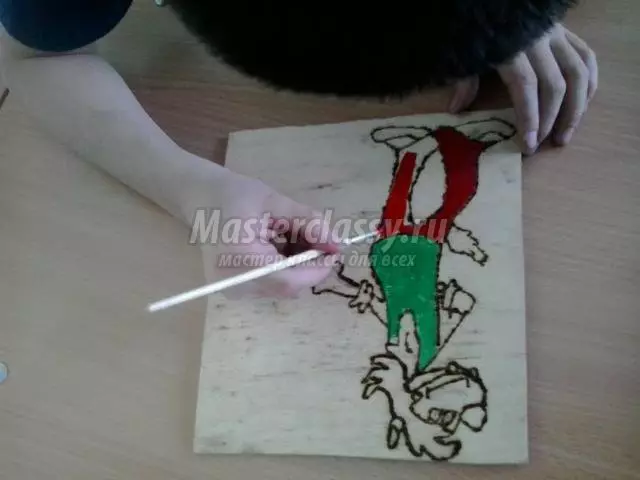
So, proceed to the performance of work. To begin with, prepare the foundation. To do this, align the sander's sandpaper sheet. After transferring the prepared sketch through the copy paper based on the basis.
By contour, we begin to burn out the drawing.
Article on the topic: What to do if the lingerie worse
After the action performed, we start coloring the finished handicraft. We are waiting until it does not dry.
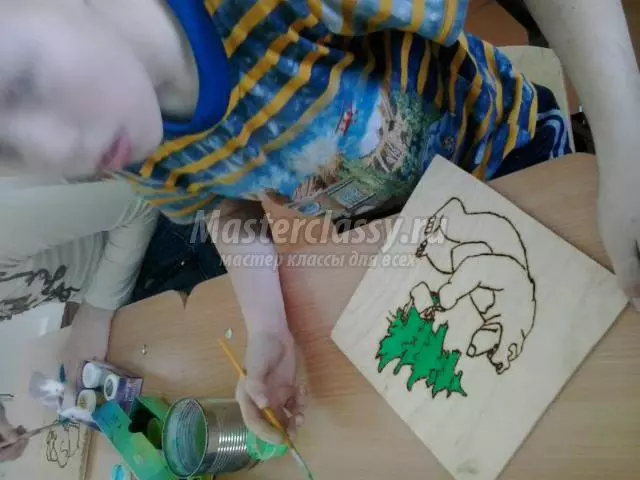
Covered lacquer and remove to complete drying. Picture with cartoon heroes ready!
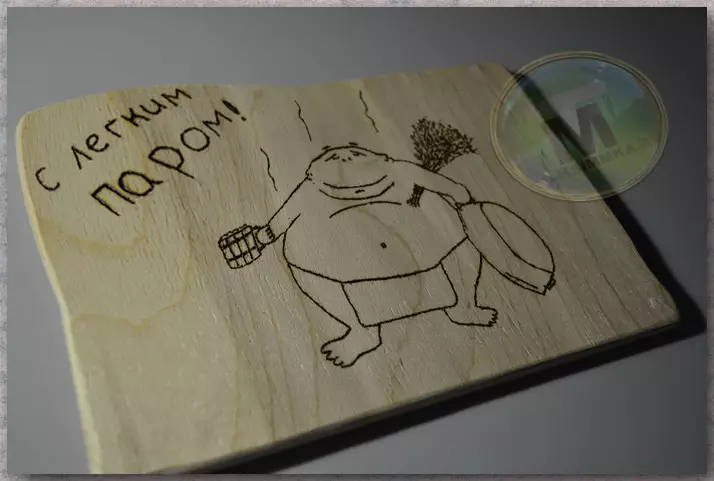
Plate for bath
For work, we need the following tools and materials:
- Burning machine;
- A piece of plywood required size;
- Sketch;
- Scotch;
- Scissors;
- Colorless varnish;
- Brush;
- Empty ballpoint pen (without ink).
Step-by-step instructions for work is presented below.
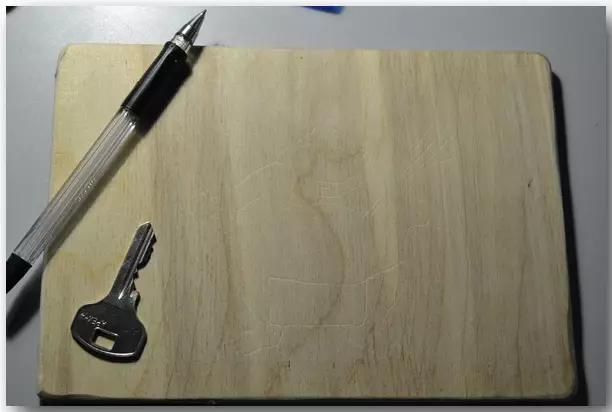
To begin with, we define what the drawing will be. After you prepare a plank, align it. Then we attach to it with the help of Scotch our sketch.

We take an empty ball handle and circle the pattern on the contour. In this case, it is necessary to slightly pressed. After checking how our drawing imprinted.
Next, we remove the sketch and scotch itself and go to the burning process. If you have a fantasy in the burning process, you can add new different items to your basis.
Cover the layer of colorless varnish. We remove in an inaccessible place for complete drying. That's all, the plate for the bath is fully ready. At this, the master class for novice masters came to an end.
Video on the topic
We also offer you video lessons for self-studying the topic.