
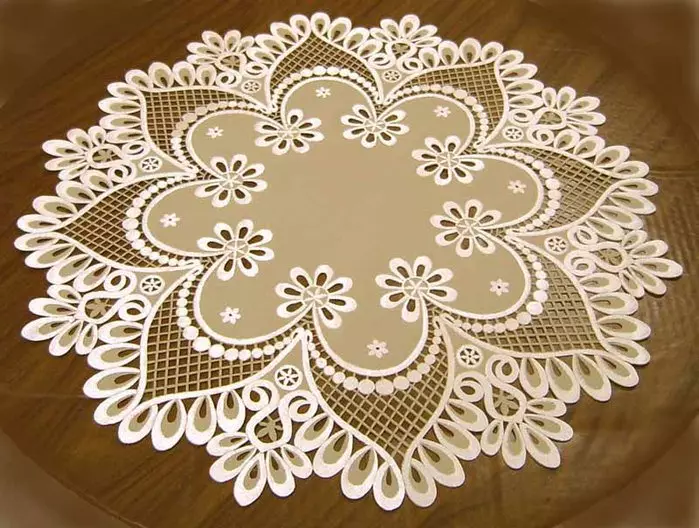
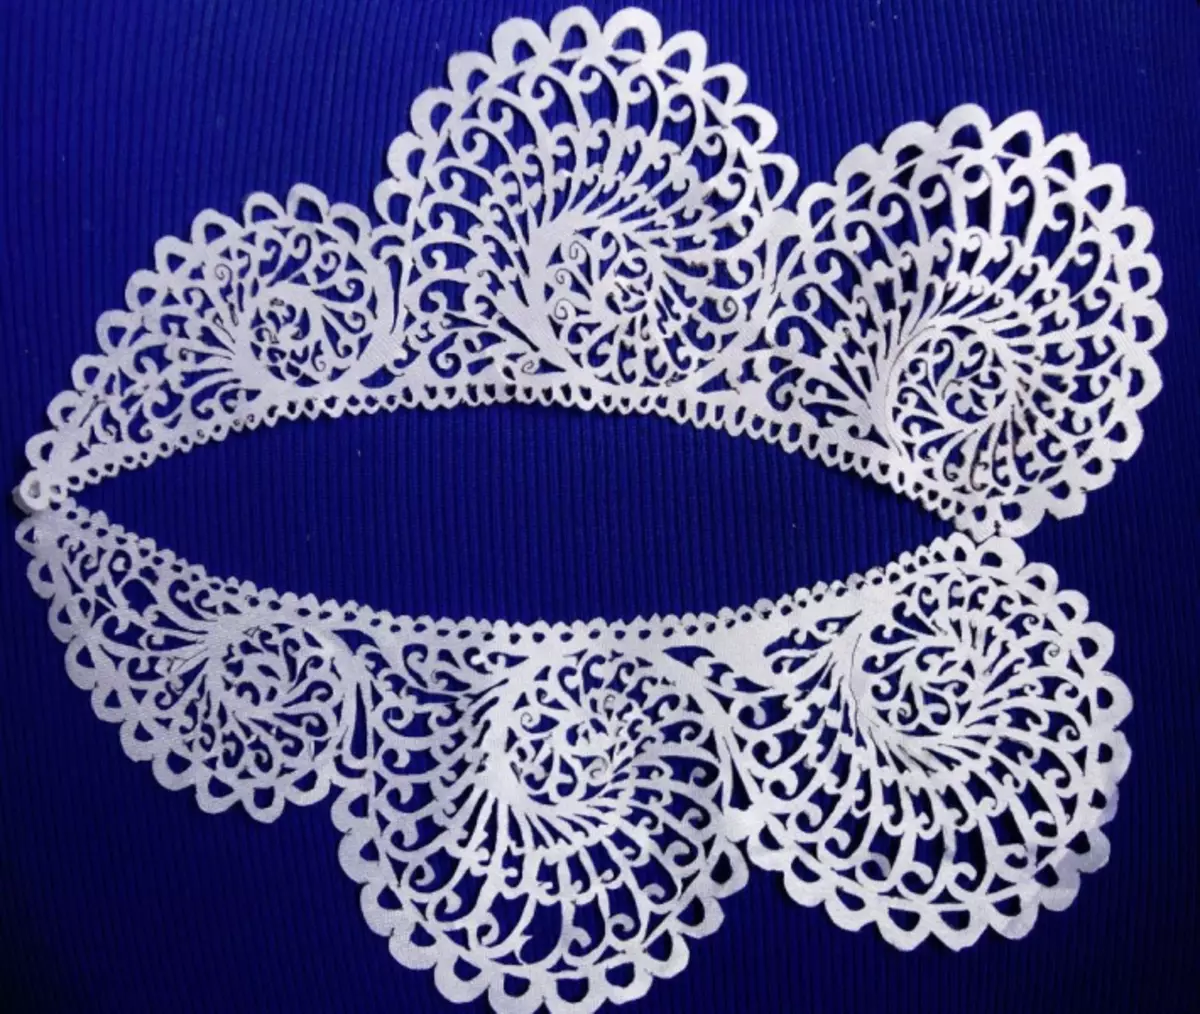
There are several ways of burning, more precisely, several materials on which you can burn out. Such materials include fabric. The burning on the fabric is called "guilloche". With this technique, you can create very beautiful elements of the decor of clothing or interior. It can be lace collars, napkins, tablecloths, openwork gangs, creating lace patterns on curtains and so on.
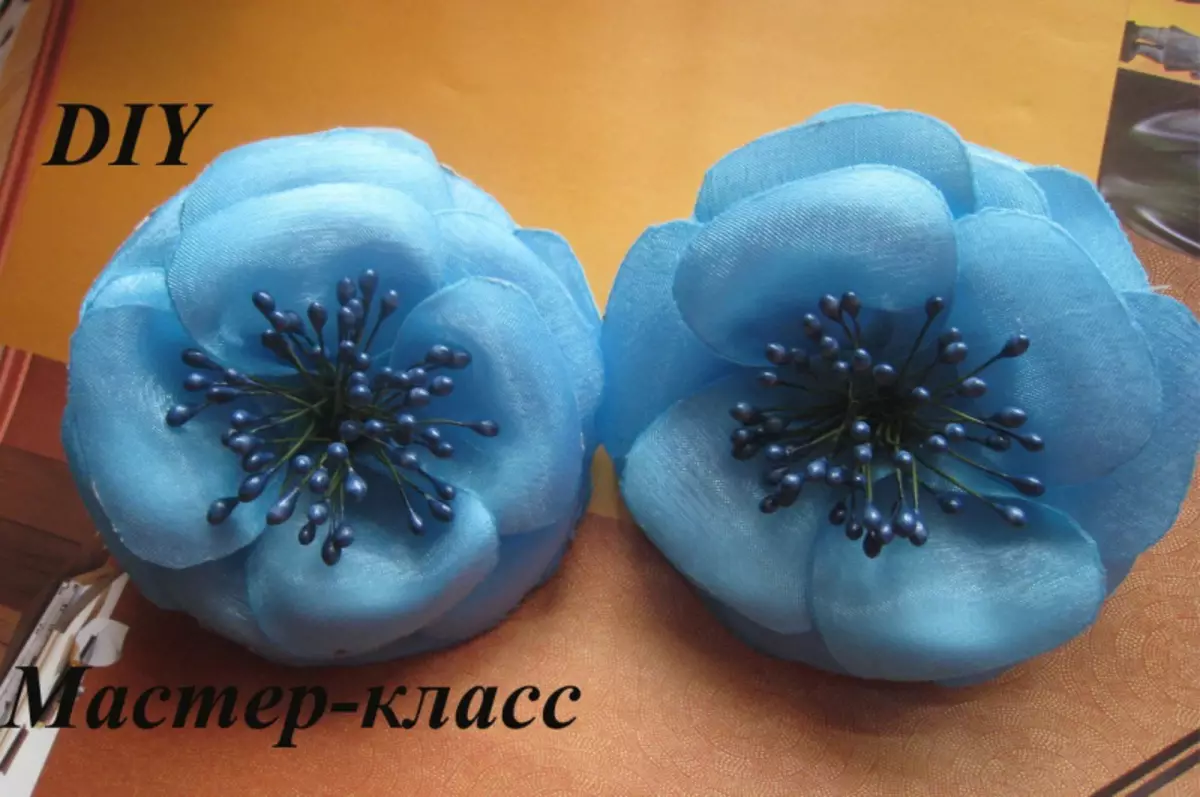
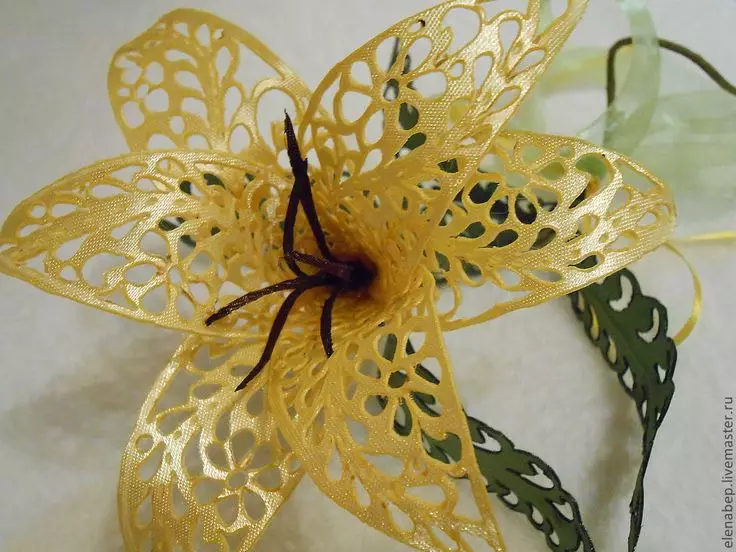
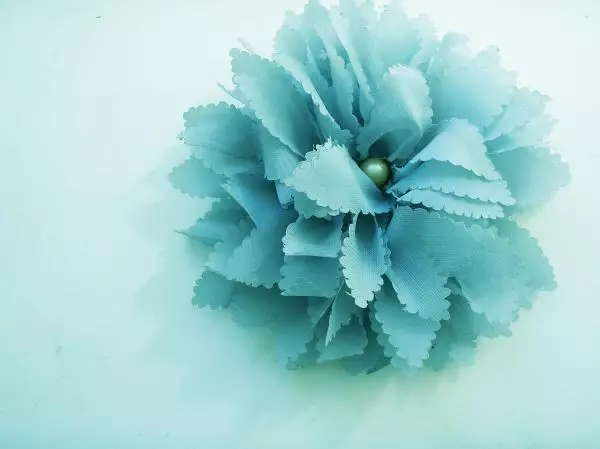
For beginners, the creation of bulk openwork colors is suitable, such as those that are presented in the photo.
The burning technique on the fabric came to us from Germany relatively recently and has not yet managed to become very popular. However, more and more needlewomen begin to take interest. And it is not surprising, because when guilty, such beautiful things are obtained!
Necessary materials
To work in the guilty technique, we will need:
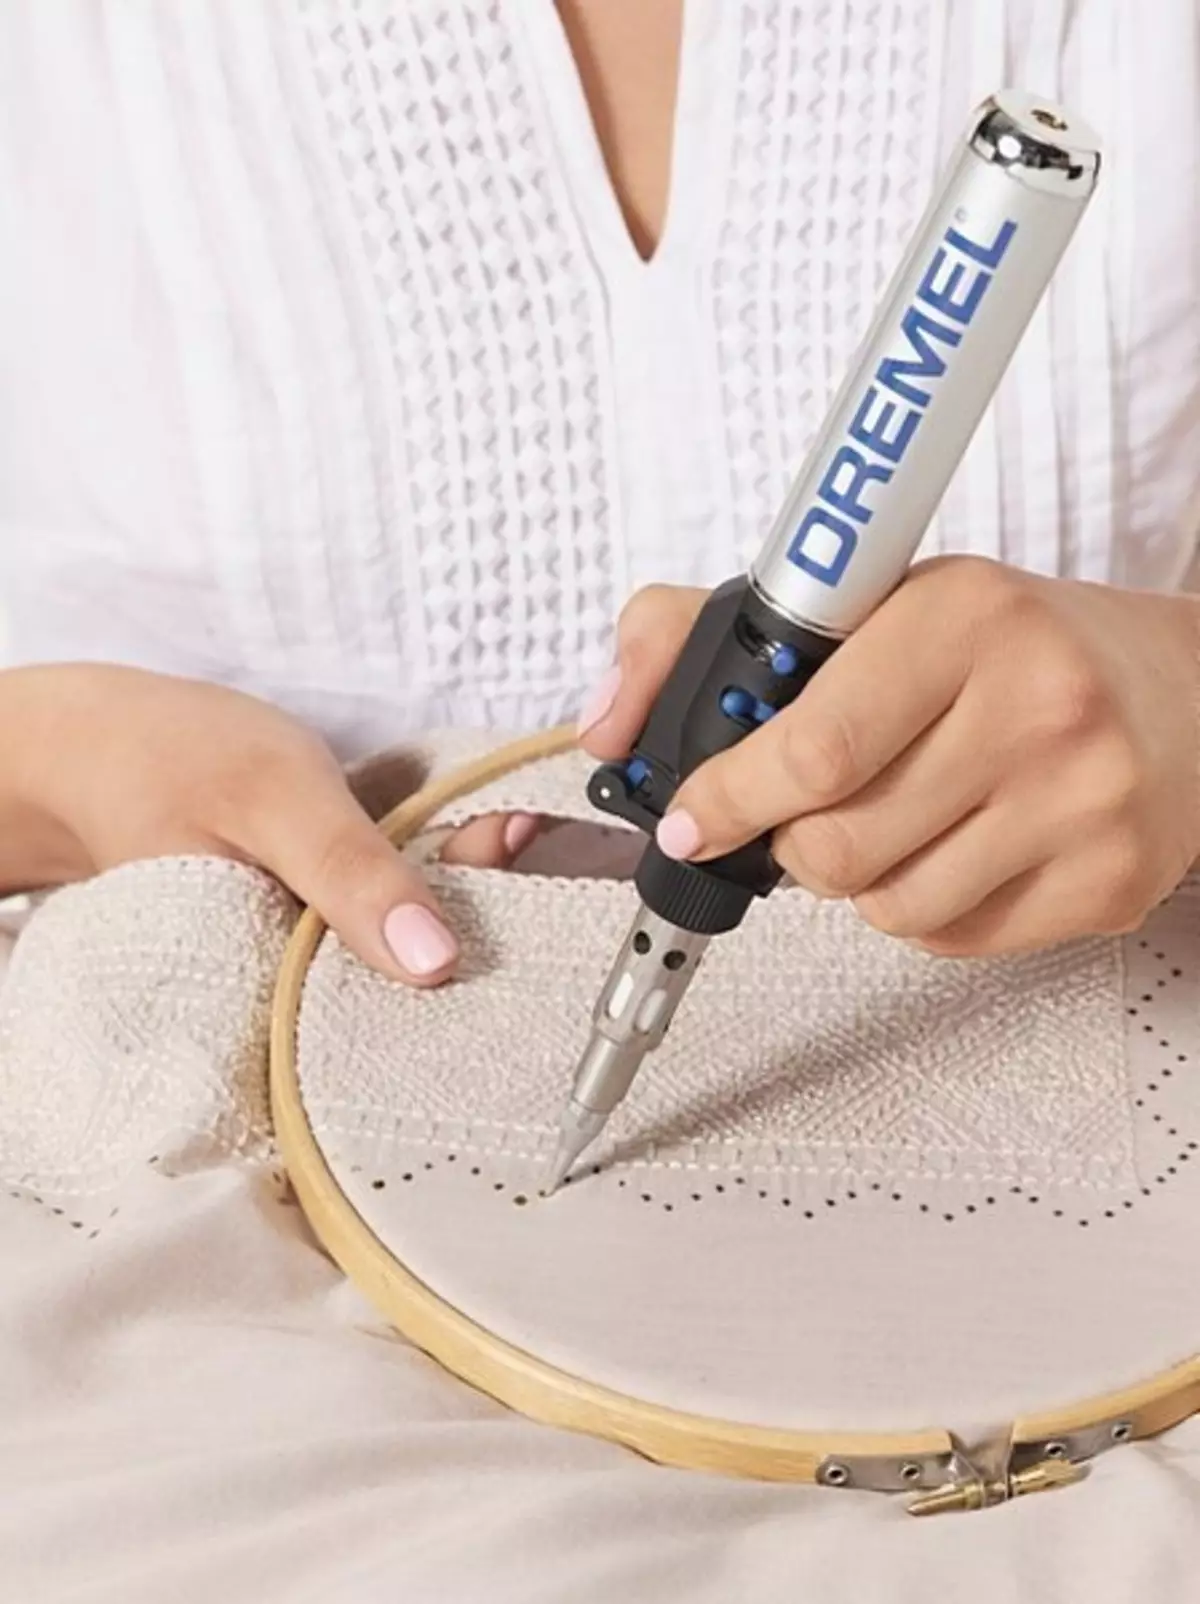
- the device for burning with a needle attached to its loop (for example, from a sewing machine);
- thick glass;
- lamp or good daylight;
- The fabric on which we will burn out the drawing;
- Stencil made on Watman (can be drawn independently or print a finished template from the Internet).
Before work

First, choose a sketch of future work. It can be downloaded and print or draw yourself. Draw on dense paper with a thick pencil or felt-tip pen.
When it is ready, choose fabric. Stroke her iron. And put on the glass.
You need to use such fabrics that are well melted, for example, kapron, silk.
Now check the readiness of the deceit. To do this, according to a predetermined unnecessary segment of the same fabric that we use for the drawing, we carry out trial slits and install this temperature level, which is optimal for us. The speed of the needle should be sufficient to cut through the fabric through. The burning is best to start from the center of the product so that the fabric is not shifted. Also, the fabric is worth hold for the same goals, slightly pulling it with your fingers.
Article on the topic: The most-fish cake. Gift for a man
It may happen that in the process of work on the tip of the needle, melted tissue residues will be imposed, which will worsen the quality of burning. In this case, it is necessary to consider an unnecessary sandpaper or razor blade.
There are two ways to burn out parts.
When the first fabric is put on the glass, while the stencil is placed under it. The lamp is located below, thus highlighting the contour of the stencil on the fabric. This method is suitable when it is required to create openwork patterns.
The second way is more convenient in cases where you need to burn out a lot of identical details, for example, flower petals. Then the stencil is put on the fabric, fix it with pins and burned over the contour to get a separate item. In our master class we will make a volumetric flower, so we use the second way.
Progress
At first we specify the number and shape of the petals, make the pattern. Scheme see below.
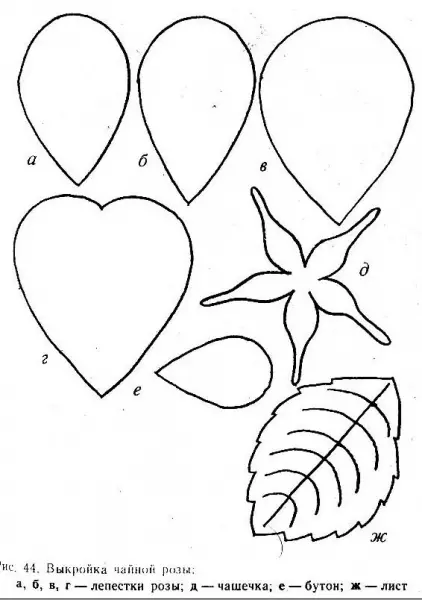
We carry the pattern on the fabric, fix the English pins and take it carefully around the perimeter each petal. Then, when all the petals and other parts are burned, we must collect our bulk flower and fix.
You can slightly sew threads in tone tissue, you can glue with hot glue.
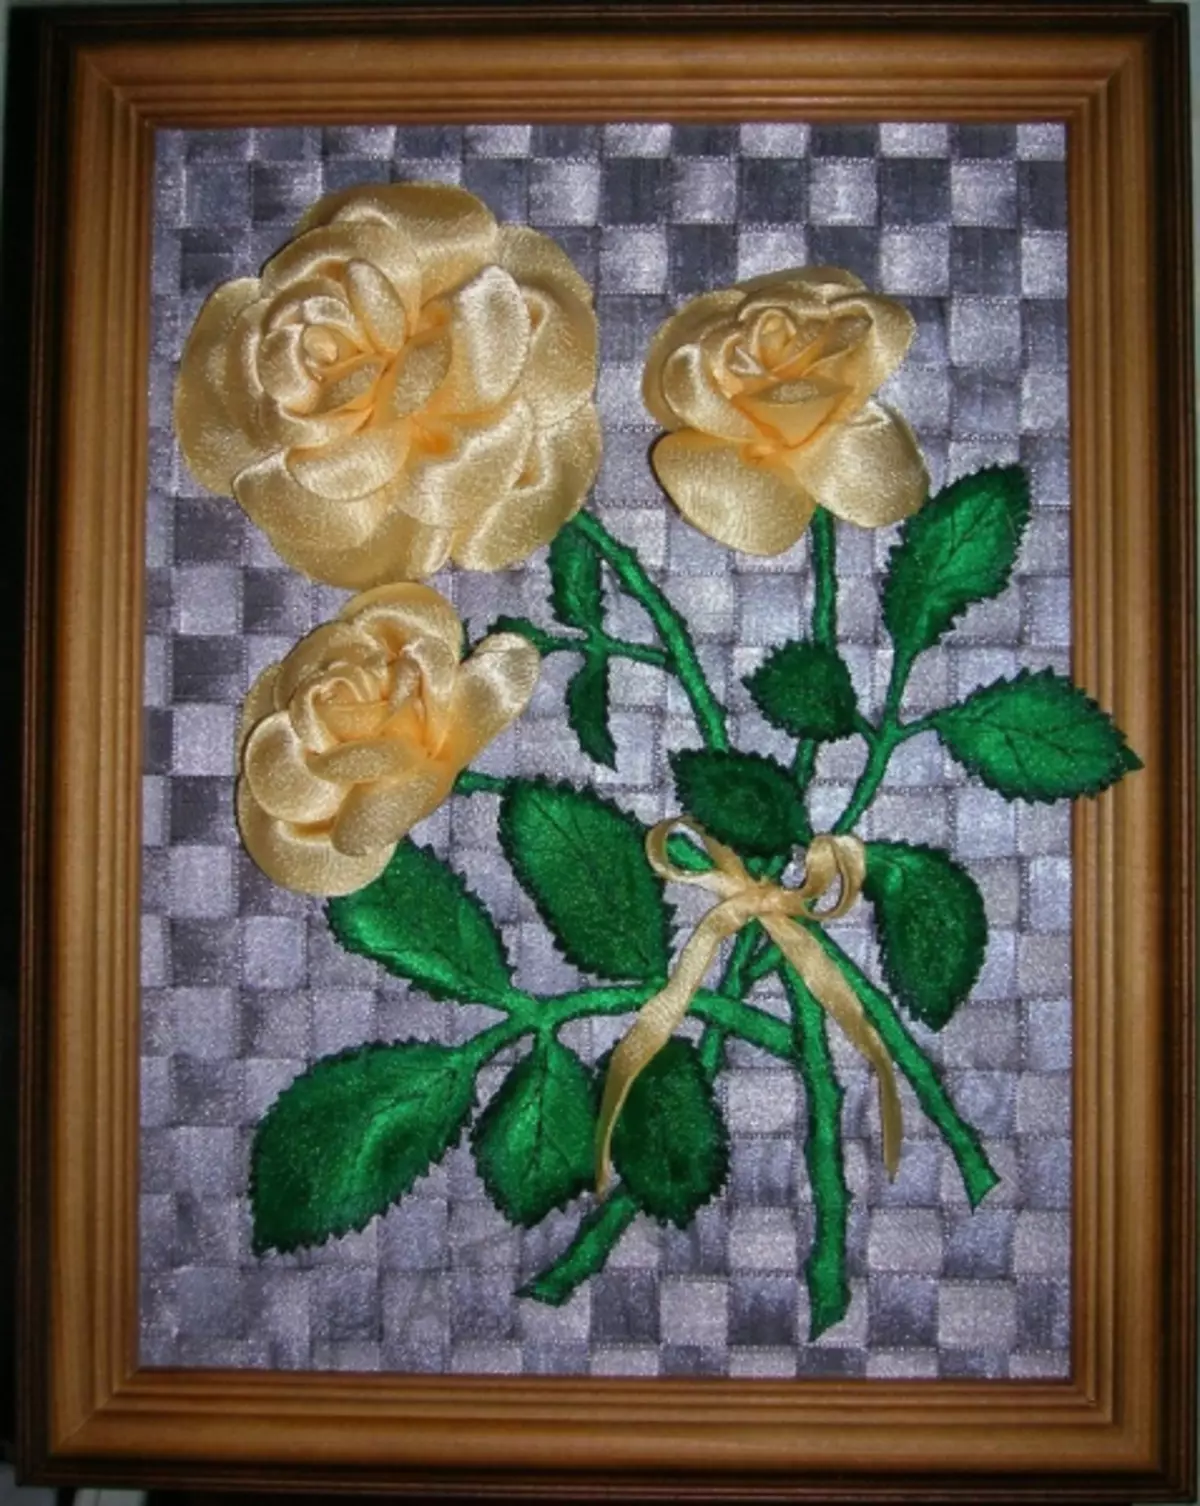
Such a flower can be worn as an independent decoration or attach a flower to a tissue basis and create a whole picture.
Video on the topic
Also be sure to see the video clips selected to this topic.