
With the help of packaging tape and paper, you can create truly exclusive design items. And if you have to fantasize, that is, many more ways to improve the project "paper" mannequin.

Step 1: Required
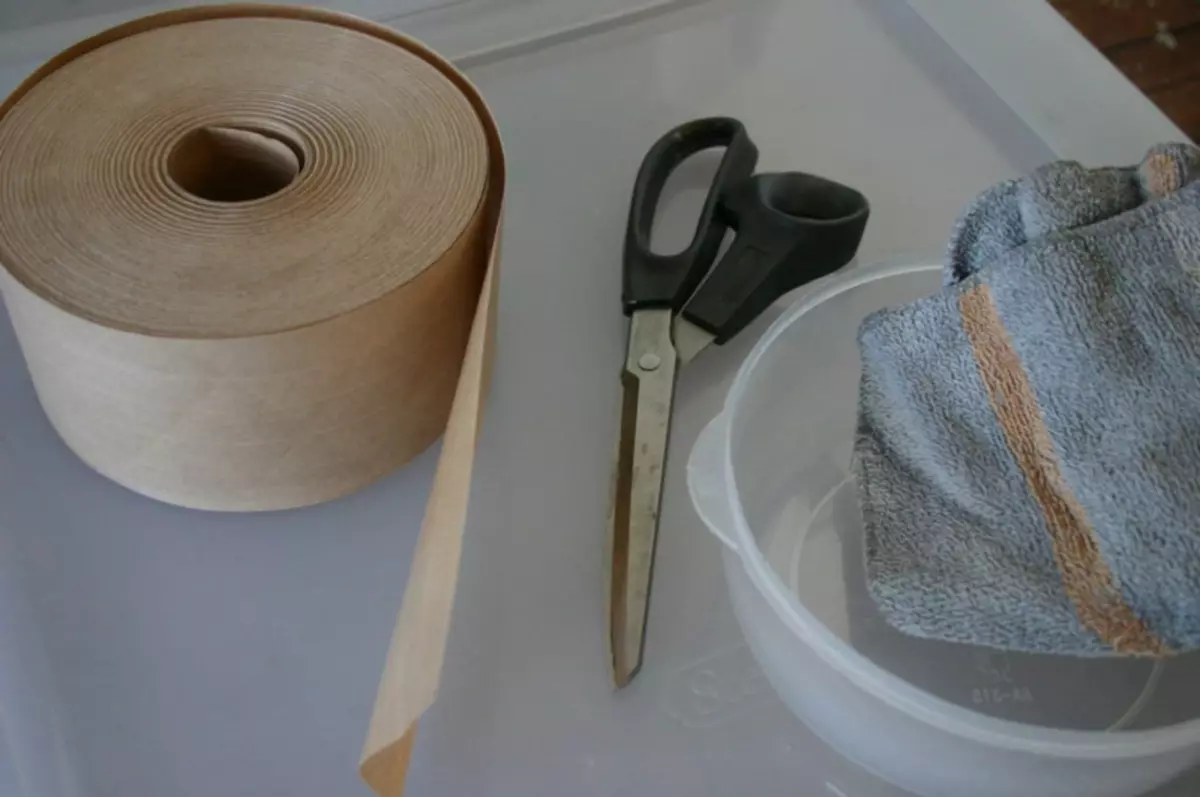
- Roll of adhesive tape.
- Scissors.
- Rag and cup with water.
- Unnecessary T-shirt or turtleneck.
- Marker.
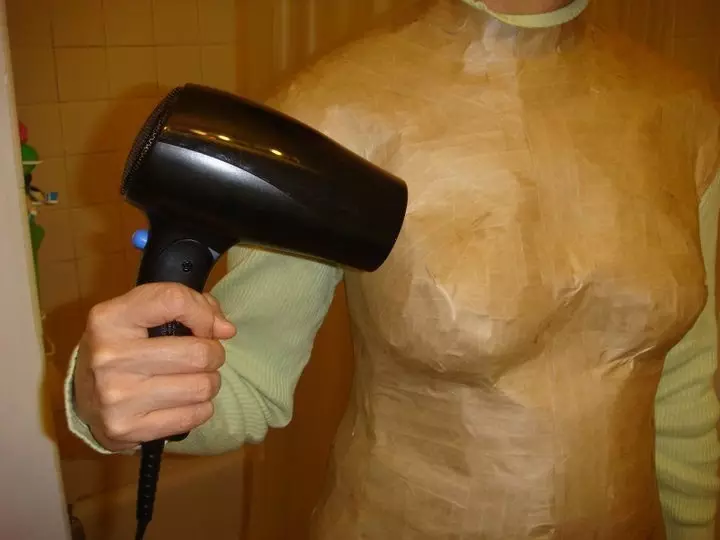
- Hairdryer.
- Filling for form.
- Stand.
- Assistant.
Step 2: Tape
You can replace the adhesive tape with scotch, but in this case there are several rolls.
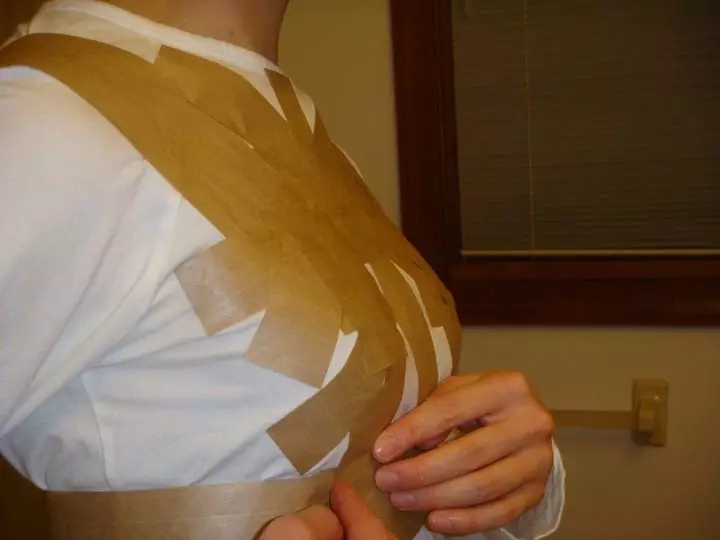
For individual sites, it is better to make stripes smaller (1.3 cm by 7.5 cm). You can choose long ribbons on your back (7.5 cm 45 cm). For the remaining parts, 4 cm strips are suitable for 15 cm.
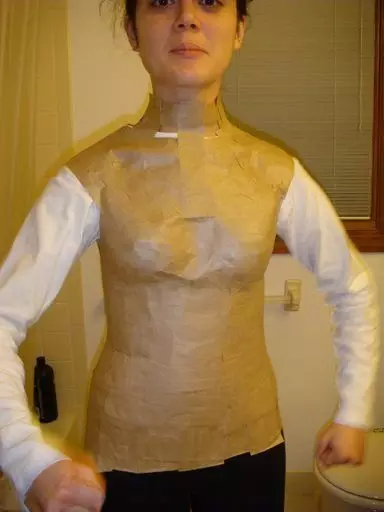
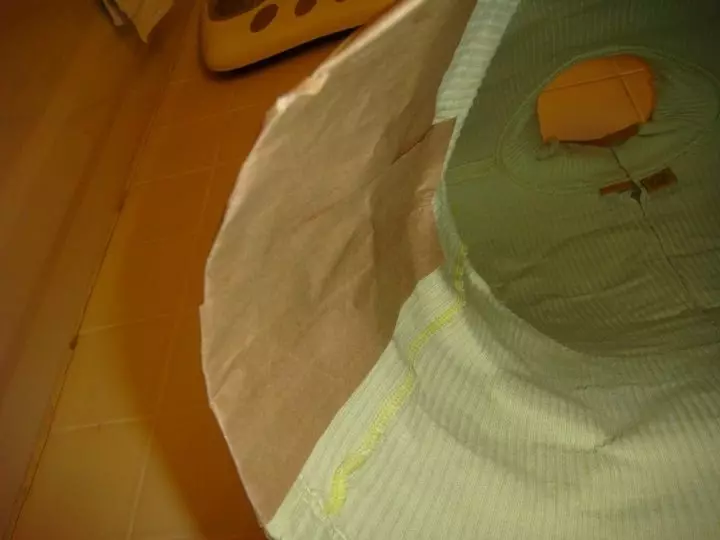
Step 3: Basis
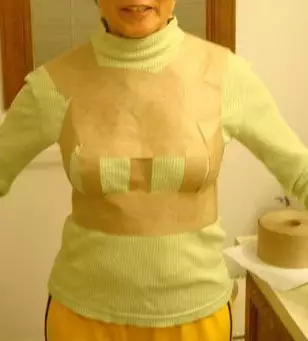
Wear a turtleneck on the assistant.
Gently wet the cooked strips of adhesive rod with a rag for a larger effect.
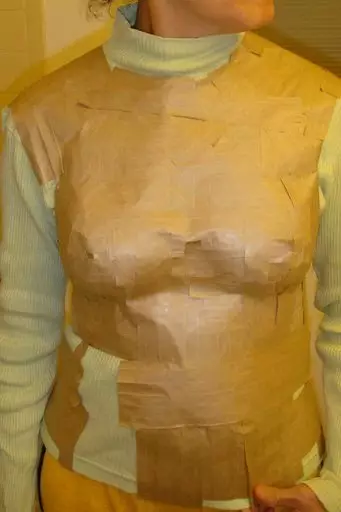
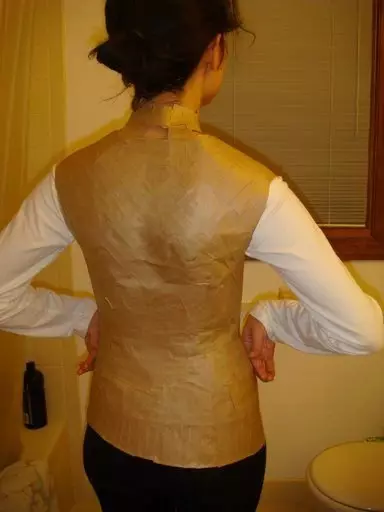
We start with horizontal medium lines. Then turn to the chest, shoulders, stomach and back.
It will be necessary to make 2 or 3 layers to create a solid foundation for the torso.
Step 4: Tips
If it seems to you that some of the sites did not work, then boldly cut it with scissors and rewar again. Little stripes can help well here.
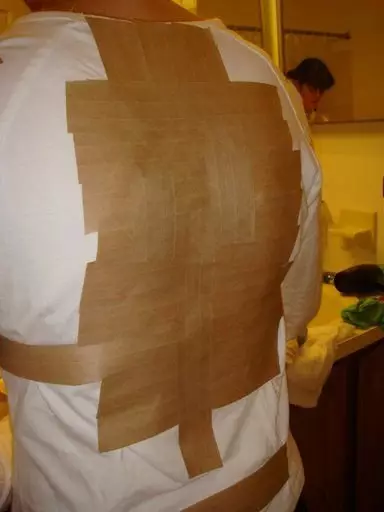
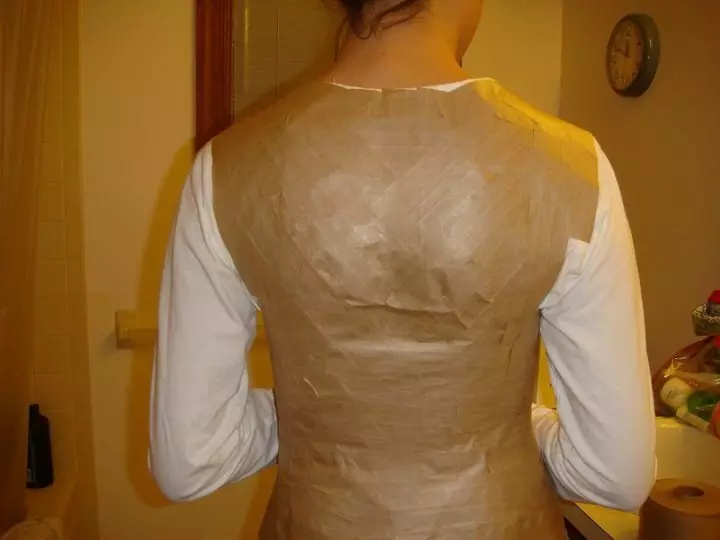
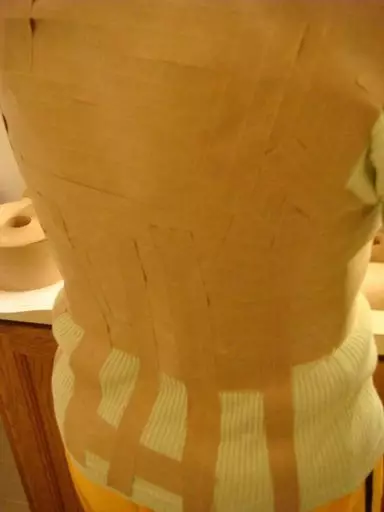
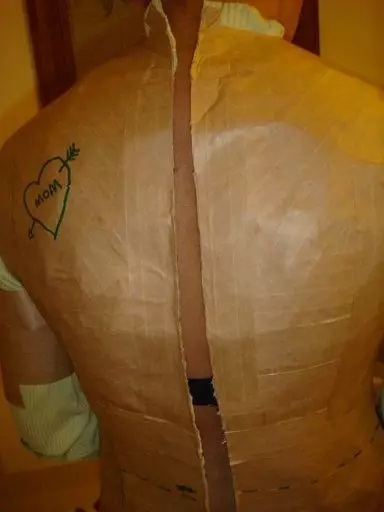
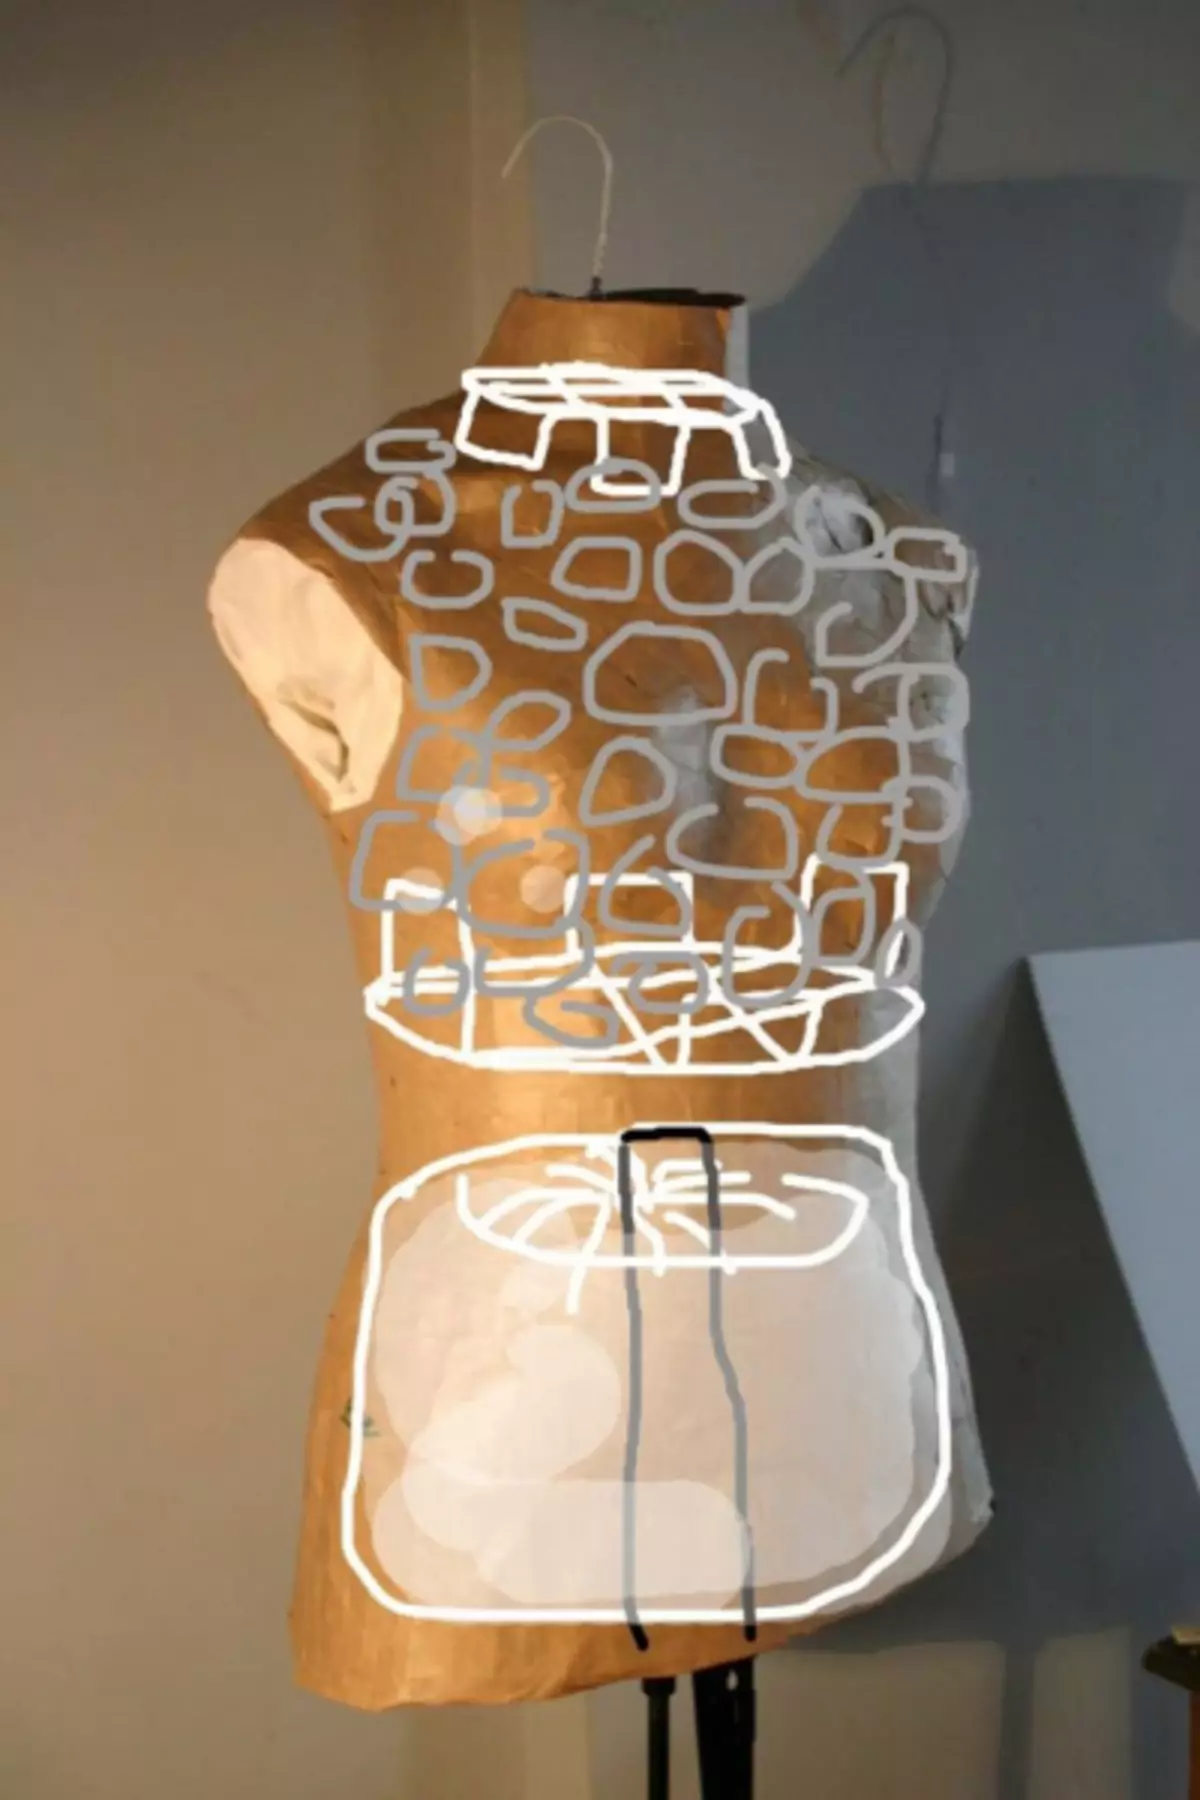
For the back, you need to use a V-shaped pattern when sticking first ribbons (see Fig. 1).
For the "spine" use vertical strips.
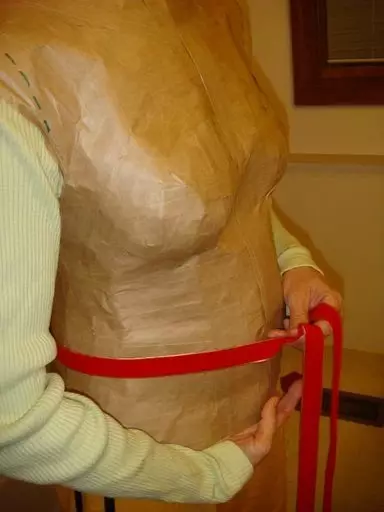
Step 5: contours
To drive a circuit with a marker (mark shoulders, waistline and center), use the measuring tape measure.
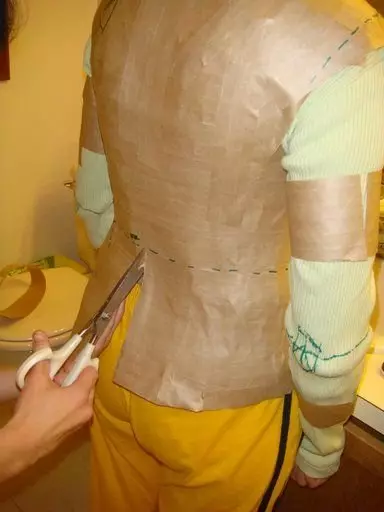
Step 6: Removing
Carefully cut the "sticky corset" according to the contours. Remember that the turtleneck (or T-shirt) has become part of the mannequin, so it is necessary to cut it too.
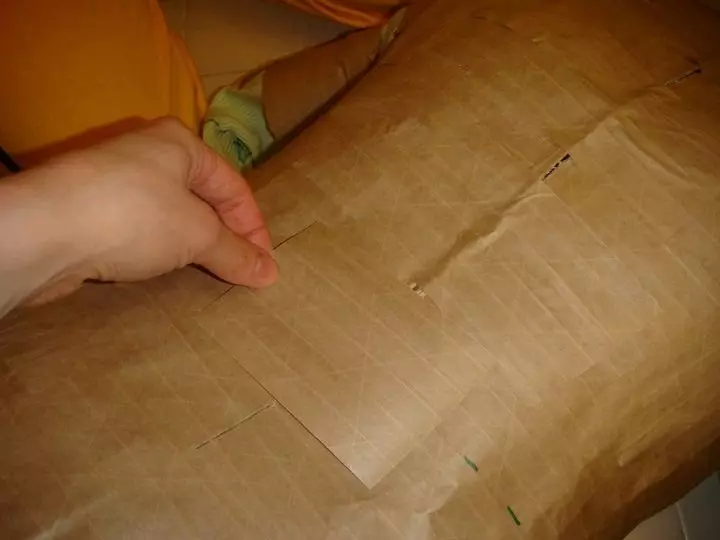
Step 7: Connection
With the help of large strips, fasten the place with cuts.
We drive the lines in the bottom and on the neck.
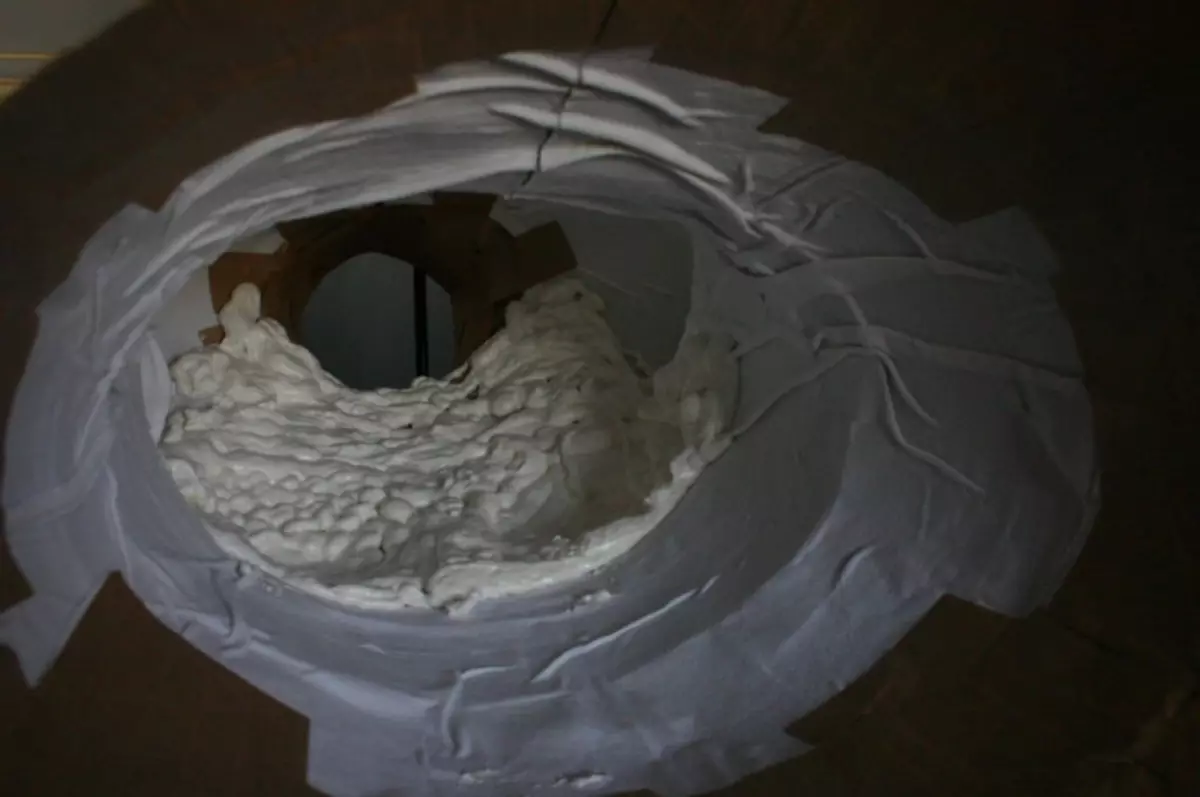
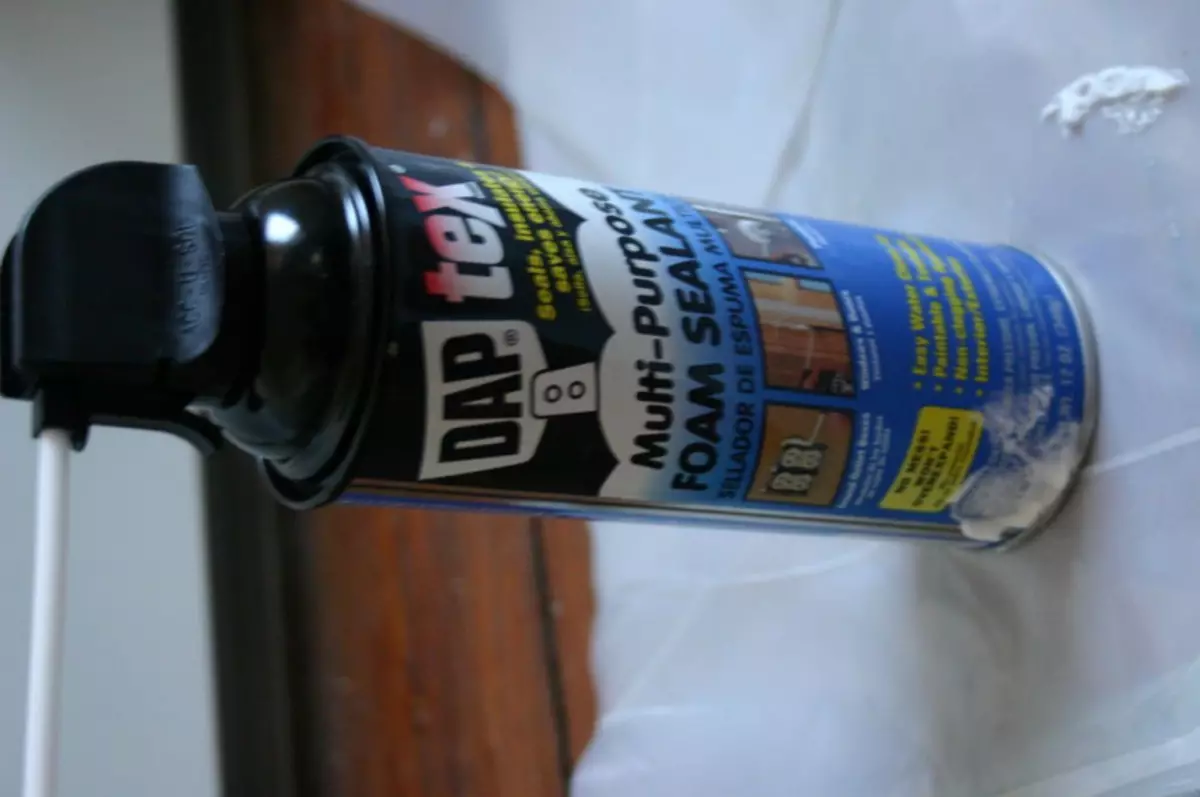
Step 8: Filling
As a filling, foam or feathers from the old pillow can be used in combination with glue for decoupage or hermetic spray.
Article on the topic: Crochet bells. Knitting schemes

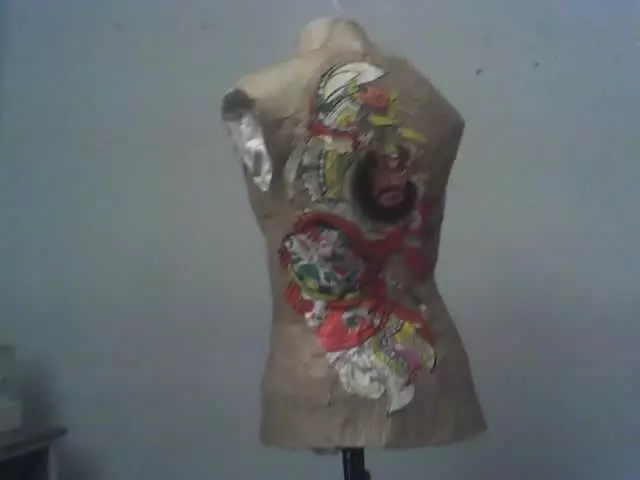
Step 9: Decor
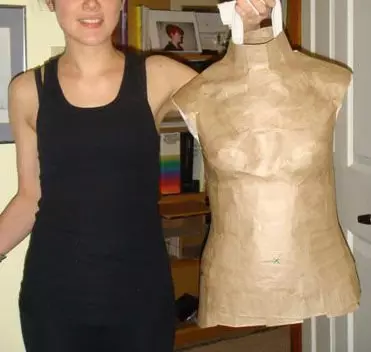
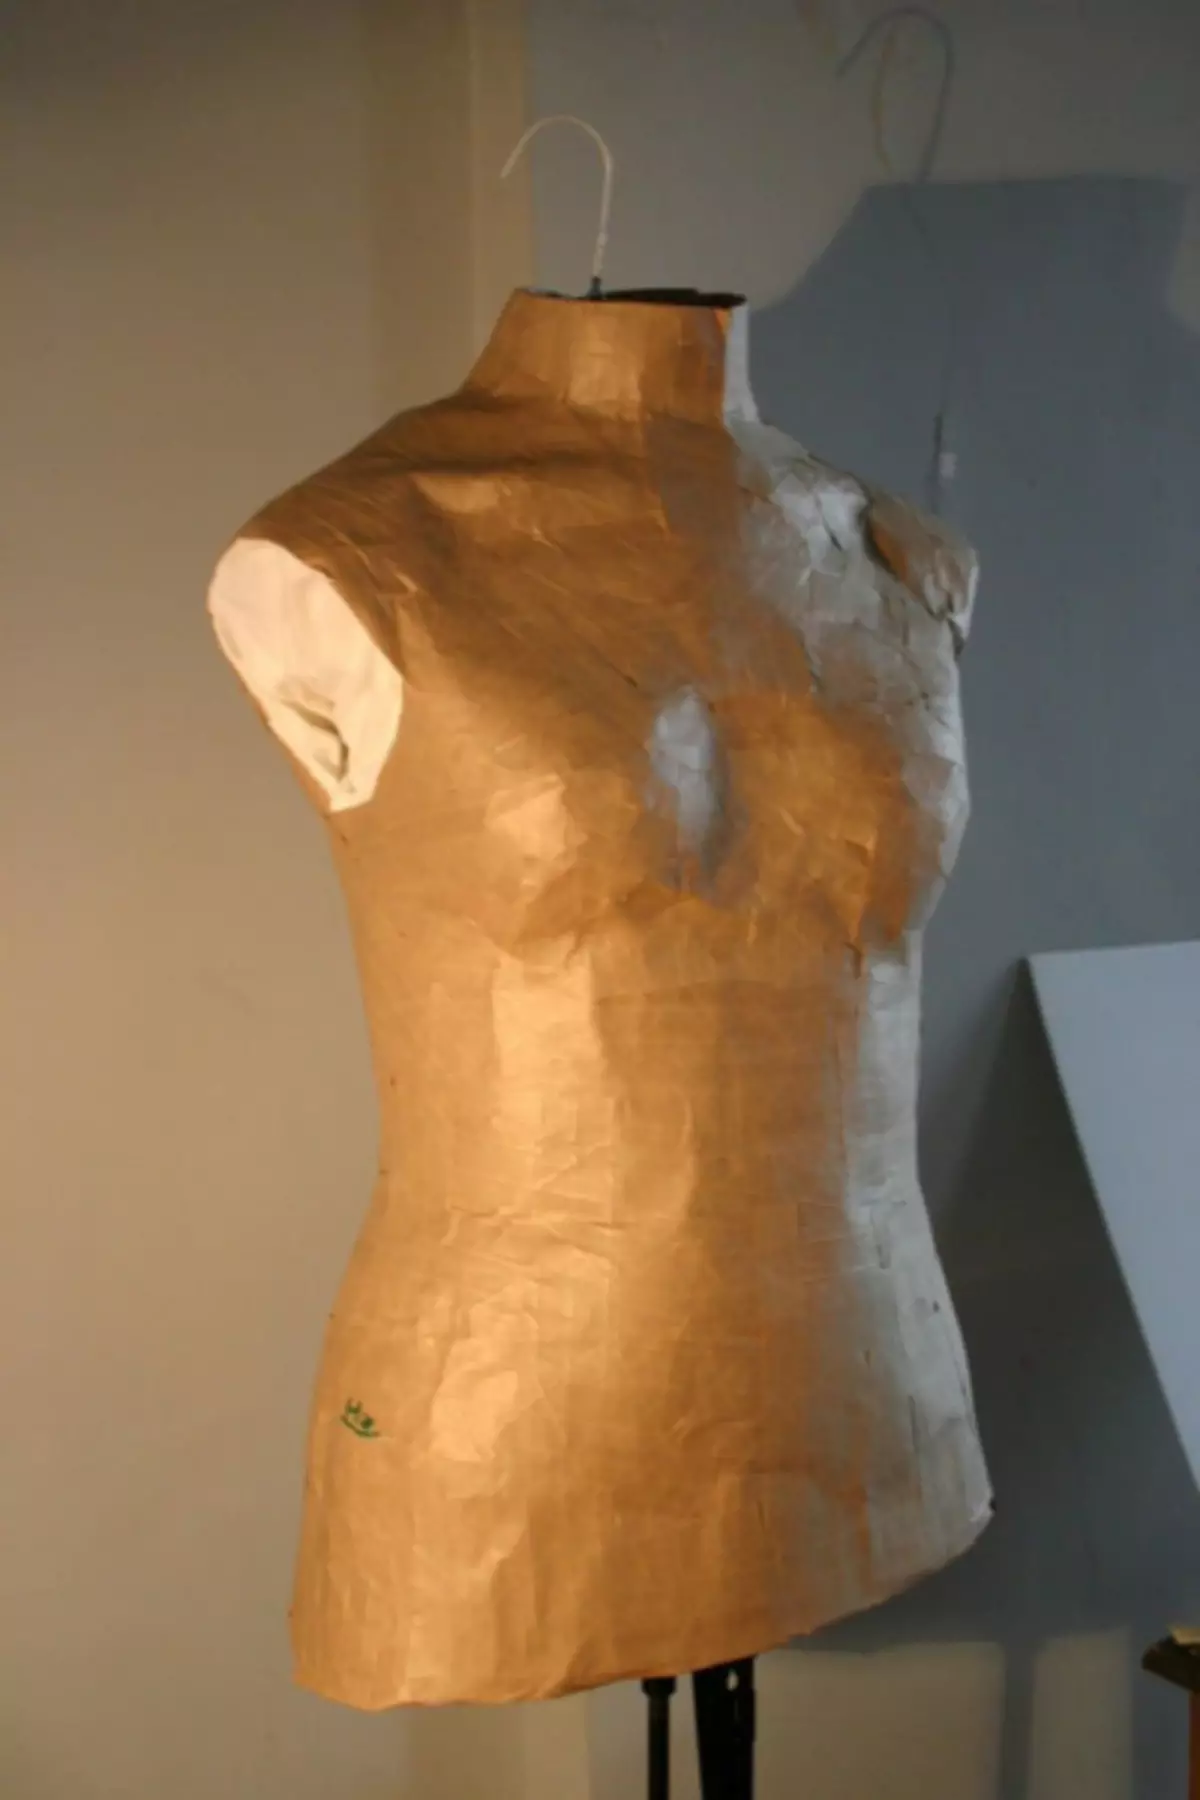
Now we know how to make a mannequin at home.
Install a mannequin on a suitable stand and decorate it.