
Often, coming to the housewarming, we think stereotypes and give tea sets or dishes. But what if each of the guests comes with a set of cups or plates? We advise you to pay attention to such a wonderful gift as a cutting board, especially since it can be painted alone. Or rather, do not even paint, but burn your own drawing on it! The topic of drawings for burning on the cutting board is very popular today, we will talk about it.
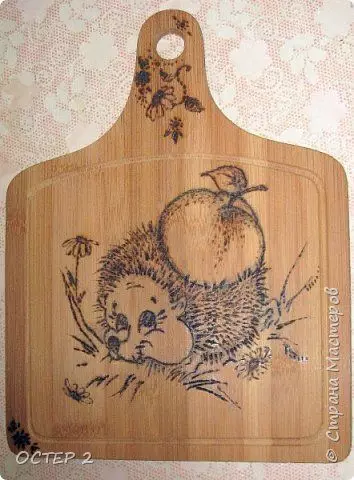
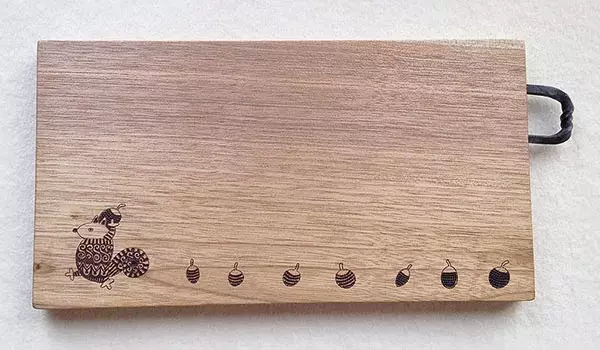
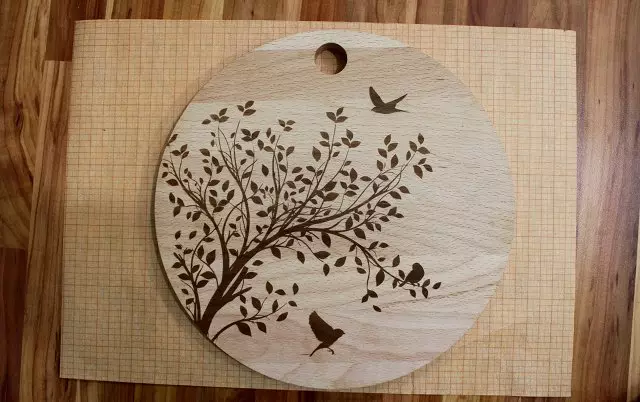
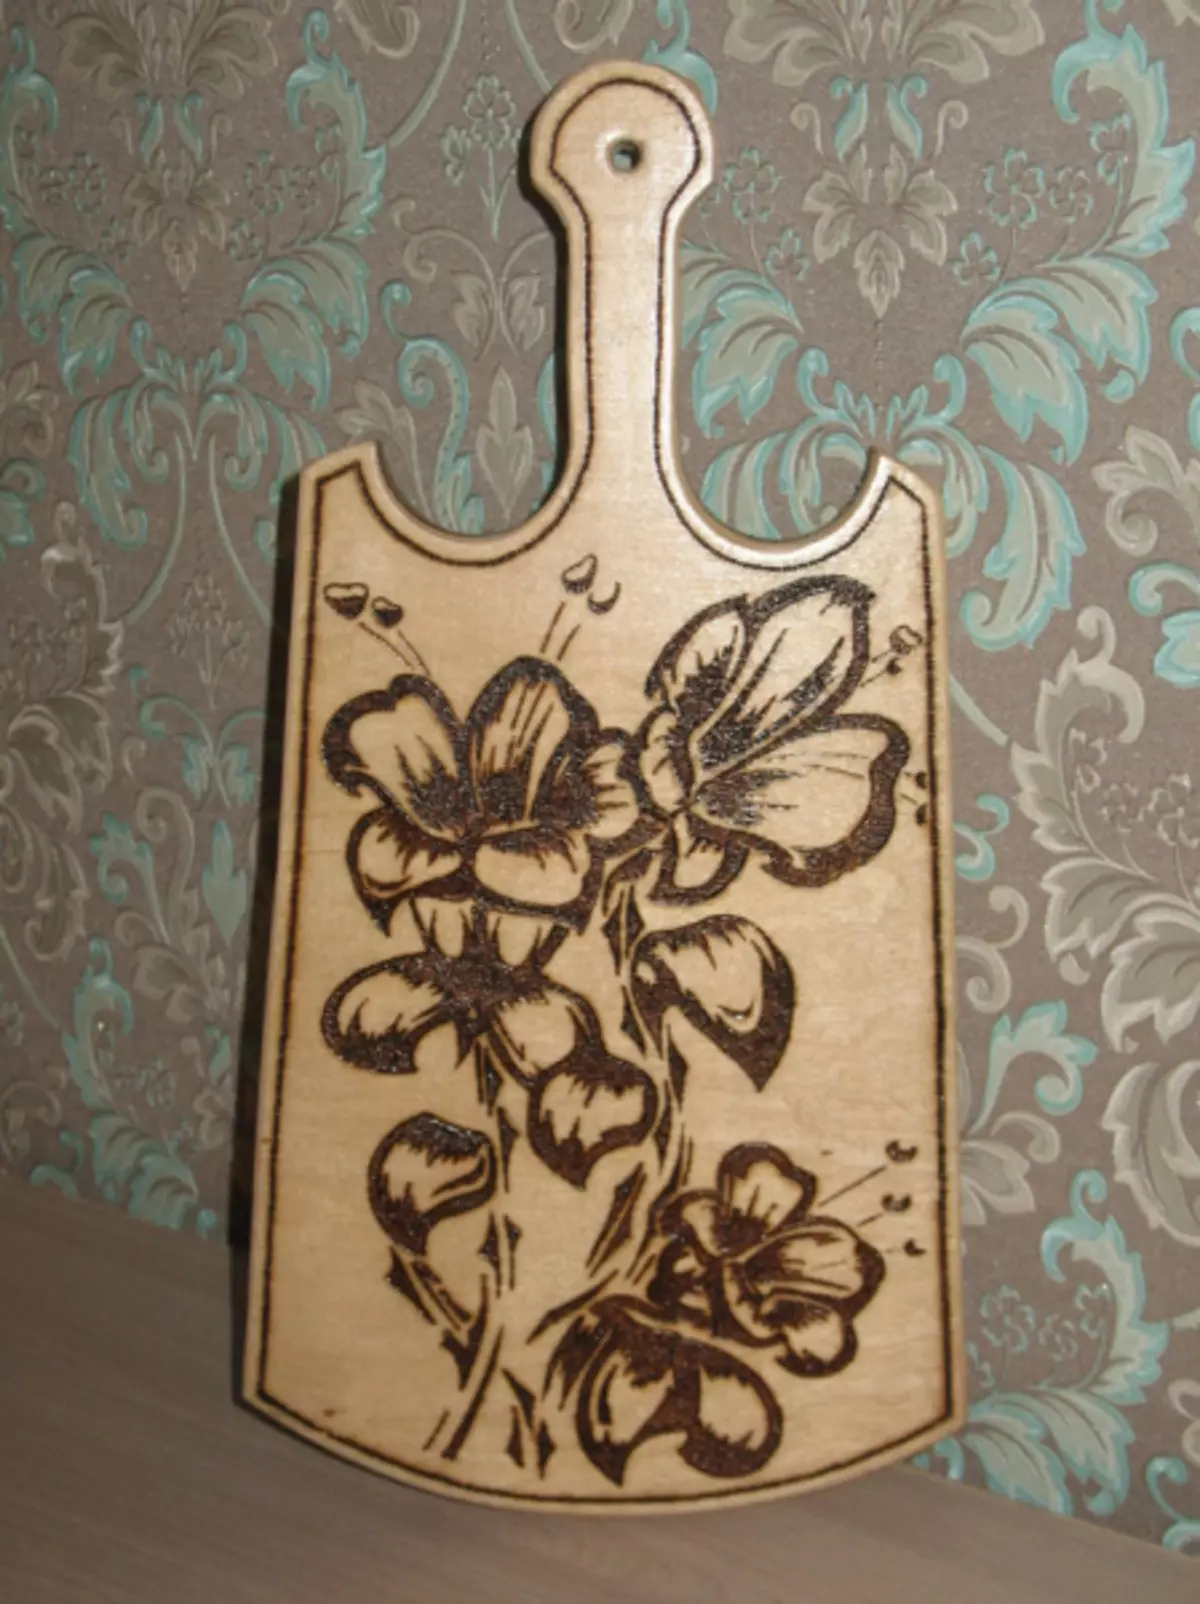
Even if you do not have experience in pyrography or burning around the tree, nothing terrible, this occupation is available for everyone: for adults, and for children. It's absolutely nothing to fear here, because pyrography is not difficult, but very exciting. In the photo you can see an example.
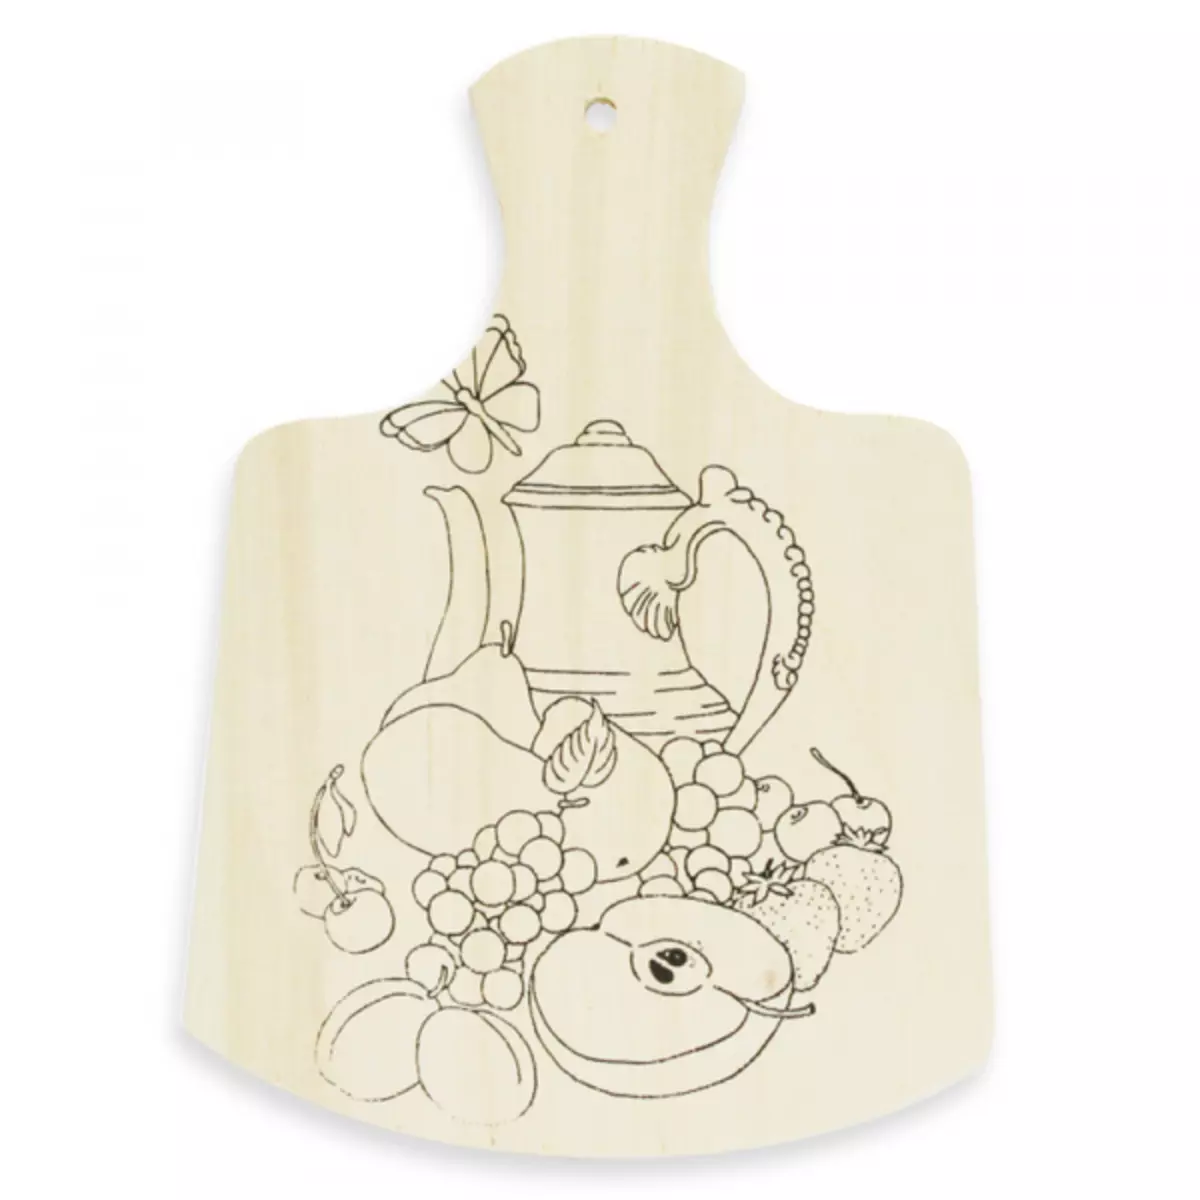
Drawings for burning on a tree are easy to find on the Internet, there are a lot of various templates and stencils that are suitable for beginners. The main thing in this business is to be patient and have 1,5-2 hours in stock for a simple drawing.
What do you need
First you need a pyrograph. This is such a special woodland. It can be bought in stores for needlework. Also, the pyrographer comes in a set in a special set for burning on wood. This set includes a board (not cutting) and a finished stencil for burning.
To buy a set is very easy, they are common today in almost all hobbies hypermarkets and needlework stores.
Also, of course, you will need a cutting board. It is best to choose a light wood board. Linden or birch is perfect. The next thing is necessary is sandpaper. Also use acrylic or watercolor paints to reap the board color. Additionally, wax will need to produce a wave procedure at the end of coloring the finished pattern. The fracture will give the image saturation and save the colors of both a tree and paints for a long time. It also takes the stencil and simple pencil to translate the drawing on the tree.
Article on the topic: Paper lanterns with their own hands. Templates
Learning to translate
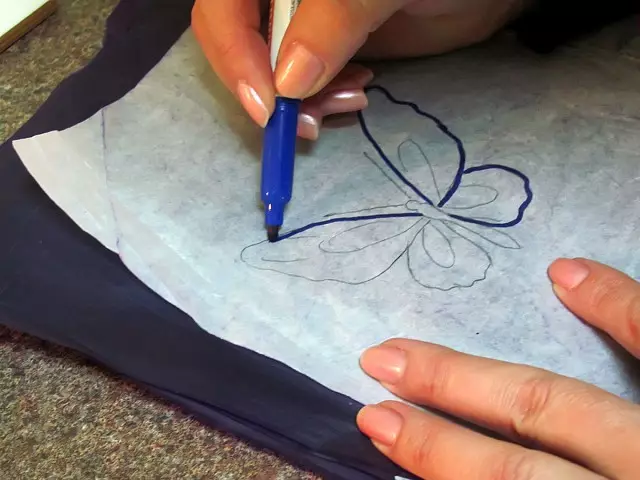
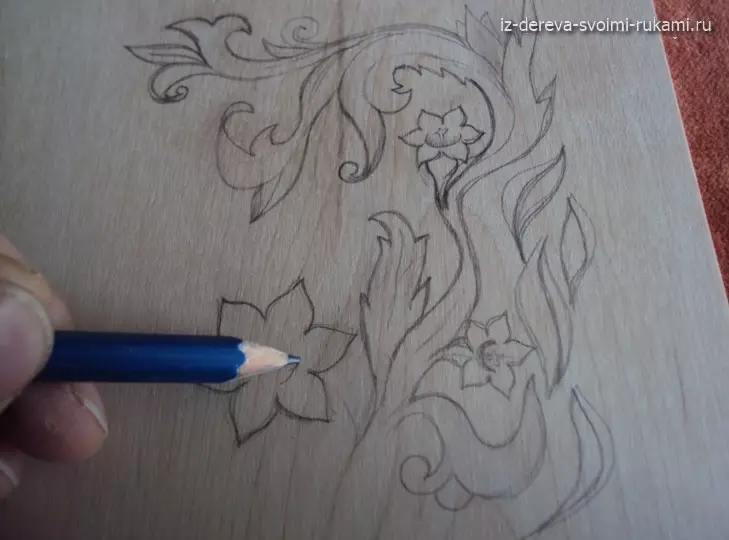
Many wonder "How to translate drawing on the board?" So this is done using the stencil. You need to find and download pictures of fruits, colors or animals you can download, as this is the most commonly used patterns for burning wood. It is best to choose simple patterns, especially if you are playing pyrography for the first time.
Print the downloaded stencil and cut out the figure, if the figure is empty on the picture. If there are additional internal parts, you need to use the copy paper. Attach it on the tree, put the printed stencil on top and circle the drawing. Try so that the image does not shift.
There is another way to translate pictures on the board. You also need to print your favorite stencil, printed in mirror mapping. Prepare a bowl with water, glue for decoupage, wood varnish, acrylic paints, brush and sponge.
Cut the stencil or finished drawing, then thoroughly wake it with glue to decoupage and attach to the wooden surface with a pattern down. Scroll with a sponge so that it does not "bubble", and also so that there are no excess glue. Let dry. It is best to leave work to dry all night.
After drying, moisture with a wet sponge and start to wash the paper until the drawing appears on the tree. Carefully get rid of all paper. Then the remaining paper, which remains on the wooden surface, are then fingers. We smoke them from the tree, and the finished pattern remains, which, after complete drying, can be supplemented with burning (for example, to burn its contours) or simply decorated with paints. Then cover the work of varnish.
We master the technique
After the drawing is circled on the board, it's time to start burning. Make sure the board is absolutely dry. Then split the ignorance so that his feather becomes dark red.
Be careful in working with a hot pyrographer, it is very dangerous! It is better to perform more slowly, but there will be no consequences.
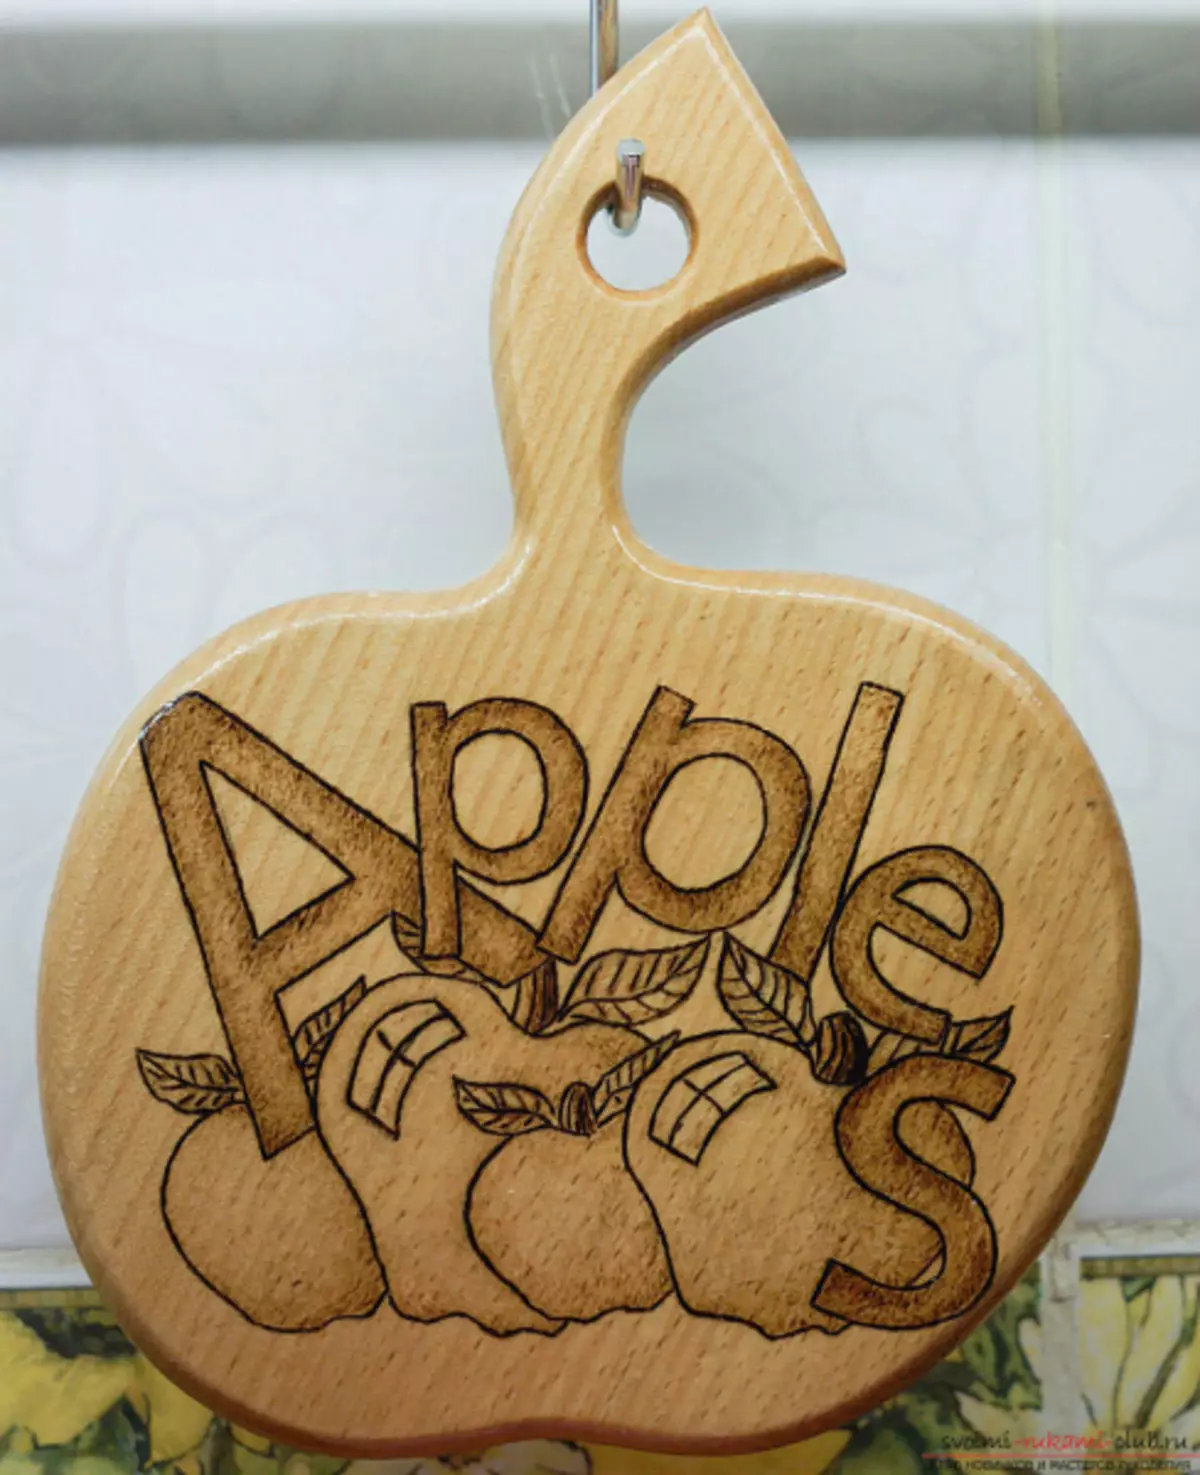
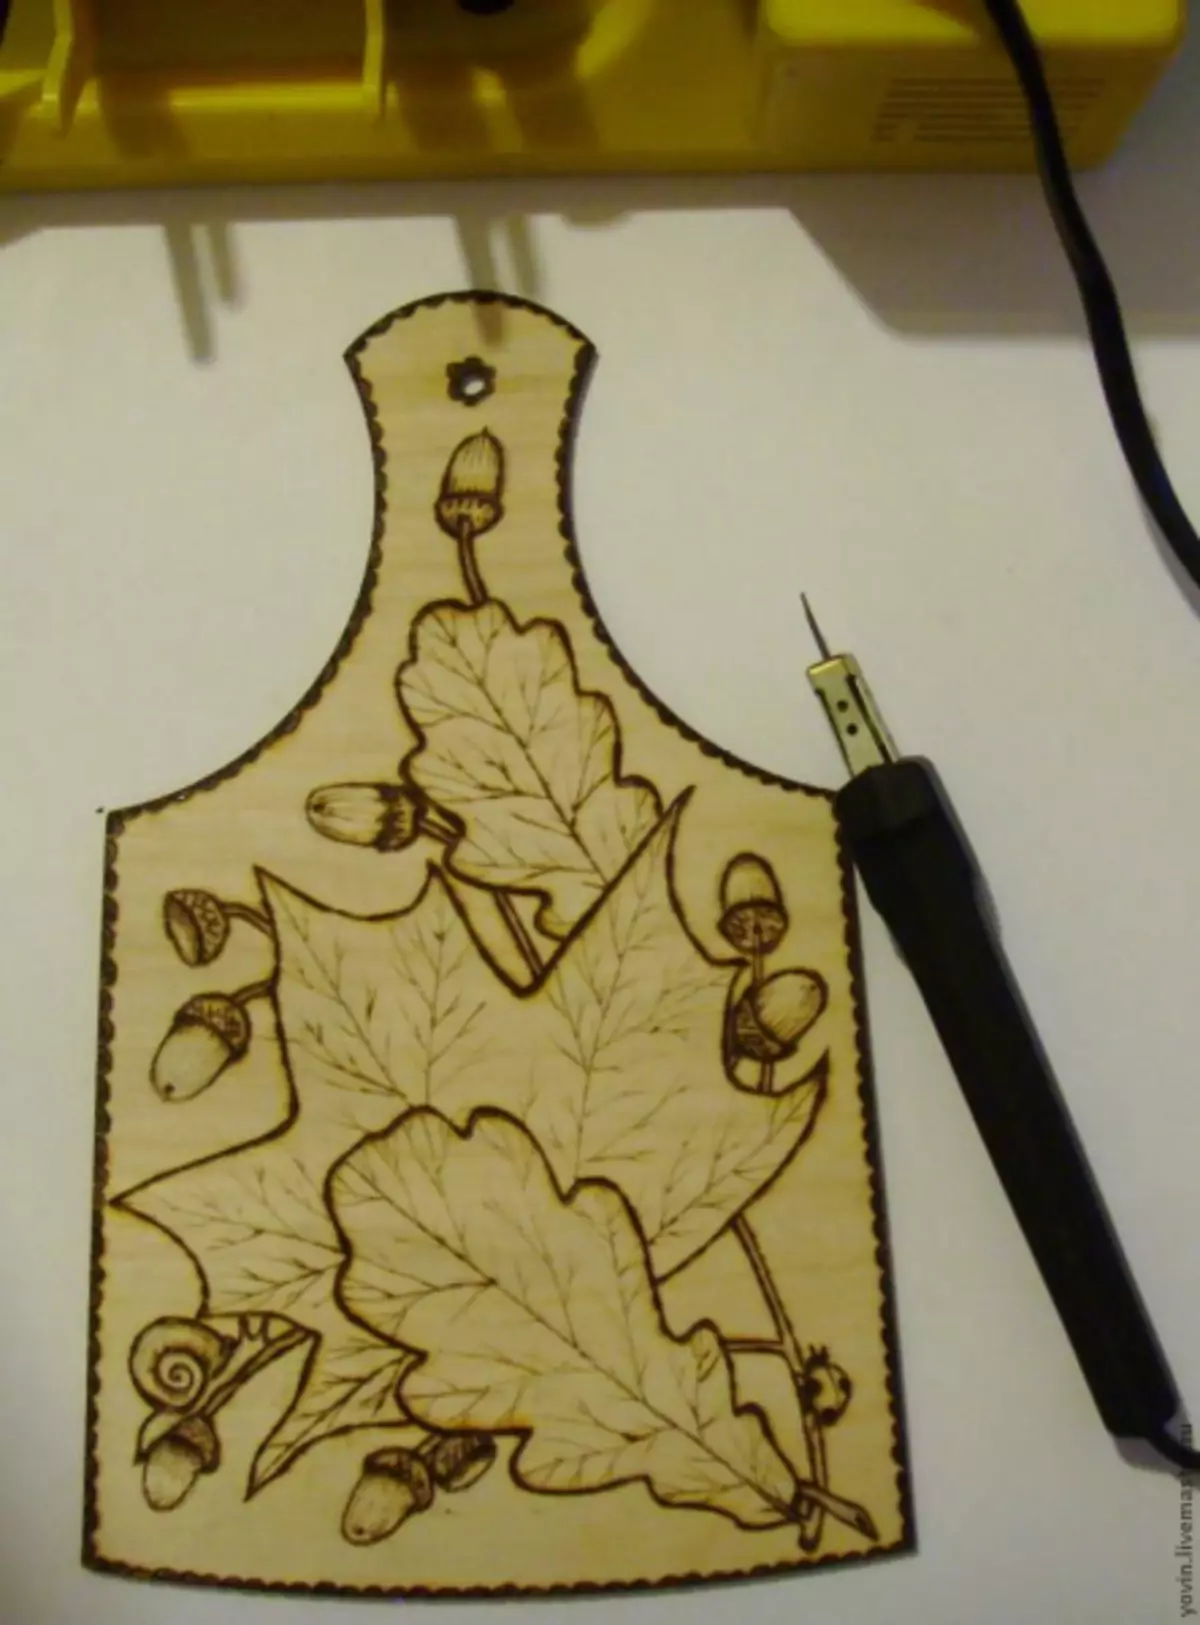
The burning is best done from the contour to the center. That is, first supply all the external edges and only then go to the inner. It is best to make burning in separate sites: one worked out, go to the next, but already in another part of the picture. This will allow the drawing to evenly cool and does not forms extra lines or random strokes. When the work is completed, it can be decorated with paints. And after - to handle wax so that the board is shine.
Article on the topic: Bracelet made of natural stones with your own hands: Master class with photo
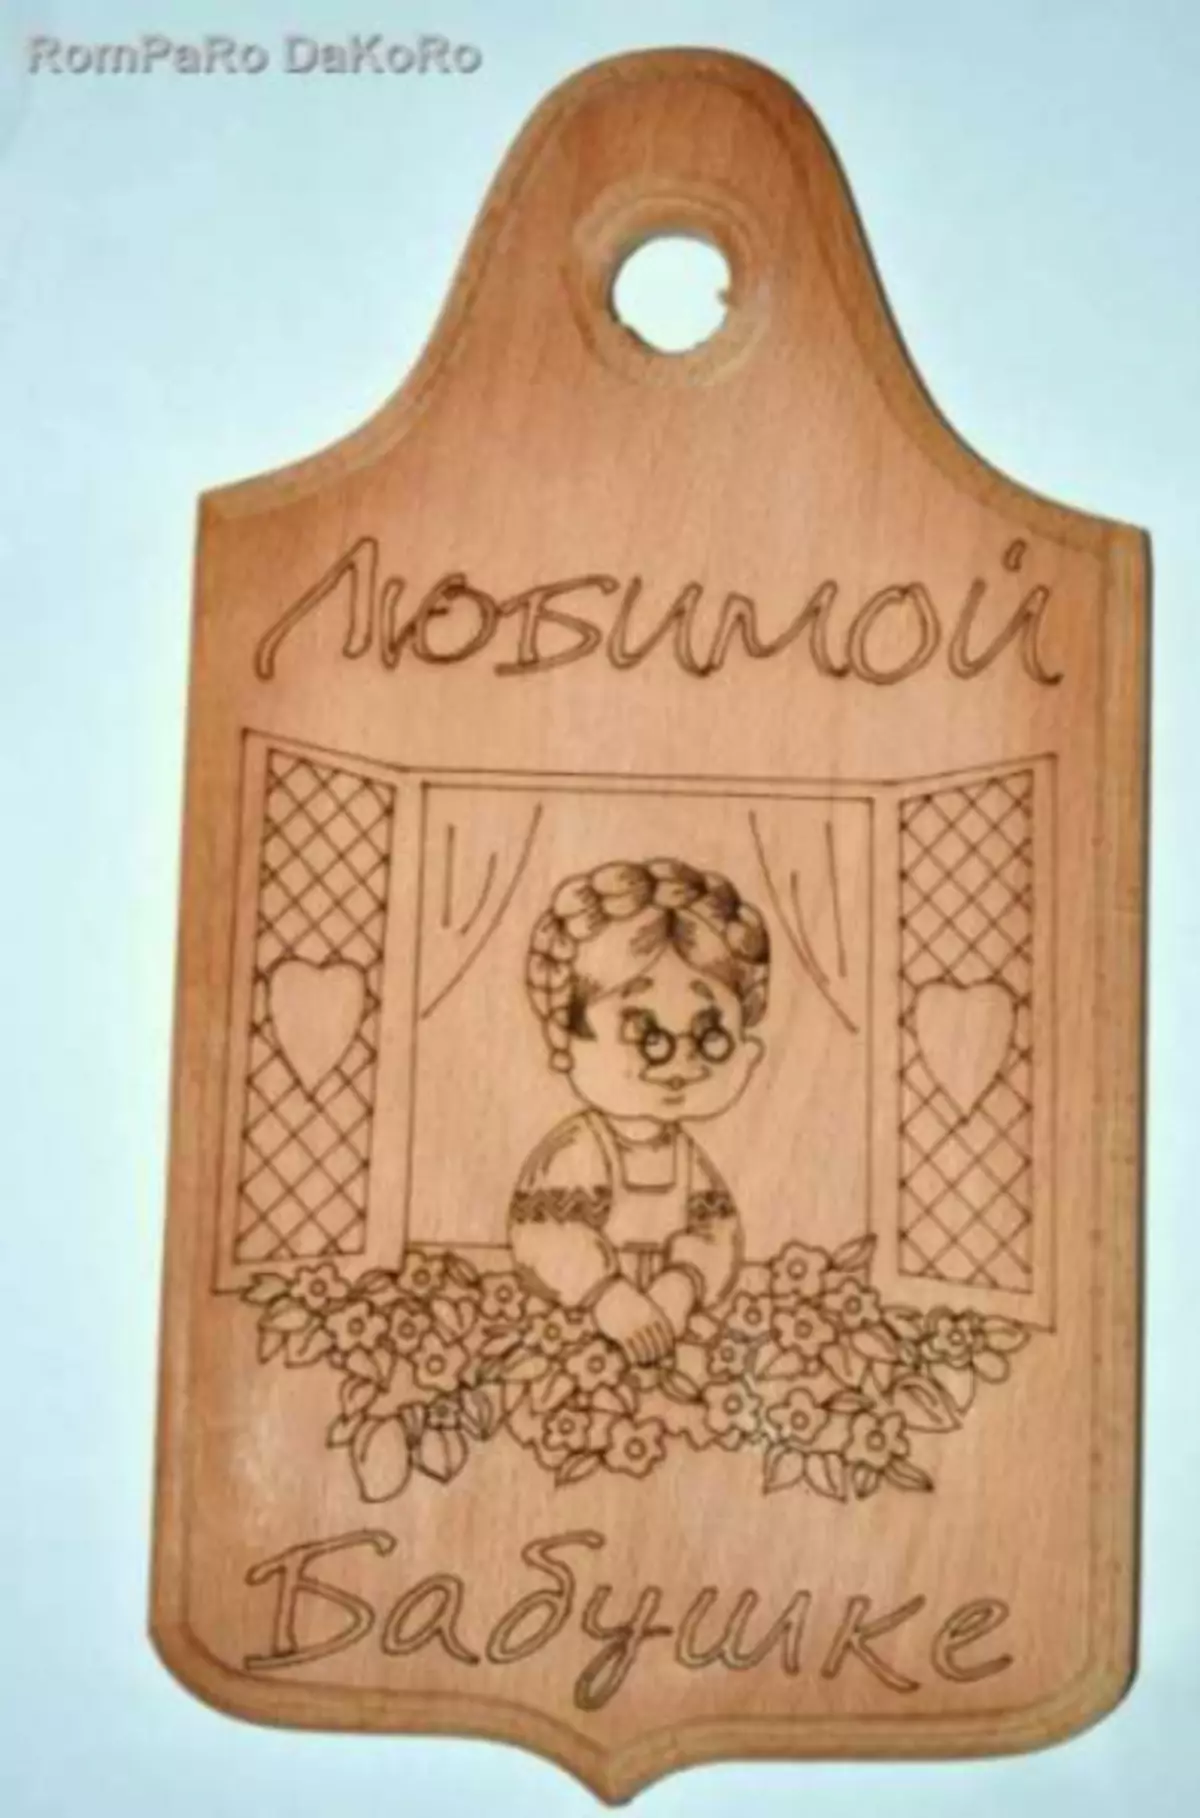
Let the owner of the house itself decide whether to use your gift to everyday or hang on the wall or put on the shelf. In any case, your gift there is a worthy place in the kitchen and in the heart of your friend!
Video on the topic
For greater inspiration, we offer you to get acquainted with specially selected video rollers on the topic of burning on a cutting board.