
Often I want to make an original gift to your loved ones or even yourself, decorate your house with something made with your own hands. Great way to do it will be burning on the tree of your favorite photo. And about how to translate the photo in a drawing for burning, we will tell in today's master class.
Burning on wood or pyrography is a very popular kind of needlework. In the old days in Russia, men were famous for the fact that they could create masterpieces with the help of the deceller and the tree bar. Today, this kind of needlework is available not only to men, but also women, and even children. You can even buy a special kit for burning in stores for hobbies and needlework, and you can buy a separate pyrographer and a wooden board or plywood.
Several rules
Before proceeding with work, you need to familiarize yourself with some rules that will make work quickly, easily and without damage.
- Make sure that the board you will work dry.
- Gang Pipographer. The tip of his pen should be dark red, so that Pipographer "wrote" the tree well. You can adjust the temperature of the pen using a special regulator located on the pybridge.
- Have a support for your hand in which hold the device. This is important in order for the feather does not jump, spoiling a drawing or damage your hands or clothes.
- Beginners are better to choose simple photos or pictures that you want to transfer to the board.
- It is best to keep the pyrographer as an ordinary handle, it will allow you to press it with that power with which you need.
- To get a thin line, spend the tree in the woodland quickly. To obtain a thick line, a pyrographer should be kept slowly.
- It is much more convenient to use the wood of light and soft rocks, it is easy to burn on it. Such rocks include Lipa, Chestnut, Berezu.
Article on the topic: Maleki-Some Cash Crochet. Description of knitting
Main technicians
There are two ways to do this. The first is ideal for burning on a tree, and the second is to transfer a photo or clip to a tree with an additional burning.
First method
This method of translation photo to the burning pattern is the easiest and most optimal. First choose the desired photo, print it in size of a wooden surface.
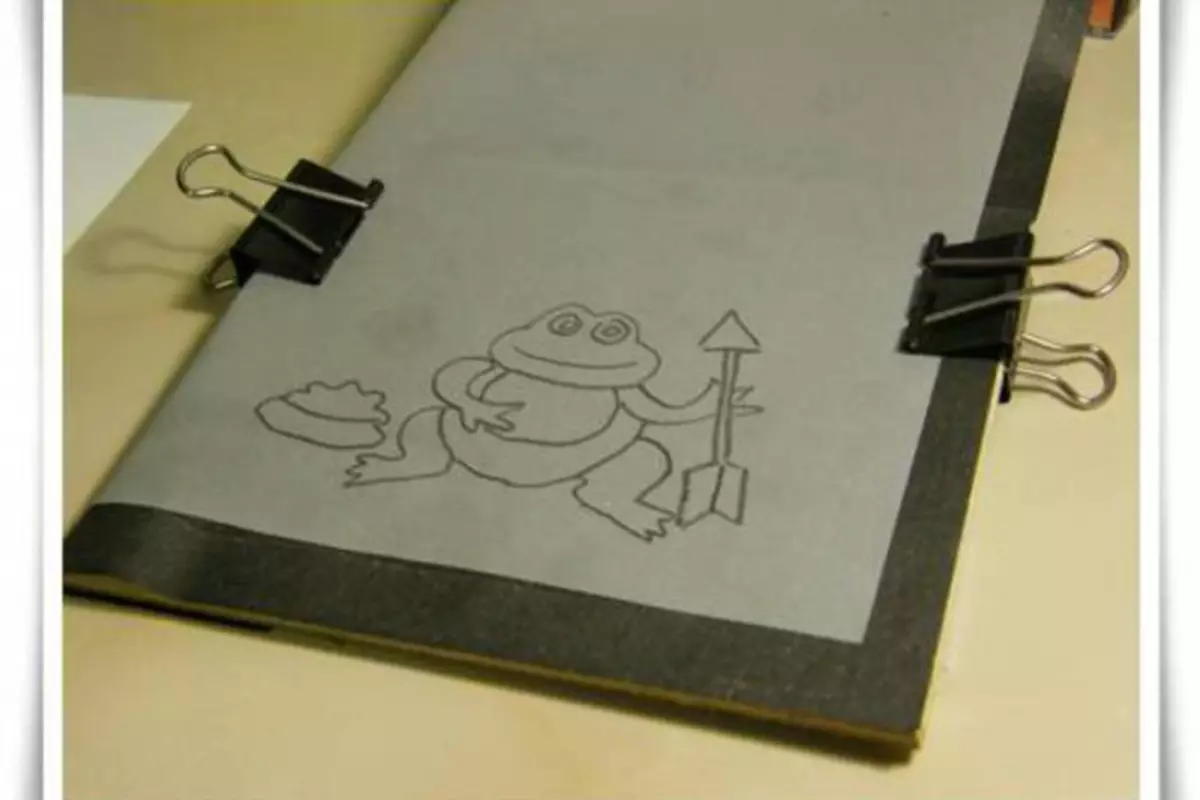
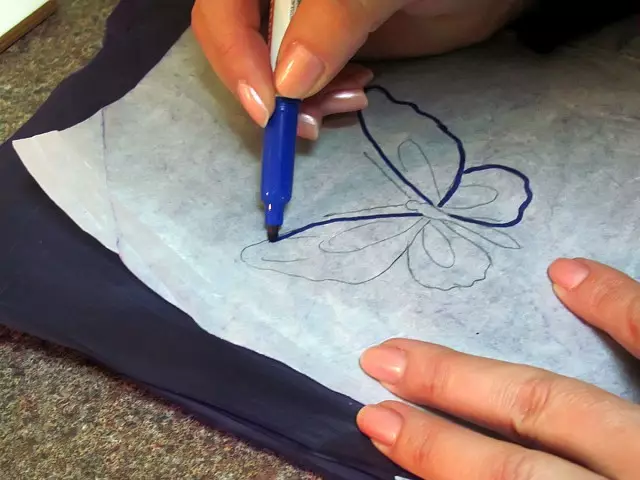
We also need a copy paper and a simple pencil to circle a drawing. You can also use a handle or toothpick.
The only thing that is uncomfortable toothpick is that you will not see which line you have already ordered, and what else there is no. Therefore, in the picture there may be several identical lines with a small displacement.
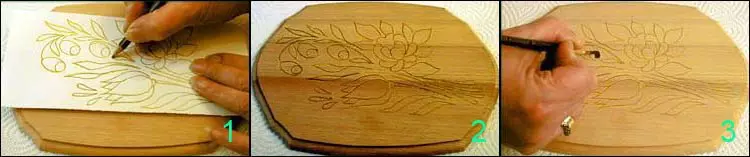
We apply a copy paper to a wooden surface, we put the printed photo from above and simply get all the lines, shrink your hair and so on. If you want to get a photograph in pop art style or simply contour, this effect can be achieved in computer or online photo editing programs. Translate such a photo will be much easier.
After the photo is translated into the tree, you can start burning. It is necessary to act carefully, do not forget about the scope of the strokes and the nagged on the feather. With a strong naja, you will have deep lines. Upon completion of the burning, the picture can be painted with acrylic, and then covered with wax or varnish for wood.
Second way
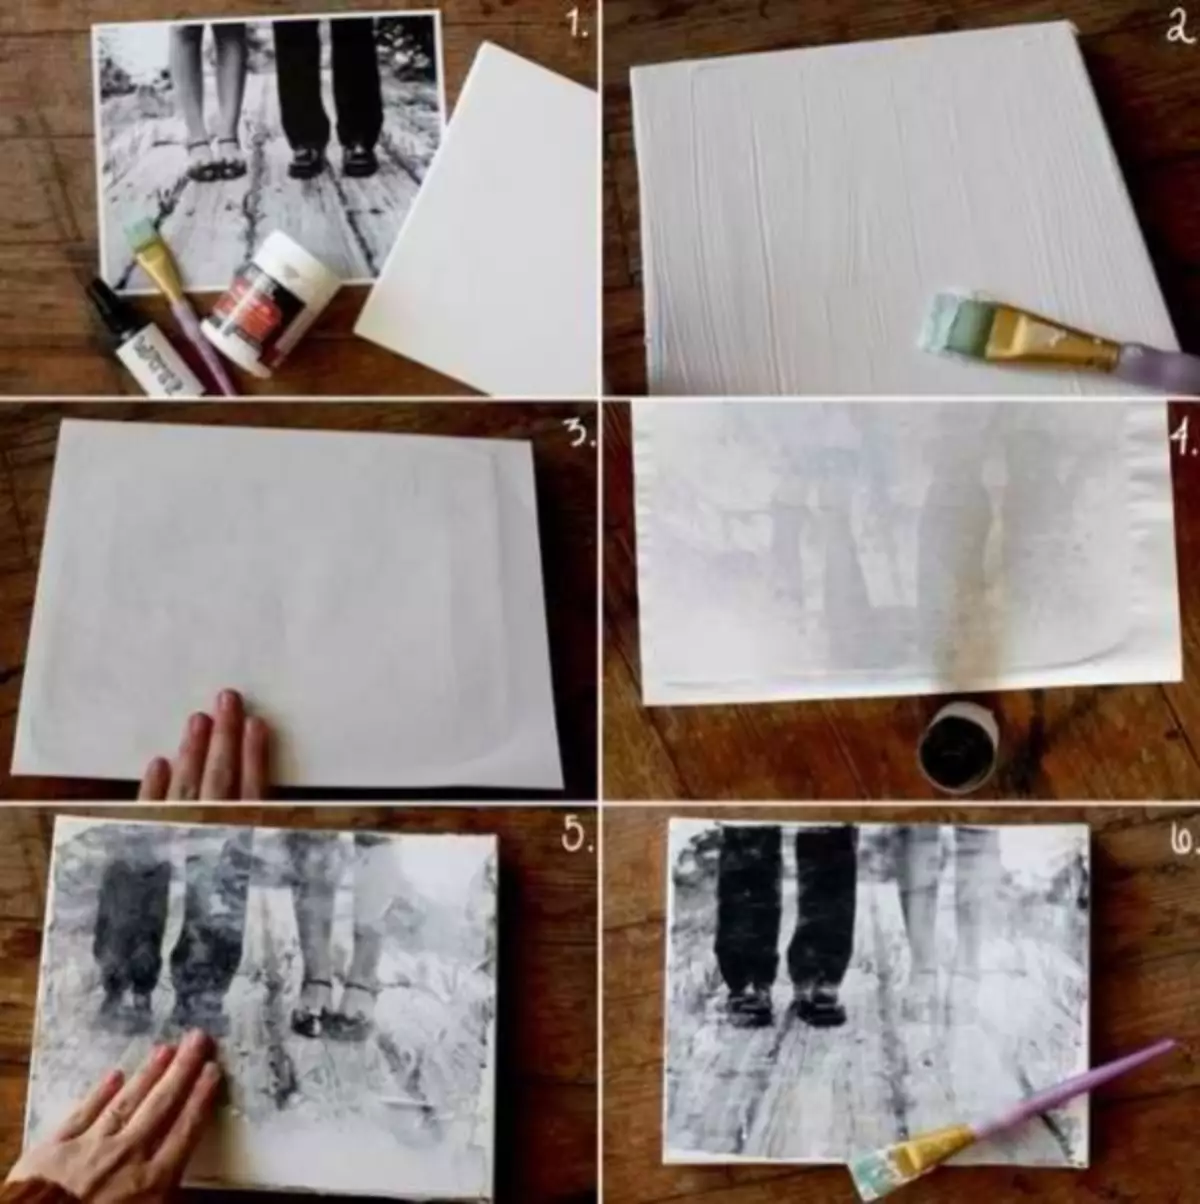
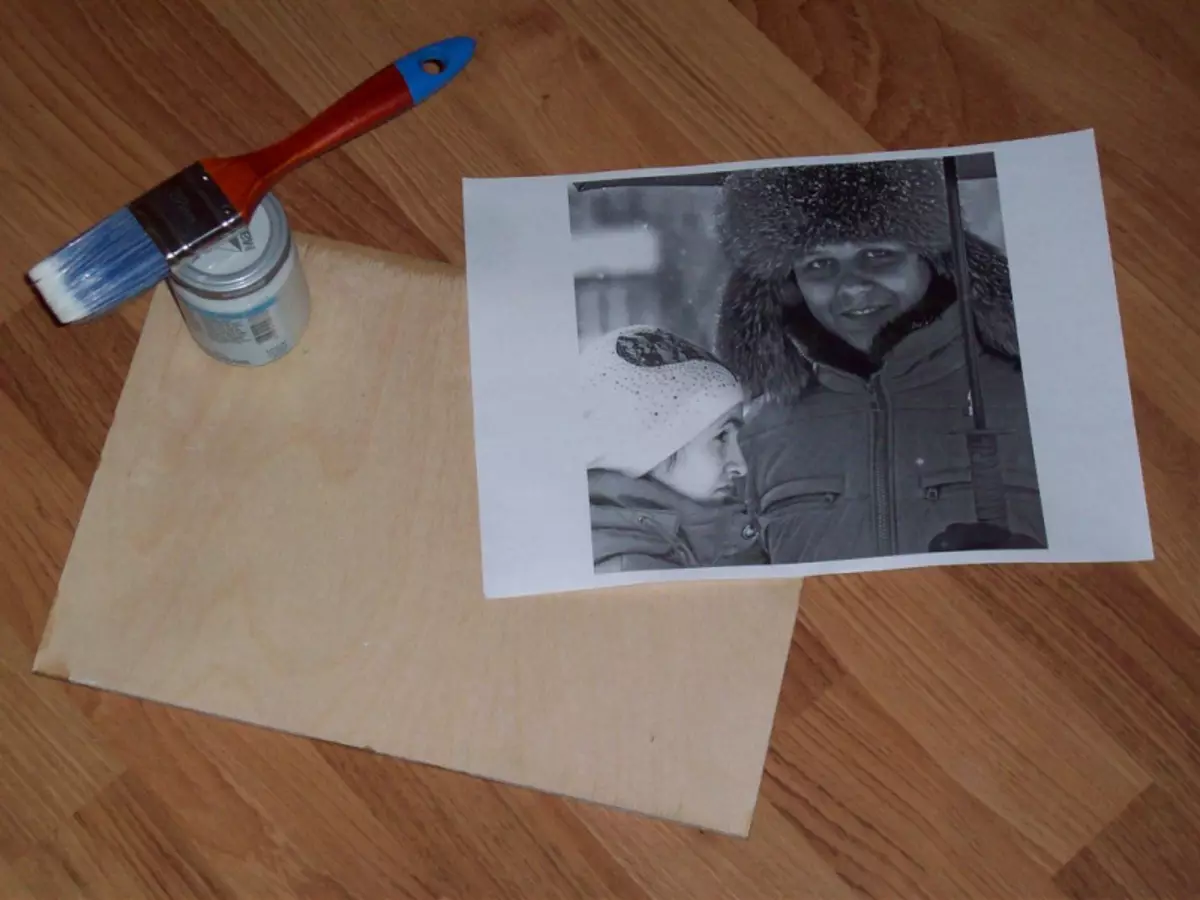
You can translate photo on a tree using glue for decoupage and printed stencil. You can also choose the edited photo with the effect of the pencil or circuit circuit. A photo or picture must be printed in mirror mapping. It is best to print a photo on a laser printer.
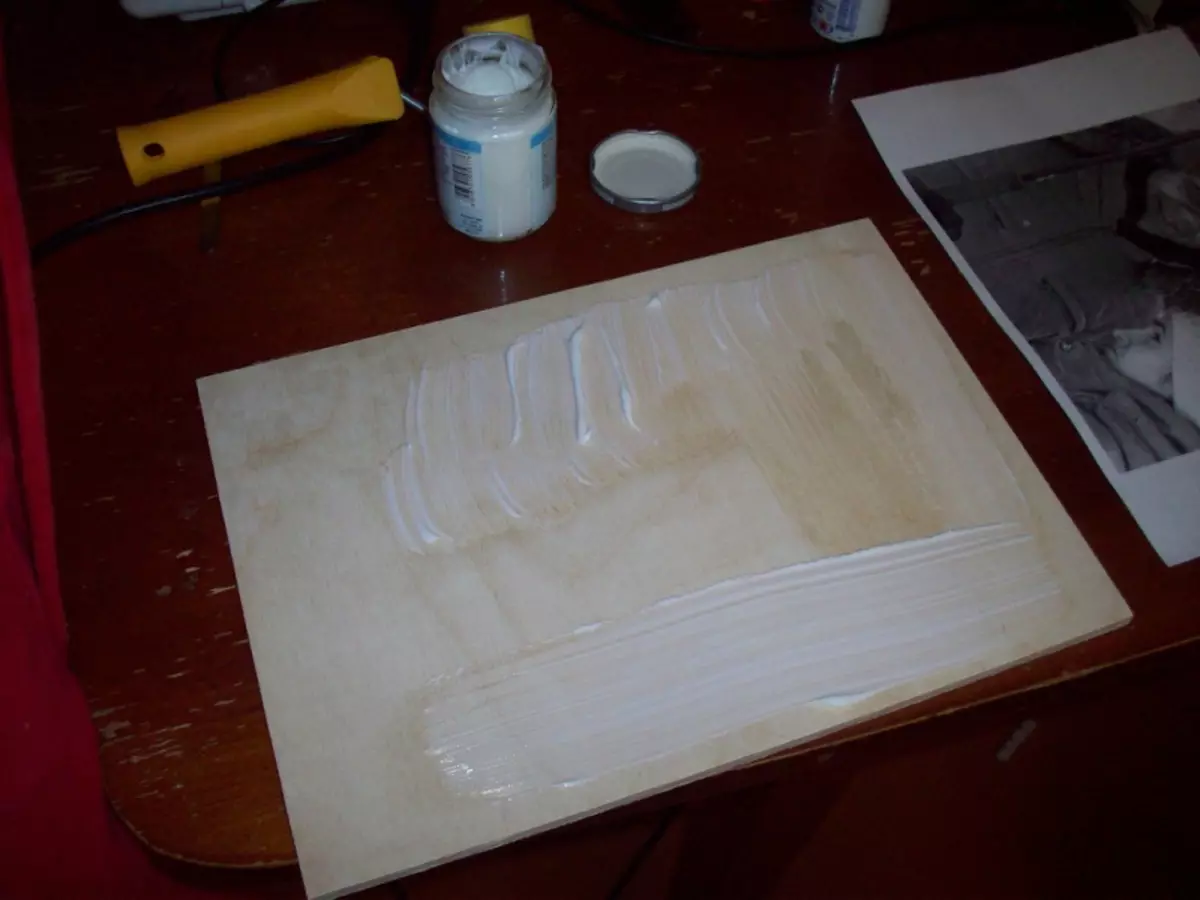
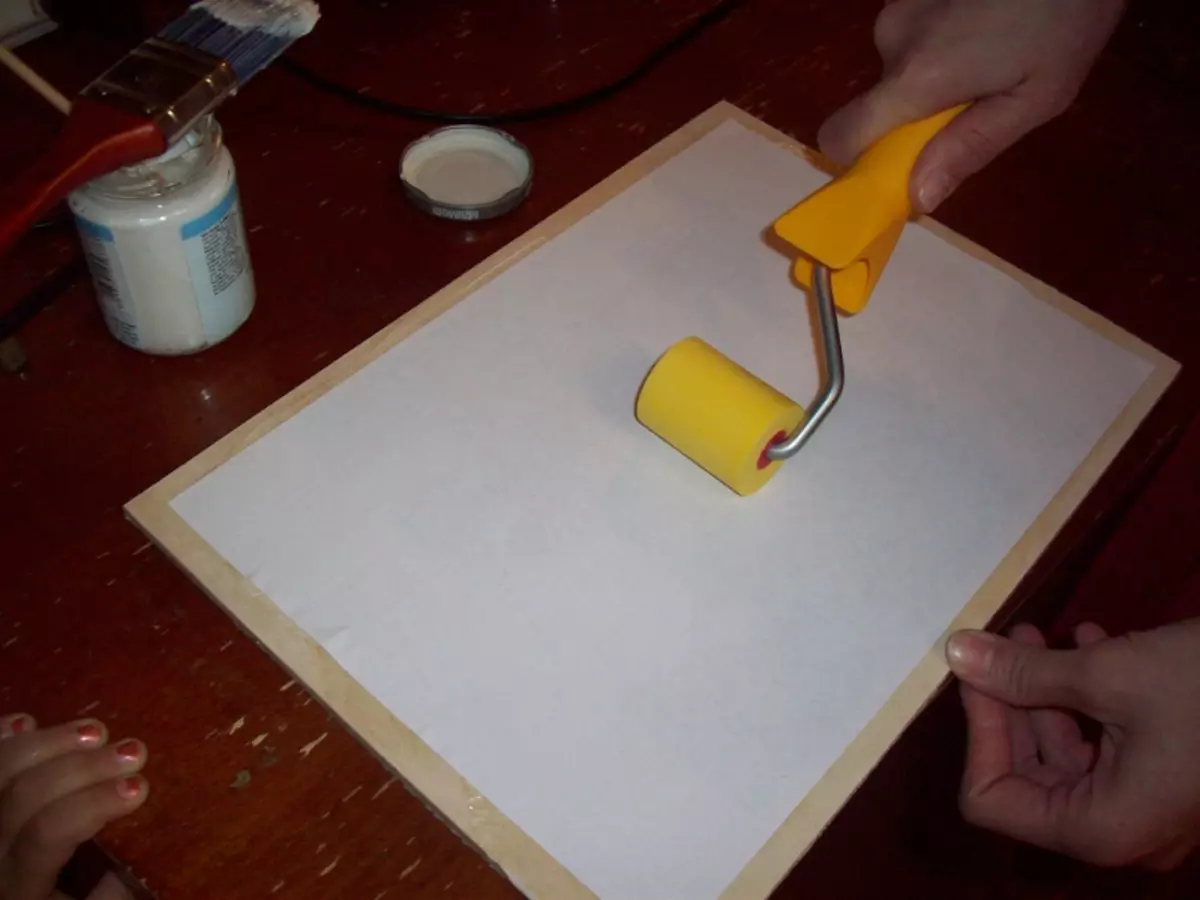
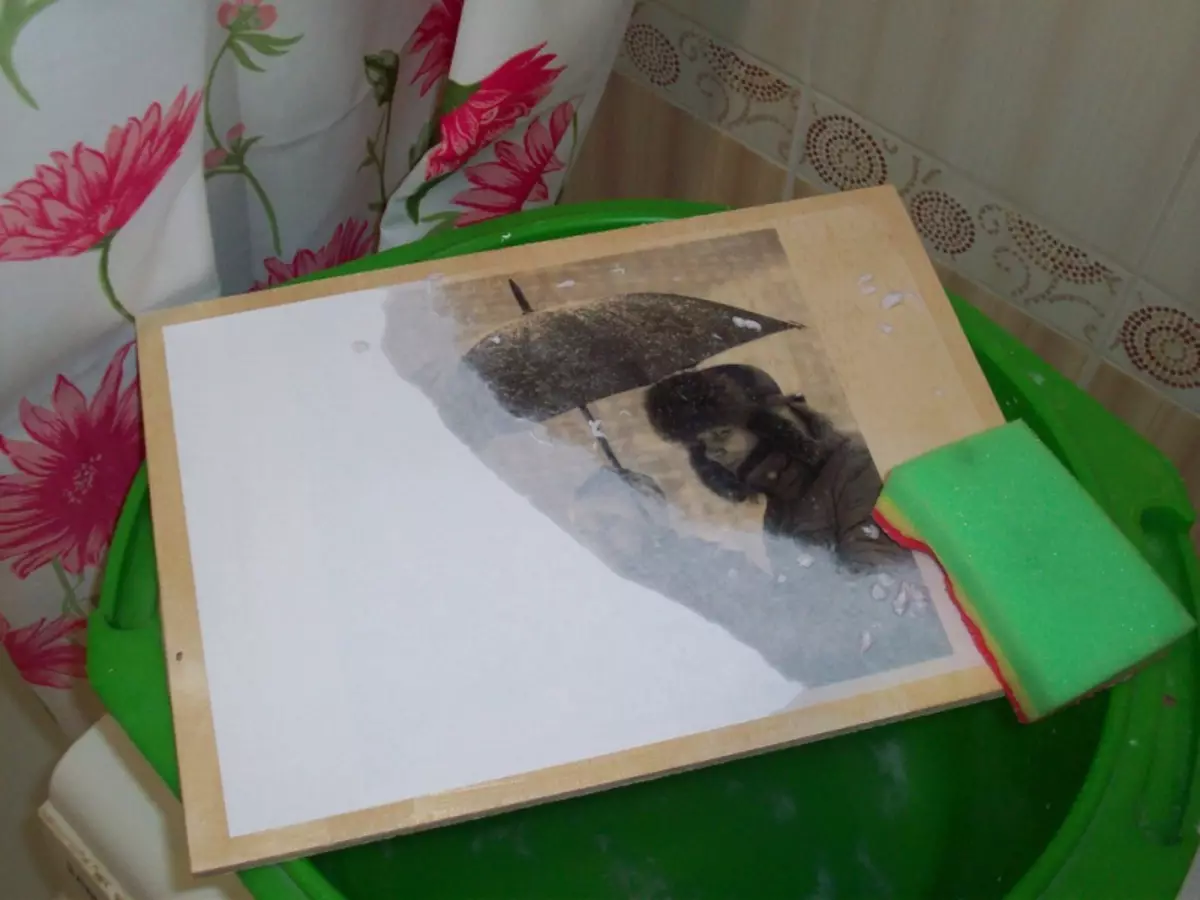
Carefully wrap glue, diluted with water prepared by the board. Wash all the space of the board to which the photo will be attached. Then we apply our picture or photo to the tree. With a dry sponge we press the picture more densely to the tree, getting rid of excess glue and air.
Article on the topic: The jacket for newborns for beginners with schemes and video
Now we are waiting for the complete drying of the glue. Next, we begin to wash the paper layer with a wet sponge. When the picture wet enough, you need to start shooting the remaining layers, you need to rub the picture neatly, but quite strongly, so that the katovka is formed.
When the paper layer is removed, we see that the drawing from the printout is completely displayed on a wooden surface. Now, waiting for complete drying, it can be brought to the state you need using a punch, for example, to outline the outlines of the entire drawing or small parts, as well as paint with acrylic or watercolor paints. Fasten all this needs to be equipped with a furniture colorless varnish.
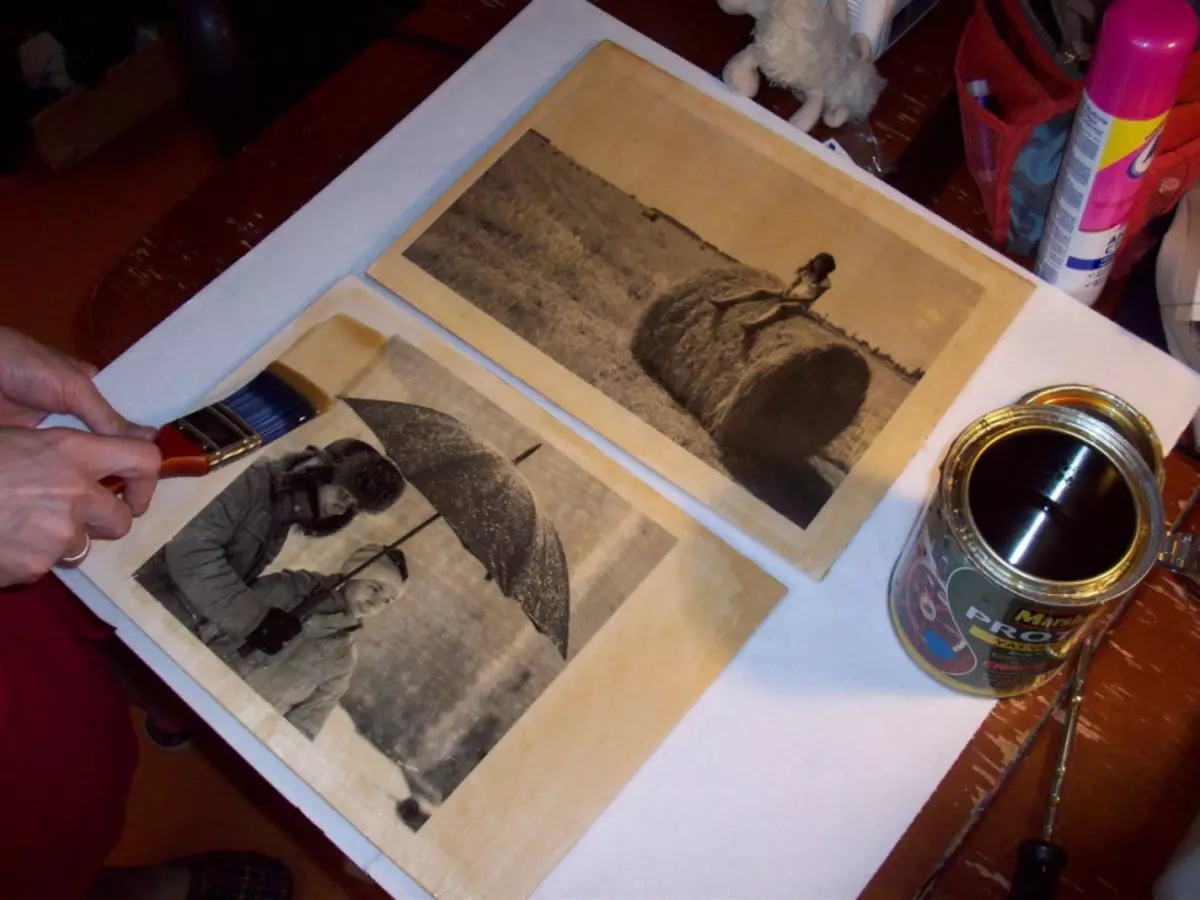
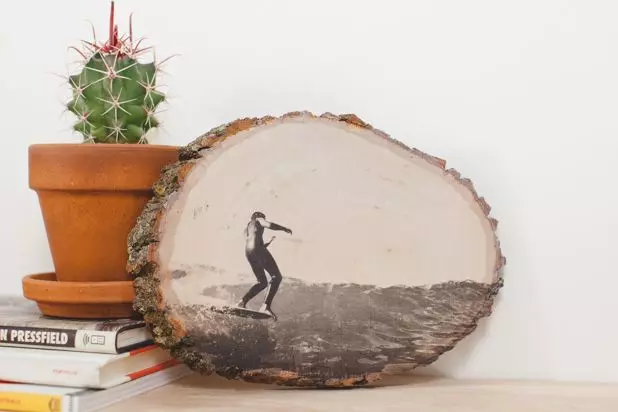
And here our panel with a translated and scorched photo is ready! You can hang it on the wall, attaching a special attachment from behind, or give close as a souvenir. Successful to you creativity!
Video on the topic
You can inspire to create such a job, looking at our video selection.