
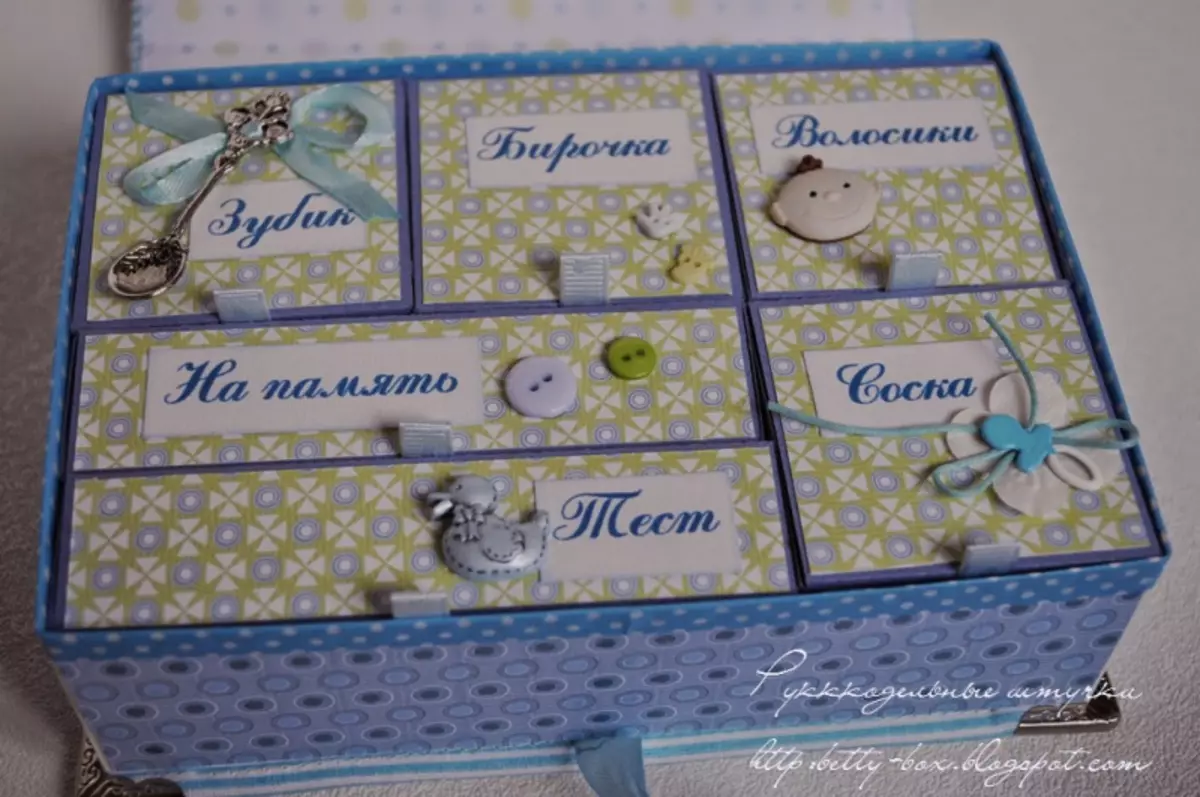
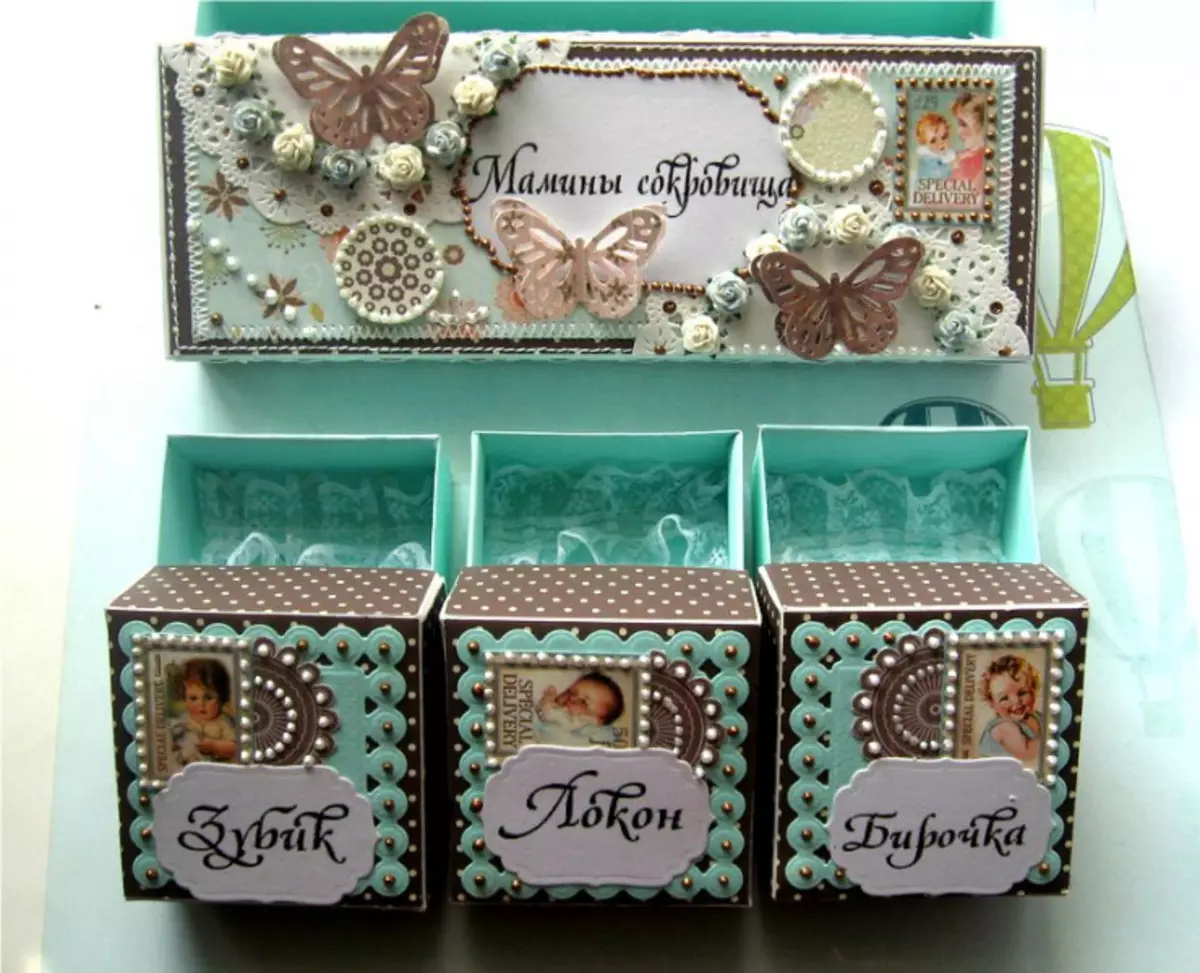
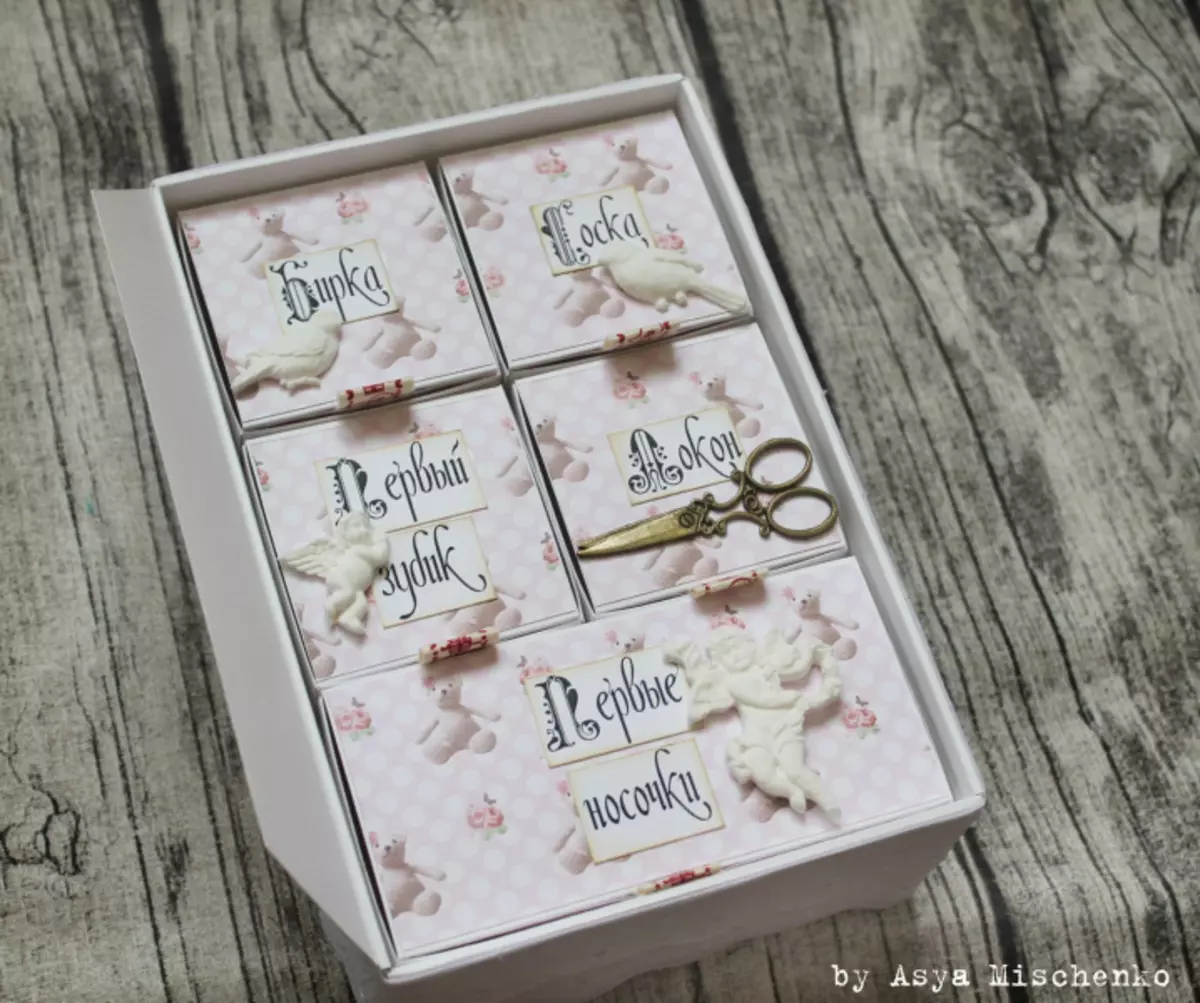
The birth of a child is a very important and reverent event in the life of parents. Mommies rejoice every new day of their pregnancy and are looking forward to the appearance of their baby. After birth, the new mom and dad is waiting for the mass of new happy emotions. How to save these wonderful memories? Special Treasury Casket will help in this matter. For years in such a cute little thing, such important things are stored in such a cute thing as: a pregnancy test, the first ultrasound, the tag from the maternity hospital, the curls of the first hair, the first dusted tooth. The master class "Mamina Treasure" will tell you how beautiful to make this product.
Materials for manufacture
Before you know how to make a mamina treasure, you need to read a list of materials for work and buy everything you need.
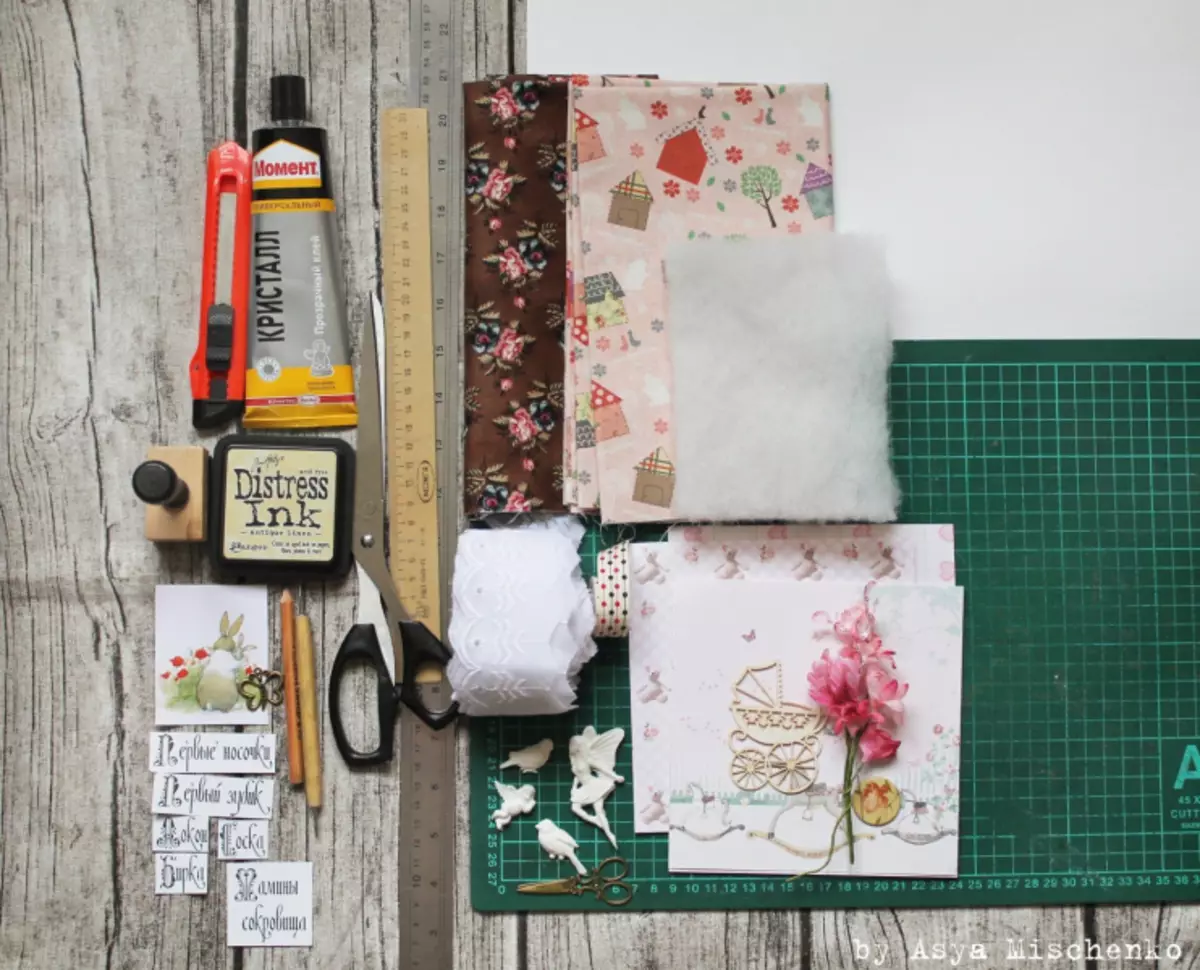
- Drawing paper sheets of the goonak in A1 format;
- dense cardboard (1.5 mm thick);
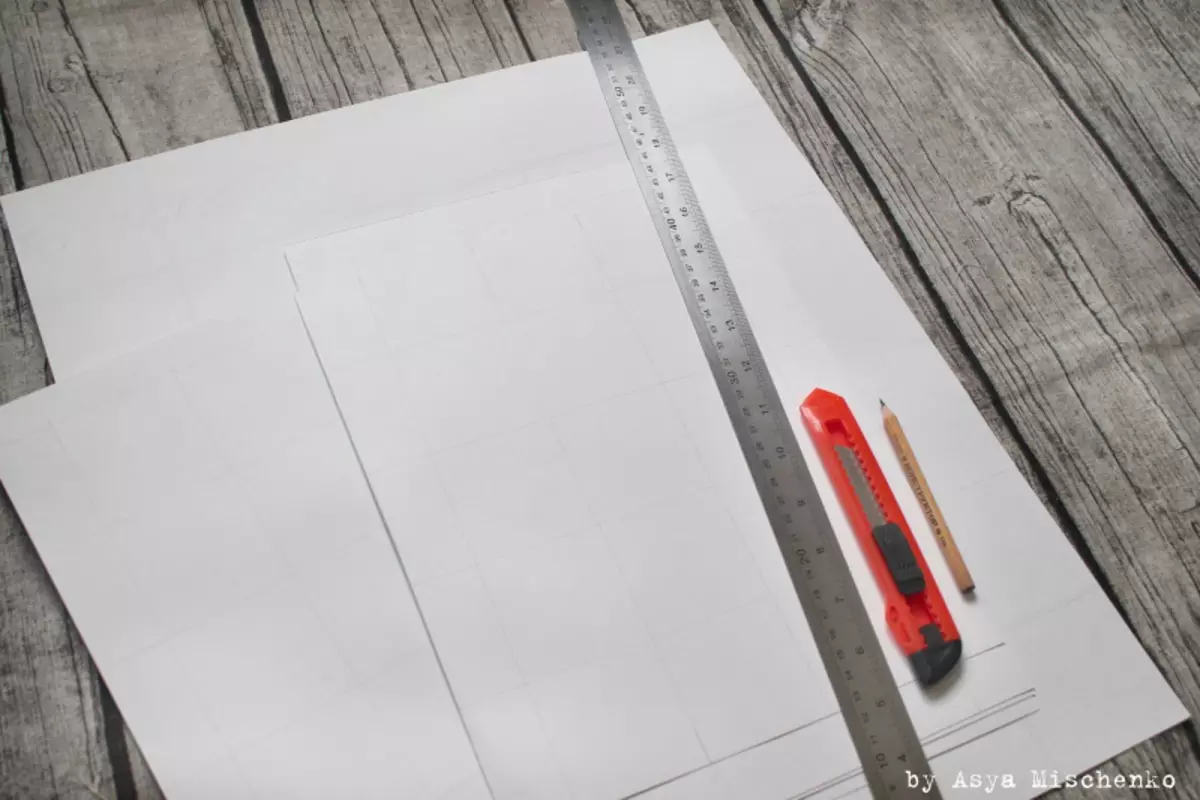
- metal line (length from 50 cm);
- plastic line (30 cm);
- paper knife;
- sharp scissors;
- Thin bigting;
- simple pencil;
- scrapbooking paper;
- wide lace;
- cotton or satin tape;
- cotton fabric;
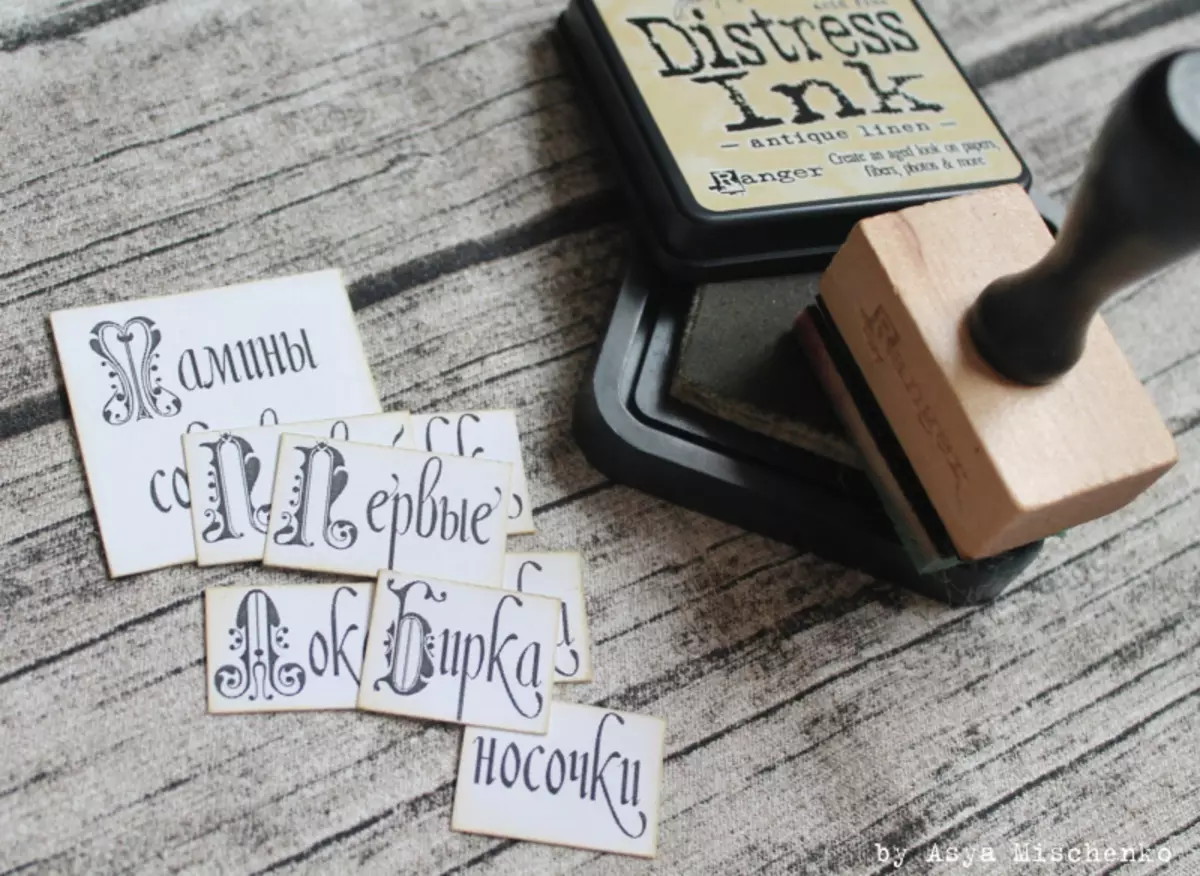
- inscriptions for printout;
- syntheps or hallofiber;
- Super glue;
- decorations for decorating;
- Templates for printout.
Casket patterns
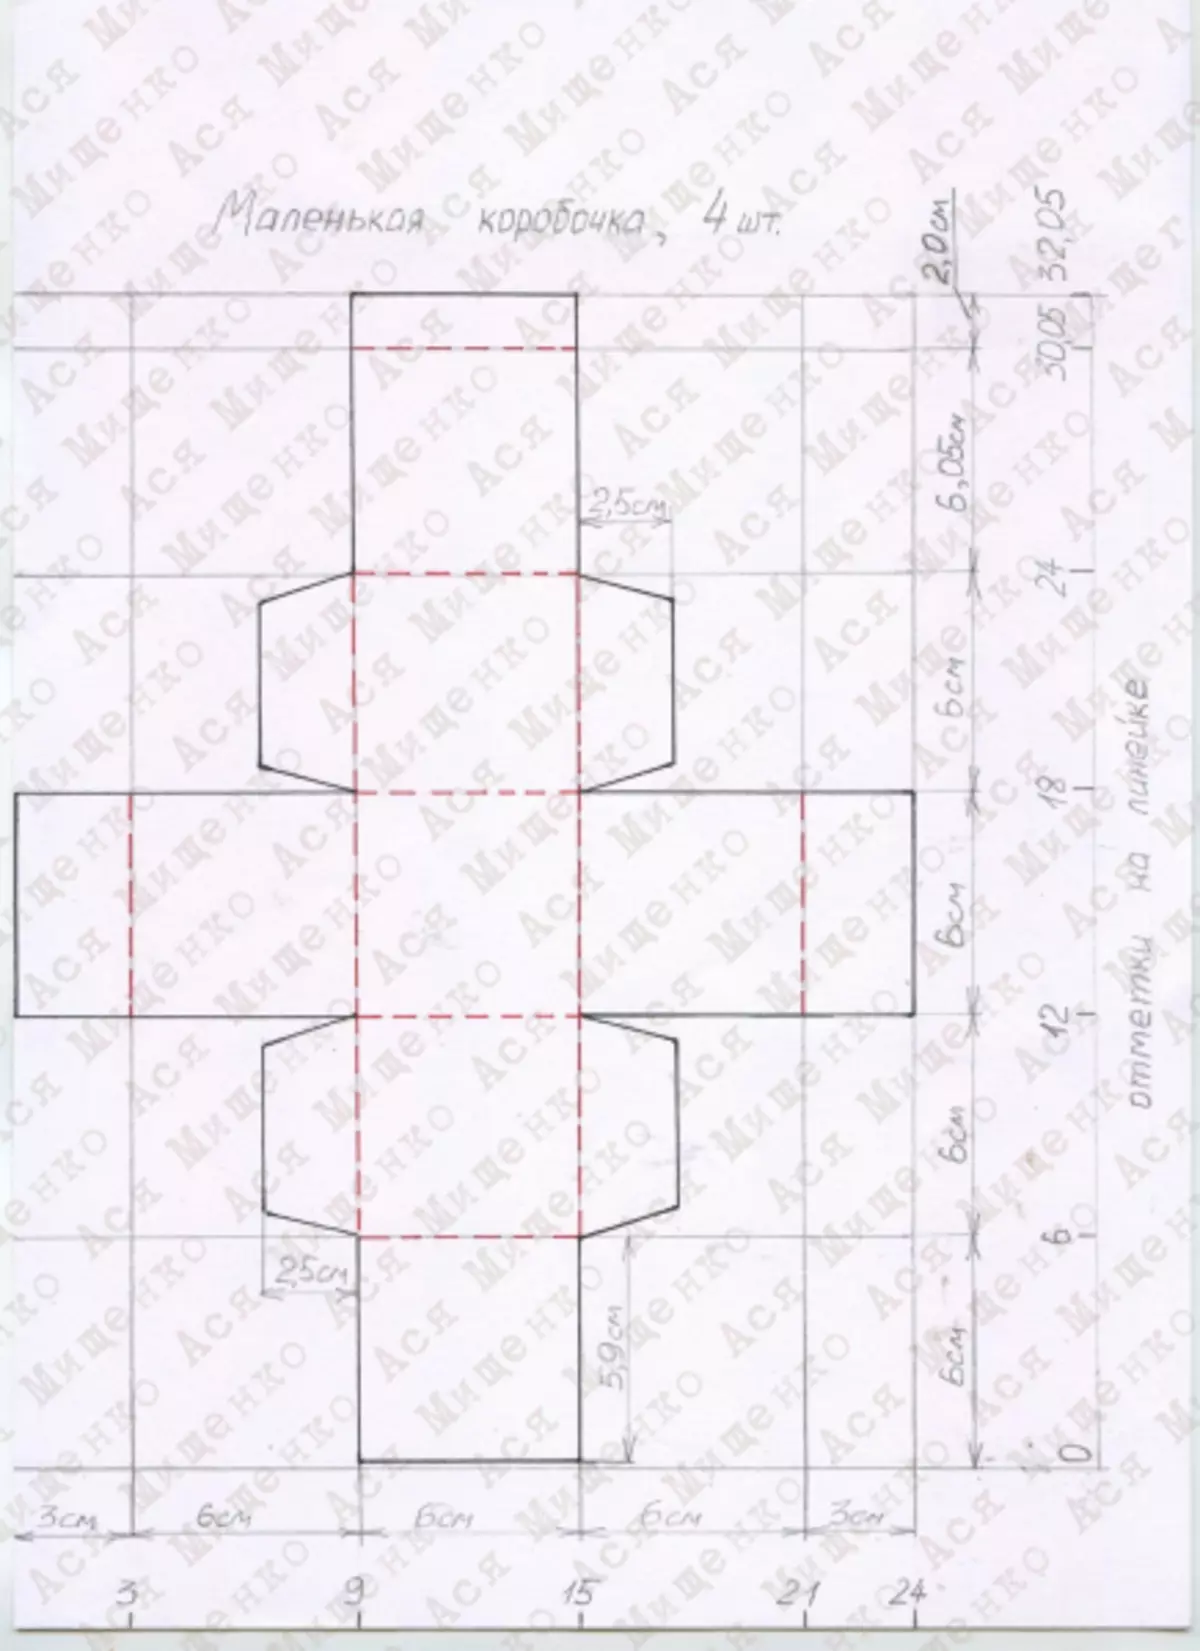
To independently do not make the pattern of the box, you can download and turn over to the special paper, the goal. Or immediately redraw from the monitor.
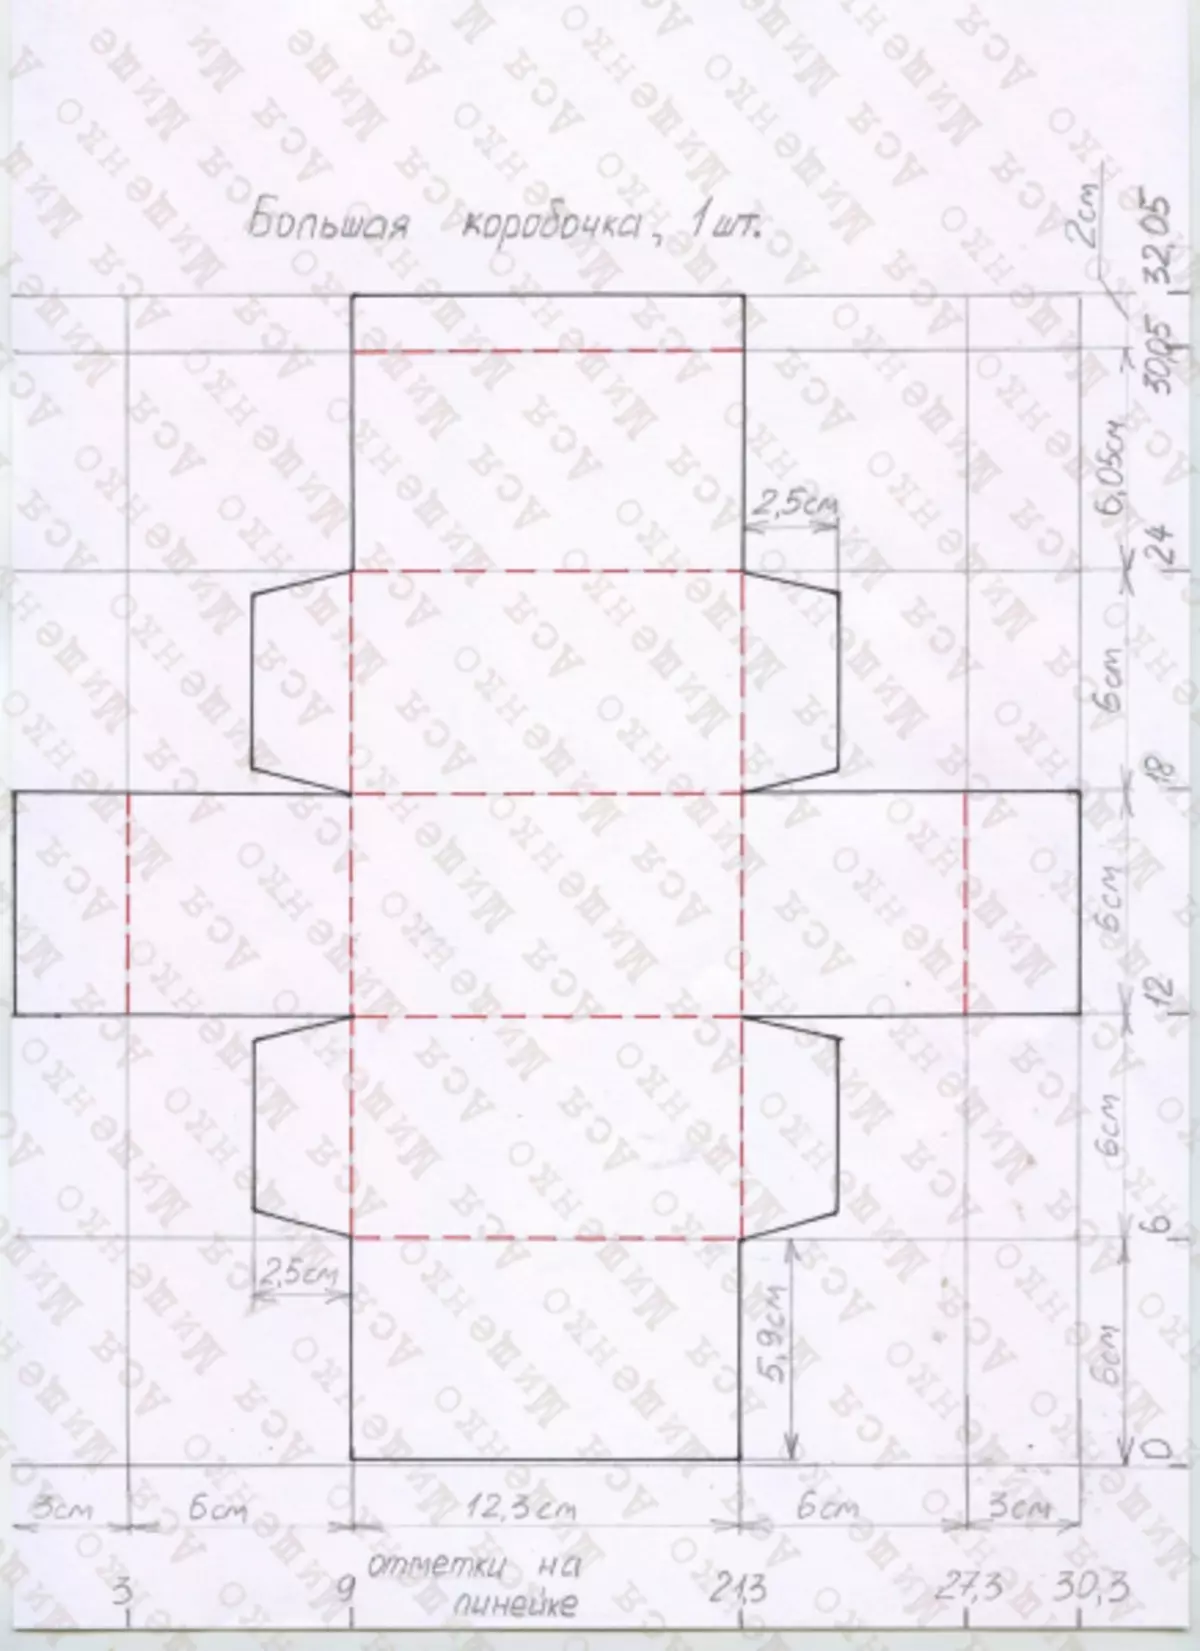
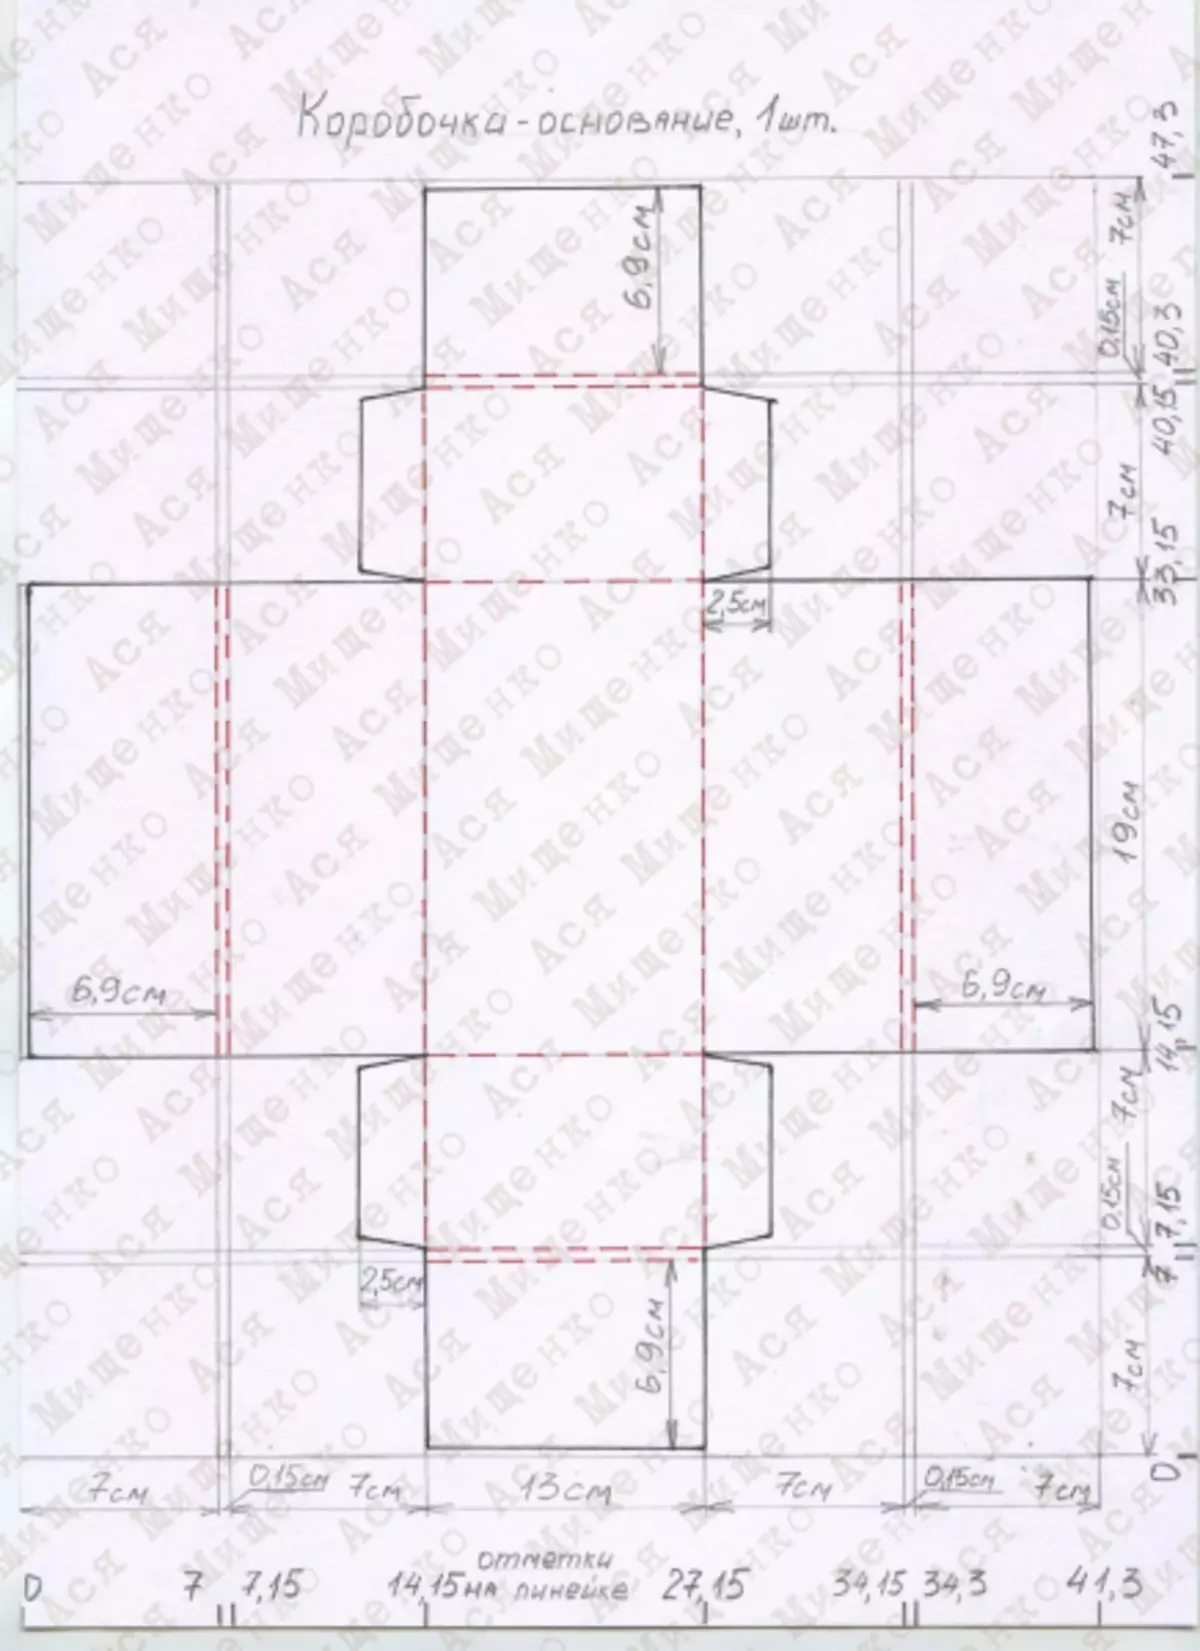
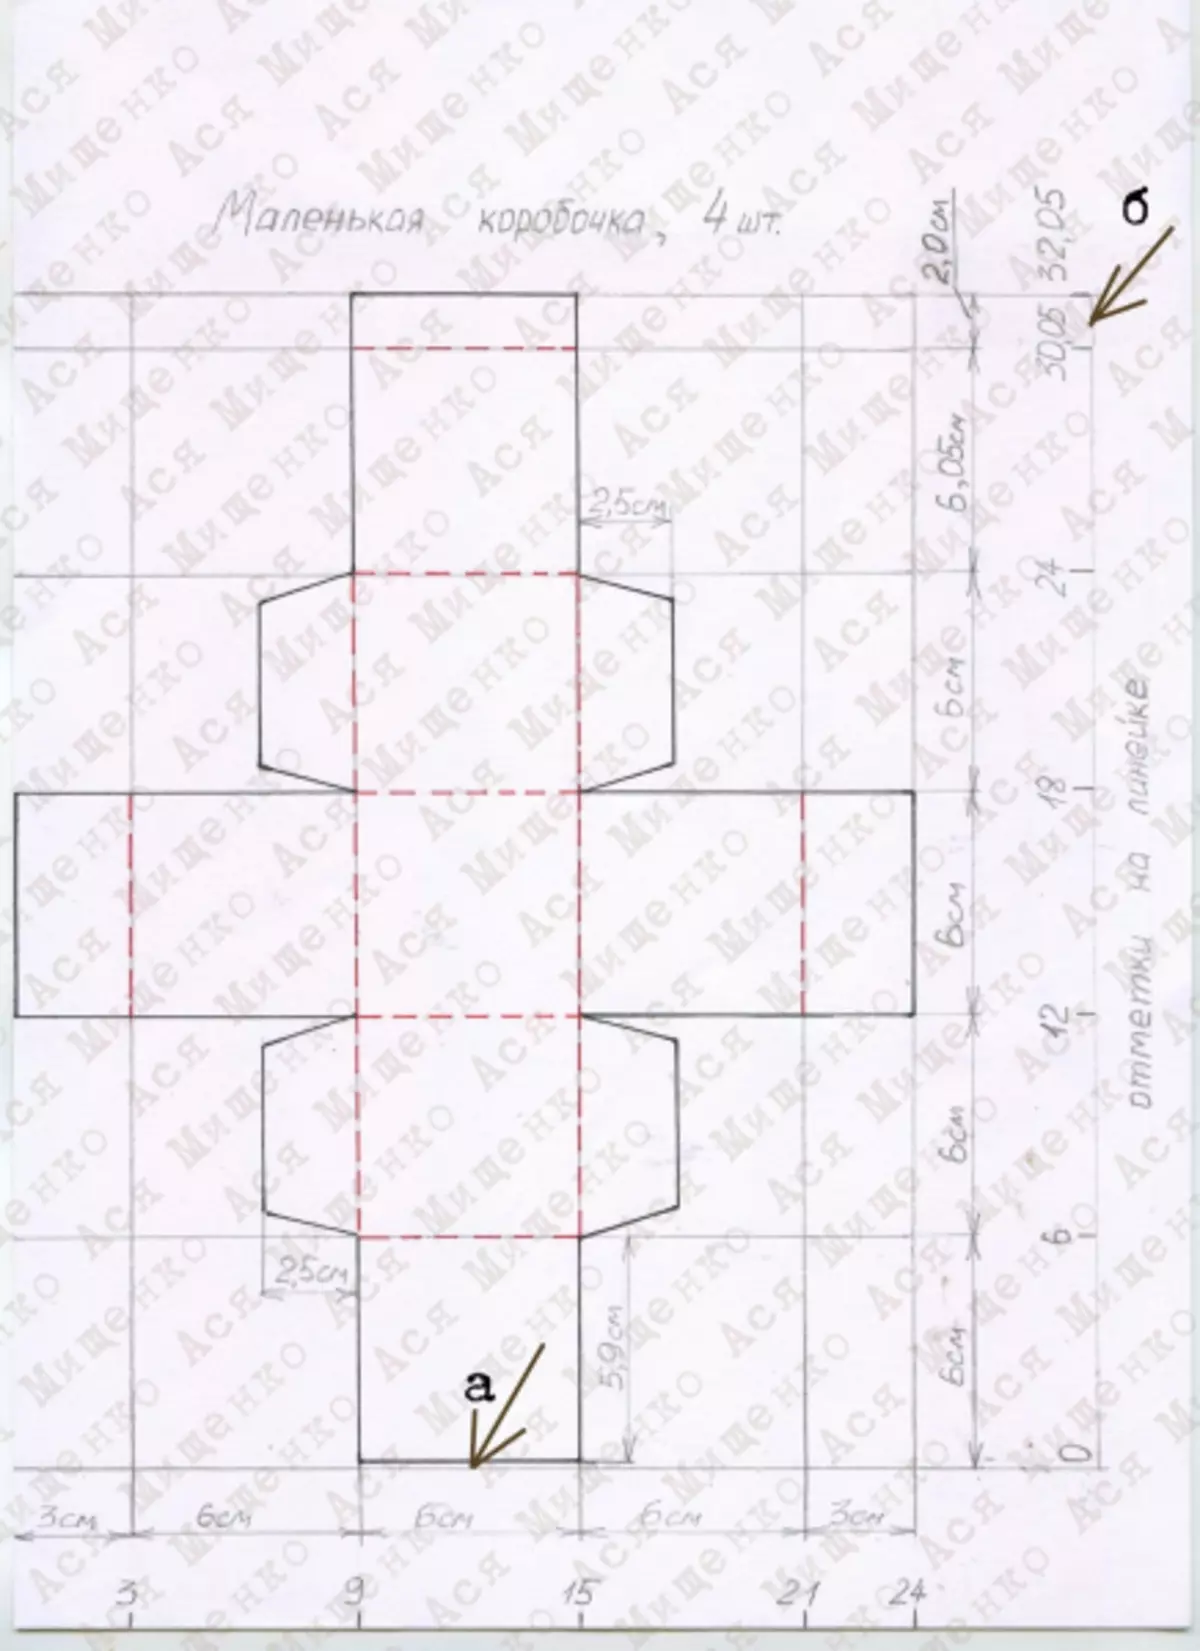
You need to make 4 small boxes, one big and one box base. On the first sheet, draw all small boxes, on the second - large.
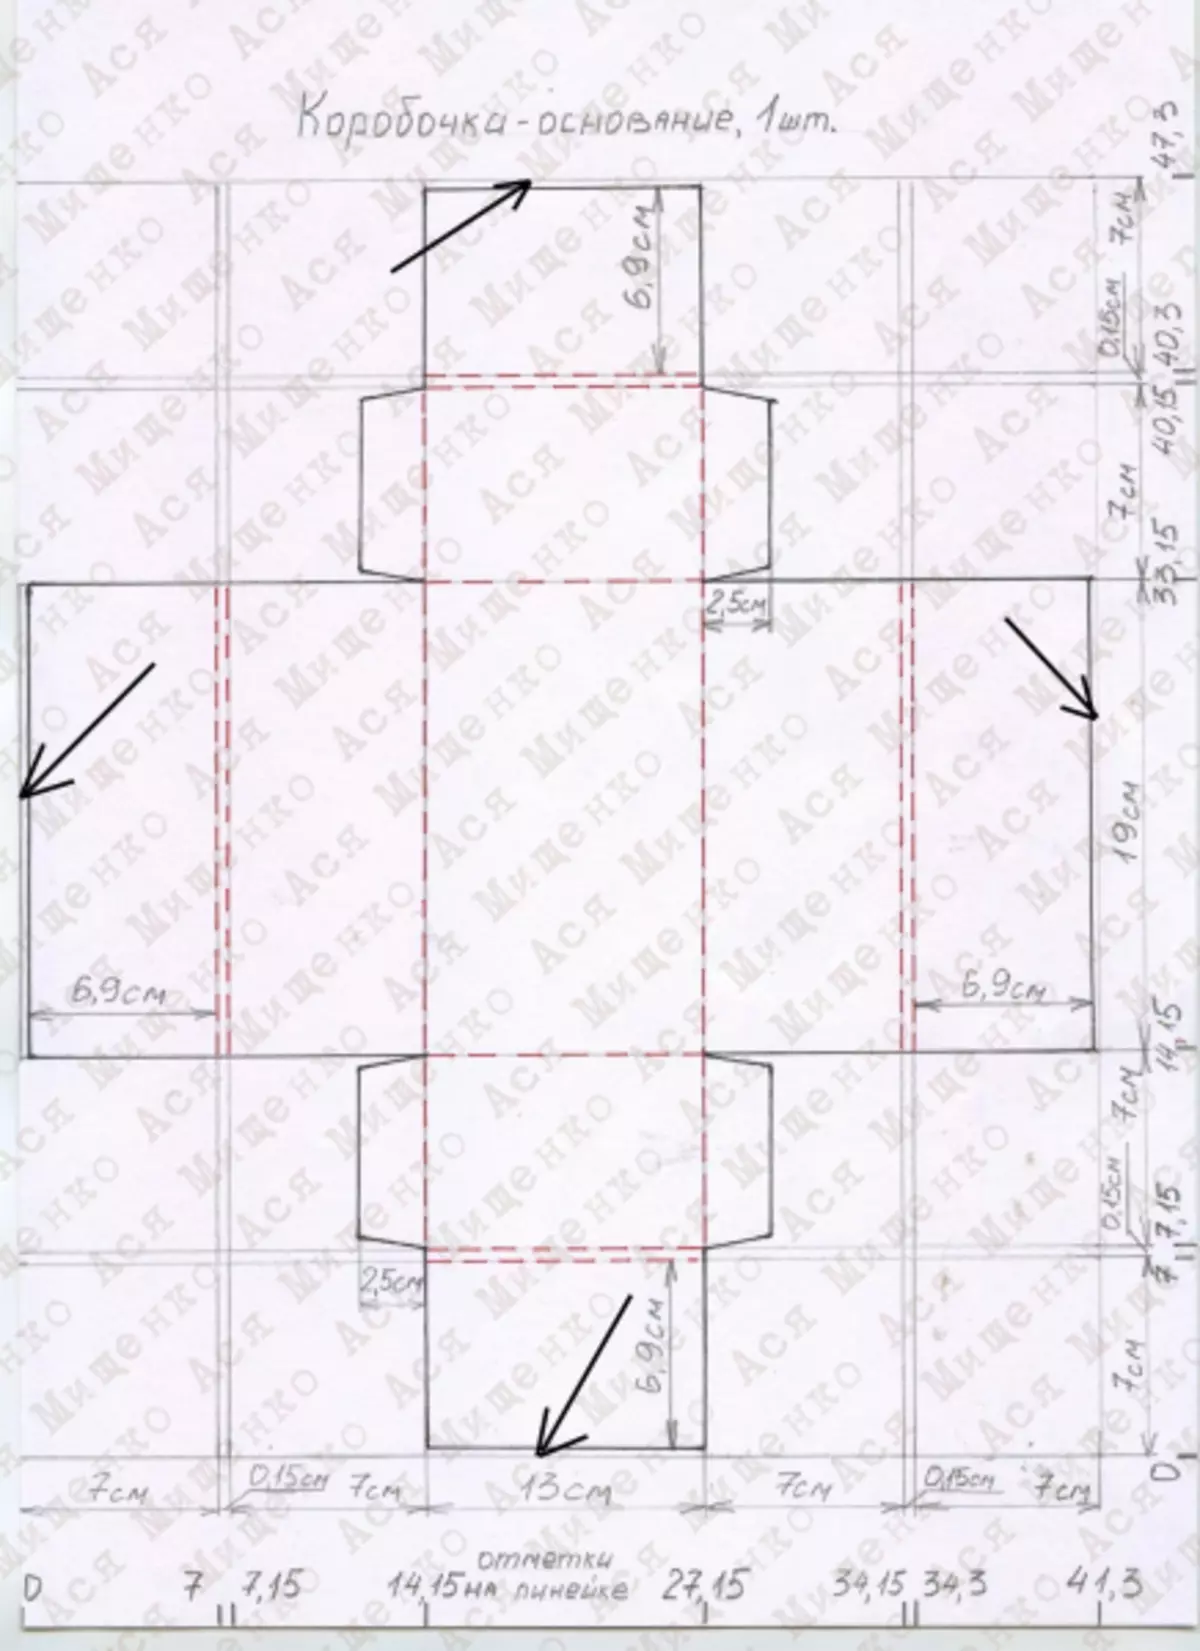
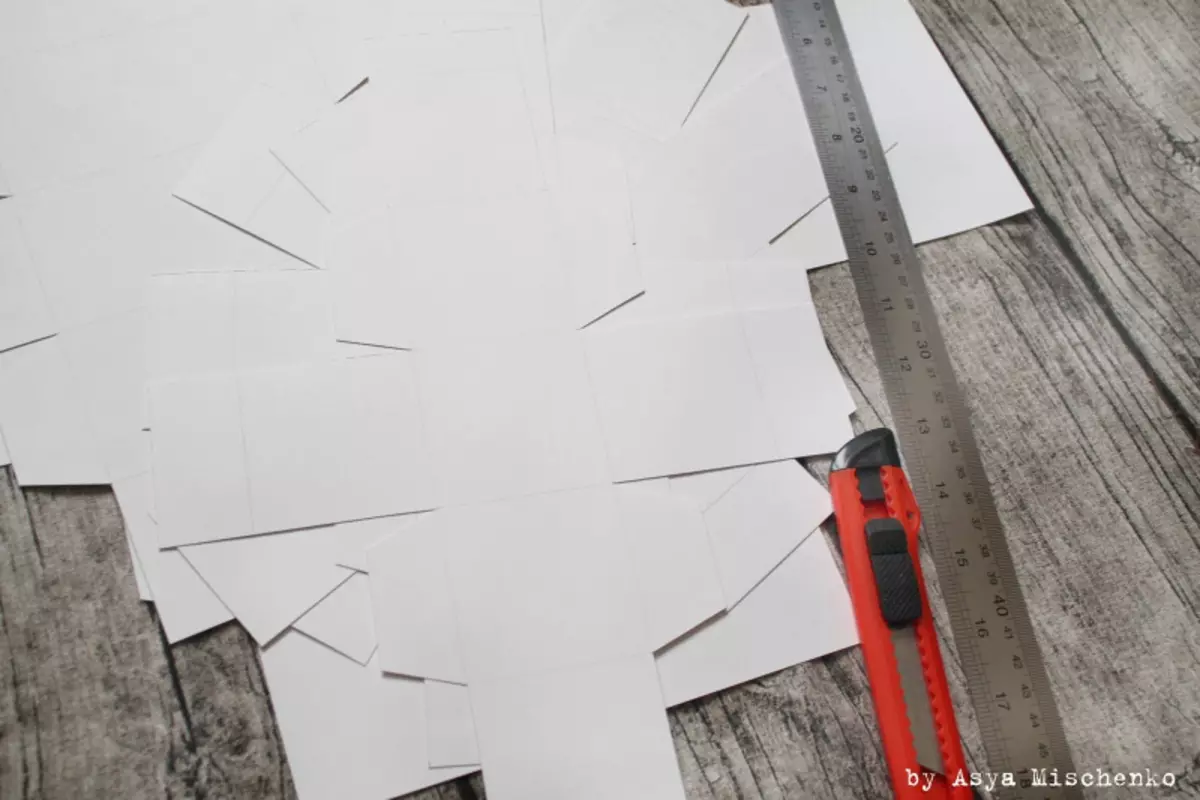
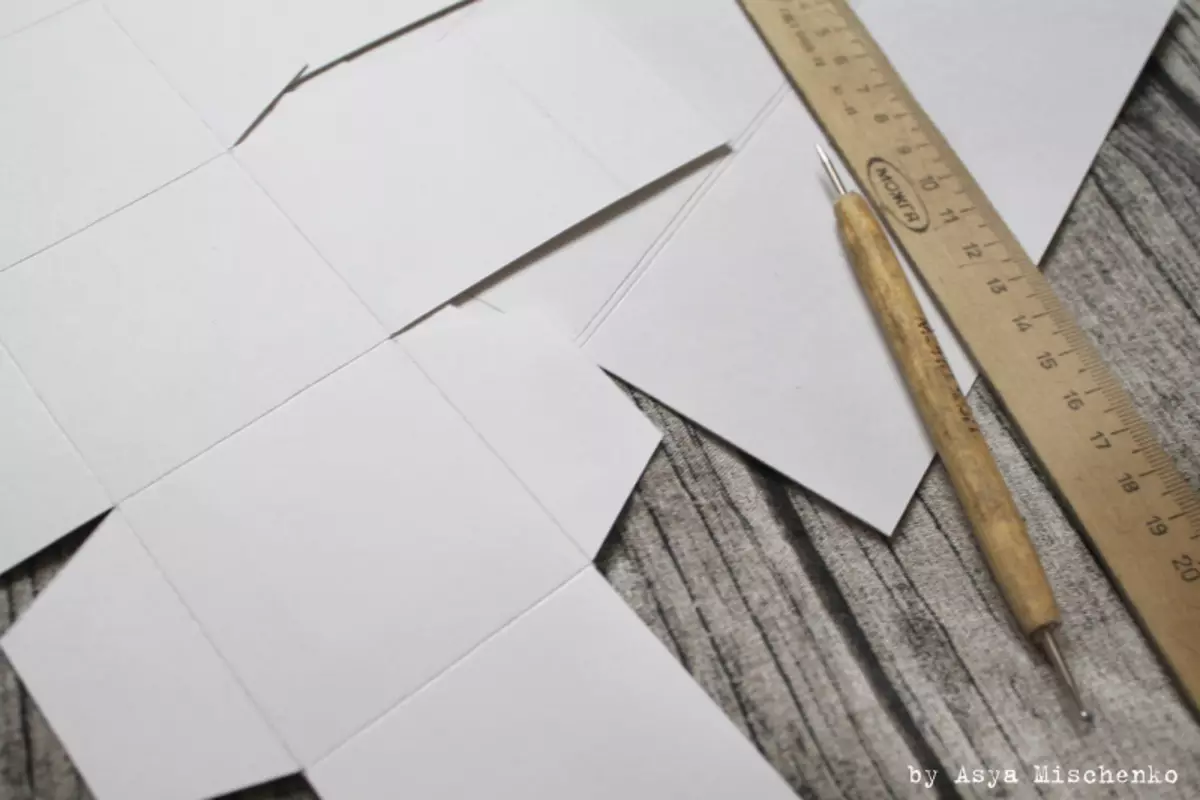
When the drawings are fully prepared, cut them with a slant knife on the rubber rug. It is worth paying special attention to the places where the arrows are drawn. In these places it is important to cut the elements exactly for the main black lines so that the box is well closed.
Article on the topic: Fruits from candies do it yourself: master class with video
The result can be seen in the photo:
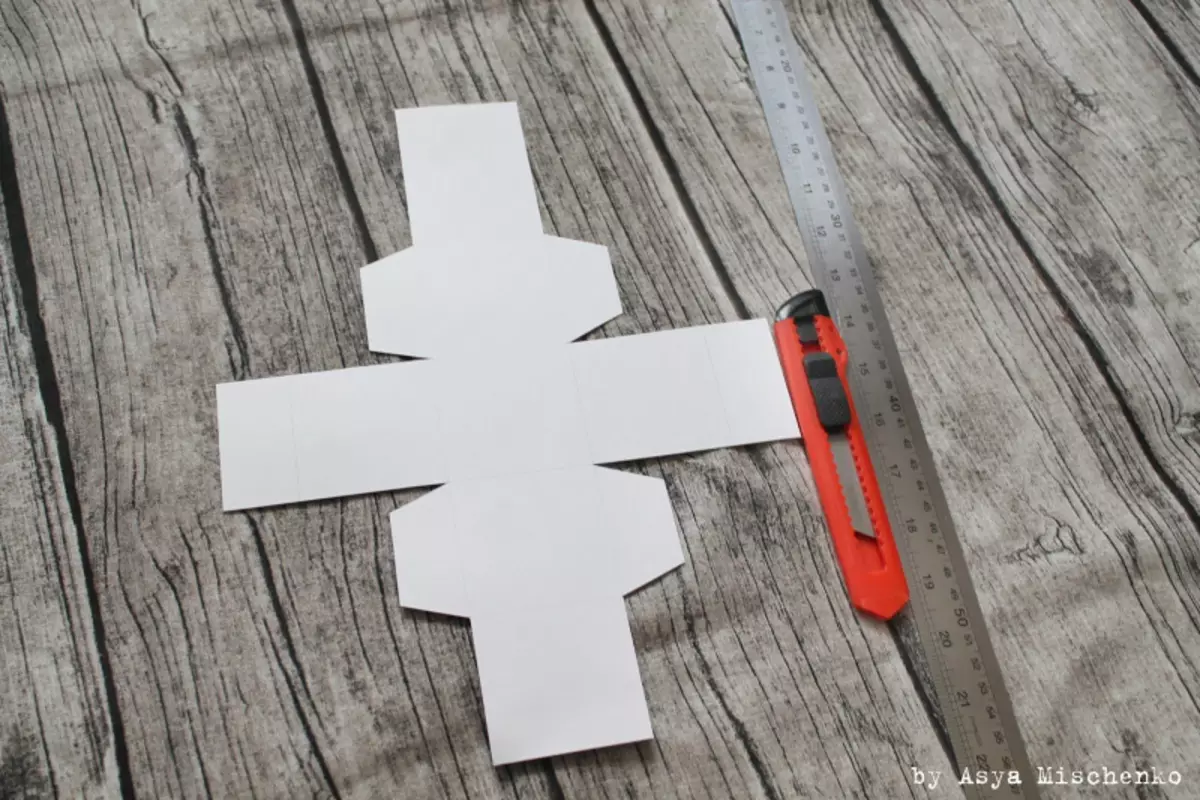
Little box:
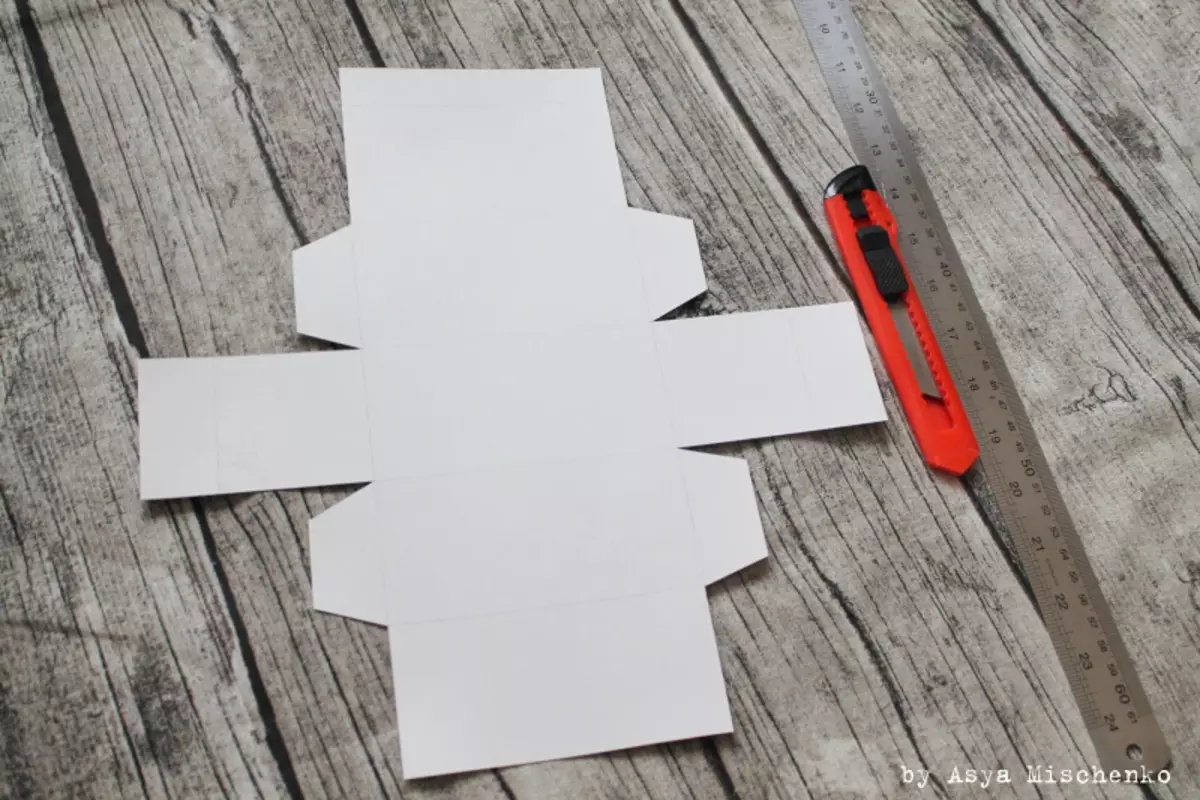
Pattern large:
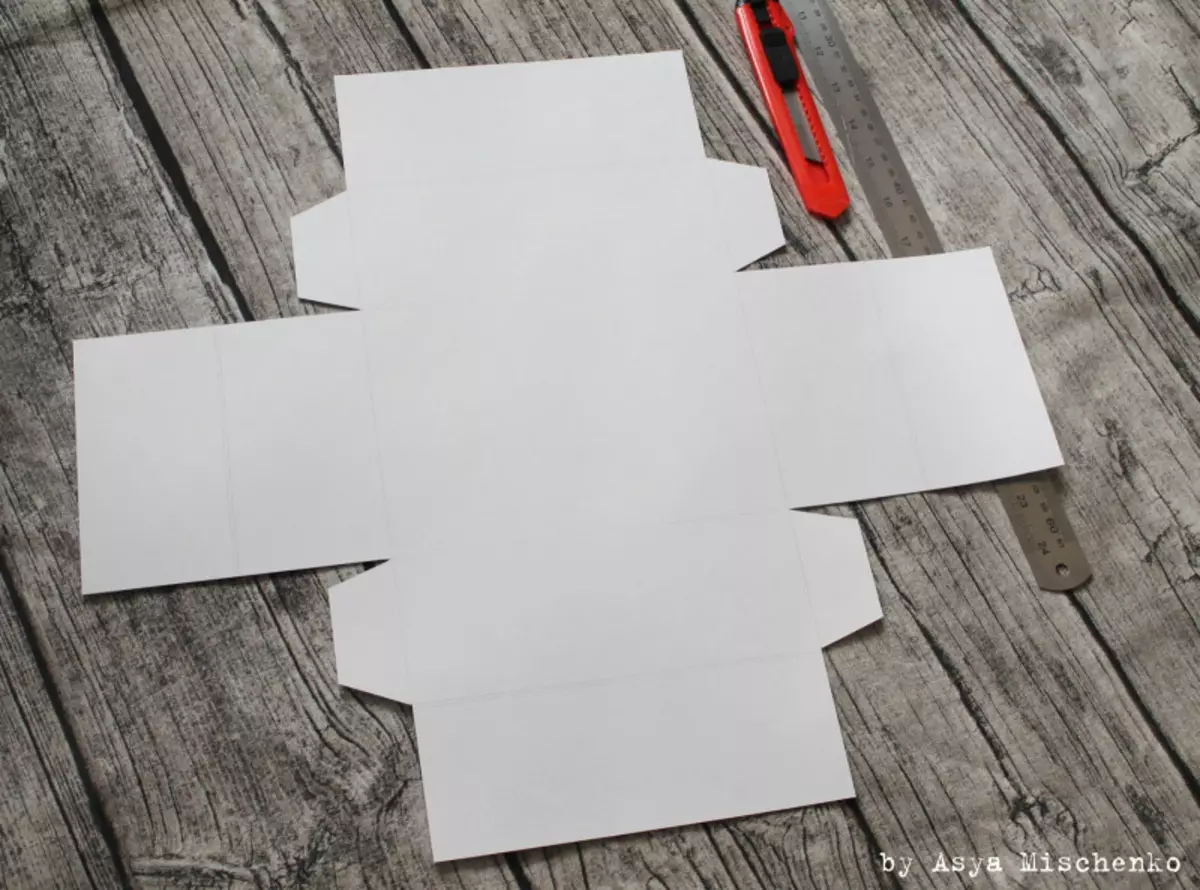
The foundation:
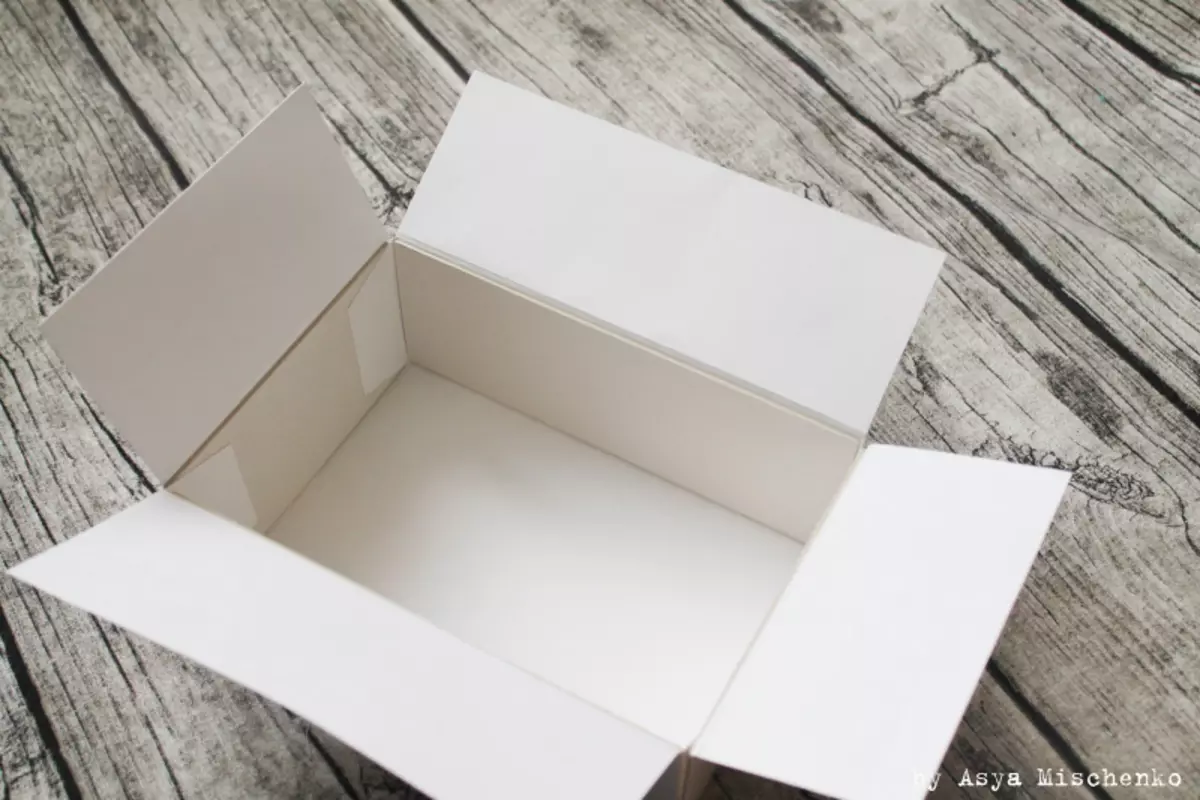
Build product
Now step by step will be described further actions with a future box.
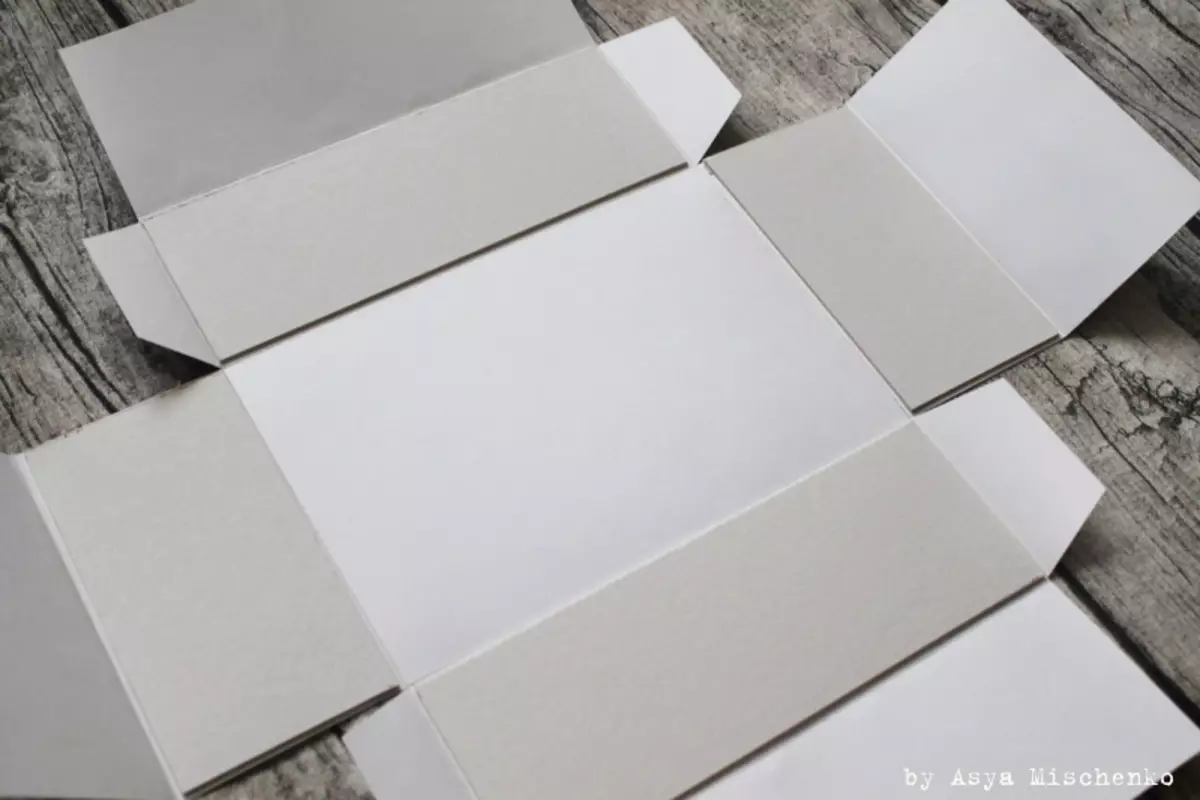
At the beginning of work on dotted lines to walk with a bog for a ruler.
Proper attention to devote a box base: all lines must be clear parallels and perpendicular.
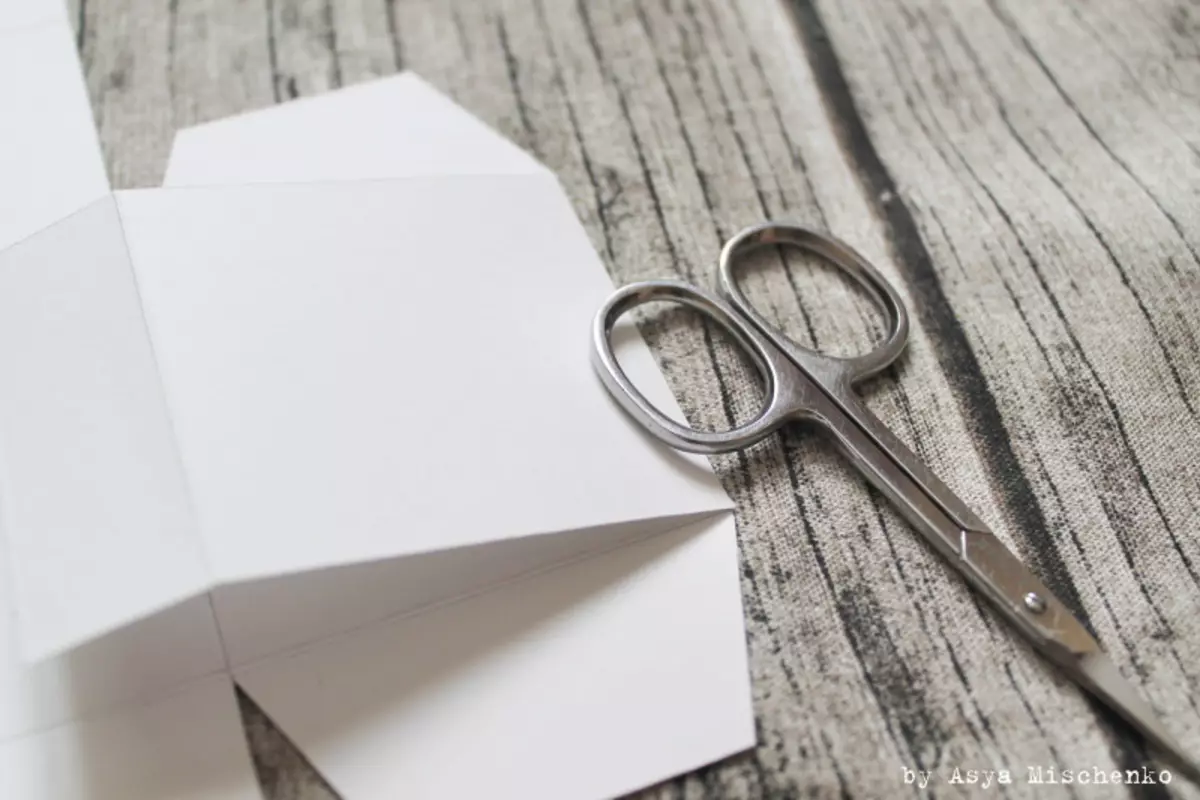
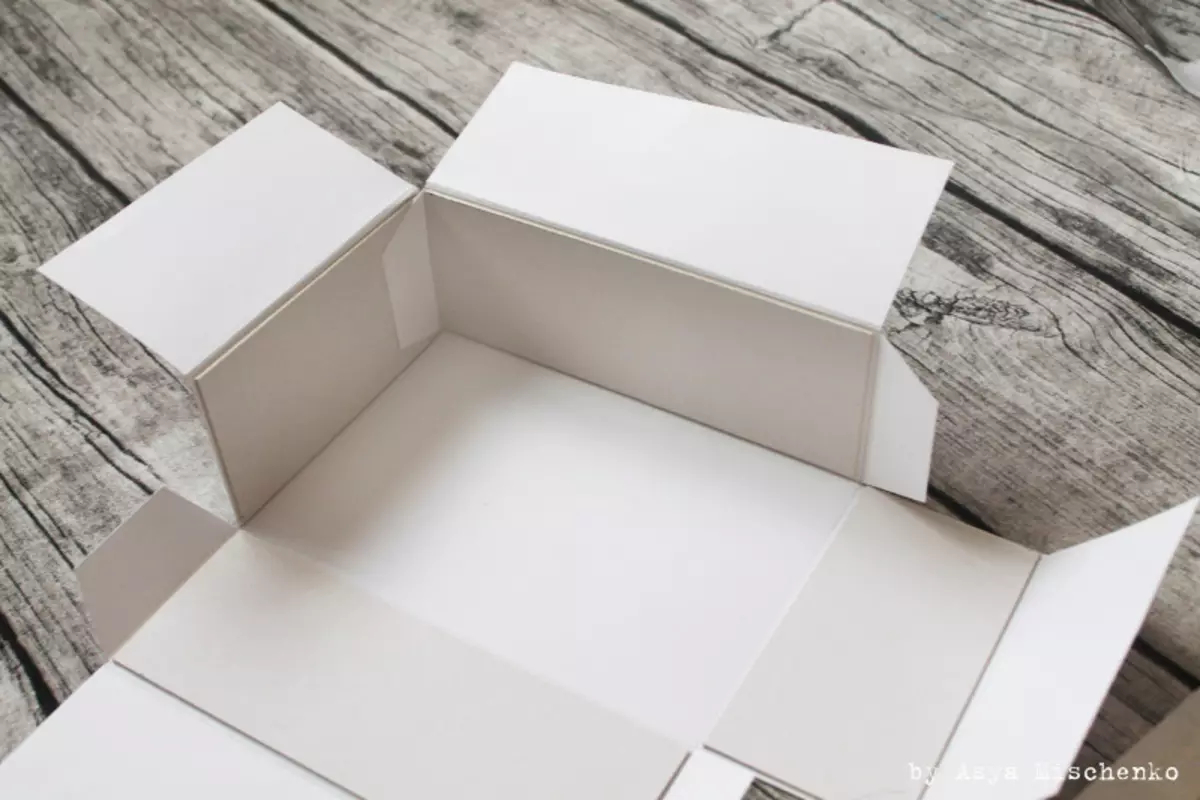
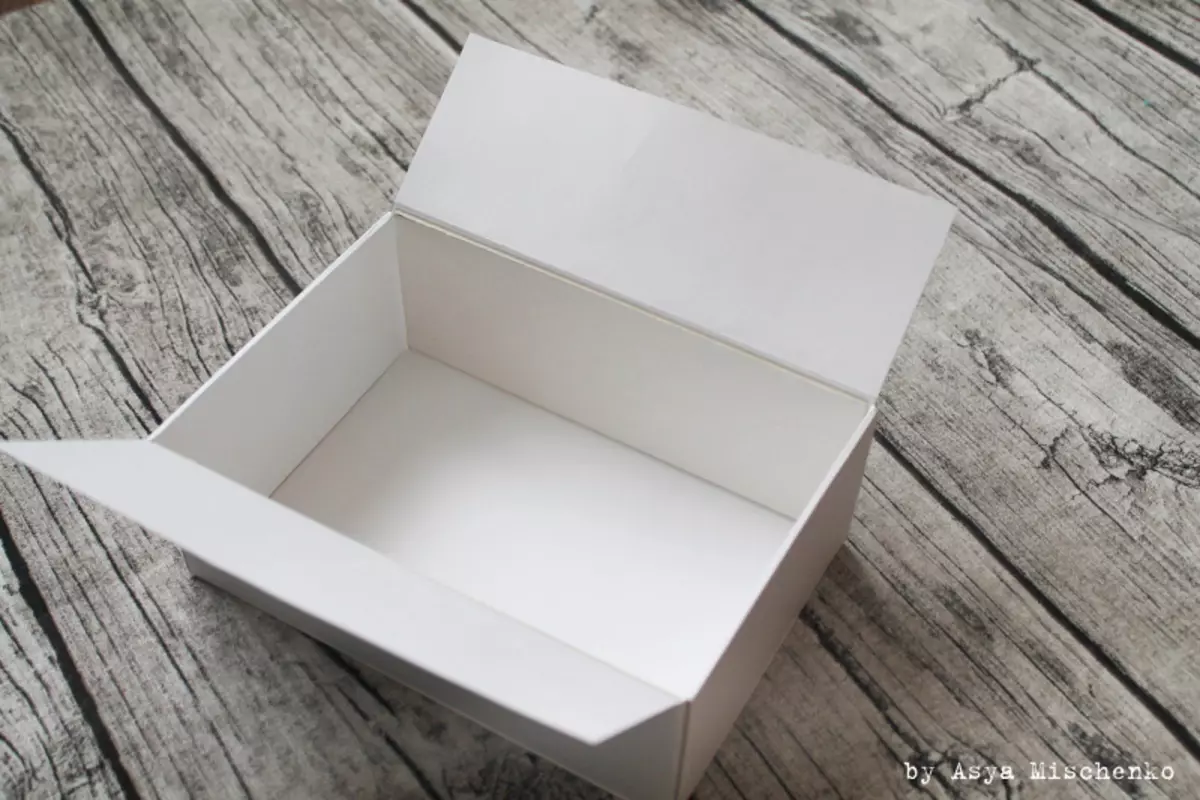
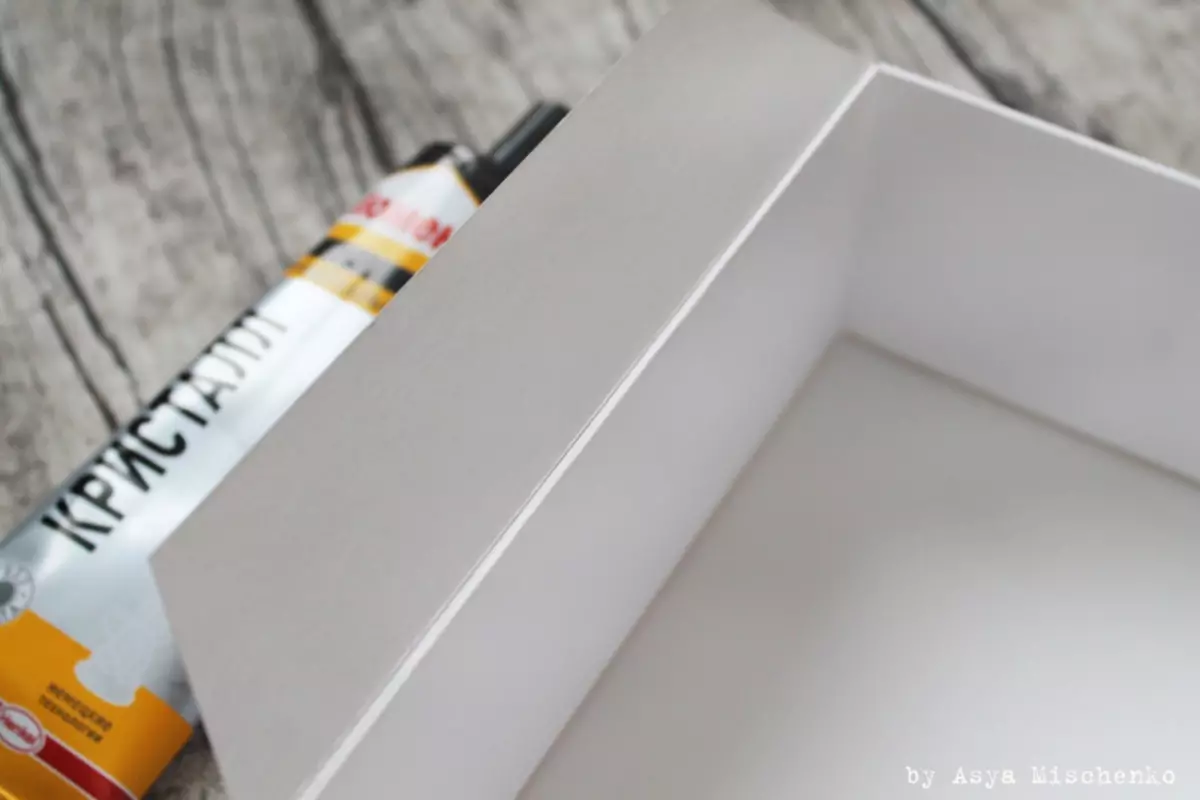
Then collect boxes, missing the "ears" superclaim.
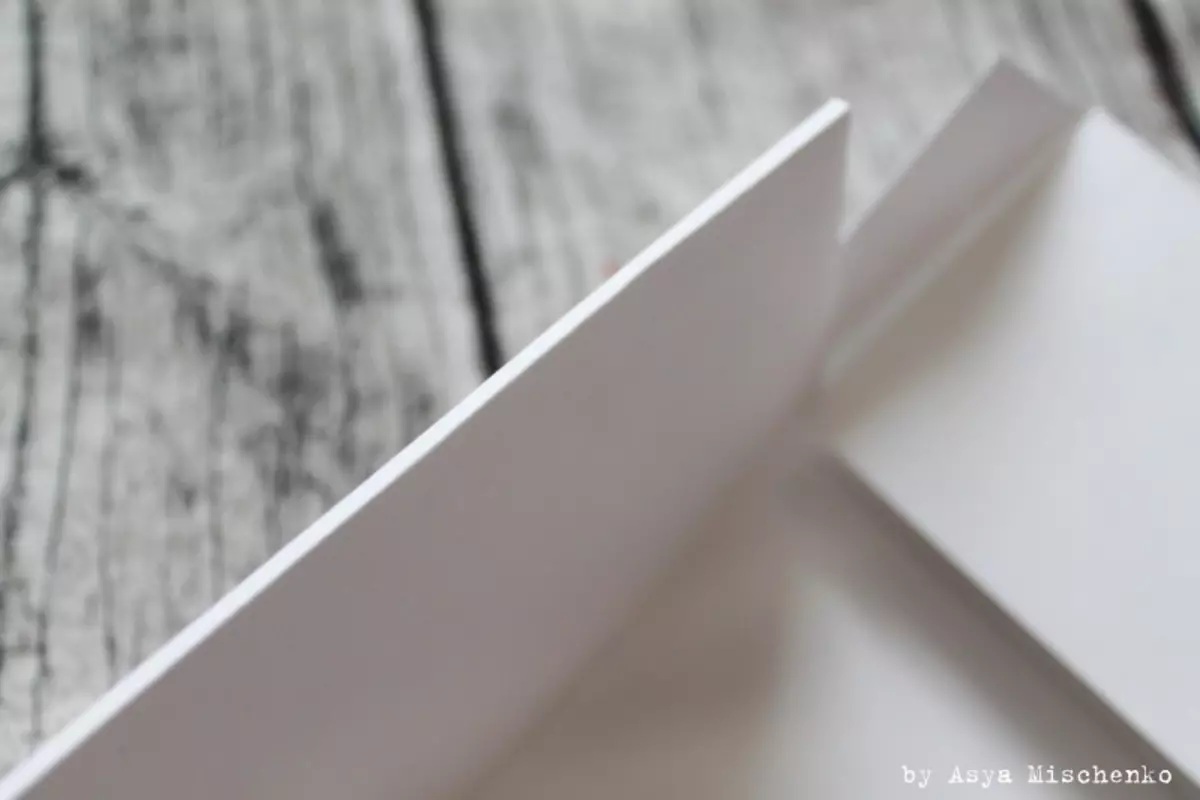

As a result, four small boxes should be obtained and one more.
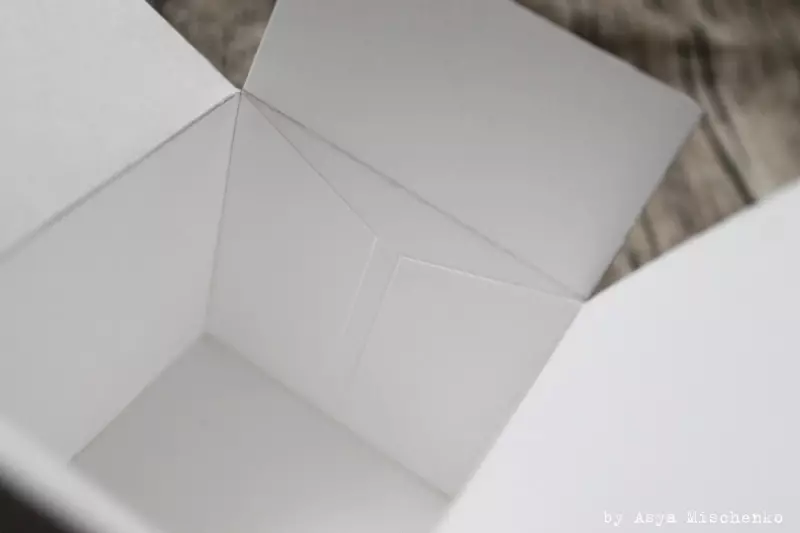
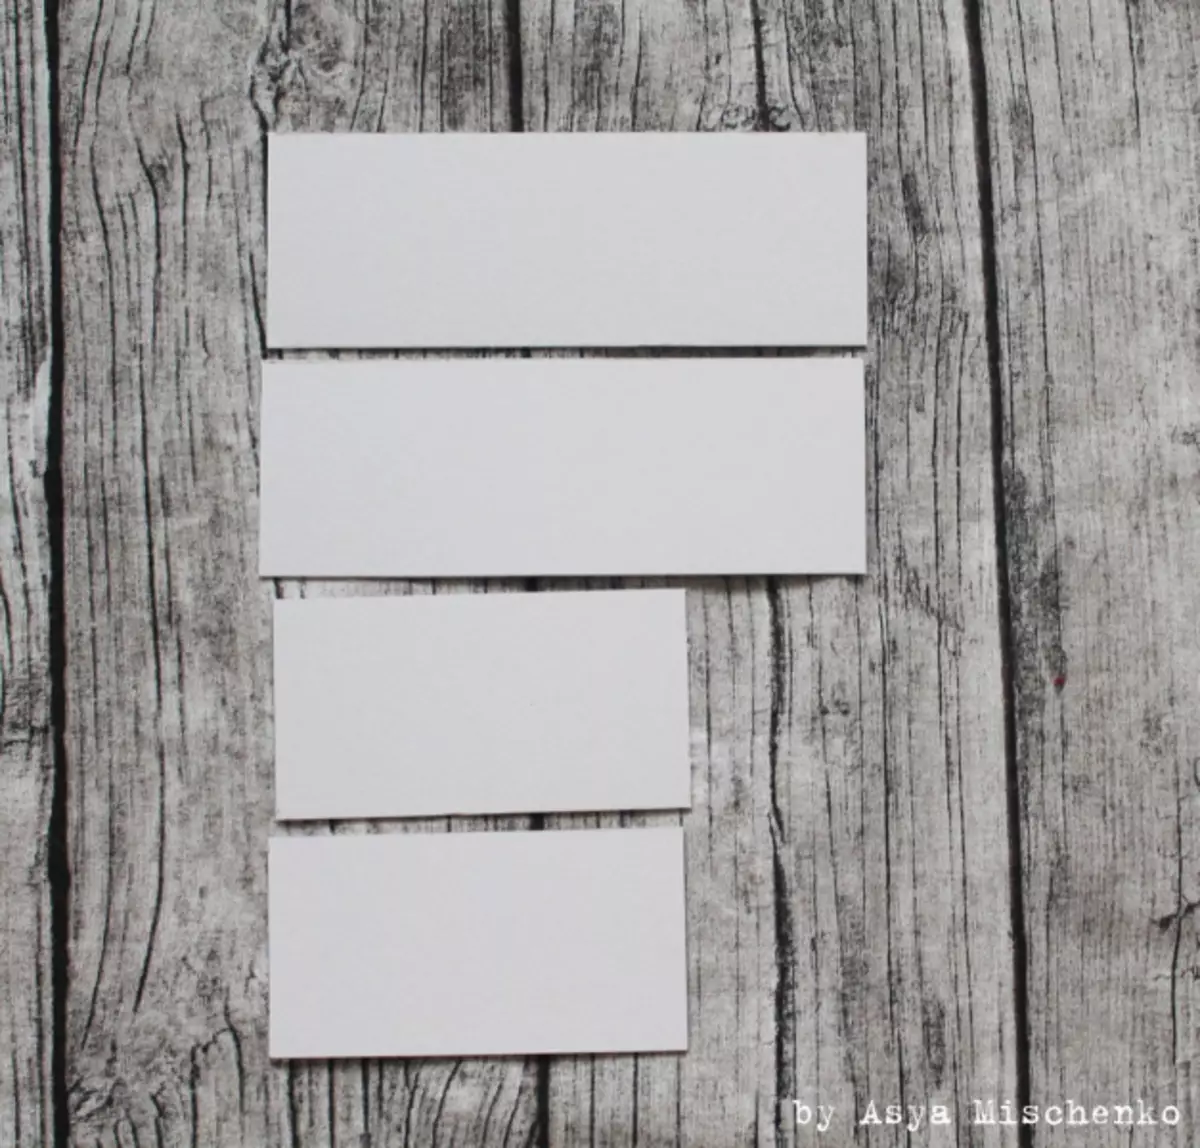
Next of the cardboard, you need to cut two parts 18.7 * 6.7 centimeters and two parts 12.7 * 6.7 centimeters. Printed them on the side parts of the base box.
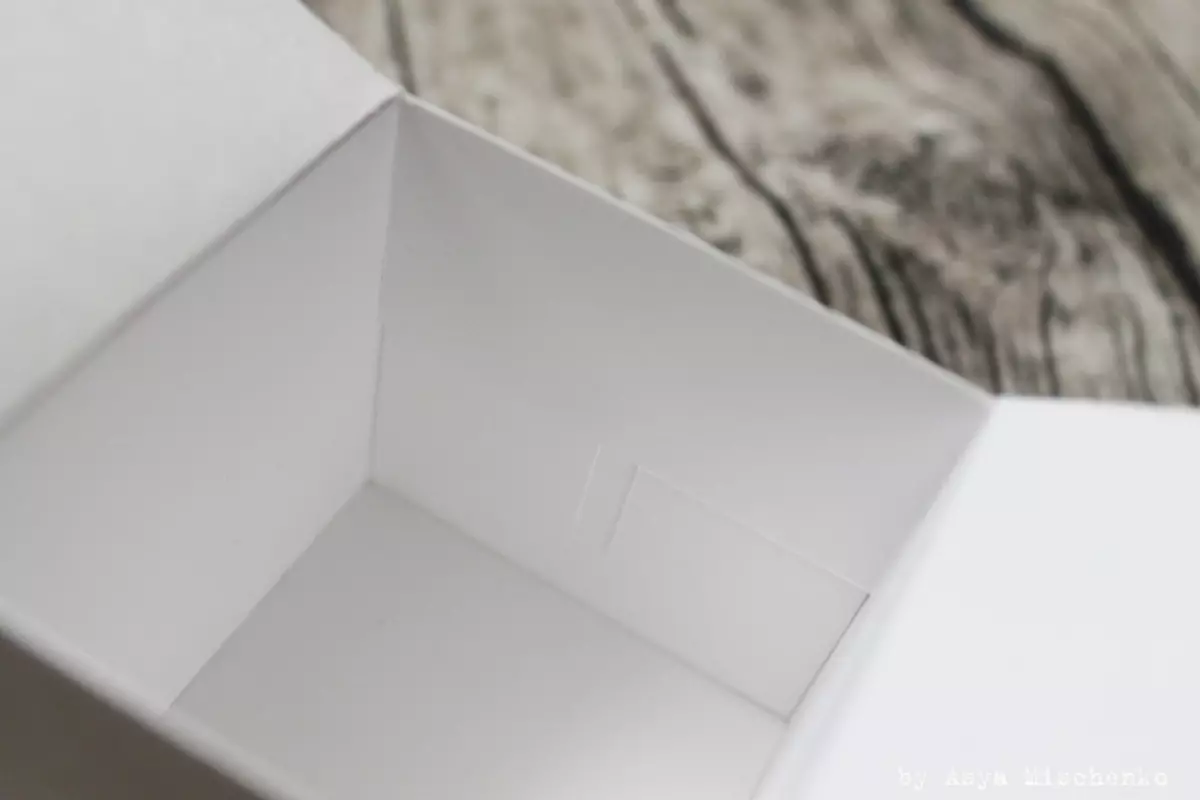
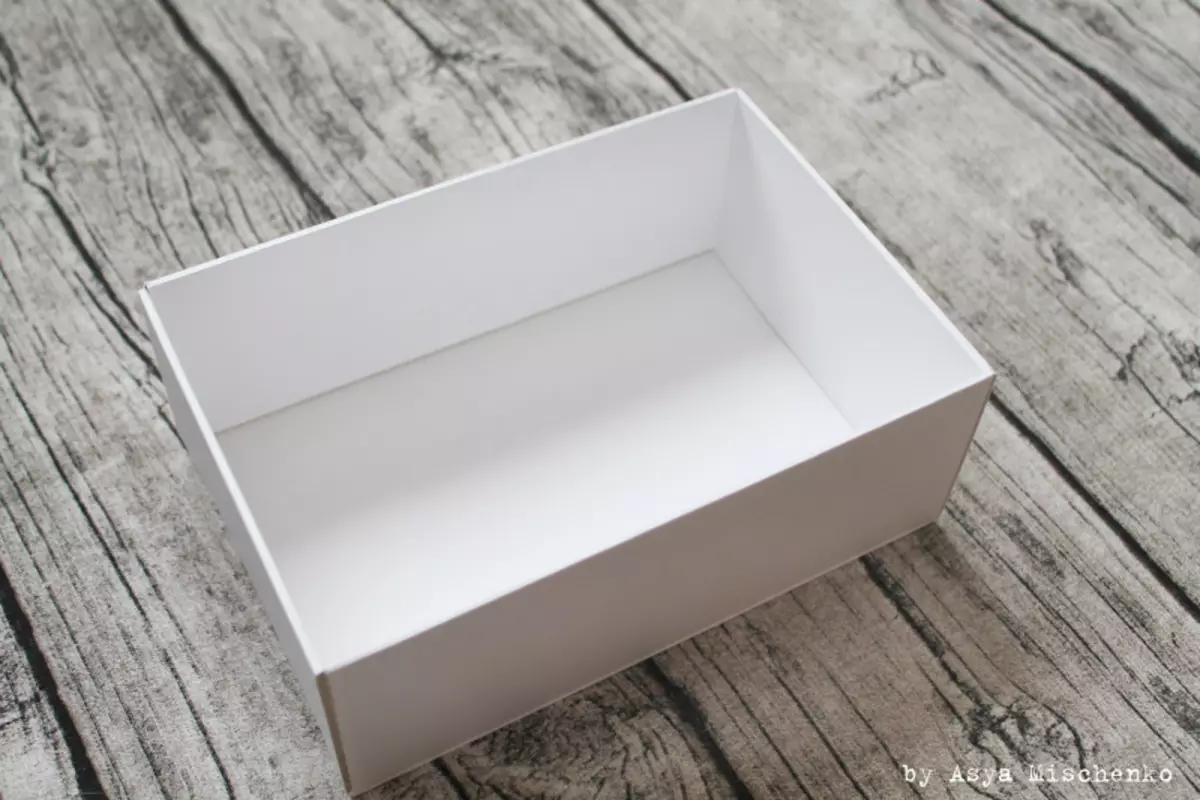
Collect her and glue. At the end there should be a neat box. Cardboard must be perfectly standing inside the walls.

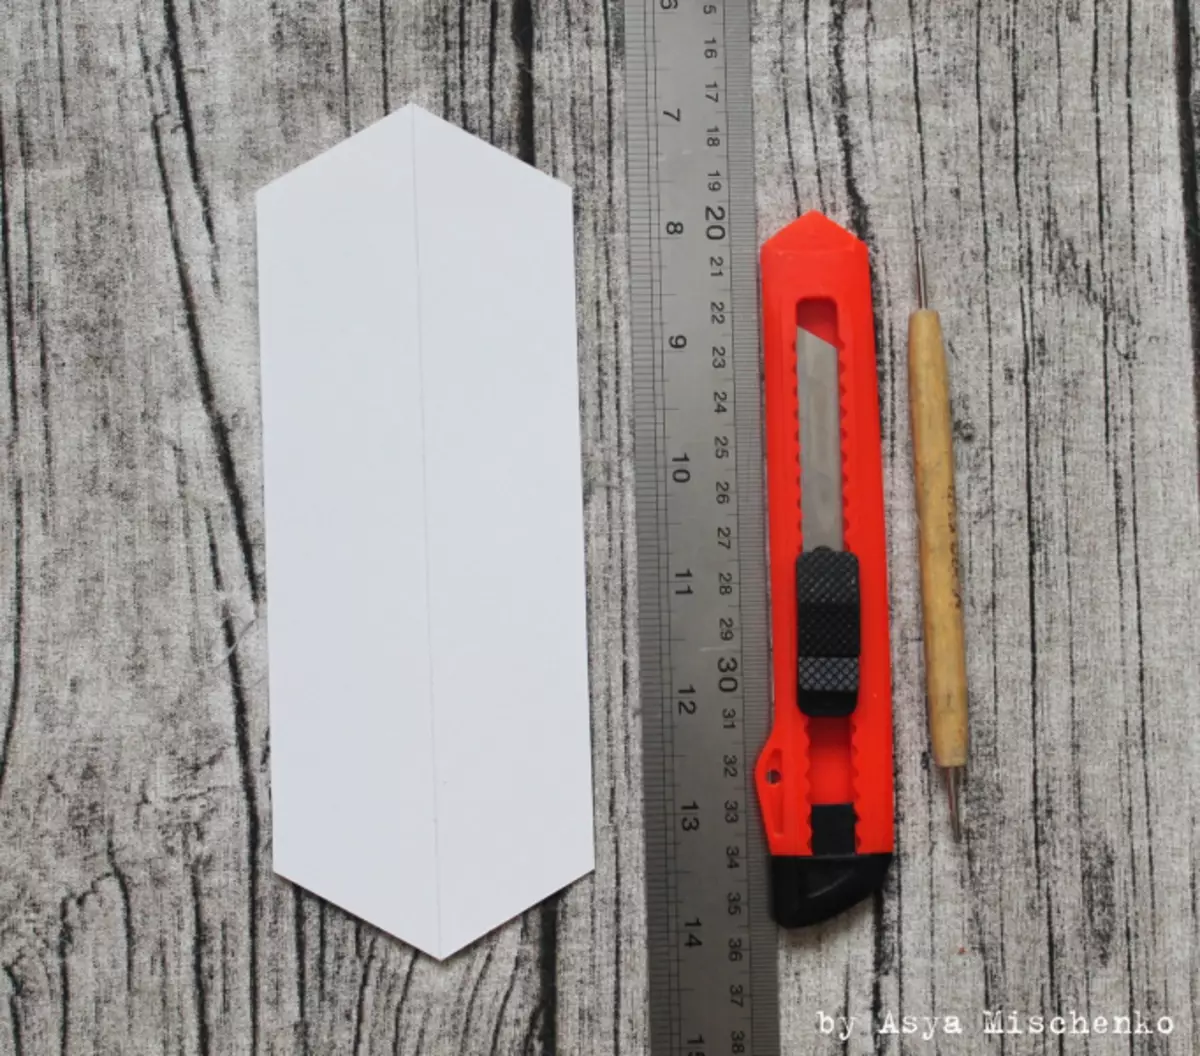
Decoration of boxes
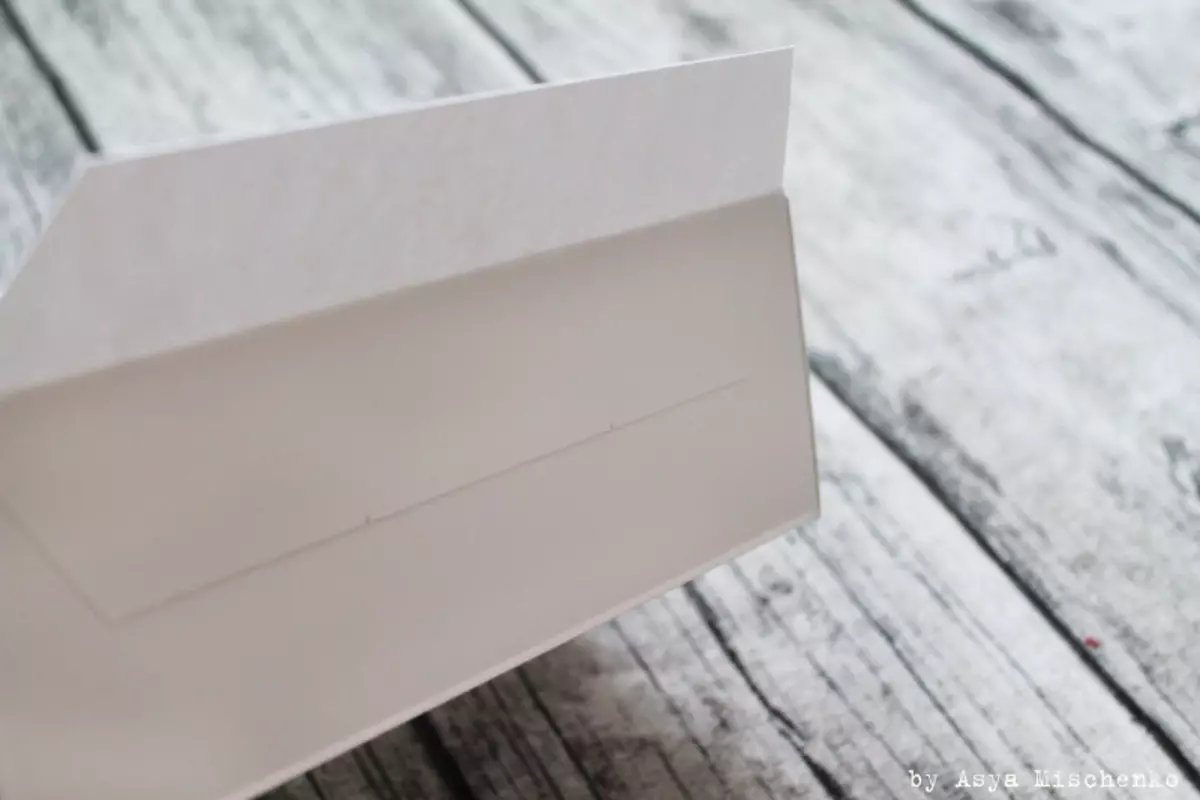
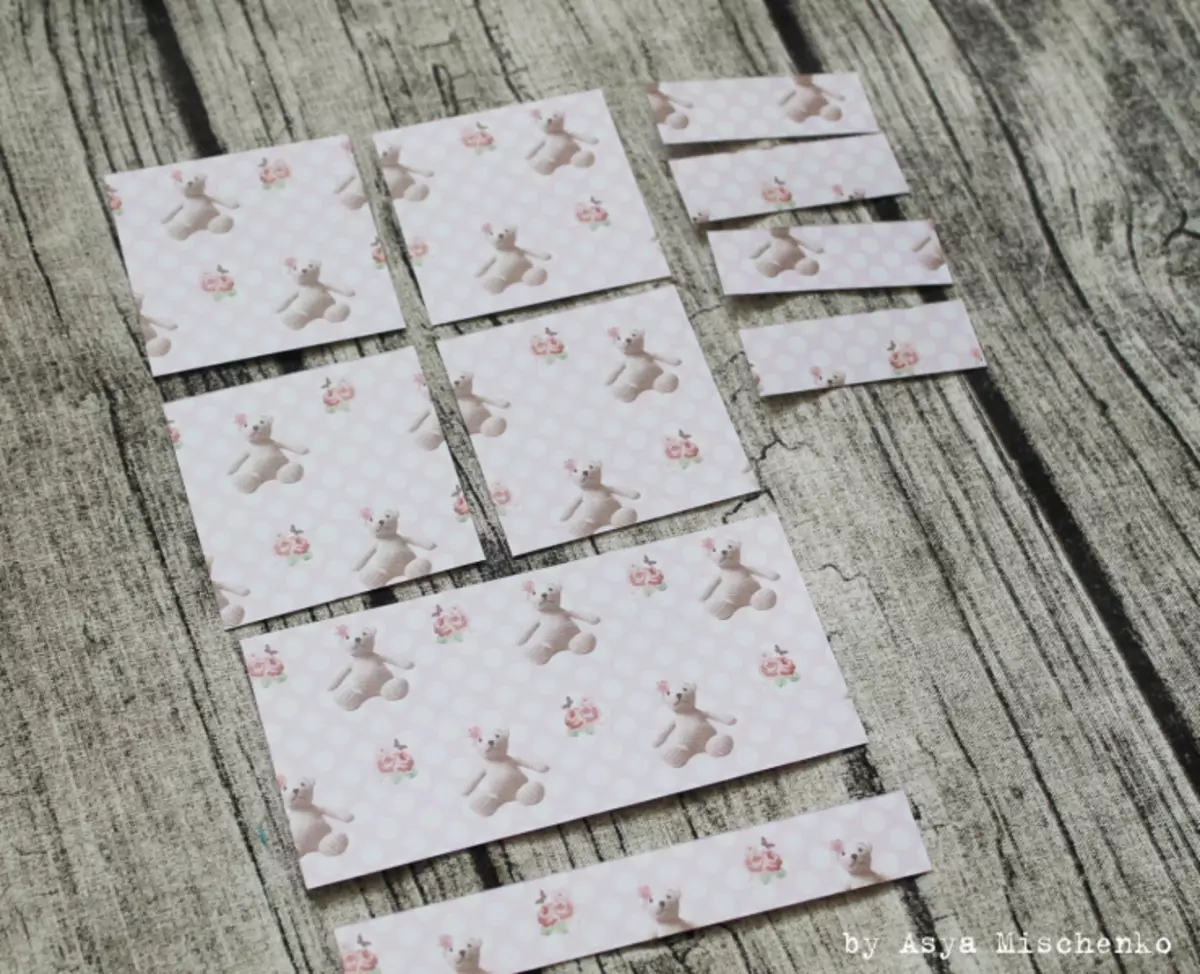
For decoration of paper, you need to cut the size item 18.9 * 7 centimeters. In the center to spend bigovka, cut the corners for 45 degrees to this line. Glit to the outside of the box.
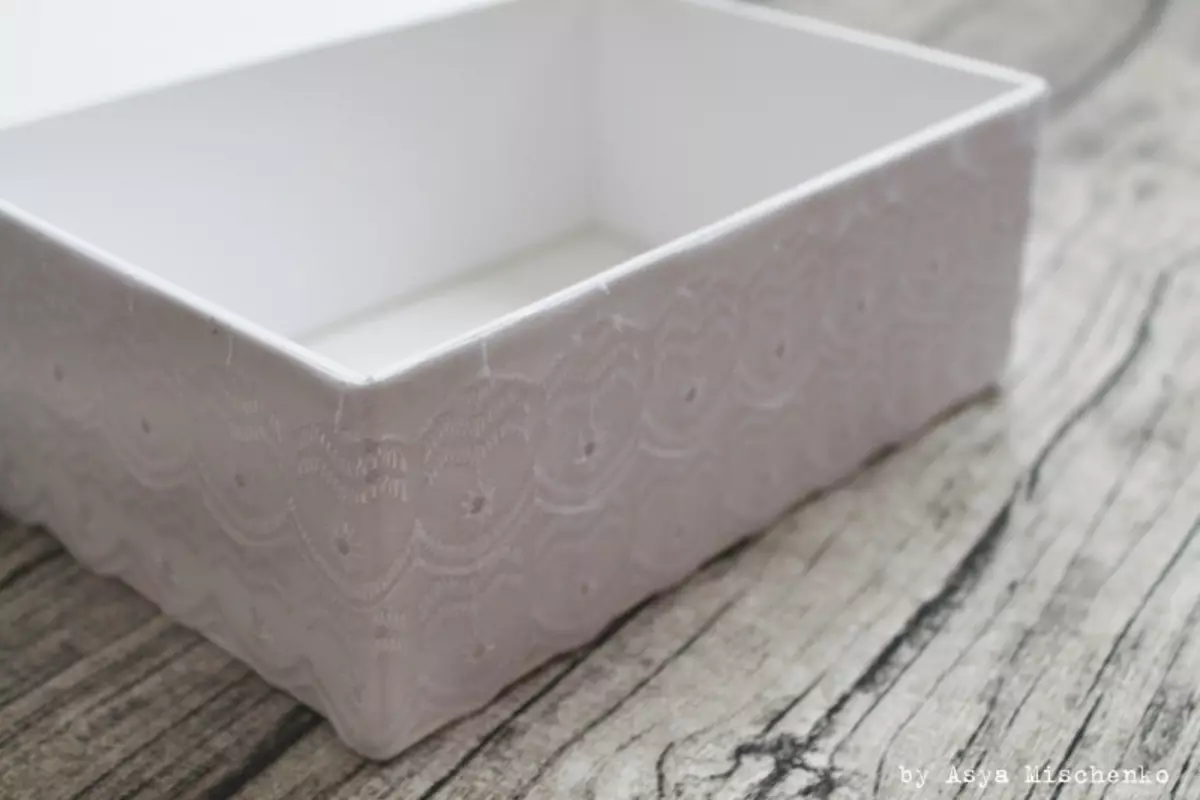
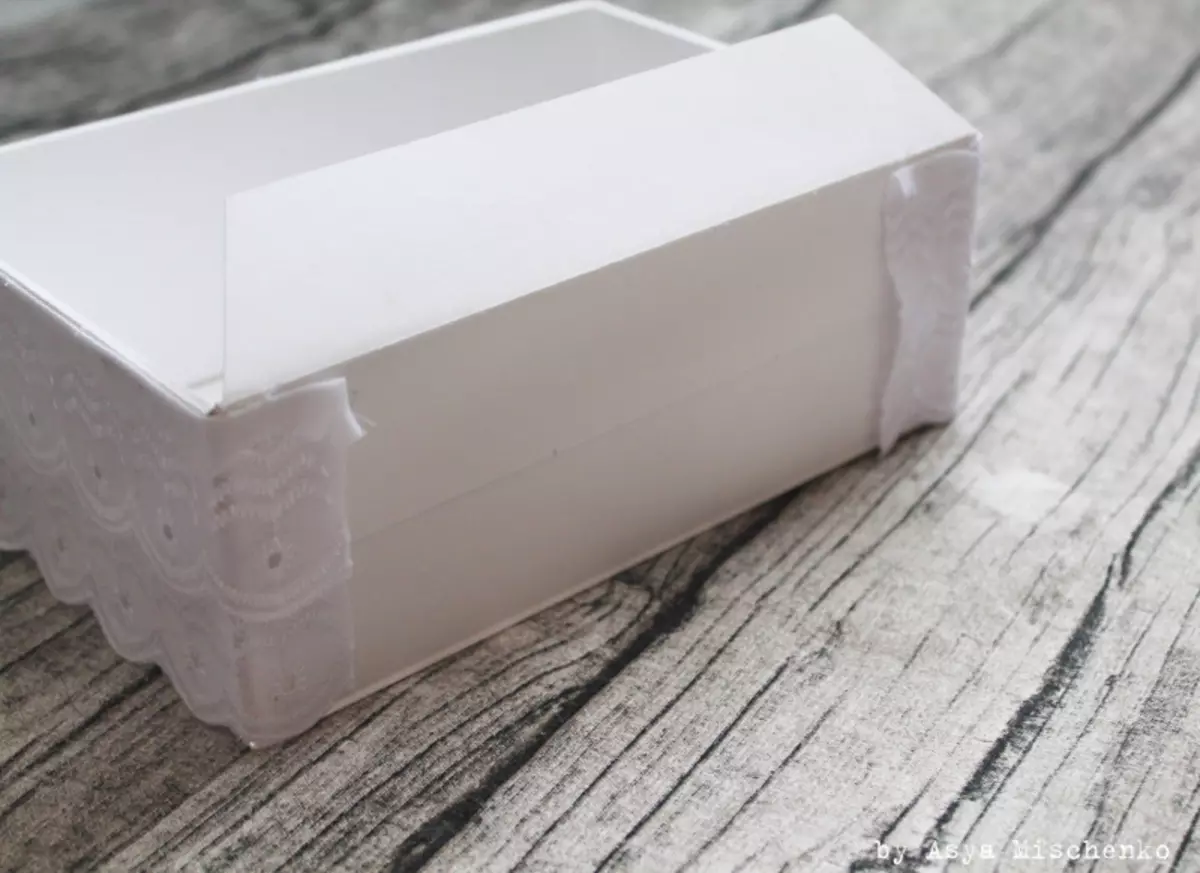
With the help of the lace to decorate the external walls, simultaneously closing the root of the root. Leave part of the side free.
In the course there is scrapbooking. From scrap-paper it is necessary to cut:
- 4 squares with a side of 4.8 centimeters;
- Detail by 12.1 * 5.8 cm;
- Detail by 12.1 * 1.8 cm;
- 4 parts 5.8 * 1.8 cm.
From the tape to make small loops.
On small leaves to write the name of the boxes, or print on the printer with beautiful font.
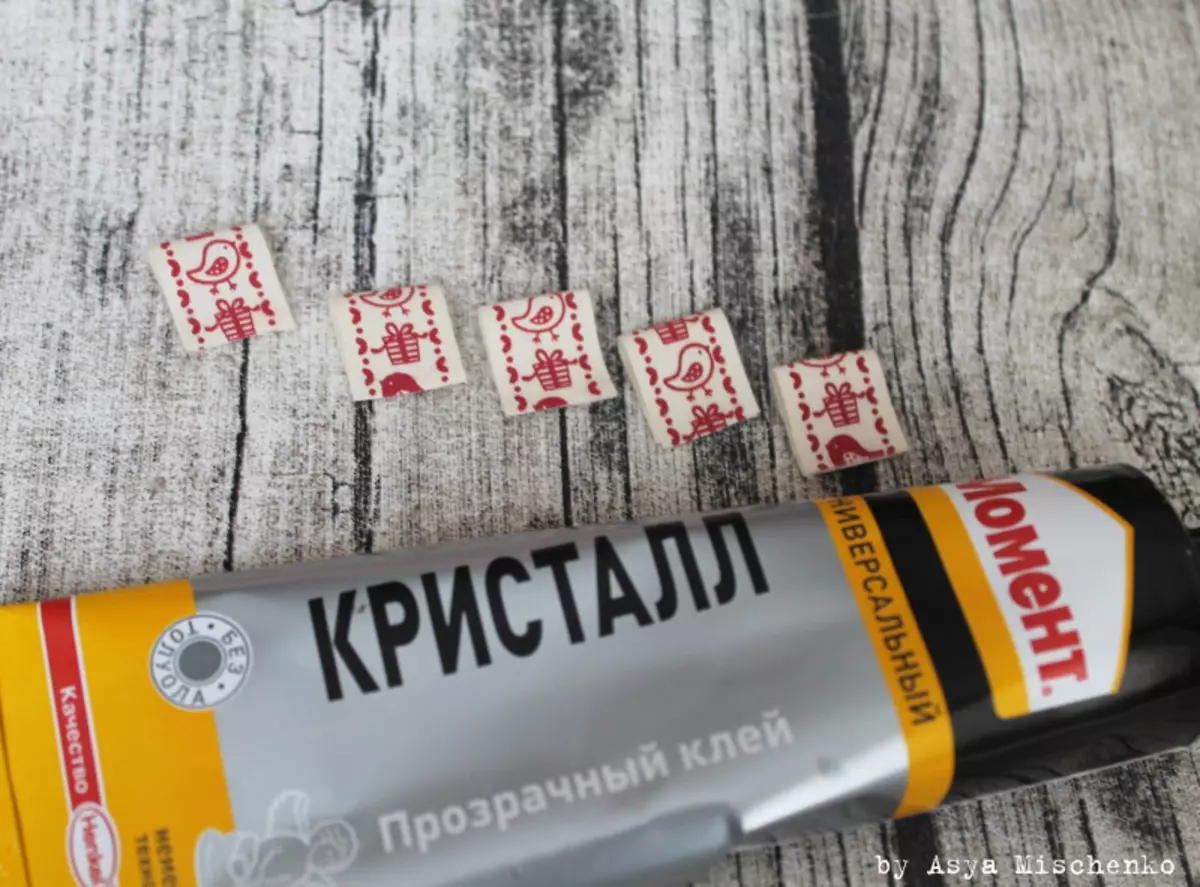
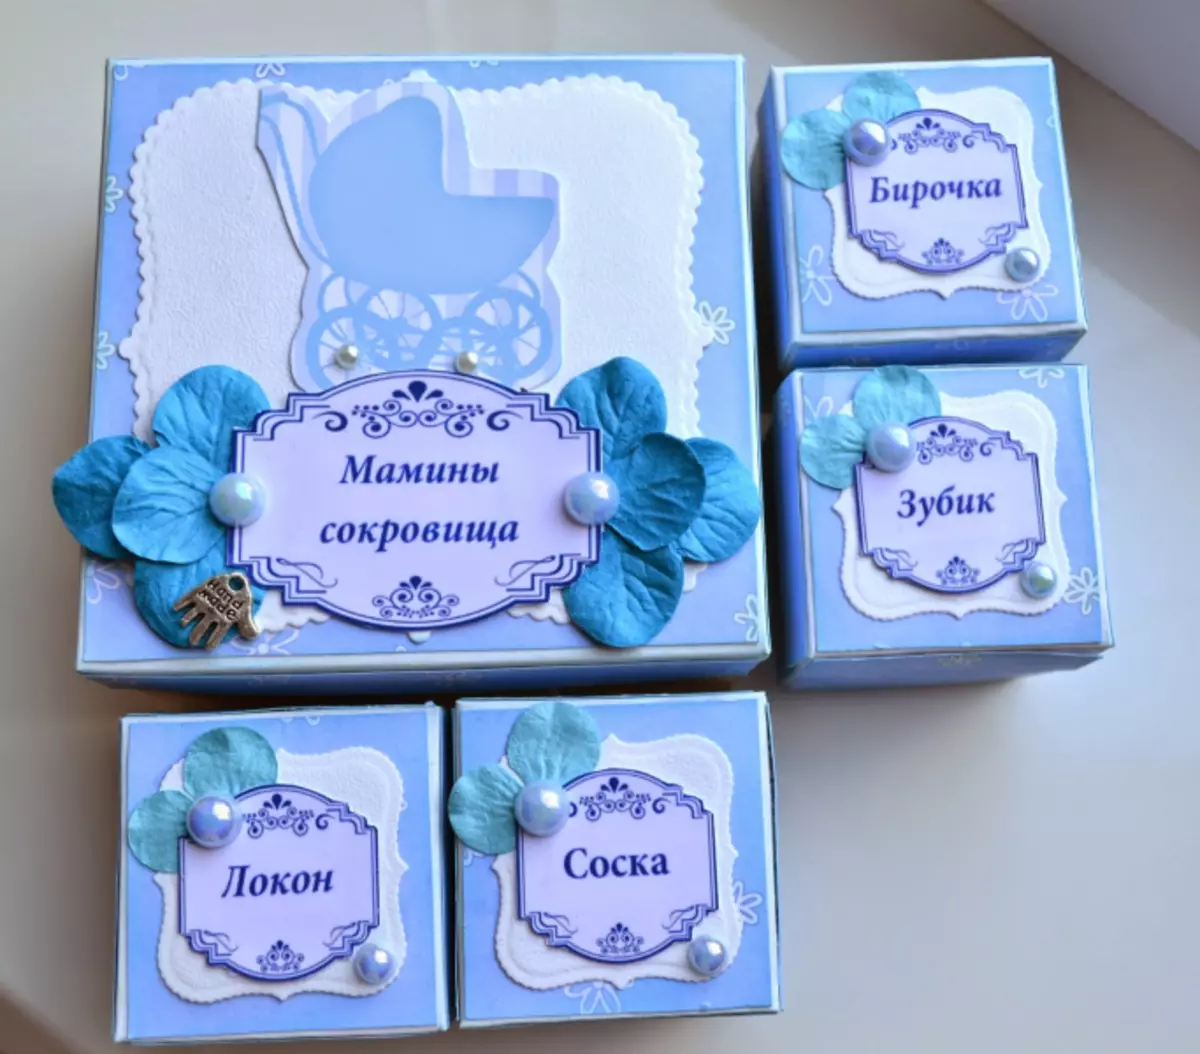
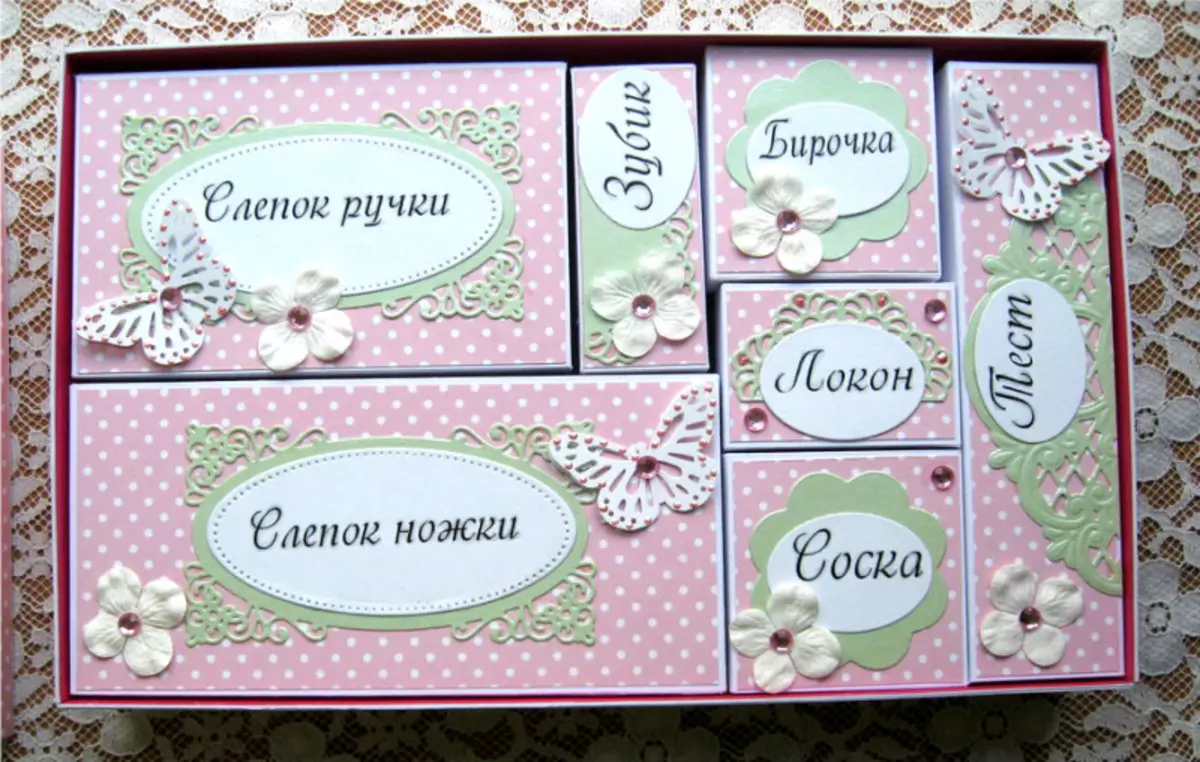
Boxes Plug Beautiful paper, inscriptions, stickers and other decorations.
Mastery Cover
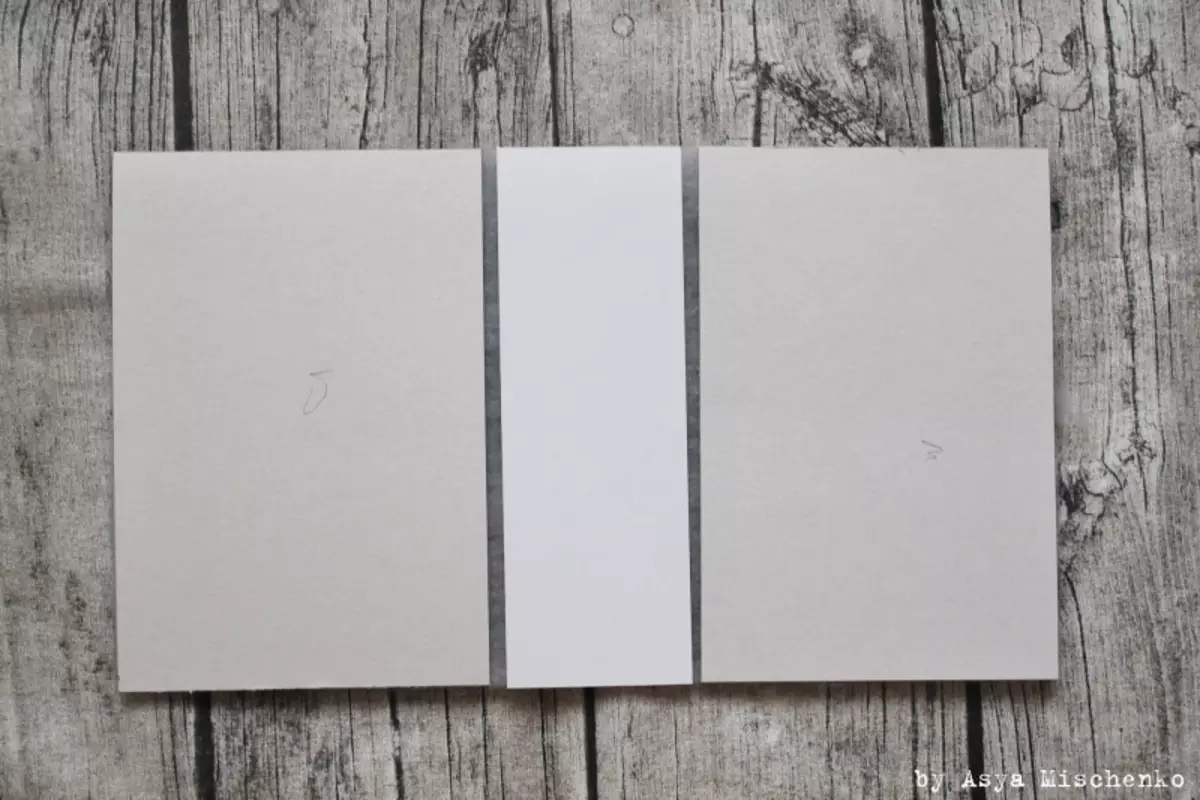
For a cardboard cover, cut the details of the cover: rectangles 14 * 20.5 centimeters and 13.7 * 20.5 centimeters, the root 20.5 * 7.
All items to glue to the syntheps, leave the gaps in the half astimeter.
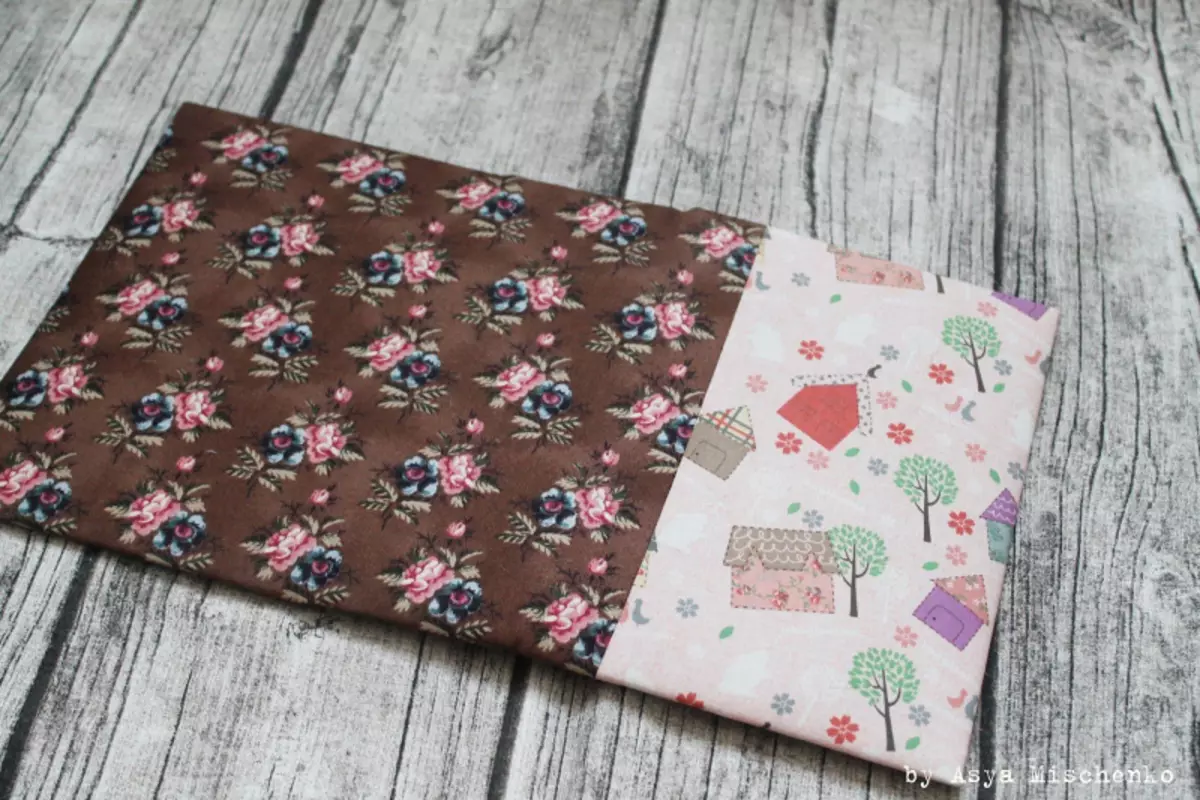
Cut the cover with cotton, preferably Korean.
Decorate the cover, sew all elements, pave the line.

Arrower.
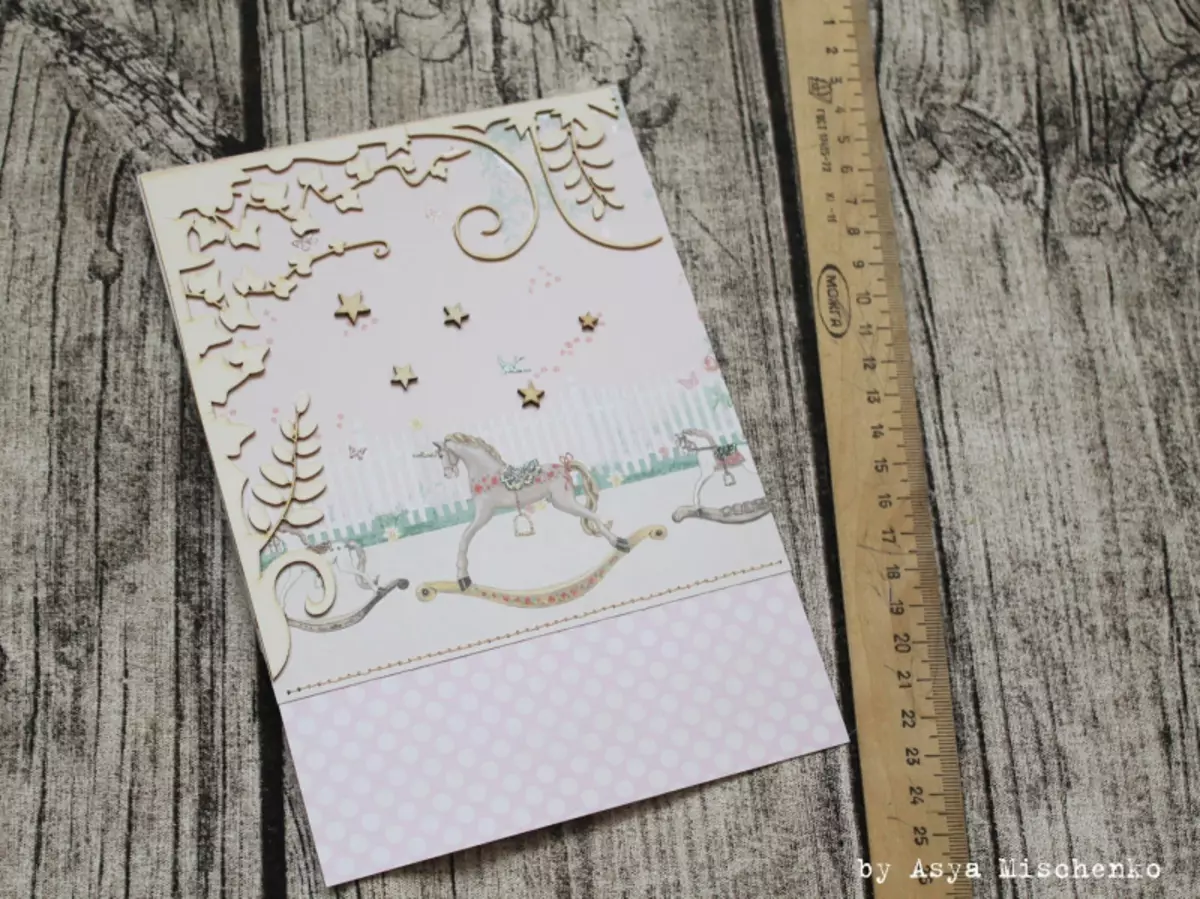
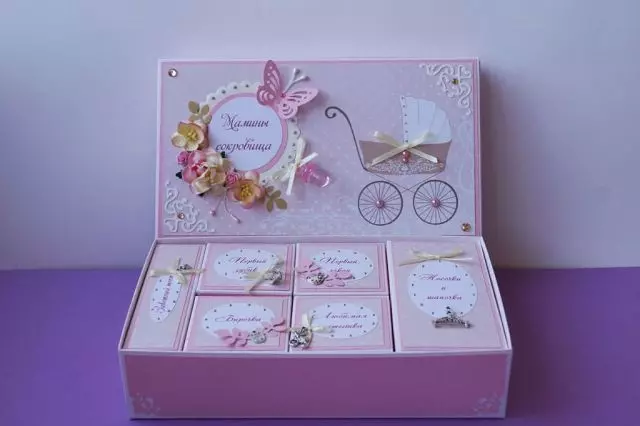
MK "Mamina Treasure" with their own hands is completed. Casket ready! Such a product is useful for both the boy and for the girl.
Article on the topic: Hair hoop do it yourself from beads with photos and videos