We offer you a master class, which will tell in detail in detail and show how to sew an alone case for the ax. The tool pattern will be manufactured directly in the size of the ax.
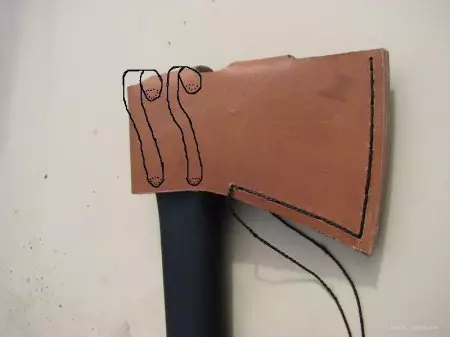
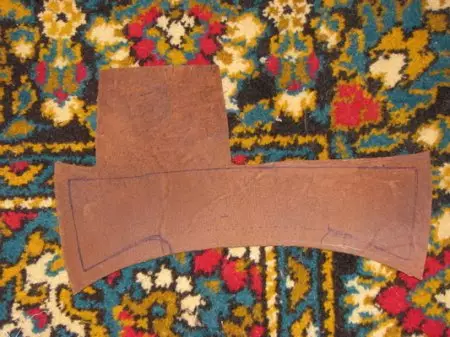
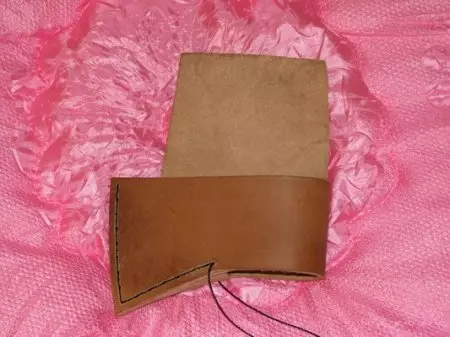
It will take a piece of sufficiently thick skin, from which you should cut the blank in such a way as shown in the photo.
To cut the skin best suitable scissors for cutting metal. Be sure to cut the pattern out of the skin with a small margin.
At the same time, the size and contour of the axis itself is best to outline on the leather blank using a pencil or handle.
Now you should cut the wedge to expand the ax and blade. Also under the wedge to cut the edges.
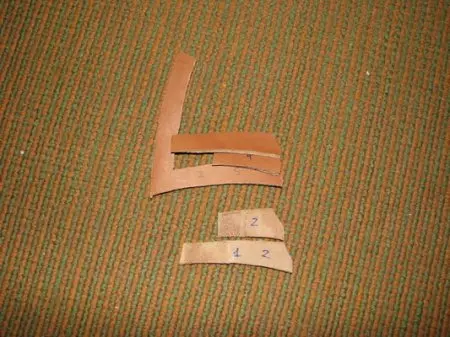
Next, using the usual "moment" glue, these wedges should be glued together in a similar way.
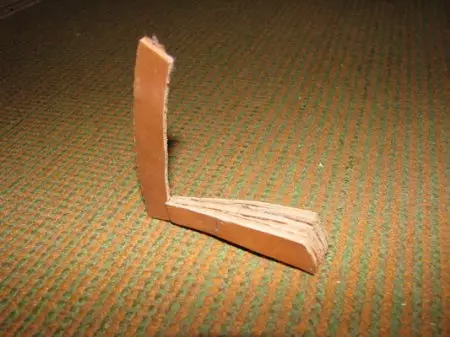
We glorify the resulting workpiece from the wedges in the main part in our place.
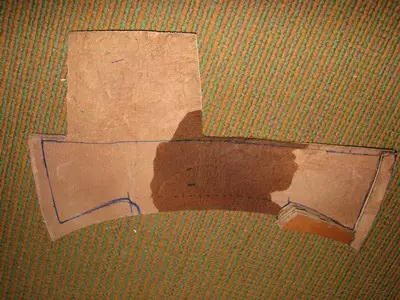
Since everything was done with some reserve, then at this stage it is necessary to throw some part that in the photo is indicated by a red marker.
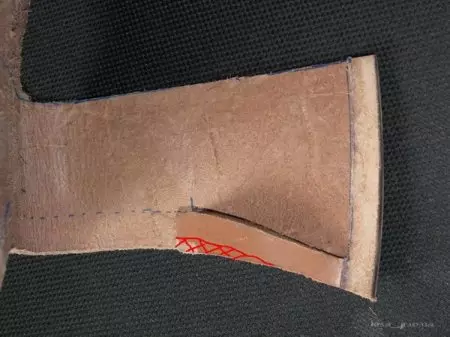
For these purposes, the grinding machine is well suited. The width of the insert obtained turned out 9 mm. Now you should decide on the seams - one or two. Alternatively, make a pattern without reserves, then a significant part of the work on the fitting will leave. But someone like it.
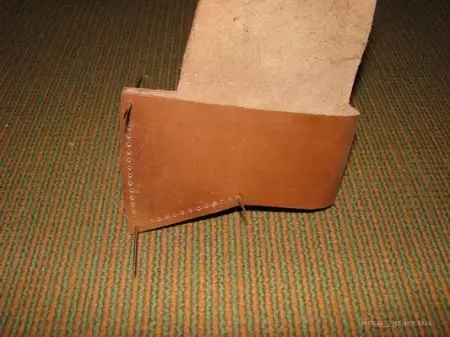
Next, all ends should also be processed on the grinding machine, after which it is necessary to schedule a line of the future seam, which will be held at a distance of 5 mm from the edge of the product. On the planned line, there should be places for holes, for which you can use a special wheel or even fork.

When the markup is ready, you can start drilling holes. Here it is useful to bormer, which works with a diamond needle. Pay special attention to thick sections with wedges so that the needles lengths are enough to make a through hole. In the event that the hole must be done on both sides, check its alignment with a conventional sewing needle.
Article on the topic: how to clean the kitchen utensil from stainless steel
After the holes are ready, the groove is needed in leather products.
In this case, a scalpel was used. Then the boron can be used, which will smooth the obtained groove.
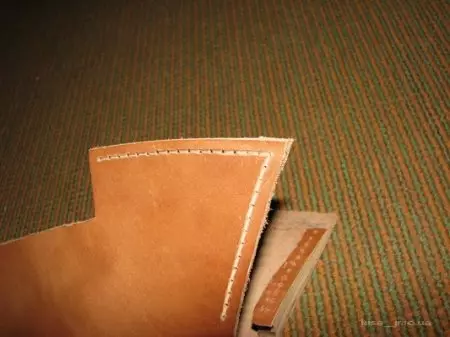
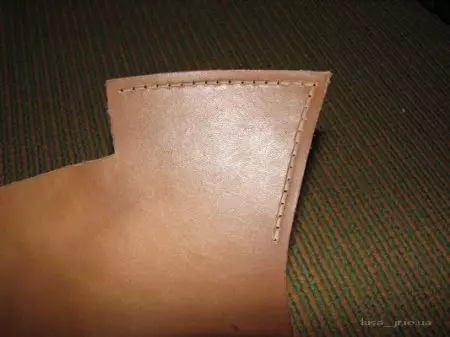
We start sewing a case using a hook and starting with a thin part of the product.
The next step is the installation of the spin and cutting the holes for the fastener. Please note that work should be performed in this sequence. For these works, you should wet the skin in the workplates, after which the material becomes more elastic.
Now, on the reverse side, the sleeper should drill a hole using a 8 mm drill. This is done so that the screw from the sleeper is a bit puzzled.
It remains to make slits and fasten the resulting fastener. Thus, two clasp should be made.
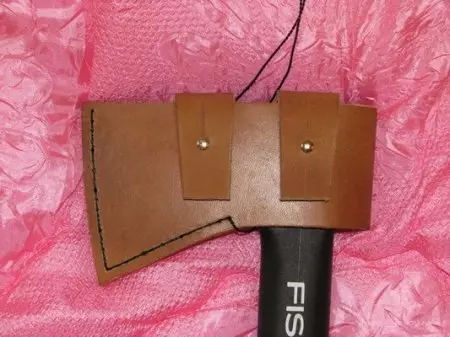
In general, the case for the ax is already ready only to solve the issue with the suspension so that it is not only beautiful, but also practical.
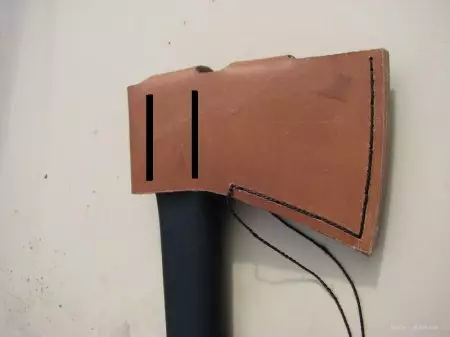
Alternatively, you can cut through two parallel lines for the belt. A simple and reliable solution is enough, but you should choose the corresponding belt.
The second option is a poll, which will guarantee a free suspension, but in this version the ax will hang out when walking.
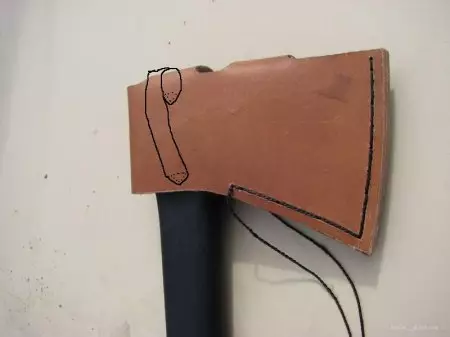
But a better option will be two polls that will make the attachment of the ax on the belt tougher.