
Ahead of all the favorite holiday is a new year, so it is better to think about the dresses for yourself or your children in advance. As they say, prepare Sani in the summer. And it was not for nothing that I fell on the mind of the old Russian saying, because the speech in this article will go exactly about the truly Russian accessory - Kokoshnik. Especially since recently, to great joy, the fashion of the outfits that are mastered and prepared our great-grandmothers are beginning to be returned - embroidered sundresses, knitted scarves and painted shirts. How to make Kokoshnik do it yourself from cardboard you will learn in this article.
Kokoshnik is called an ancient Russian headdress in the form of an embellished and decorated shield. Girl's forehead.

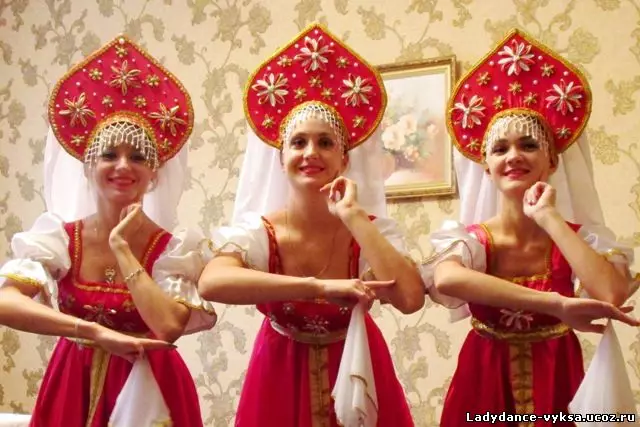
If the New Year's suit implies the old Russian style and the presence of Kokoshnik, then it is in this article that you can find an answer to the question of how to make Kokoshnik for any holiday.
For further work it will be necessary:
- First of all, cardboard to create the foundation of Kokoshnik;
- fabric, braid, ribbons, gum;
- sewing kit;
- Rhinestones, beads or sequins for decoration.
Decoration for adults and children
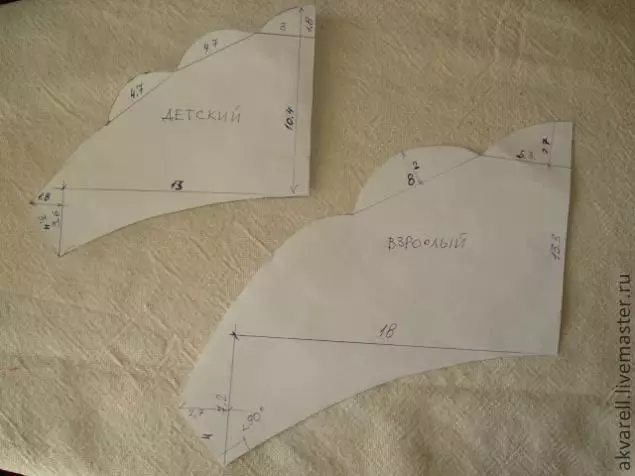
Kokoshnikov can be made for every taste and size, just enough to prepare patterns. Next, consider the master class on Kokosnik with your hands from cardboard for children and for adults with finished patterns.
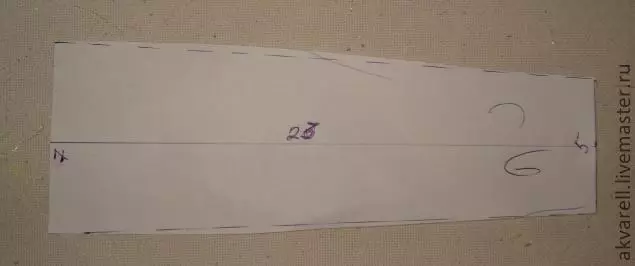
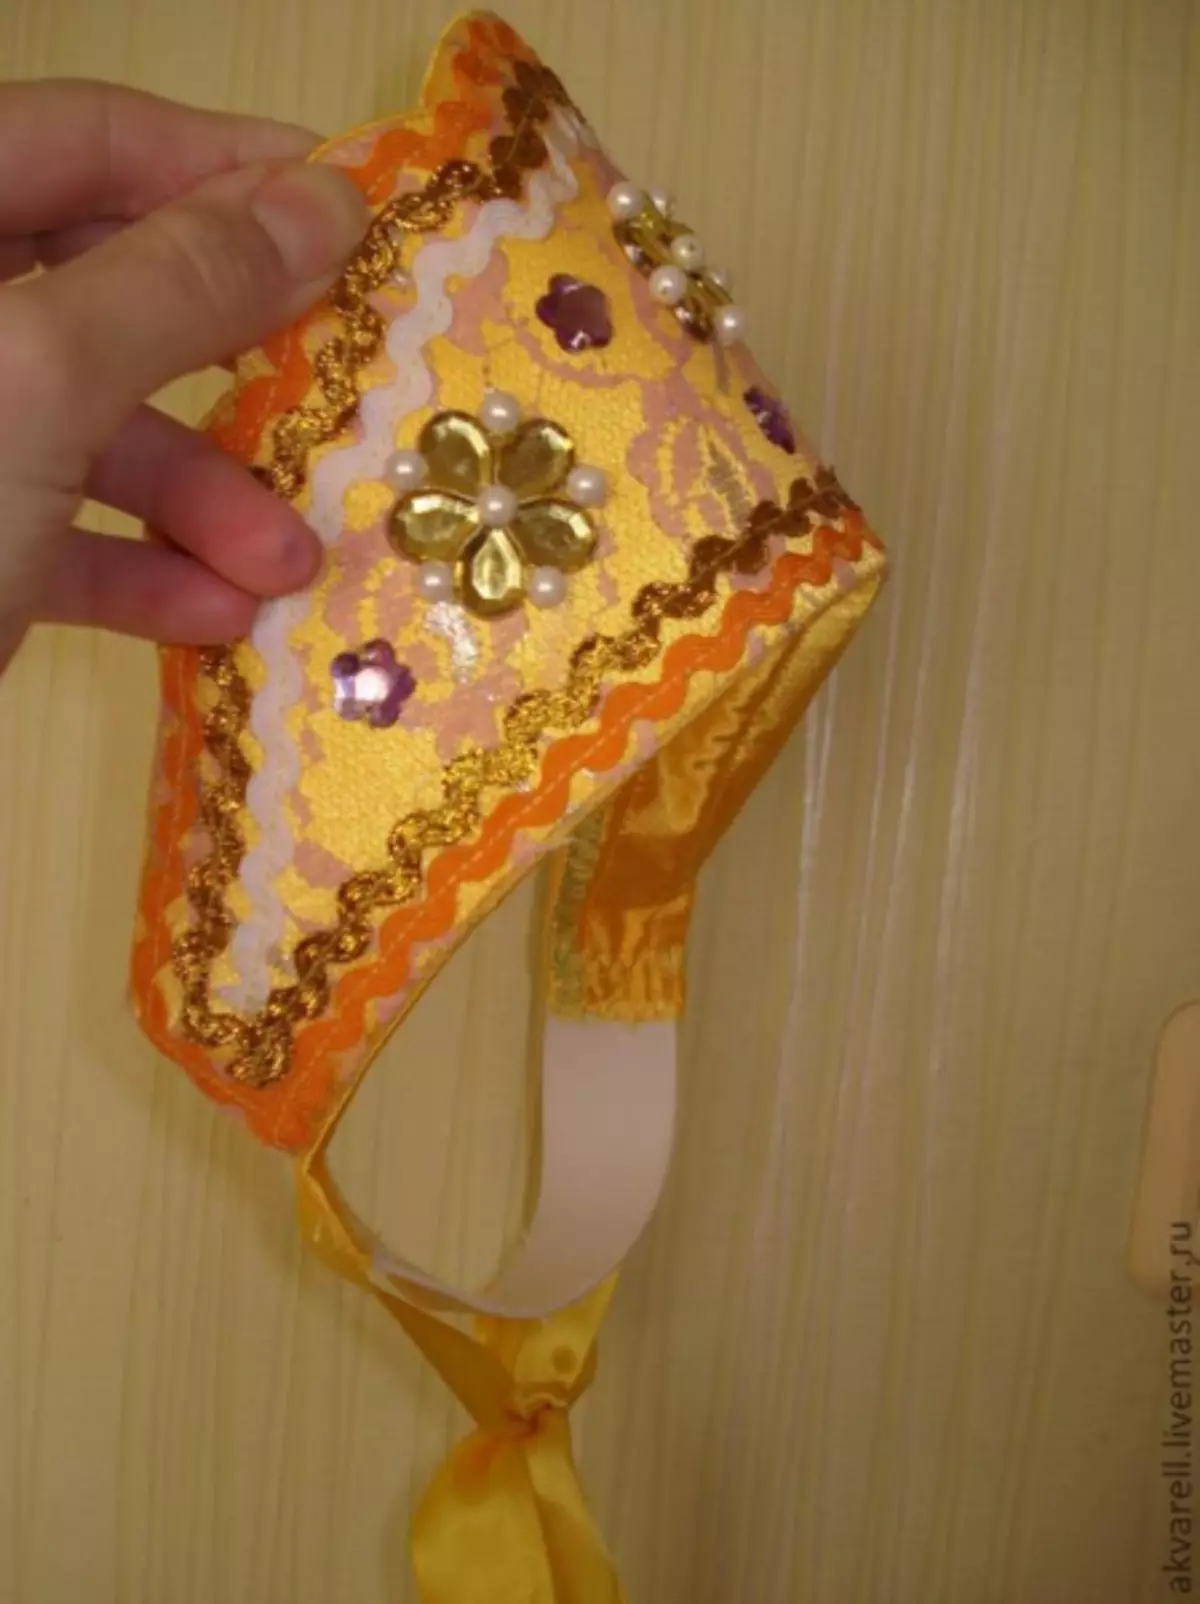
- Cut the base of the cososhnik, the pattern with dimensions is shown in the photo.
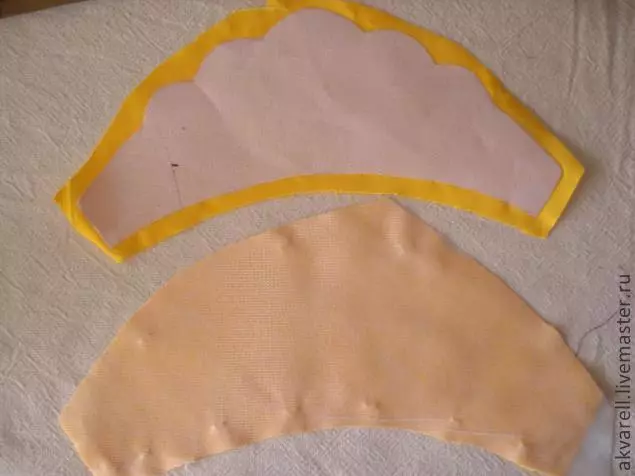
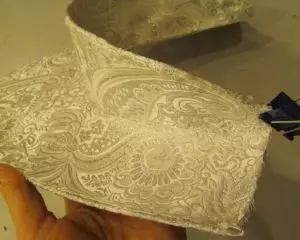
- In their taste and wish, choose a tissue that we will sow a headdress. In this case, we use the guipure and crepe-atlas.

In addition, it is necessary to prepare several types of braid and satin ribbons, gum.
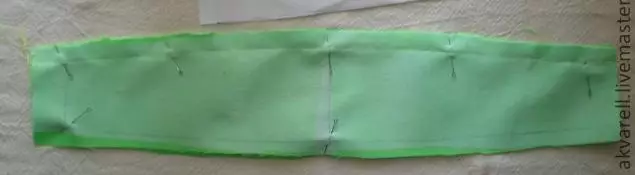
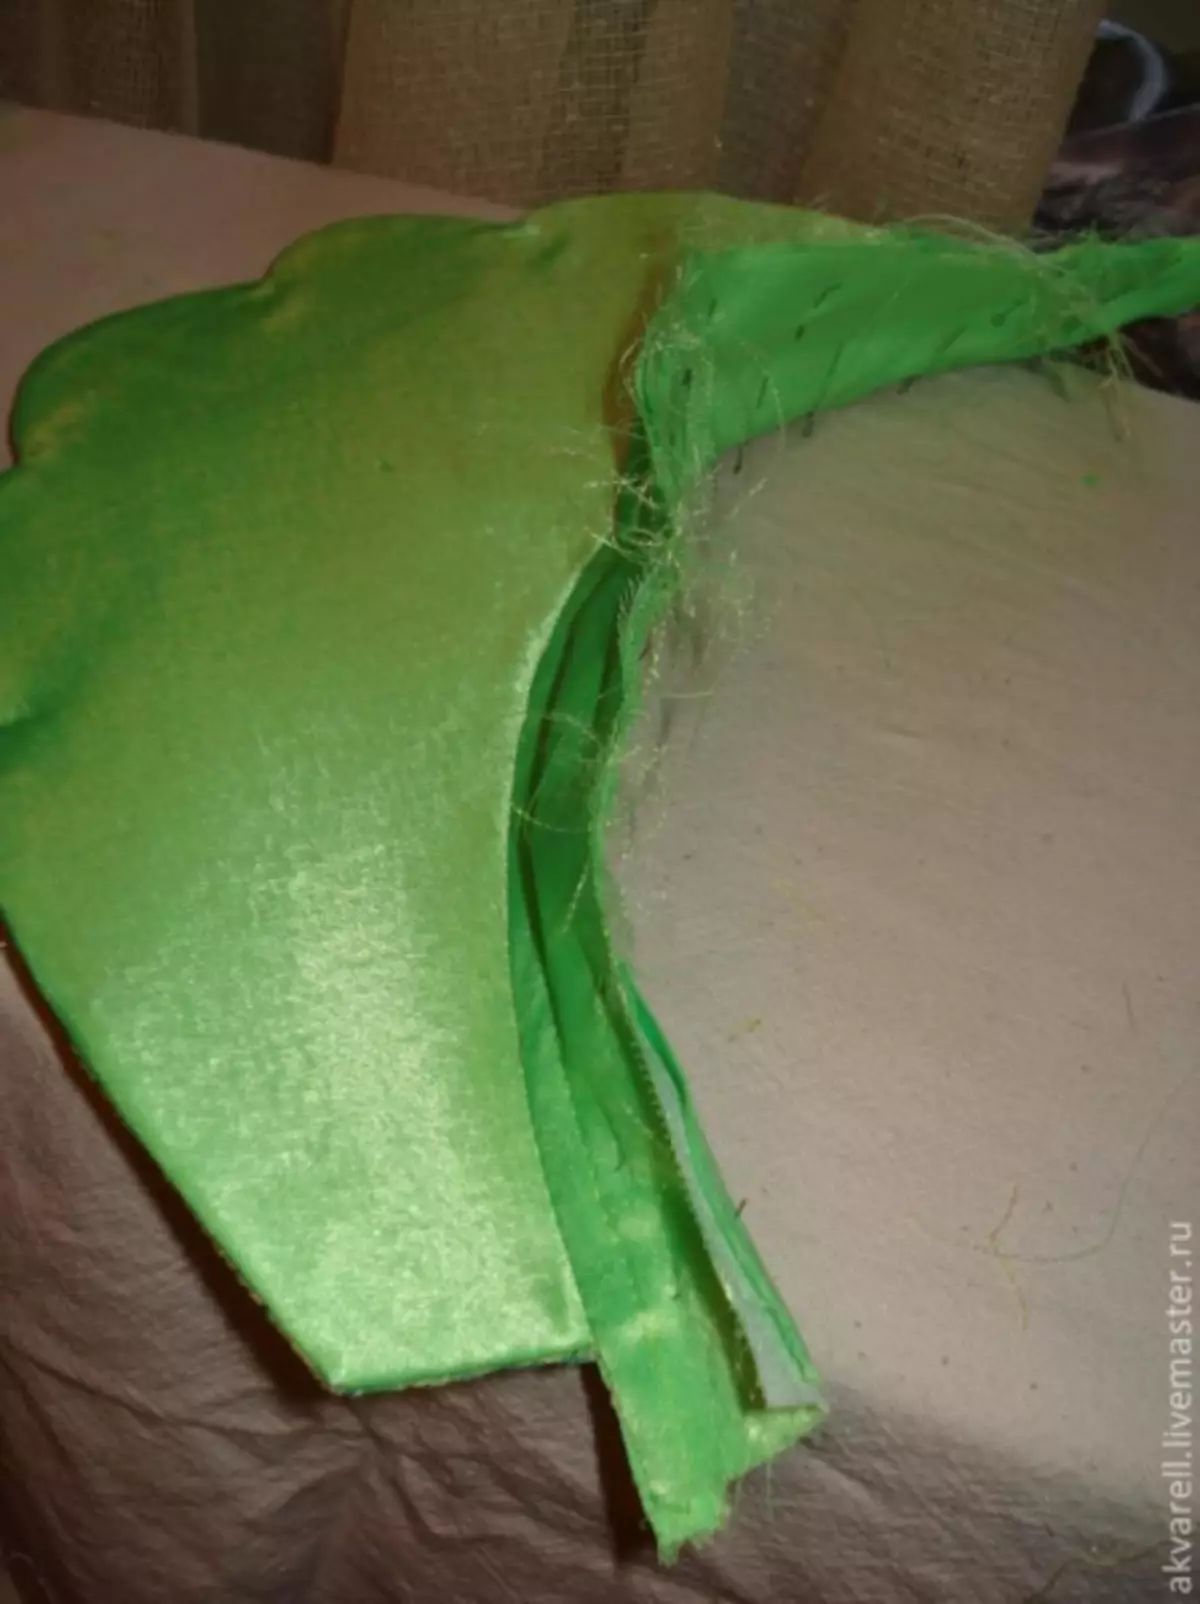
- Patterns of dense fabric, for example, dublerin, - for the front and back, we fold together with the cardboard part, we flash and turn. At the same stage, we use fabric.
Article on the topic: Weaving bracelets from laces for beginners: how to weave with video
Do not forget to make allowances on fabric patterns.
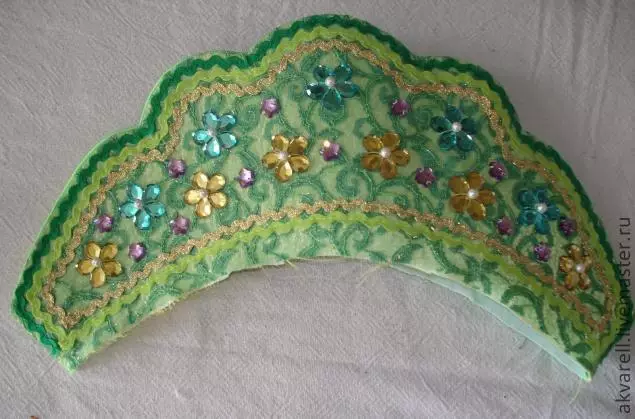
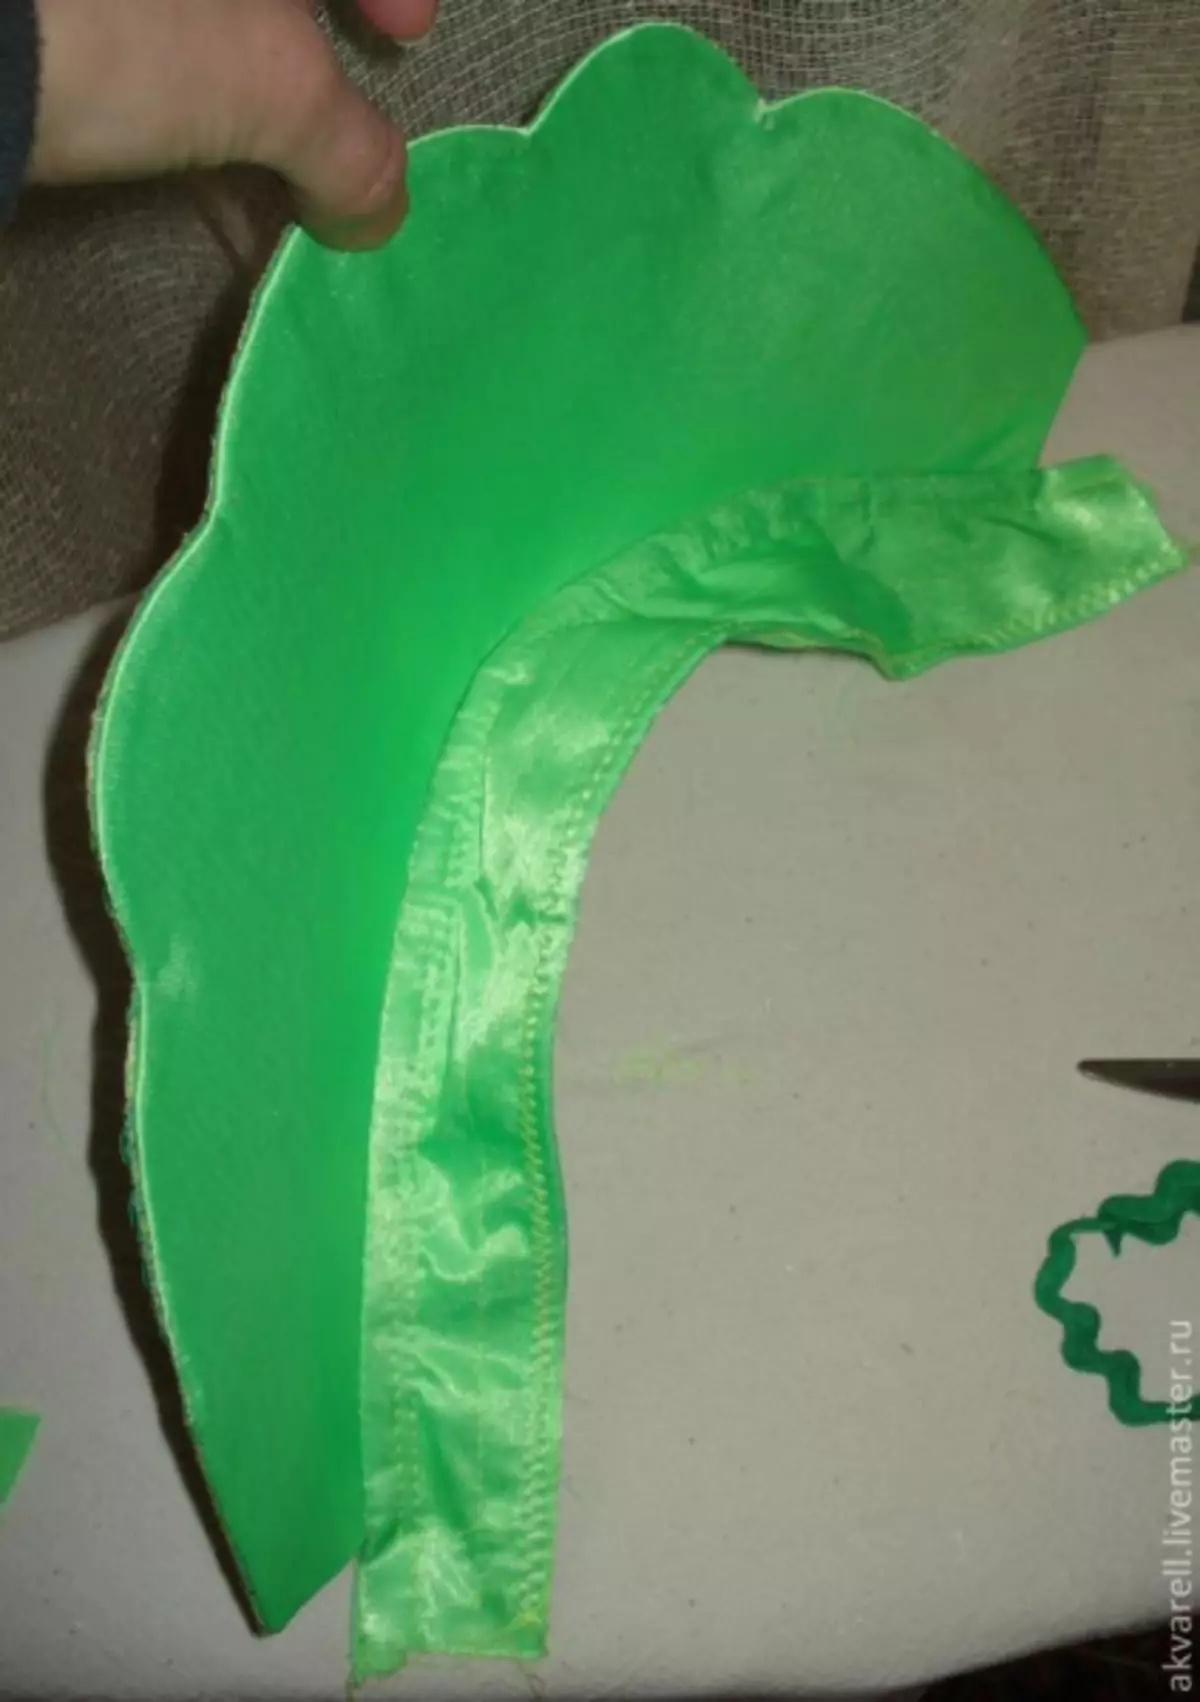
- The basis is practically ready, you can immediately begin the decoration - to put tapes, rhinestones, beads in any pattern.
- We prepare the rim, you can use the pattern for an adult kokoshnik, children better make a little smaller.
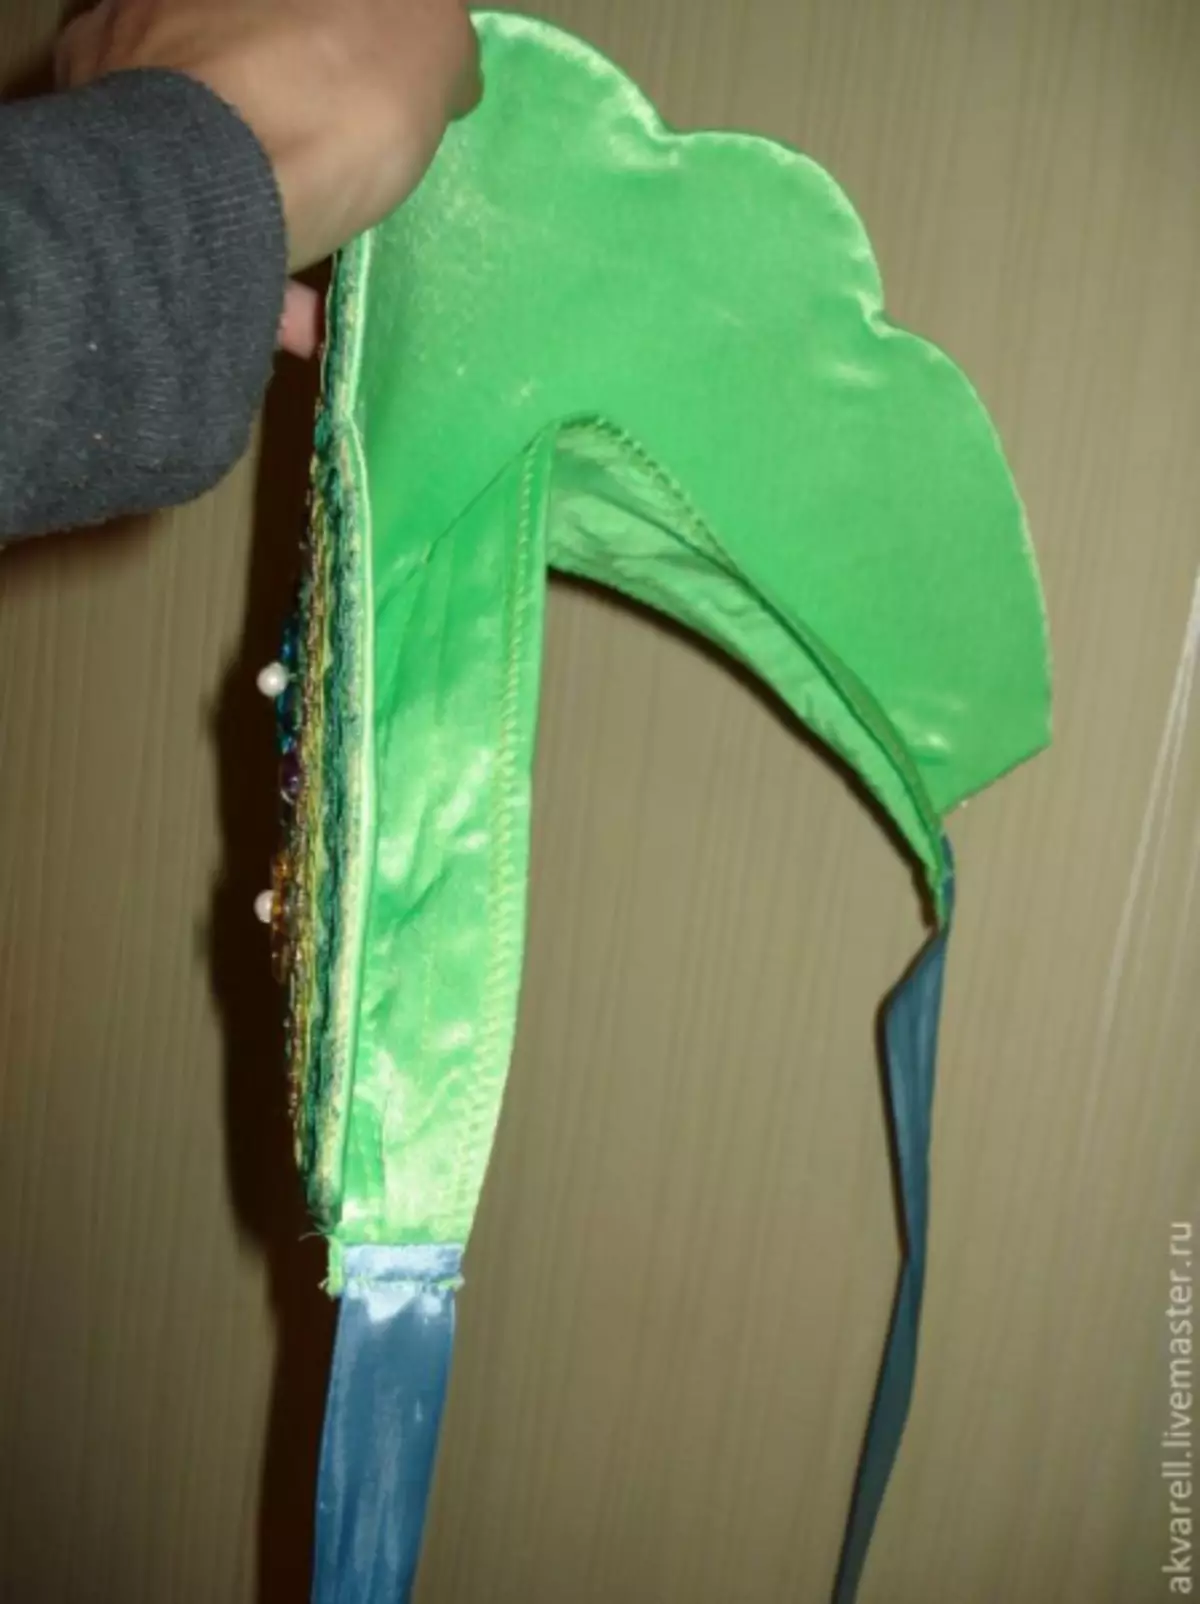
- We apply to the base of the headdress, stitch and smooth.
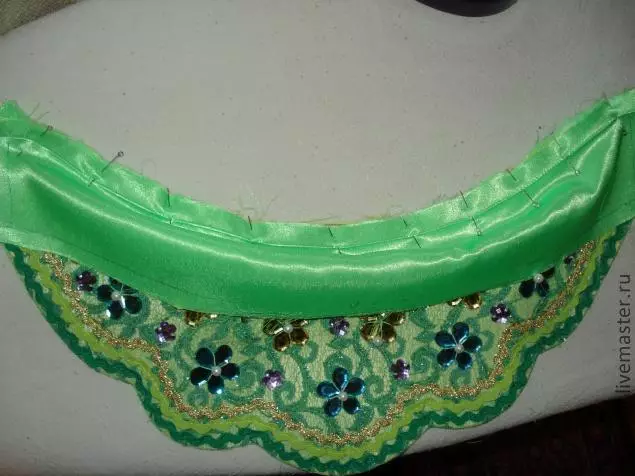
- There should be a straight corner between the Kokoshnik and the rim.
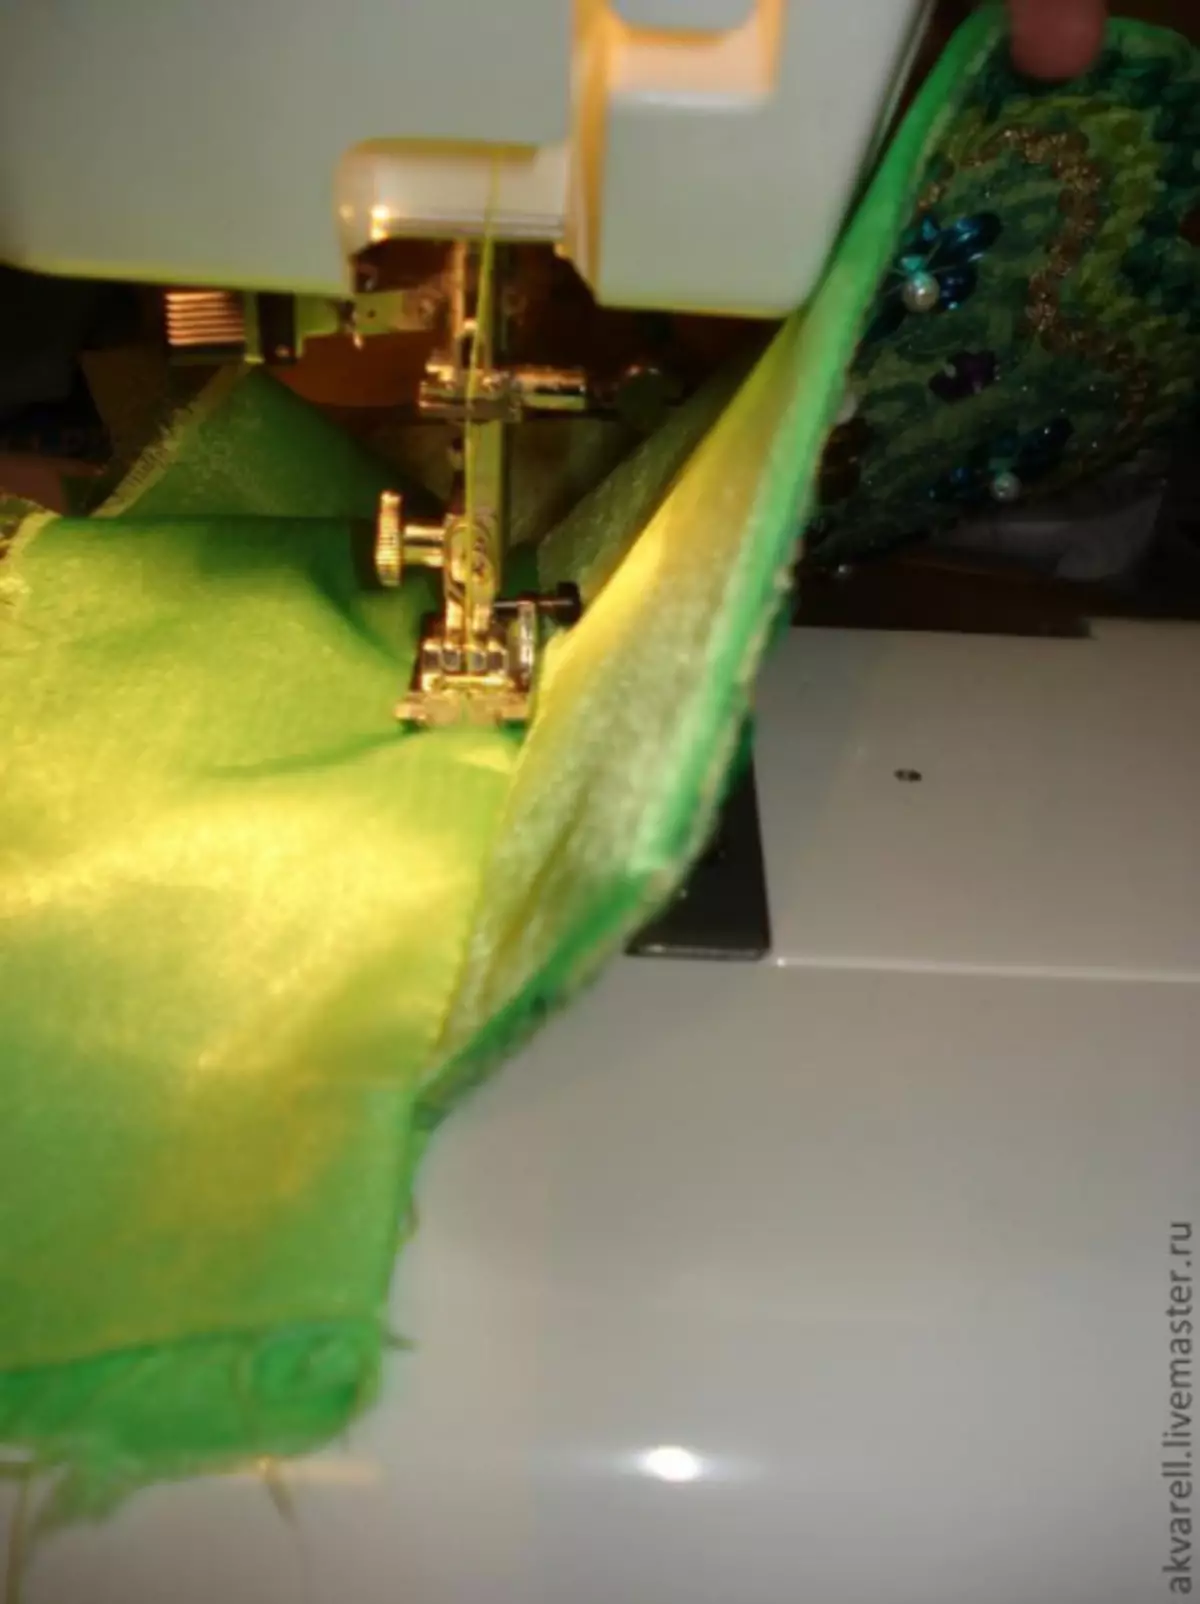
- Unprocessed edges can be flashing on overlock.
- Send ribbons as tires.
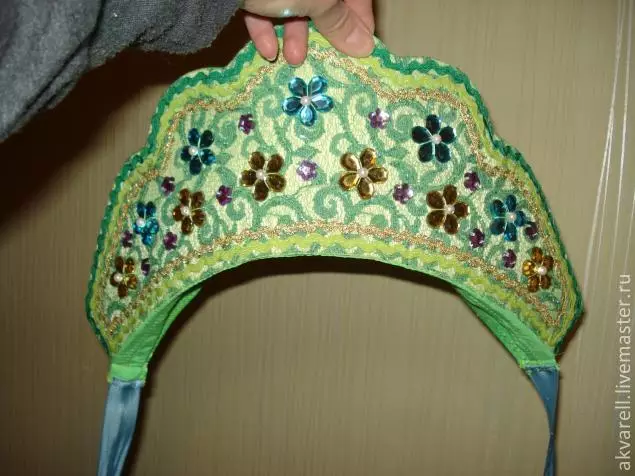
- It is better to complement the Kokoshnik elastic to him so that it does not fall.
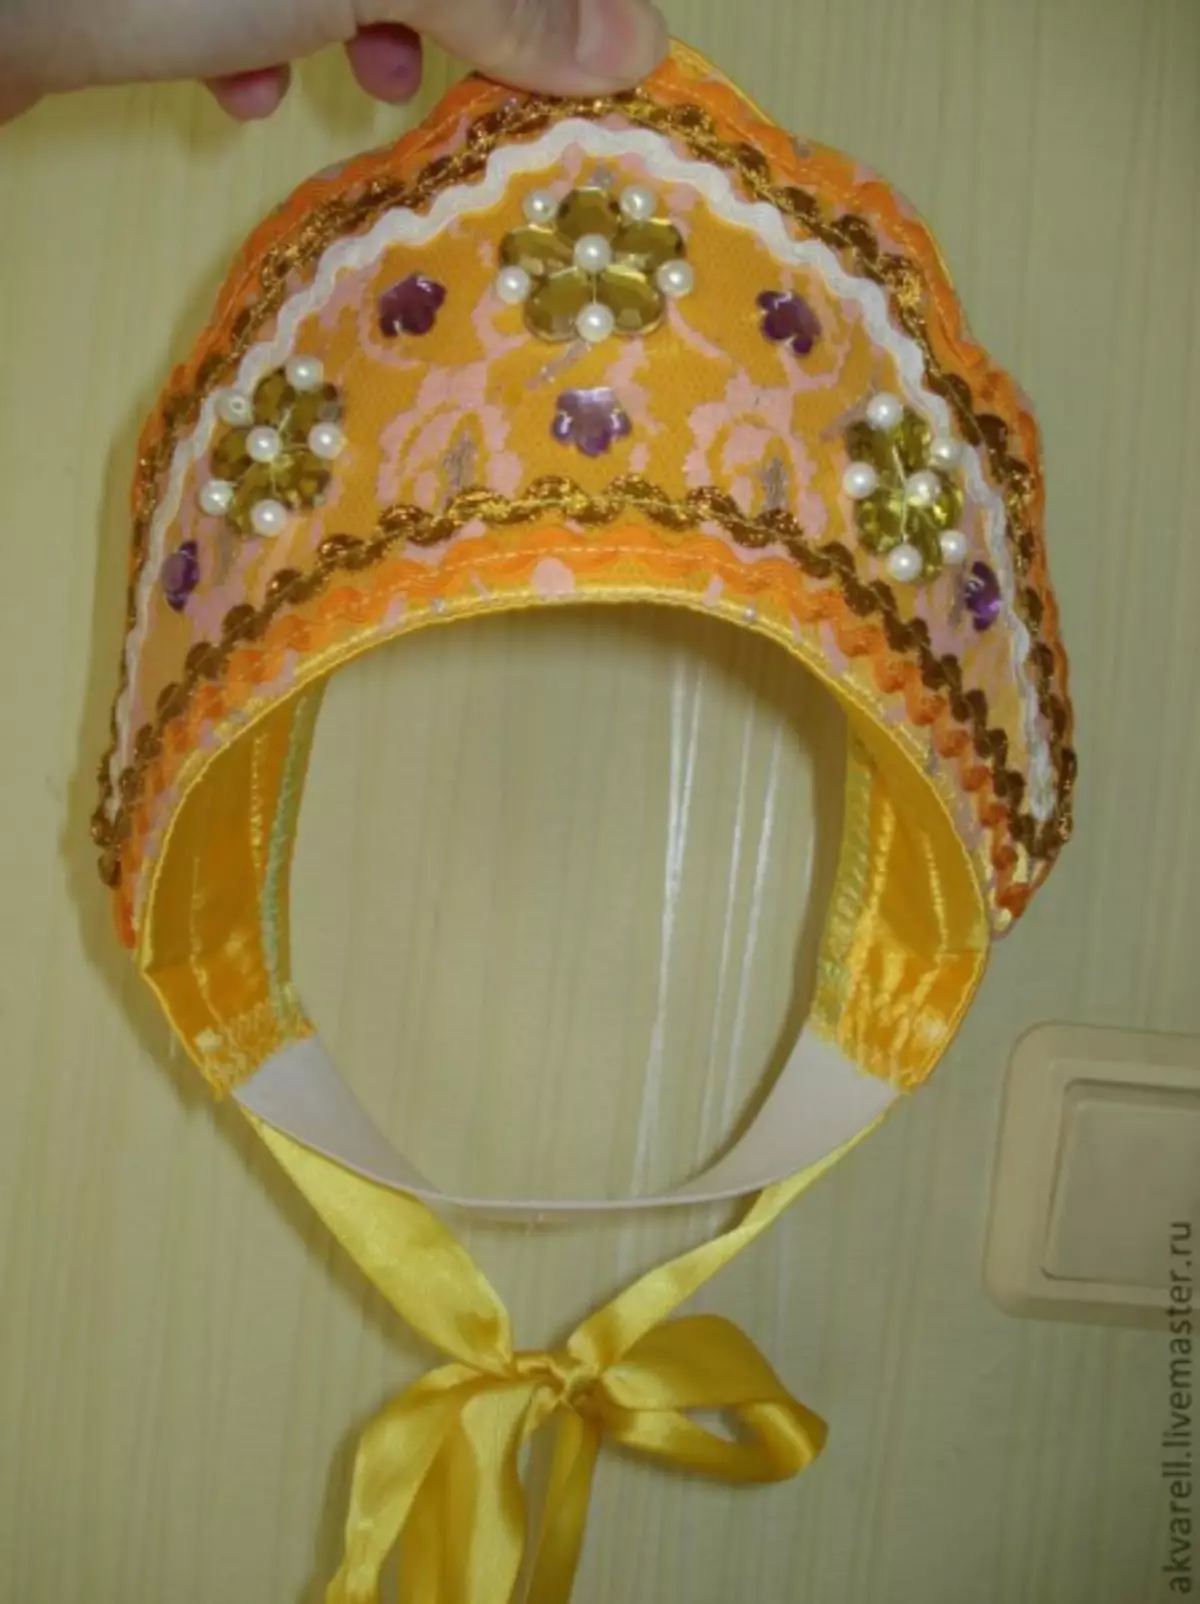
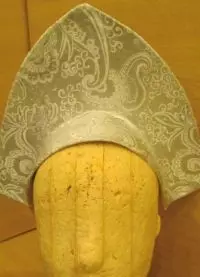
It turned out very beautiful and very simple to perform a headdress.
As already mentioned, a pattern for the manufacture of Kokosnik can be used for both children and adults. And at will, by reducing it several times, you can make it easier for the elegant kokoshnik and for the doll. The principle of working with materials remains the same.
For Snow Maiden
Snow Maiden can be found not only on an elegant New Year's suit, but also on a luxurious white or silver coster of large size.
Such an accessory can be made with your own hands using all the same materials - cardboard, fabric and decorations.
To keep such a big design well, a robust frame is needed, which can be made of wire.
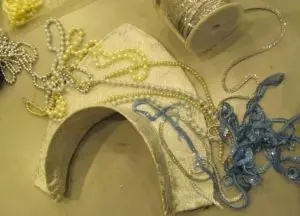
So, proceed to work:
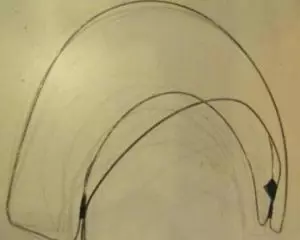
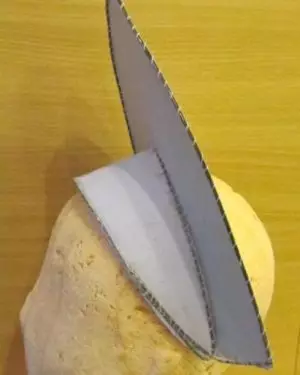
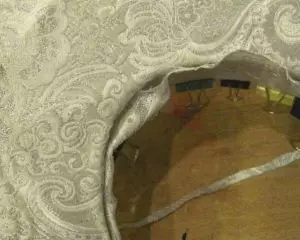
- We remove the heart measure and form the framework of the desired shape and size from the wire.
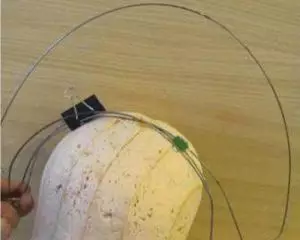
- Next, the first thing to master the rim - cut out the blank from the cardboard and gently sew it with threads to the wire, winding the thread around.
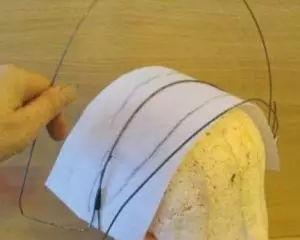
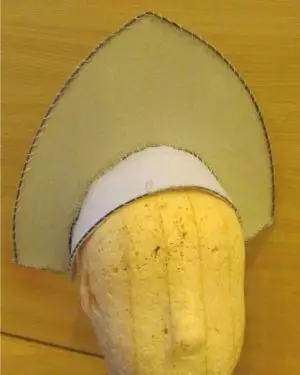
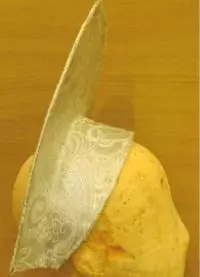
- In the same way, cut out the top of the cososhnik and fix the part with threads on the frame.

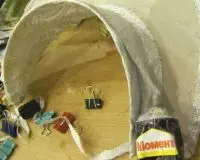
For convenience, you can use super-glue to glue the cardboard forms to the wire, but it is necessary to flash threads in any case. So the finished model of Kokoshnik should look like:
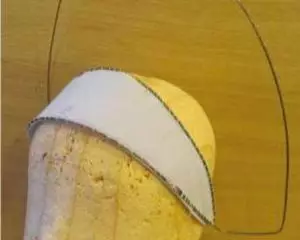
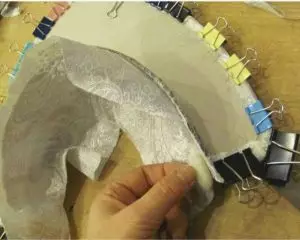
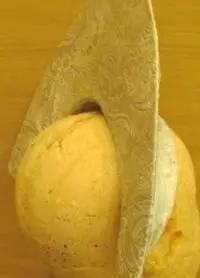
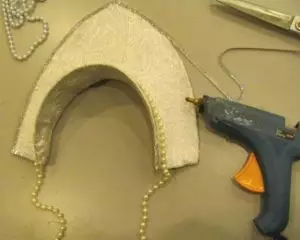
- We proceed to the finishing of the head remove cloth. Cut the patterns of the fabric with the allowance and glue them to the form on the back side. You can start the pasting fabric from any part - top or bottom.
Article on the topic: How to make dolls from socks with your own hands - master class
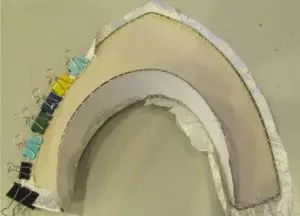
Excellent assistants will be stationery or ordinary clothespins, with their help you can fix the ignited elements and at the same time fix the cloth so that it does not move.
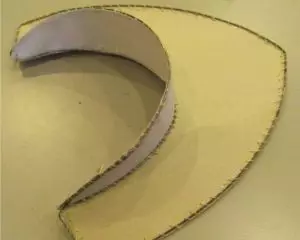
- Also glue the bottom.
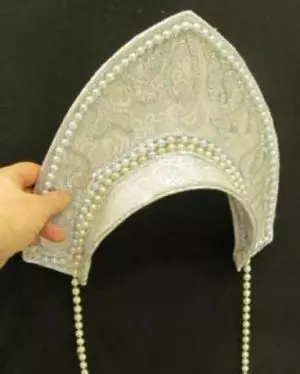
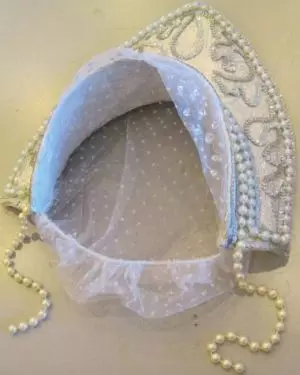
- Go to the face finish. In this case, cut the pattern of the fabric without spaces strictly in size and gently glue it.
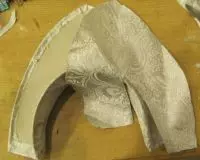
It is possible that when pasting will be visible joints and seams, but it is not scary, since when decorating the cososhnik, minor flaws will be hidden.
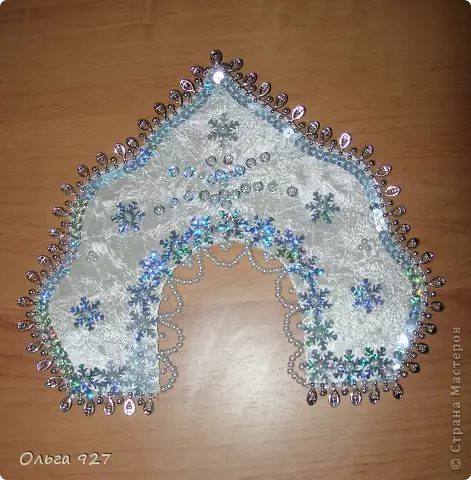
- There should be such a model of a headdress.
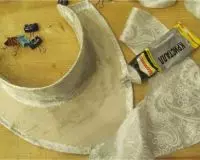
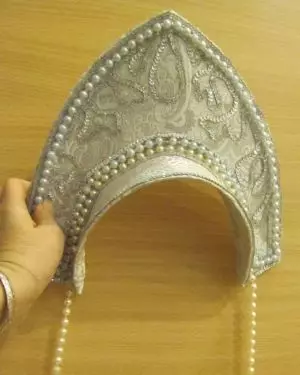
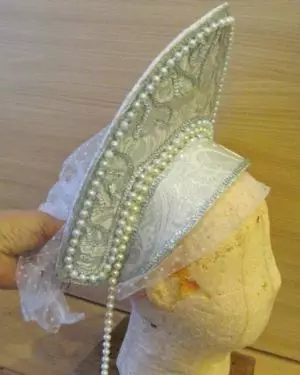
- It's time to decorate Kokoshnik. At this stage, you can use any jewelry, ribbons and fabrics. And also independently develop the design of Kokoshnik.
In this case, we use beads, which in the first stage glue around the perimeter of the Kokoshnik.
- White lace can use and emphasize the texture of the fabric with waters or beads.
- At the end, we use a tulle cloth to create a light veil, you can start it in the air bow.
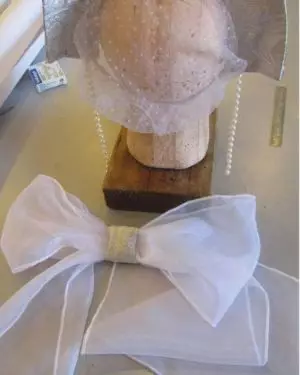
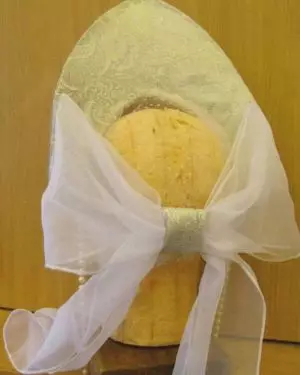
Such a luxurious Kokoshnik will definitely delight its owner, and a Christmas tree for kids will be held in a wonderful mood.
Video on the topic
An even more master classes on the manufacture of kokoshnikov from cardboard can be seen in the following videos.