
In the modern market there is a huge number of diverse caskets, alert, miniature safes for storing jewelry. They are a variety of shape and decor, but they all have one minus - this is the price. Unfortunately, all these things are expensive. But there is a great way out of this situation - to become your personal master and designer. And the box will succeed exactly as you will present. In this article, you will find a master class on a jewelry box with your own hands.
Casket from burlap
Such a box is very simple in execution, so let's start with it. According to the result, it will look like a very cute and refined old-Russian casket. And materials for this craft, if you wish, you can find easily.
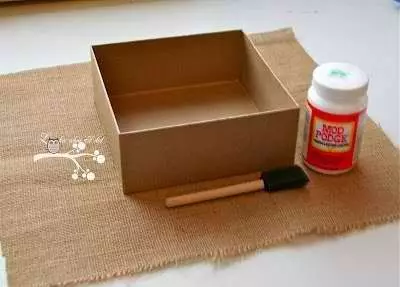
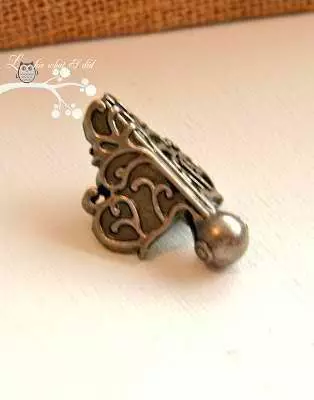
All you need is a box of cardboard, burlap (this is such a type of fabric), scissors, glue and at the request of iron jewelry and legs for the box.
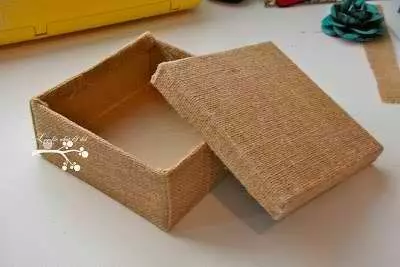
When everything is assembled, you can start. For the very beginning, we glue the box of burlap.
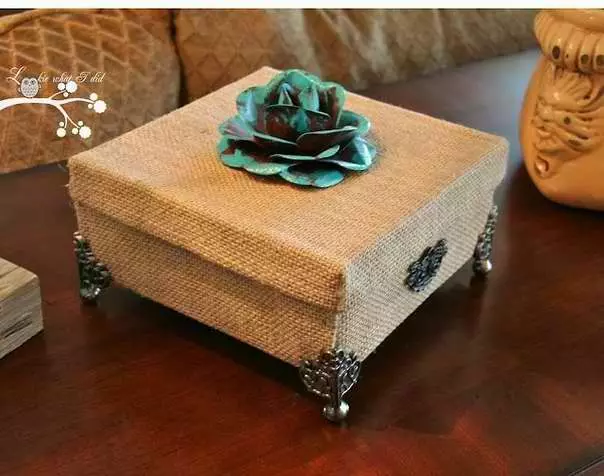
Oddly enough, but there are almost everything. To the bottom of the box on the sides, attach beautiful iron legs.
Complete the thematic decoration, for example, a dilapidated rose.
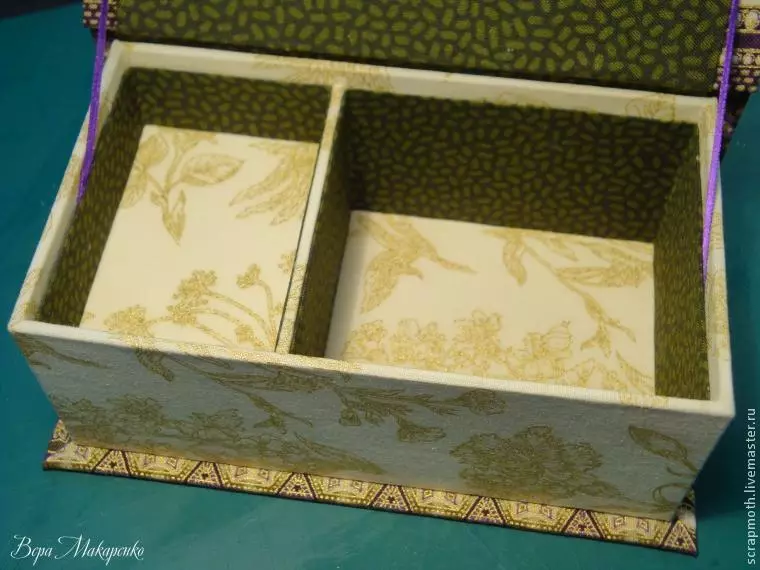
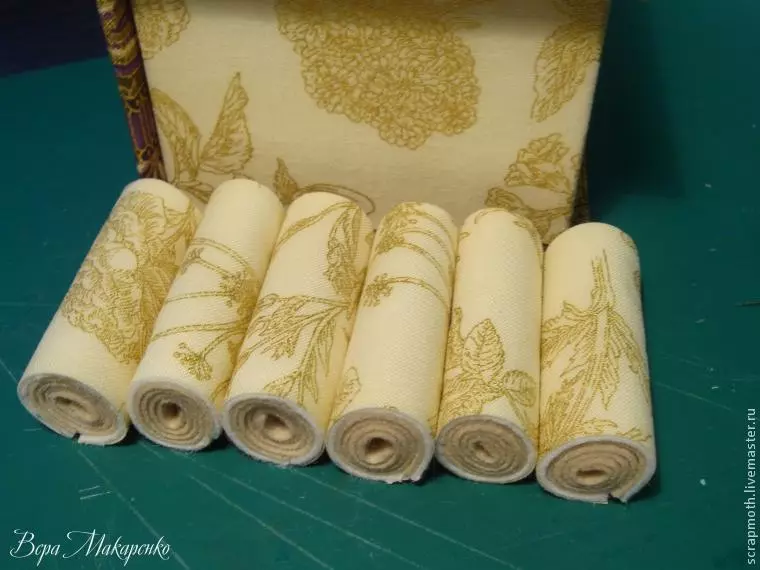
You can make partitions on a large and smaller compartments. In a smaller compartment you need to twist rollers from the fabric and it will be a place to store rings. The main box can be taken not only from the cardboard, and from the tree.
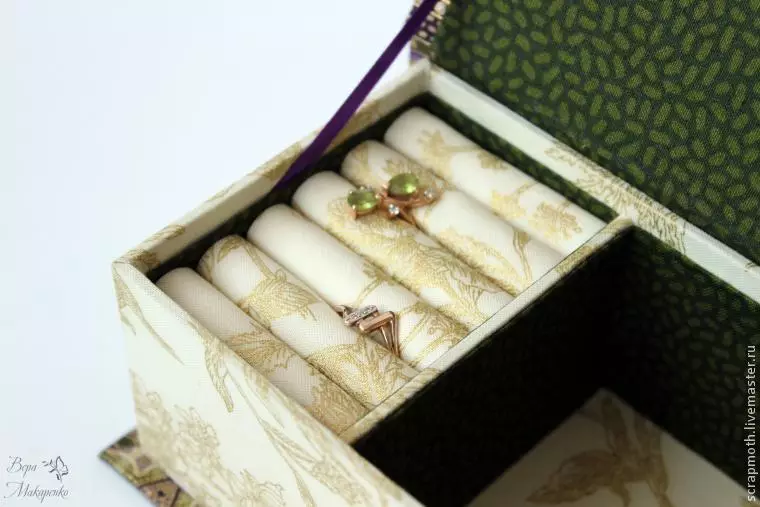
According to the result, it turns out this charm, made only from the box.
Luxurious Casket
This version of the decoration will give your toilet table notching chic, luxury and burlesque.
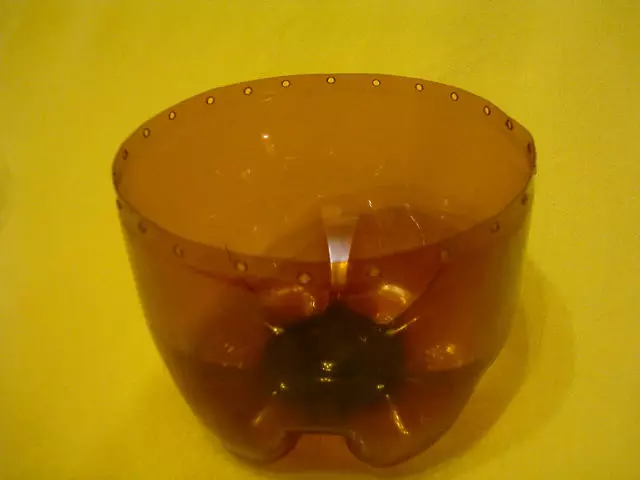
You will need materials that are in the arsenal of any needlewoman. The basis of us will be from plastic bottles, namely from the bottom. We also need a lace braid, black and red fabric, cardboard, beads, satin ribbons and glue.
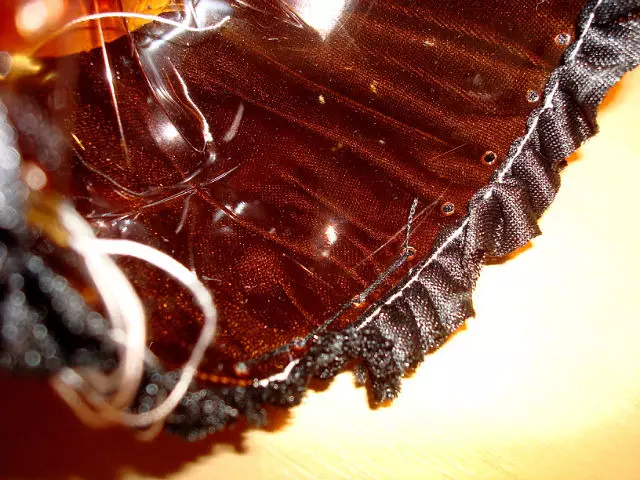
You can begin, cut out at the bottle of 2.5 l height of 9-10 cm. And shift the holes through the entire circumference with the gypsy needle.
Article on the topic: New Year's costume "Rainbow Dash"
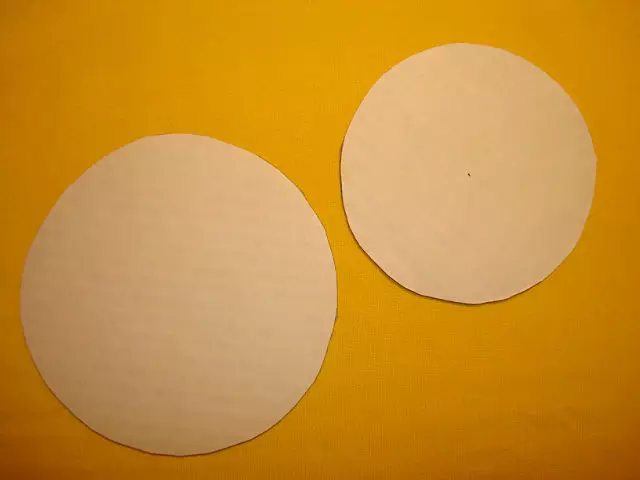
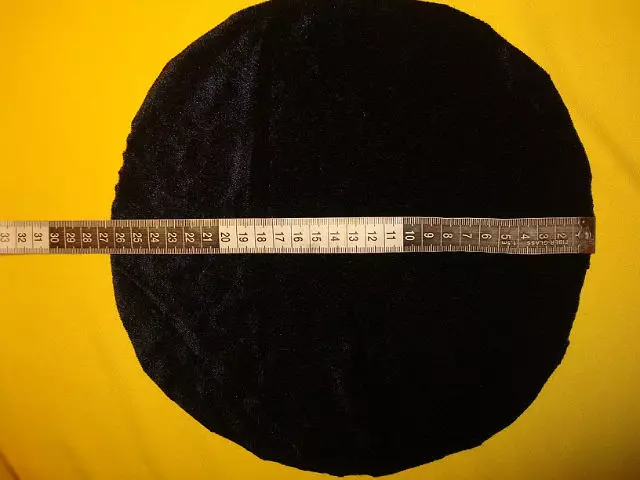
Cut two circles of different diameters from paper from paper or cardboard. Large will serve as a lid (11.5 cm), the one that is less than the bottom (8.5 cm).
Large circle wind the main cloth. Its diameter should be approximately 5 cm from the diameter of the circle.
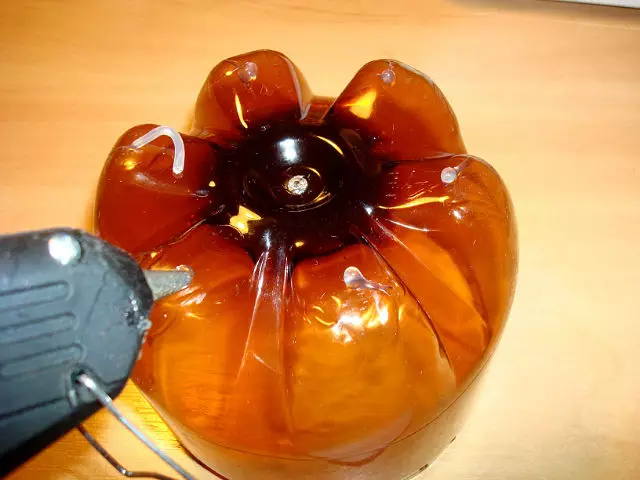
Now we make our casket more stable. With the help of a thermal oil, we glue the bottle of the previously cut cardboard circle on the bottom.

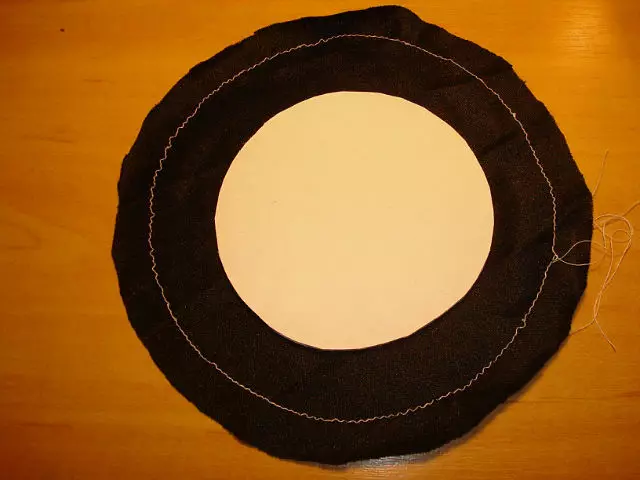
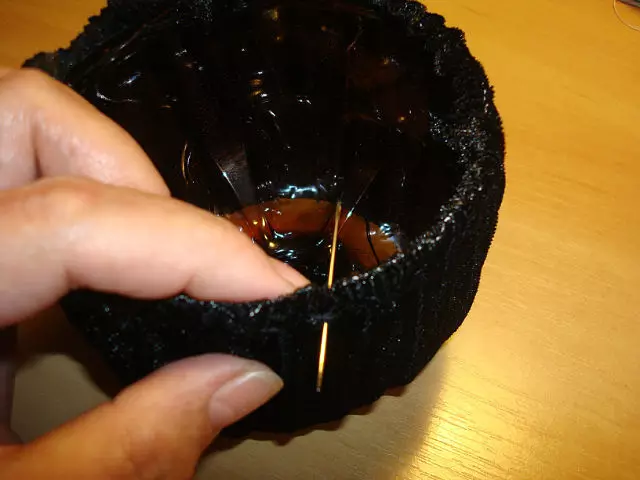
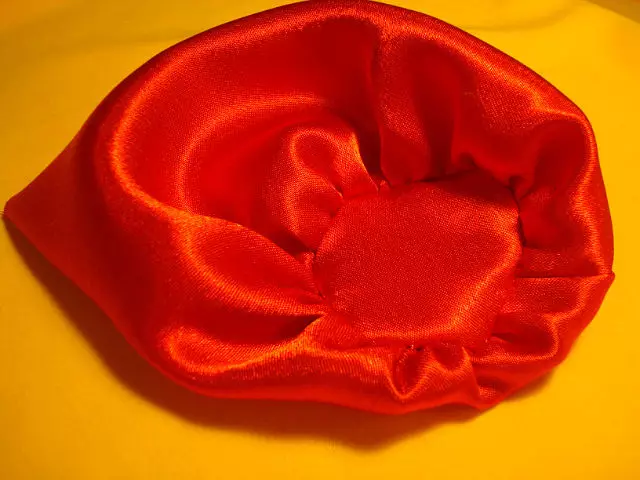
From the same basic tissue, we cut a circle with a diameter of about 26 cm. We flash with light stitches around the circumference, put the casket inward and tighten the notes. See detailed photos below.
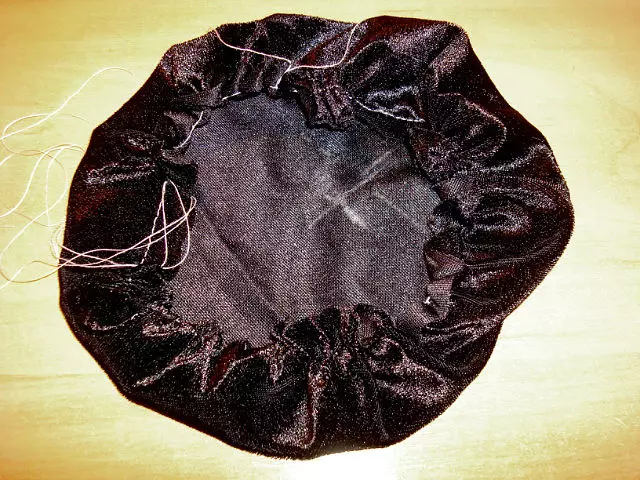
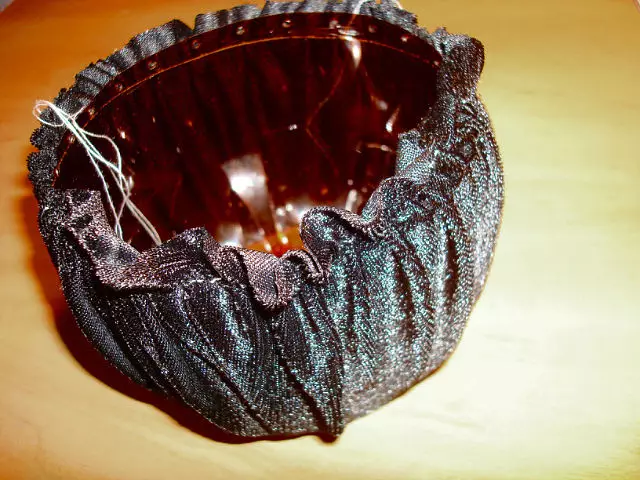
Lock the clothes of the box with a needle and thread, sewing fabric to the bottle, in advanced holes at the base. How to do, look just below.
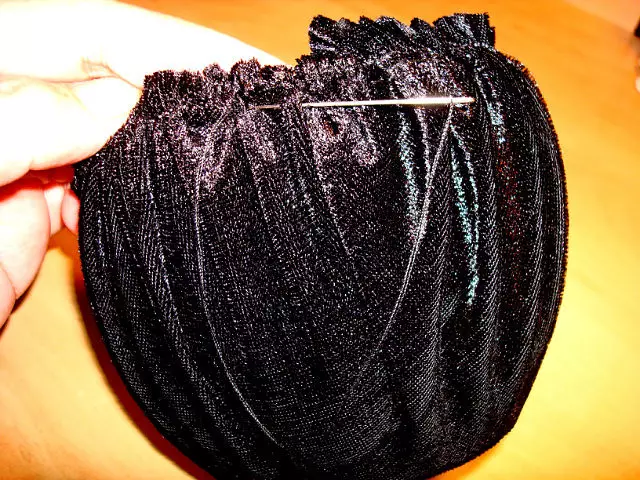
The protruding top of the fabric bend inward and we flash again.
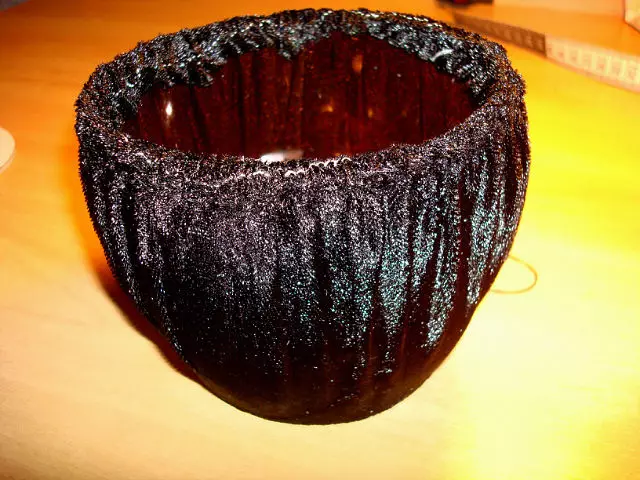
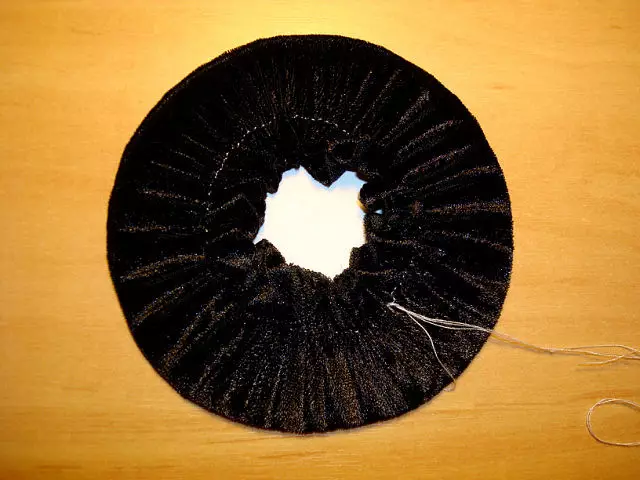
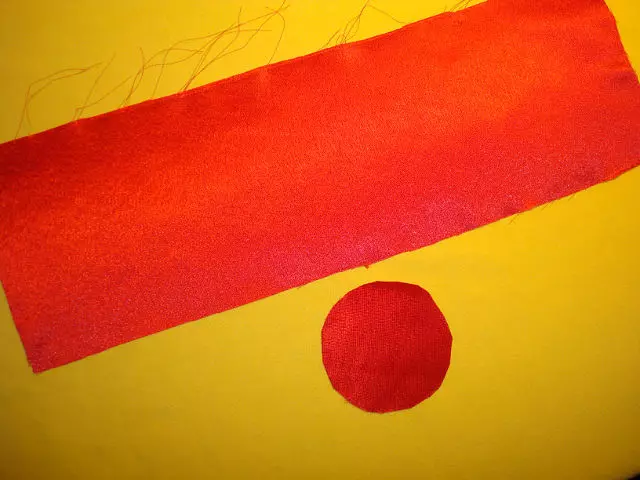
Now the casket can be left alone and stuffed it. Take a segment of red fabric and the same circle. Sust them together and put the casket inside.
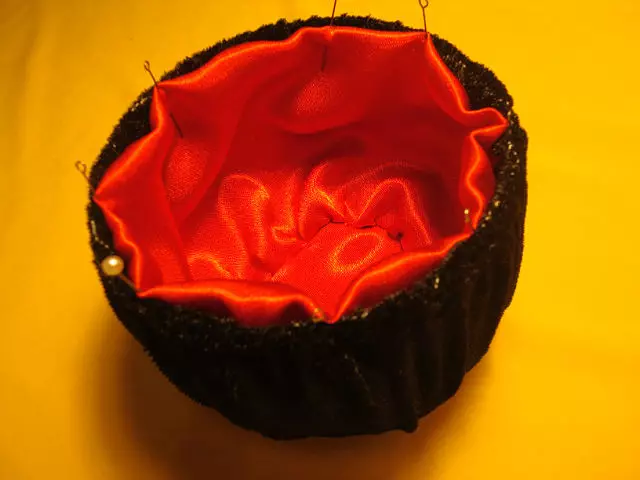
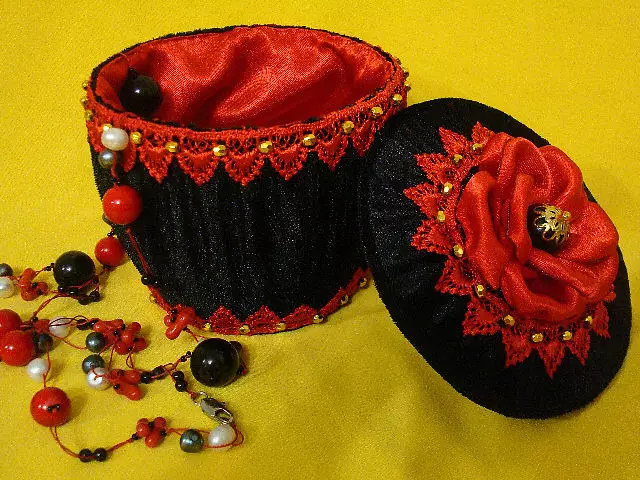
Welcome the edge of the lace tape and everything, your box is ready.
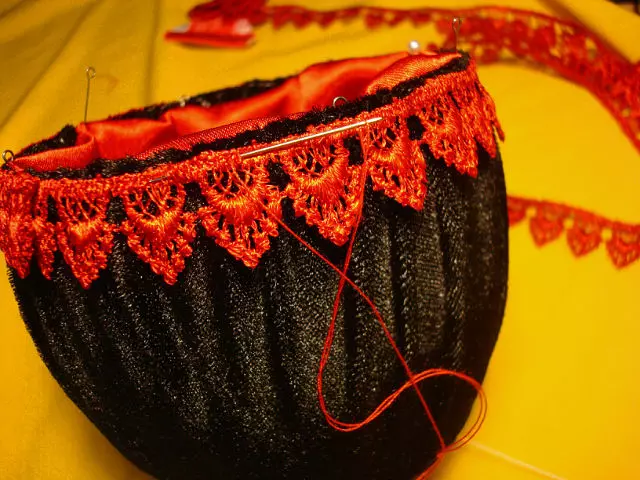
Next to decorate it with a flower.
Video on the topic
For your convenience, we made a selection where the casket make on the video.