
Embroidery is ancient view of needlework. Ready work look amazing, they want to give someone to a holiday or just hang at home as a decoration. And each needlewoman, completing the embroidery, is asked about how to insert embroidery into the frame.
This is not completely difficult to do, and this process is no less interesting than embroidery itself.
How to choose a frame
Of course, first of all you need to pick up the frame itself. There are several nuances here. For example, it is important to take into account the style of decoration of an apartment or room as a whole. It is important that the frame is combined with furniture, did not attract unnecessary attention, because the main thing is to work, embroidery. It is also very important to choose a frame that combined also with the main shades in the picture.
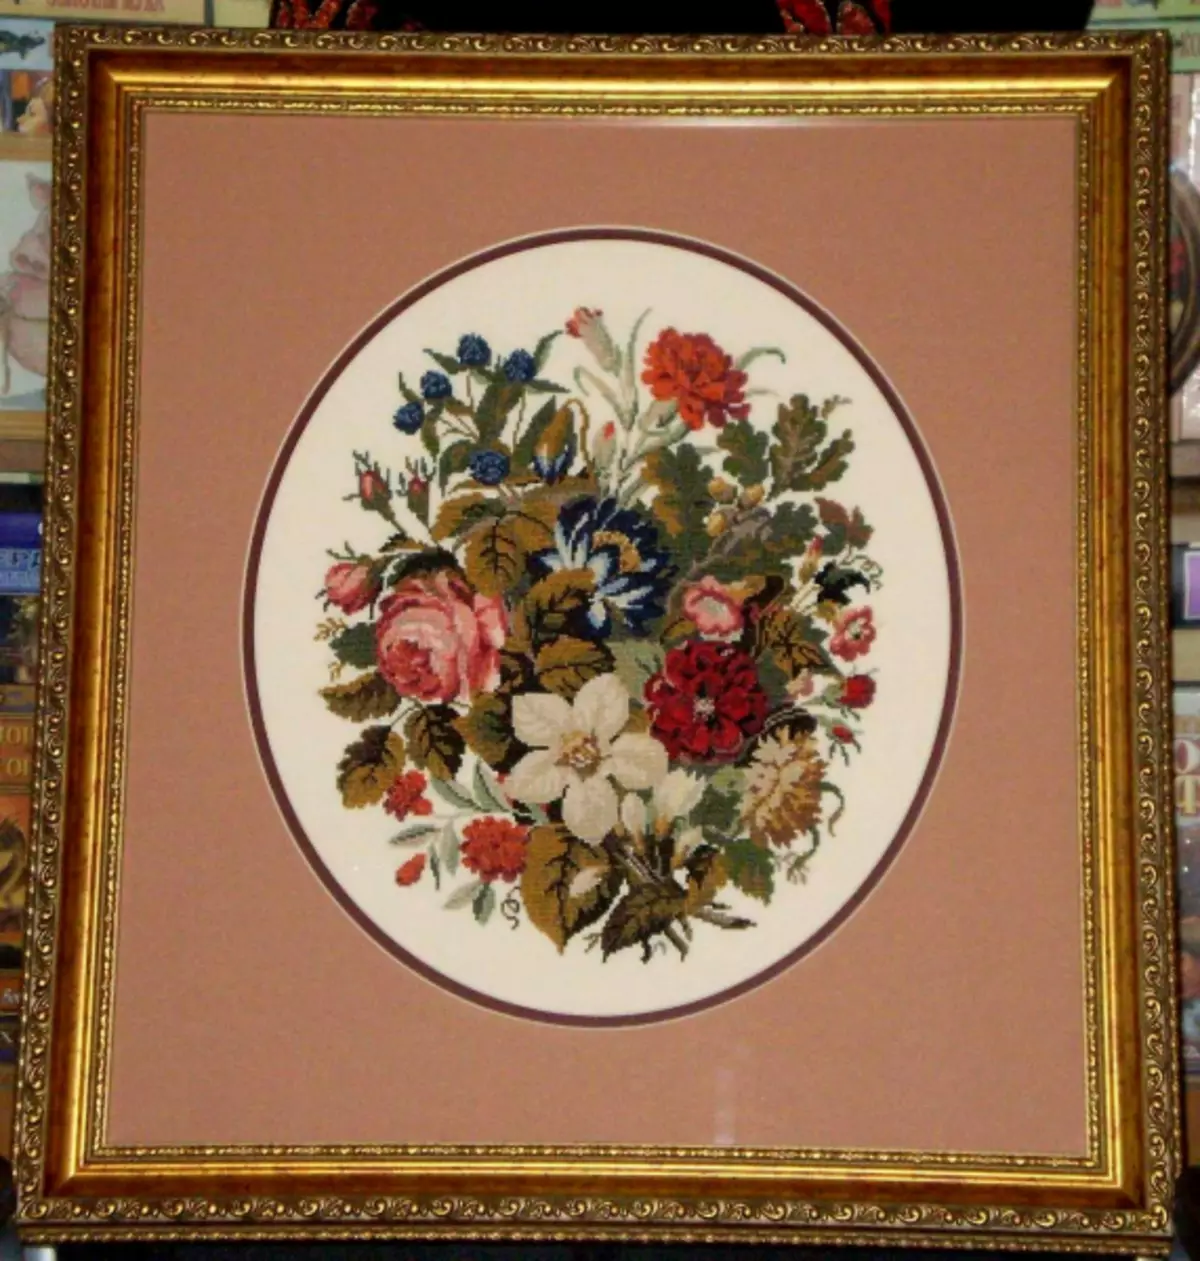
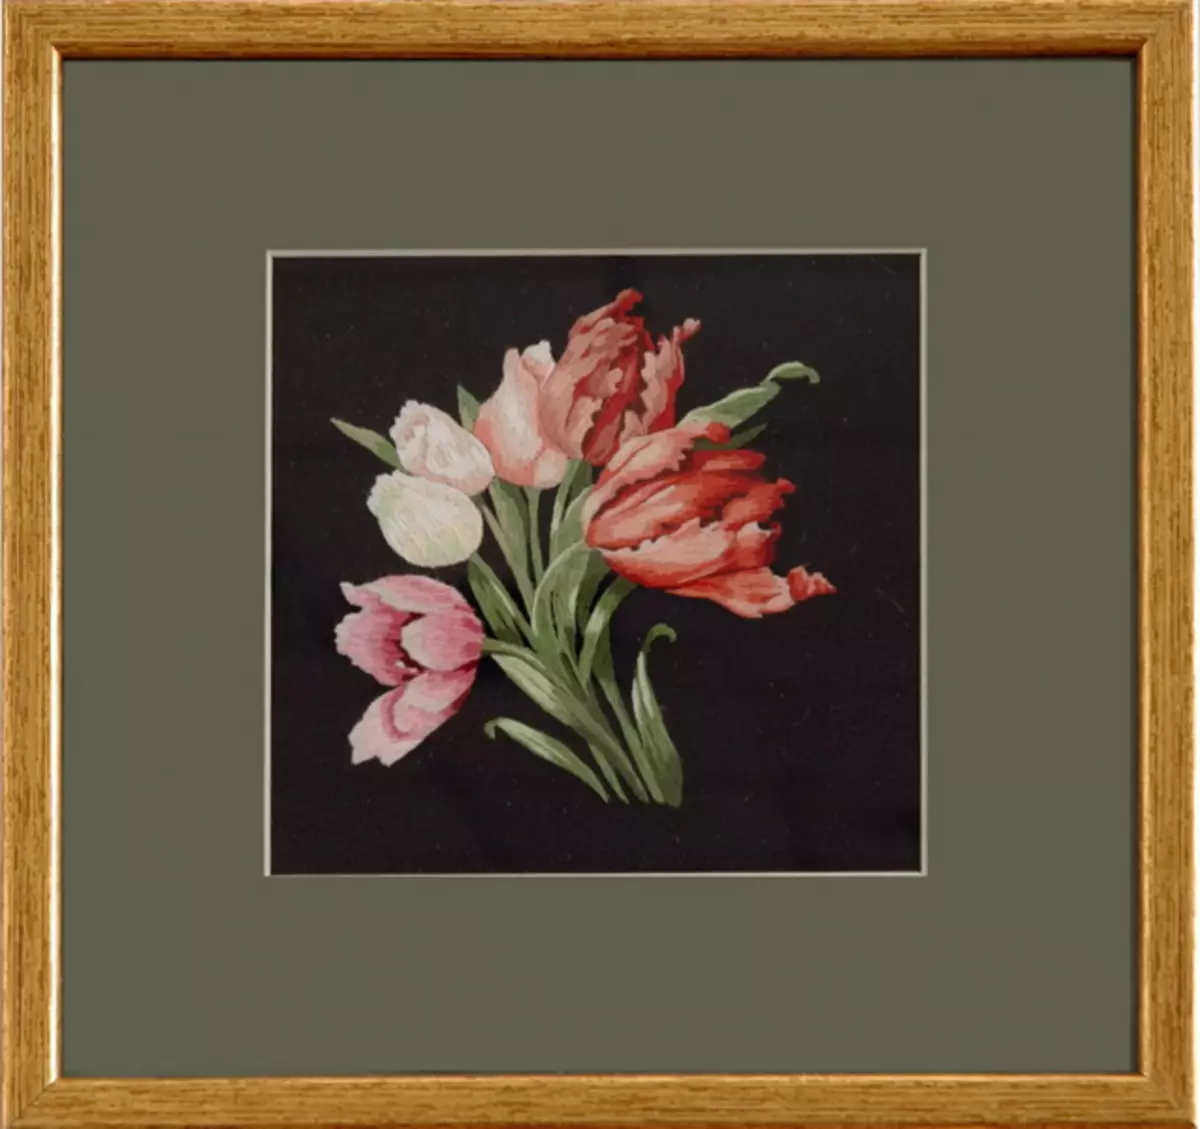
On wooden frames, still lifes or animal images will look great. In the plastic framework it will be appropriate to put embroidery on sea topics, and the cardboard frames are suitable for children's work. In addition, the child can independently make a frame for its drawing or embroidery.
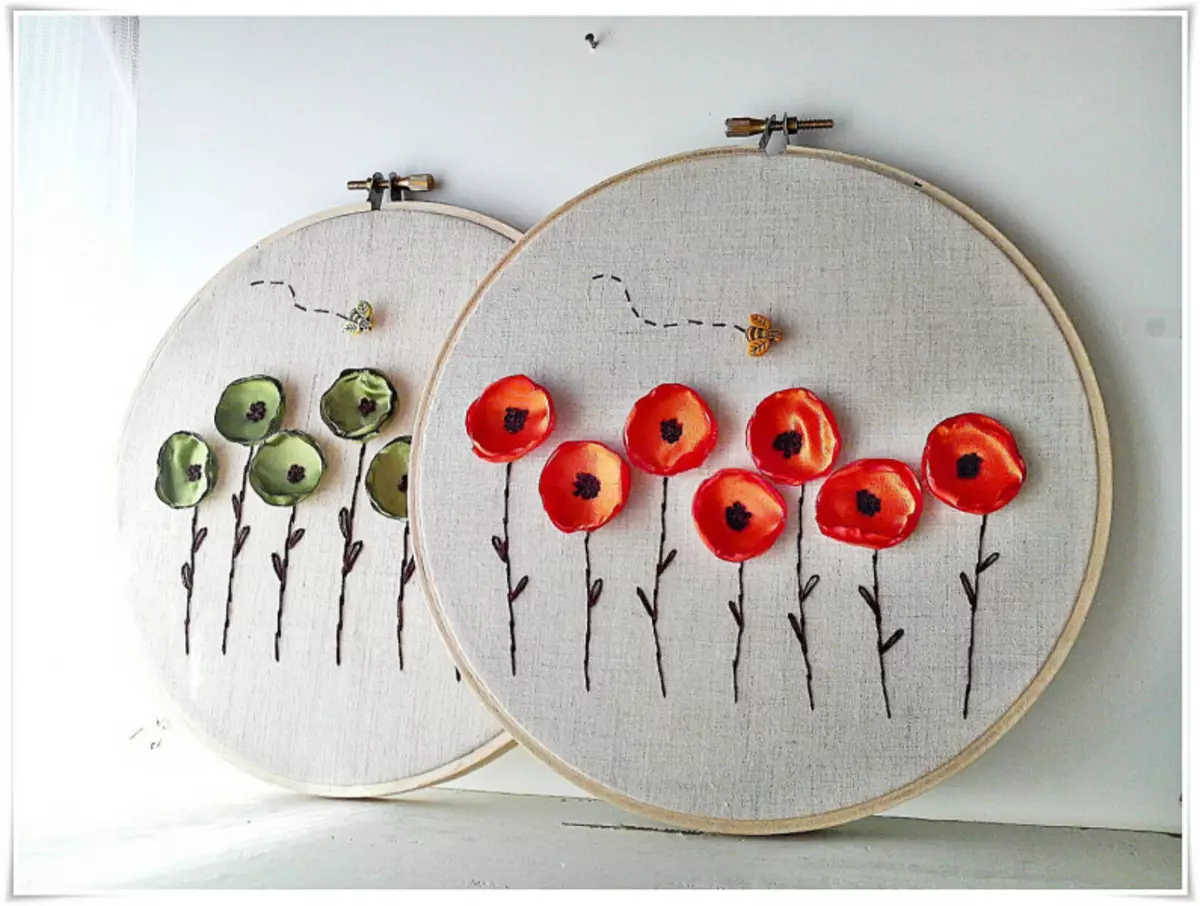
Forms for frames can be round or oval, square or rectangular. If your embroidery of an unusual form, pick up the frame will be quite difficult.
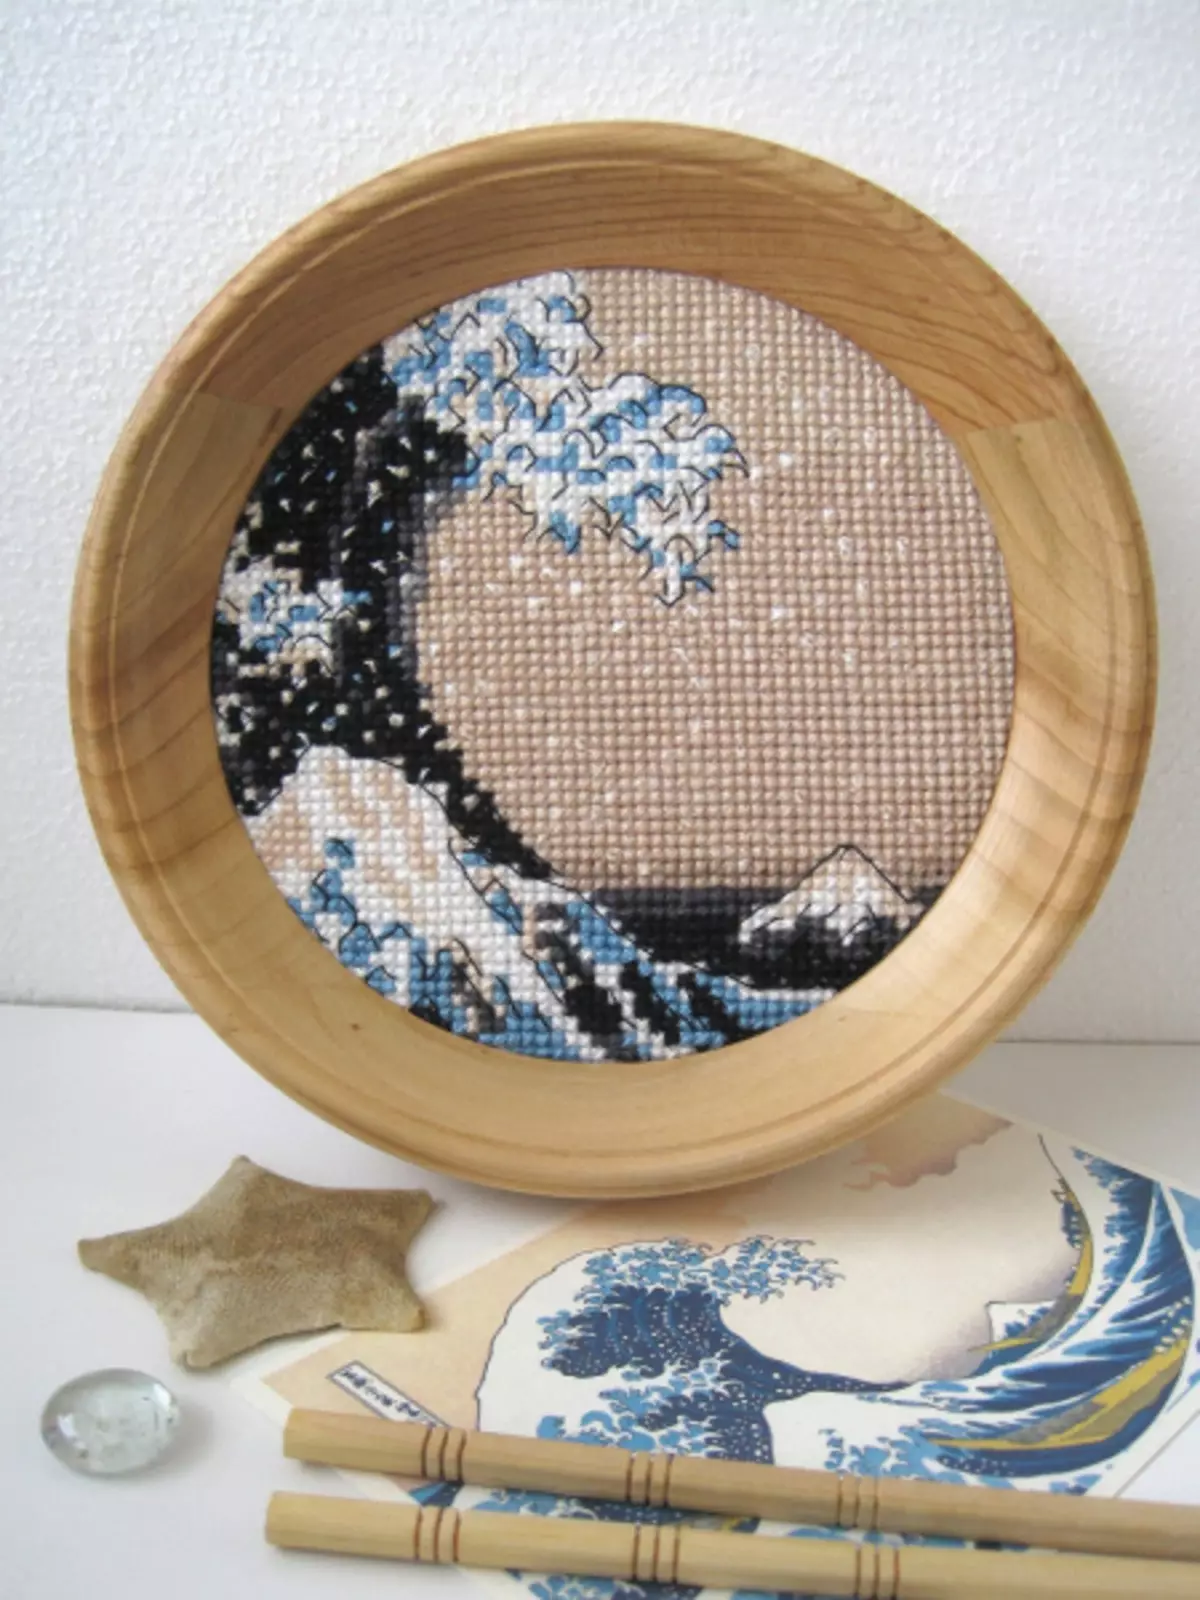
In modern interiors, the embroidery is often hanging right in the chambers, especially if they have a beautiful shape and color. However, when choosing this option, you need to trim the excess fabric.
Pay attention when choosing a frame and on its size. The frame should not touch the edges of embroidery, and even more so should not go for its borders. Beautifully look at small indents from the edge of the frame, from two or more see.
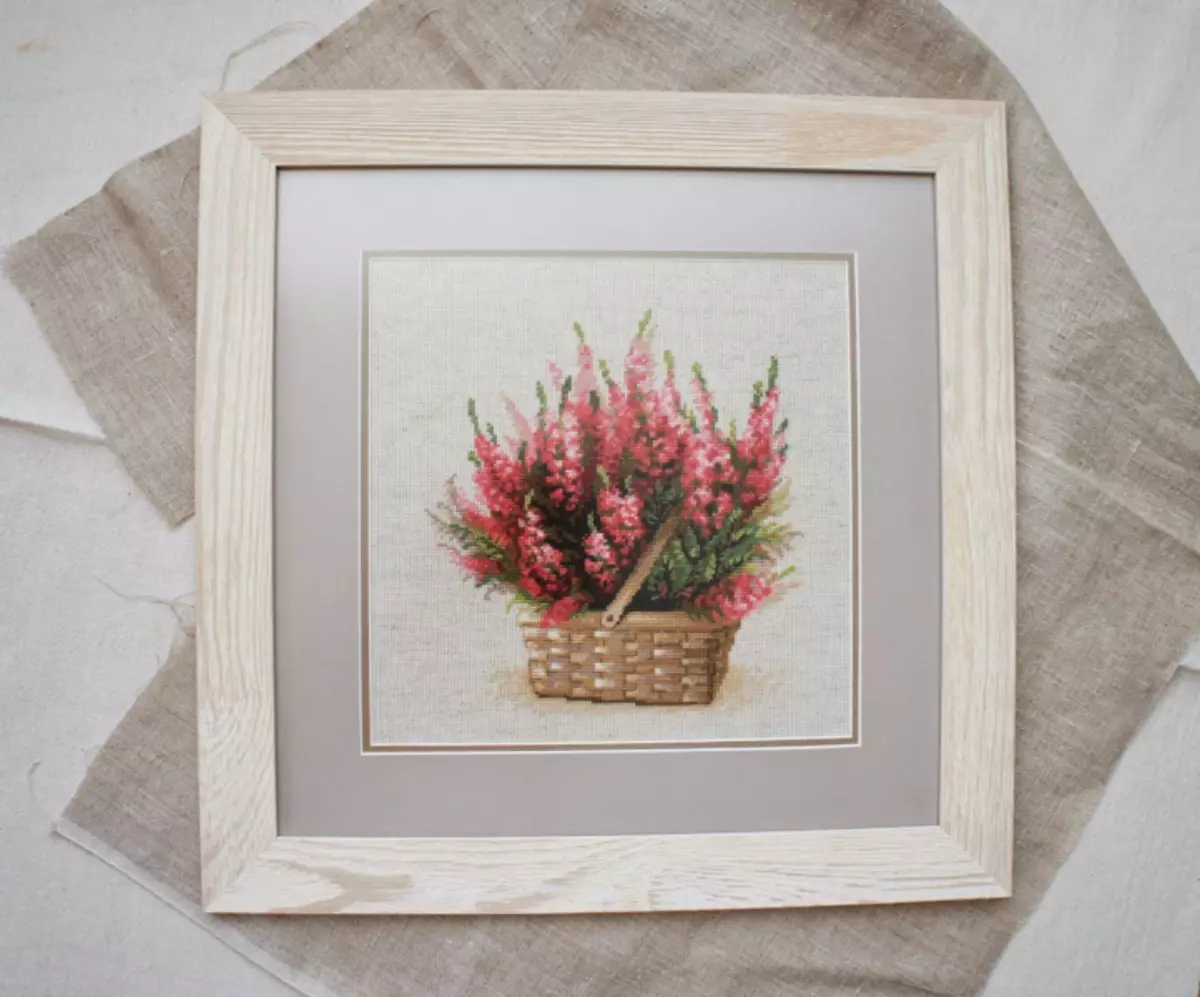
And, of course, before deciding on the frame, think about whether you will need a passent. This is such a special cardboard liner for drawing, embroidery or any other work inserted into the frame.
Article on the topic: Slavic doll-wubble with their own hands: Decorator for happiness
How to arrange paspartu
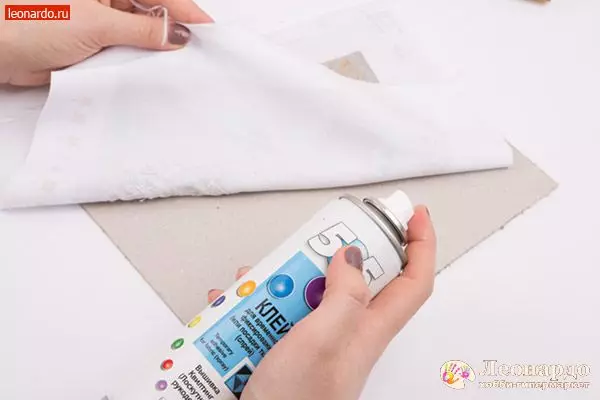
If you have decided that the passecut is required, then first pull the embroidery onto the cardboard before it is placed in the frame. Generate the edges of the embroidery on the base, and the opposite edges of the fabric stretch so that it is smoothly for the cardboard.
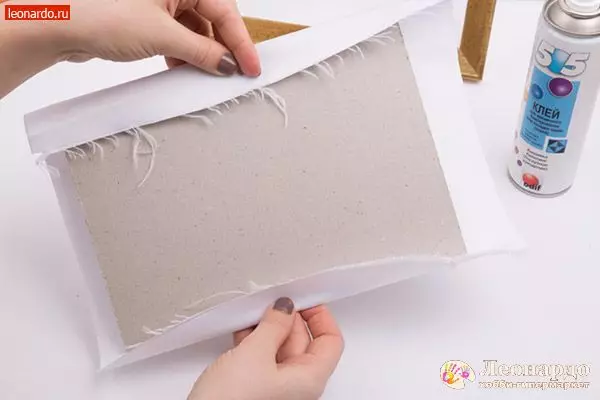
Stick fabric to the cardboard.
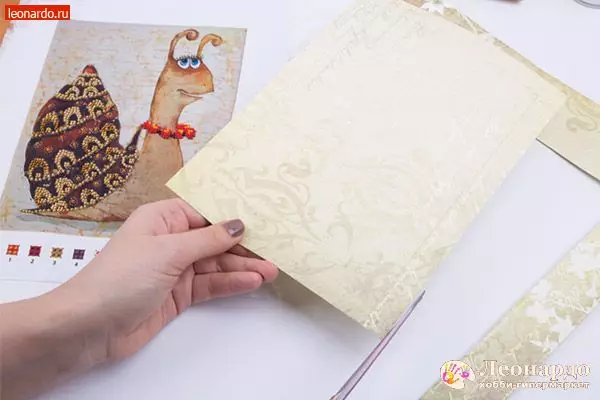
As a passecut, use the usual cardboard cut in shape and embroidery size. You can also use scrap-paper suitable for color. Rates approximately 1.5-2 cm from the edges, cut the rectangle inside the cardboard.
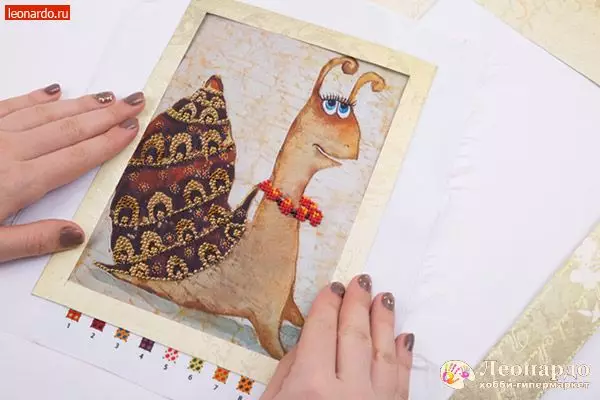
Attach the passecut to embroidery to make sure that everything is in order, the details are visible and not covered with cardboard.
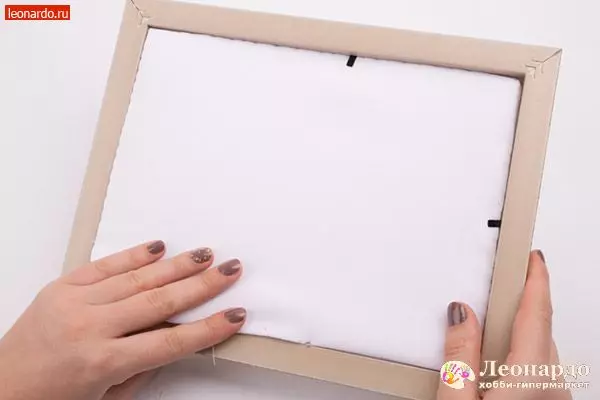
Now post a job inside the frame and close everything from the wrong side of the plywood from the frame. Be careful, try not to damage the passe.
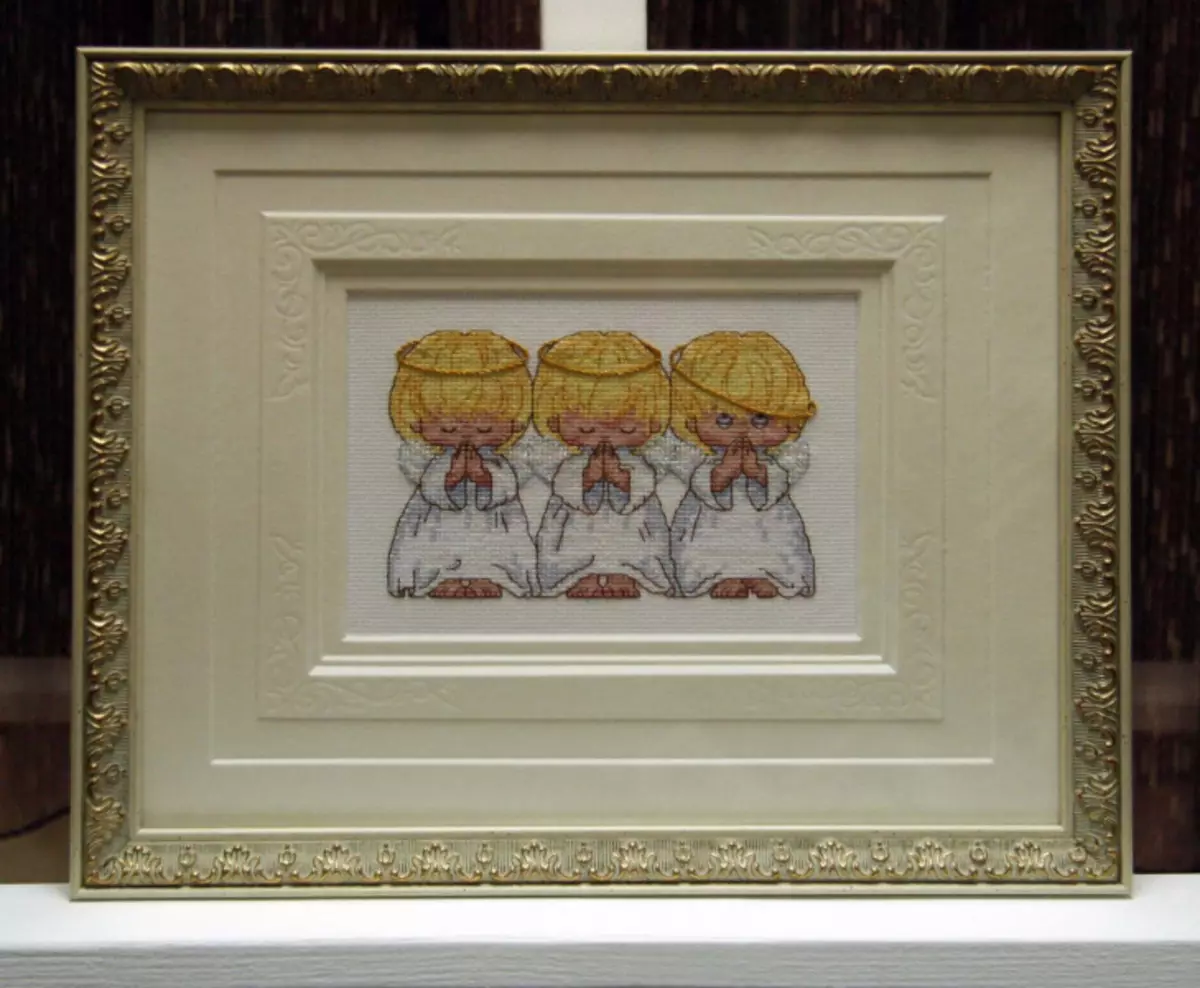
Plus the use of a passe in the frame with embroidery is that if you use a frame with glass, the cardboard will not give the glass to press the volumetric patterns of embroidery.
The glass in turn is not necessary to use, however, remember that under the glass your work has less chances to dreamed or fading.
From the ceiling plinth
This method is simple enough and does not require high costs and special skills. You will need:
- line;
- marker;
- stationery knife;
- glue (perfectly, if it is a special solution for gluing ceiling tiles, but you can use the usual super- or thermo-glue);
- Ceiling plinth.
The first thing is measured by embroidery, we apply the necessary measurements on the plinth and cut out.
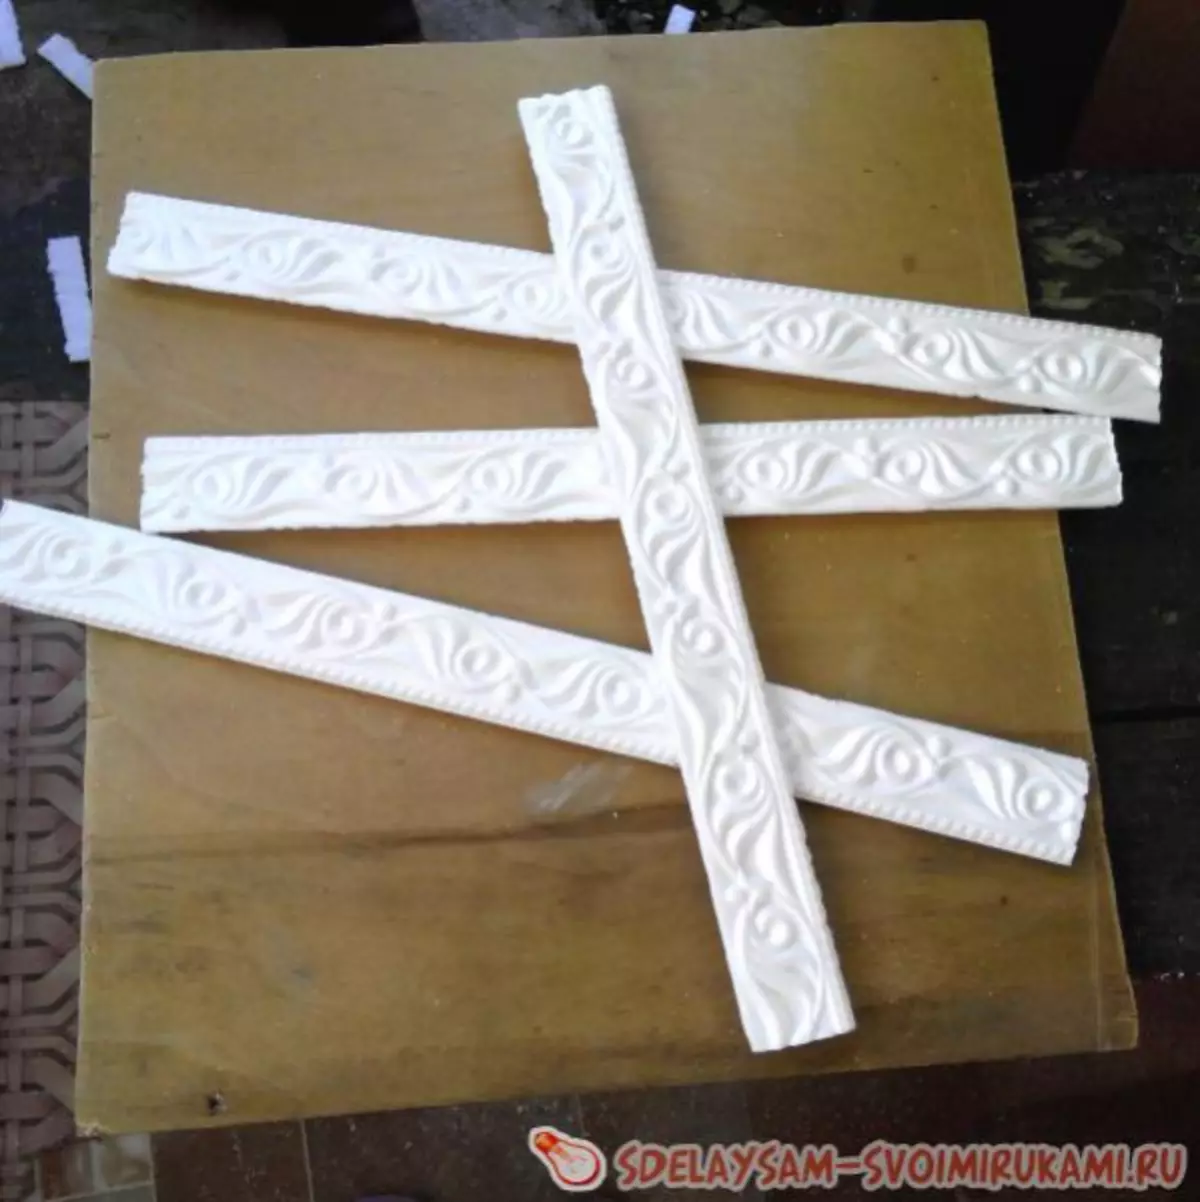
We need to make 4 parts by cutting off the ends under the 45-Tigradus angle.
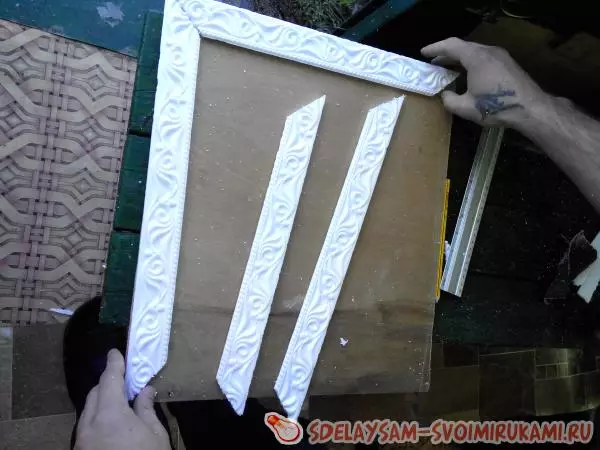
When the details are ready, starting them with gluing. First, we glue the sidewall to the bottom rail, then the top and complete the opposite side of the side. We leave until complete drying.
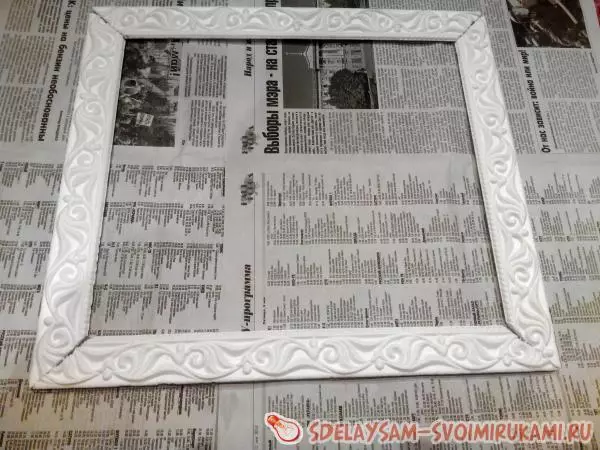
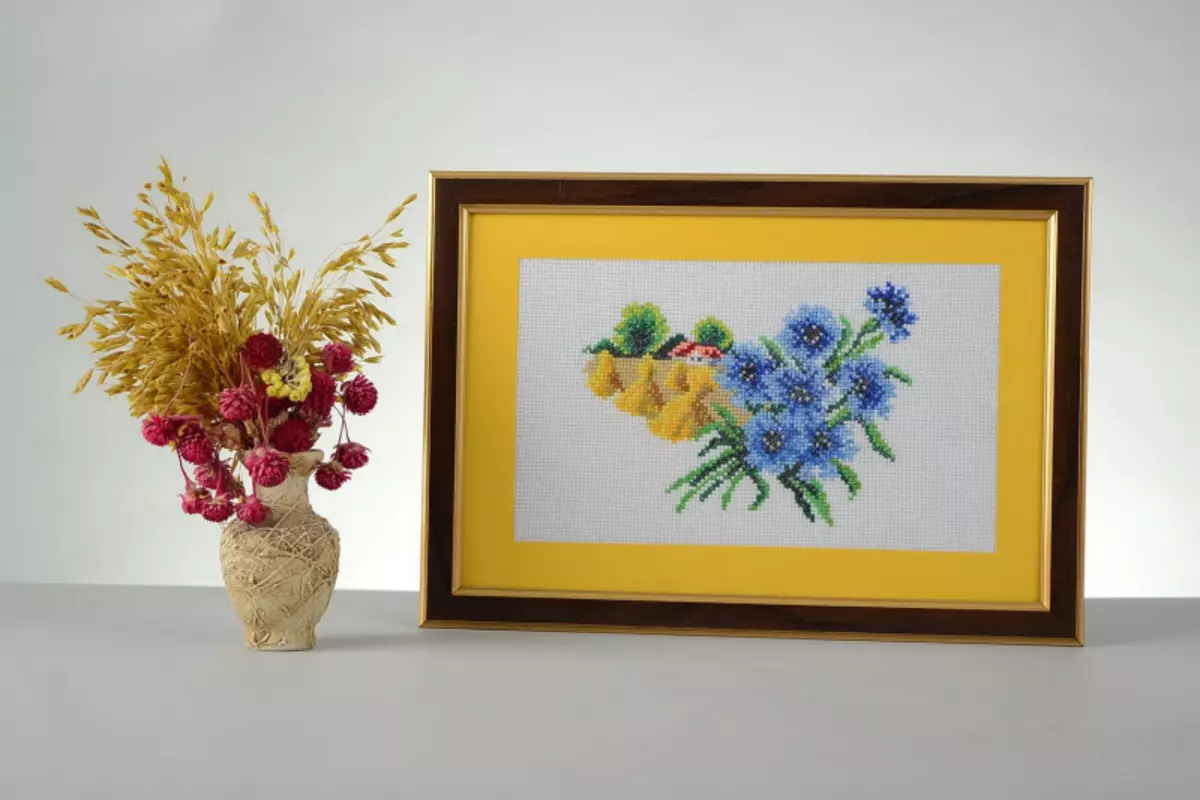
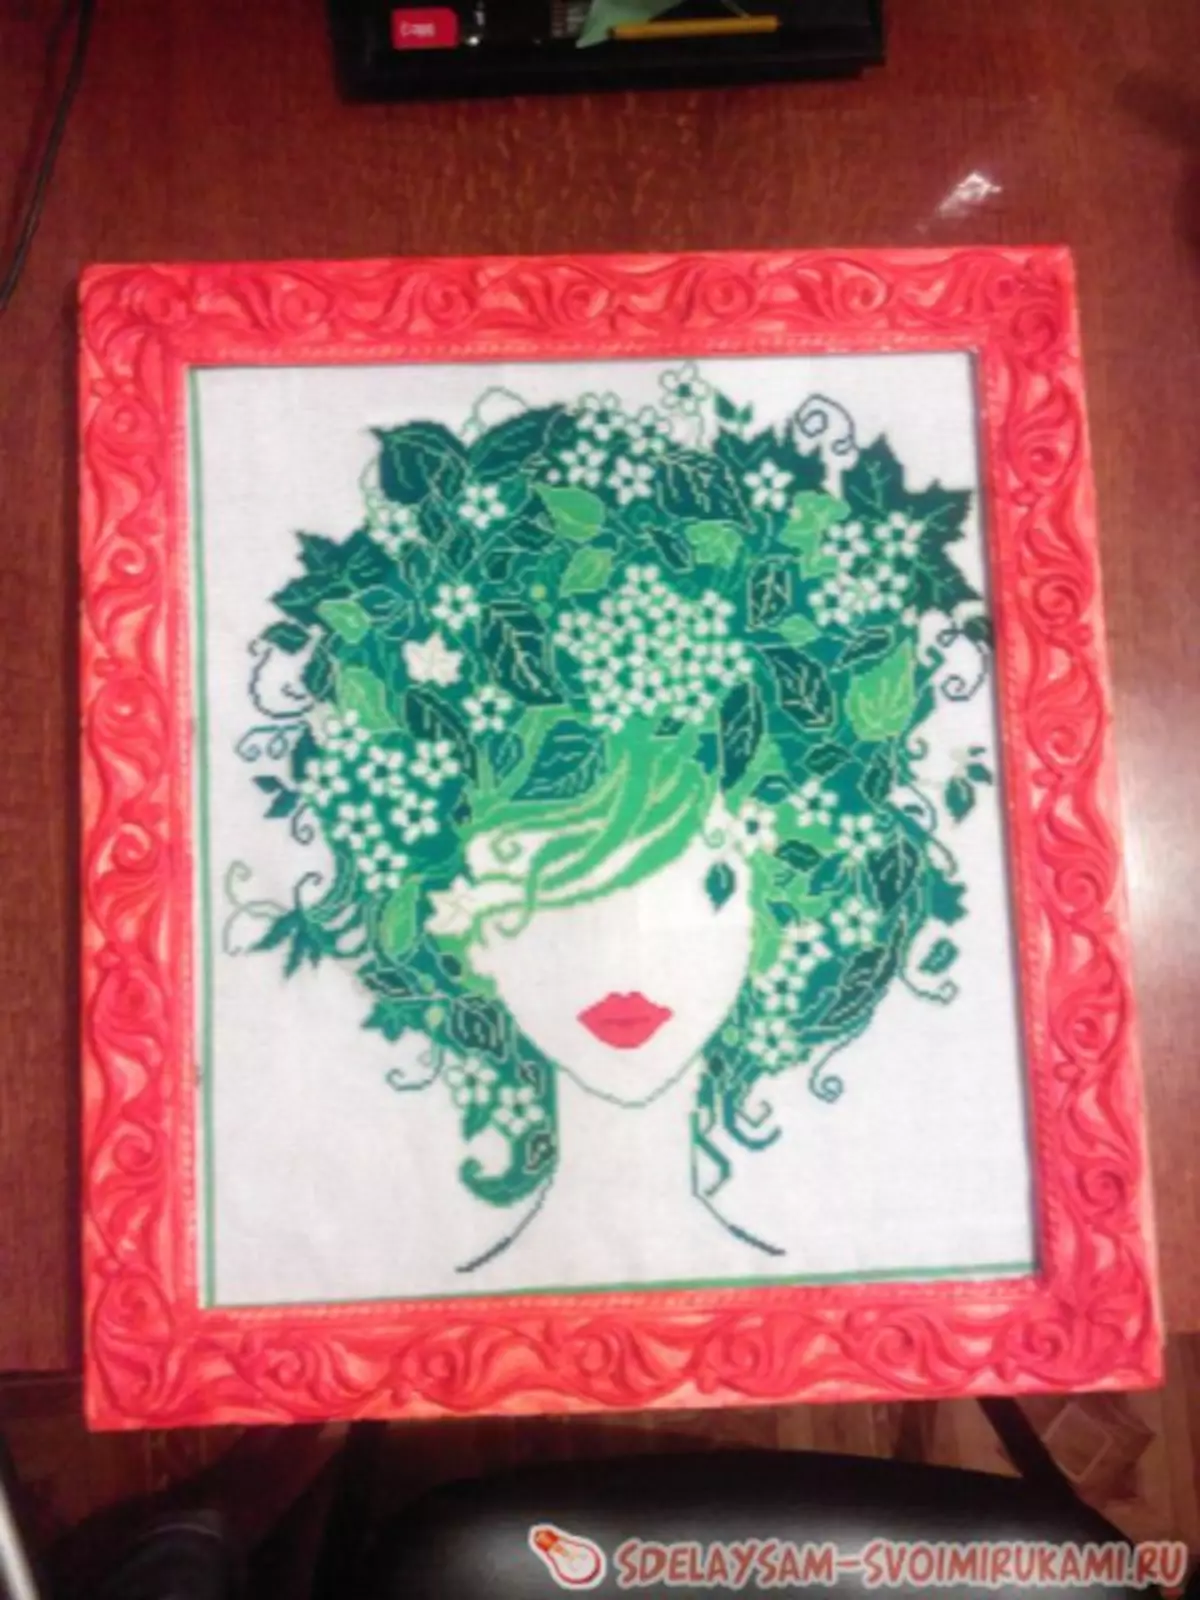
This framework can be painted in any colors, decorate with decorative tools or elements.
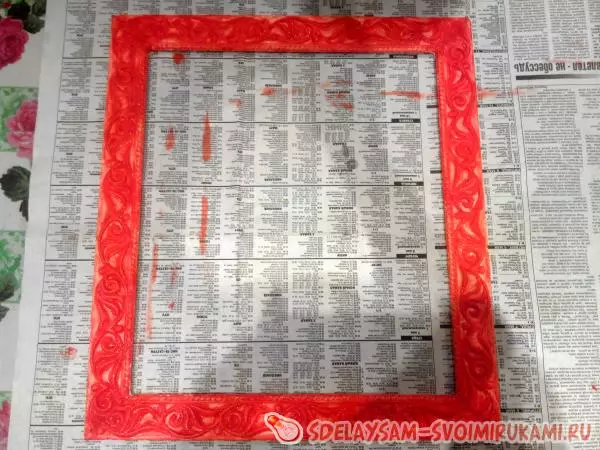
The painting in such a frame will look very beautiful!
Article on the topic: Zigzag pattern with knitting needles: schemes with description and video
Video on the topic
Also be sure to look at the special selection of the video in which you make sure that such work is working for everyone from us!