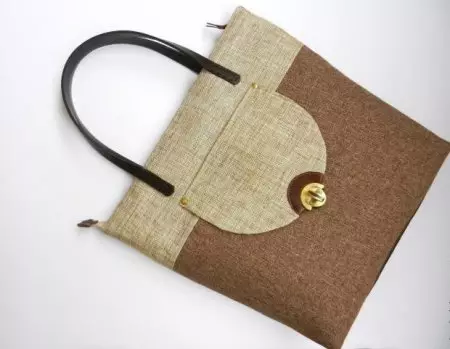
An interesting version of the bag with the valve offers you to sew this master class.
Pay attention to the interesting combination of selected colors, but the final version of the color scheme depends only on you. Here we will tell in detail how to sew a bag itself, thanks to which it can even make a novice master.
In addition, how to sew a bag with your own hands, patterns necessary for work will also be presented here.
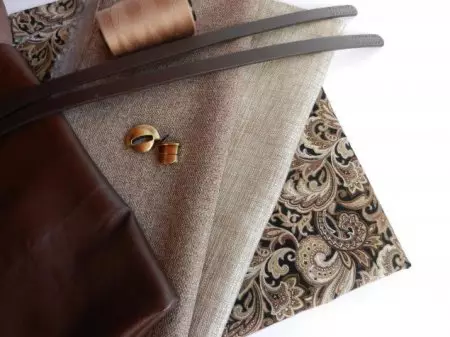
So, we prepare the necessary materials. In this case, you will need a fabric of two types of different colors or shades, a piece of leather or leatherette, a lining fabric, doublerin, zipper fasteners (2pcs), a special lock for bags, buttons, ready-made handles and holnitenes.
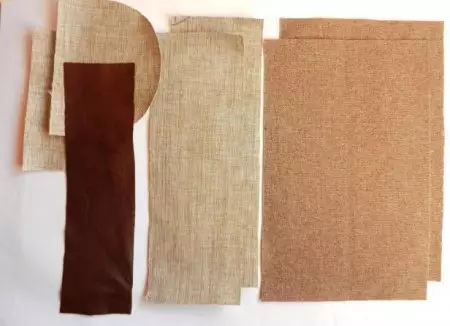
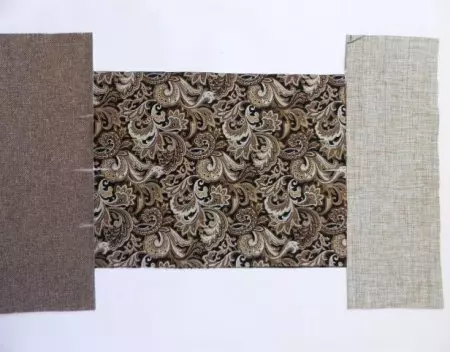
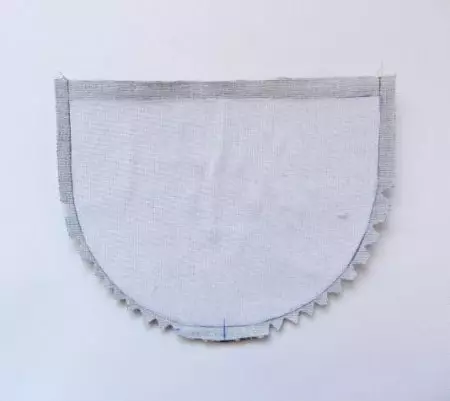
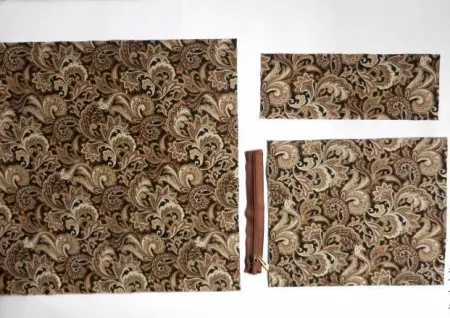
Work is starting with the cutout of all the details, which can be performed directly on the tissue. We will need: two pieces of the main fabric of the rectangular form with sides of 45cm and 29 cm, two pieces of the main tissue of another type are also rectangular shapes with sides 45cm and 16 cm. For the valve, cut out from any tissue two parts as shown in the photo (height - 18cm , width - 24 cm), leather rectangle with sides of 33 cm and 12 cm, as well as from a lining tissue a piece of 32x42 cm.
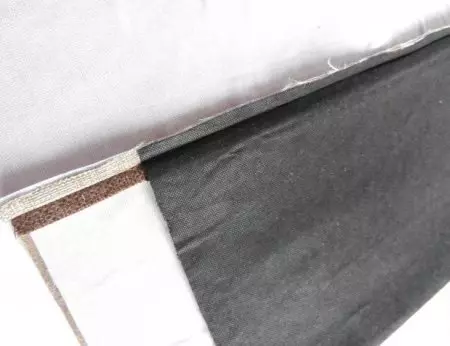
Cut parts should be sealing with a doublerin.
We will proceed to work, for which the details are expanded as shown in the photo.
We sew all the details in such a way that there is a breaking on the width of the sewing paw.

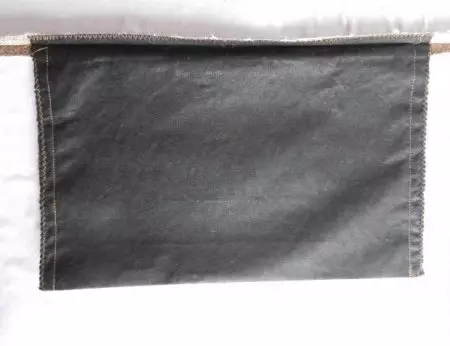
This should look like a detail at this stage.

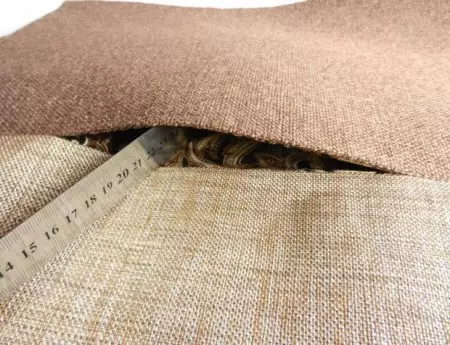
Now we take two main details of different colors and fold them to each other face. Mark the place where the pocket will be located, and it must be shorter than the valve width.

We attach, while definitely do not forget the allowances on the seam.
Article on the topic: how to tie a pigeon crochet

That's what we have in this case.

All seams are well irrigated.
From the back, it is necessary to sew the sidewalls of the pockets and process them with the seam of Zigzag.
So it will look like an entrance to the pocket from the front side.
The next step is the manufacture of the valve on the bag. Previously on one of the details are semicircles from the skin. We connect two parts of the front side to each other and passes. Where the valve is rounded to trim the valve to remove the extra material.
The valve should be turned out and stroke the iron.

On the part where the skin sew should be put one of the parts of the swivel lock for bags.

That part of the valve, which remained untreated, should be processed by Swiss Zigzag.

We apply the valve to the bag and mark its location. Please note that it will be located three centimeters from the entrance to the pocket.
First we deposit the line from the other side as everything is decomposed, then the valve turns away and sews with two lines.

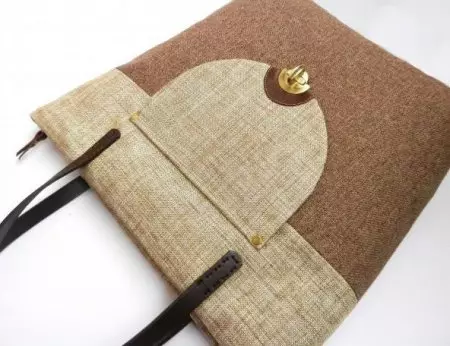
Thus, the entrance in the pocket under the valve looks.

Kholnites will only strengthen and complement our work.

Measure and install the second part of the swivel lock on the bag.

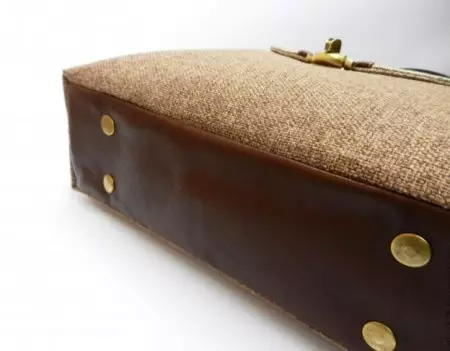
We take a leather item that will be the bottom of the bag and put four buttons on it.

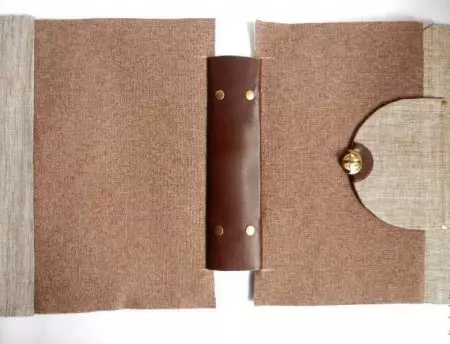
We lay out the details as they should be sewn, bottom strictly in the center.

We stitched and well referred.
At this stage, sew locks, while the line should not reach the very edge of the part.
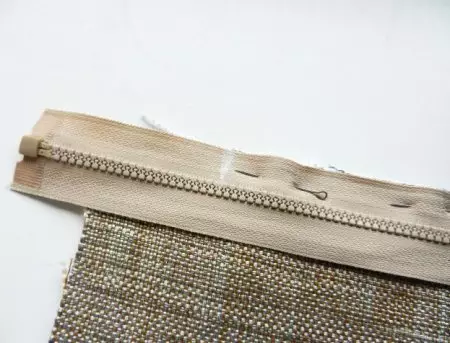
The end of the lightning should be performed in this way.

The queue reached the handles, measure and sew in your place.

To enhance the bottom, you can use the felt of the appropriate size, also add the buttons.


We apply all the details to get the bottom of the bag.

We take fabric for lining and cut out: 1 part - 45x83 cm, 2 parts - 30x11 cm, 3 Details - 26x30 cm. Also compacted with all doublerin.
Article on the topic: Magazine Mod No. 614 - 2019. New issue
On the laying, we note the pocket and flashing the perimeter of the entrance.

Between the lines should be neatly cut.

Soak everything and stroke, sew zipper.


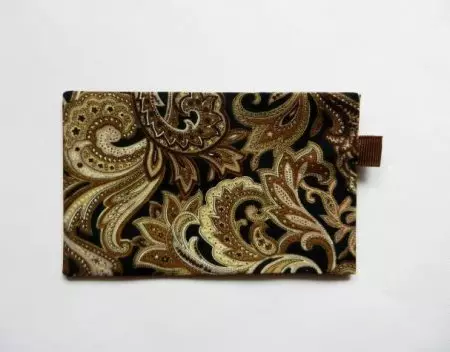
A pocket is formed from the inside.

We proceed to open pocket that does not hurt in any purse.


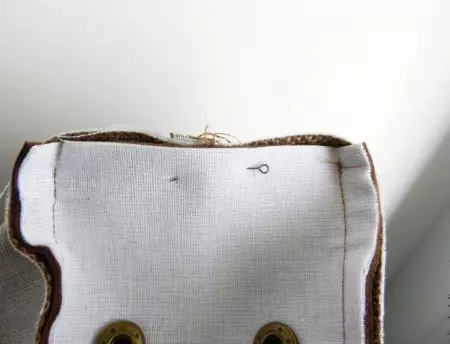
Now it remains to connect all the details, not forgetting to fasten the bottom of the bottom on the buttons. The edges of the lightning for reliability and completed species should be treated with skin.

Please note that the inner part of the bag is less external, so Zipper castle will be a little drown as it was required.

That's all, now you know how to sew a bag of fabric.