
Little beautiful item can add a highlight to any creation. It will become a bright accent and complement the general appearance. For example, the butterfly will become a key element, completes the idea when creating a picture, bouquet, clothes. Wonderful butterflies are obtained from paper strips in a quilling technique. To create quilling butterflies, the master class will be very useful. Even with those who have not previously dealt with quilling, it will work out.
Preparation for the manufacture
For beginners, masters will be useful to learn how simple elements from paper strips. In the process, the skill will be improved and it will be possible to proceed to the creation of more complex lace elements.
The main elements in the quilling technique are made using a special device that resembles a short selay with a split end. It is possible to do with appliant means, for example, toothpicks, thin chopsticks. Already ready-made paper stripes are sold in stores for needlework, but you can cut them on our own from the colored paper. For fastening elements you need PVA glue. For fixing the shape of the elements, a special plastic pattern is well suited, but it can be fixed by conventional sewing pins. The main elements are not so much, however, you can create crafts and pictures of incredible beauty.
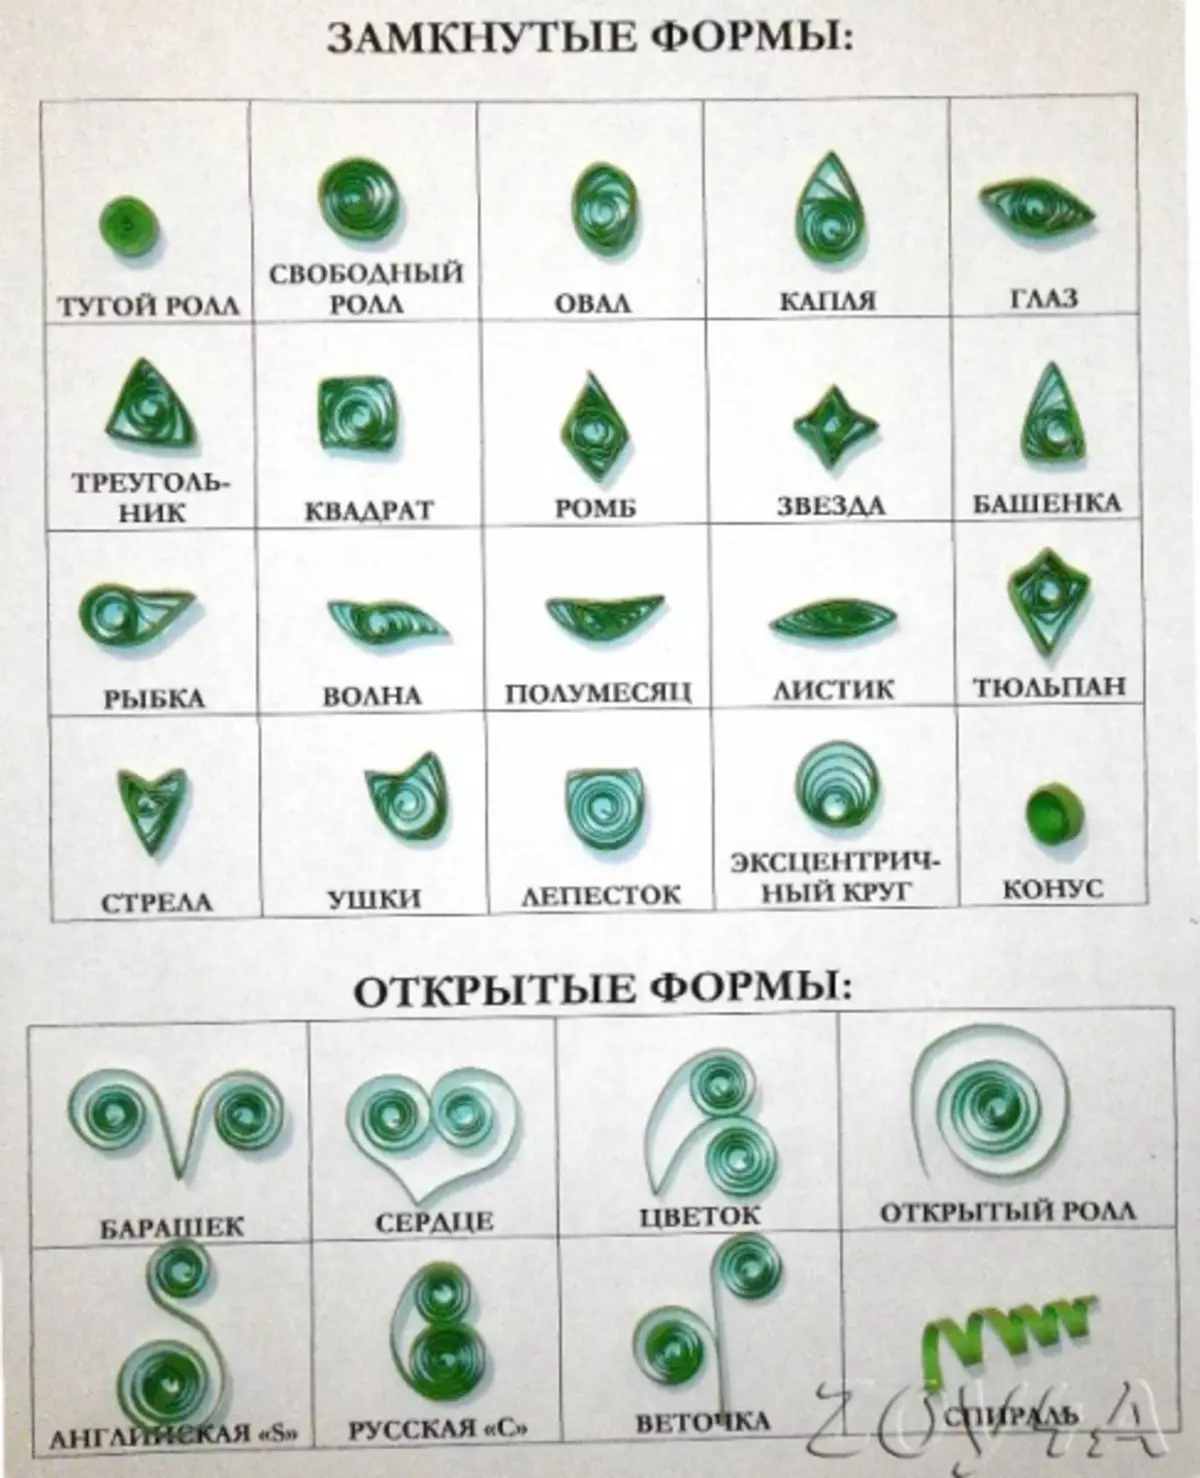
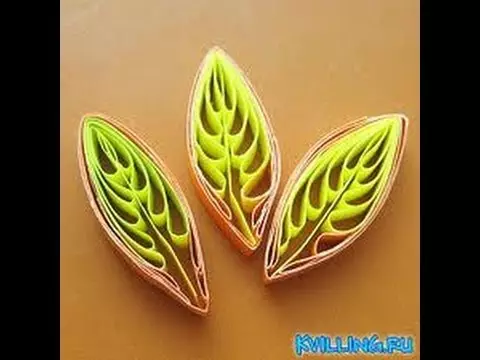
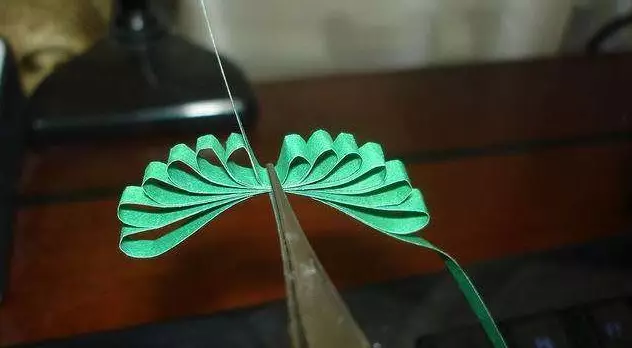
More complex openwork elements are made using a teeth of a comb, fork or special fixture. For their manufacture, work skills with paper ribbons will be required. Crafts from such elements look amazing.

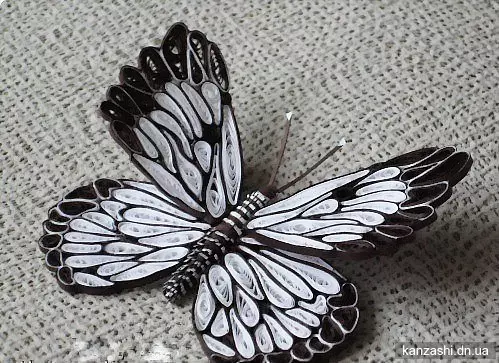
Butterfly Mahaon from paper
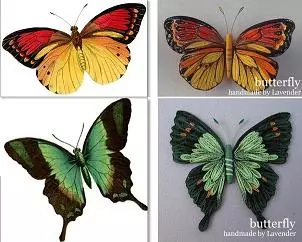
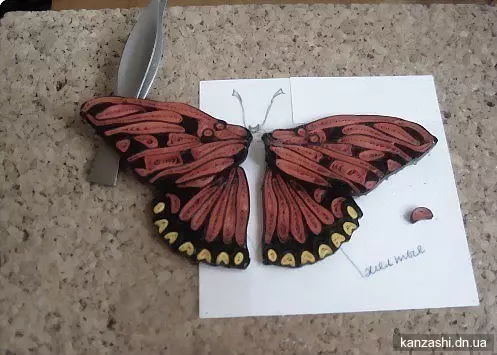
The butterflies whose colors are similar to the color of the real one are incredibly beautiful. And although they are made of paper, they do not distinguish them from living. Sometimes it is not even believed that they are created not by nature, but from paper with their own hands.
In the manufacture of Butterfly, Mahaon will help the master class with step-by-step photos.
Article on the topic: Children's shoes do it yourself: Pattern and master class on sewing sandals for a child
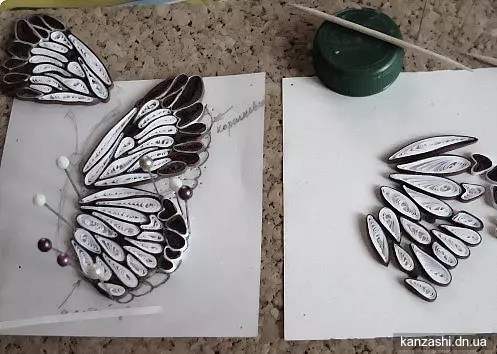
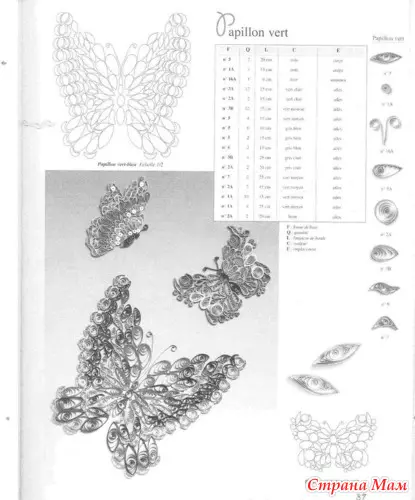
Before starting work, you need to draw a butterfly or take the ready-made scheme. Choose the colors from which the butterfly will be made. Next you need to cut the strips of the desired colors. Now you can proceed to creating elements and collecting a common picture. You need to try to pick up items so that they harmoniously fit into the scheme. As if going puzzles.
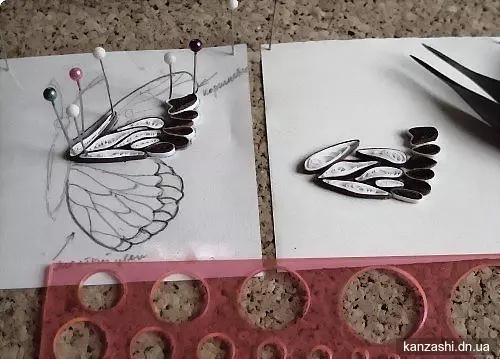
Prepared elements need to be glued together. For fixing parts, sewing pins fit well.
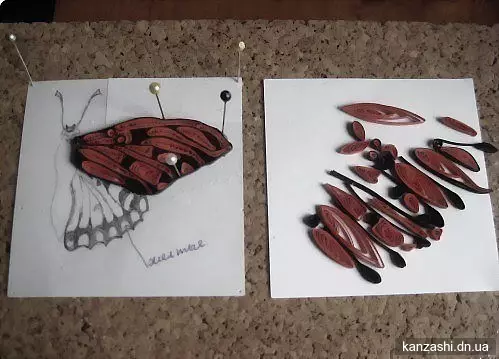
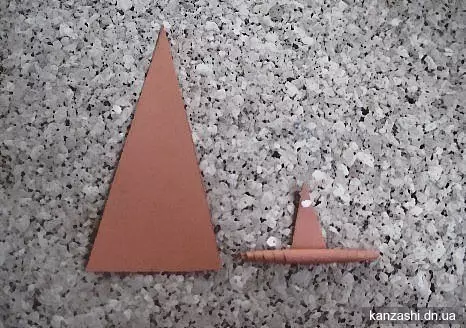
Next you need to make a butterfly torso. For this, the triangle turns into the tube. Or on the sides of the triangle, glue the ribbon of another color and make cuts along the entire length. Then this triangle is collapsed and will succeed as if the butterfly "fluffy" torso. A mustache can be made from wire with beads at the ends. Or from a paper strip twist "droplets" and glue paper twisted along strips.
Now you need to glue the wings to the body and attach the mustache. Let go well dry.
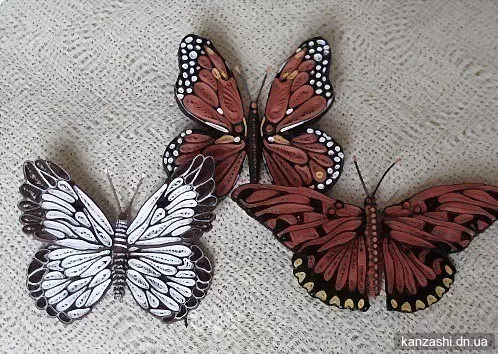
Such butterflies will beautifully look at room colors.
If you "plant" are somewhat on a large plant, then this will revive the interior, and the usual flower in the pot will become fabulous attractive.
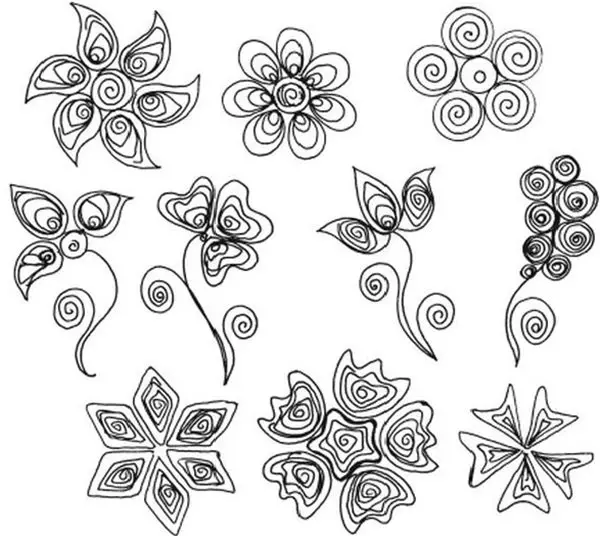
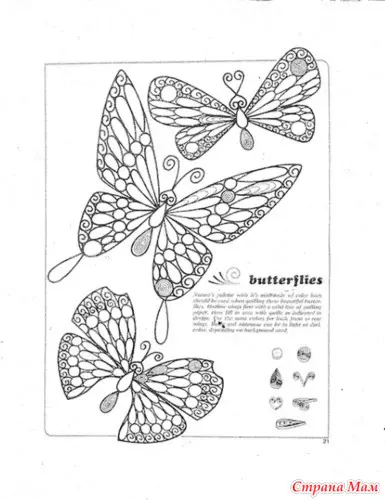
You can make other types of butterflies using the schemes proposed below.

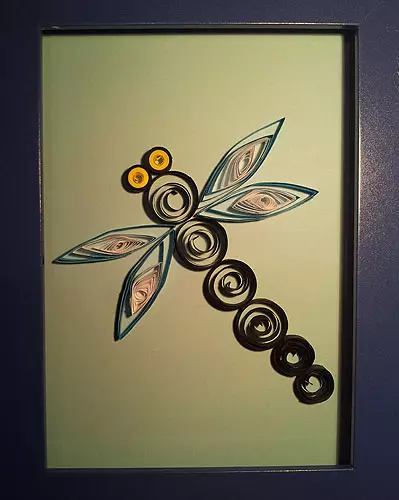
Quilling dragonfly
Not only quilling butterflies, but also dragonflies will decorate the interior.
It is possible to make dragonfly by step by step described its manufacturing.
Such dragonfly is done very simply and will not require special preparation.
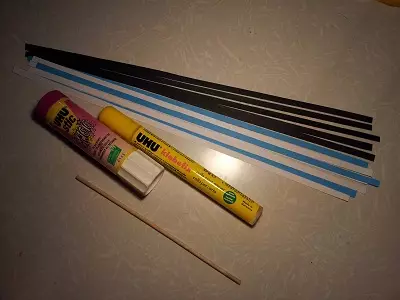
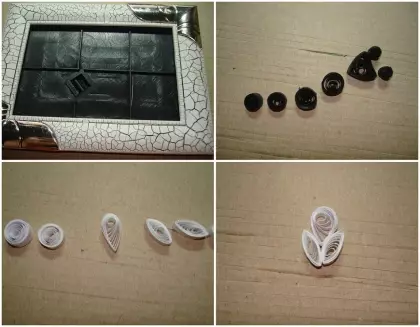
Prepare paper strips of the necessary colors, glue, scissors and fixture for screwing paper.
Well, if there is a special line template. In its cells of different diameters, it is convenient to form rolls of different density. If there is no such line, it is possible to do it without it.
The dragonble body will consist of twisted paper strips twisted. At the end of the body, the roll will be the most tight, and all subsequent needs to weaken more and more, as the dragonfly head is moving. These rolls need to be glued together by forming a torso and head.
Article on the topic: Ideas for a garden of plastic bottles with their own hands with a photo
Next you need to make eyes. Small dense rolls twist. After you should make blanks for wings. To do this, glue two strips of different colors and twisted four weak roll density.
Billets of the wings must be squeezed on both sides so that they take the extended form. Now you can attach eyes to the head of the dragonfly, and the wings - to the body.

You can make a more complex variant of dragonfly.
For its manufacture, you need strips from paper black and white colors.
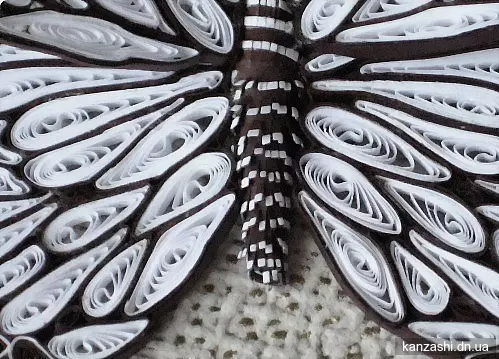
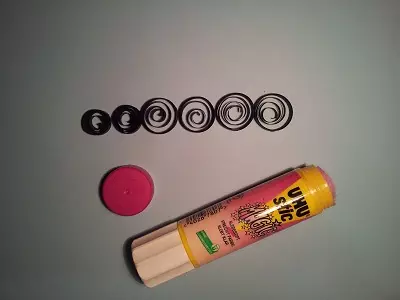
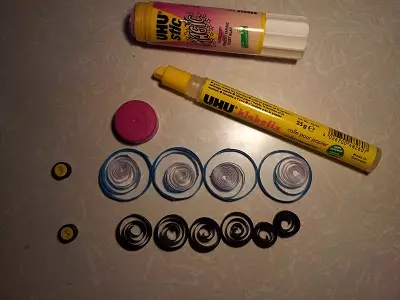
You need to twist rolls from black paper to create a body. As with the previous dragonfly, each roll weakened as it moves from the tail to the head. The head itself should be formed in the form of a triangle. For eye, you need to twist small tight rolls of black paper. For the wings, you need to make several white paper blanks. To form out of ten of them an elongated form of "eye", and from the four form "drop".
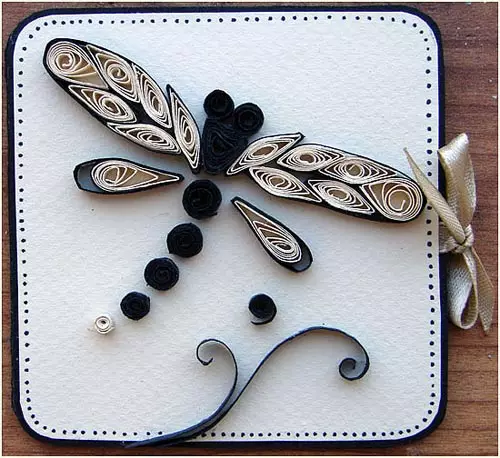
We have these items as shown in the photo. We form wings using edging from black paper strips. If the dragonfly needs to be done by a cradle, and not stick to the picture, then all its parts glue with each other and let it dry well.
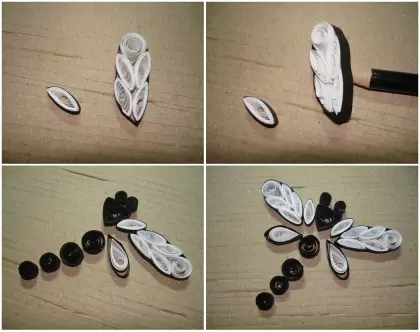
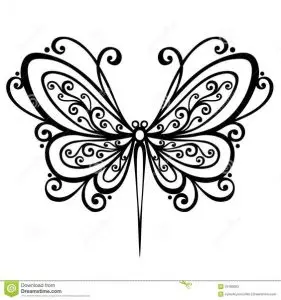
It turns out a beautiful openwork dragonfly.

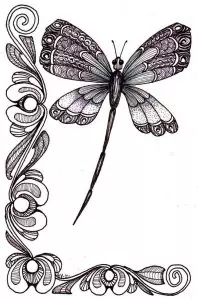
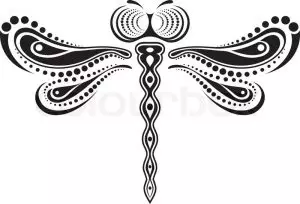
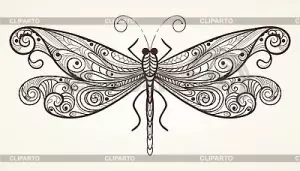
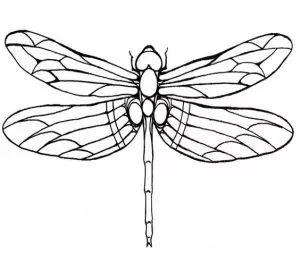
Also interesting dragonflies can be done using the proposed schemes.
Video on the topic
In the video you can see how to create butterflies and dragonfly in the technique of quilling.