
For lovers of needlework, such a technique for the manufacture of paintings and panels as quilling will be interesting. It consists in twisting thin multicolored paper strips along the spirals into rolls, and then giving them different shapes. Then out of the resulting elements glove incredibly beautiful openwork flowers, trees, animals, birds and much more. It will help to learn how to create beautiful panels and quilling pictures of the master class with step-by-step photos of their creation.
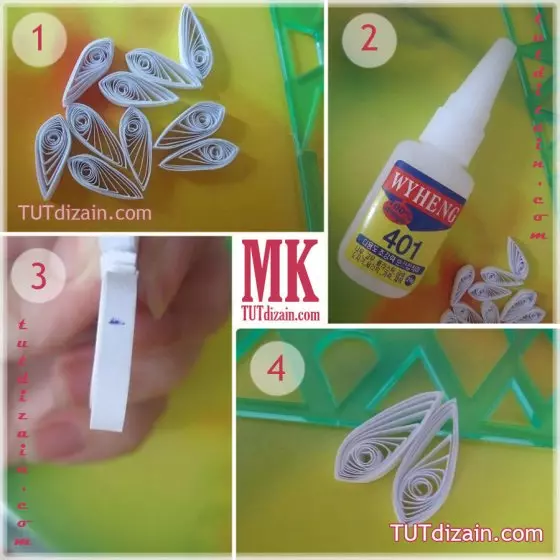
For beginner needlewomans, it will be necessary to prepare everything that will be required for the manufacture of paintings. Need double-sided colored paper, it is desirable not very thin. The stationery knife is cut on the strips of 3 mm. Also in stores for creativity sell ready-made paper stripes, the palette of their colors is very diverse. To twist rolls, you can use a conventional toothpick, on the tip of which to make for fixing the edge of the paper strip. Or acquire a special "twilka" for a queen, which resembles a selo, only the rod is shorter and the end it is twisted.
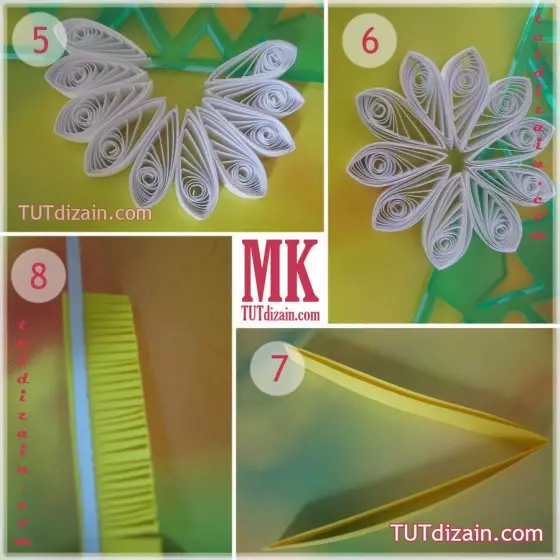
You still need a glue that does not leave stains. It is customary to use PVA glue, but another stationery is suitable. So that the minor elements it is convenient to keep, you will need tweezers. Short sharp scissors. Caution It is worth paying the basis on which the image will be located. Frame for photo, color cardboard, cuts of embossed monophonic wallpaper. Prepare these materials and tools, you can start making a picture or panel.
Simple flowers
A very realistic colors are obtained in the quilling technique. Openwork elements, of which they consist, add grace and tenderness.
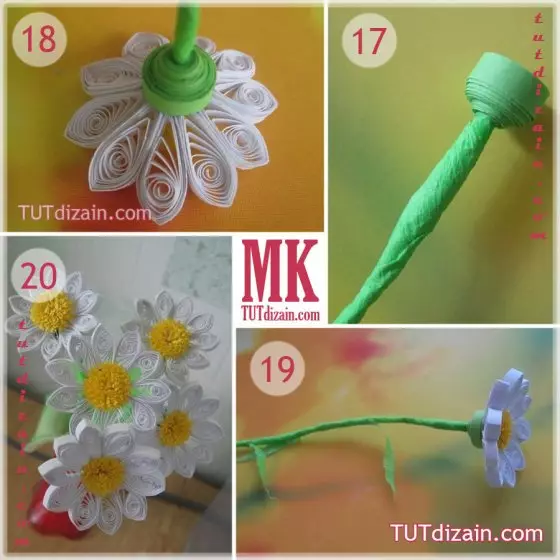
Start step by step to make pictures with flowers better with their ordinary types. The simplest performed are daisies.

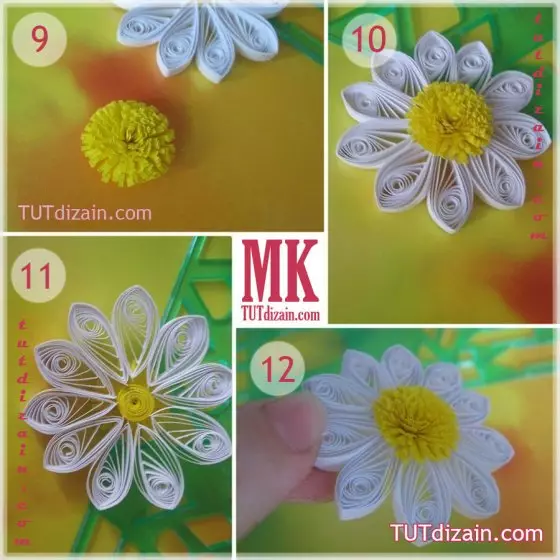
From the white strips of paper, we make a free roll, glit the edge of the stripes, give it a drop-shaped form. So it turns out the petal. Several petals glue together in a circle.
Article on the topic: Magazine "Knitting - Your Hobby №8 2019"
From yellow colored paper cut striped, which will be four times wider than strips for petals. Make the edge of cuts so that it turned out the fringe.
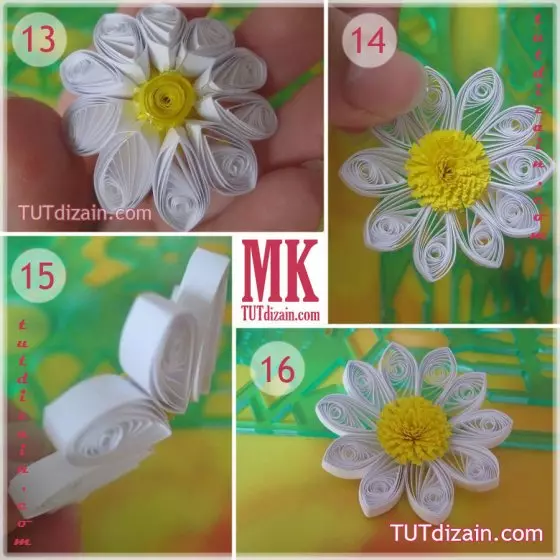
Twist in a tight roll, glue the edge of the strips and straighten the edges from the center to the sides. Place a yellow middle between petals and glue.
To give the natural shape, put it on your palm and click on the middle. Chamomile becomes a concave form.
The stalk is made of wire. It must be copped with a green corrugation. By the end of the stem, glue the edge of the green strip and turn the tape on it. Make a small funnel, stick the flower inside.
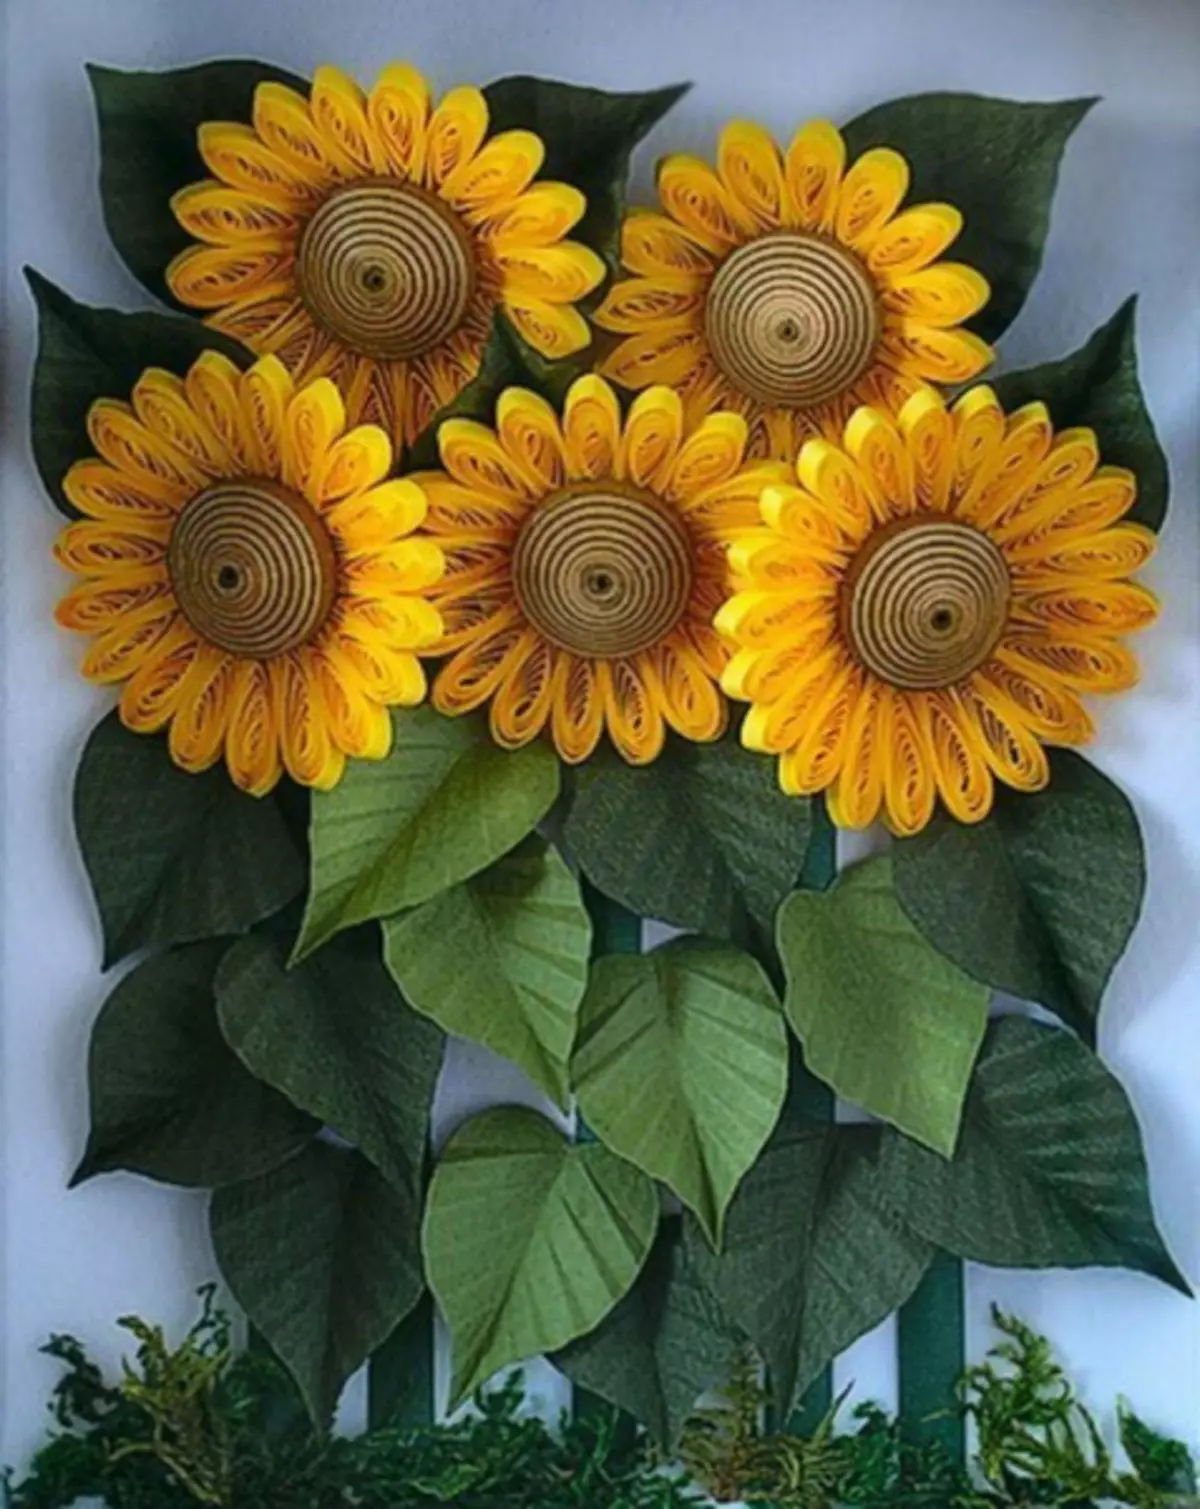
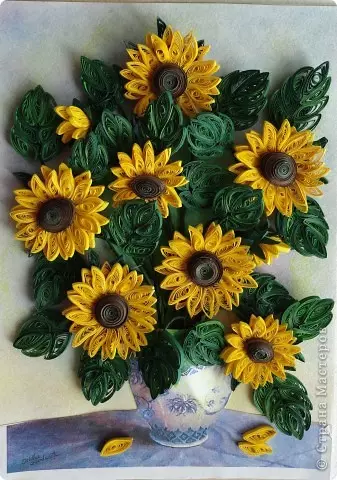
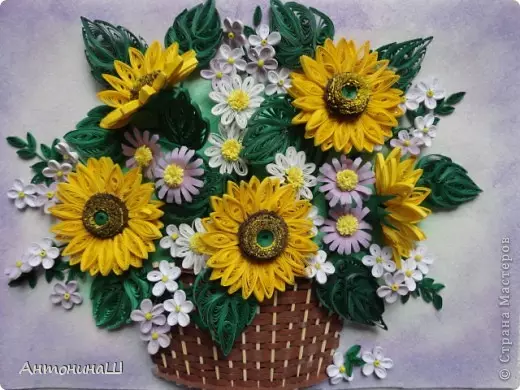
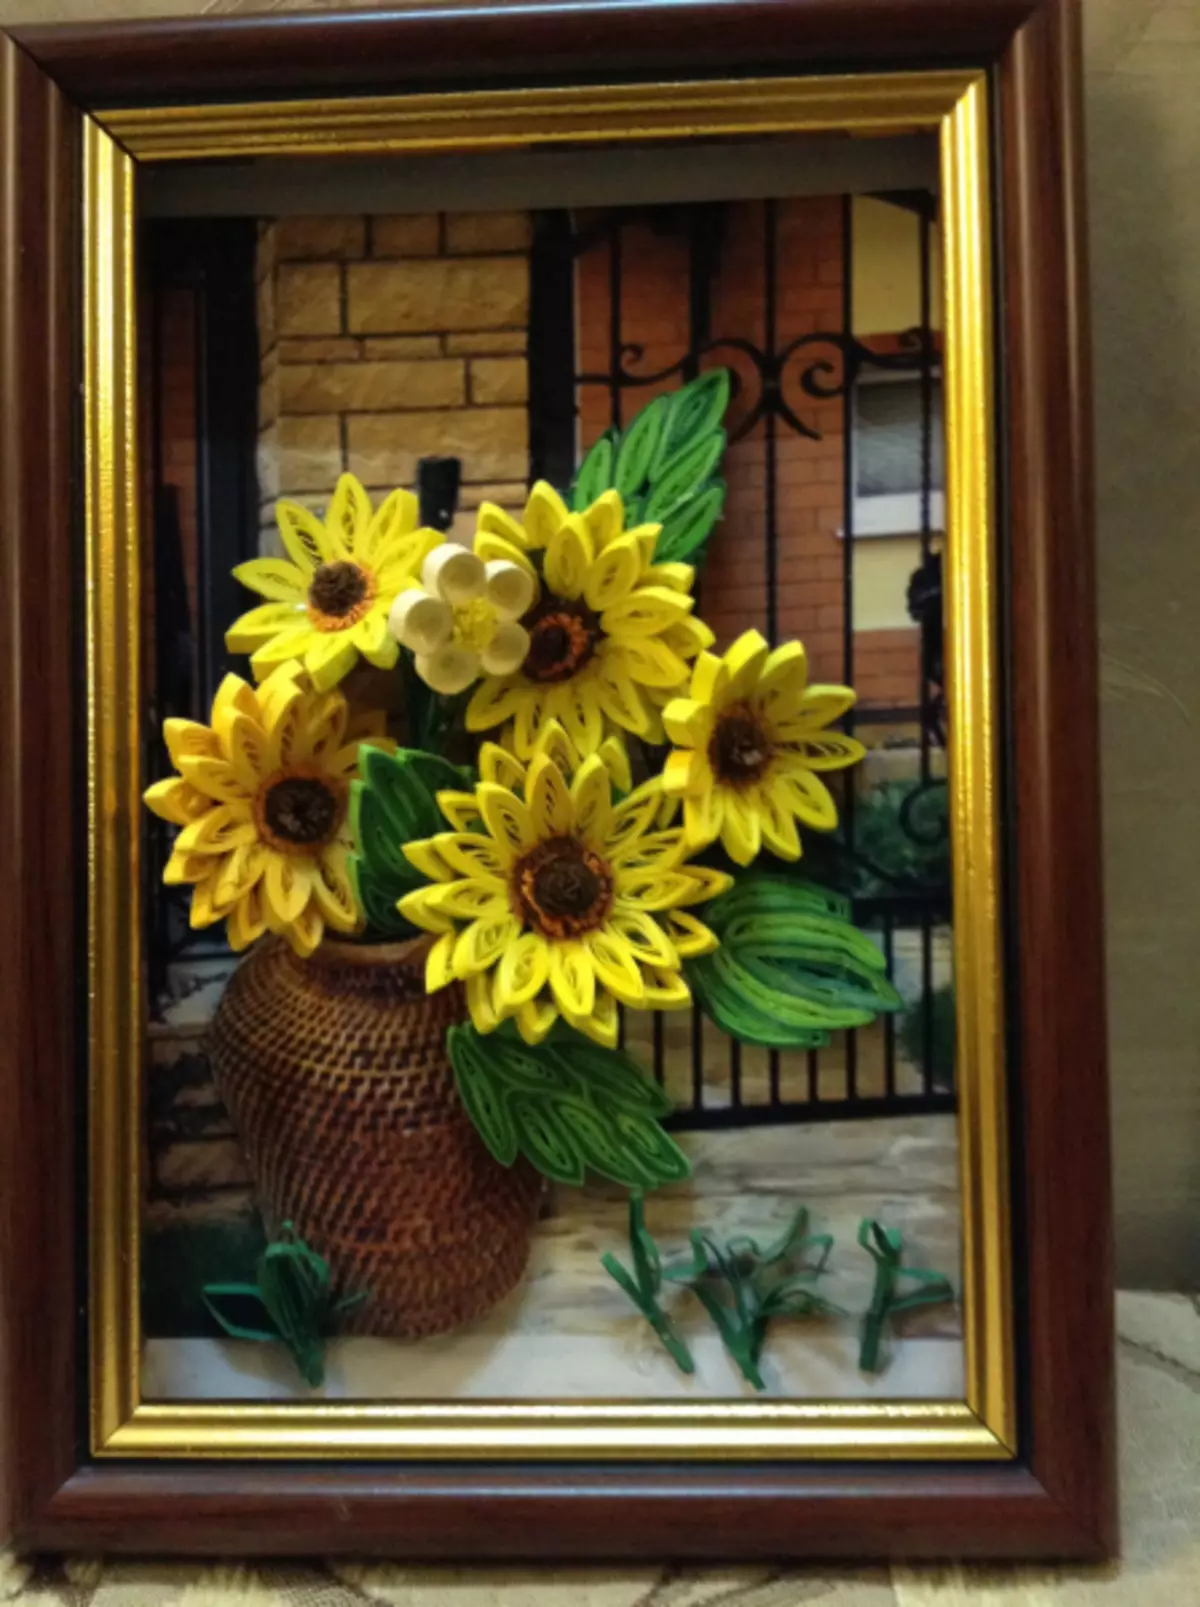
One more simple flowers are sunflowers. From these bright solar colors, very beautiful pictures and panels are obtained, which their mood is raised by their saturated color and fill with energy.
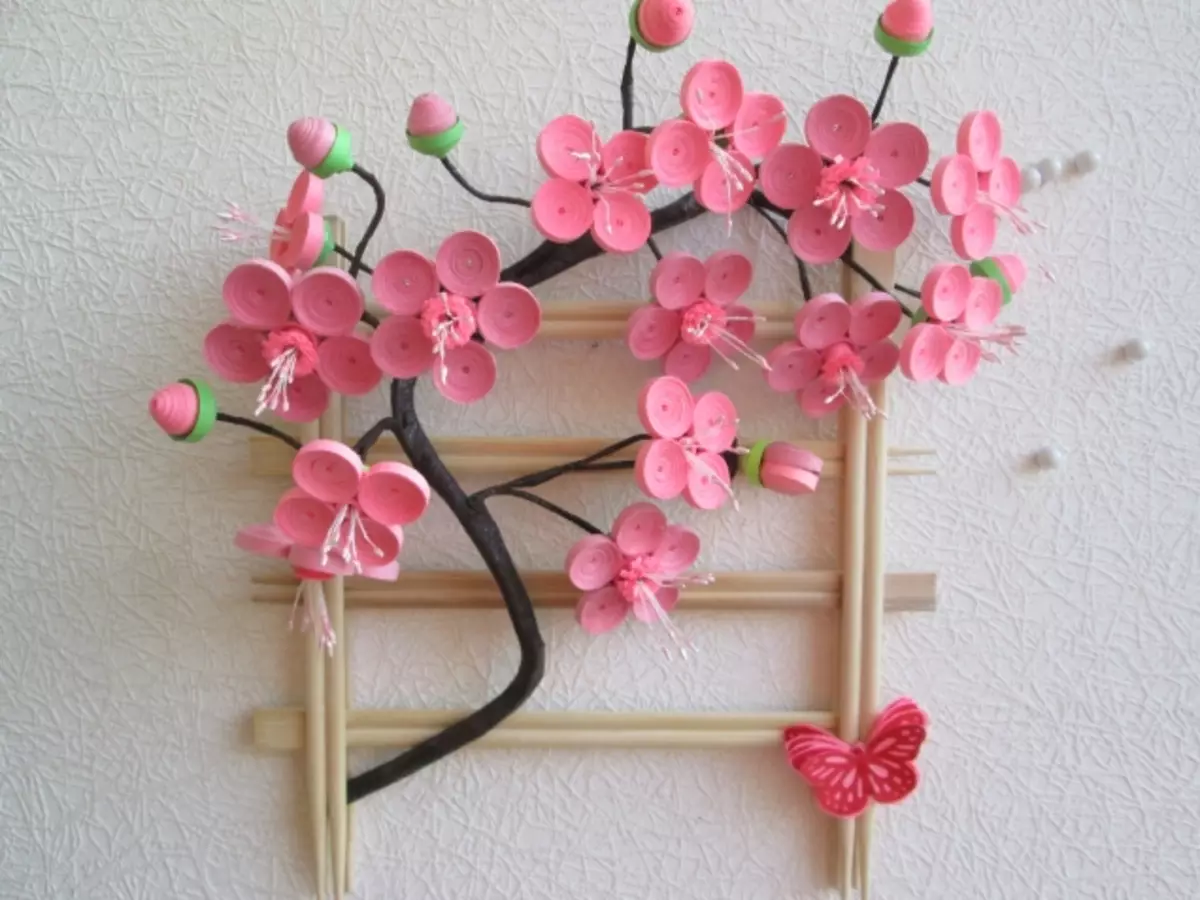
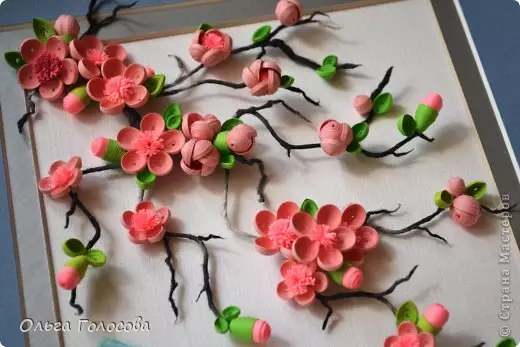
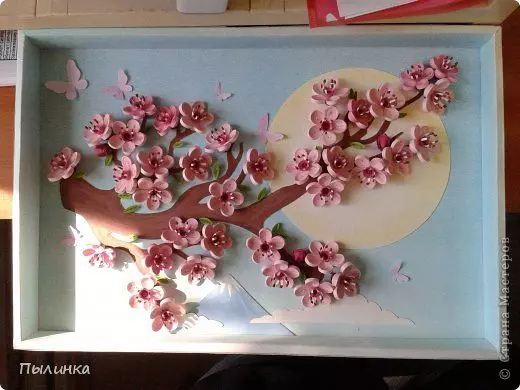
Interesting and tender panels are obtained from Sakura branches. Sakura has simple flowers. Make them of tight rolls, pressing the center of each petal. Five petals glue in a circle. In the middle place or stamens who are sold in stores for creativity, or bubble on the fishing line. You can make the middle to make it lush and glue the roll with a fringe with a fringe. The twig is made of wire, wrapped with a brown corrugation. Or, from brown paper bands, the spiral twisted and pull it out, then glued to the base, giving the desired shape.
Enhance mastery
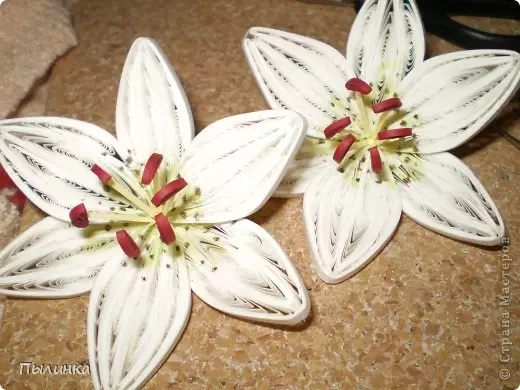
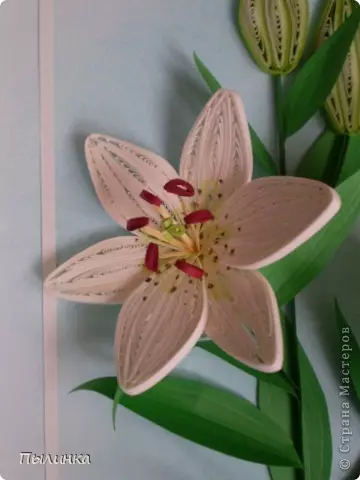
After mastering simple colors, you can try to make more complex lilies. In the nature of the species of this flower a lot and the color they have different.
To create a lily, in addition to a standard queening set, you will need another gel handle to apply dots, like a living flower.
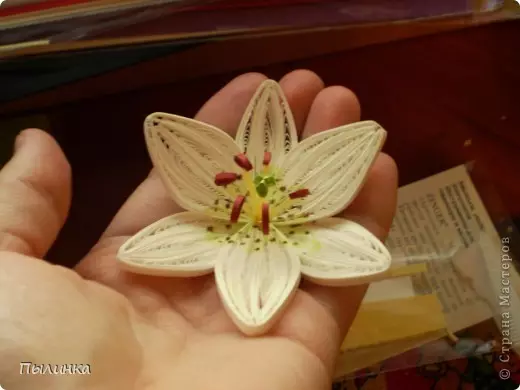
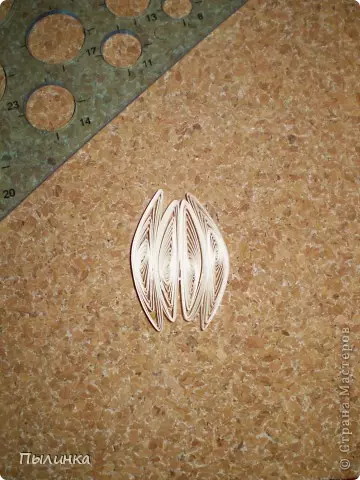
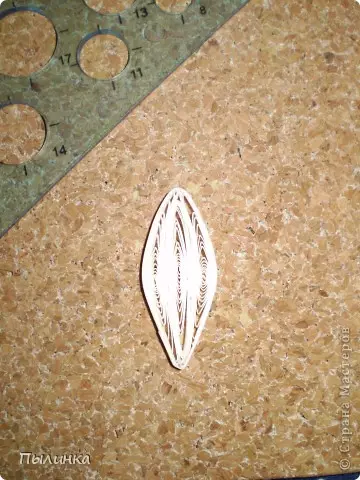
You need to make three large petals. The photo shows its scheme, and the numbers indicate the diameter of the free rolls that need to be bent as on the diagram.
Article on the topic: Weaving Bracelet Bracelet for Watch: Instruction with photos and video
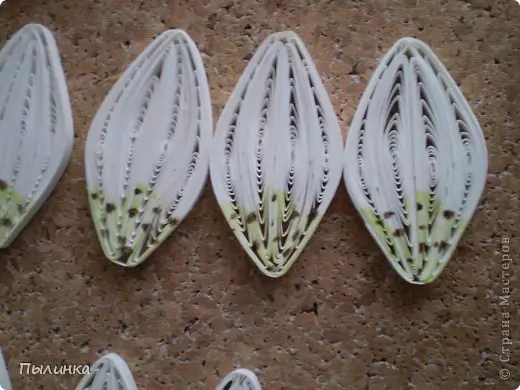
Elements glue with each other.
Around the elements several times to wind the common border.
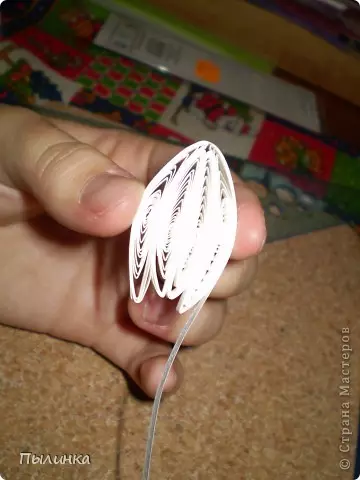
Such petals need to do three.
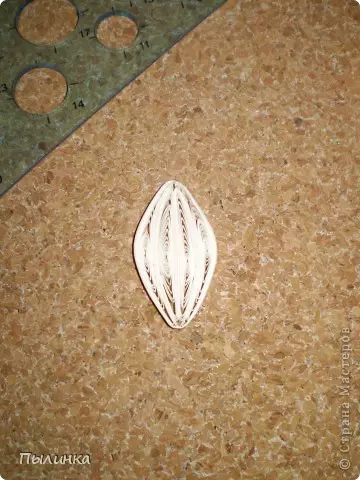
Further, as shown in the diagram, petals are made smaller.
Make them on the same principle as the previous petals. Make them you also need three.
Next, the finished petals need to be painted with gel handles, imitating the color of the real lily.
Make a tight roll and form a funnel from him. Glit into the center at the same distance of the petals, which are smaller.
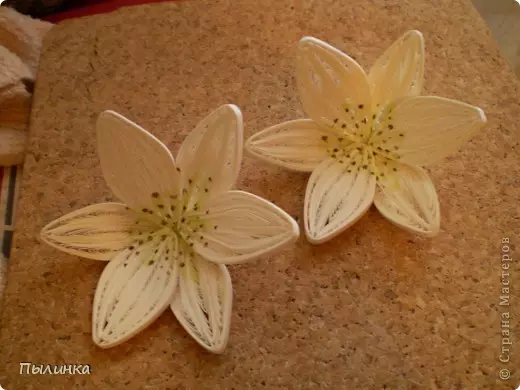
Petals are bigger to glue in a chess above the tier. The middle should be empty so that the center can be glued to the center.
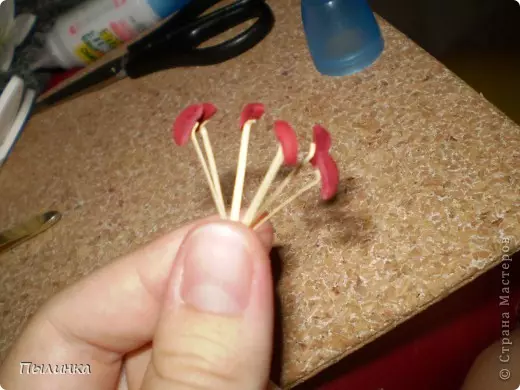
For the stamens you need to form small elements in the form of a moon from the rolls of burgundy. Then the strip of paper along to cut into three strips, measure the length of the stamens, alone the edges to glue together, and the second edges beg. On these bent edges to glue burgundy moon. Stamens are ready.
Insert the stamens in the center of the flower.
Now you need to make a pestle. Three small lightning tight rolls are glued to the strip.
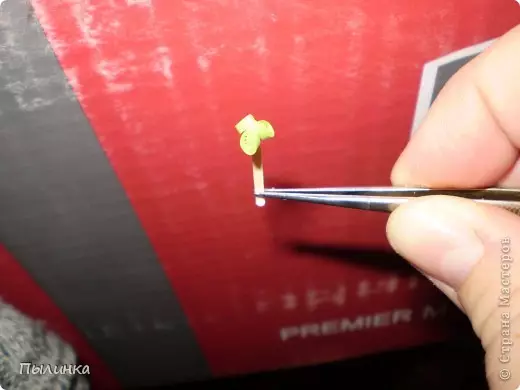
Insert the pestle. Lilia is made.
So, gradually complicating the task, you can learn to make incredible flowers.
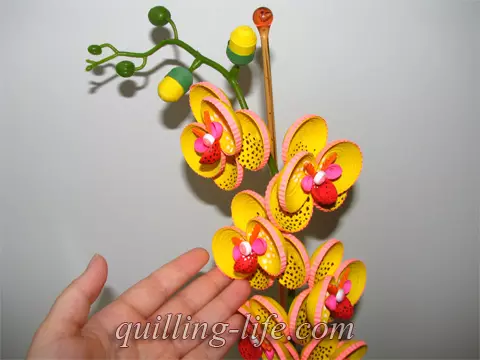
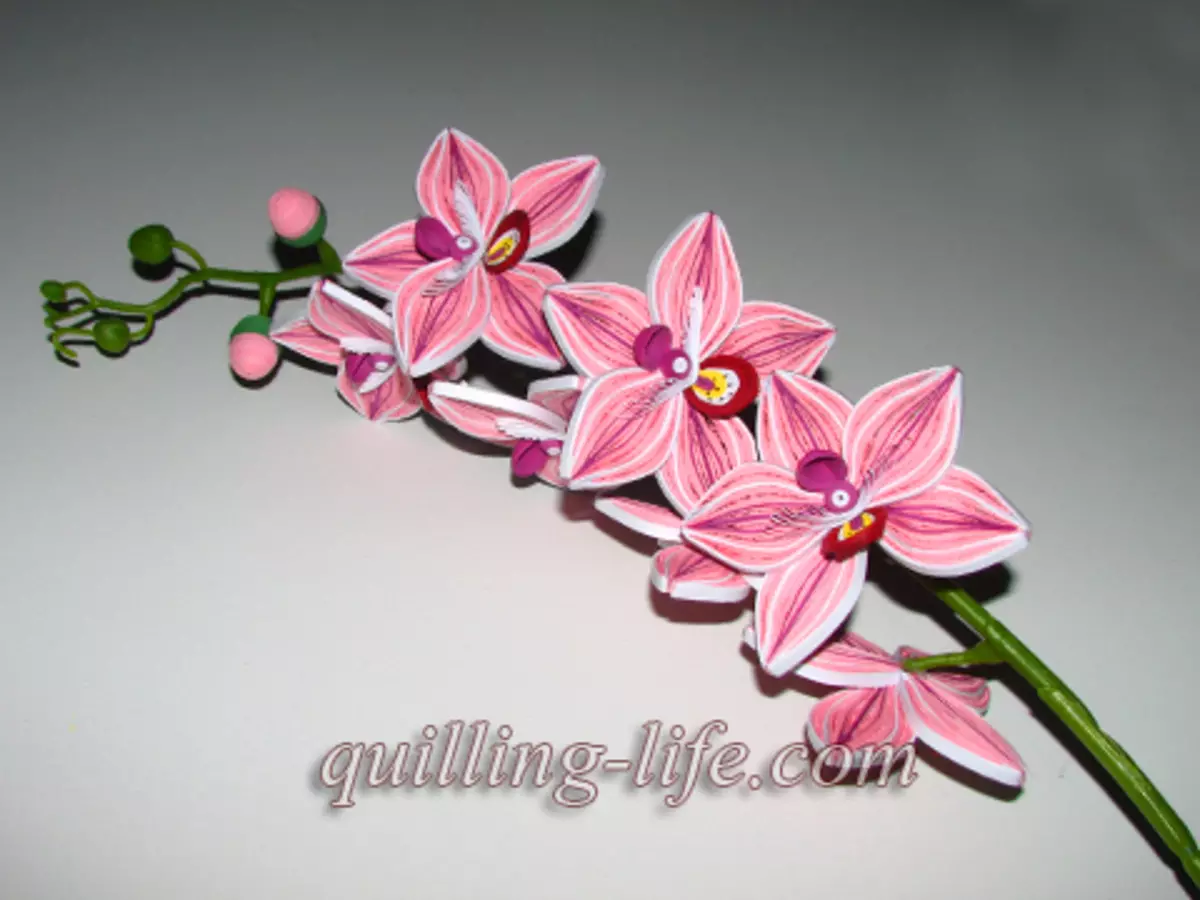
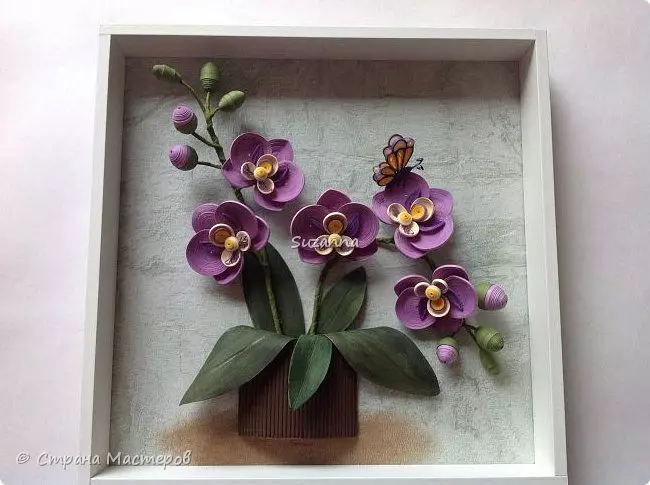
Also looking orchids on the branch. These very unusual flowers are distinguished by a kind of shape and color. Make them petals or like lily, or from concave tight rolls. Orchids are suitable for both paintings and panels. A desk composition in a quilting flower pot will look even wonderful.
Seasons
Wonderful bright paintings make on autumn theme. Autumn is characterized by bright warm paints. Landscapes, bouquets of yellow, orange leaves and red berries Kalina and Rowan - it all looks incredibly colorful, as you can see in the photo below.
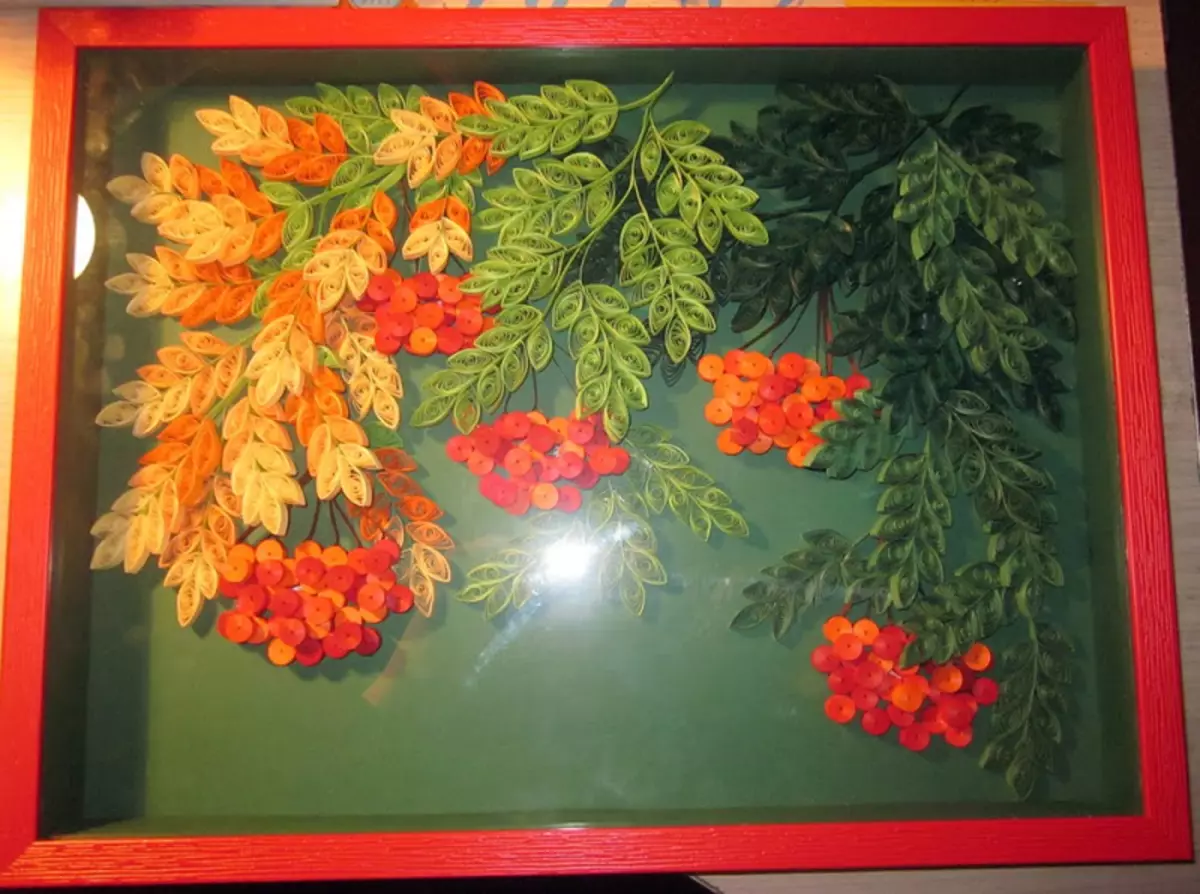

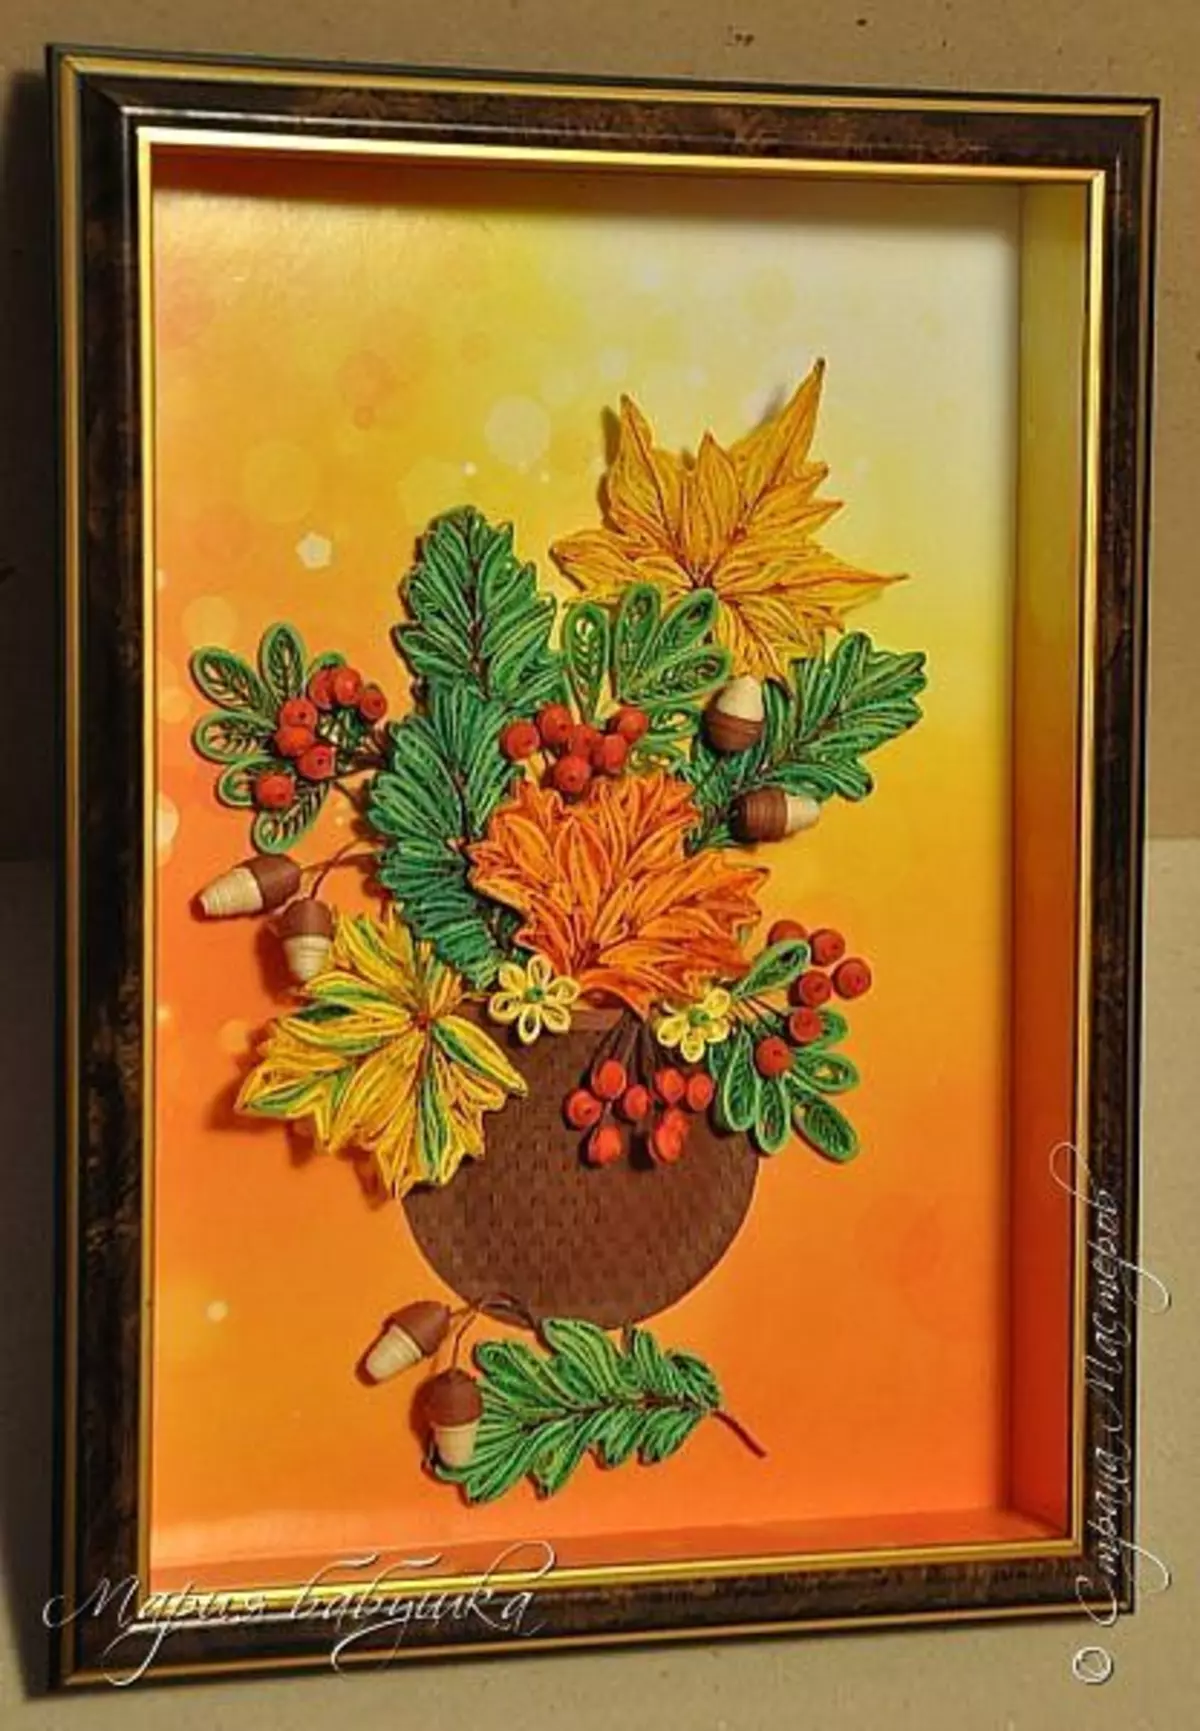
In order to create such charming canvas, you need to learn how to produce beautiful carved maple leaves.
Article on the topic: Flowers from a cold porcelain with their own hands: Impressive for beginners with photos and videos
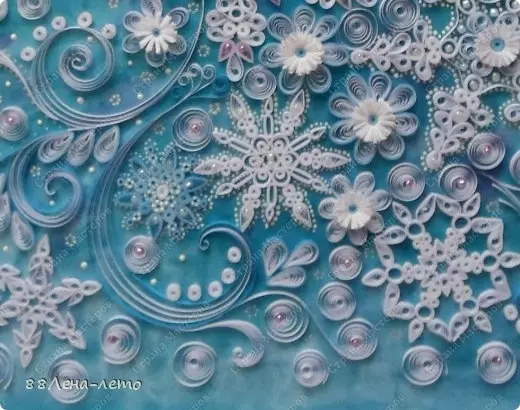
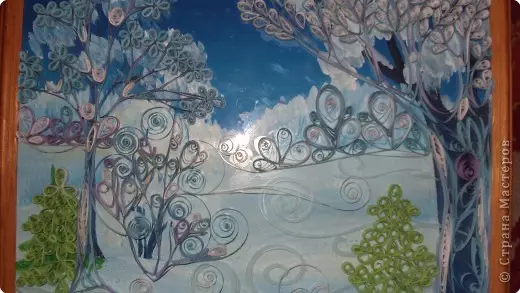
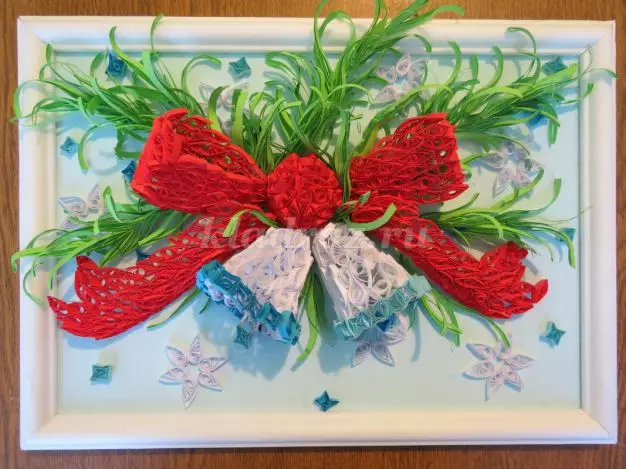
Winter on quilting paintings looks no less attractive. Frosty patterns, snowflakes, snow-covered nature looks simply fabulously. Paper ribbons are as if created in order to make winter laces from them, decorate the frames of the frame.
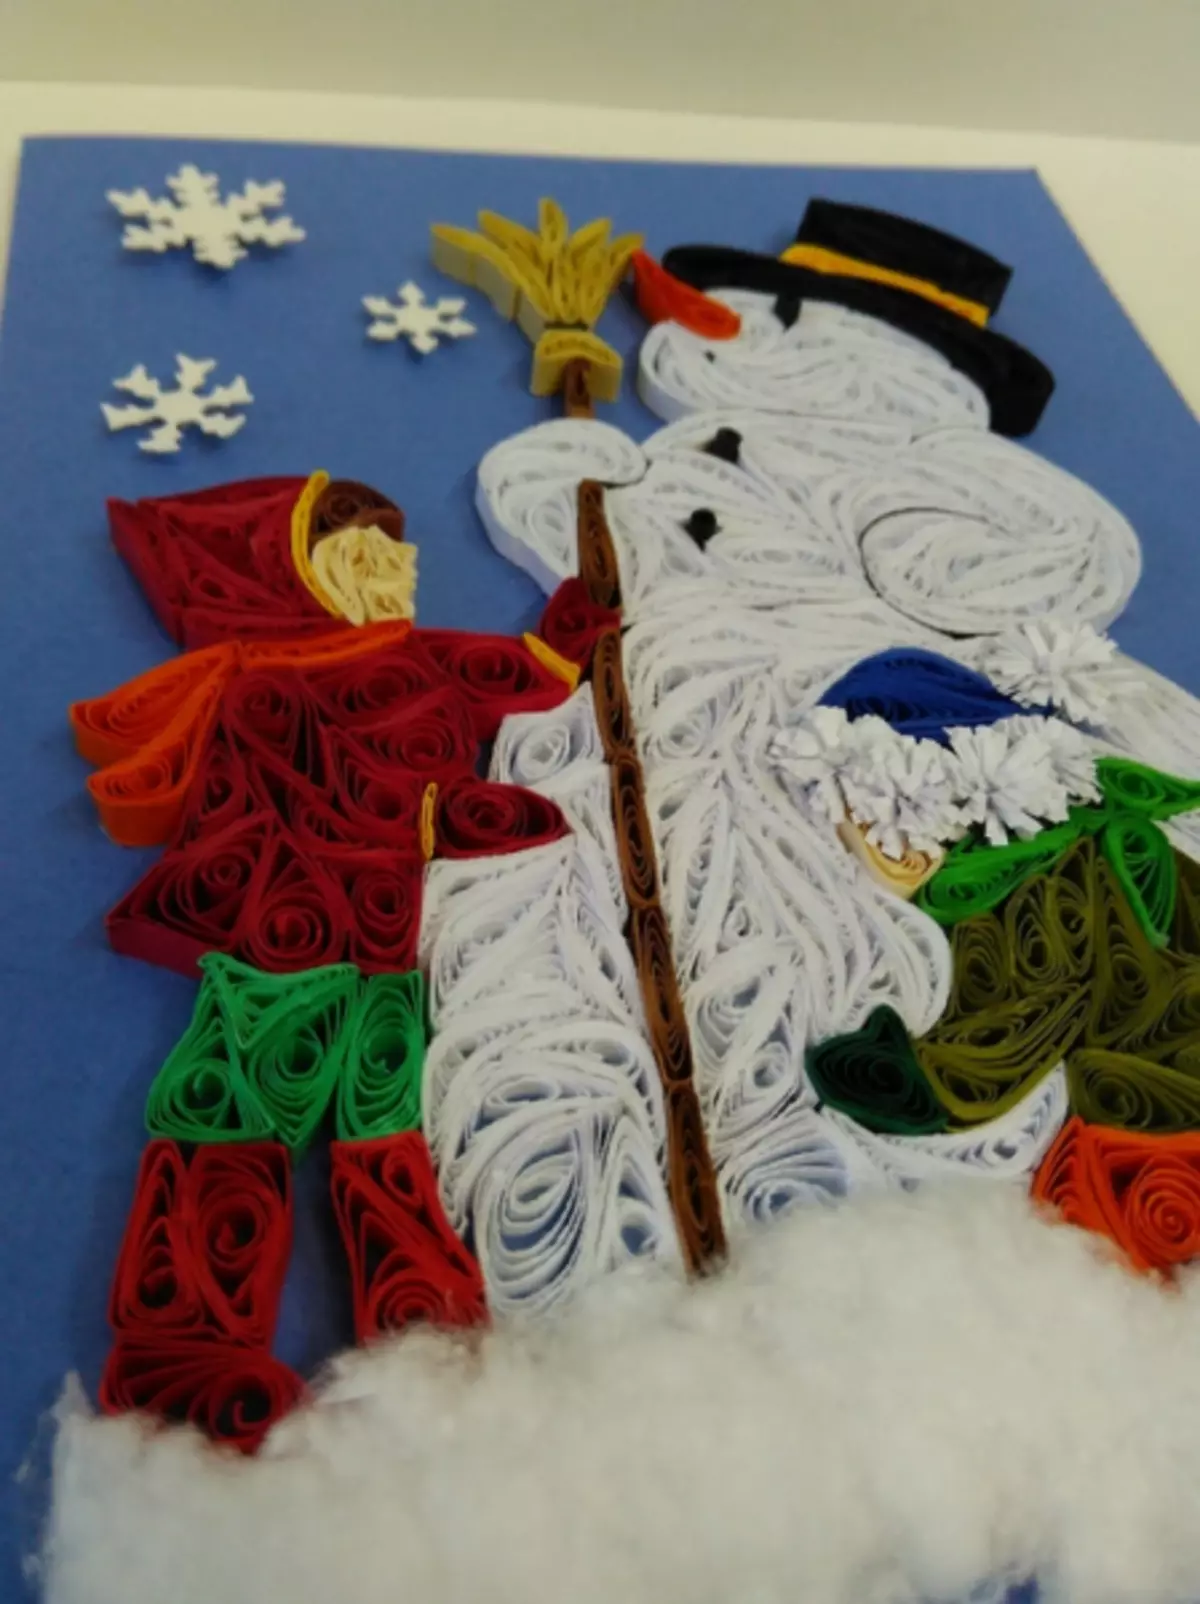
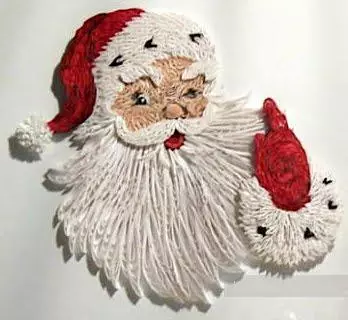
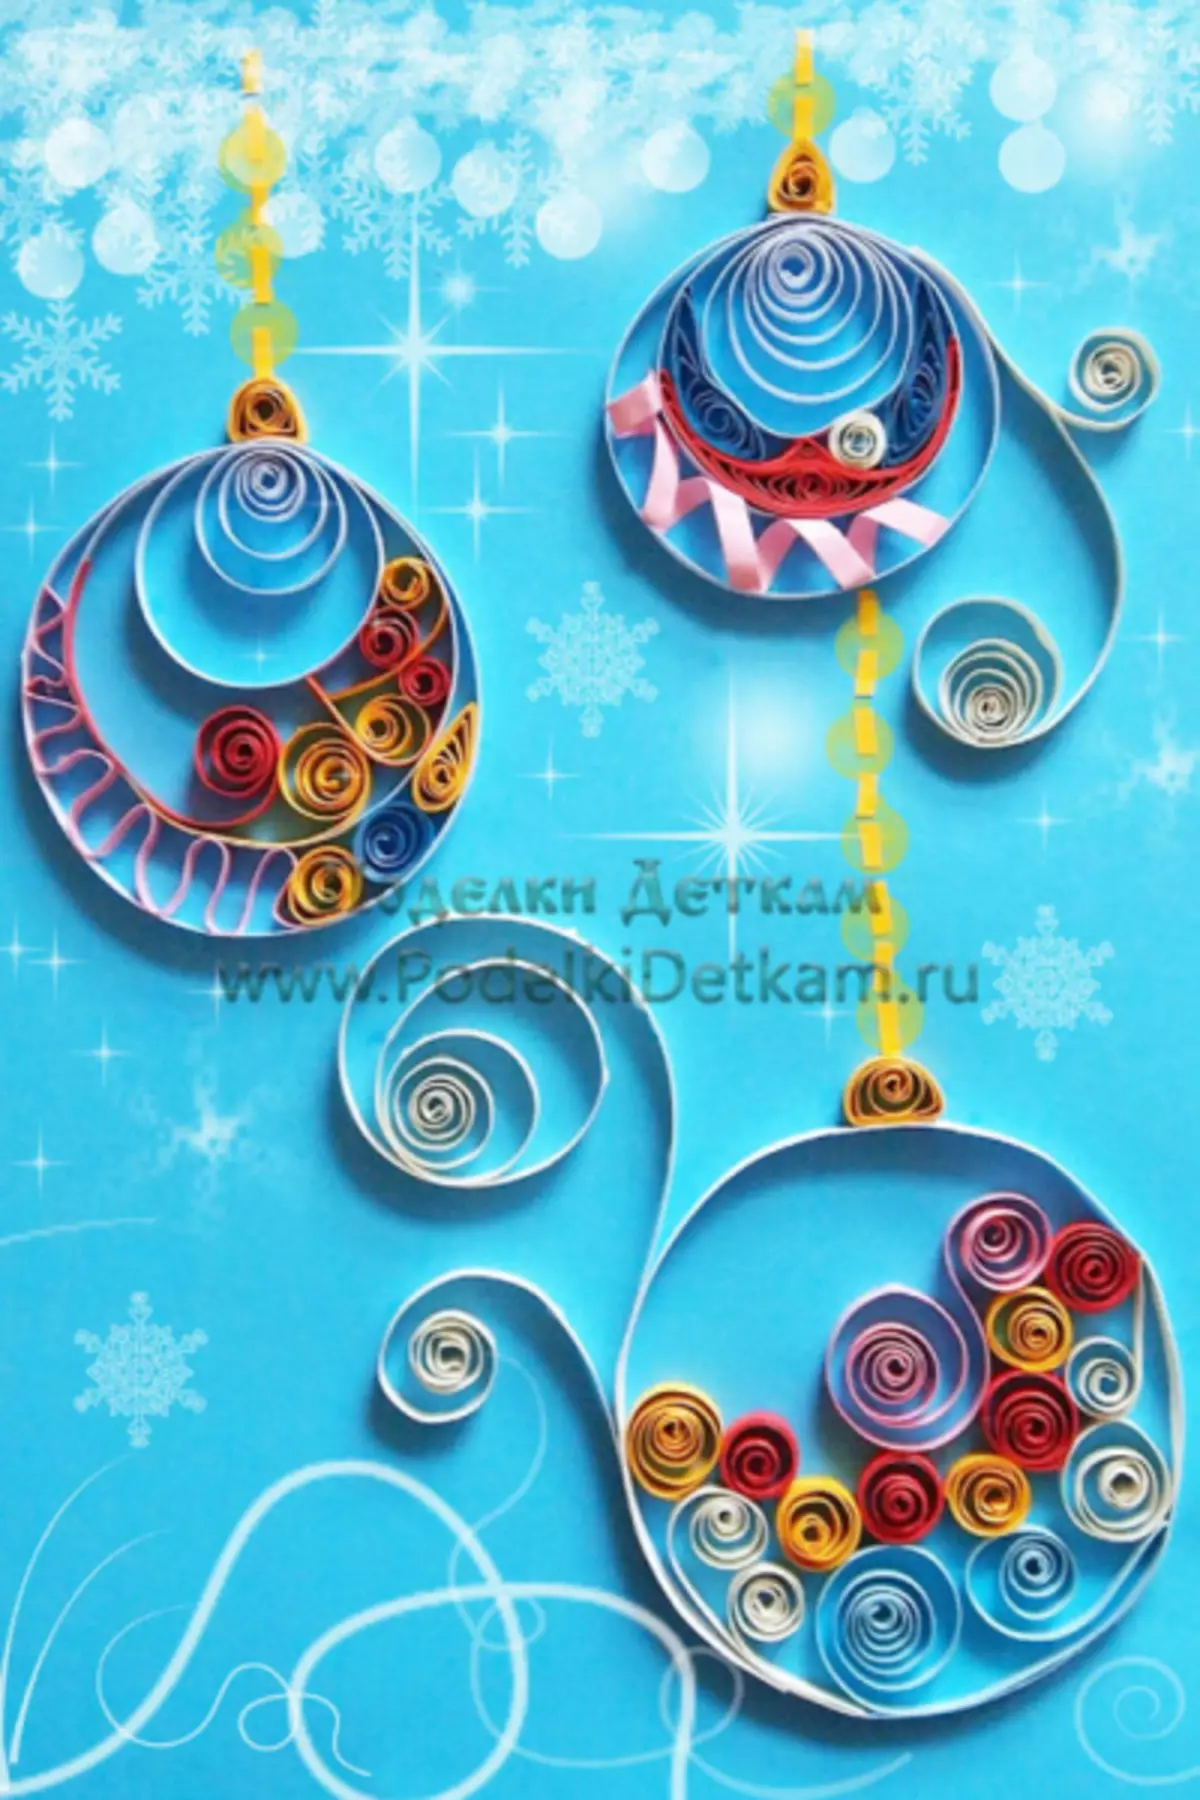
A special place in the winter theme is the new year. The festive picture will become a wonderful gift, complement the New Year decor of the premises. Beautiful greeting cards with beautiful openwork Christmas trees, Santa Claus, the Christmas balls will delight beauty and create a festive mood.
Perform these pictures is easy, since most of the elements for their creation are the same as in the manufacture of colors. To make beautiful patterns, you can first draw them with a pencil or print a finished pattern. Then gently glue the side part of the paper ribbons to the contour of the drawn pattern.
Video on the topic
In a selection of video, it is shown how to create beautiful pictures on various topics in the Quilling technique.