
Make boots, crafts with your hands from wool and other materials - it is always an interesting occupation, an excellent version of the crafts are boots, it will be a completely non-bunny occupation and a product that will bring joy and adults, and children, so in this article we will offer you master classes in this article. For various options for the product of the boots. Such a product can be an excellent interior decoration.
Of course, the boots are associated with us with winter, so they can become a wonderful Christmas decoration, they can be hung on the Christmas tree or put under it, they can also become a gift for her daughter, for her beloved doll. So, we suggest you to make such interesting boots:
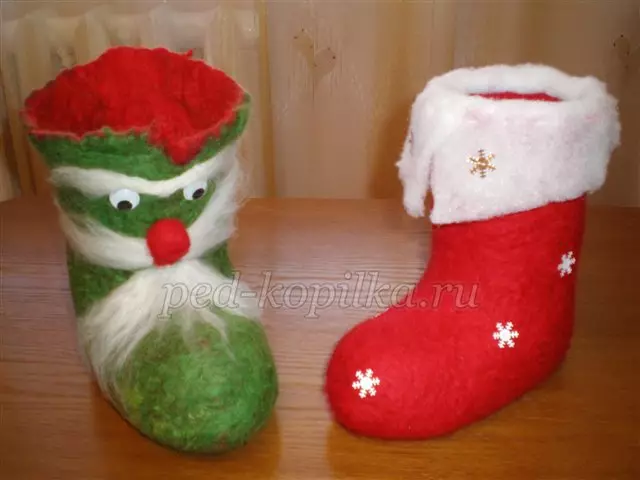
Getting to work
Such little boots are called "whispers", they look very pretty and become an excellent winter decoration of your home or toys.
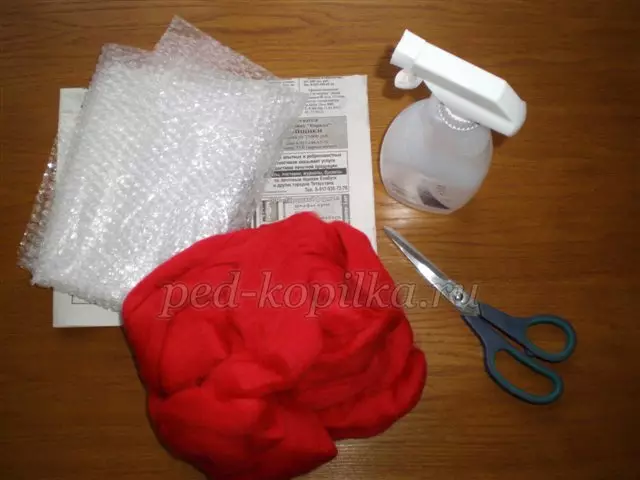
To work you will need:
- Wool;
- Scissors;
- Film with bursts, take from some packaging;
- Soap solution;
- Unnecessary newspapers;
- Pencil:
- Sintepon;
- Elements for decor.
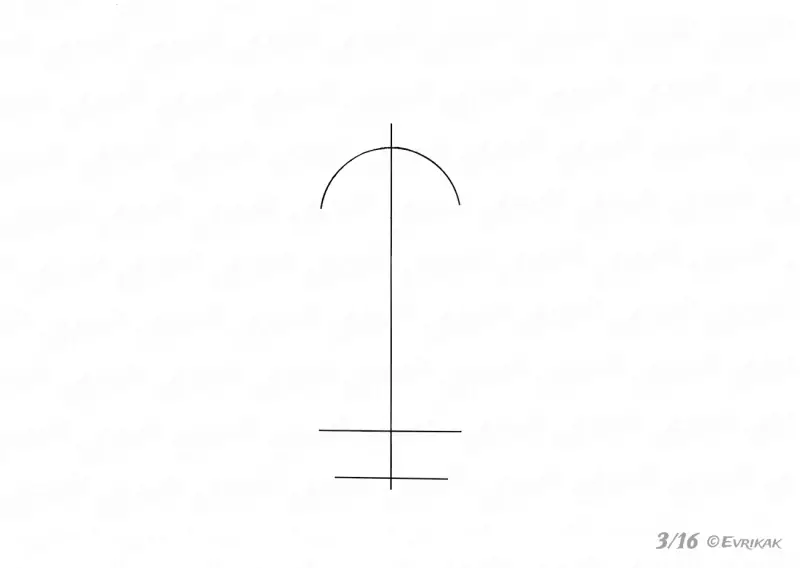
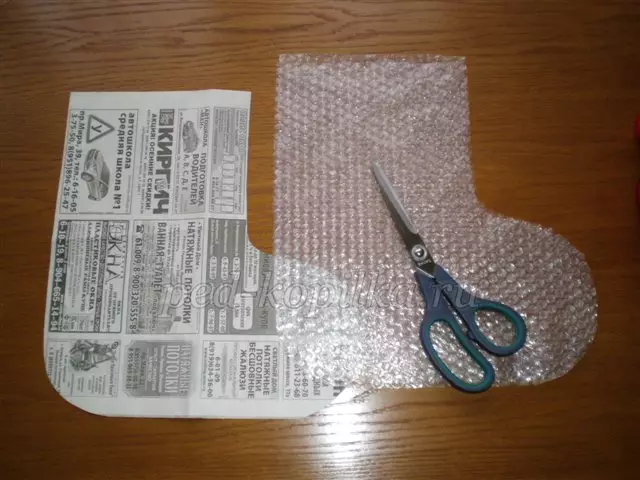
Stages of work. To start work, you need to build the pattern of the future product. To do this, take the newspaper sheet and pencil. Draw foster the size you need. Cut out the resulting figure, we carry the drawing on the pupil film, cut out this element too. If you do not know how to draw, do not worry, you can use this template.
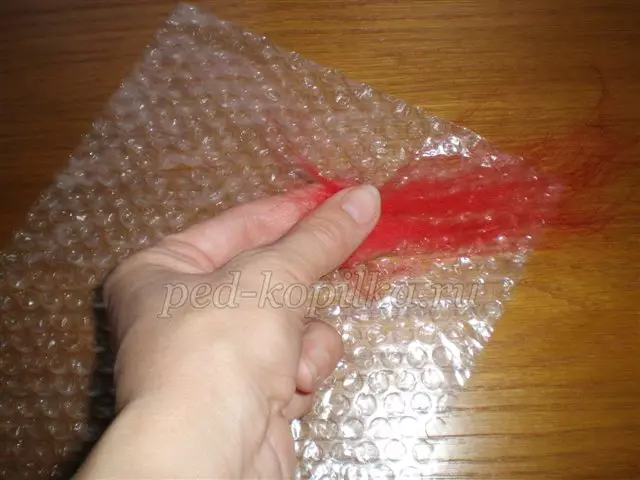
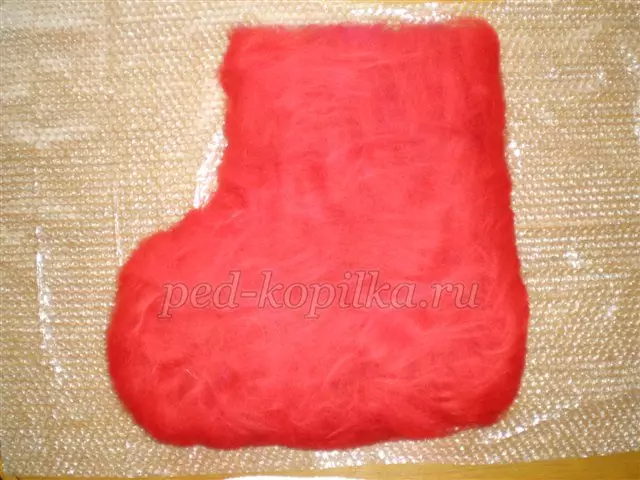
We start working on the first layer. We take a small piece of wool, straighten it, getting rid of unnecessary seals and unnecessary lumps. Such pieces cover the pattern in such a way that the wool performs for the edges of one centimeter. Make the first layer vertically, and the second is horizontally.
The first party is obtained as in the photo below:
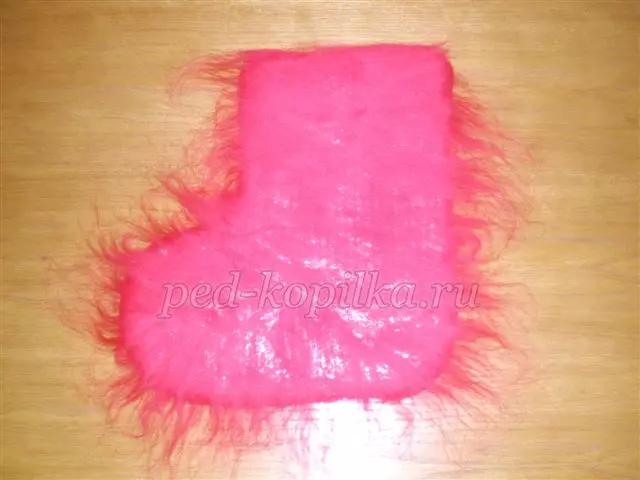
Now you need to flip the product and turn edges that performed. The second side of the workpiece is done in the same way as the first.
Article on the topic: French regulated knitting needles: Jamper Scheme with Video
We post for this principle several layers and turn the product. On each side you need to do about four layers. But, in any case, the number of layers depends on the thickness you need.
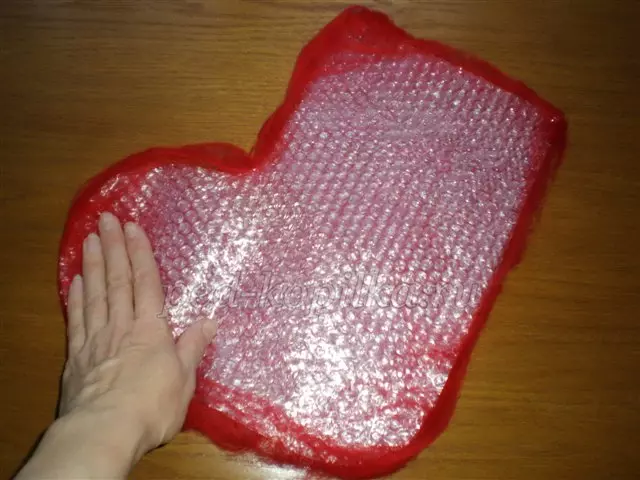
Thoroughly water the product with a soap solution with warm water.
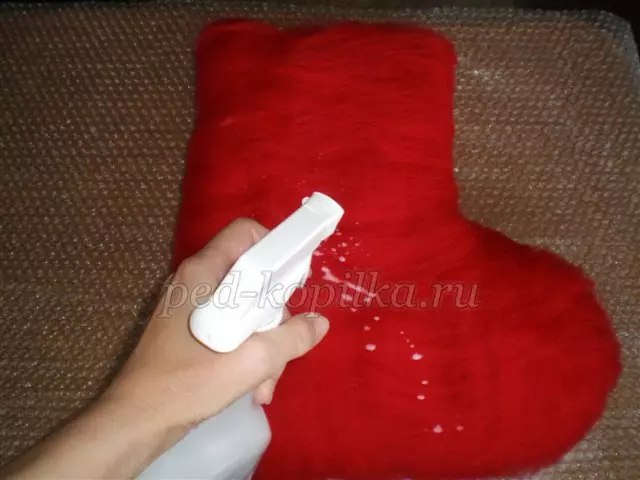
It should turn out something like this:
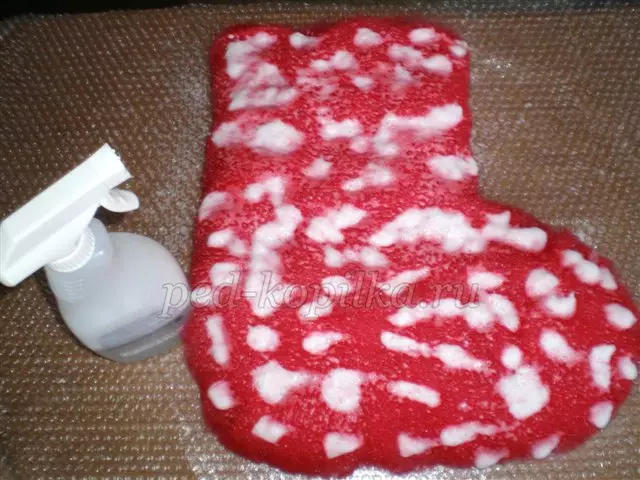
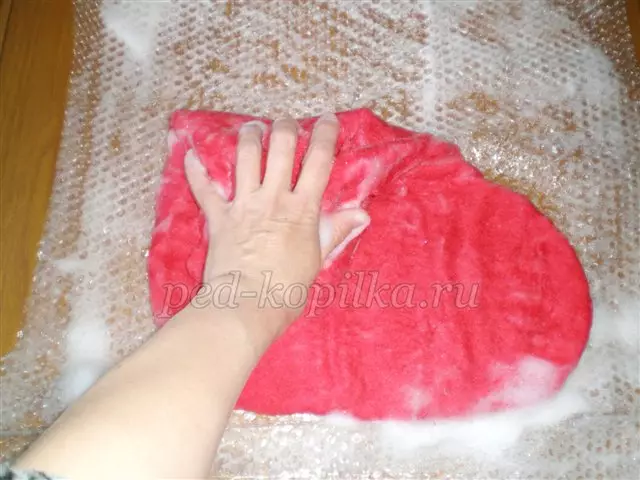
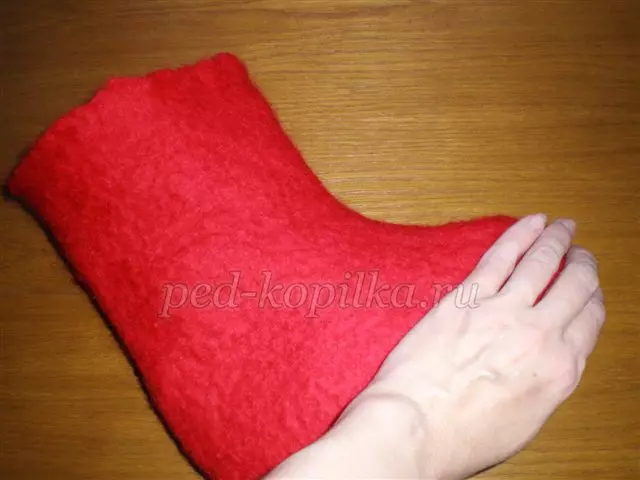
We wash the wool with your hands, you need to ensure that all the product is wet and soapped with soapy. Movements should be confident, but not sharp, otherwise damage the first layer.
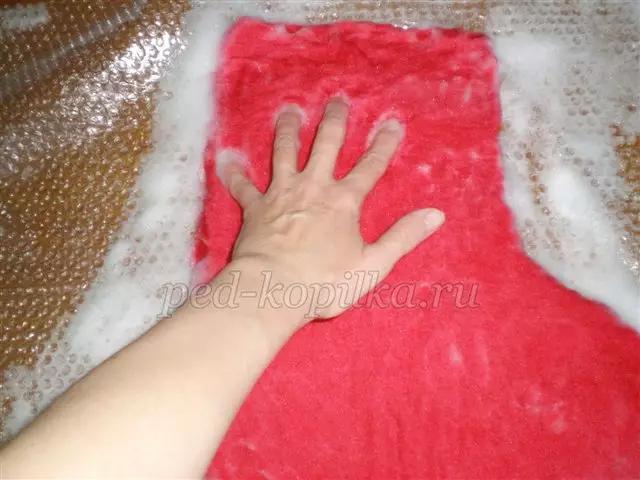
A very convenient and effective way is to skate in a roll of poultry film. To do this, you just need to wrap the product into the film and stop.
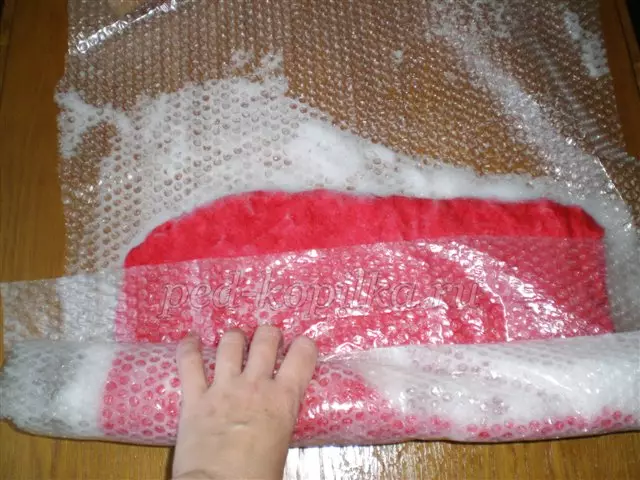
When the product becomes more dense, it can be crazy and do it in any direction.
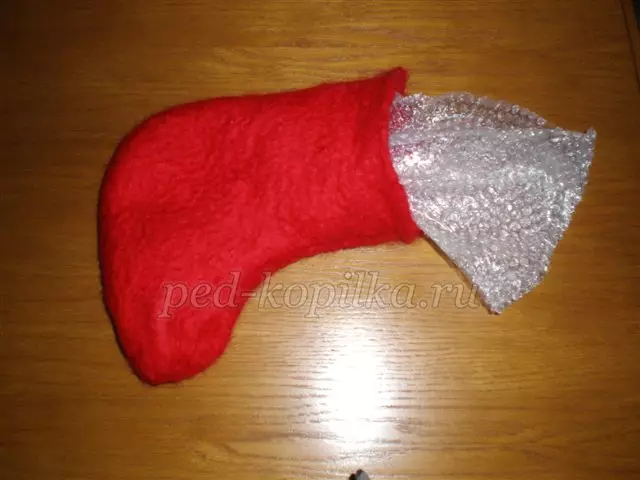
After the product becomes tight enough, you need to wash off a soap solution with hot water. Please note that it is hot water.
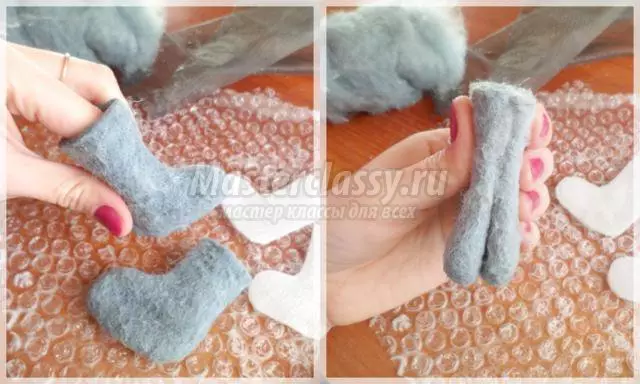
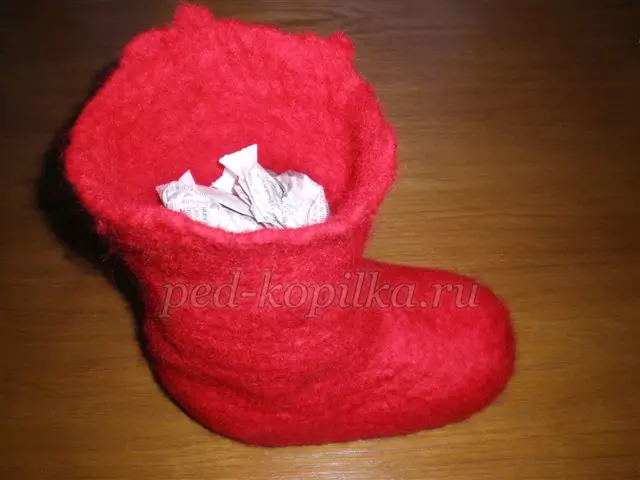
Carefully squeeze the workpiece, make a cut and remove the pattern.
From the newspapers we make lumps and with their help give the product the right form.
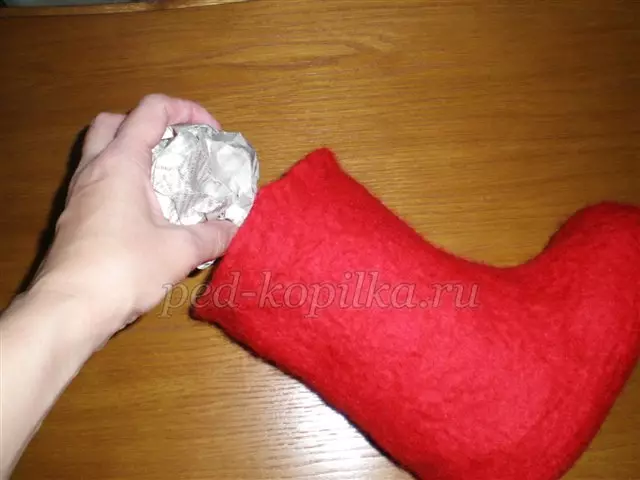
We continue to form our boots.
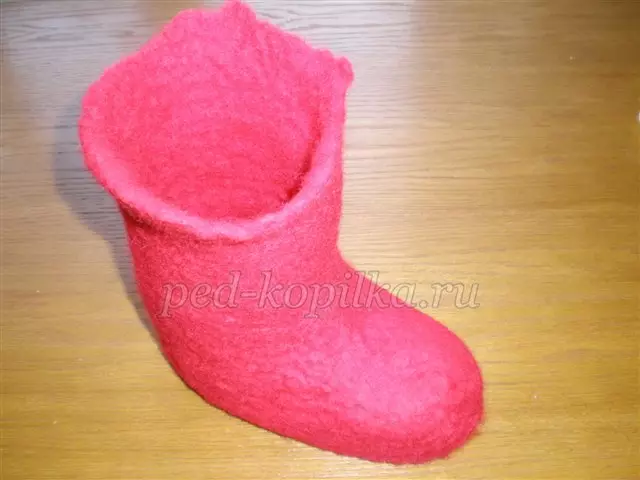
Now the product needs to dry.
Newspaper lumps need to be pulled out when the product dry completely.
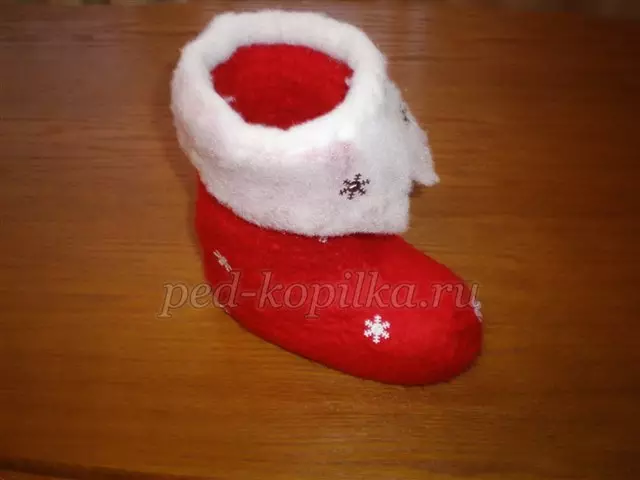
Now the product can be decorated. Since we have New Year's boots, we made patterns in the form of snowflakes. You can make felt boots with a picture that you can choose or glue, in any case, the boots will look very nice and pretty.

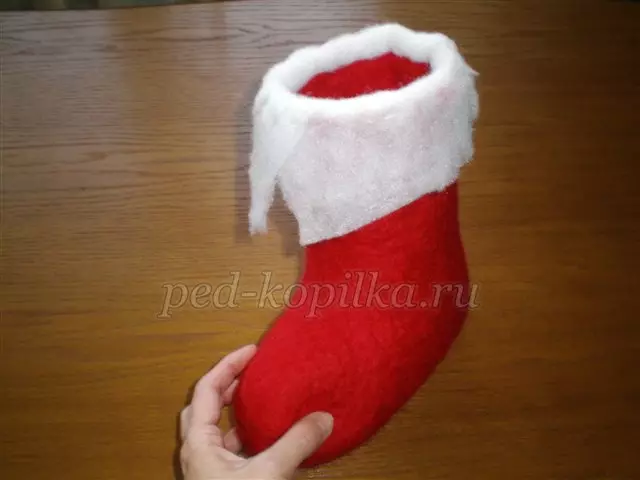
Here is such a New Year's boots we turned out.
Valenki can be made varied, from any materials, and the technique of execution can also be different, we suggest you to see a very detailed and understandable video lesson on creating boots in the felting technique, as a result you will have such wonderful extended boots.
Crafts for children
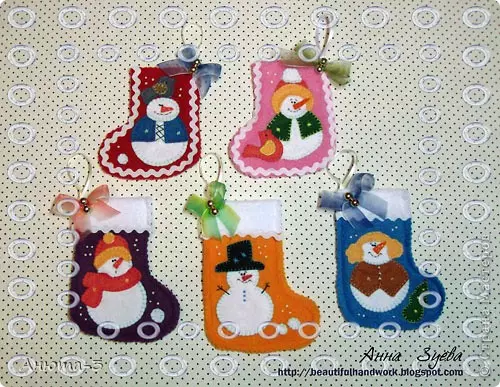
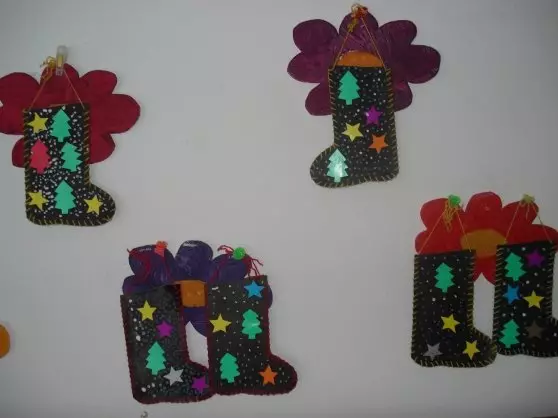
With kids, you can make a completely simple craft of boots from paper. This product can also be decorate a room for the celebration of the New Year or use as a Christmas decoration.
Article on the topic: Owl amigurum hook: video lessons with photo schemes
Draw a pattern (you can use the template proposed in the first master class). For one boots you need to do two paper blanks. Details need to be glued together with each other. Now the boots remained only to decorate and everything, for the decor you can use appliques, artificial snow and a lot of other things that will come to mind.
Also for dolls you can connect with crochet here are such wonderful boots.
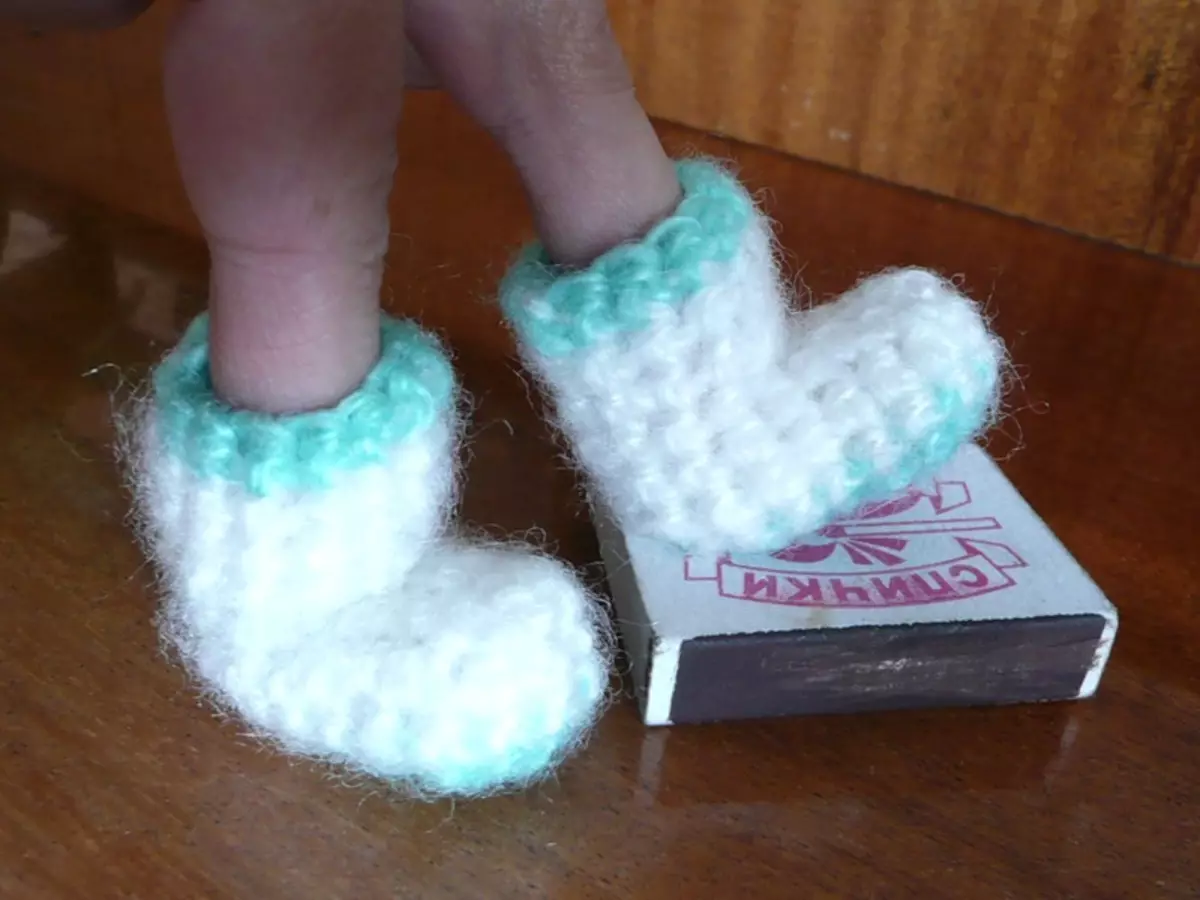
How to make such boots with their own hands, describes in detail in this video lesson.
Video on the topic
Now you can easily prepare your home to the meeting of winter and New Year, making boots in different ways and even involve your little kids. We also offer you to see a selection of video lessons to secure your skills and inspiration with new ideas.