
The lover of needlework cannot stop in one place for a long time, so they often create new products that adorn the interior are pleased with their loved ones and simply create warmth and comfort. With the development of the Internet, you no longer need to buy magazines about Hand-Meida, collect cuttings or adopt from familiar new techniques. Now, anyone can quickly find the desired master class and make such a craft that did not dream about. Today we will learn about the new form of needlework from the borrowing - Papertol. The master class, which is shown below, is very light performed, you will definitely be satisfied with the result.
A little of the story
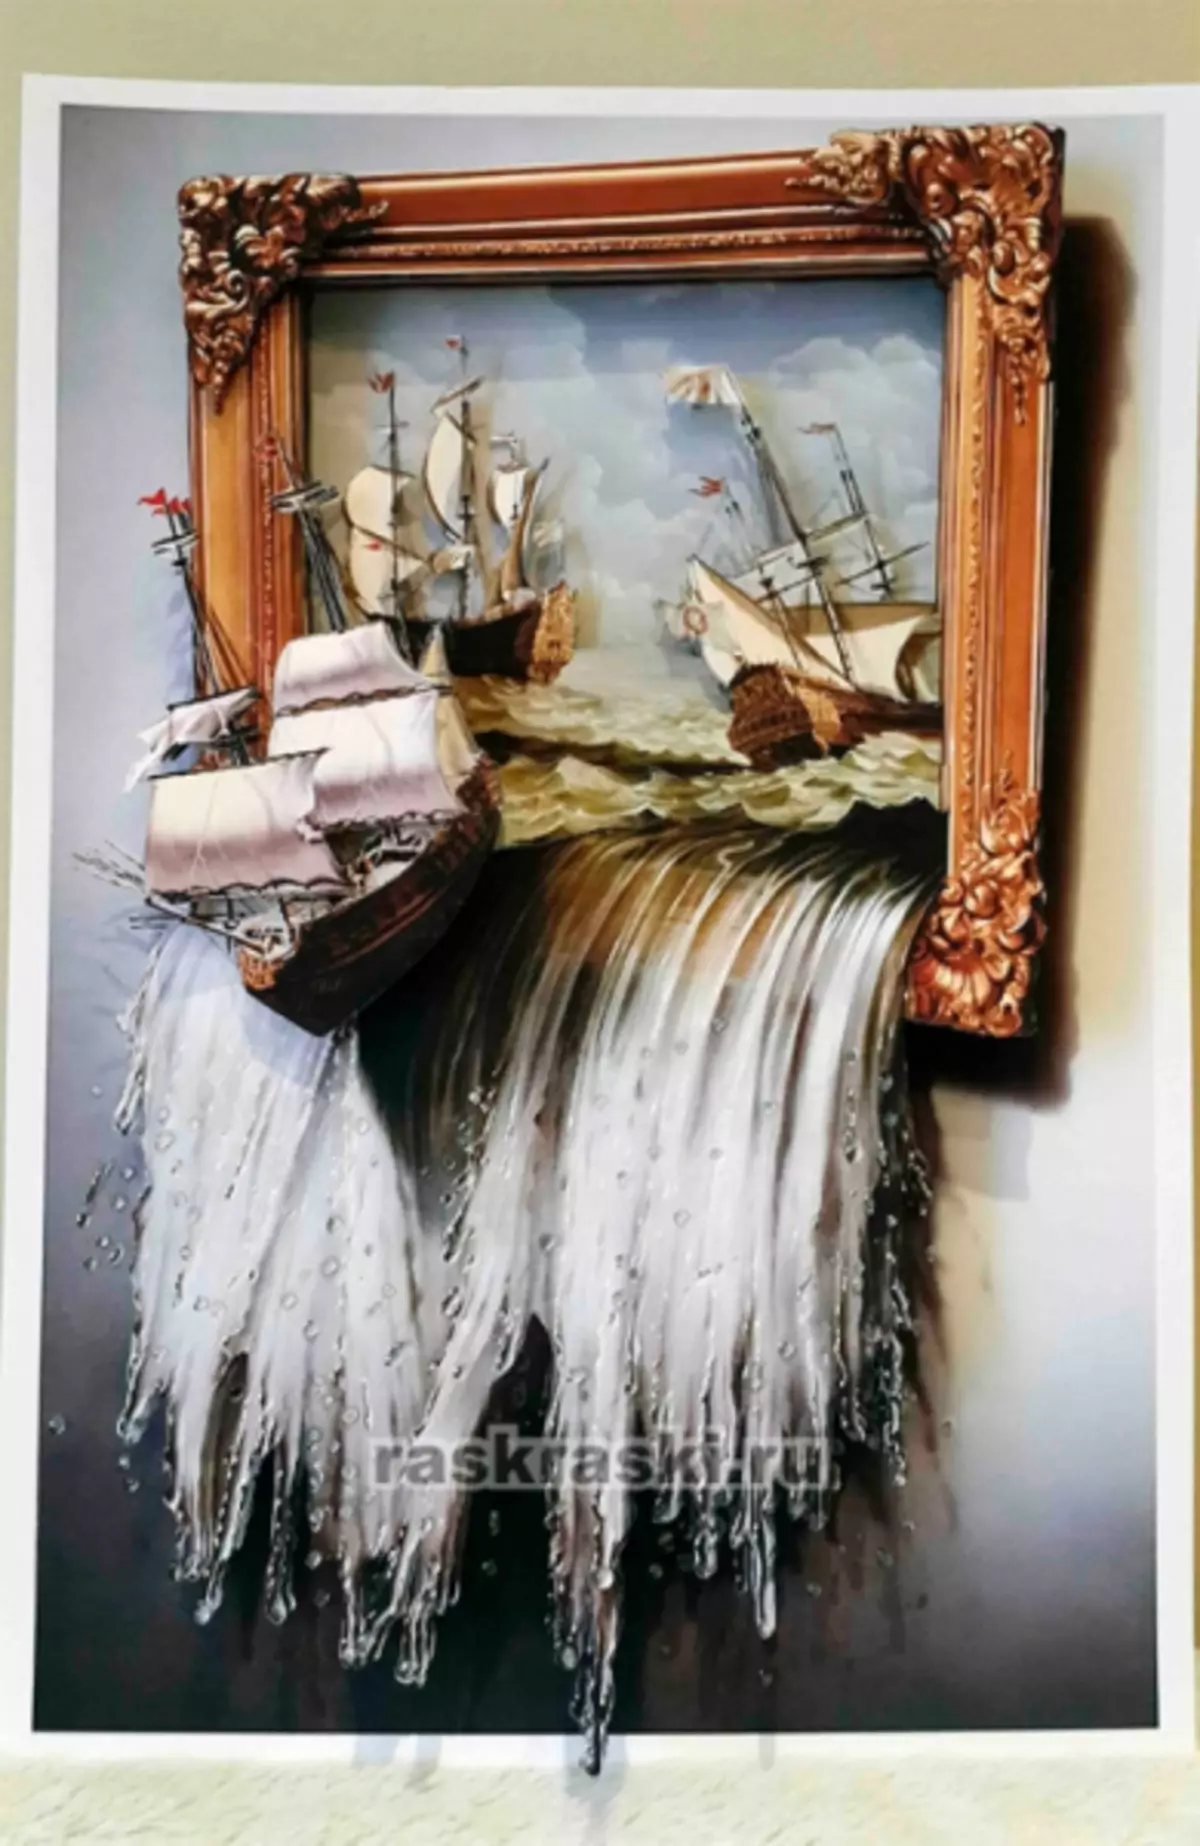
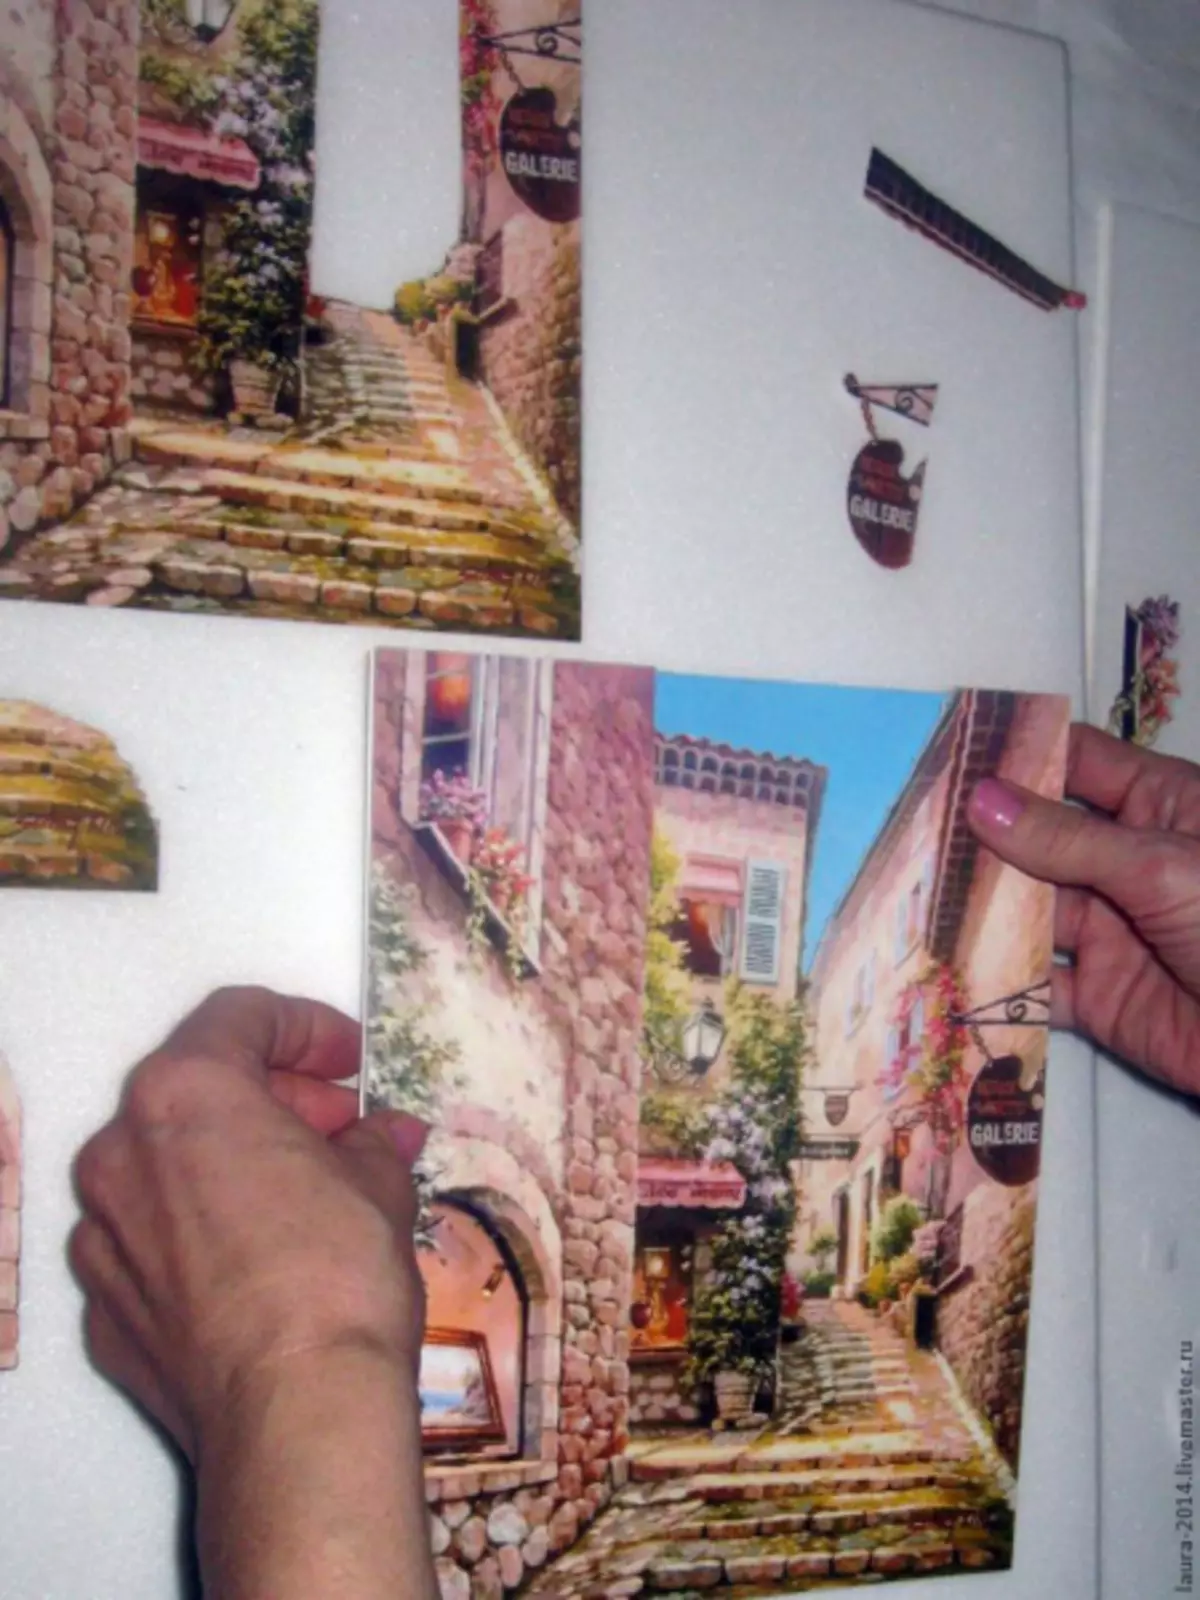
PAPERTOL (3D decoupage) is the technique of manual creation of volumetric images from flat printing. For this purpose, the same images are taken, which are then sticking to each other with adhesive pads. It is because of these manipulations, the volume is obtained. Ready works combine simplicity and effectiveness.
Such unusual art came to us from Japan, as well as the legendary origami. The Japanese treats the paper so tremendously, because the words "paper" and "God" sound the same - "Kami". In the 17th century, such three-dimensional paintings fell into Europe. From the moment to this day, people are massively interested in technician, called decoupage.
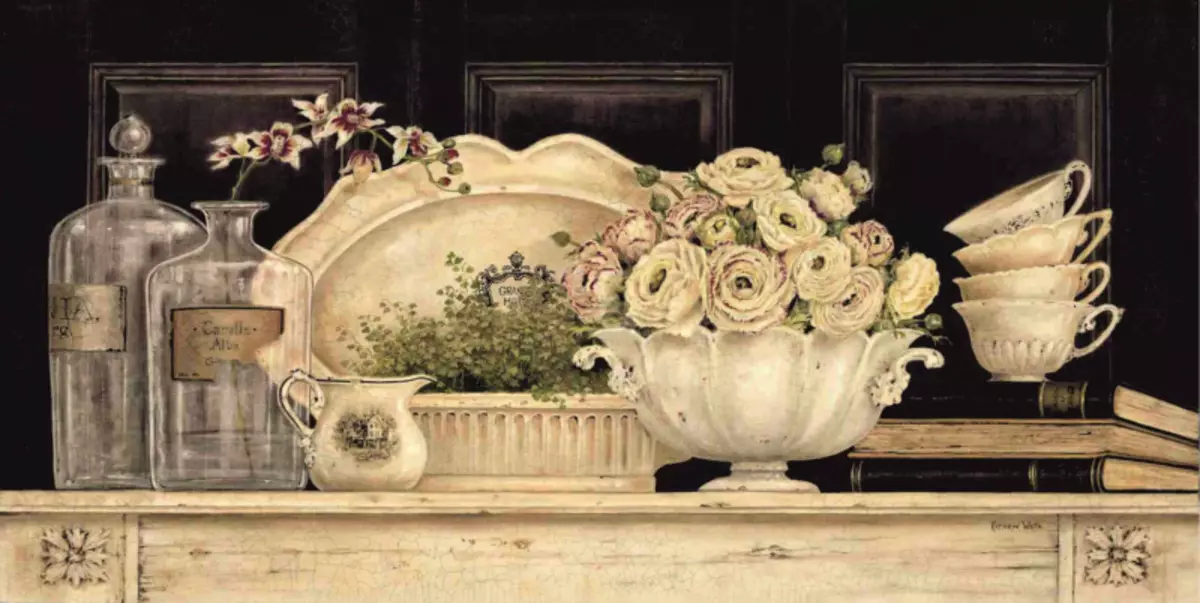
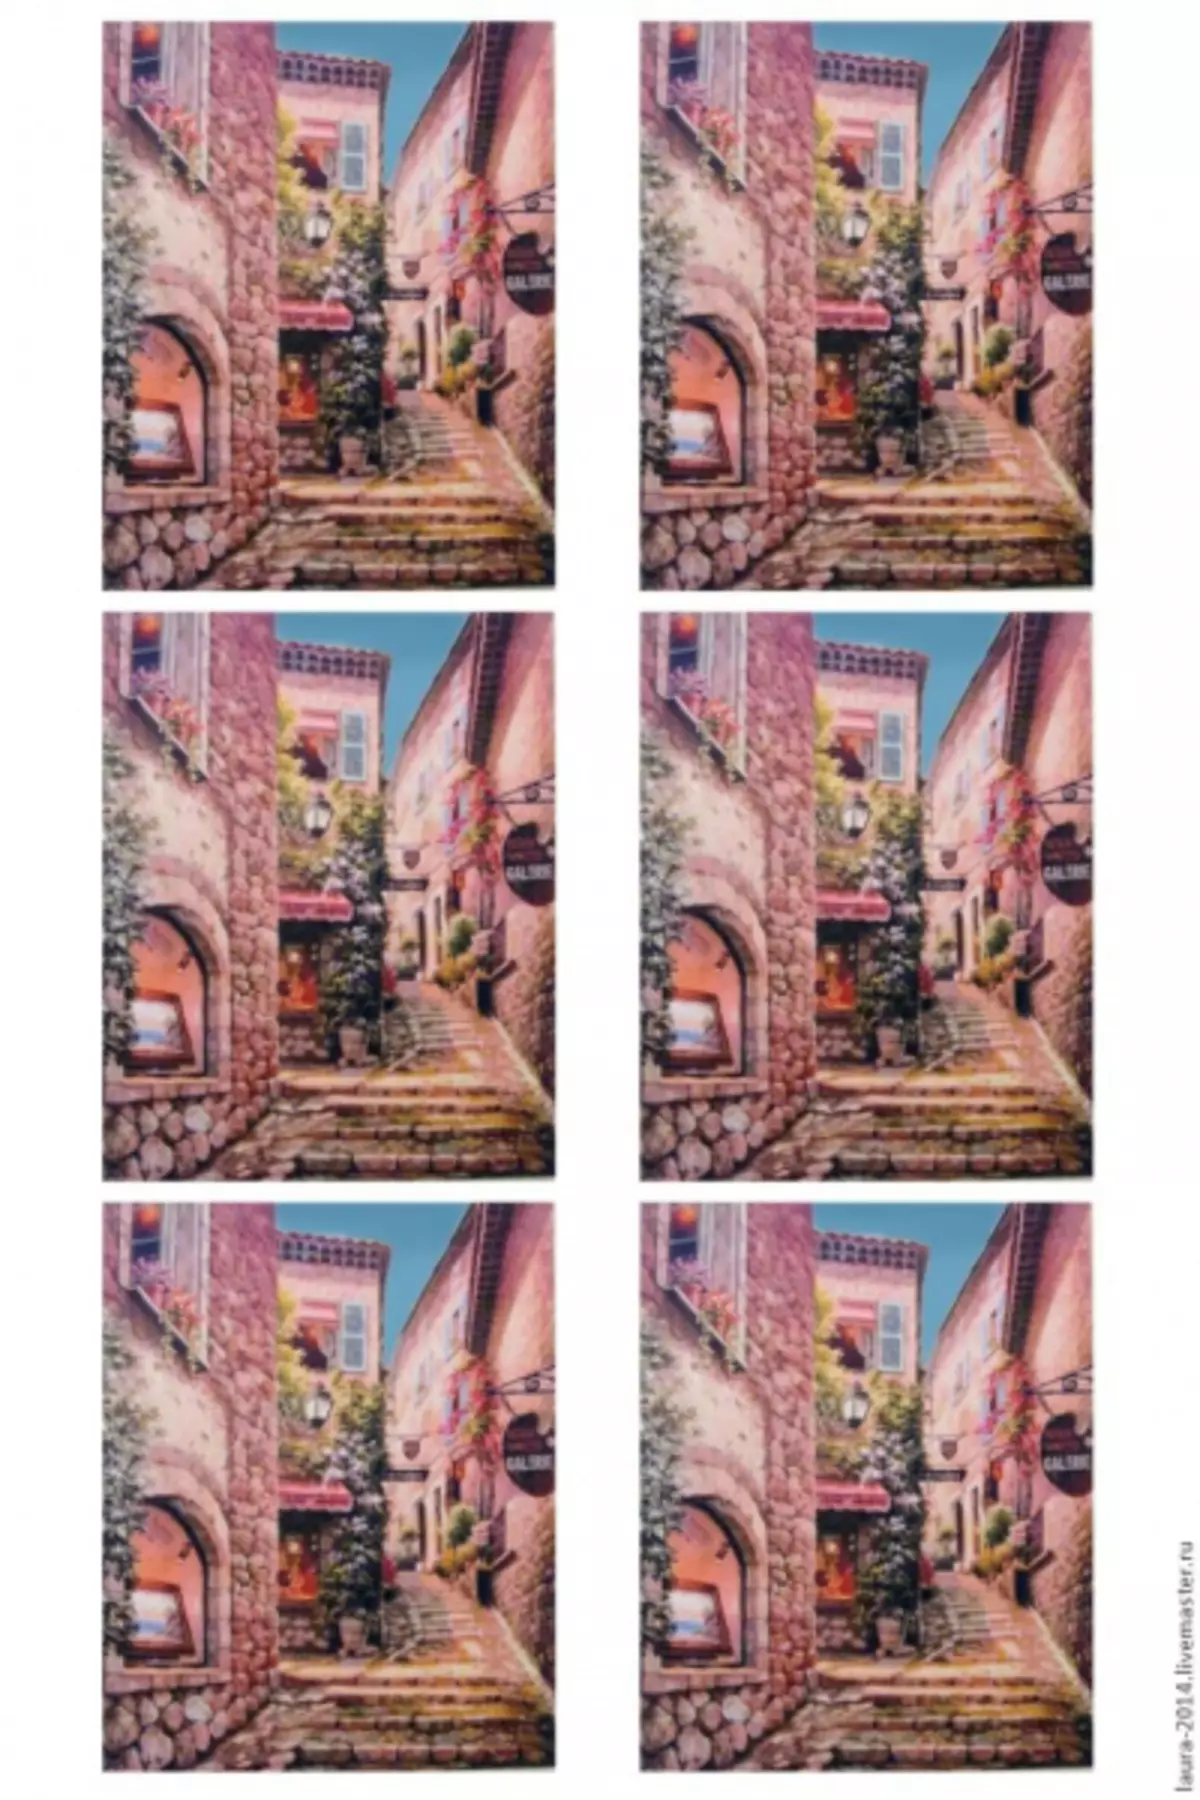
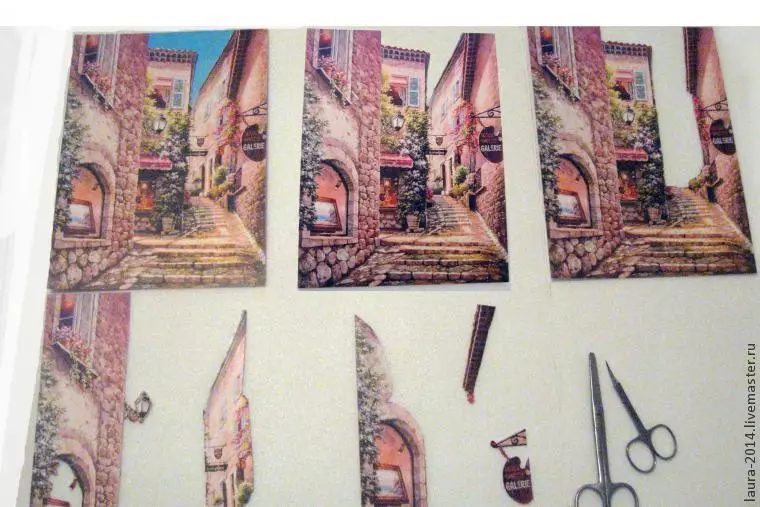
Italian courtyard
For the manufacture of the picture, first of all you need to print 6 pieces of xerox pictures.
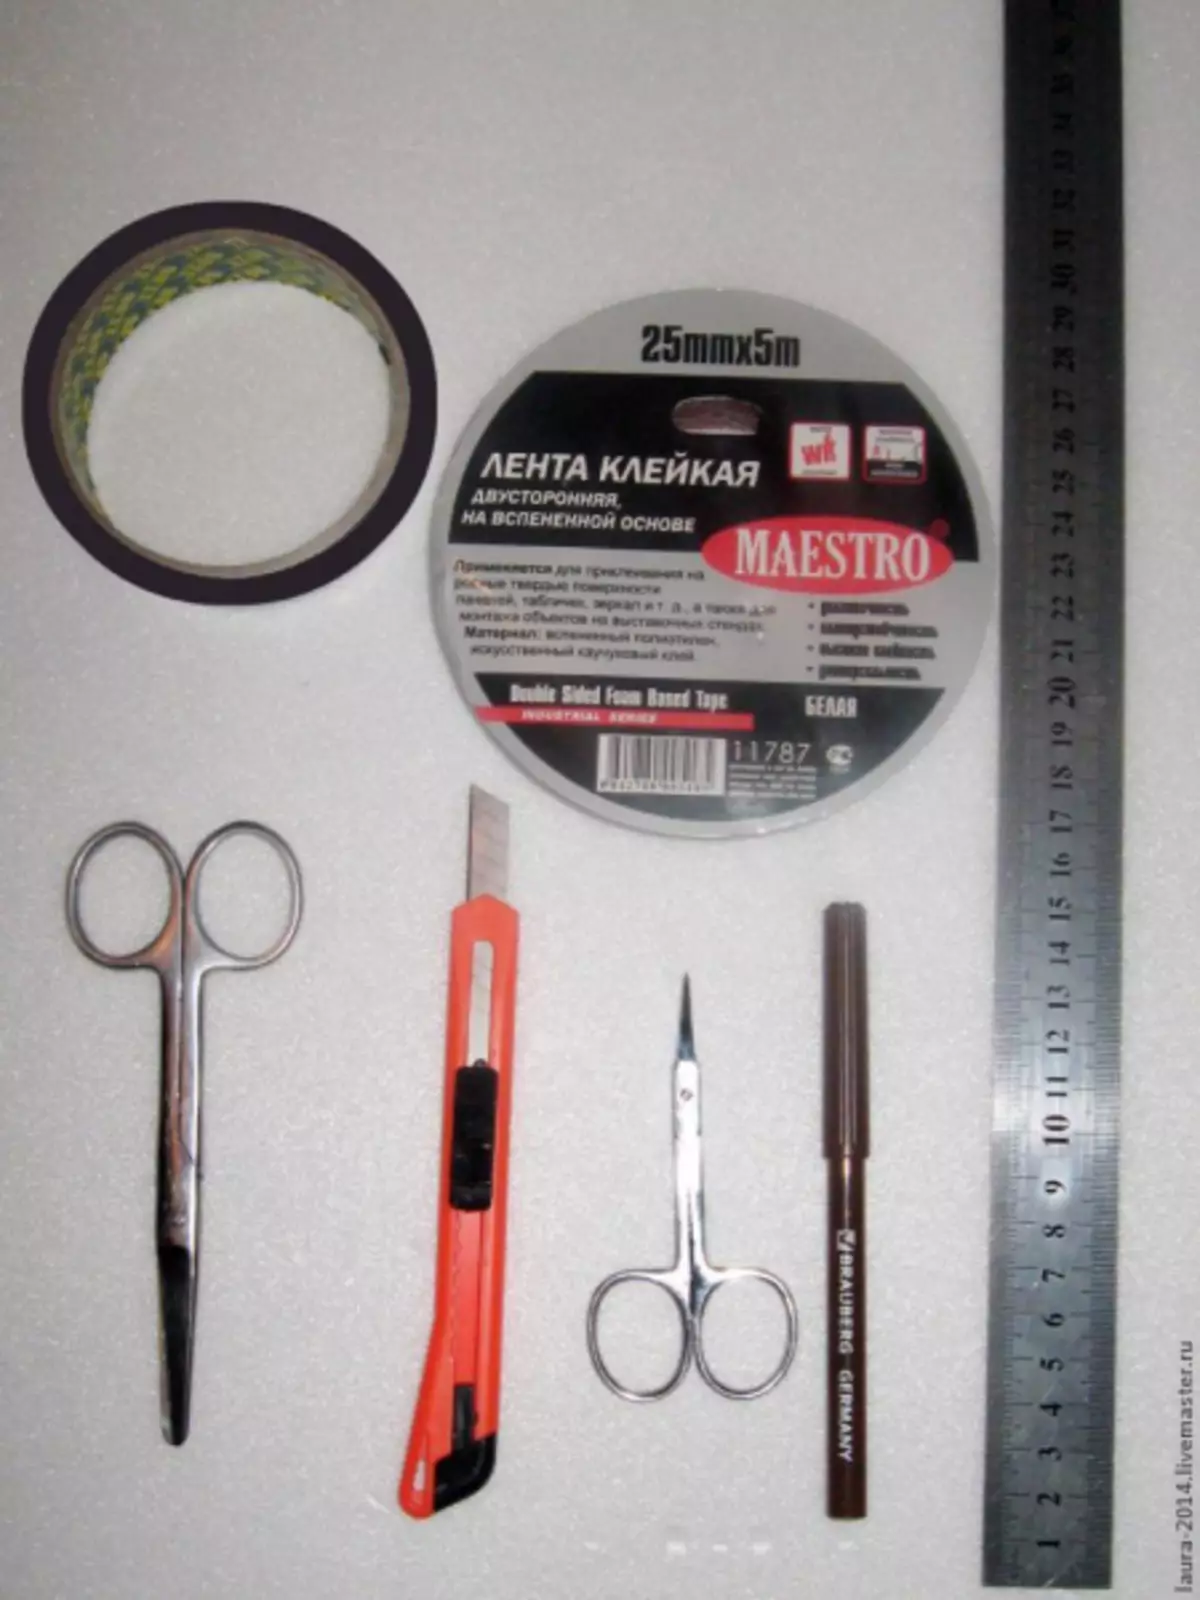
Necessary materials:
- paper scissors;
- nail scissors;
- knife;
- double sided tape;
- corrugated cardboard;
- Dense cardboard.
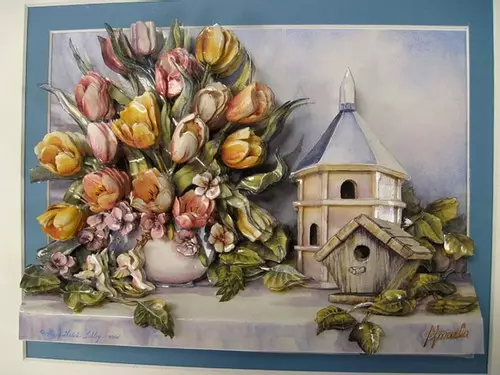
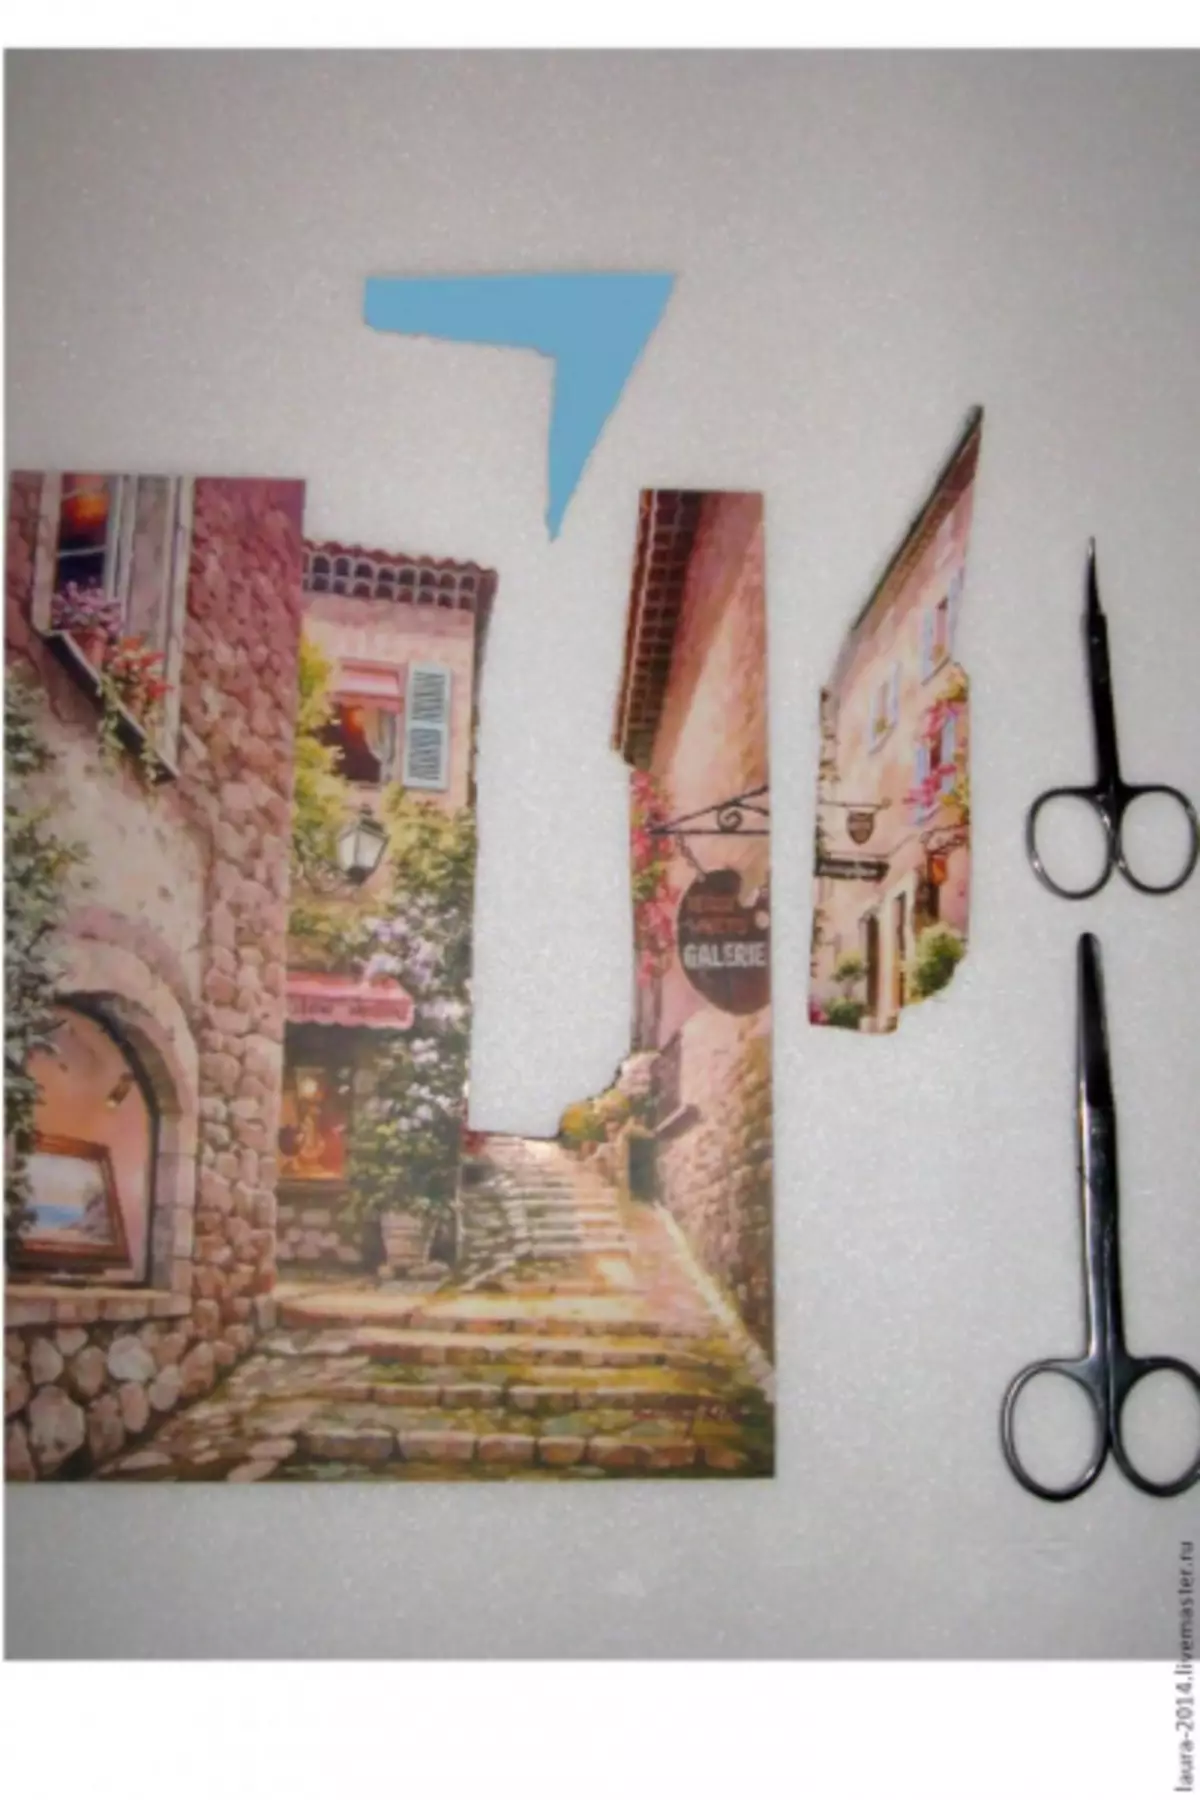
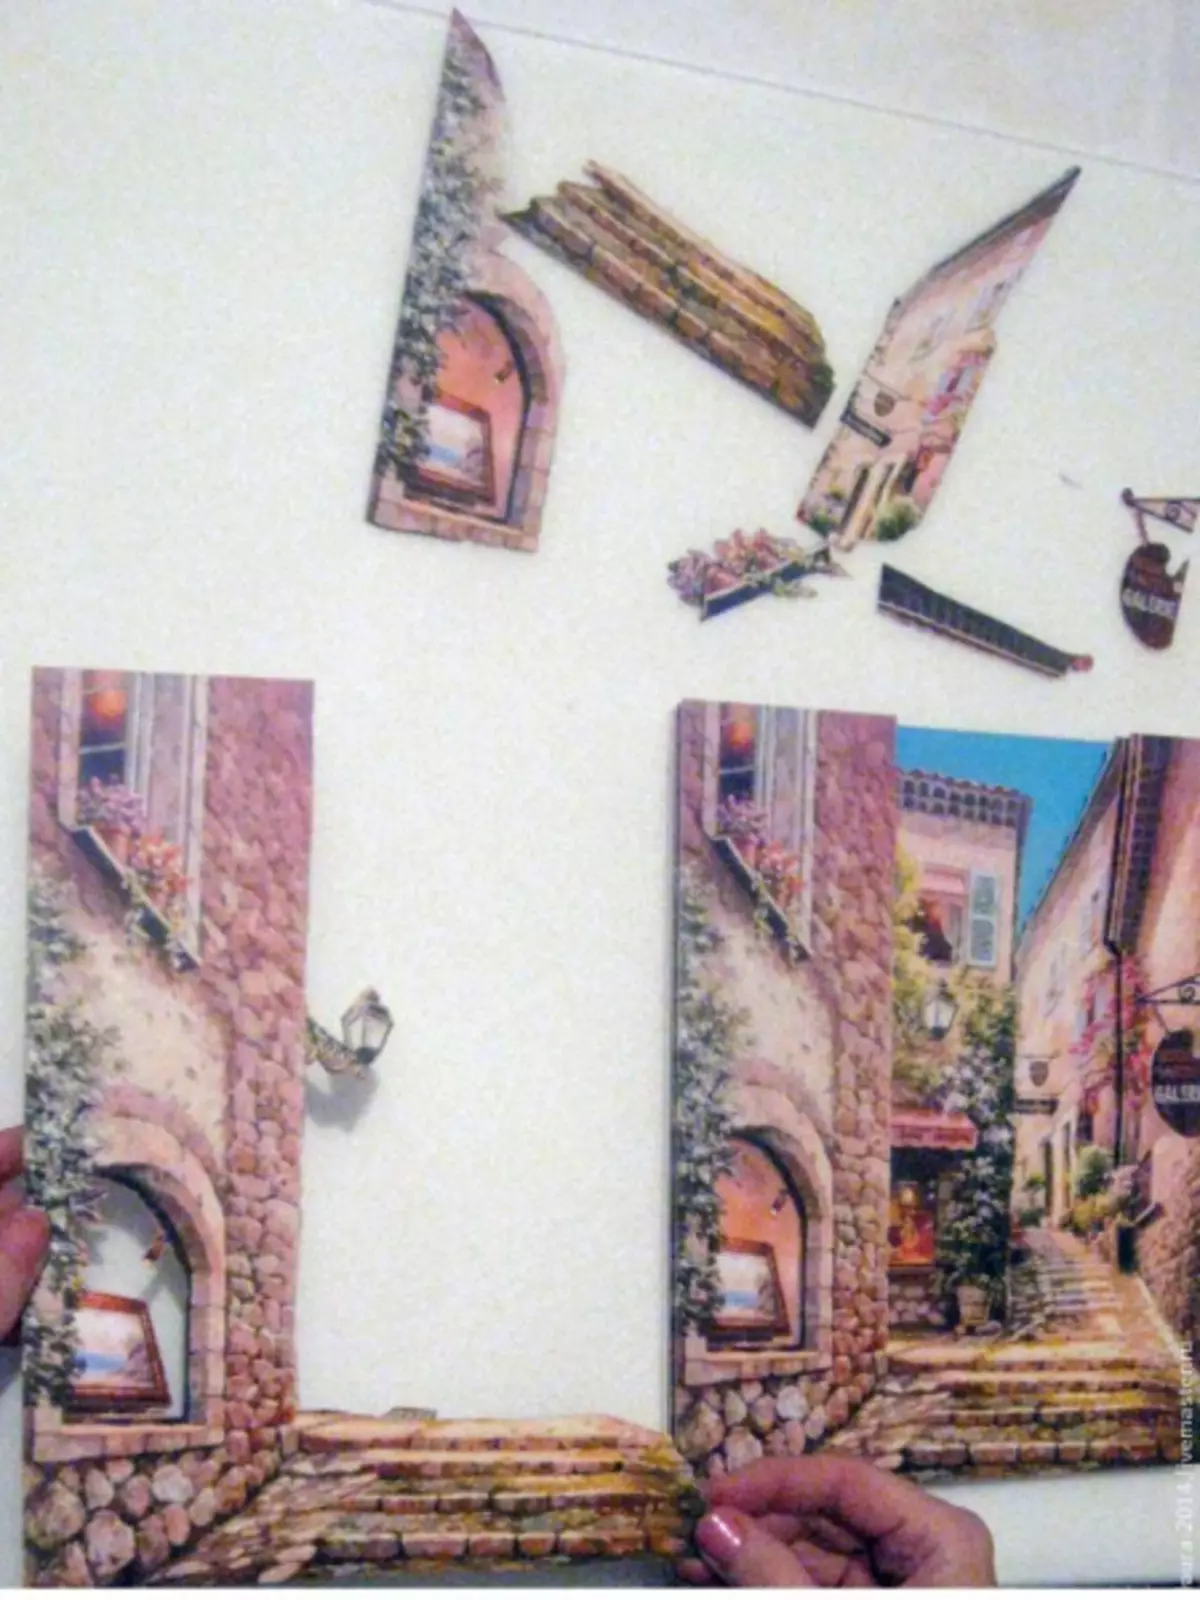
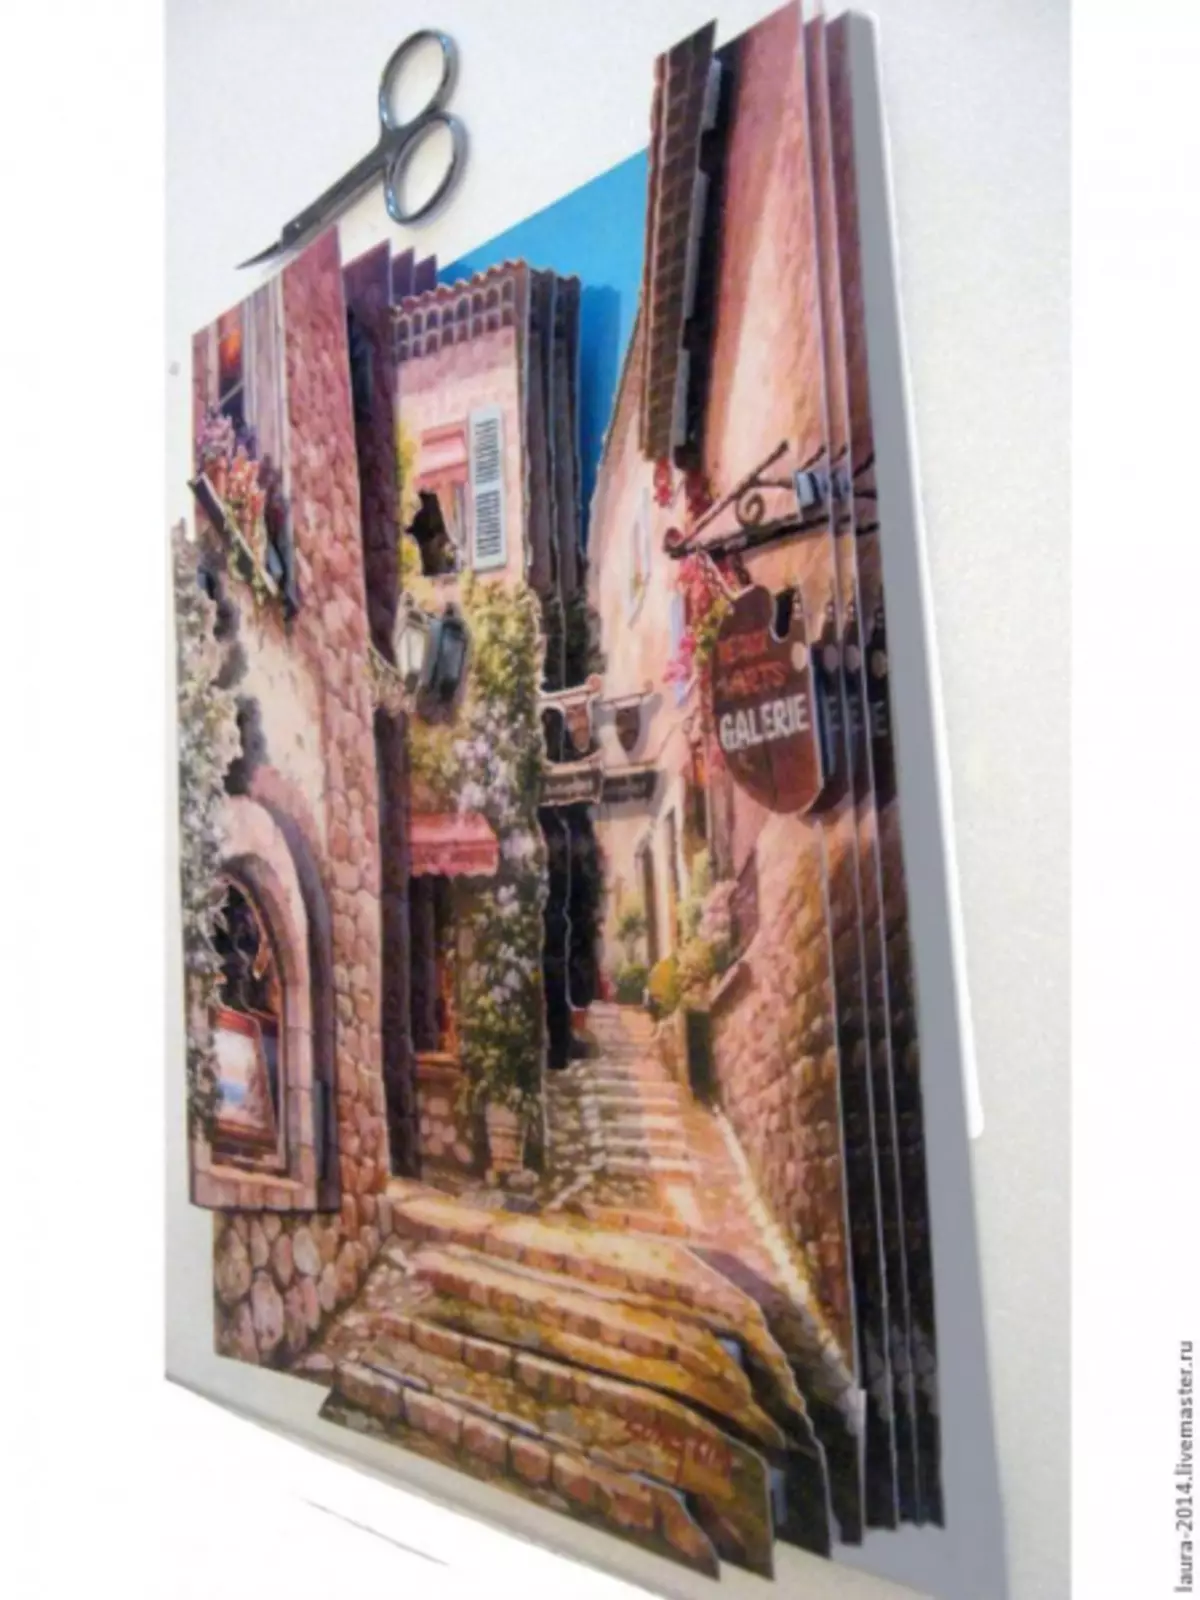
From the picture cut the sky along the contour. In the second picture cut out the outline of the house. That is, each picture is a new layer.
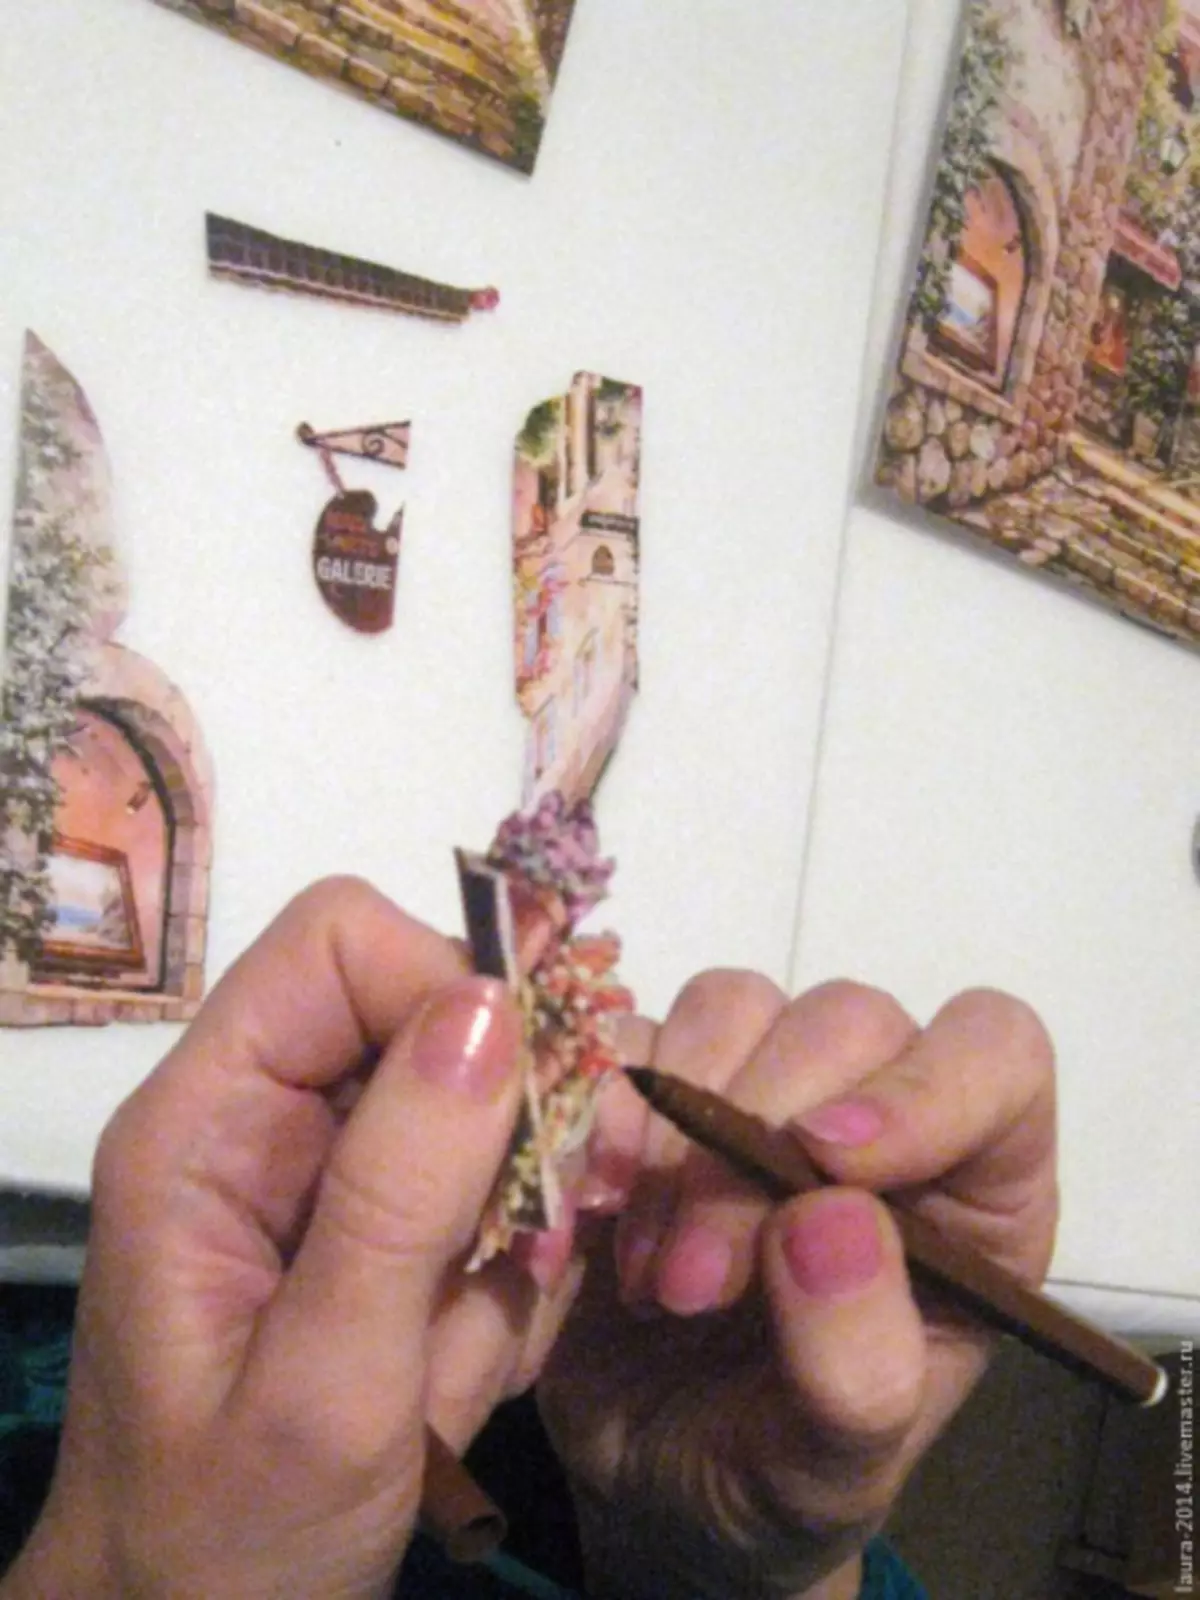
The closer the layer to us, the smallest items, on the topmost layer only small parts that are closer can be carved. For example, steps or flowers on the window.

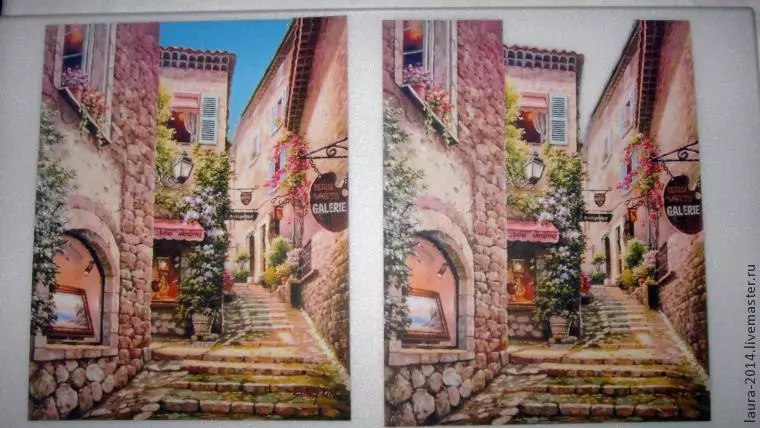
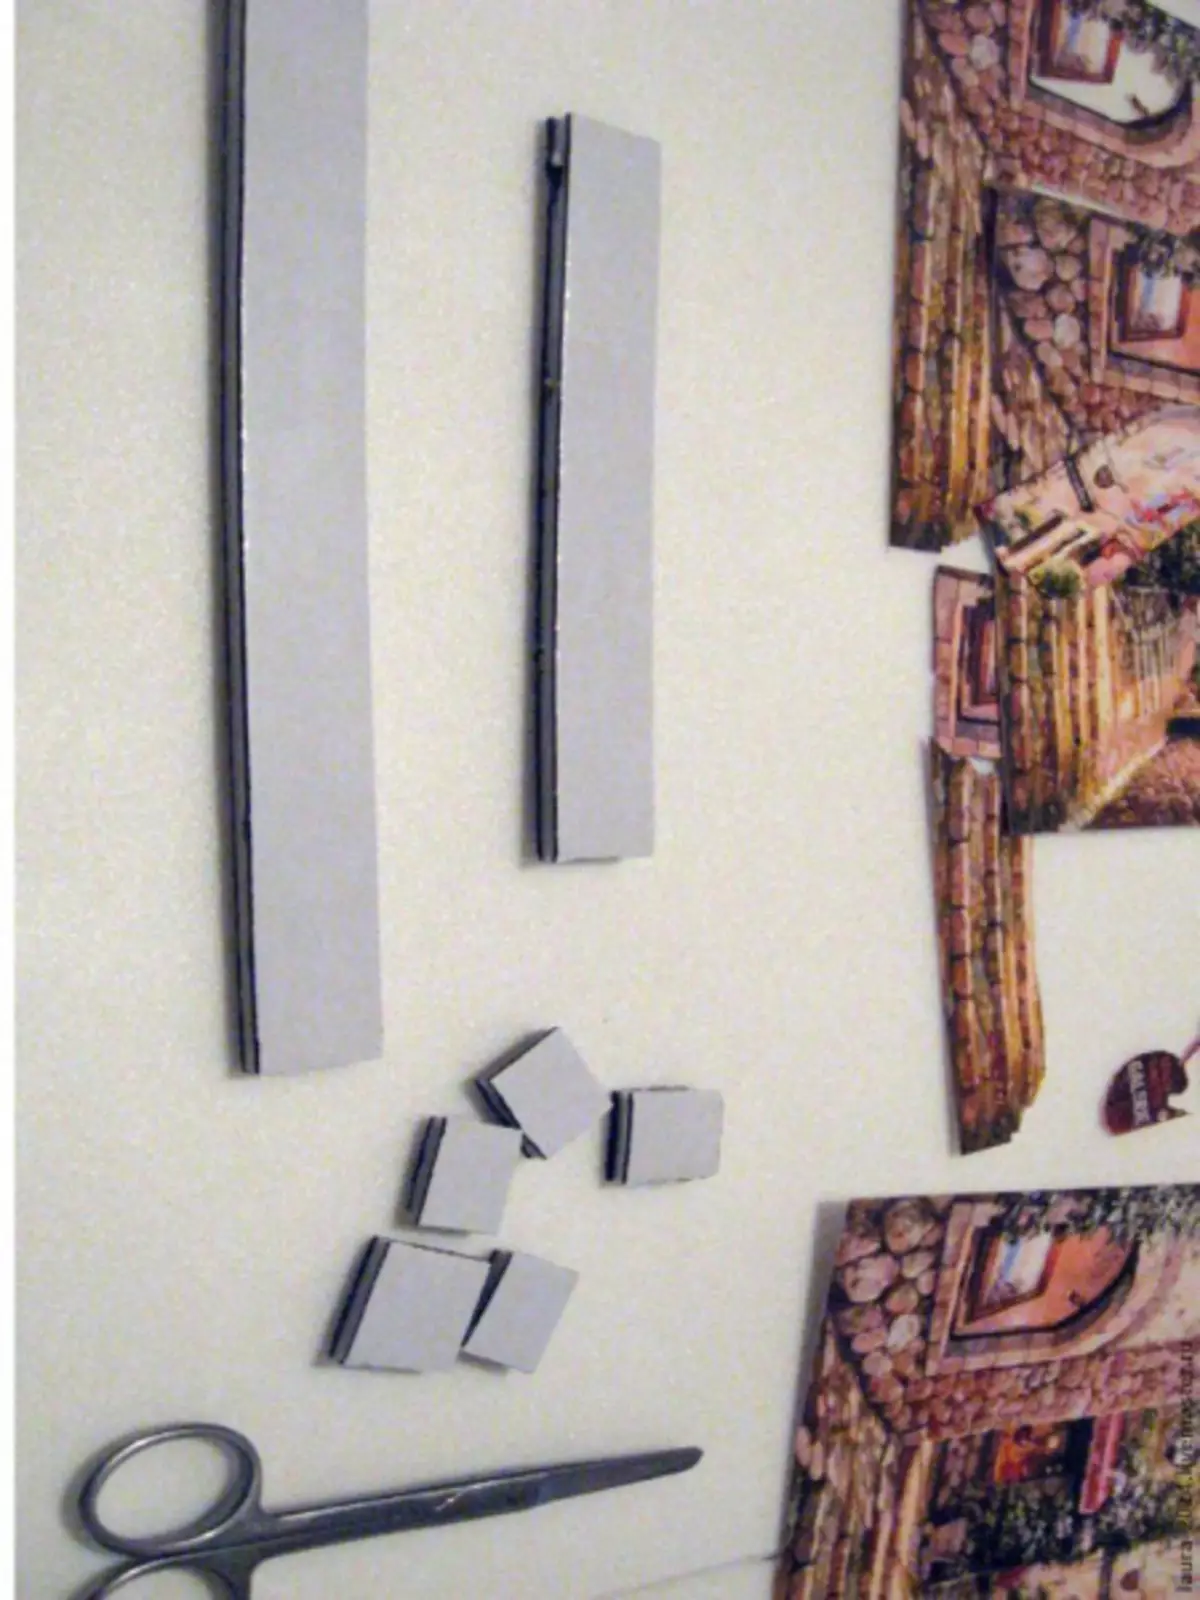
Take the ends with a dark marker, as the white will look inactively.
Article on the topic: Bonbonnieres do it yourself for a wedding or christening from fate
Scotch strips glue from two sides of the corrugated cardboard for height between layers. Cut the tape for squares and paste on the opposite side of all the details.
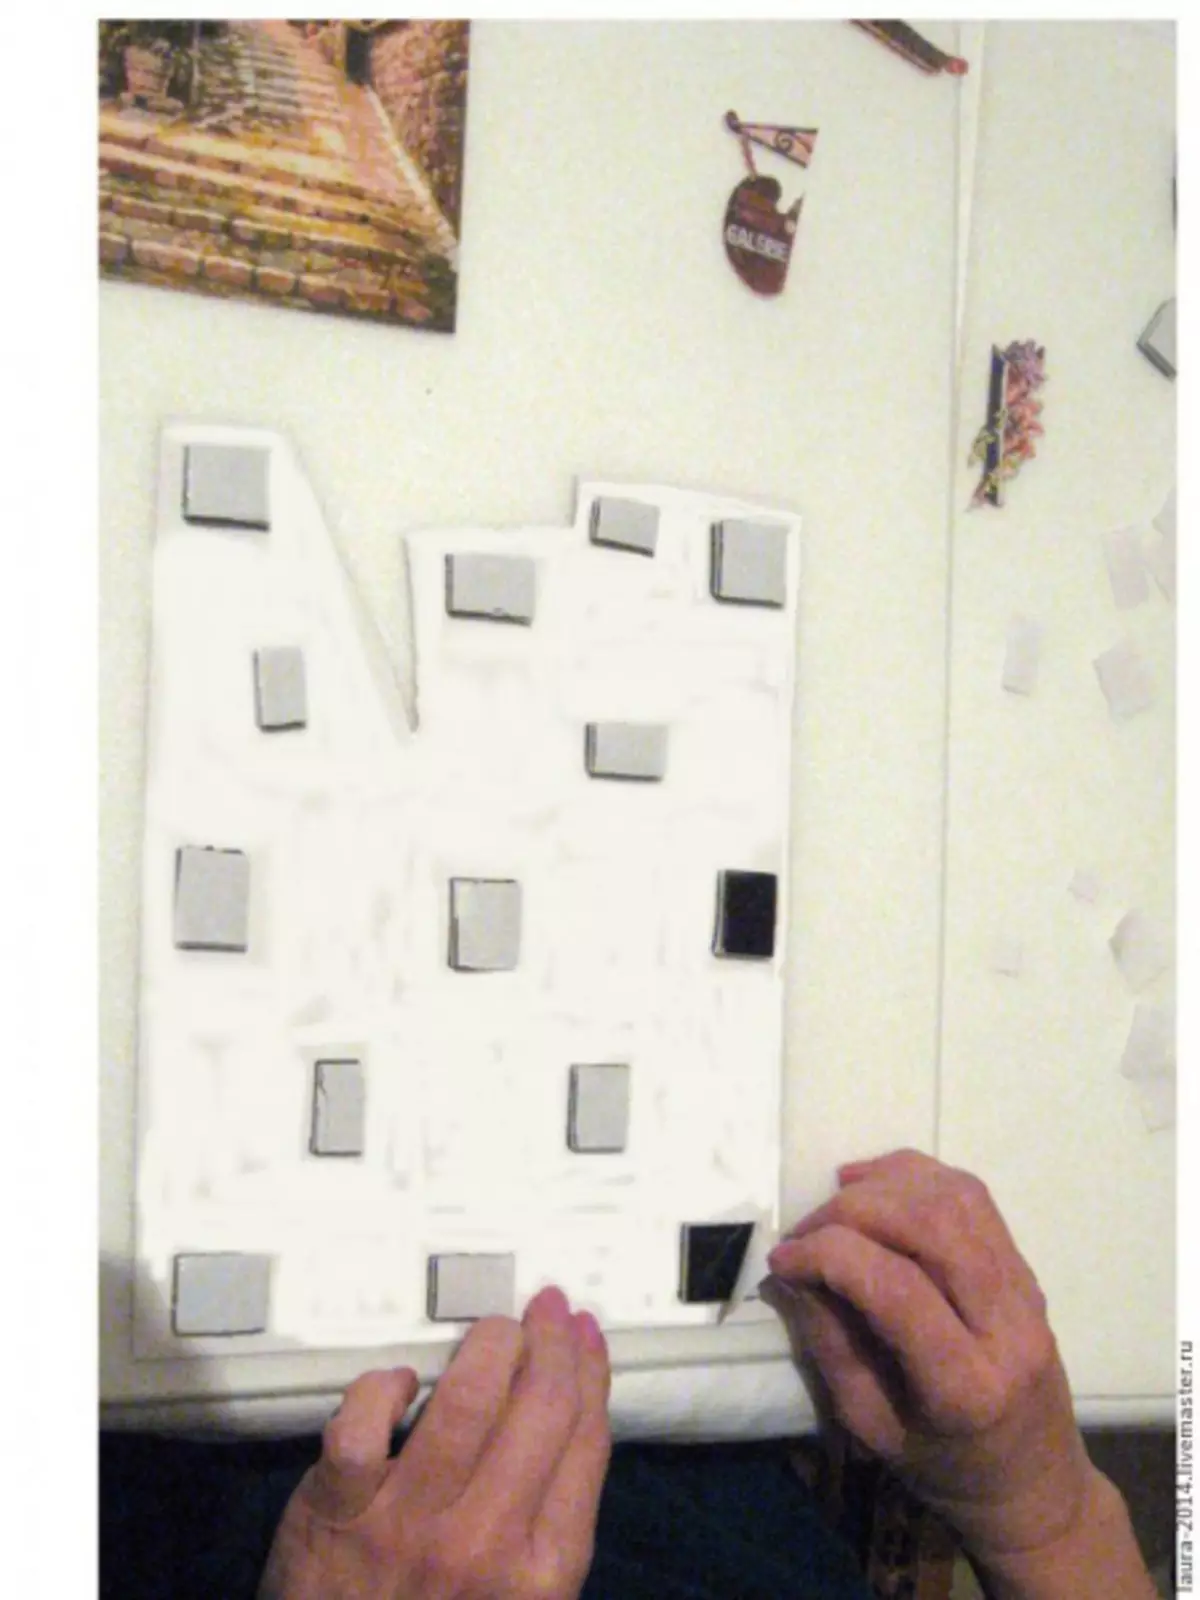
Glue the layers among themselves. The first picture is glued to the cardboard, to mount all the layers on it, as in the photo:
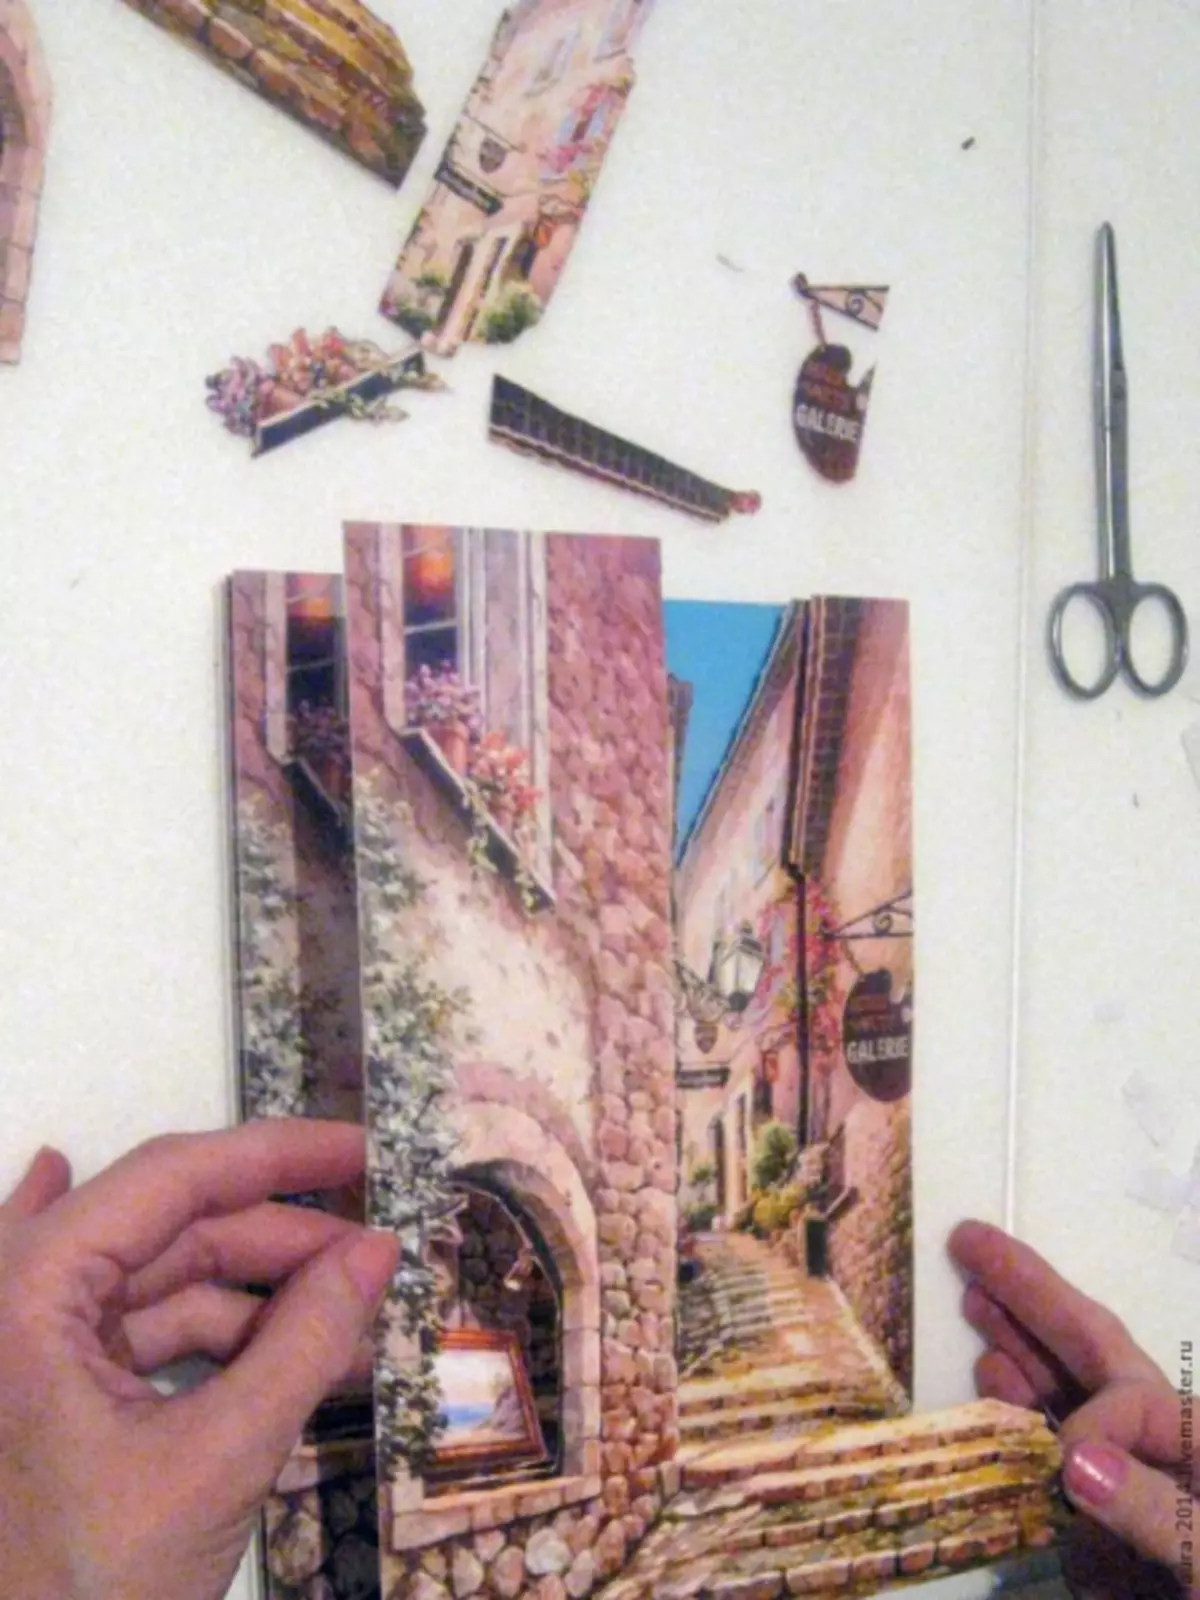
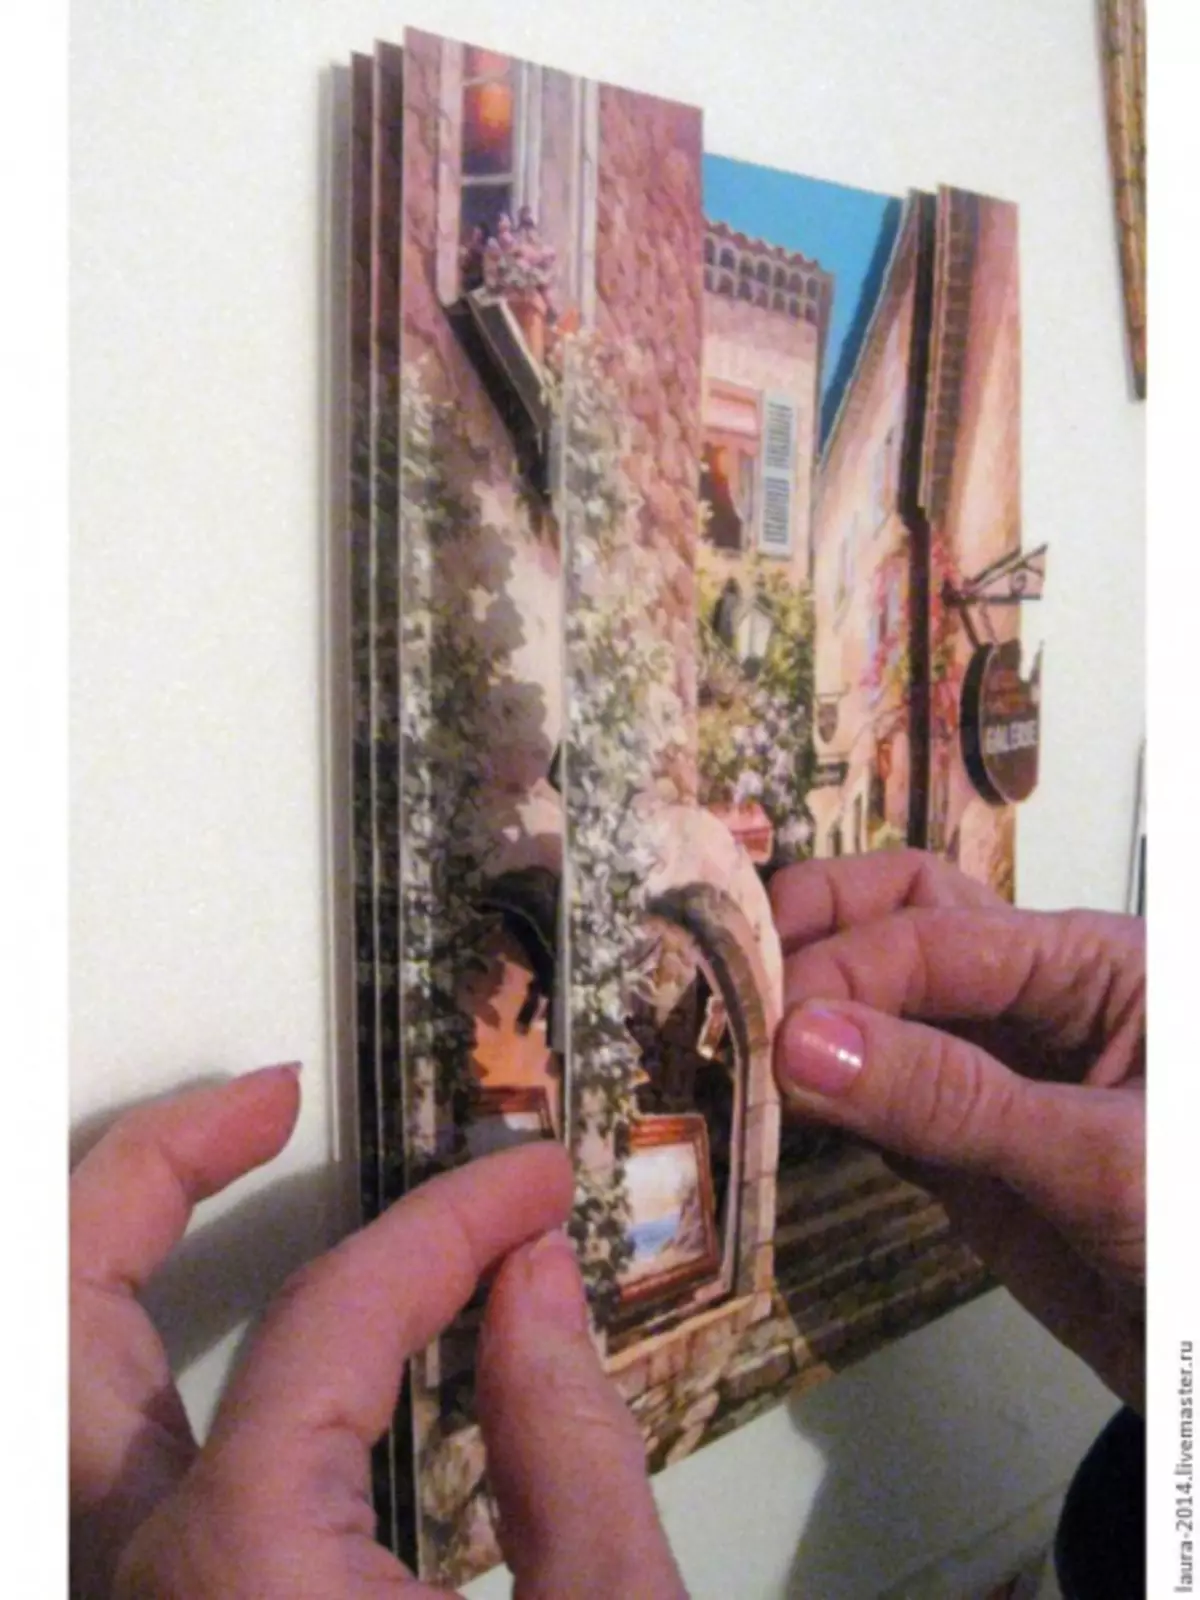
That's what happened:
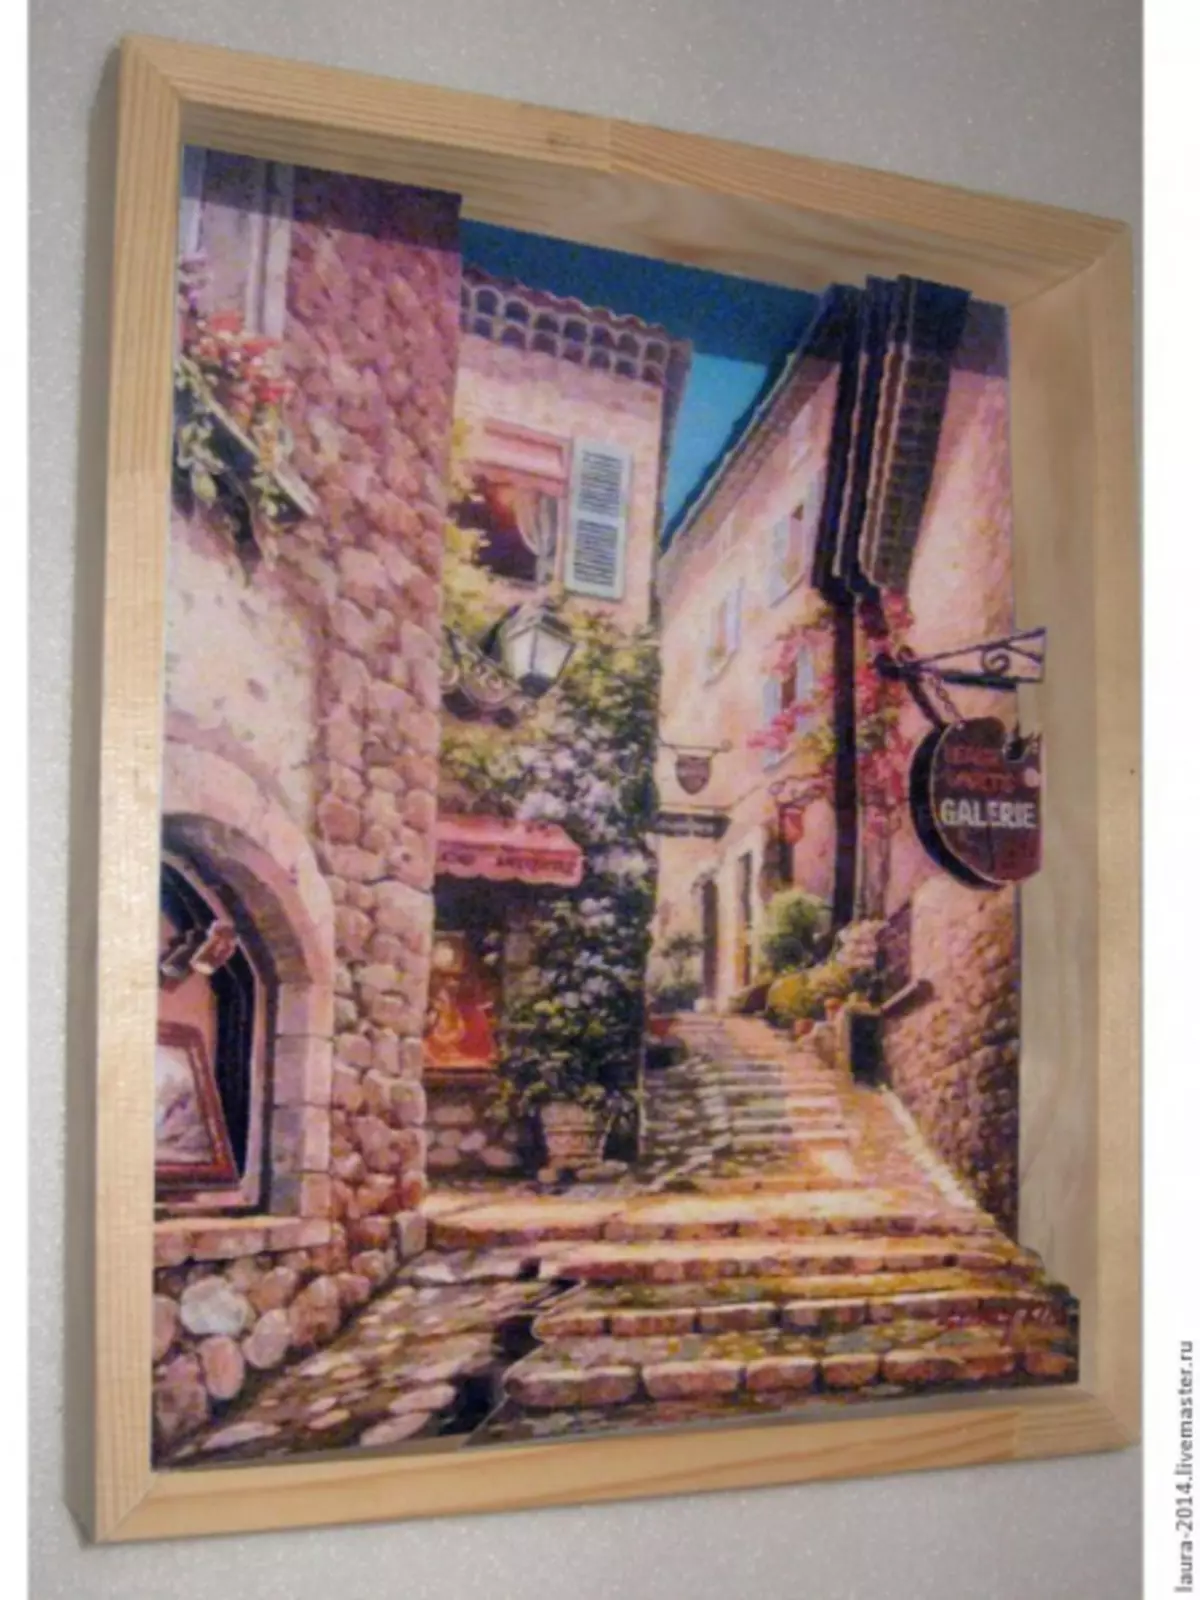
Next, insert a cradle into a wooden box.
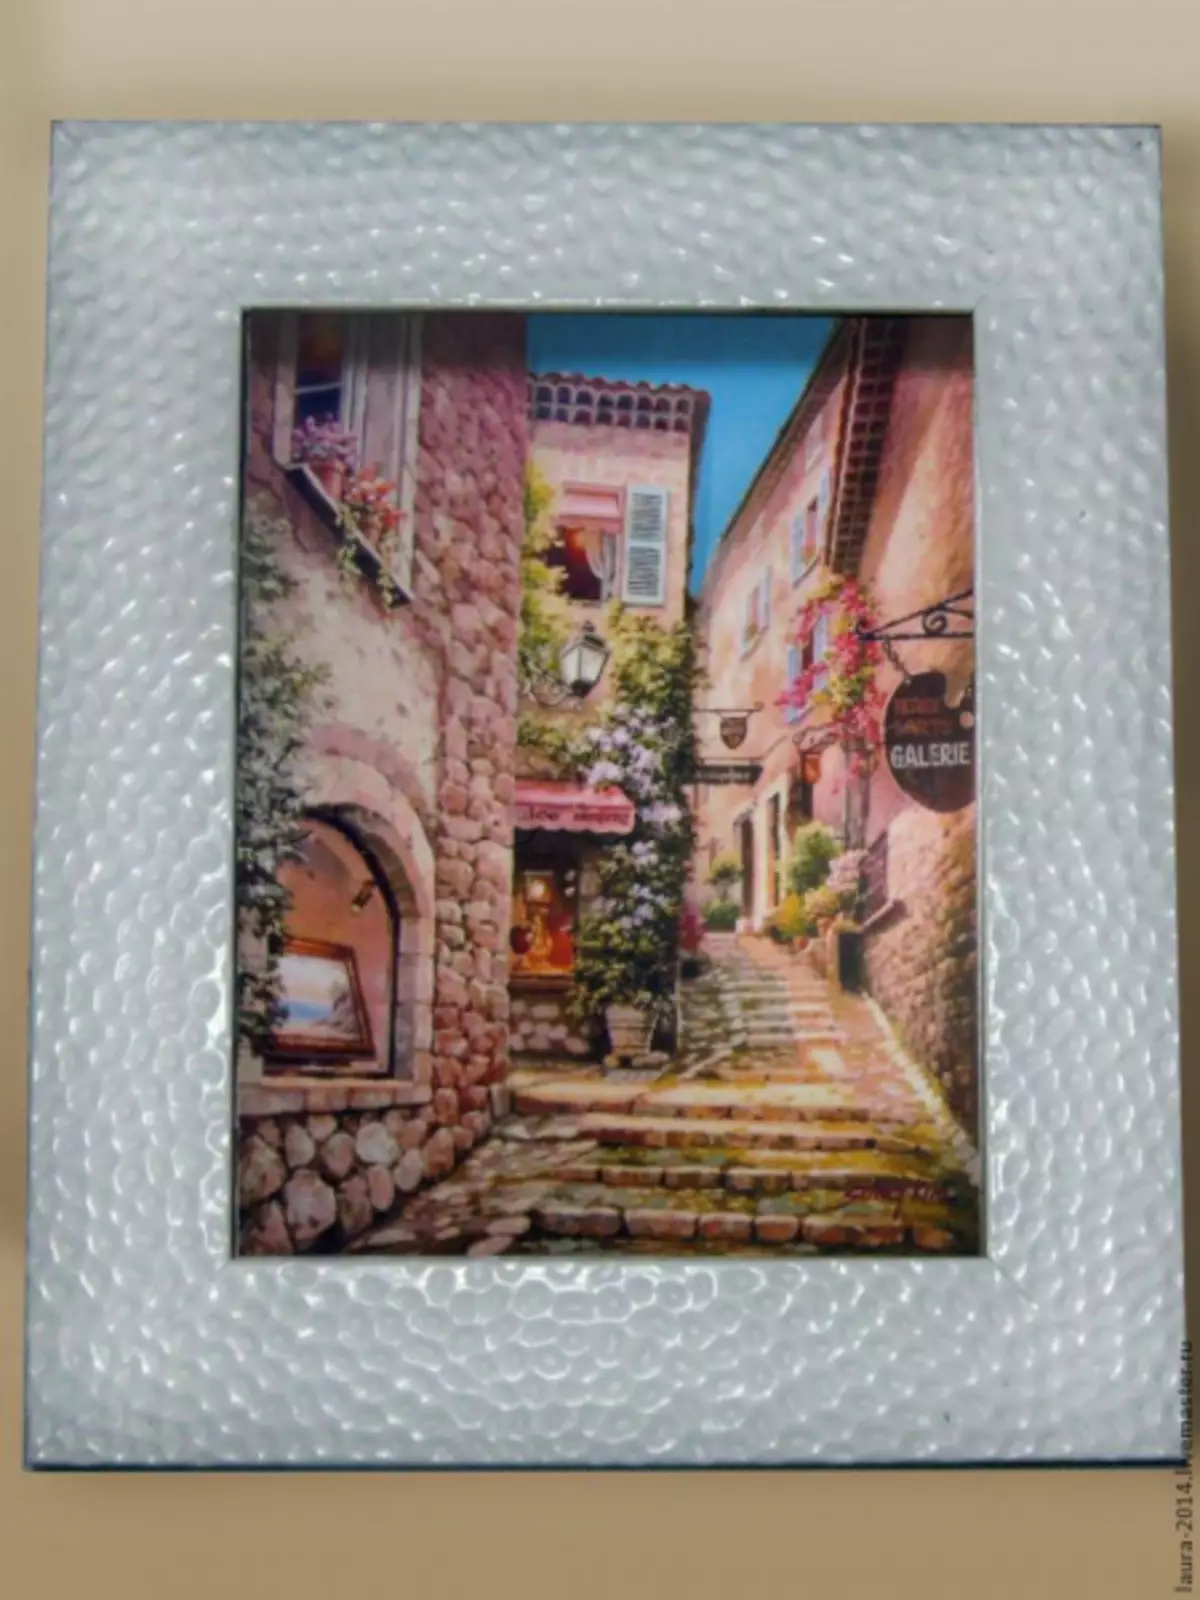
After gluing the entire design to the frame with glass.
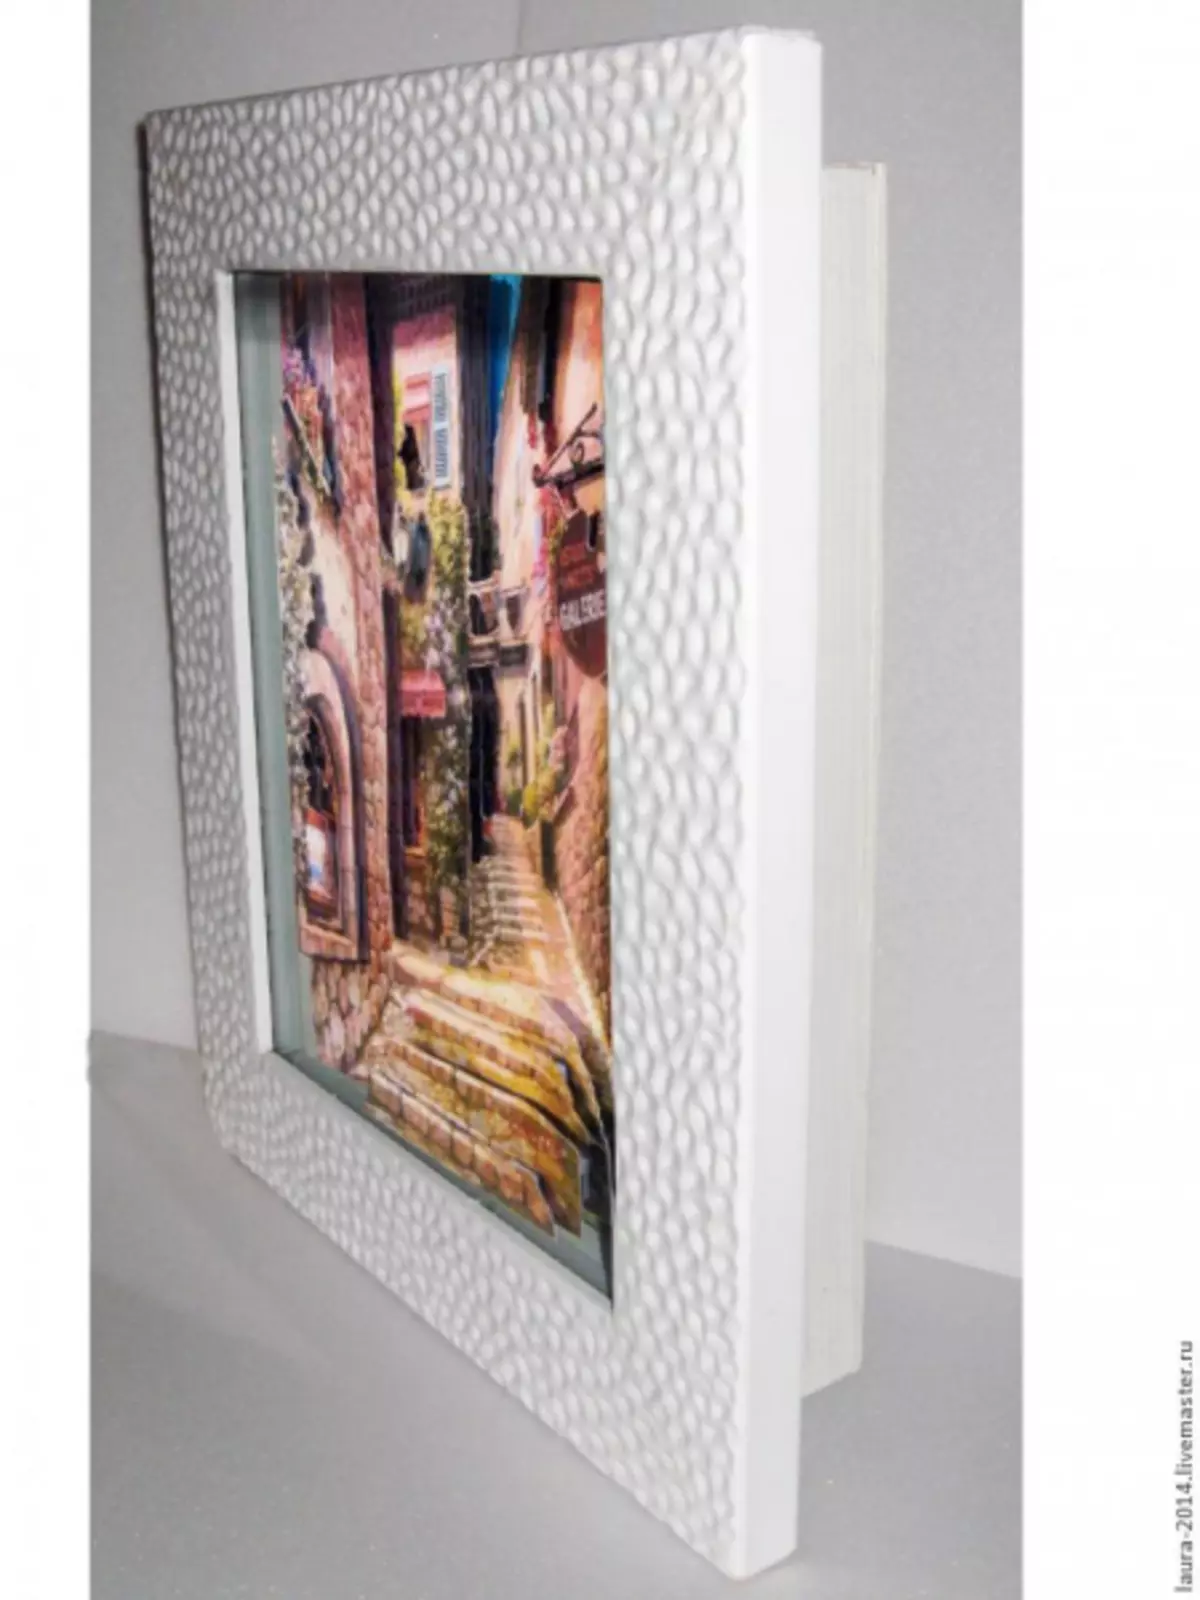
Product Popertol is ready!
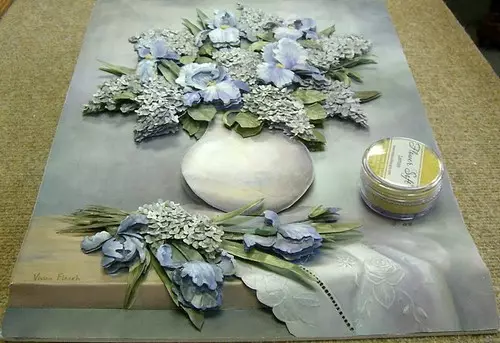
Flowers from Povertoli
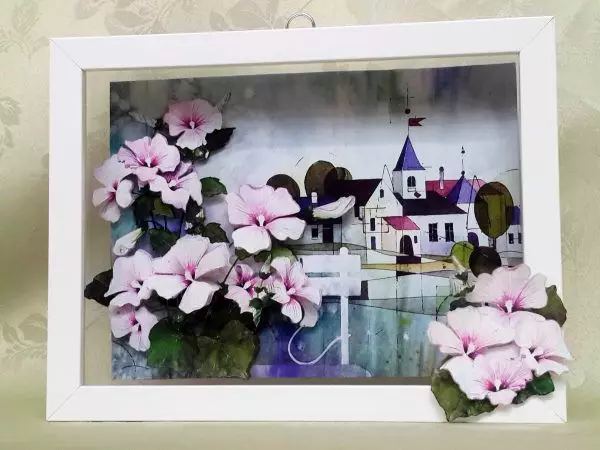
Flowers from Popertoli look very gently and elegant. They have a lot of small details, color transitions, which is why they can be seen for hours.
The photo was used seven details with pictures of flowers. First, the full drawing is glued, from which nothing is cut. Then from a whole picture cut white pieces of background, the rest are glued to the base. Next cut smaller parts, such as flowers and leaves.
Remember the procession to the dark marker of the edges of the detail, on the finished handicraft to do it inconvenient.
Point of items to glue in one layer. Petals applied at the very end. Ready!
Video on the topic
The video suggested below will help you to learn how to easily make a crawler in the technique of Popertol.