

The surround figures of origami are a great way to entertain yourself, make a toy for children and just make care of your attention and figurative-spatial thinking. In this master class of paper, we will make a tank.
Materials
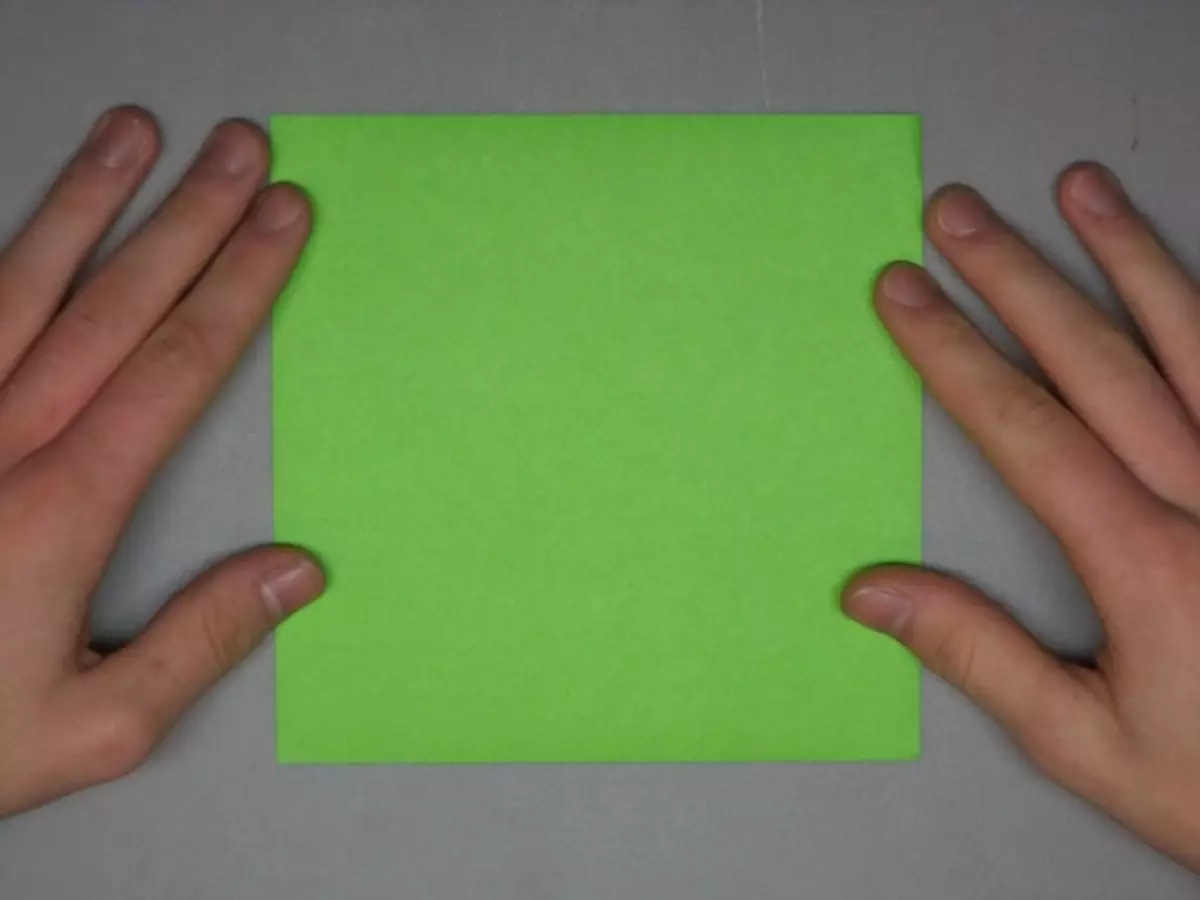
Before making origami tank, you will need to take a sheet of paper in the form of a square. For this toy, it is better to take a special material for products in the Origami technique. Such a sheet is painted in different shades of green with each side.
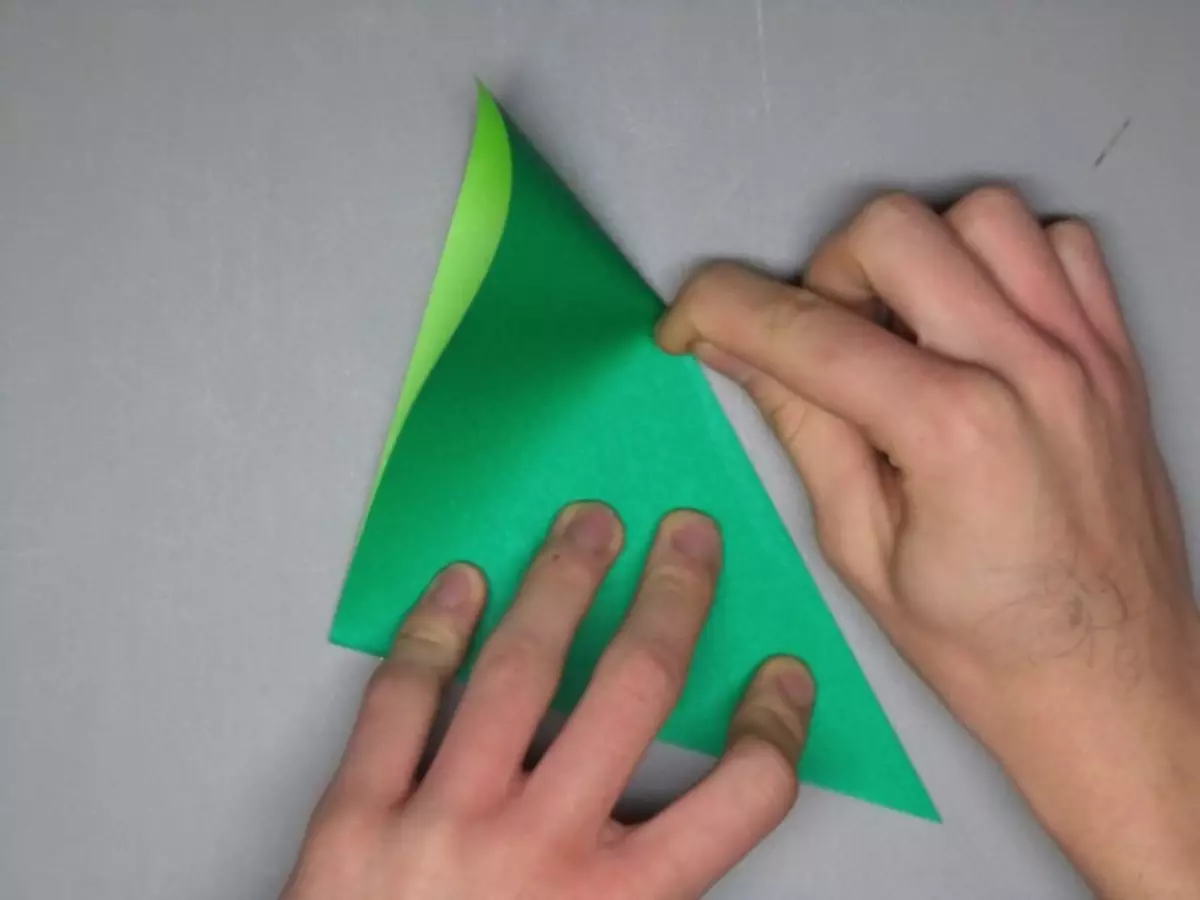
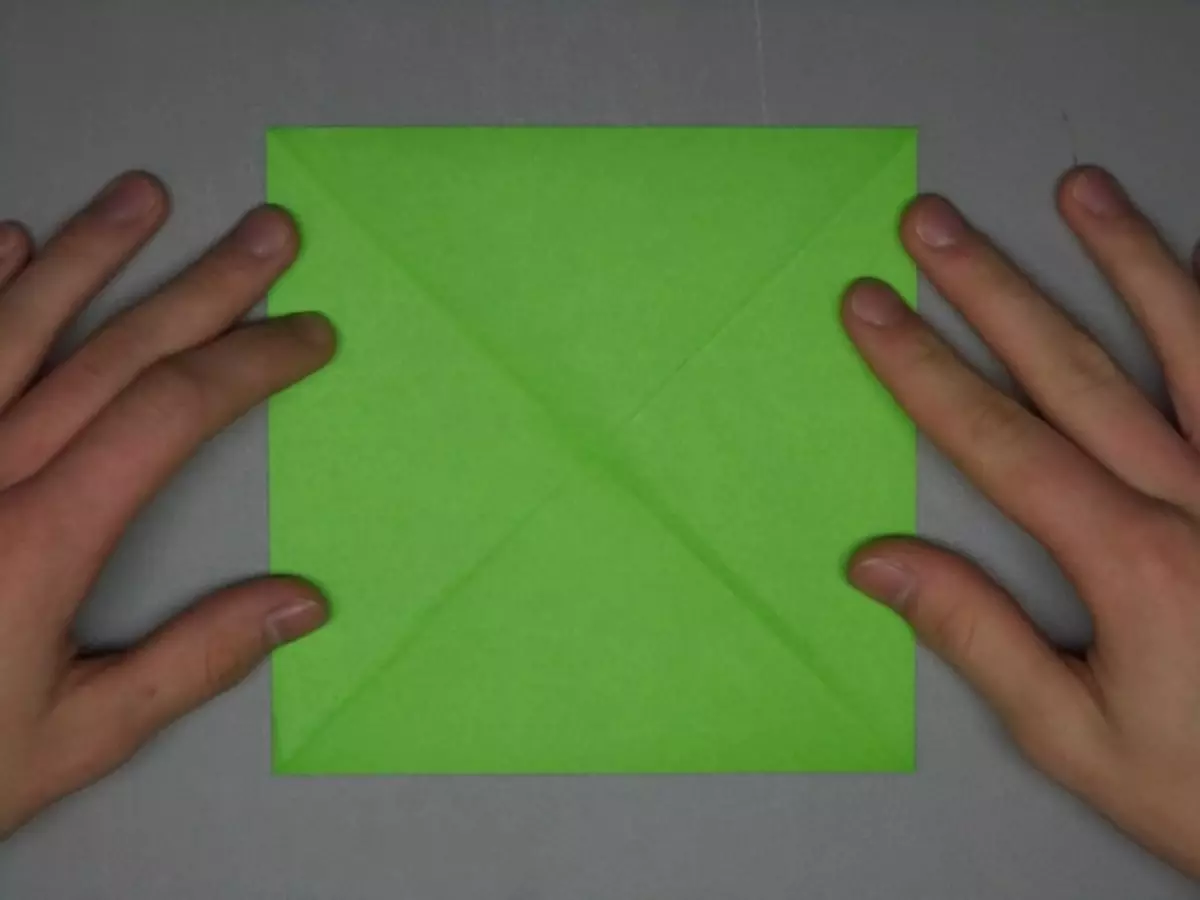
Step 1 . Twice fold the sheet of paper diagonally. This is necessary for the formation of fold lines.
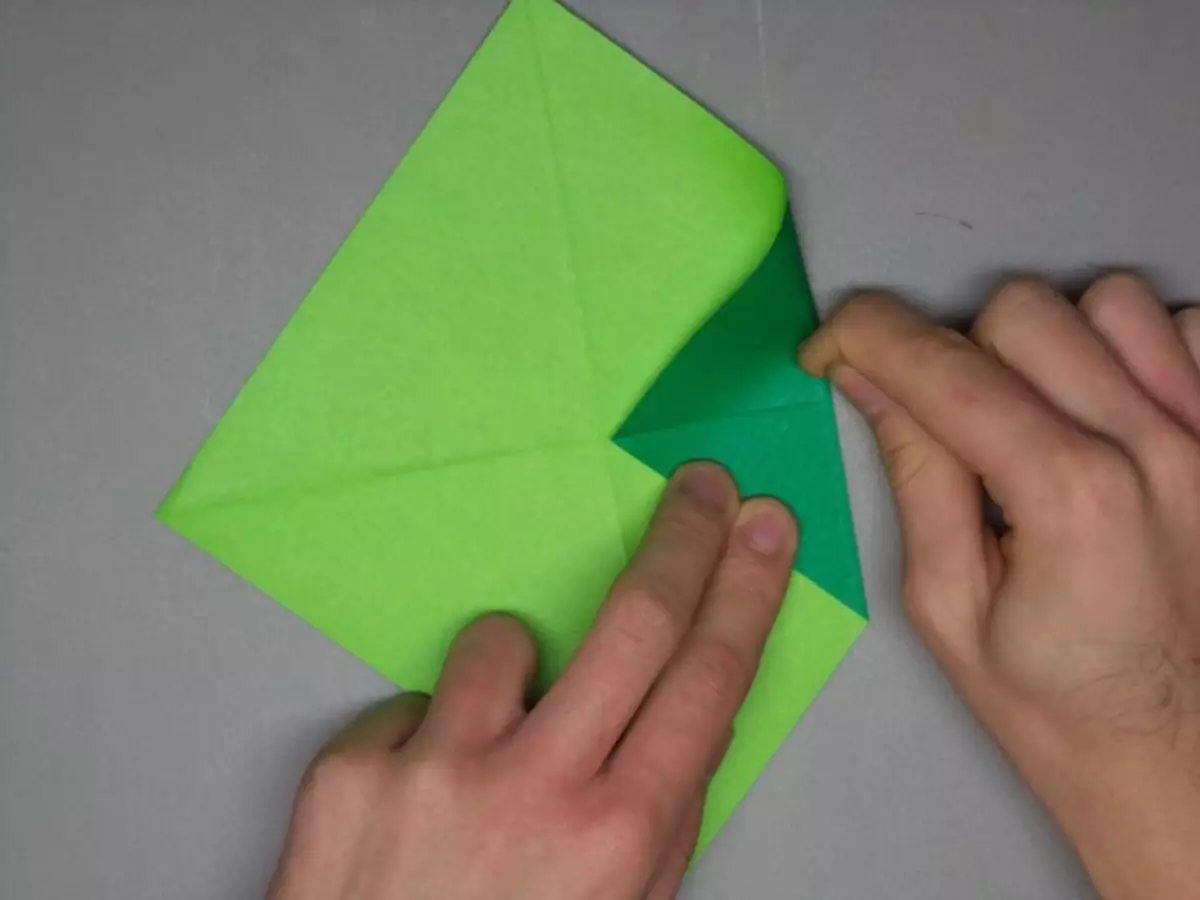
Step 2. . Two opposite corners of the square fold to the center.
Step 3. . Folded side folded in half again. You should have a semblance of bookmark.
Step 4. . The top and bottom of the strip are lowered to the center in the opposite direction. The folds of the folds well do with your fingers so that it turned out clear and even lines.
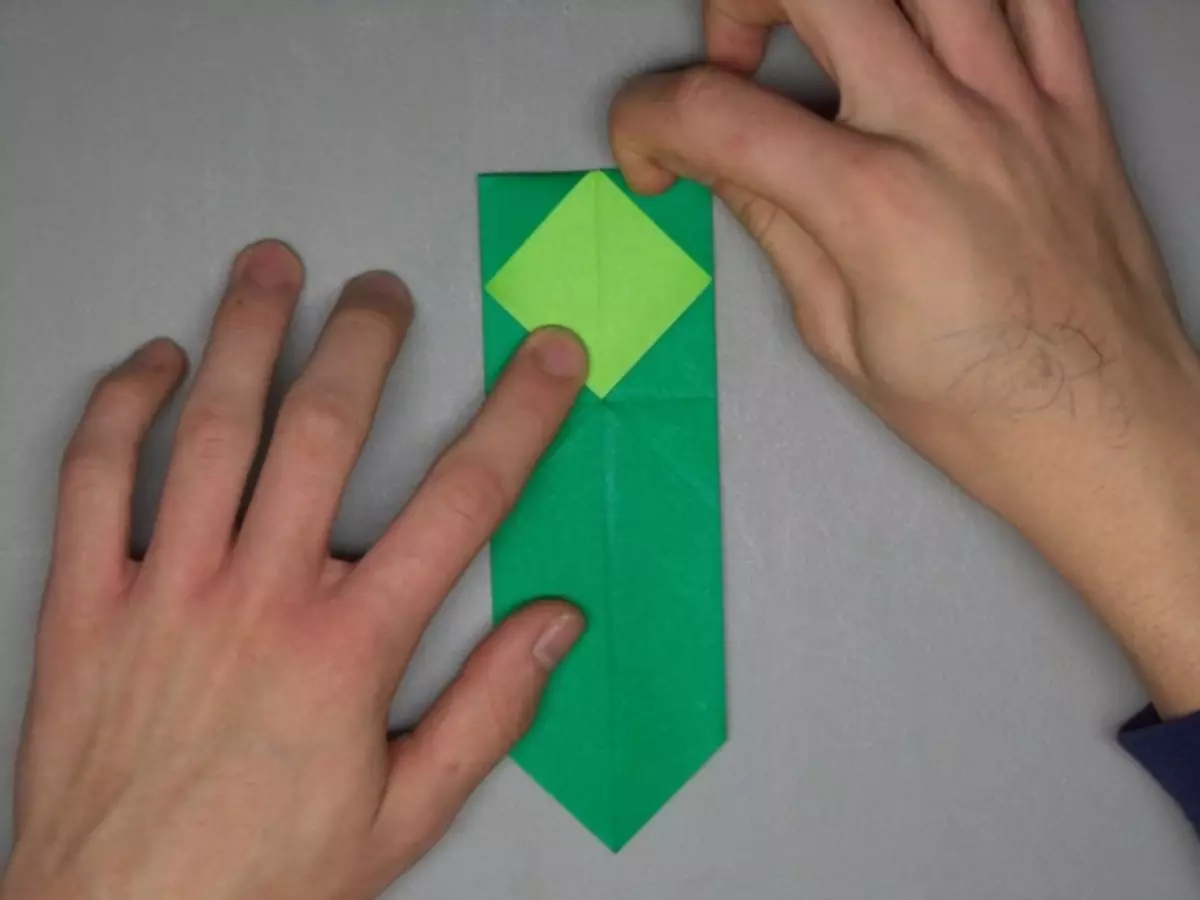
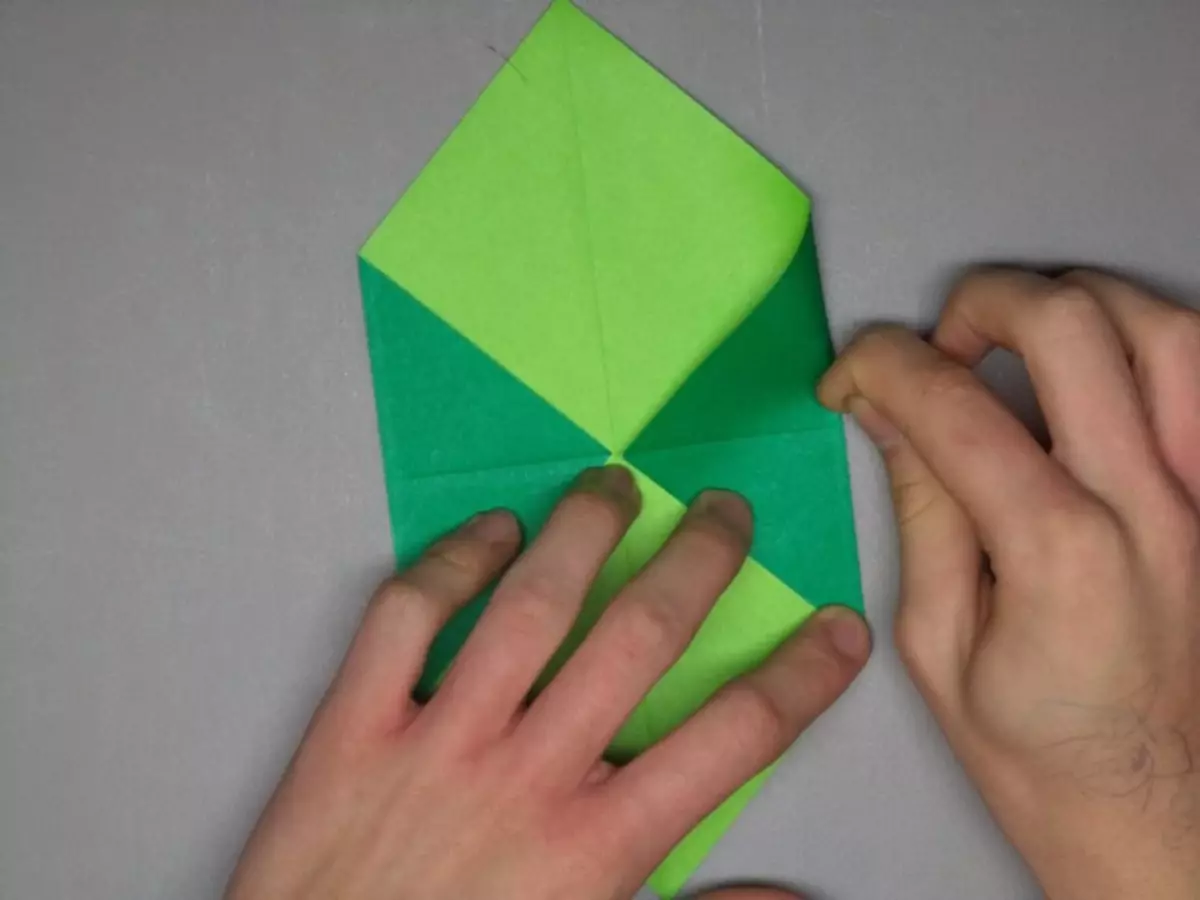
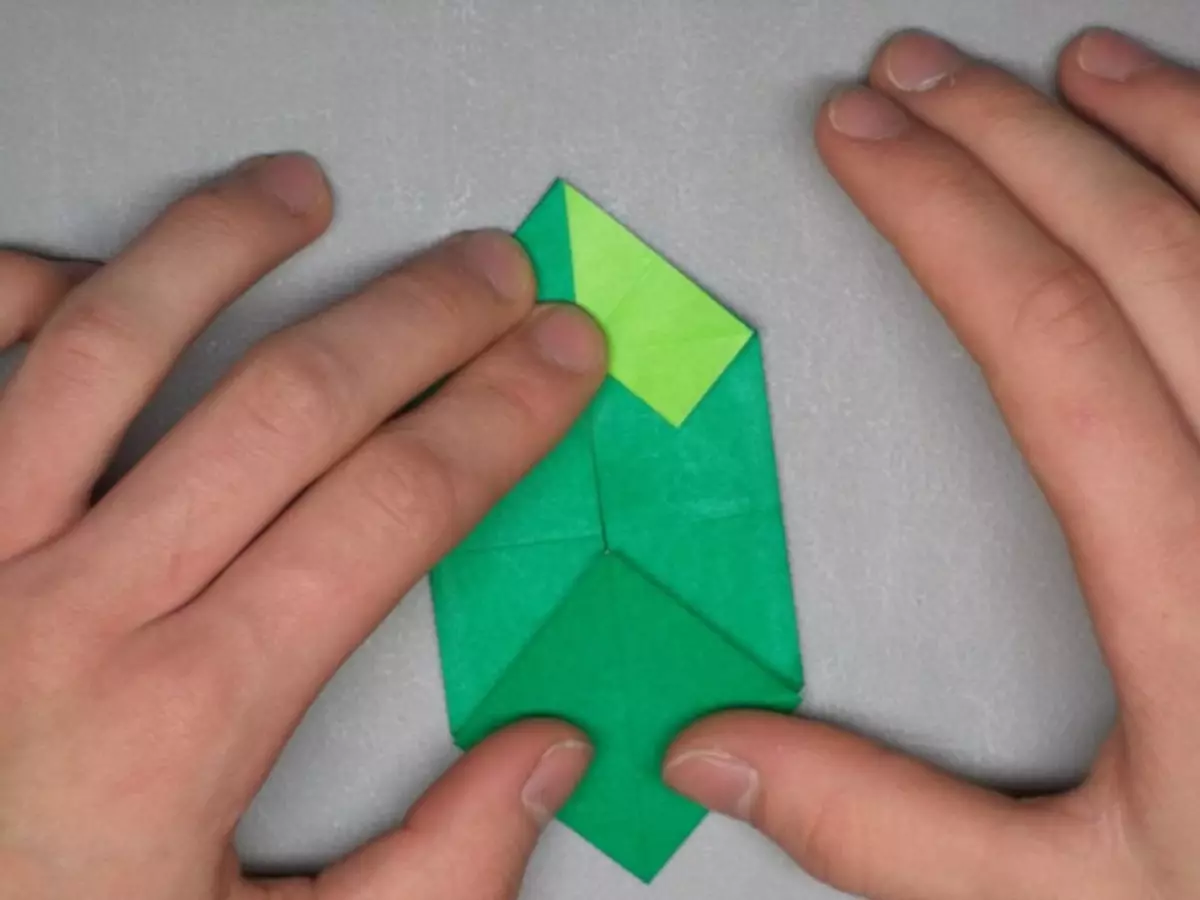
Step 5. . On both sides, the band shape the rhombus as shown in the photo.
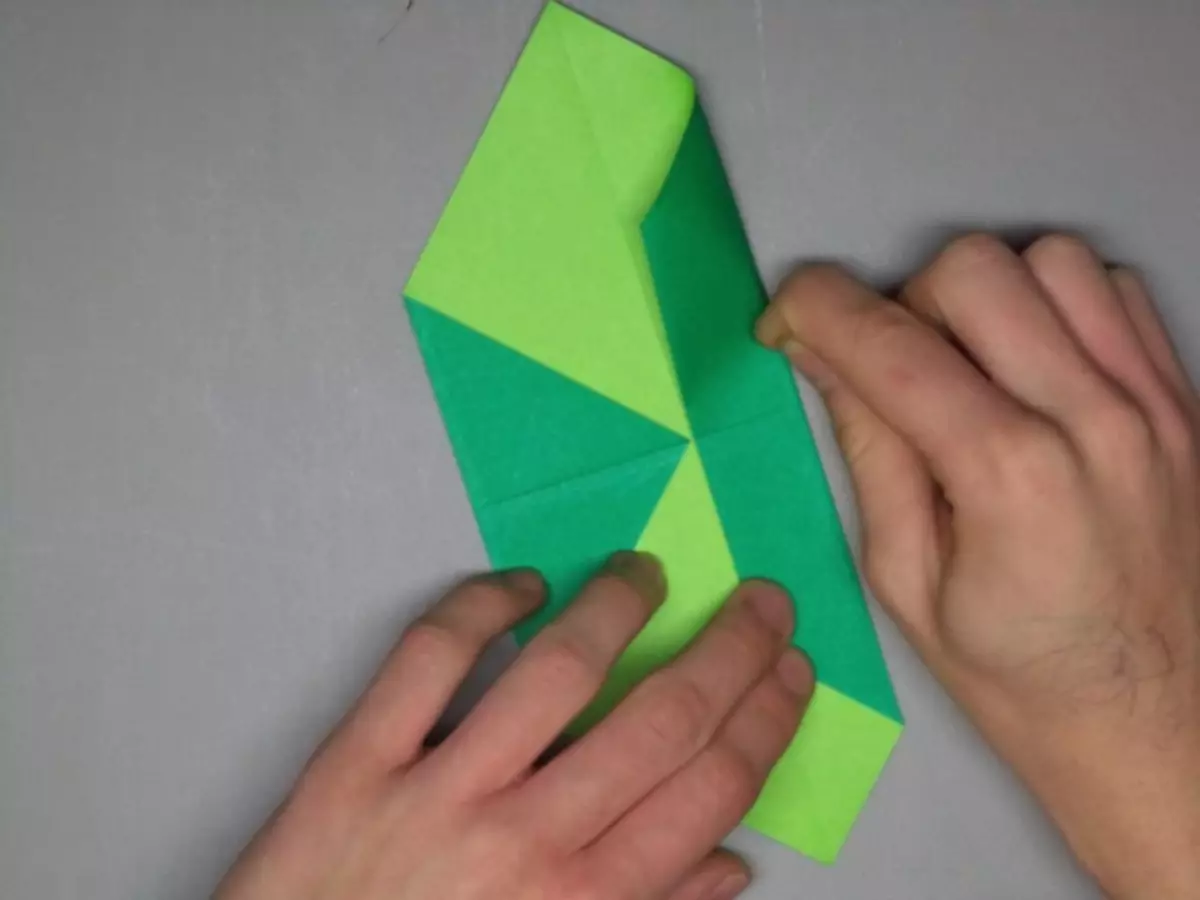
Step 6. . In the top of the strip, remove the corners of the rhombus, exposing the back side of the paper. It will be a flex line for further work.
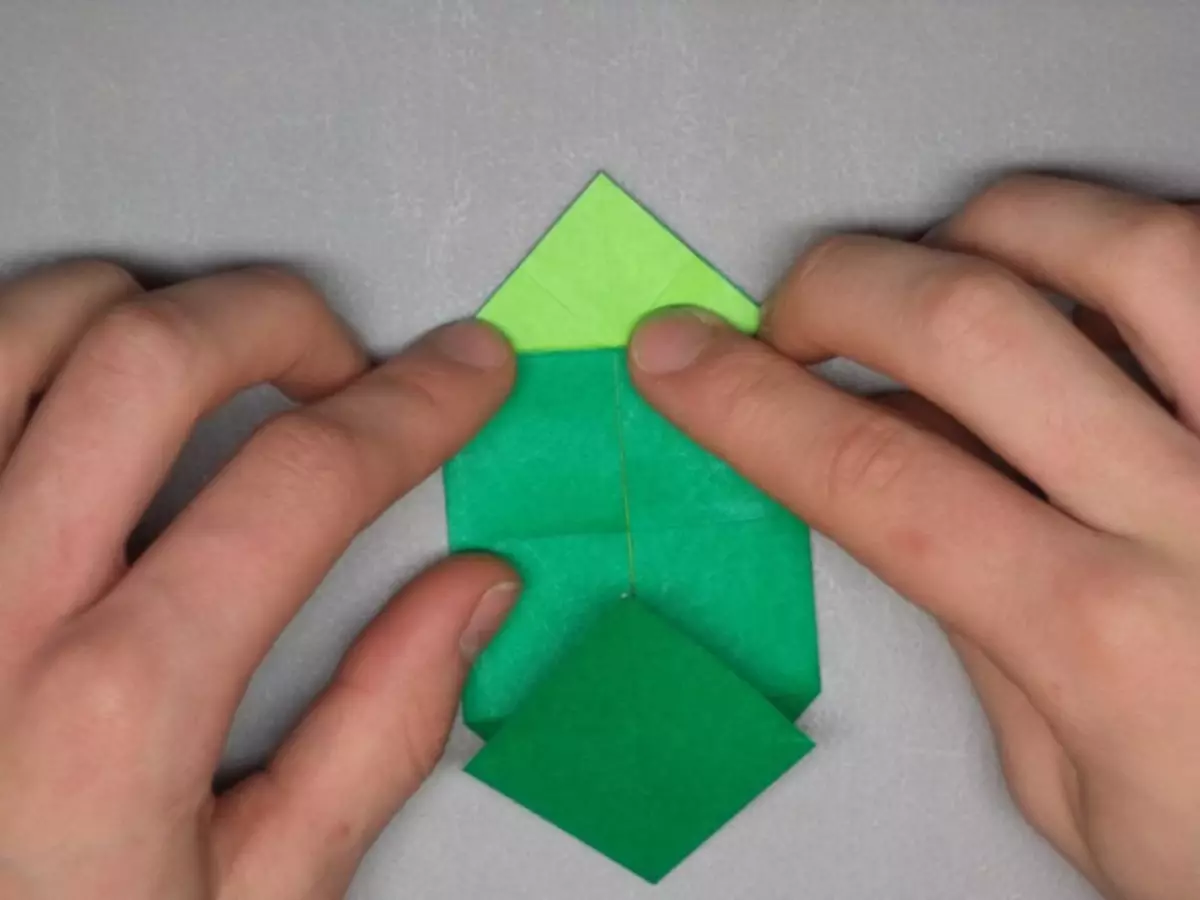
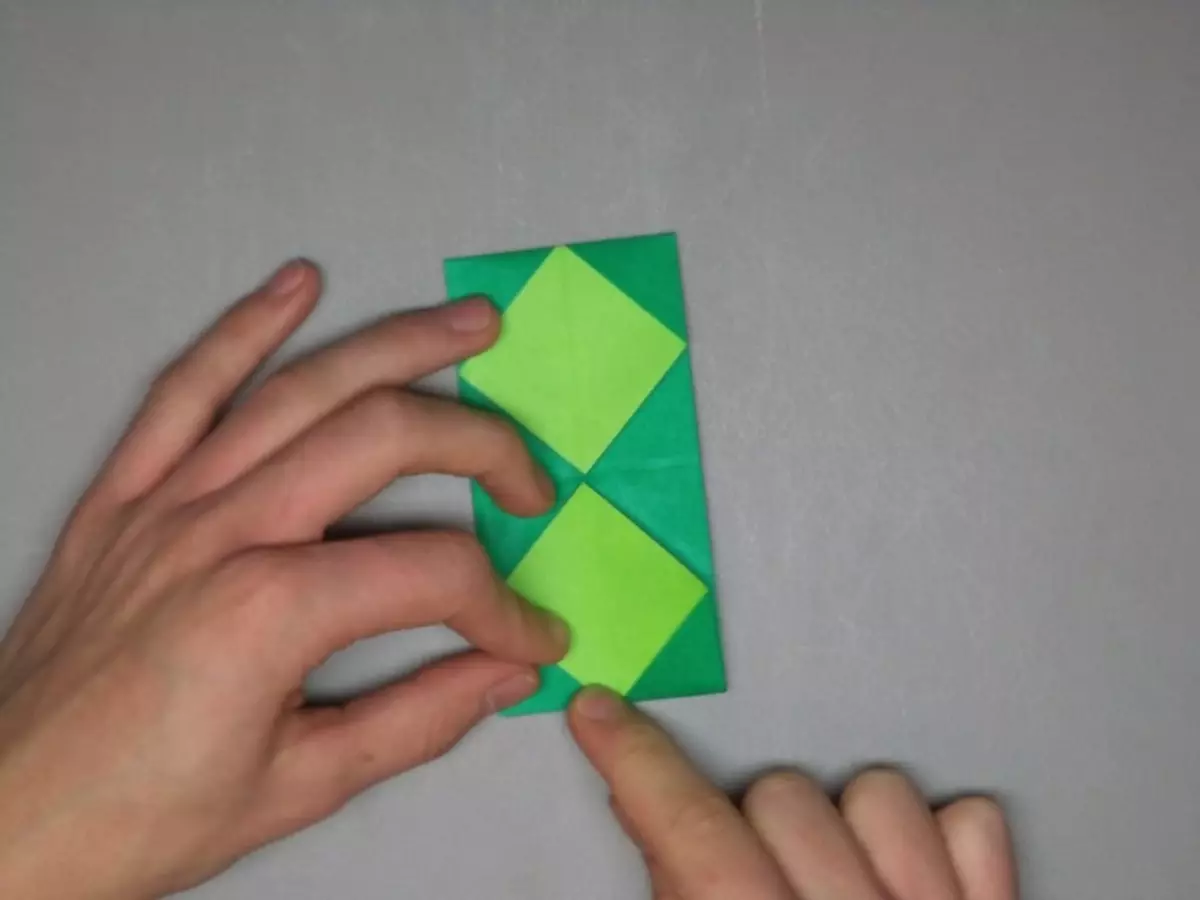
Step 7. . Repeat the sixth step and for the bottom rhombus.

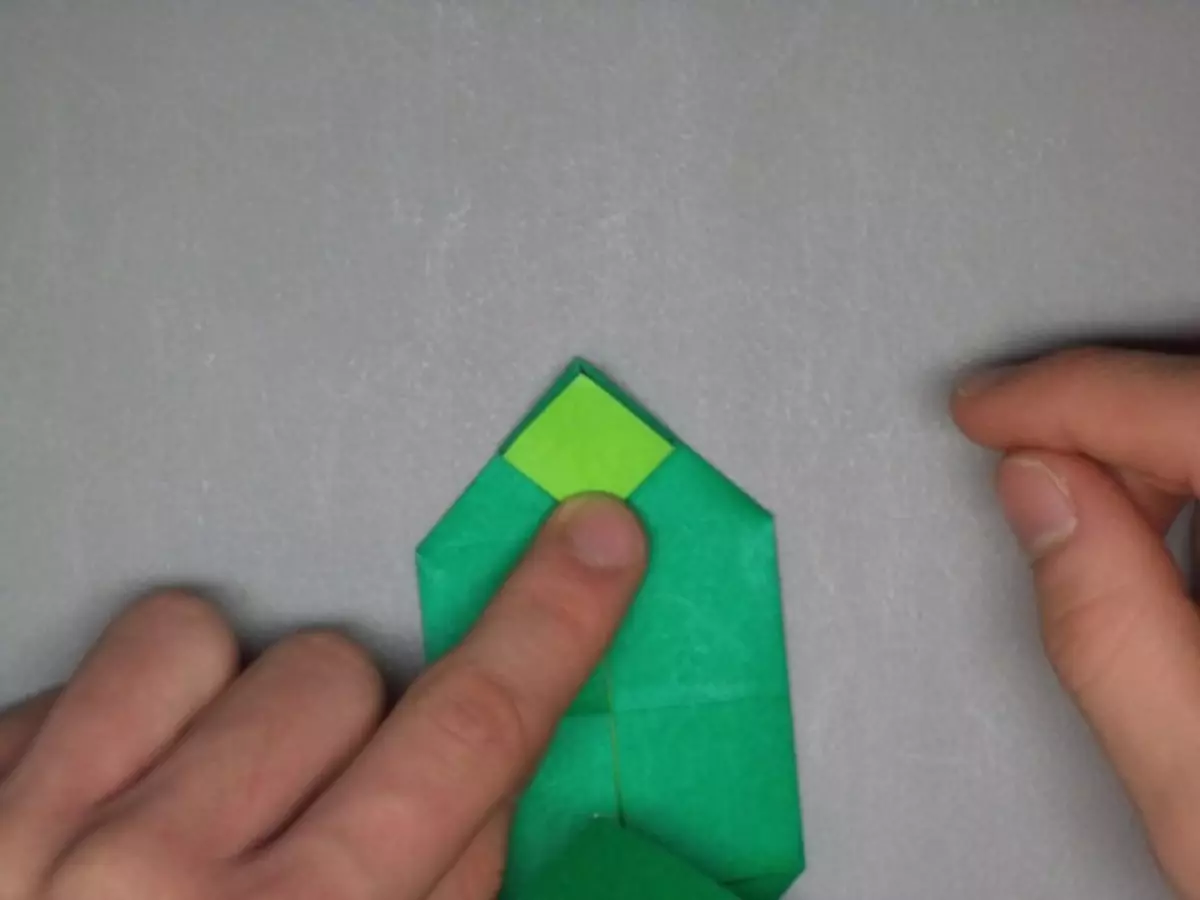
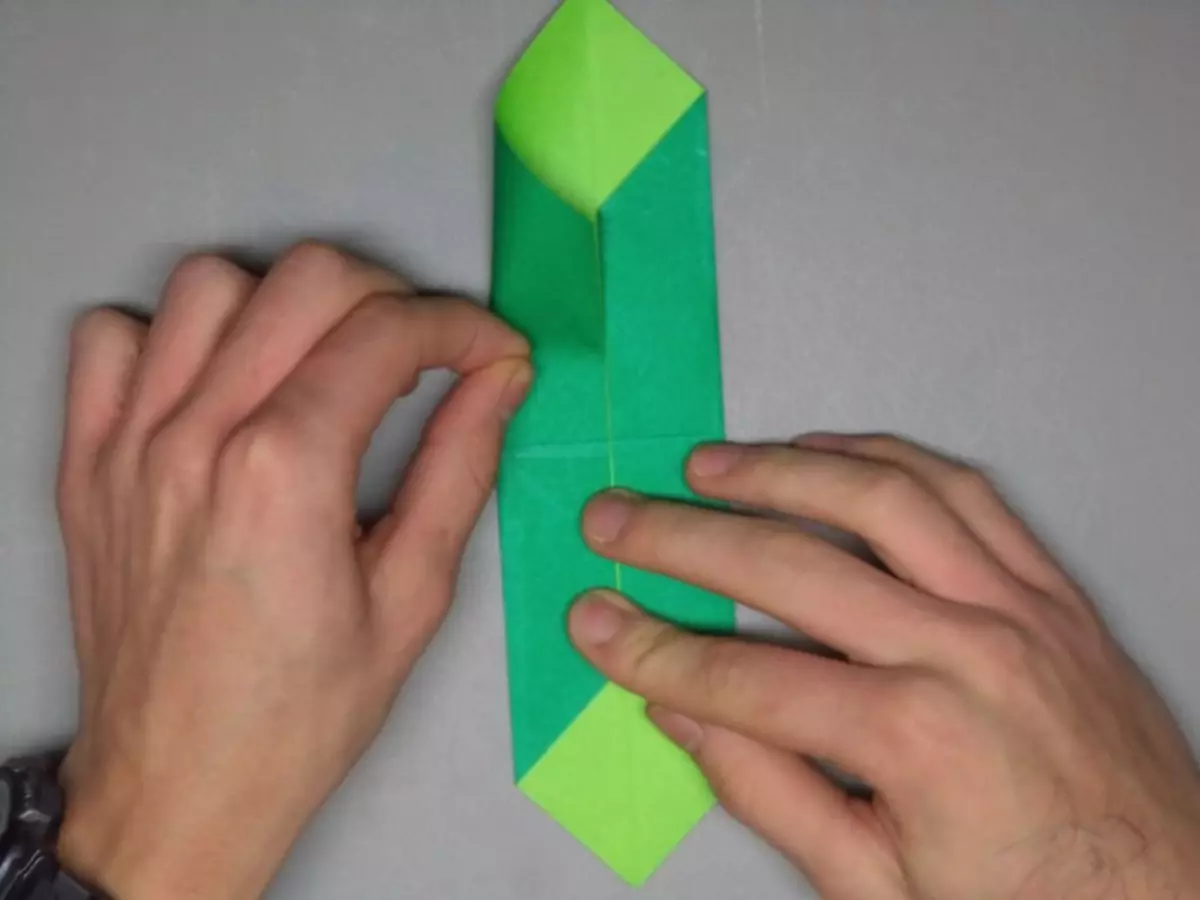
Step 8. . The edges of the lower rhombus are maintained so that they go close to the center of the folds, but did not touch it. The result should be in the photo.

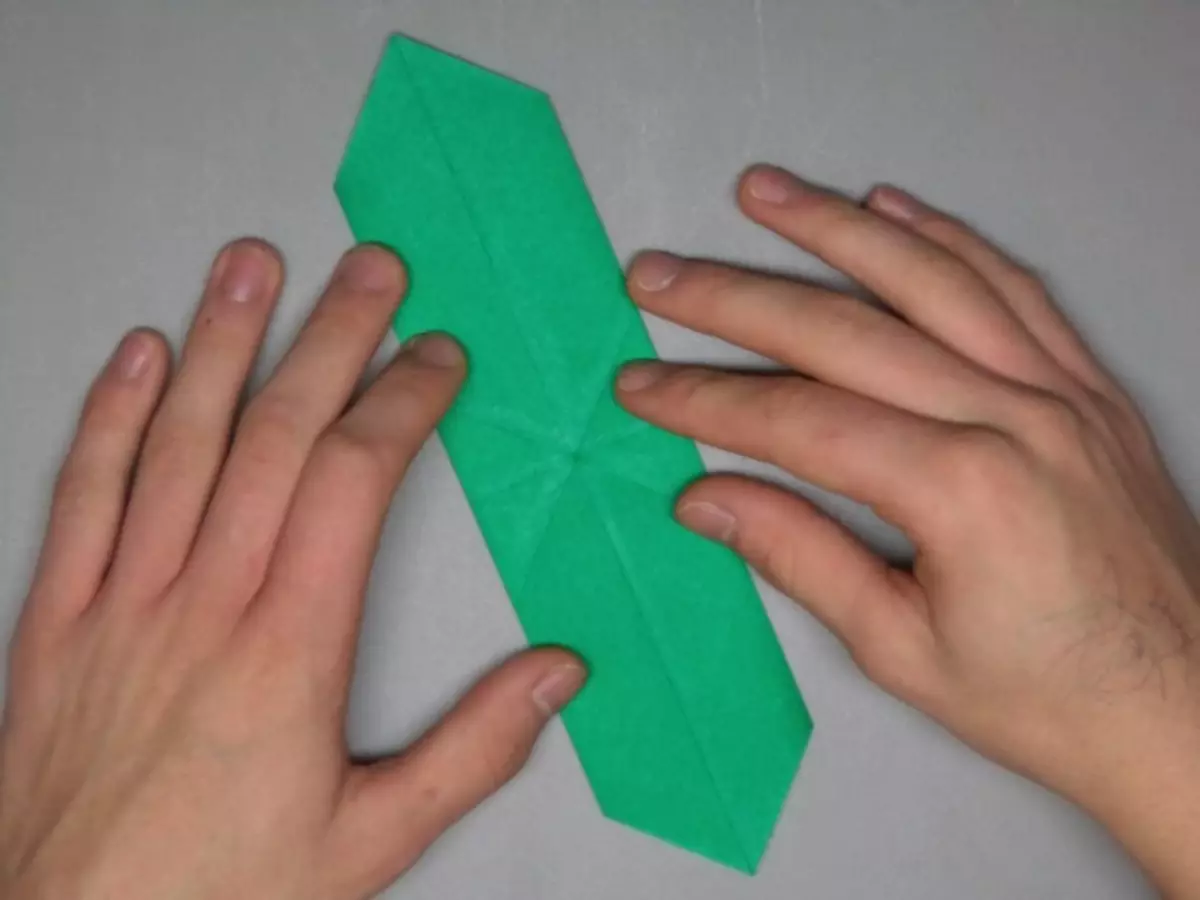
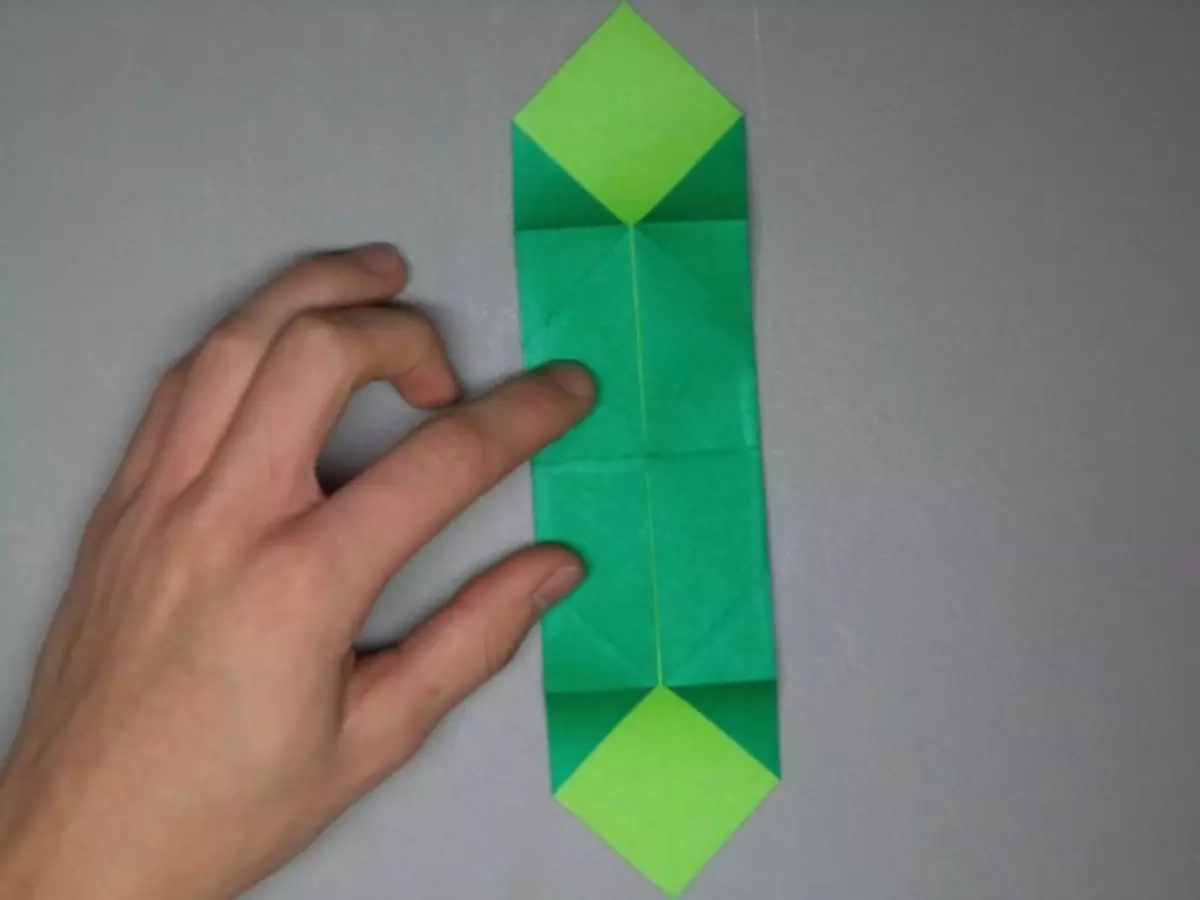
Step 9. . Side line strips bend to the center, and then fold back in half, flexing them already to the edge.
Step 10. . The ends of the workpiece got to the center from the other side where there are no folds. Press the paper with your fingers so that the material is used to this position.
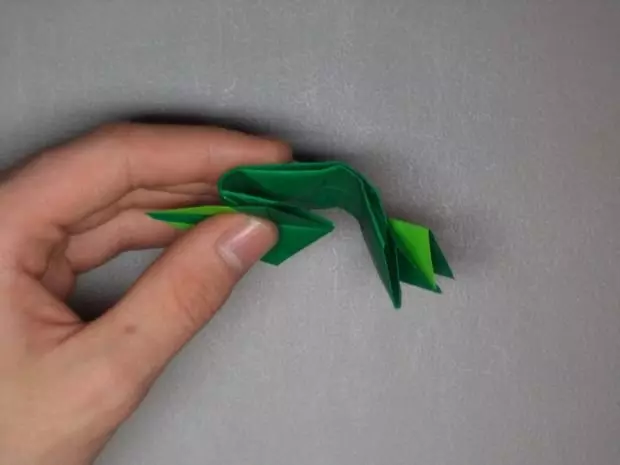
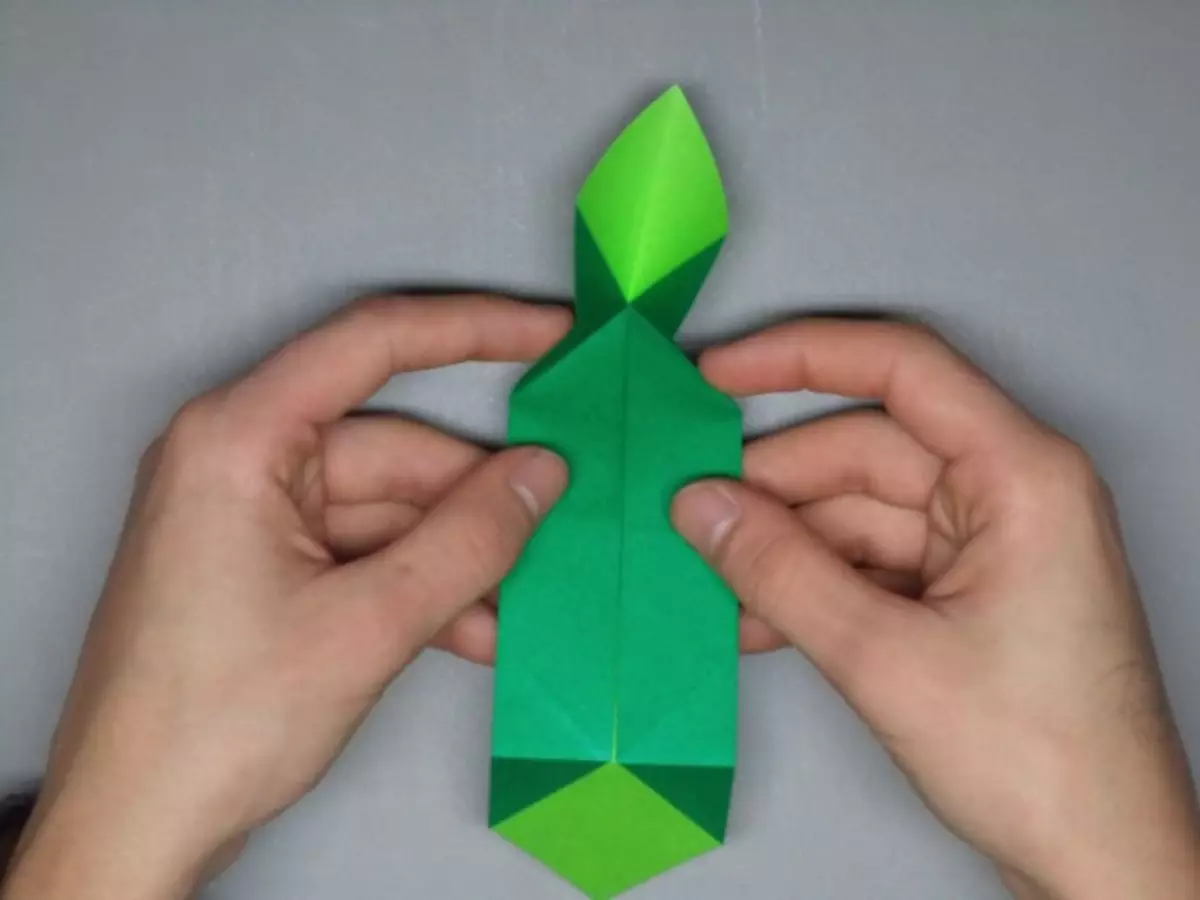
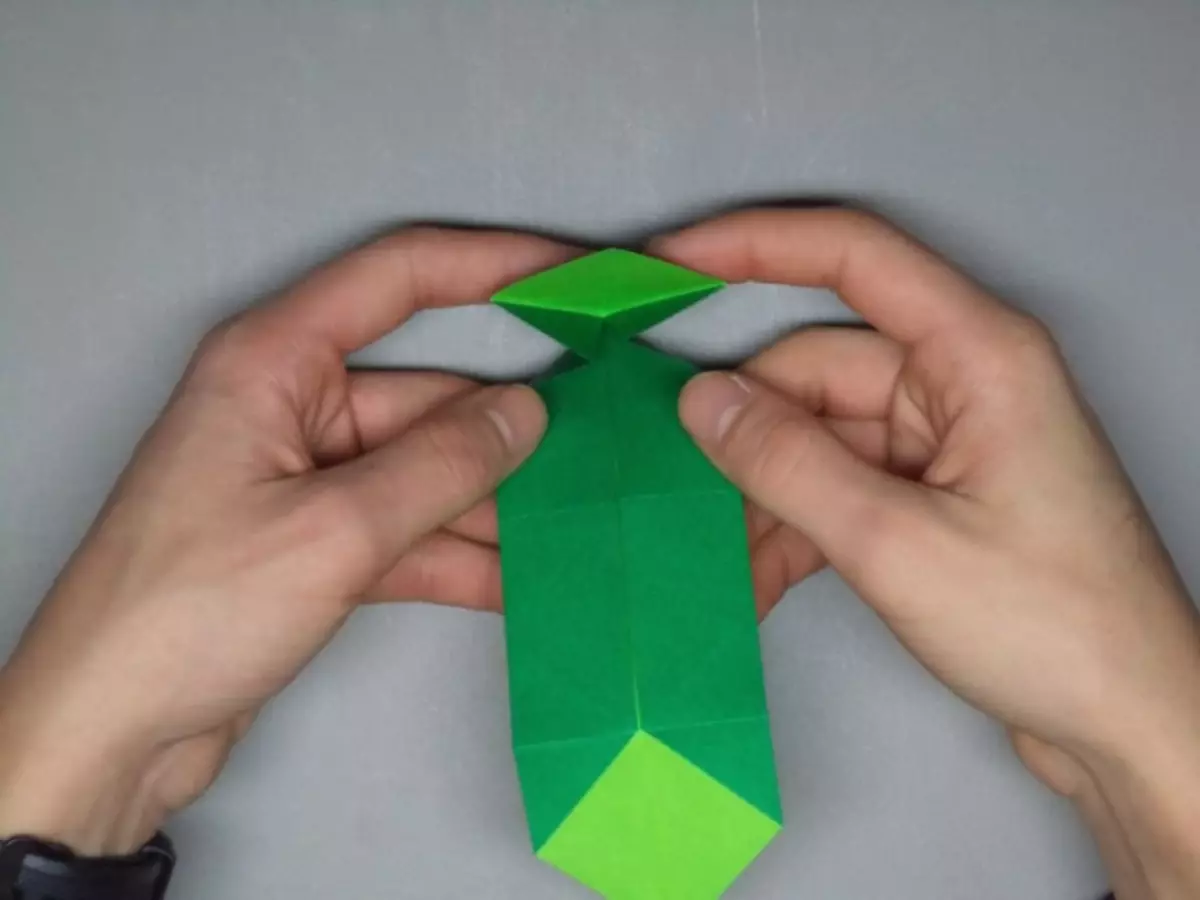
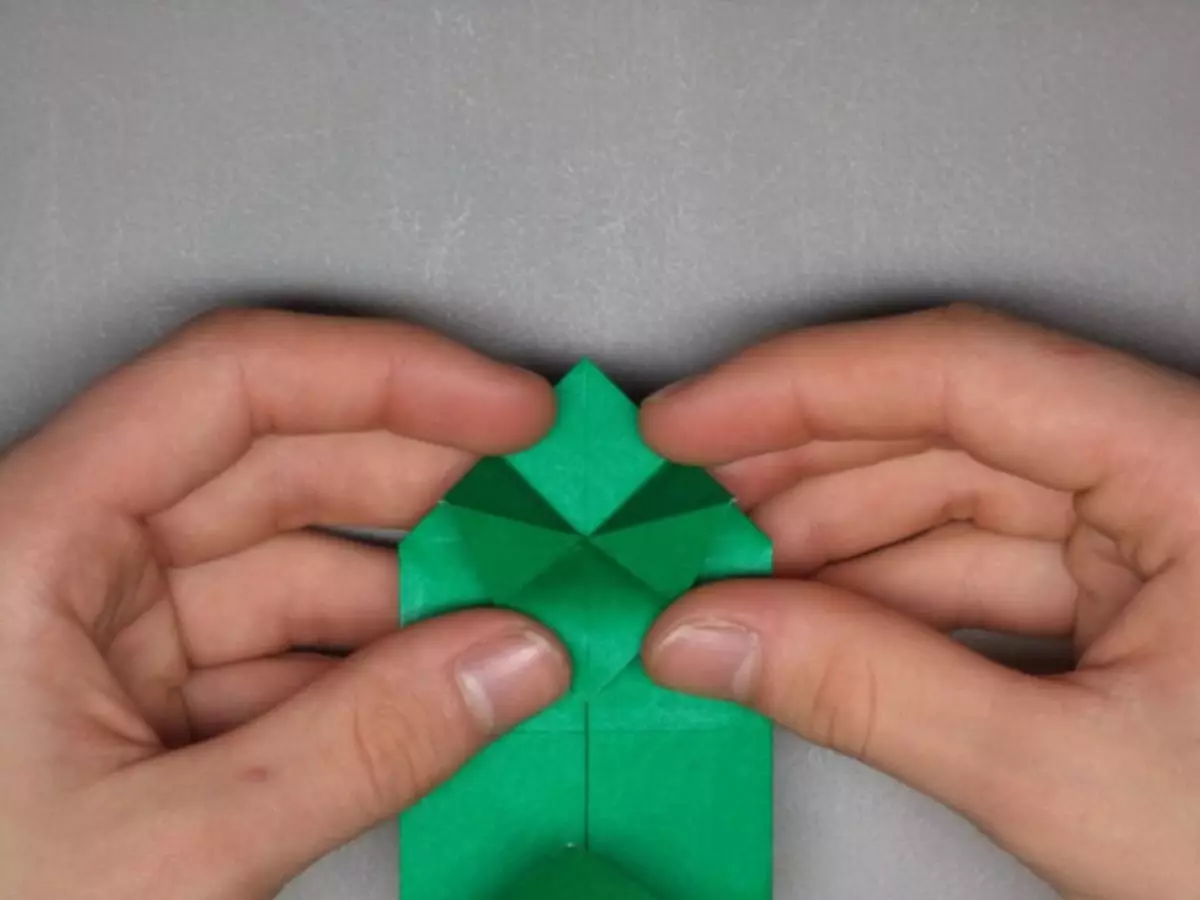
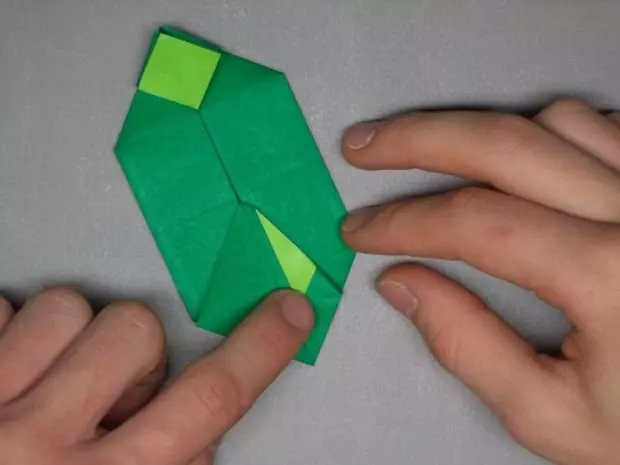
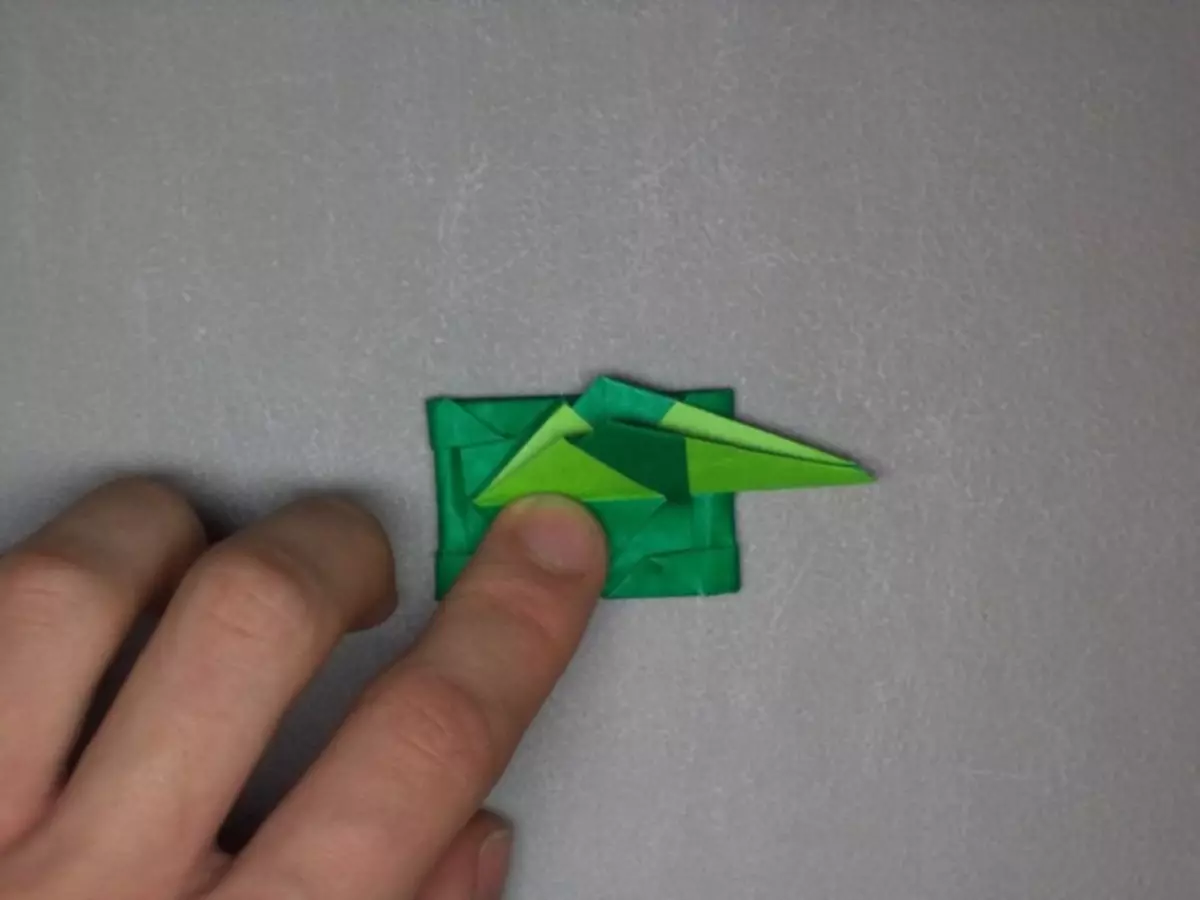
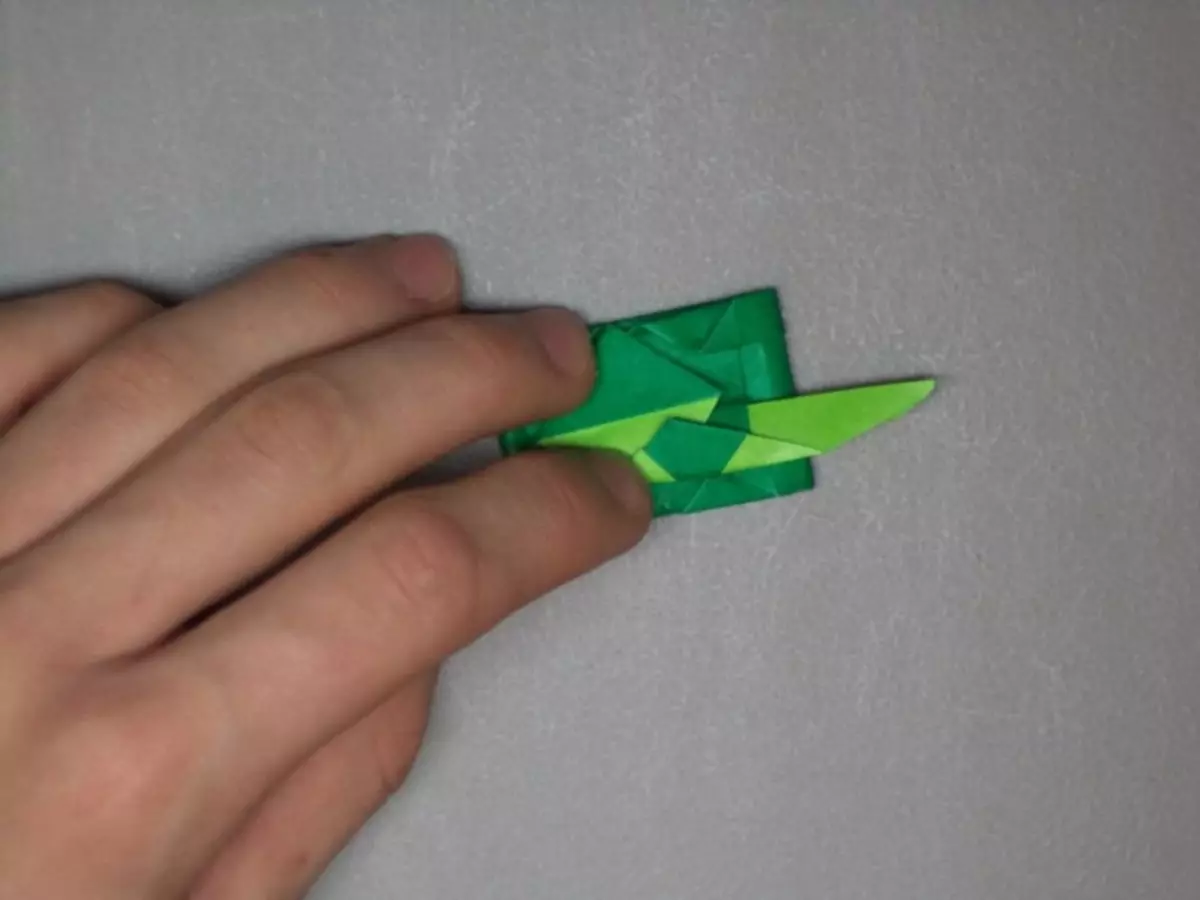
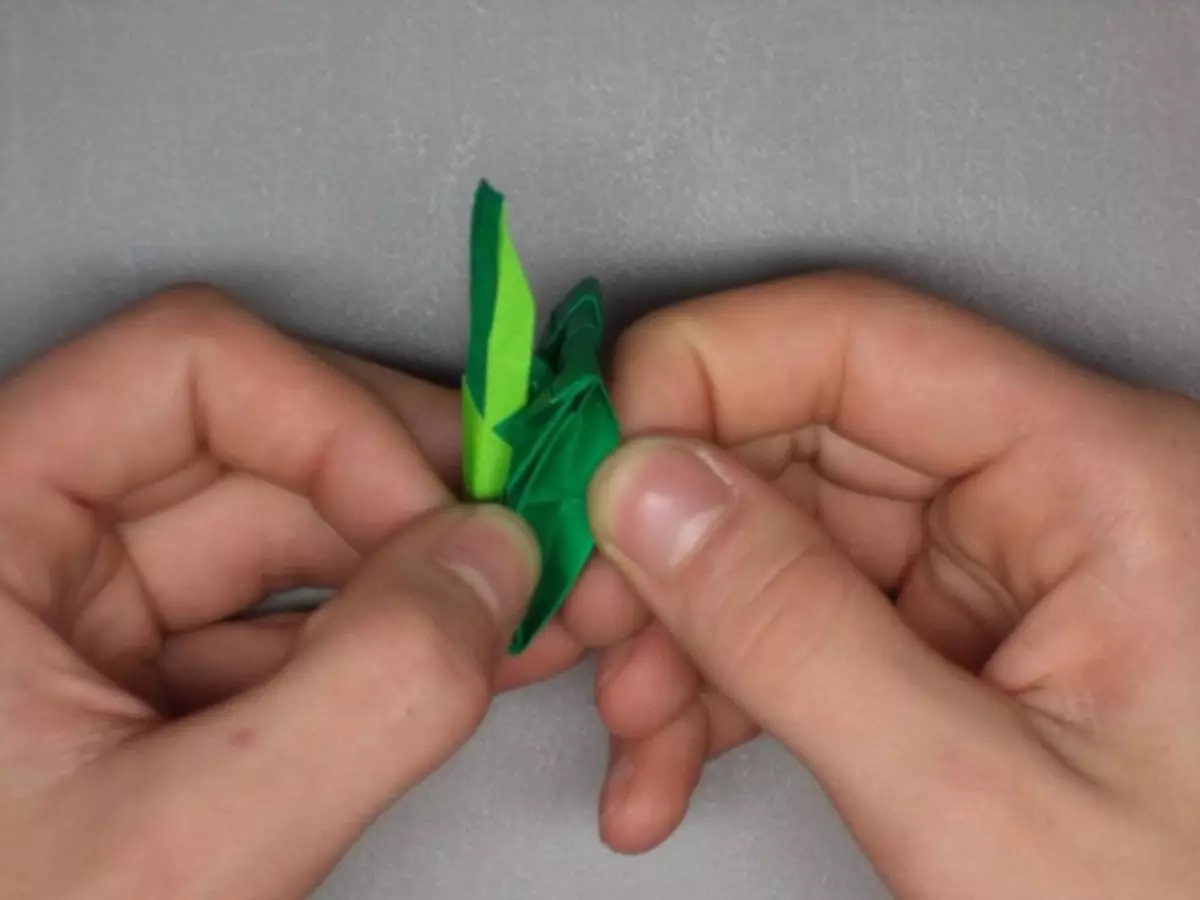
Step 11. . Open the tank tower and insert it in the blow. Two valves inside the tower must pass under the sides. Hold the design by inviting her fingers.
Article on the topic: Detailed crochet lesson Napkins for beginners
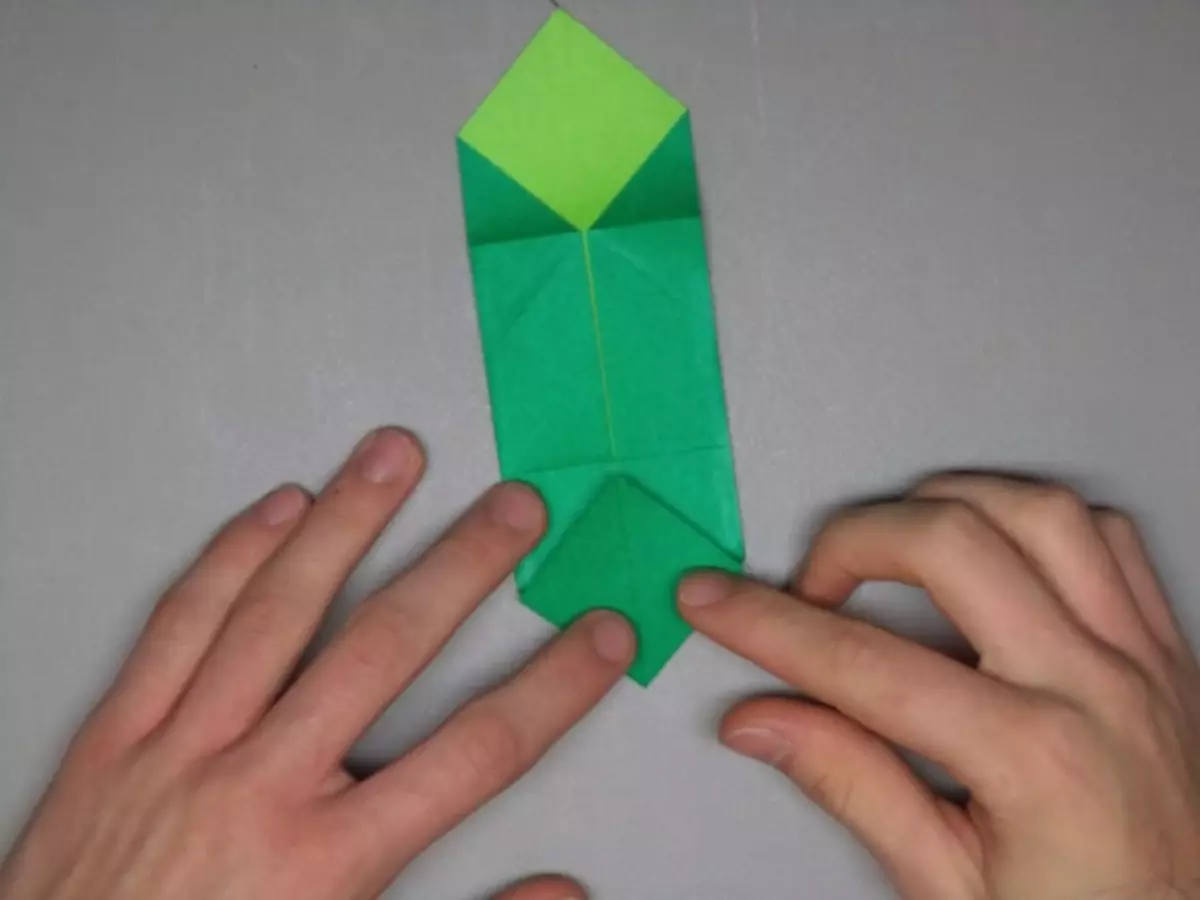
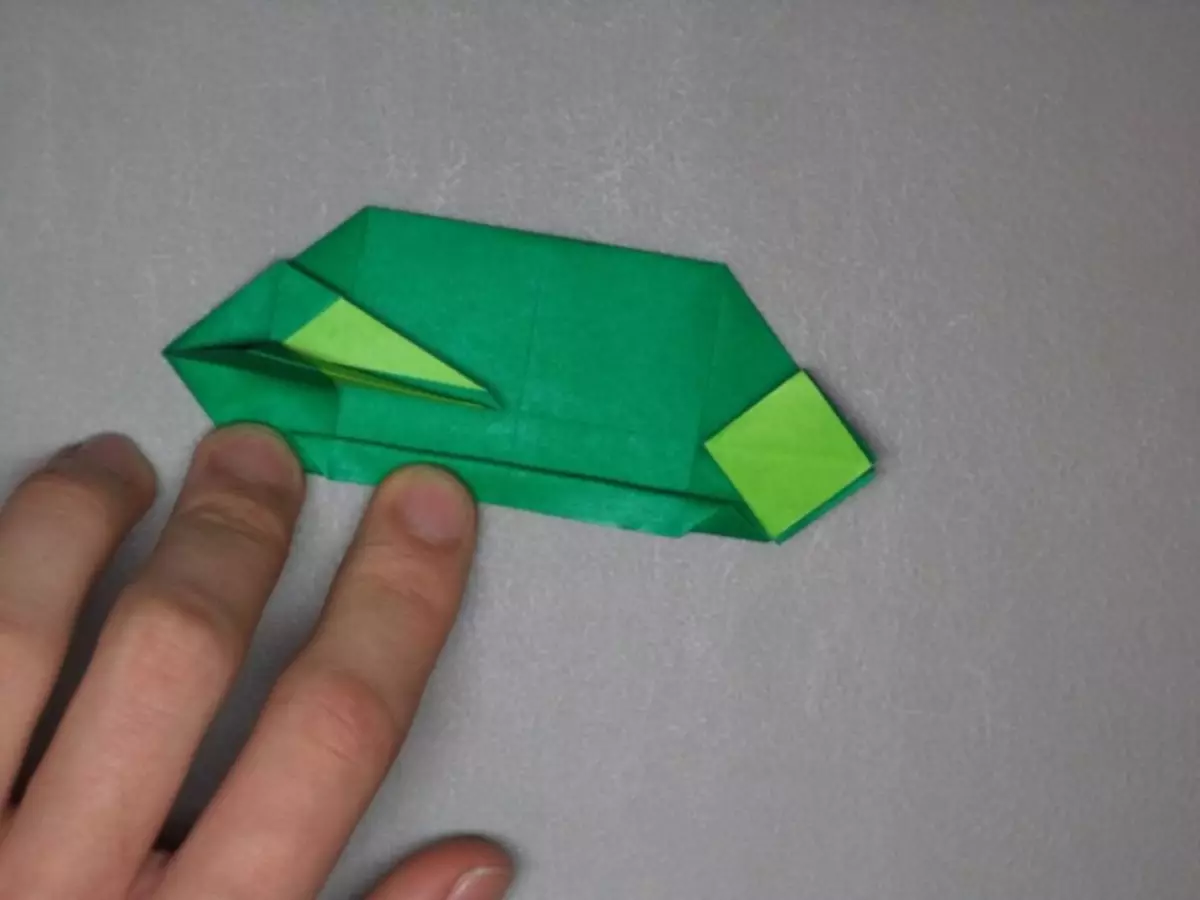
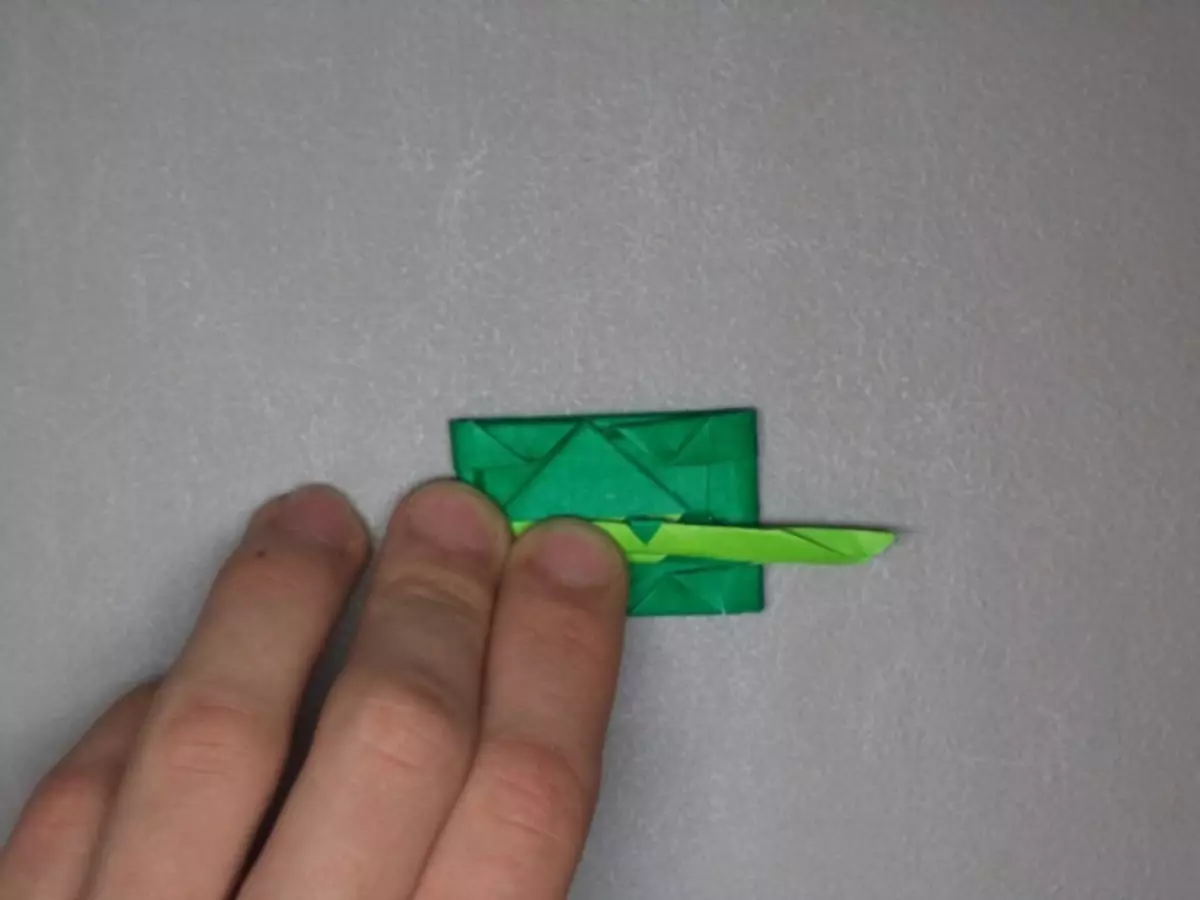
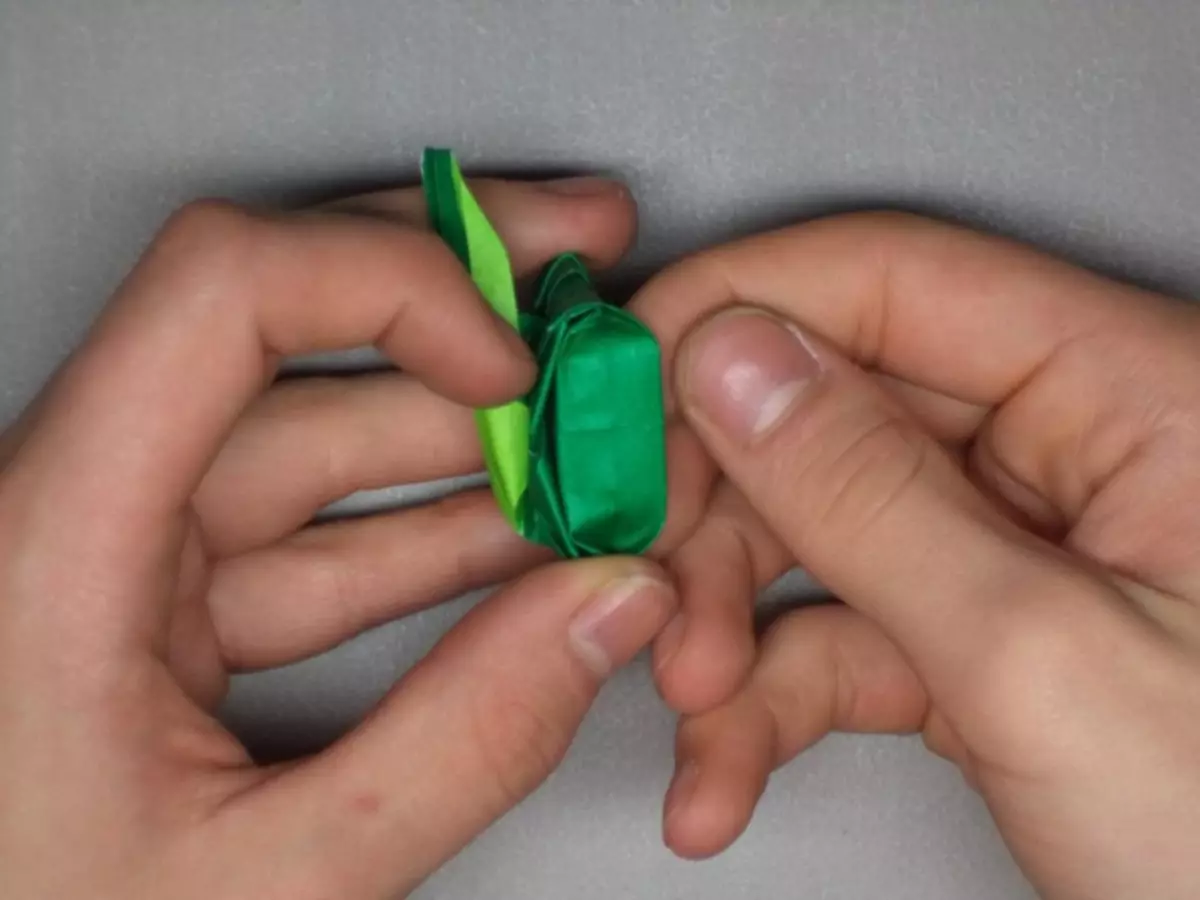
Step 12. . Remove the shape of the blow. To do this, both flaps come up. Bend the top corner of the book and start the billet once again.
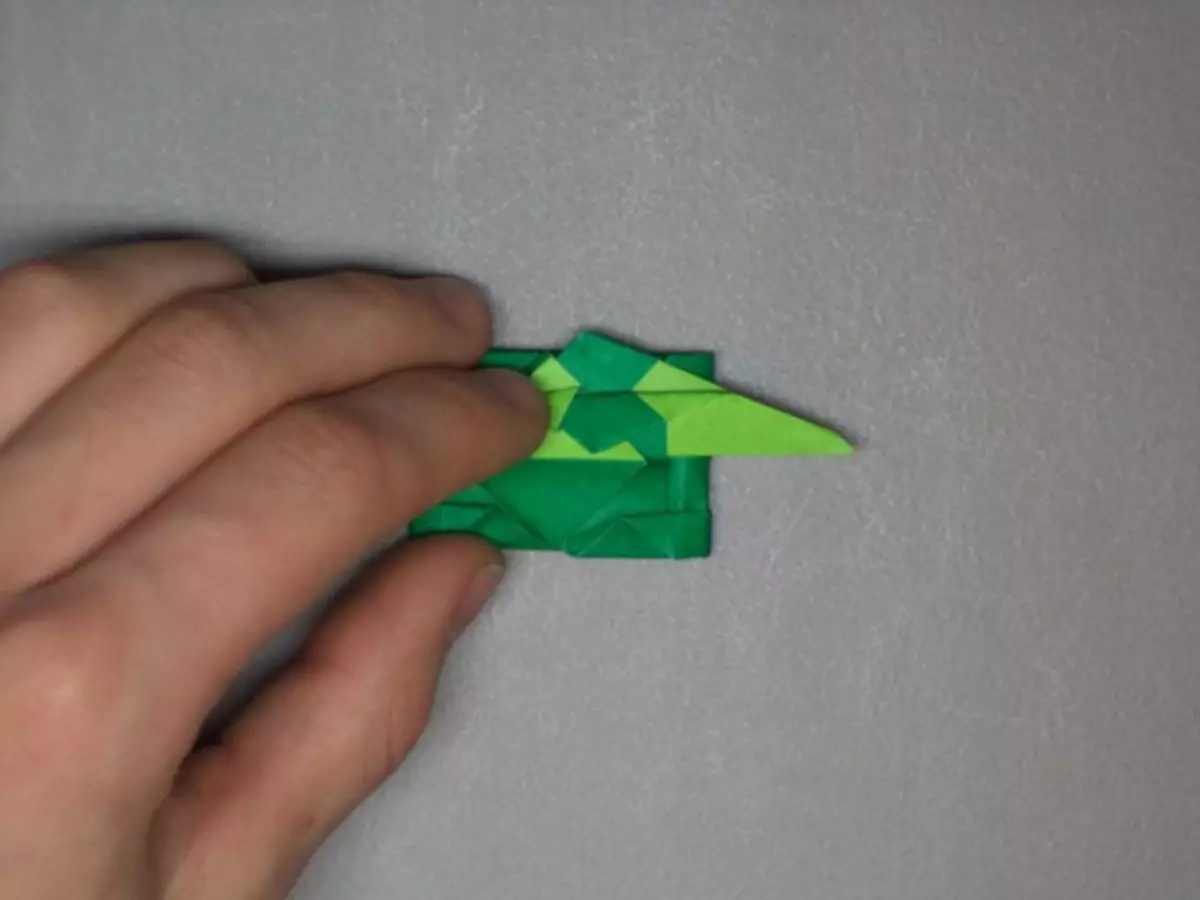
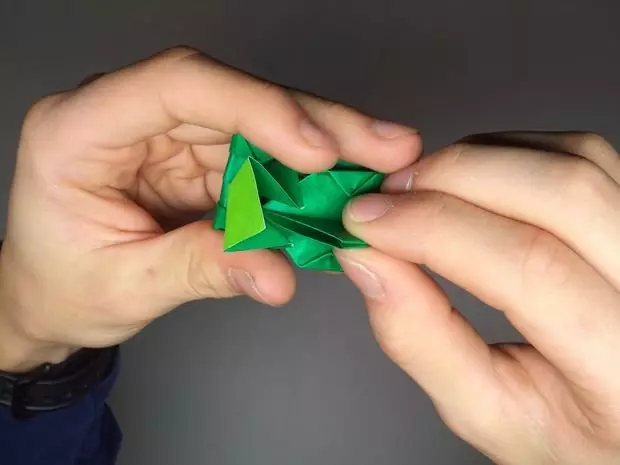
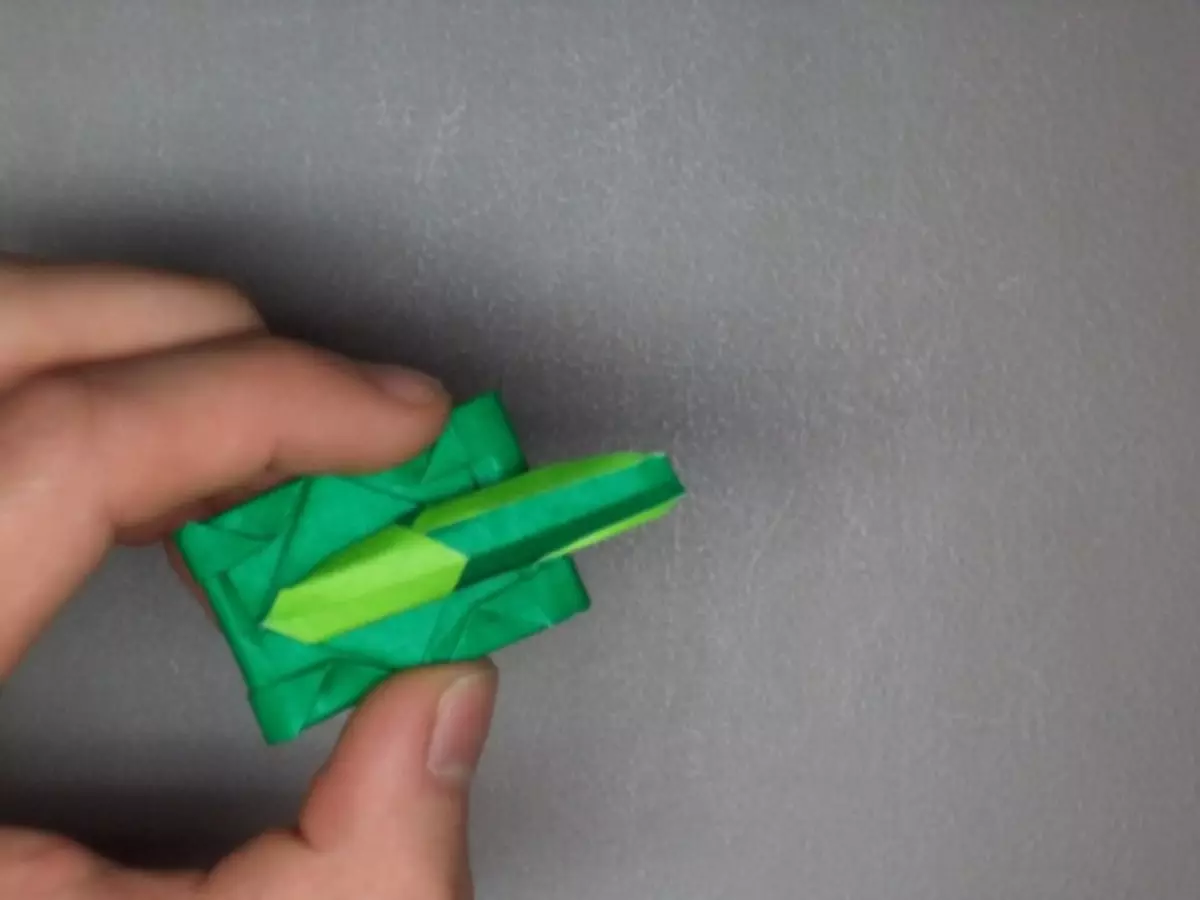
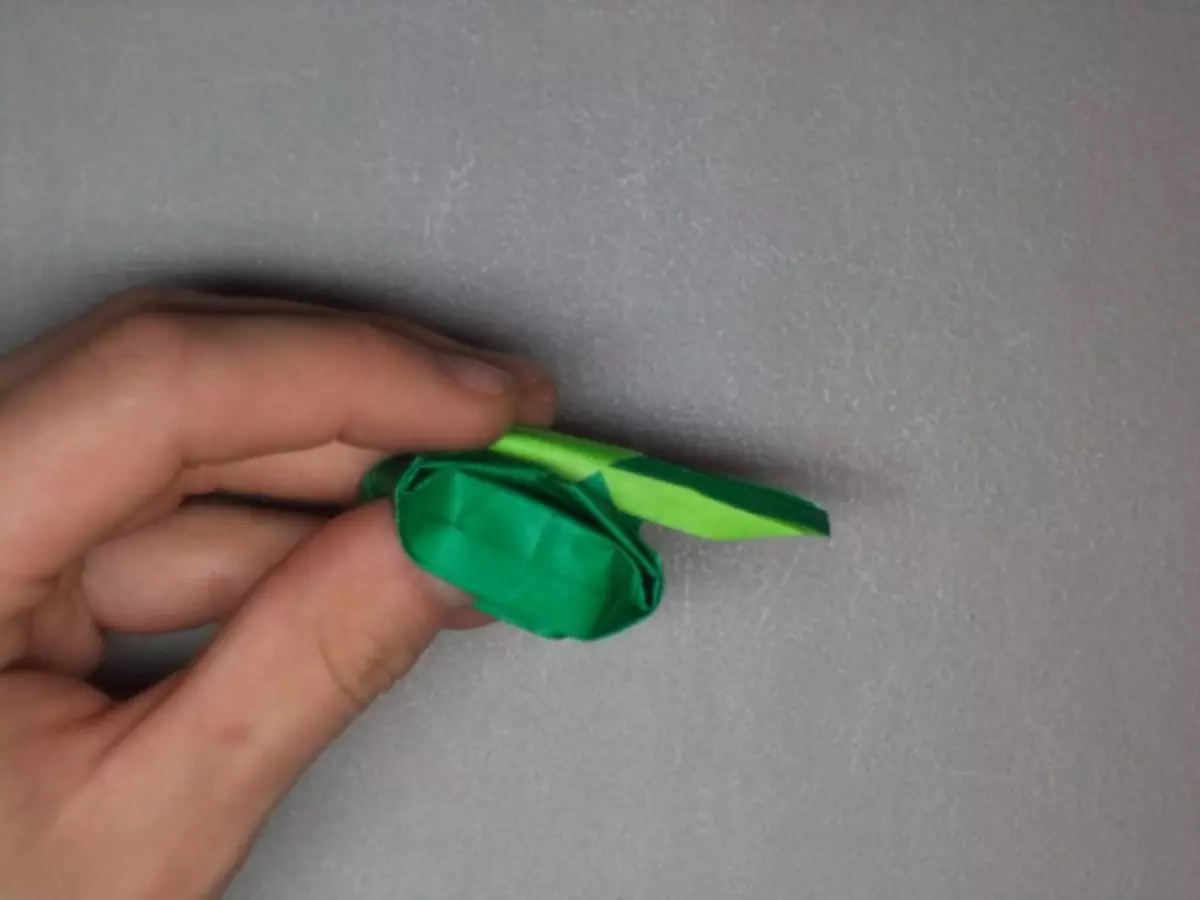
Step 13. . Similar to the twelfth turn of the bend, do on the other side of the blow.
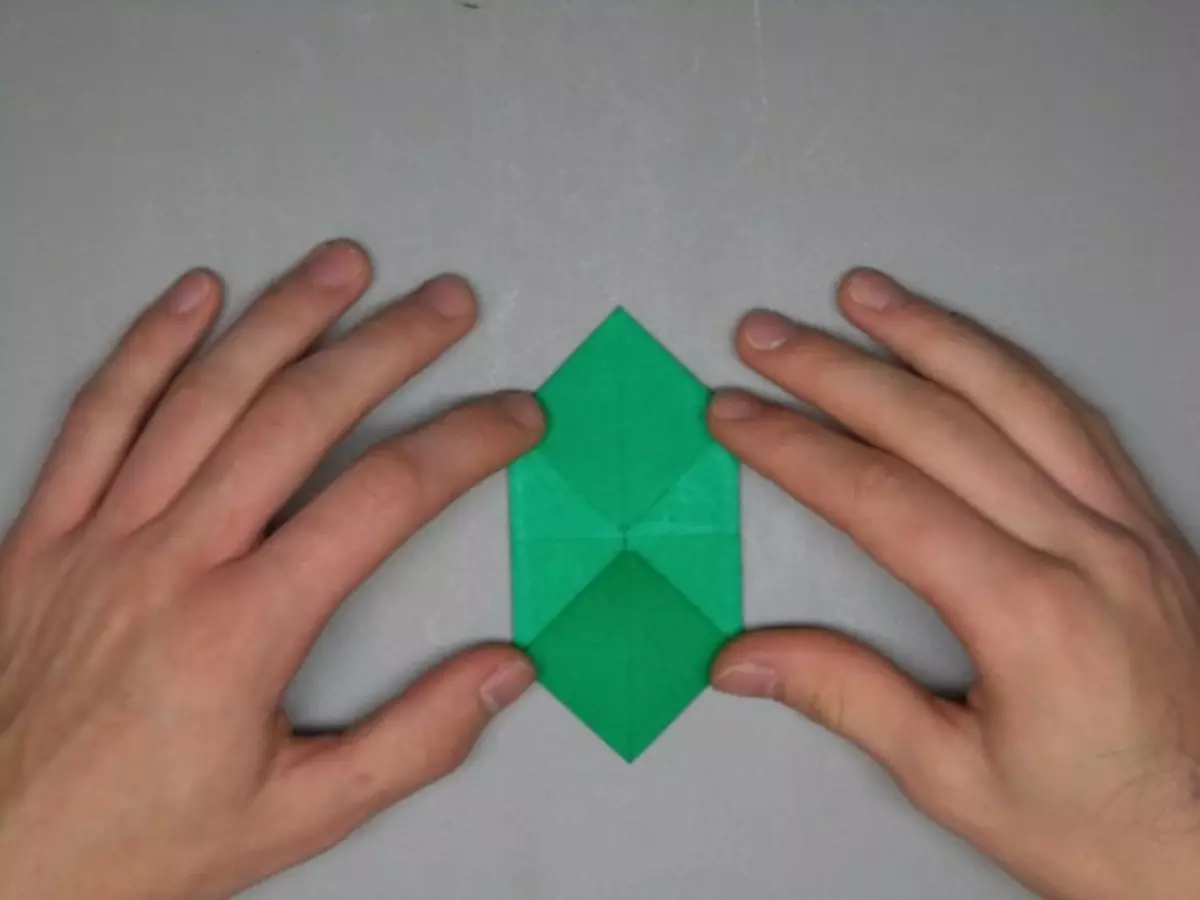
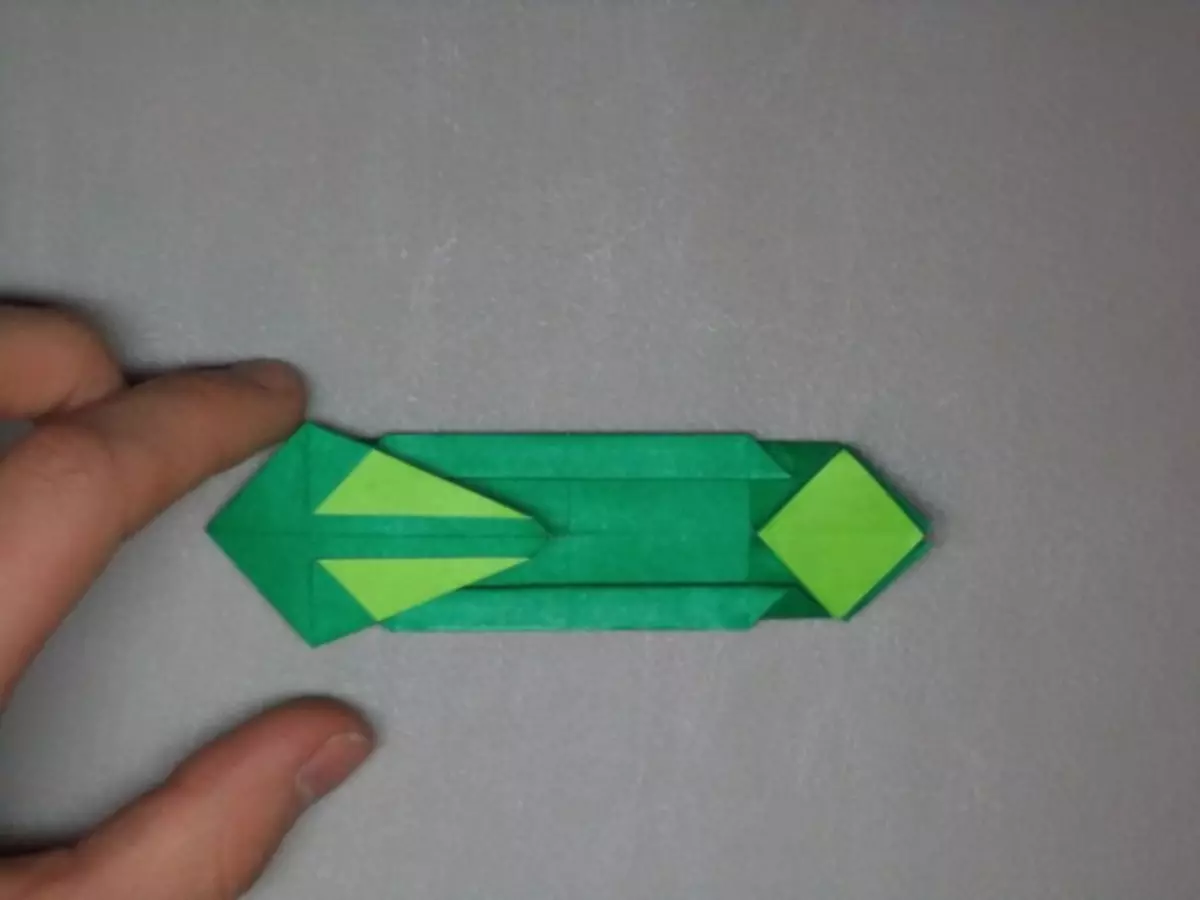
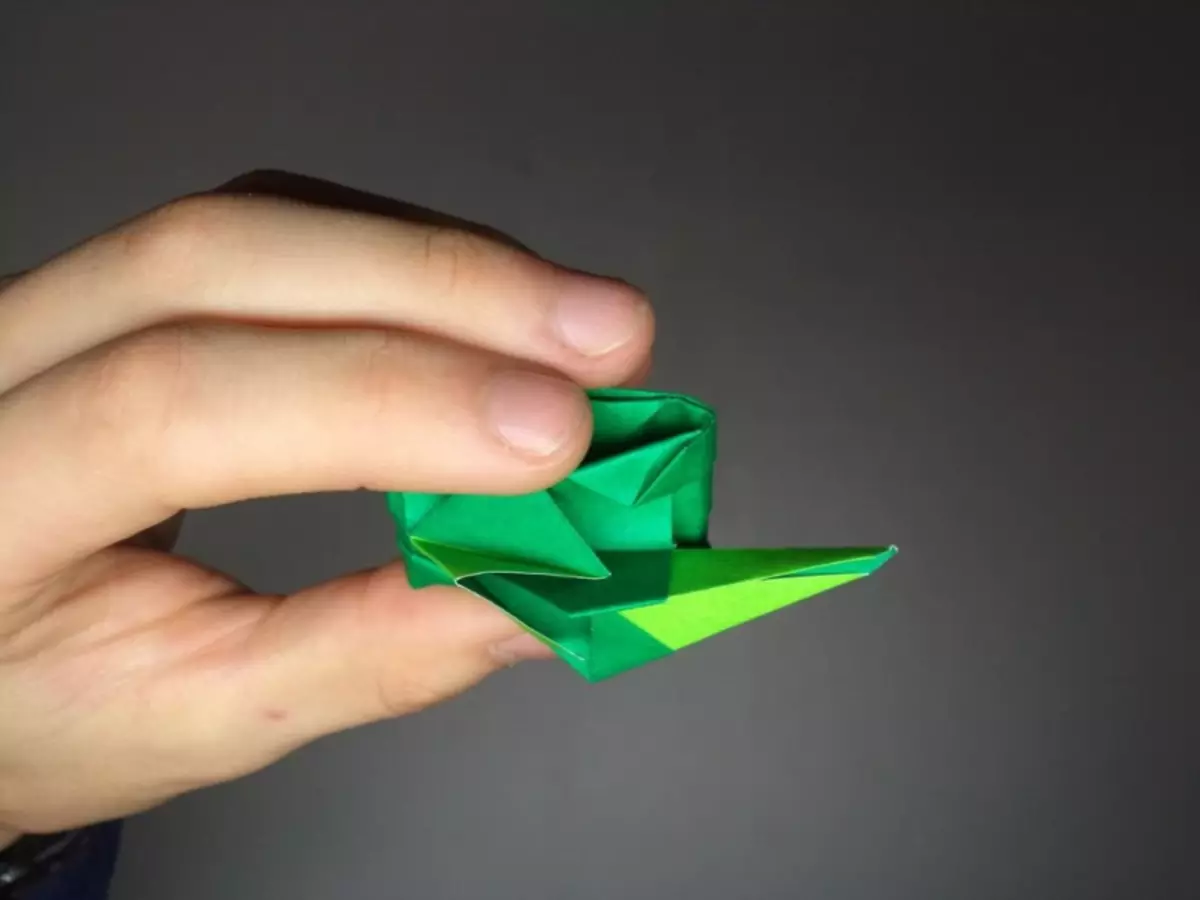
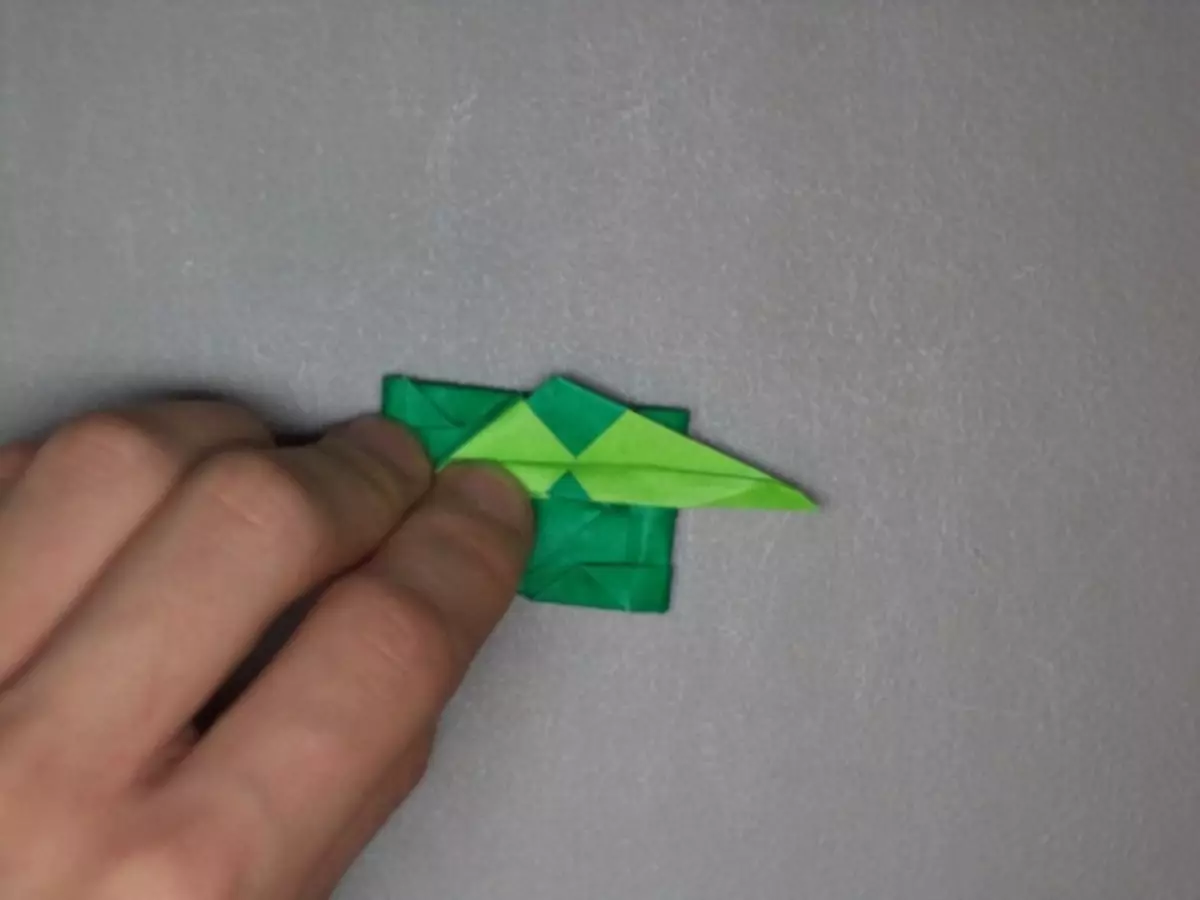
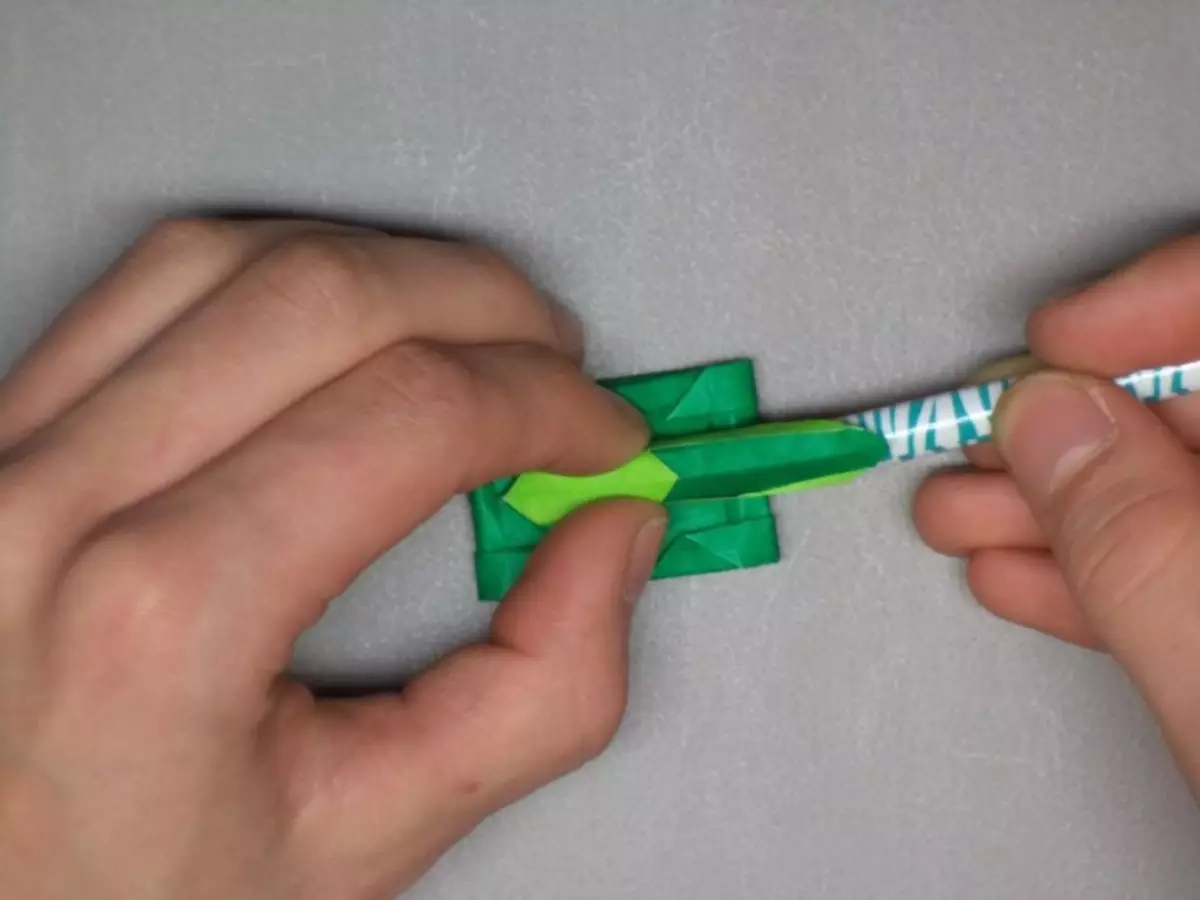
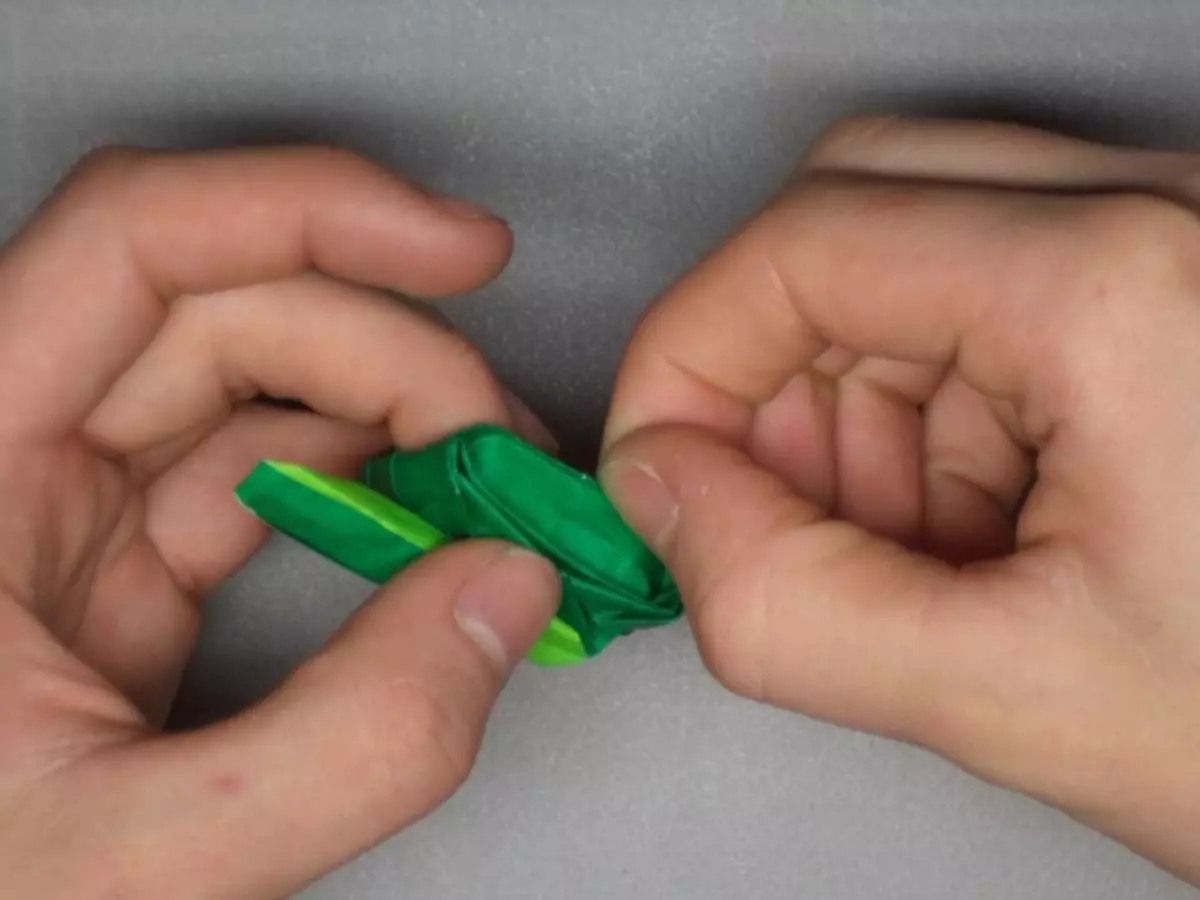
Step 14. . Expand the blow, insert the tube into it and give it a cylindrical shape.
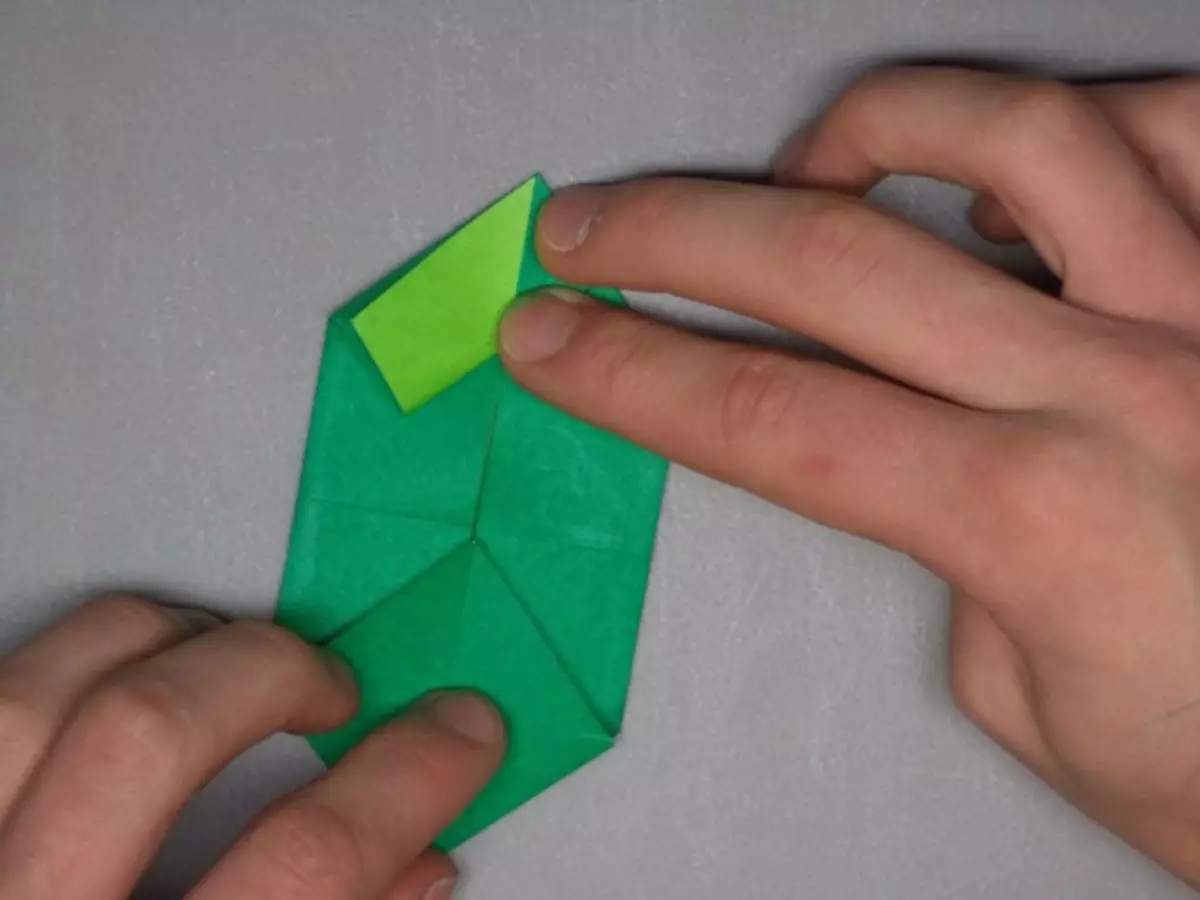
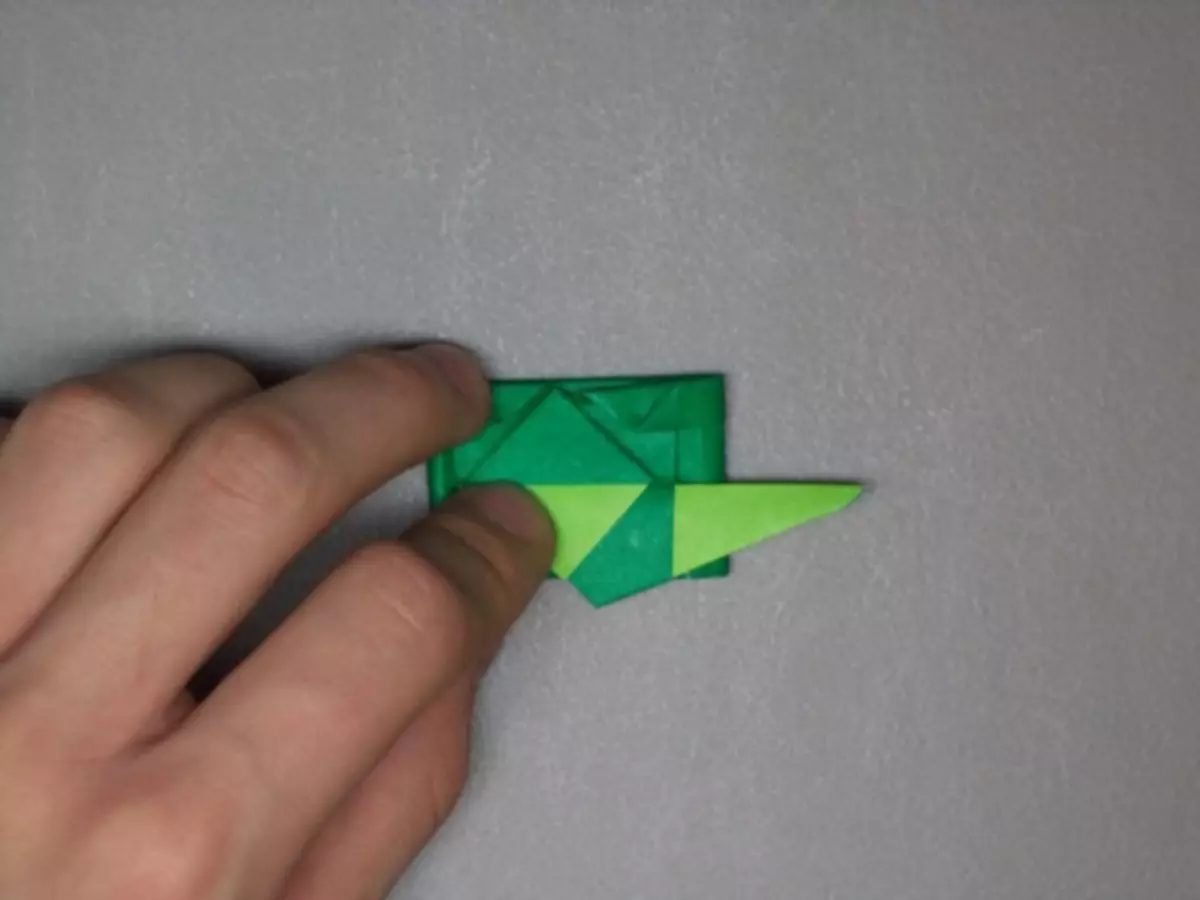
Step 15. . Paper from the side of the sides carefully scatter and straighten.
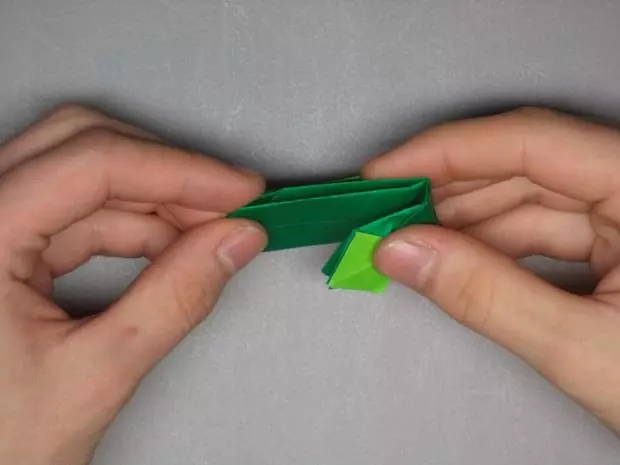
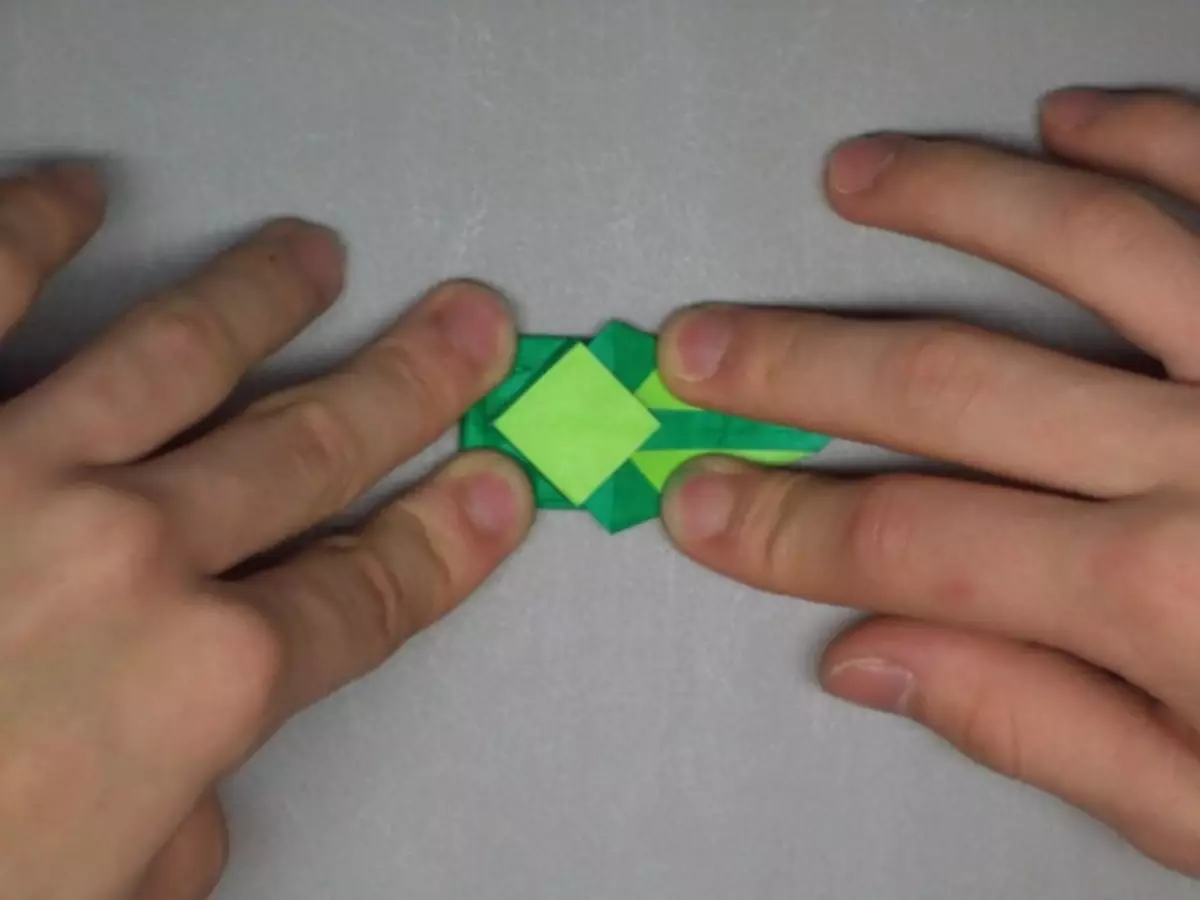
Step 16. . Top and lower edges of the caterpillars gently begin.
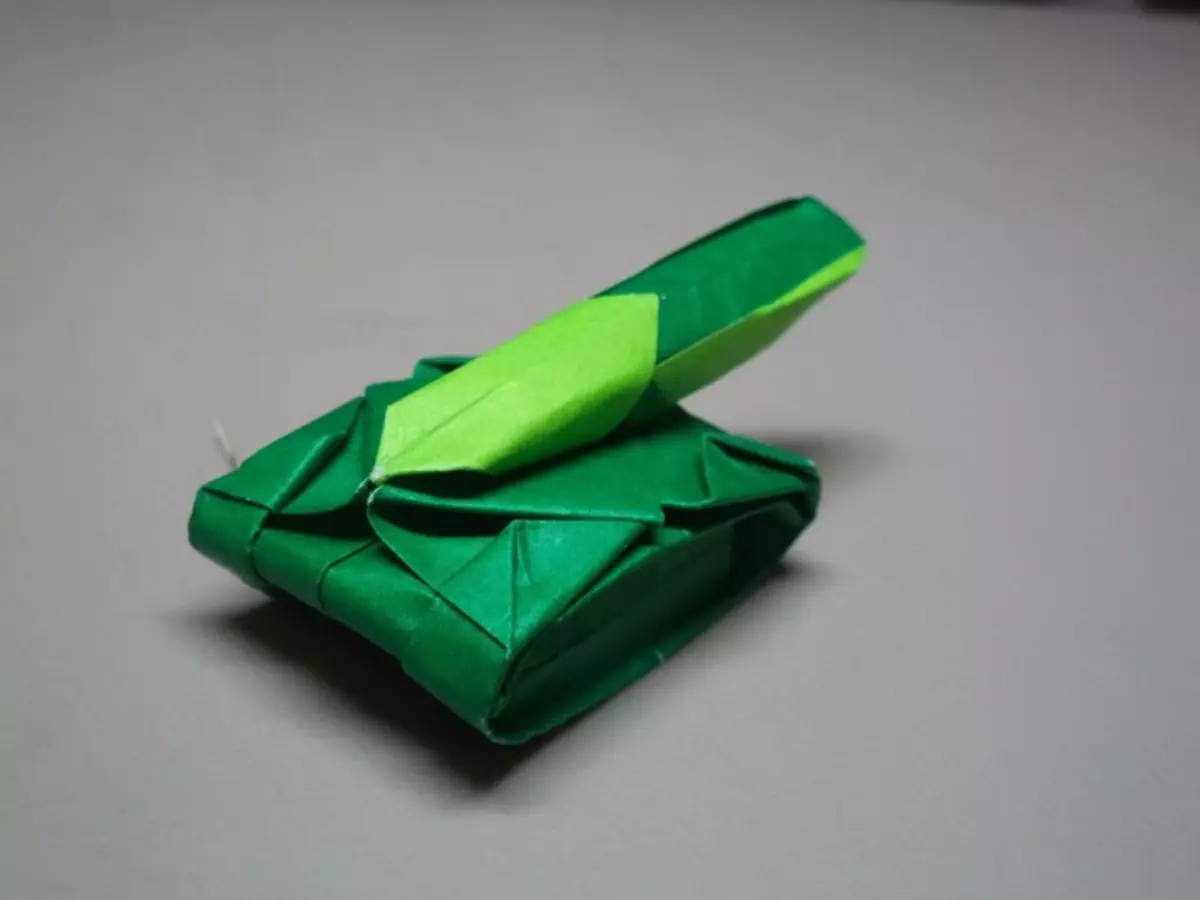
Ready!