
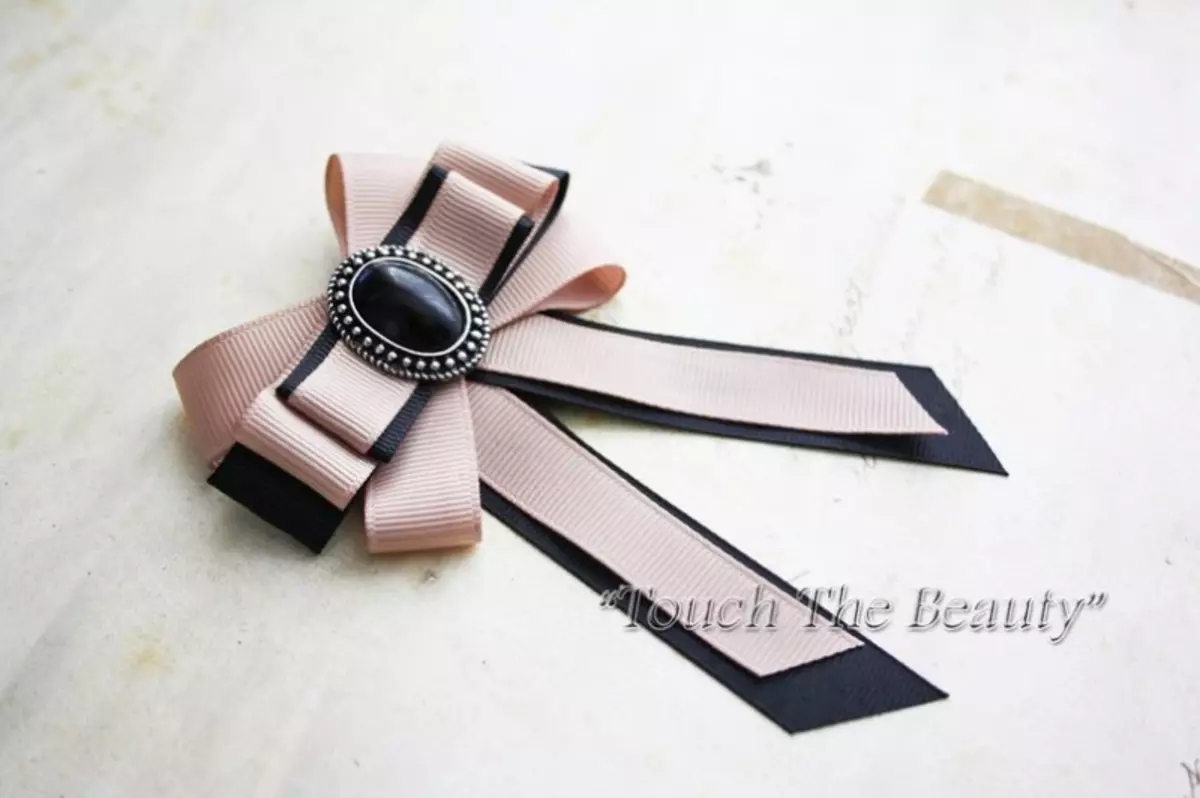
Brooch is, perhaps, one of the most elegant and feminine accessories. With this interesting decoration, you can transform any boring thing of your wardrobe. The brooches of satin ribbons are very attractive, which are at the peak of popularity at present, but in the store to find a suitable brooscure sometimes very difficult, and really beautiful decorations have not quite an attractive value, but it does not matter, because with this article you can do Brooch from satin ribbons with their own hands. And it is quite easy to do it, but it is even interesting.
Stylish bow
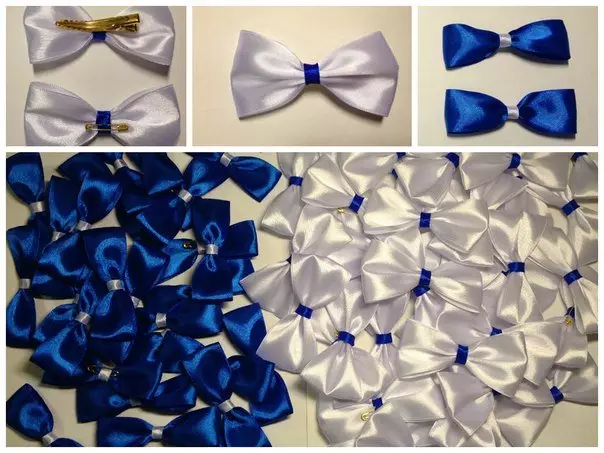
If you have not worked with satin ribbons or just a newcomer in needlework, we recommend to make a brooches first in the form of a bow, it will be very easy work, and the product will be very nice.
To work, it will be necessary: a pin, two satin ribbons, one and three centimeters width, string for color tapes, needle, scissing, matches.
First, take a ribbon wide three centimeters and cut six centimeters from it, and from the ribbon, one centimeter width, cut 1.5 centimeters. Threads around the edges neatly burn the lighter, and they will be poured.
Now we form a bow, it is very simple: bend the larger ribbon in half, thus determining the middle. Now put it face down, and tips bend to the middle, overlapping them one on another. Secure the base of the bow in small stitches, secure the working thread. The bow will be more voluminous if the thread is tightened.
Now on the seam impose a narrow ribbon, thereby hiding it and highlighting the middle. Thread neatly hide on the back of the product. At the end, attach a bow to the pin, and our little brooch is ready. Such a bow can be immediately sewed to the bag, for example, thereby give it an unusual accent, or to attach to the uninteresting hairpin, a very pretty decoration will come out.
Article on the topic: Cross embroidery scheme: "On the black canvas" free download
Cute decoration

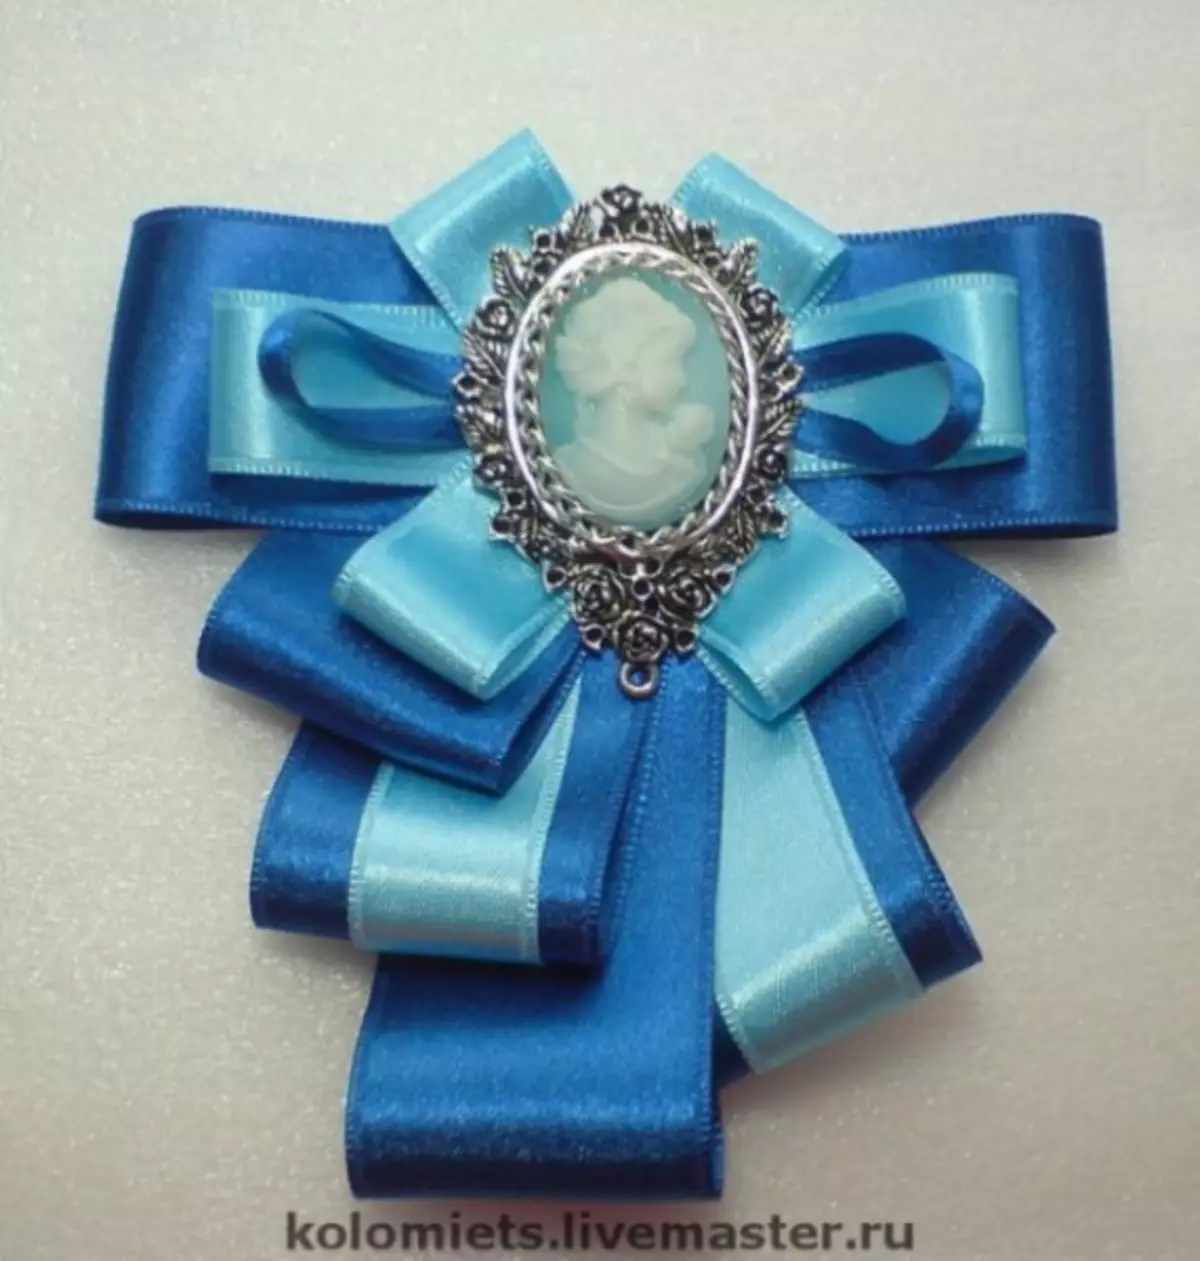
Probably the most popular type of brooxes made of satin ribbons are brooches in the style of Kanzashi. This technique came to us from Japan and immediately acquired rabid popularity. Basically, the figures in the form of a flower are created. In Japan, such figurines are very often decorated with bugs or rims, but also in the form of broths decoration are very popular.

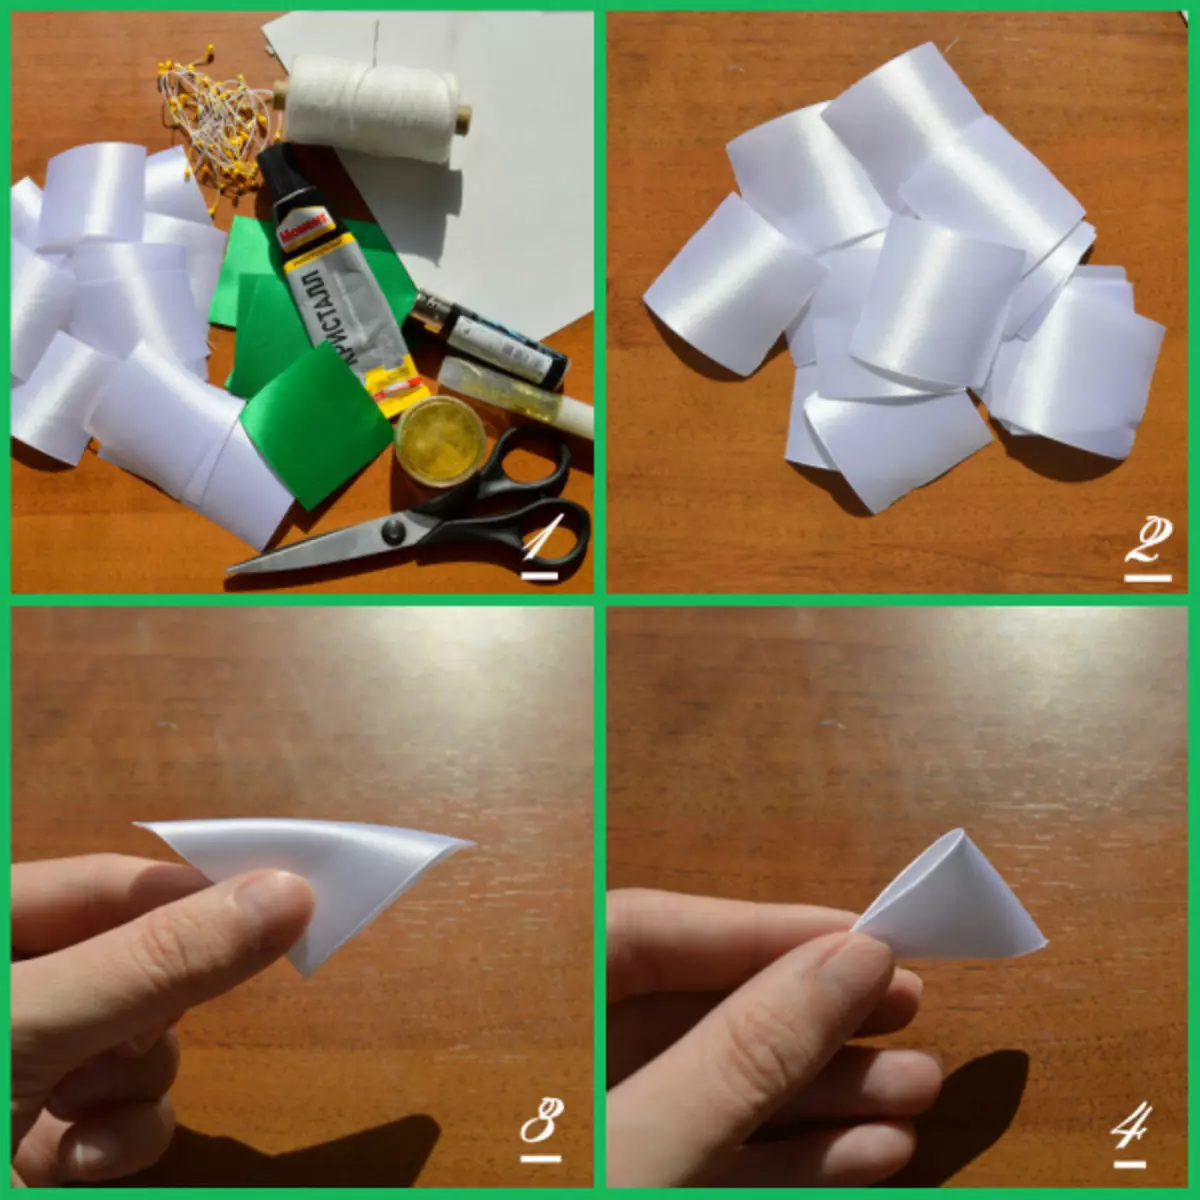
You will need:
- Scissors;
- Satin ribbon of white and green colors, 5 centimeters wide;
- Glue;
- Needle;
- Threads under the color of the tapes;
- Beads for decoration;
- Stamens (they can be bought in the store for needlewomen);
- Match or lighter.
First we will work with a white ribbon. Cut it into squares of five centimeters, they should get 18 pieces. At the edges, the details will fall out so that they do not crumble. Now put one of the squares diagonally and twice again. If you have turned out, as in the photo below, it means that you did everything right.
Now, assemble the bottom of this element on the thread, it is very important not to miss a single layer. Now tighten the thread, fix it and carefully cut. Thus, make petals from all the squares you prepared.
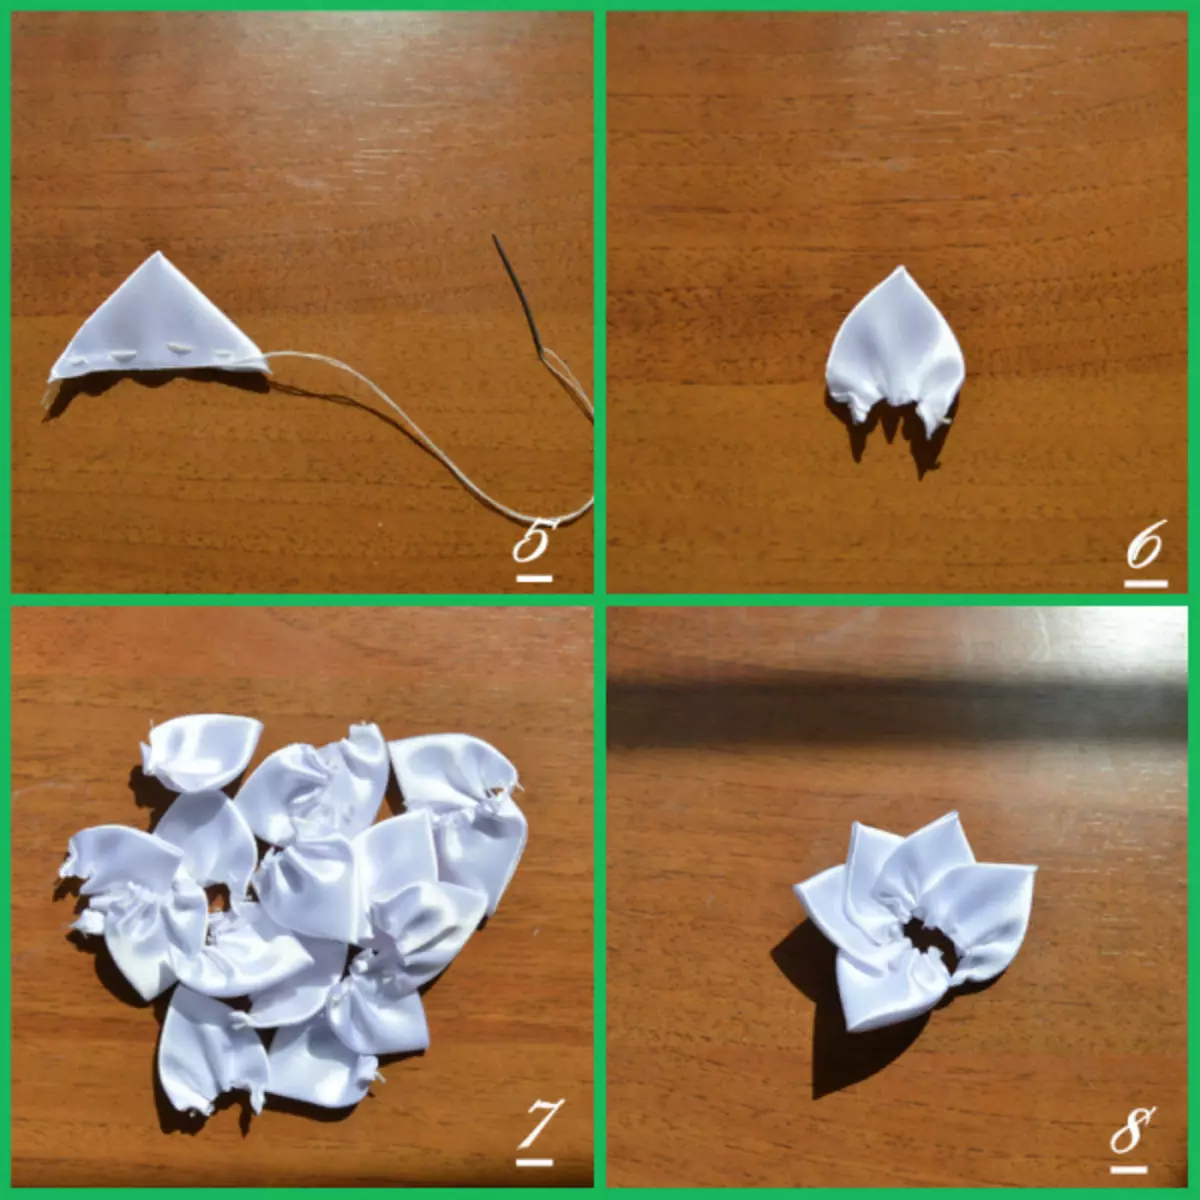
When all the petals are ready, they must be glued to each other with the allen, forming a flower. How to do it, shown in the photo.
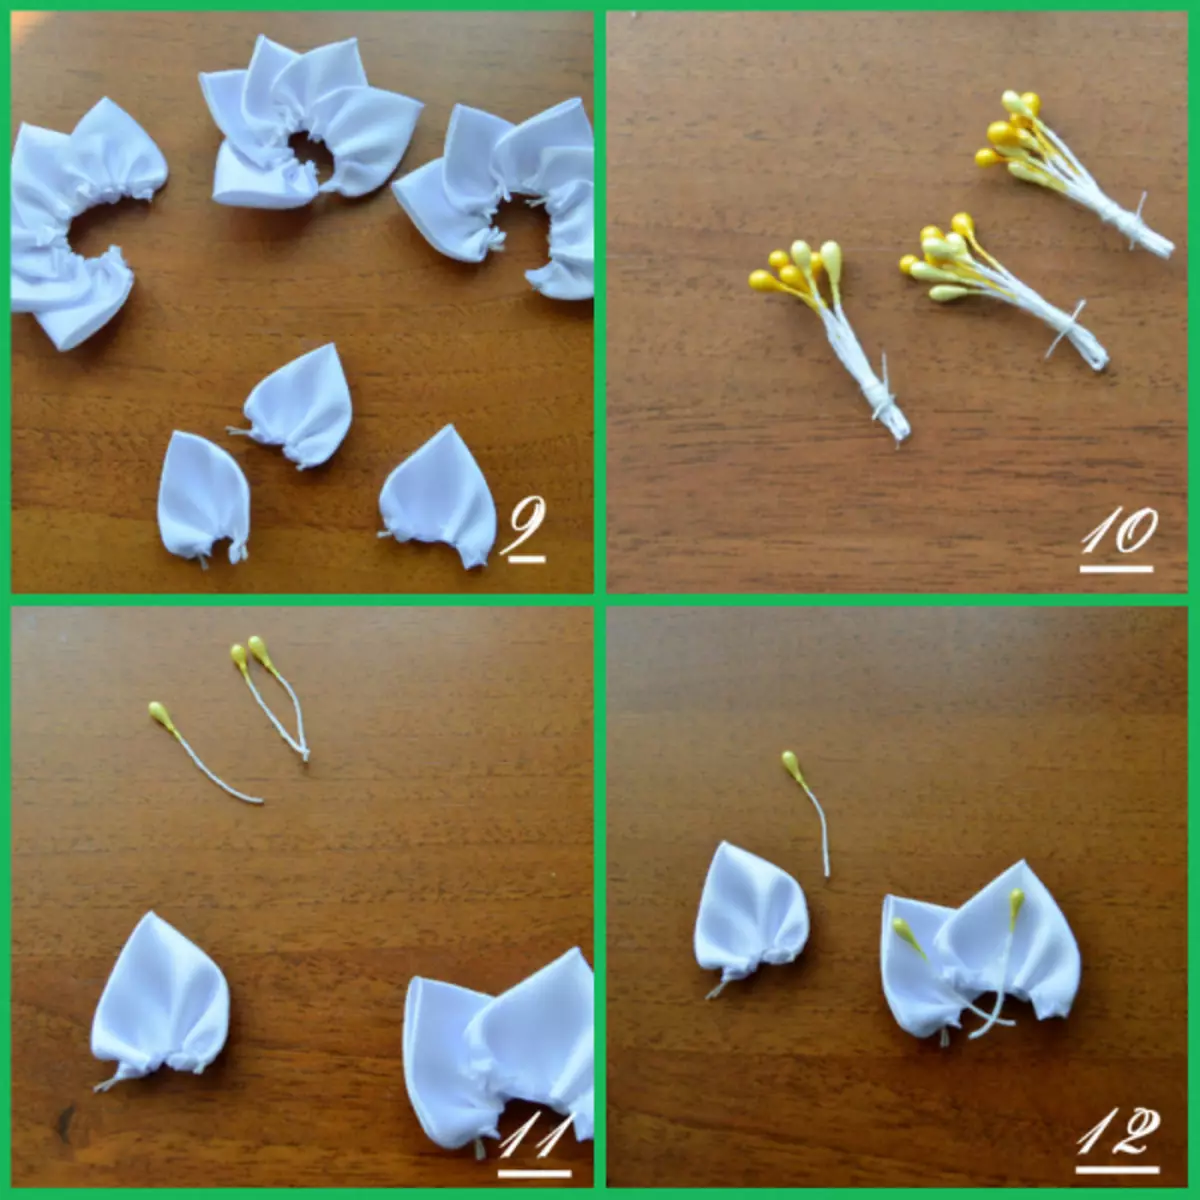
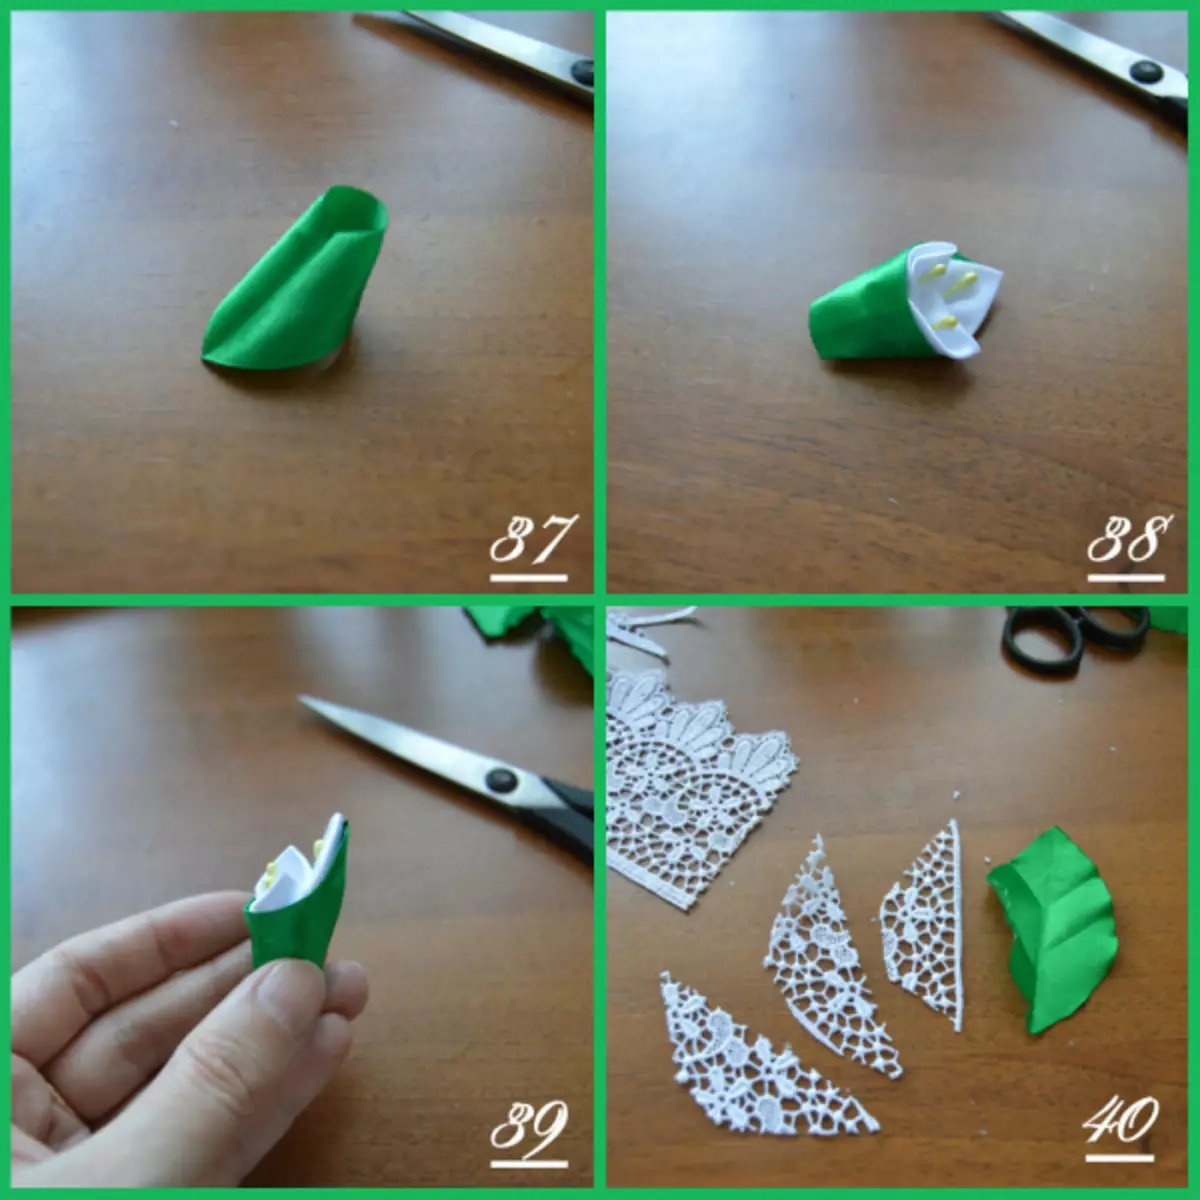
You should have three semicircles, three remains. Now we take the stamens prepared in advance and form a beam, fixing glue. We glue each other to the petals and make the stamens to them, forming a bud. You have to stay another petal with a latch in stock.
The petal, which is left, bend to the middle and glue. Make the same with the petal on the right side. To each last petal, glue the shychinka. The remaining details are glued to the first two.
Article on the topic: Rabbit-Spool. Knit crocheted toy pillow
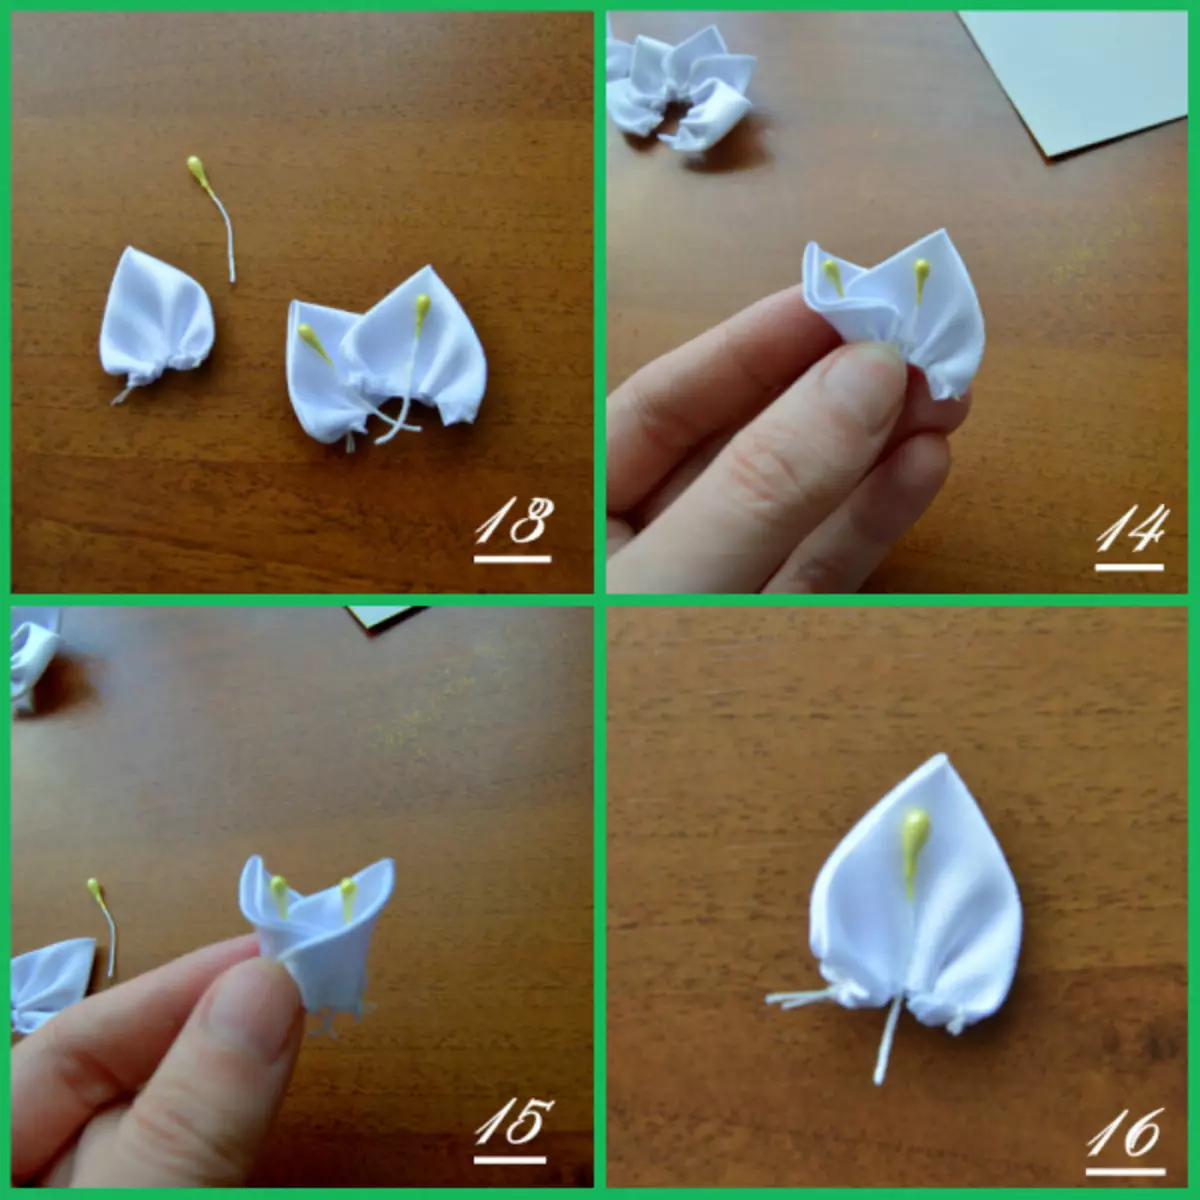
Now cut the ribbon with a 1.5 centimeter width and slit one of its edges. Melt the whole edge with glue and wrap the pump beam into it. Such stripes will cross all bundles.
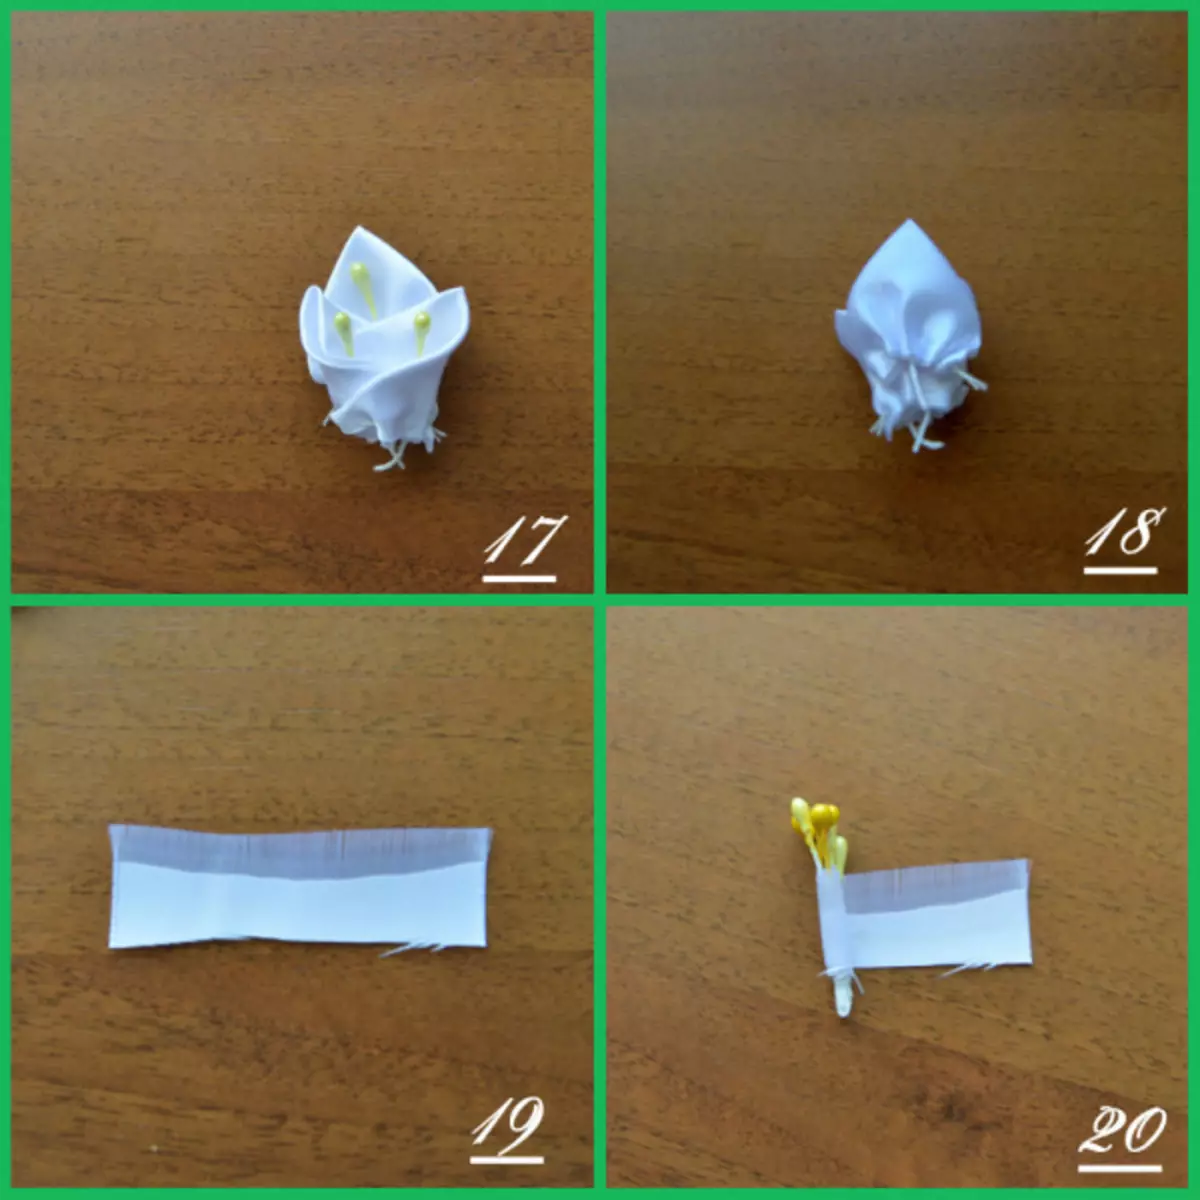
The workpiece that consists of five petals, glue in this way to get a flower. Put the launches in the middle of the flower, pre-lubricating them with glue. So we collect other flowers.
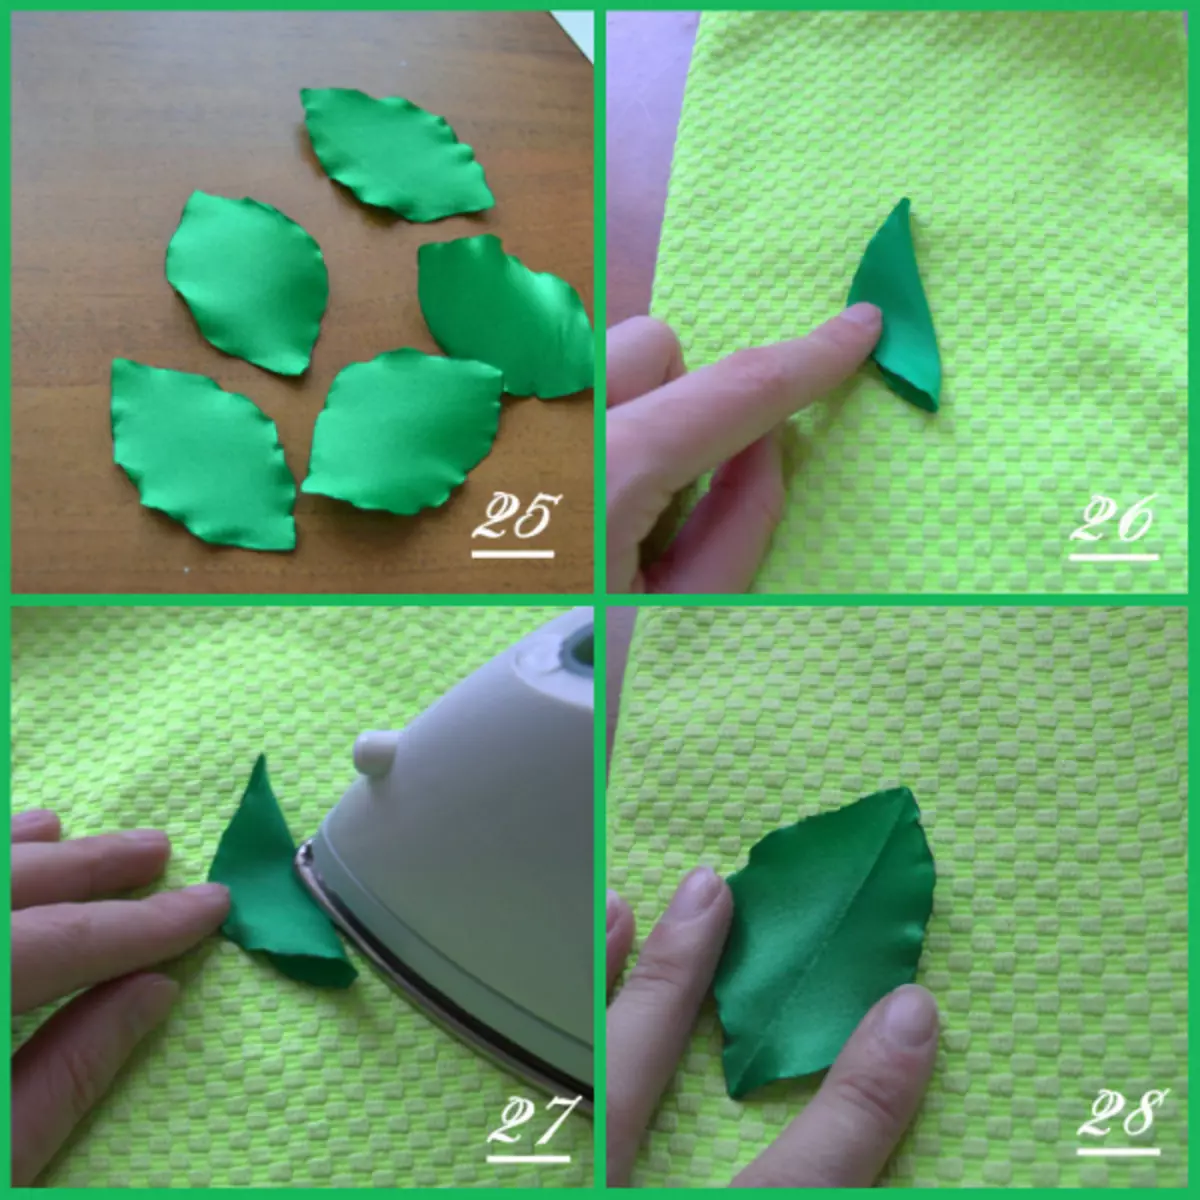
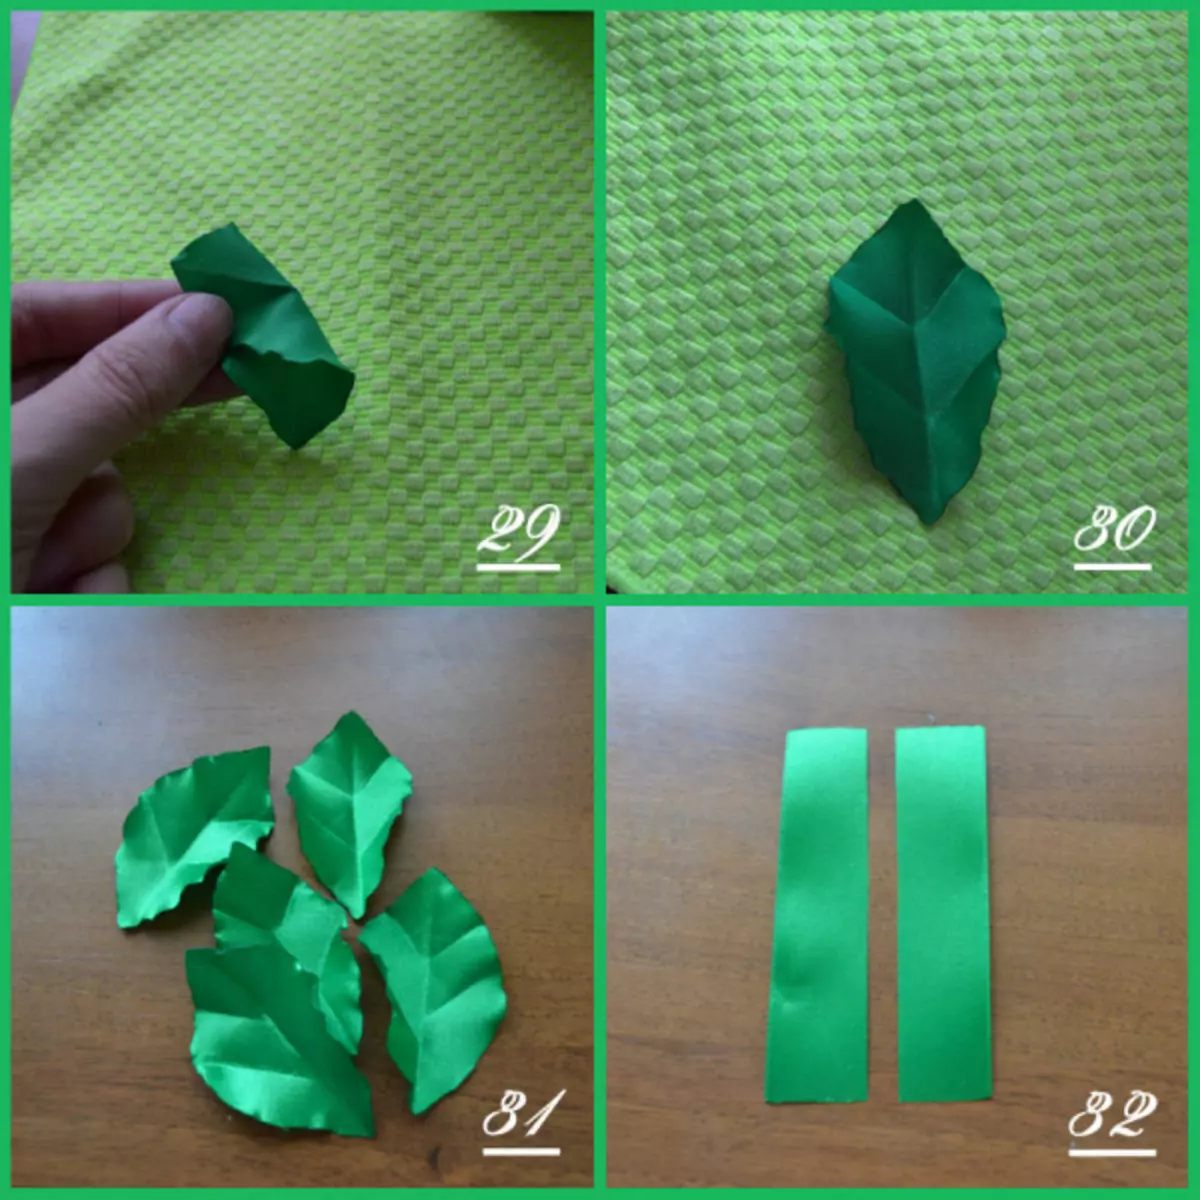
Now we begin to make leaves for our colors and, therefore, the ribbon is green. Cut the eye leaves from the ribbon and fall the edge with a lighter, while quickly stretching, so you will get not just flat leaves, but wave-like. Fold the leaves twice and join the iron. We had a streak, to join the maternity to the middle. You need to make five such leaves.
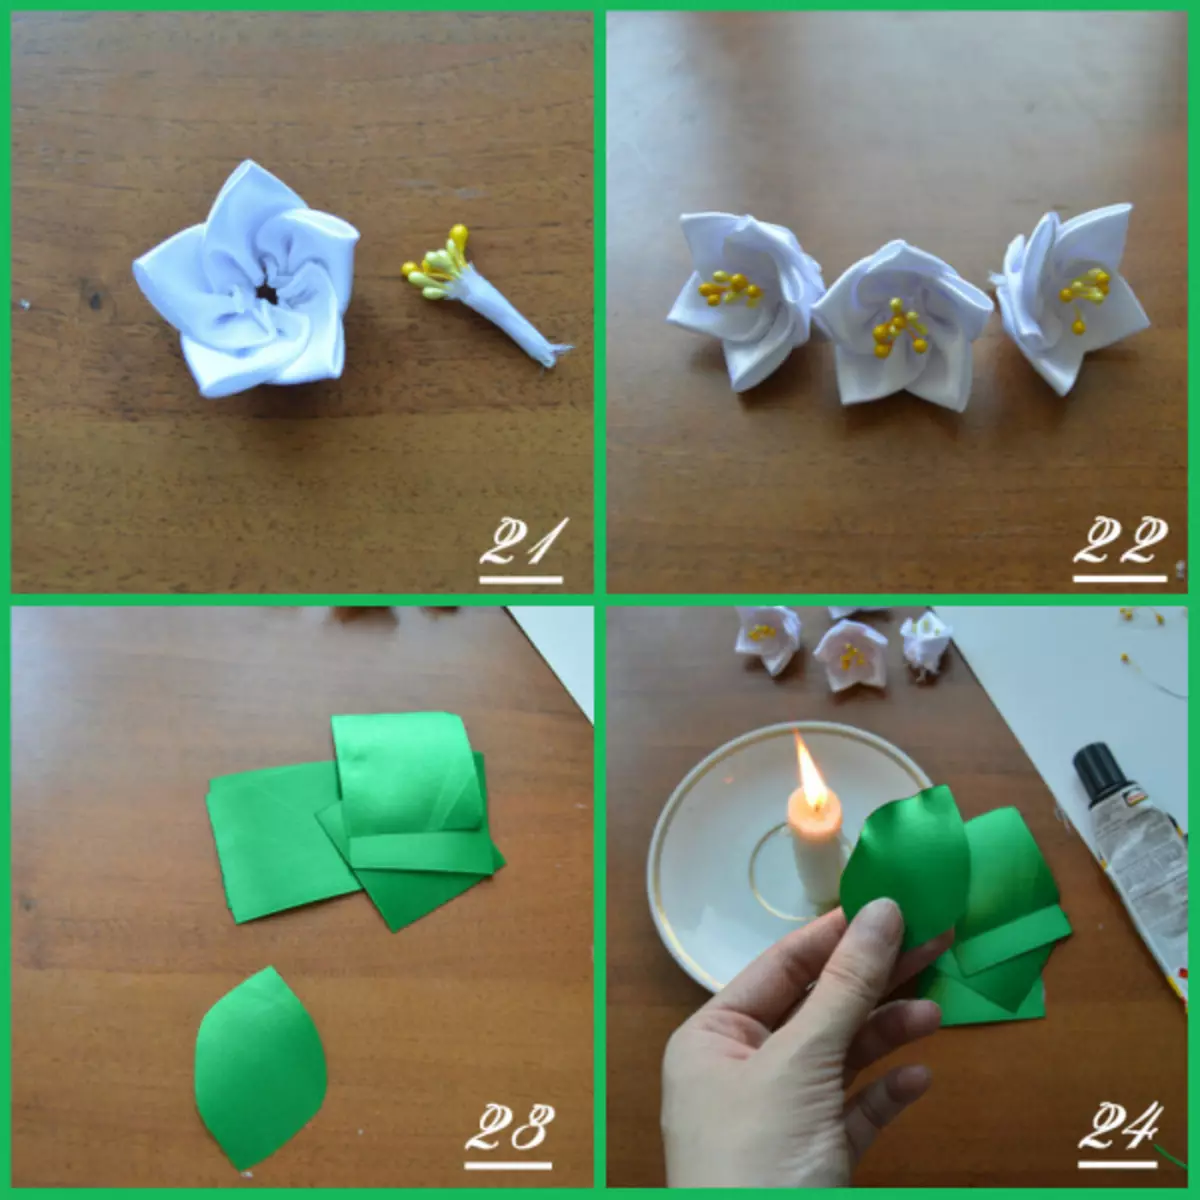
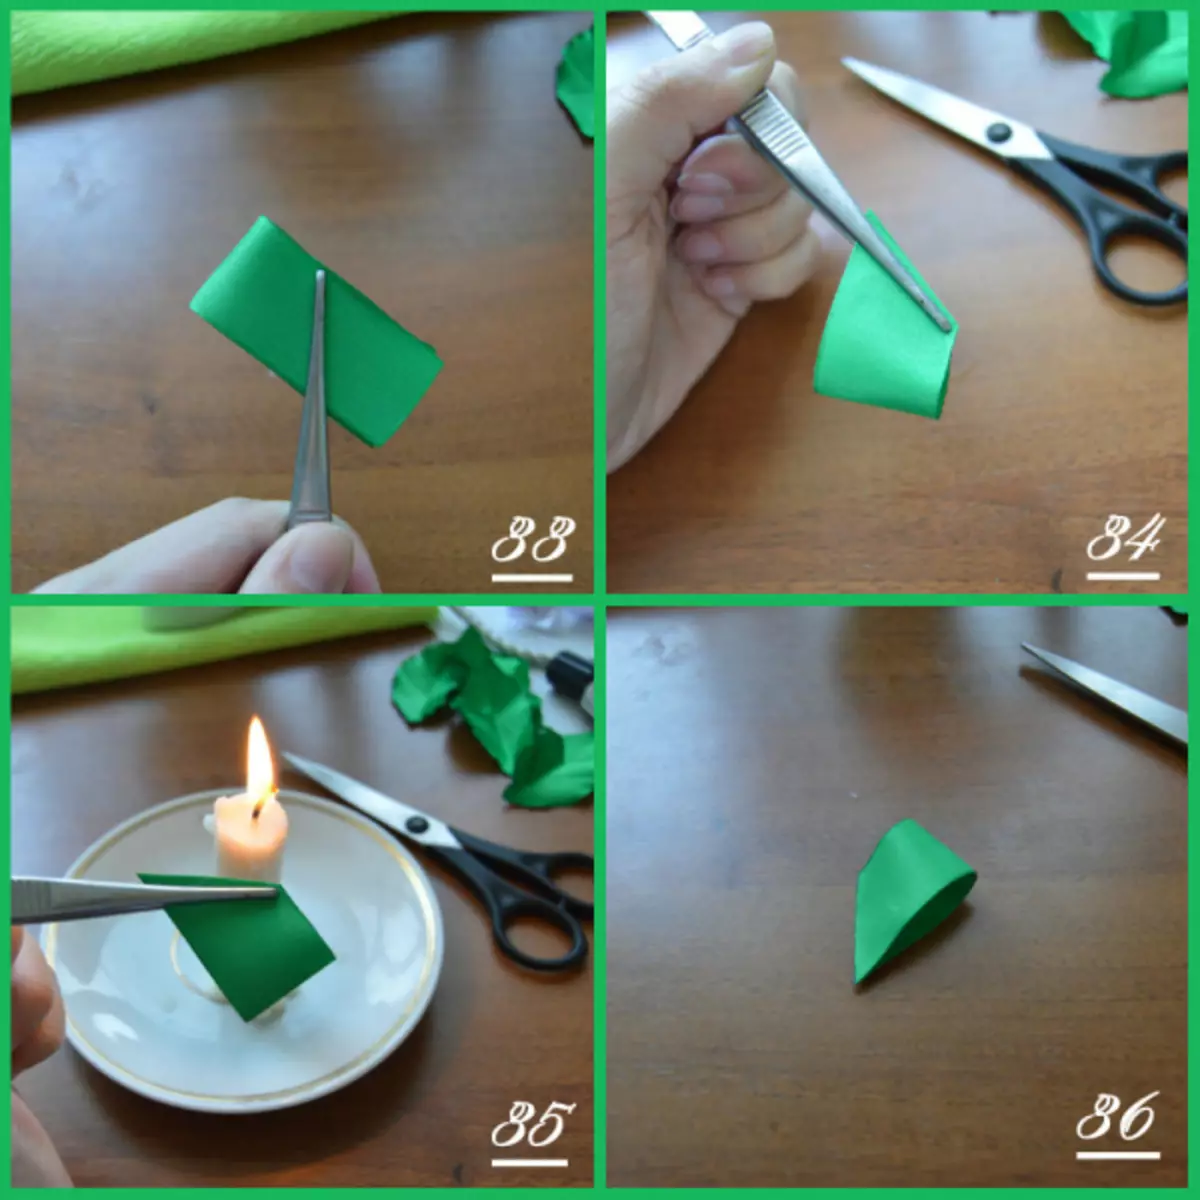
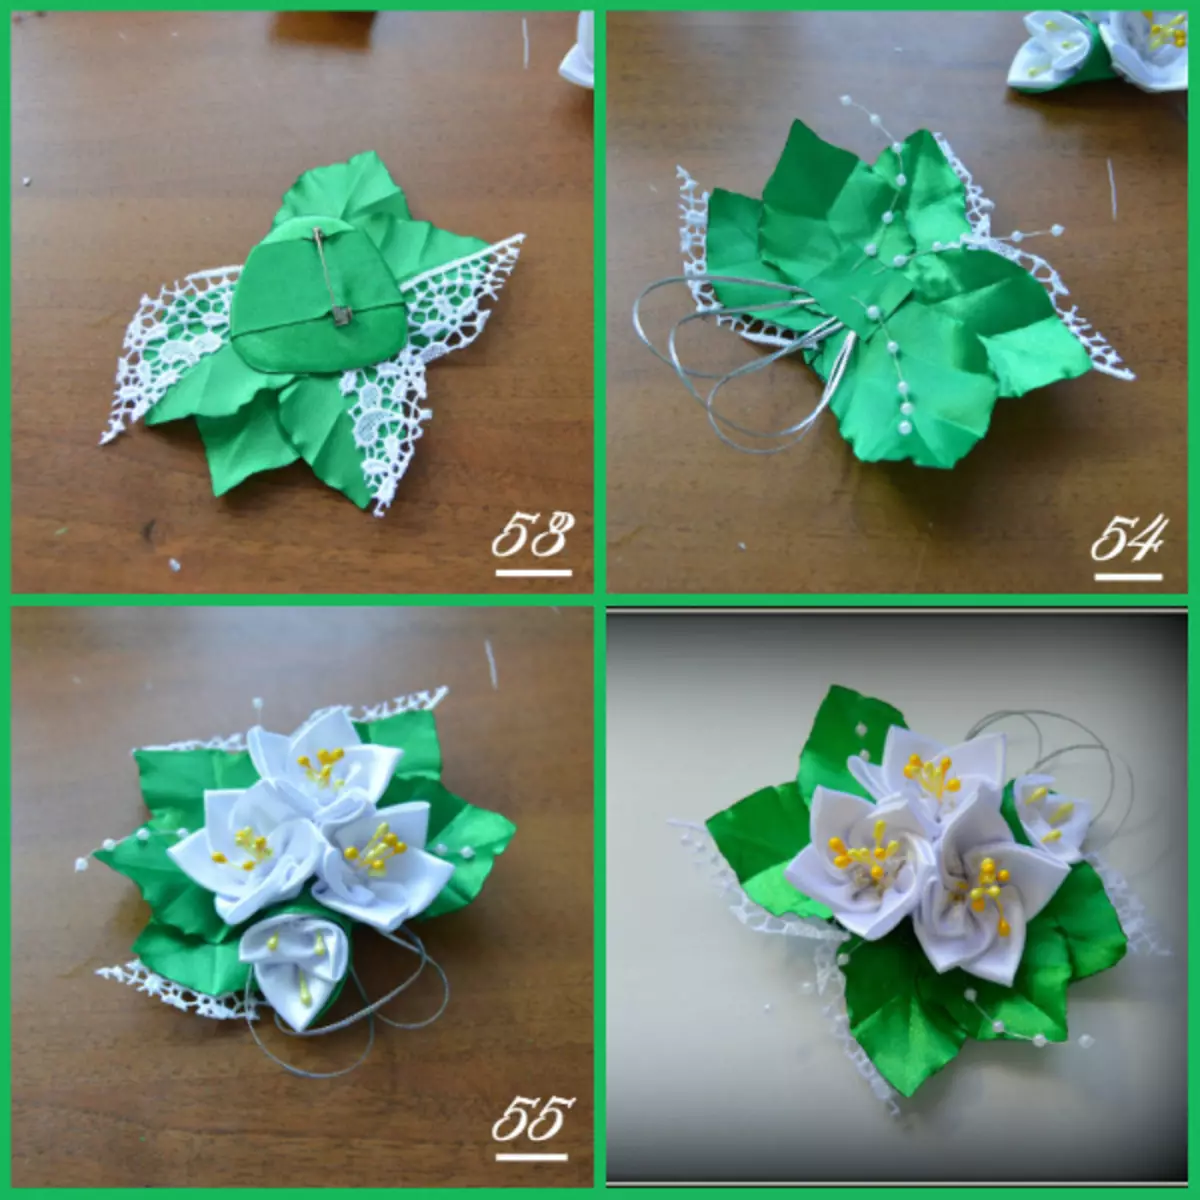
Now cut the green ribbon wide in two and a half centimeters, fold it by half, the front side inside, make a slice of about 45 degrees and we will fall on it with a lighter. Now turn it out and plunge into the flower.
You can also decorate a brooch lace leaf. Now you need to glue flowers with bud.
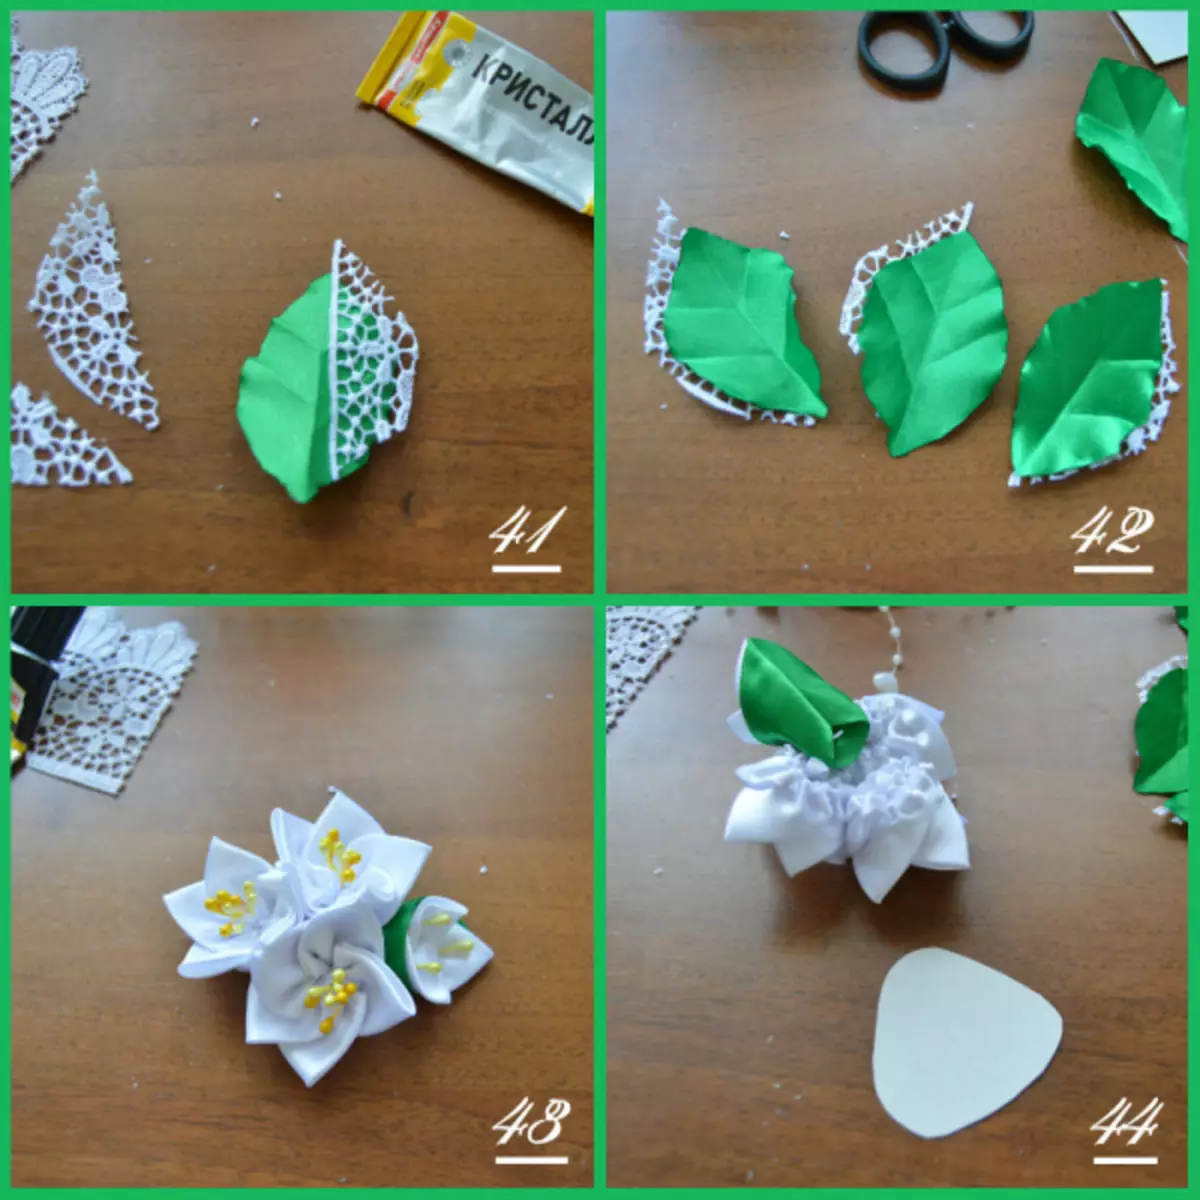
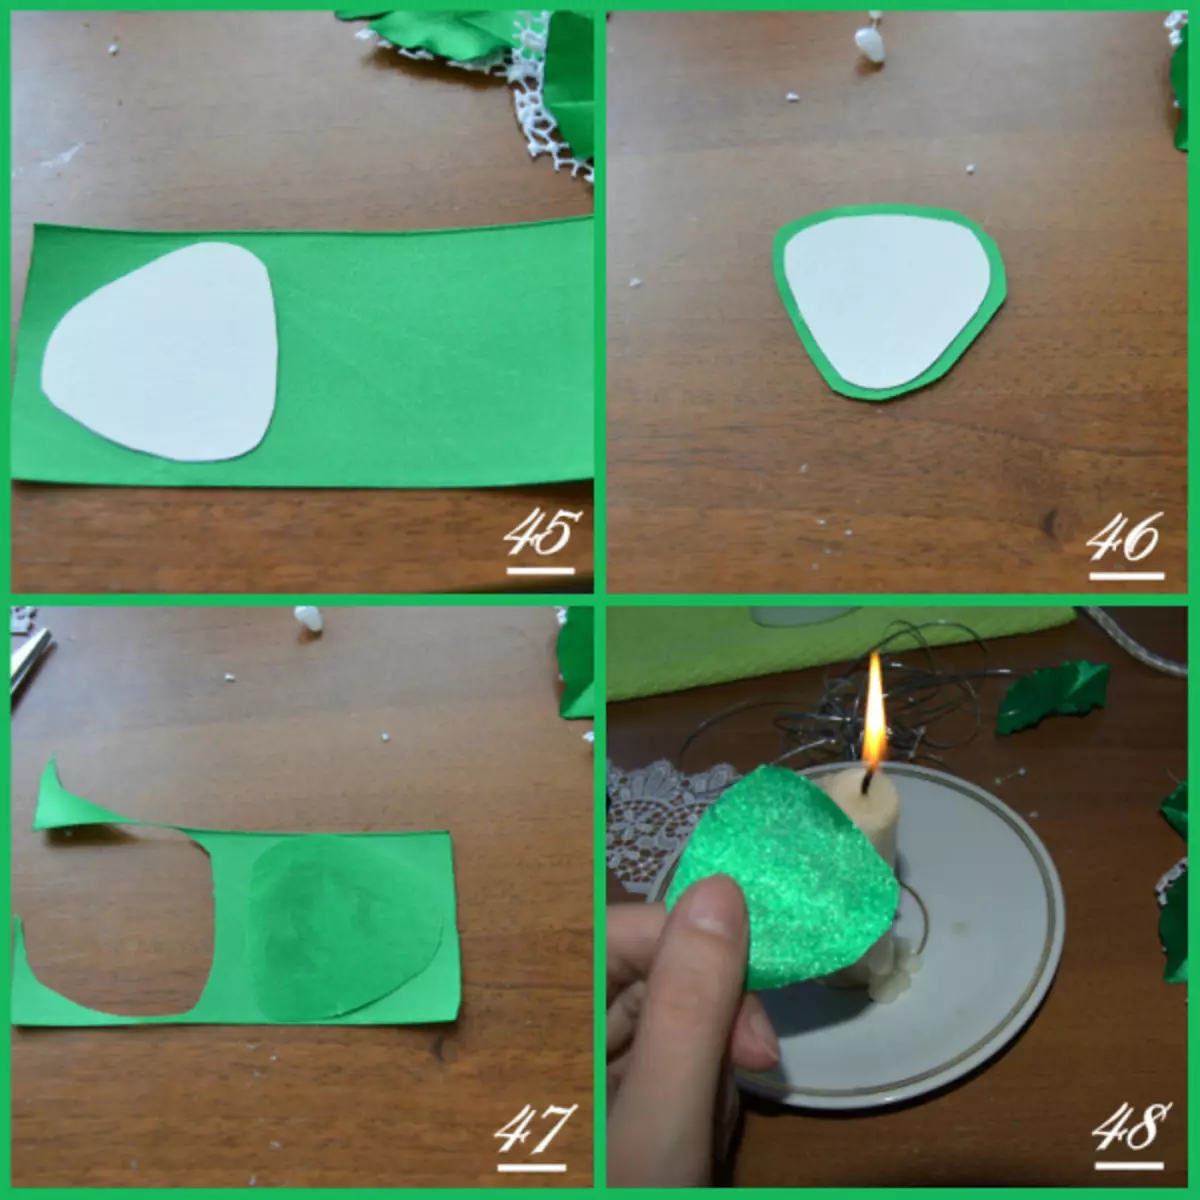
It remains only to make the basis for our brook, for this we take a cardboard and cut out a piece of arbitrary shape from it, but suitable in size. We glue the ribbons to the wrong, cut out the basis, leaving several millimeters near the cardboard. Glue another part to the wrong ribbon, we fall down the edges and we sear the edges of the tape.
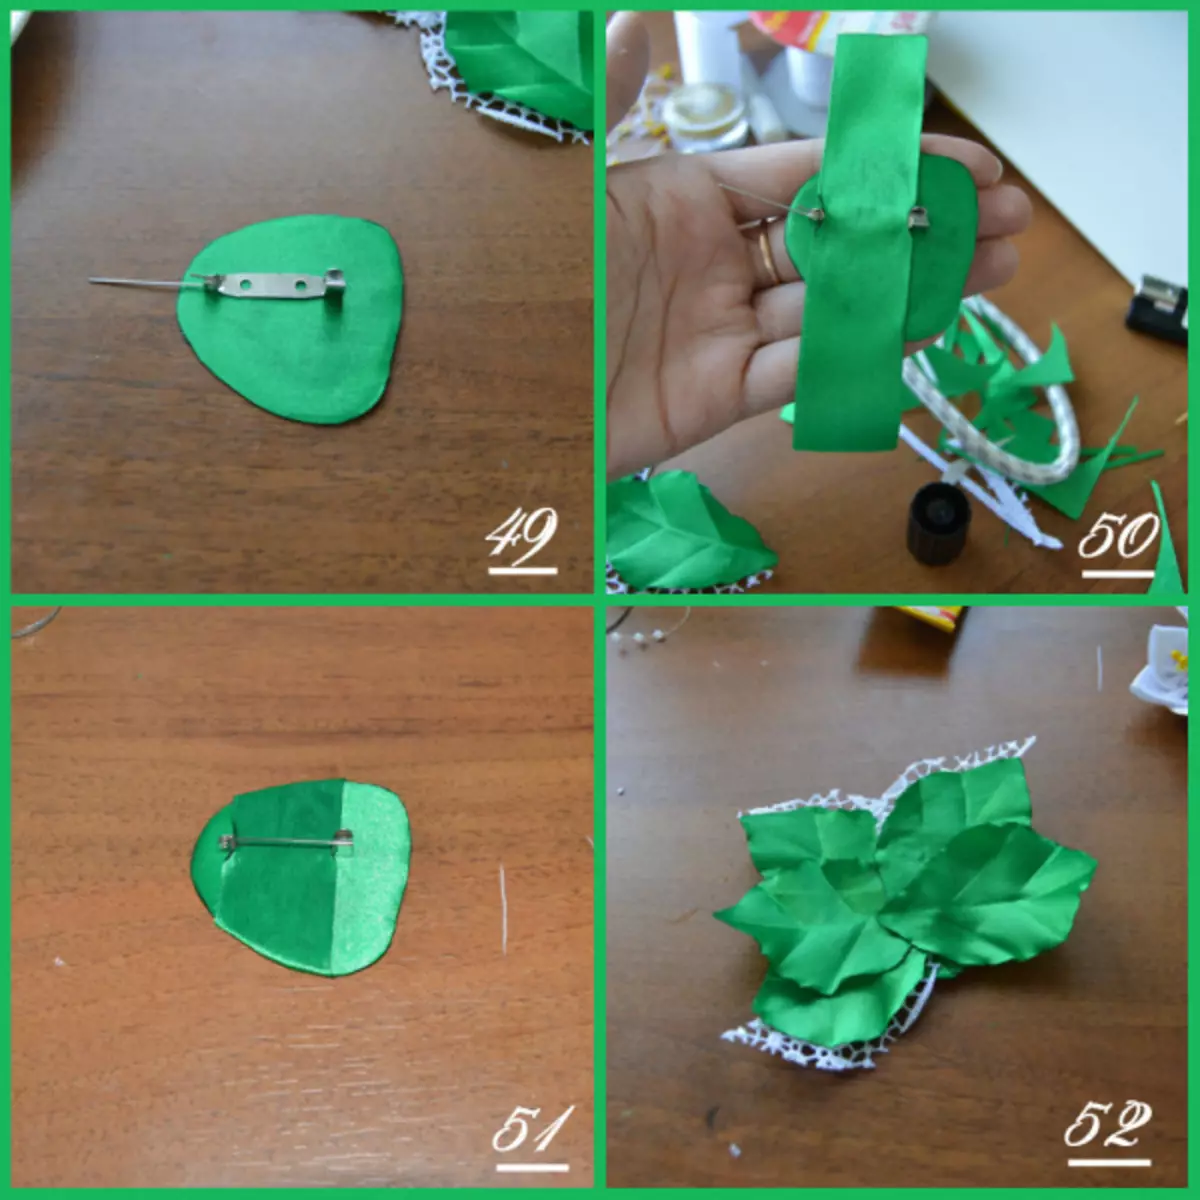
We glue the base of the brooch, attach the leaves at your discretion. Your brooch in the style of Kanzashi is ready.
Video on the topic
Brooch from satin ribbons looks very feminine, it will be necessary for you to stand out from the gray mass. If, after reading the article, you remained questions or just want to know other types of brooxes from satin ribbons, we suggest see you the video footage provided below.
Article on the topic: Toys of socks - lollipops