
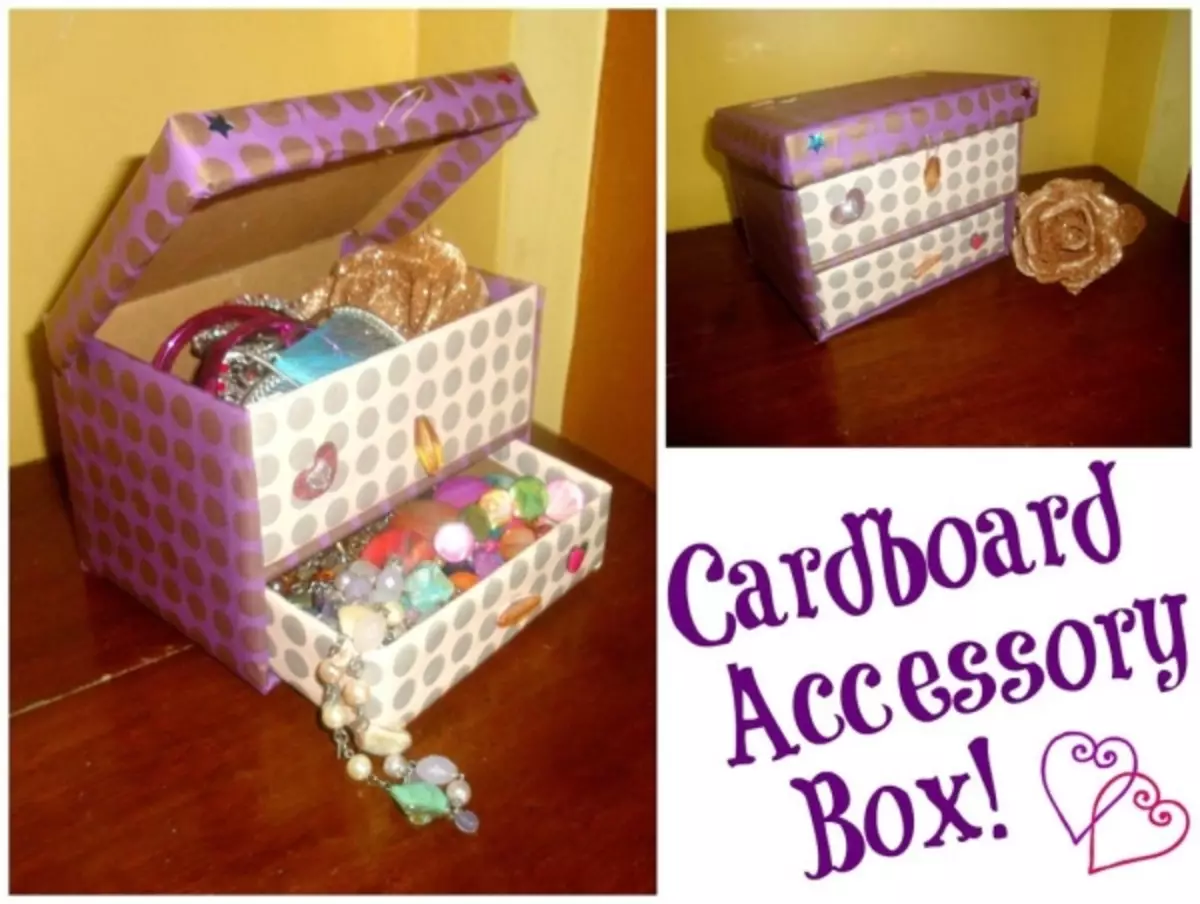
The box is very beautiful and necessary decoration for any girl and a woman who can be easily made with their own hands. For this, it is not necessary to possess great needlework experiences, the main thing is to hold all the rules and installations. This article will be useful for those who were looking for a master class on a drawing box with their own hands.
We start with simple
Necessary materials:
- cardboard box;
- cardboard;
- sharp scissors;
- pencil or pen;
- PVA glue;
- wrapping;
- Stuffs for decor.
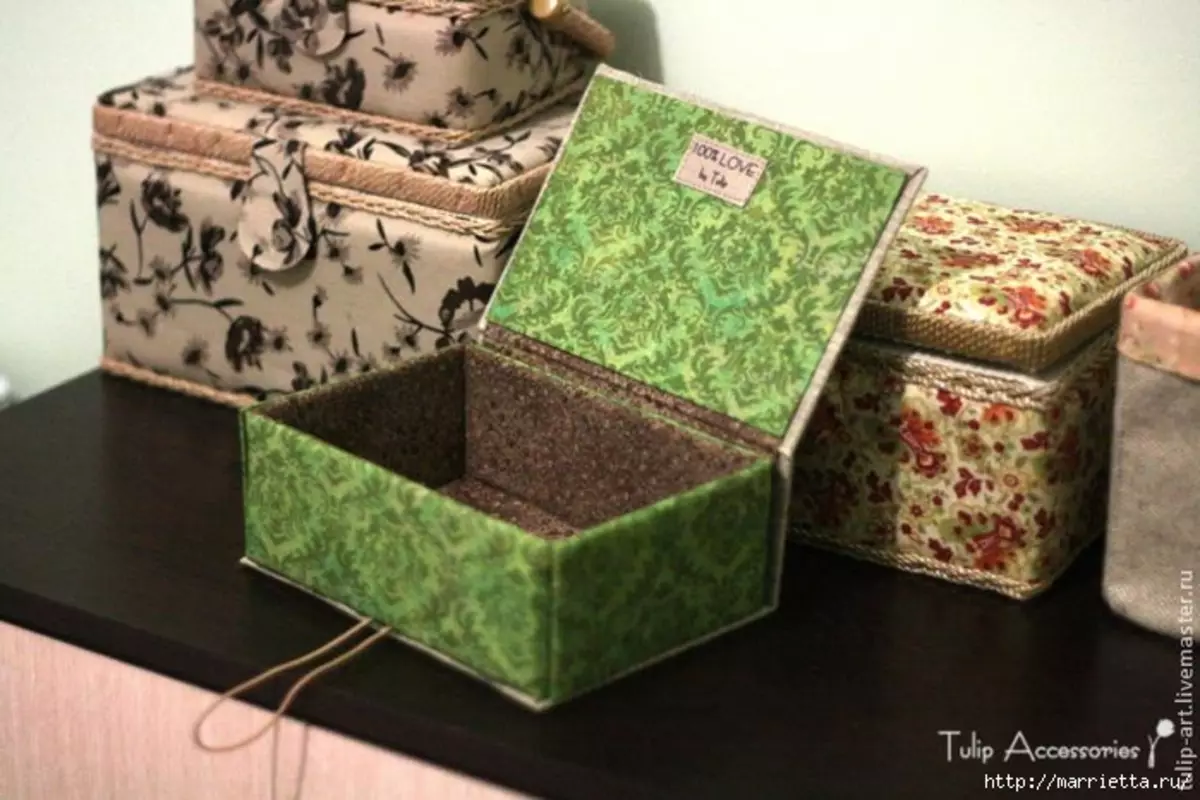
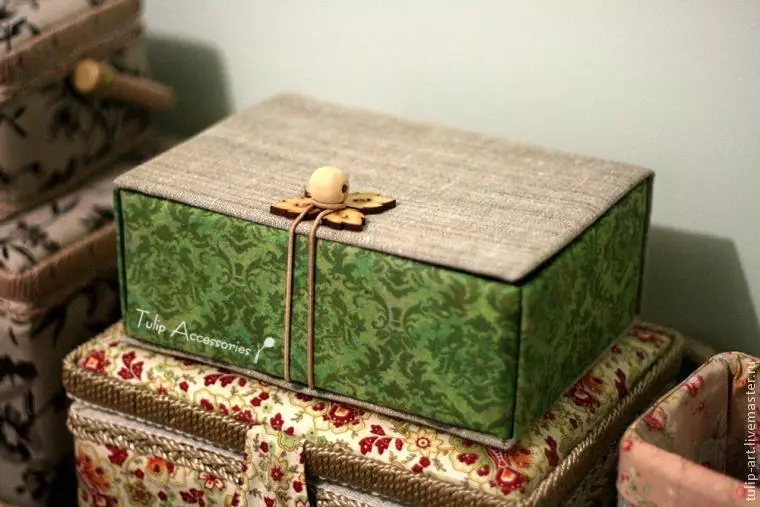
This box is very functional, suitable for any little things. The scheme of work in MK is very simple, it will be suitable even beginners.
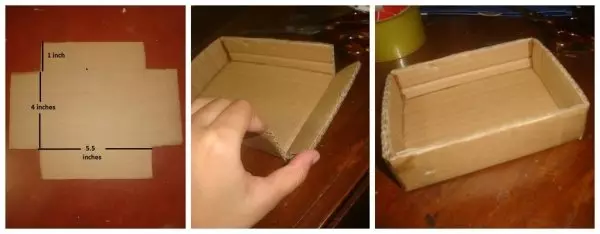
At the beginning of work, you need to prepare a sheet of dense cardboard. The size is selected depending on the size of the future casket.
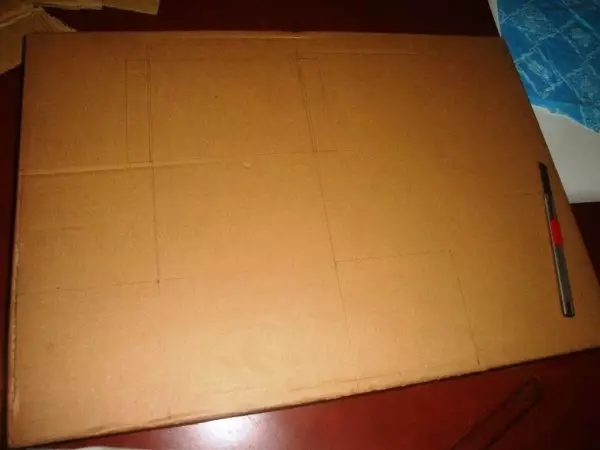
Using a pencil make marking patterns on cardboard and cut out the contours. Bend and glue all folds of folds in the connection places. With a dense cardboard, it will be more difficult to work, but it will make it possible to achieve a solid design that will become a reliable place to store small things. The gluing scheme is presented below.
Similarly cut, bend and glue the drawer for the box. To glue a piece of cardboard with a PVA or Scotch glue.
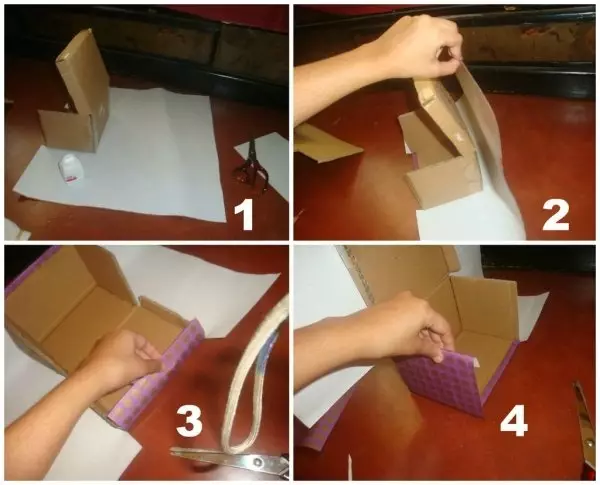
Next, you need to make a stylish case for the box. To do this, you will need wrapping paper. It is thin enough, so I perfectly fall on the surface of the cardboard. Old wallpaper can also approach the decor.
The wrapping paper is best glued to double-sided adhesion, as it is not noticeable and securely glues the paper to the base, without pulling it at the same time.
Also hide the ugly surface one of the shelves of the future casket. Printed wrapping paper on one of the parties, which will be visible only when the casket is opened.
Article on the topic: Frame from cardboard with your own hands: Master class with schemes and video
When the base is fully ready, you can proceed to the design of the front wall of the box. Cut it out of cardboard, cross the wrapping paper and attach to the main design of the casket.
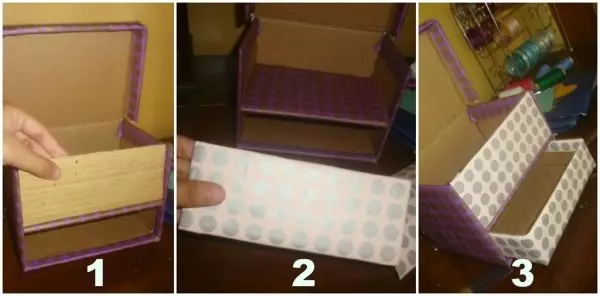
Continue to decorate the product depending on personal preferences. It can be ornaments, flowers, beads, beads, ribbons. Casket ready!
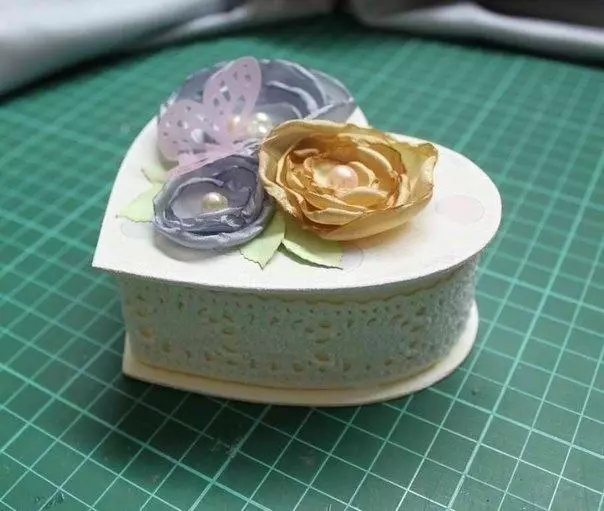
Heart-shaped
Such a box is useful for storing small jewelry or hairpins. How to make such a cute bowl?
To work, you will need:
- cardboard;
- paper;
- line;
- scissors;
- pencil or pen;
- PVA glue or super glue;
- Materials for decor.
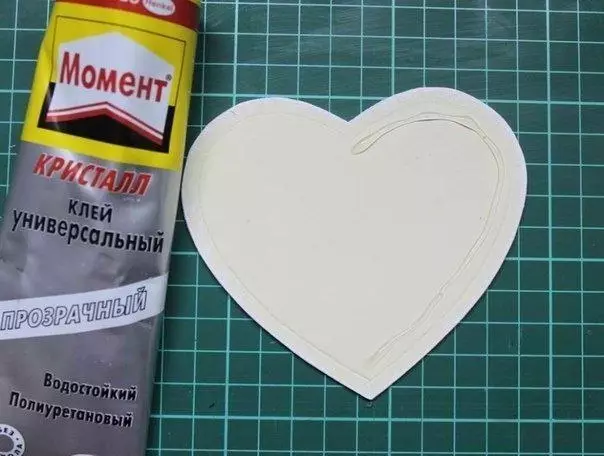
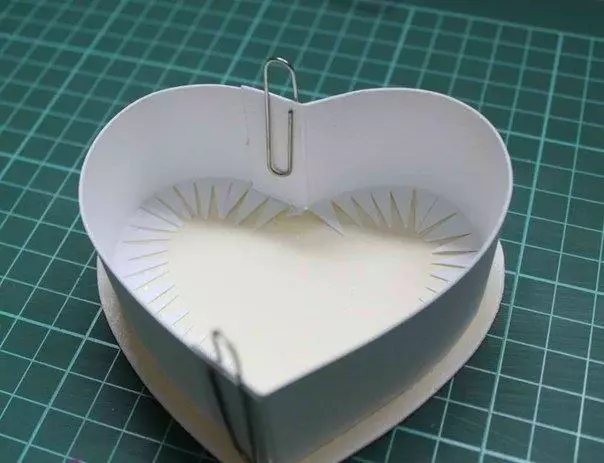
The first stage is the manufacture of the desired details. Next, it is necessary to cook a heart from dense cardboard, on the perimeter of which the walls of the casket will be pasted. To glue the cardboard to each other, best super-glue, it will ensure reliability.
The casket walls are two cardboard rectangles, one of the long sides of which is cut off with protruding corners, which will allow you to stick to the base.
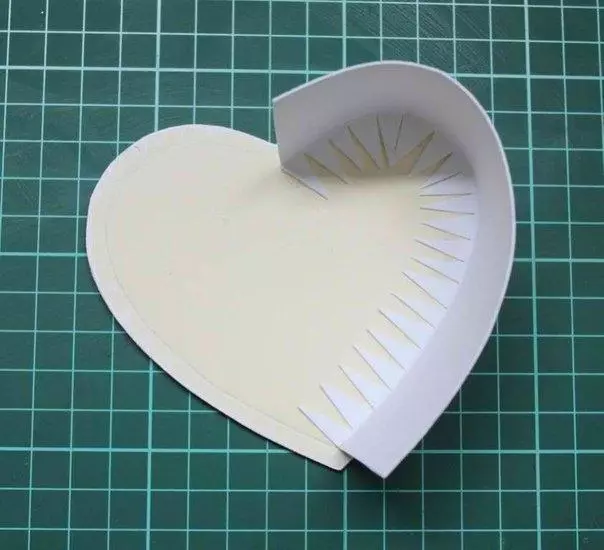
Stick in place the second wall of the box and make small allowances for the connection of two parts each by each other.
So that they stuck securely, secure them with clothespins or paper clips.
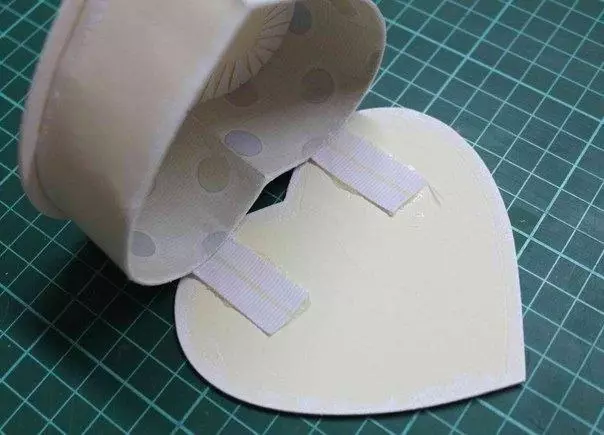
Then paste the external decor of wrapping paper or old wallpaper. Insert two elastic ribbons that will keep the casket cover.

Both ribbons glue to the surface, which is then glued with wrapping paper.
On the perimeter of the heart, stick a braid or openwork ribbon at the request of the wizard.
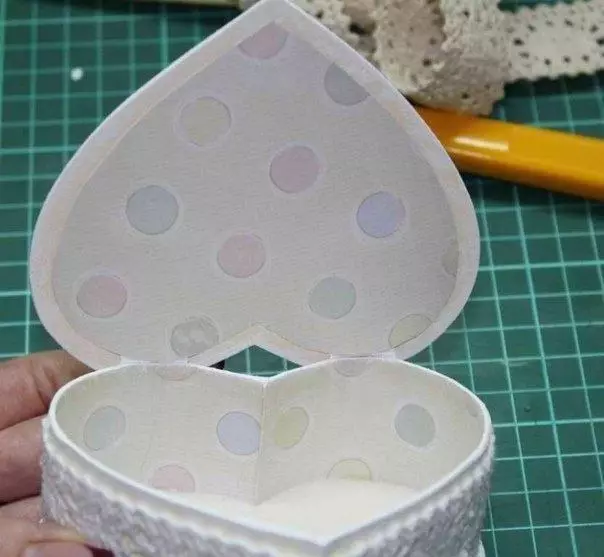
The upper decor of the lid is made arbitrarily, flowers, butterflies, or beads. Casket ready!