
Candles are not only beauty and originality, but also the opportunity to take themselves with interesting work. So, today there are many candles from wax, gel, decorative and, of course, aromatic candles. How to make such a miracle? In this master class "Candles with your own hands" we will open for you some secrets of cooking candles.
Gift for a holiday
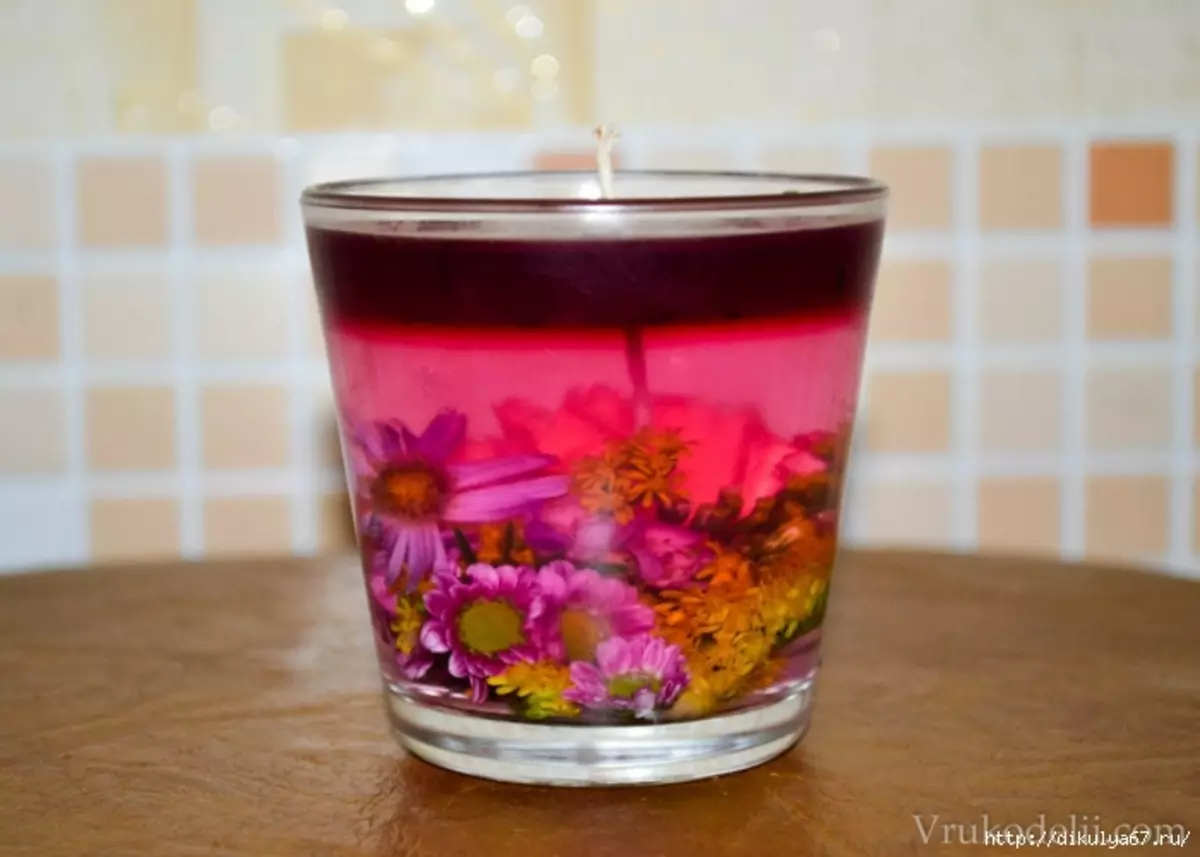
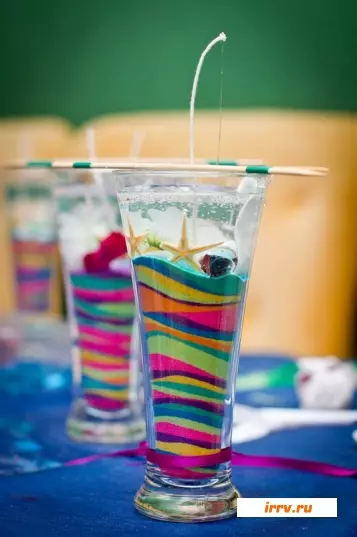
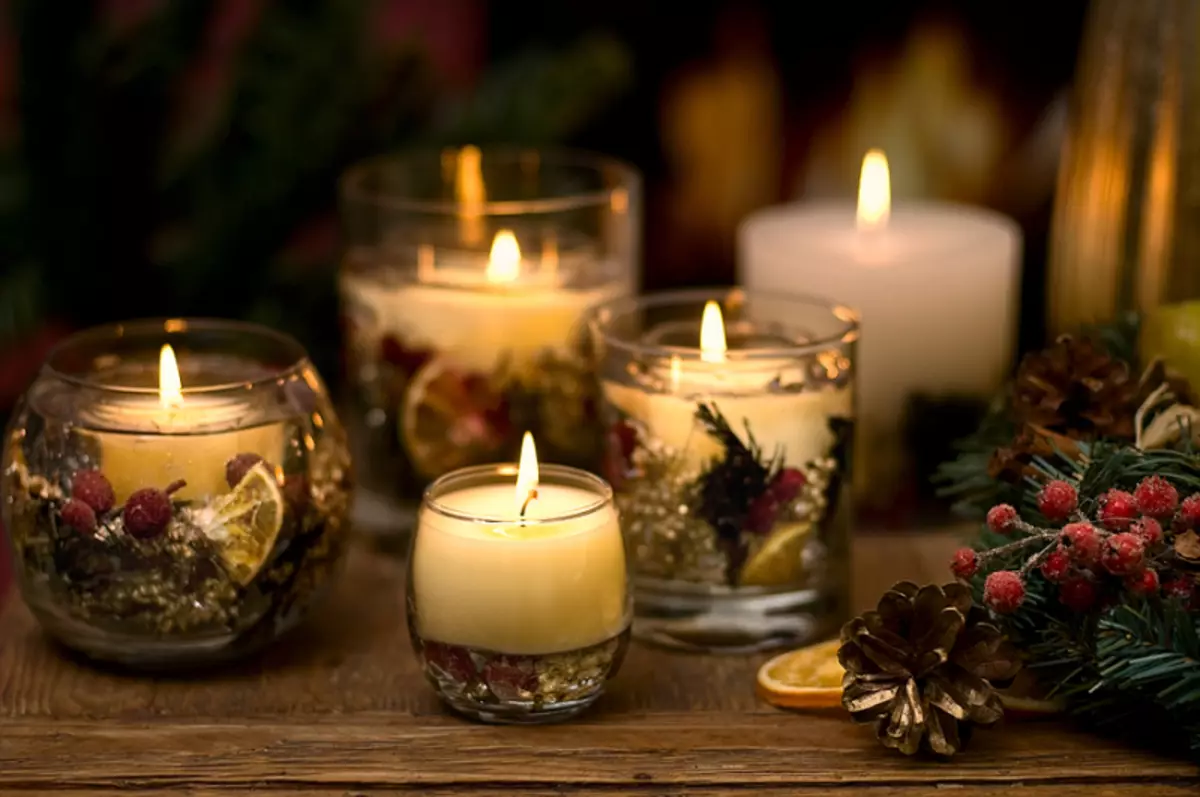
Gel is very beautiful, he resembles sparkling champagne. Now it's no secret that it is precisely gel candles, too at home. The first stage of the preparation of gel candle with their own hands is the preparation of form. Usually for gel candles take beautiful transparent jars and glasses, we attach the wick.
If you have a bank from tin, you can cut a small piece in the form of a circle and consolidate the wick in it.
After, in the prepared forms with phytyl, we pour a ready-made gel.
Candle Gel Cooking Recipe:
- gelatin - 1 pack of 40 grams;
- glycerin - 70 milliliters;
- Tanina - 4 grams;
- Water - 60 milliliters.
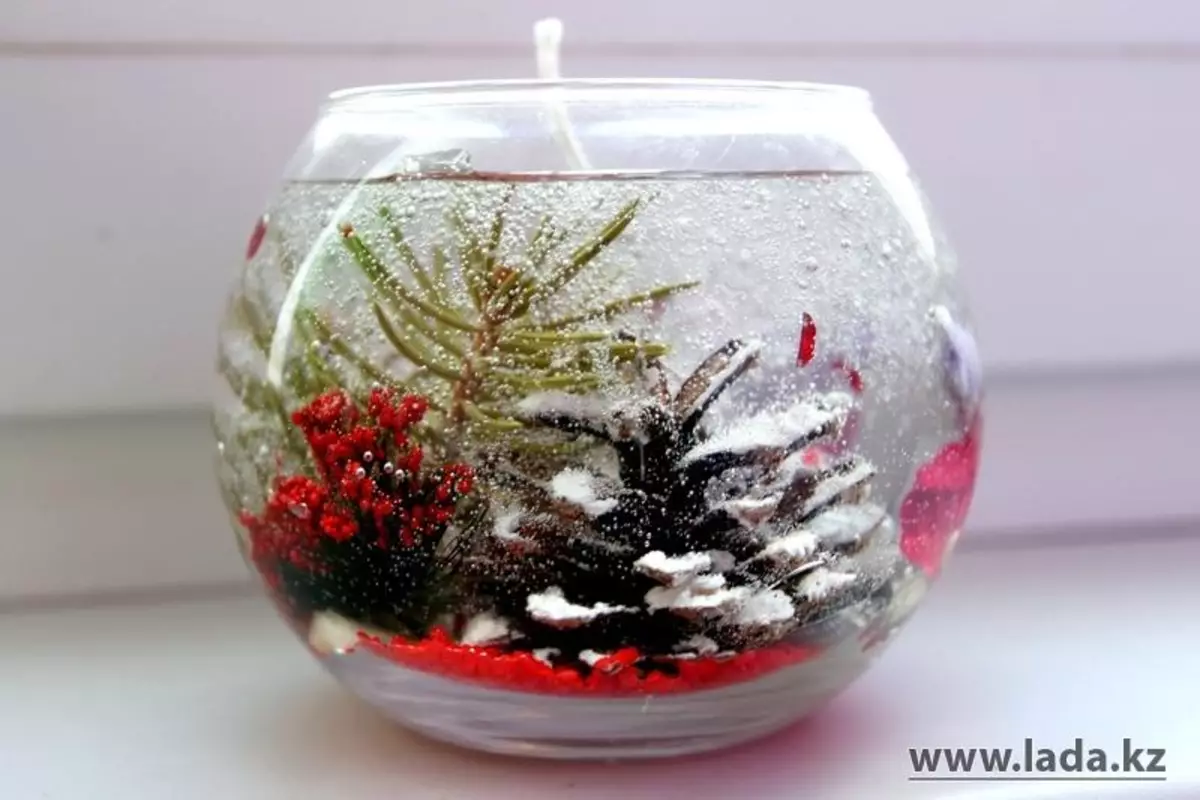
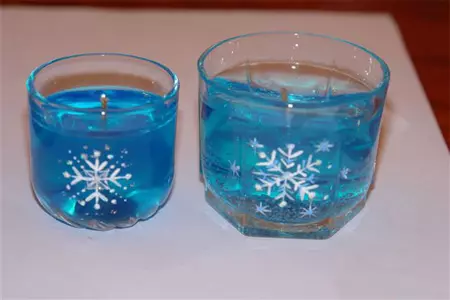
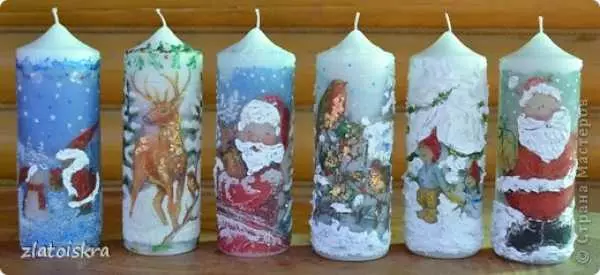
To begin with, we give gelatin to swell, then mix all the ingredients and give a little boil, then the gel will become beautiful and transparent. For the decoration of the candle from the gel in the New Year style, take small snowflakes, which can be found in any fabric store, you can also take a piece of artificial Christmas tree, it will look very original.
Next, the process of making a candle is simple: we collect all the necessary ingredients together, we expect complete drying. In the new year, everyone has a person who wanted to encourage a small gift made with a soul.
If you have done everything, following the instructions, then you will have this beauty:


Video selection of making candles from gel:
Candle from wax
Consider a simple recipe for cooking wax candles with your own hands. For this we need:- Nuts for the manufacture of wicks;
- wax or old candles;
- dishes for melting a candle;
- Form for pouring candles (jars, glasses, silicone shapes for cupcakes, yogurt form);
- Wooden sticks, two things. One for fastening wicks, the other for stirring the product.
Article on the topic: Women's underwear: Pattern and master class on sewing with their own hands
We will define the first stage of manufacture with what form you will cook your candle. We look at, we rinse and wipe it from excess water.
If you make a candle from wax for the first time, remember that everything is done quickly, as the wax freezes instantly.
We prepare the wick, it should burn well, so you should choose a cotton, freeze every thread in the form of a flavor and twist with hands. Fitil can be fixed in the form so, pour some wax on the bottom of the form and as soon as the wick with wax will freeze, pour the candle residue. And do not forget the top of the wick to bind to a wooden stick so that in the manufacture of candles and pouring the wax, the wicks did not sink.
We calm the wax in a water bath until a complete and homogeneous melting and pour into the prepared form. Time of full cooling of the candle - 24 hours.
For more detailed making candles from wax, you can pay attention to these videos:
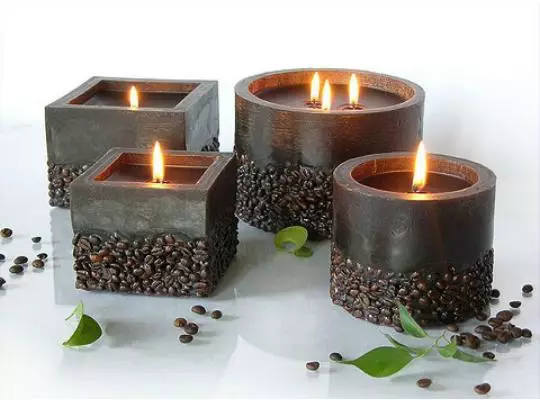
Decor "Sparky"
After you catch to make candles, it is worth starting to improve them with the help of the decor.
For the decor, the candle is mainly used by different materials, such as:
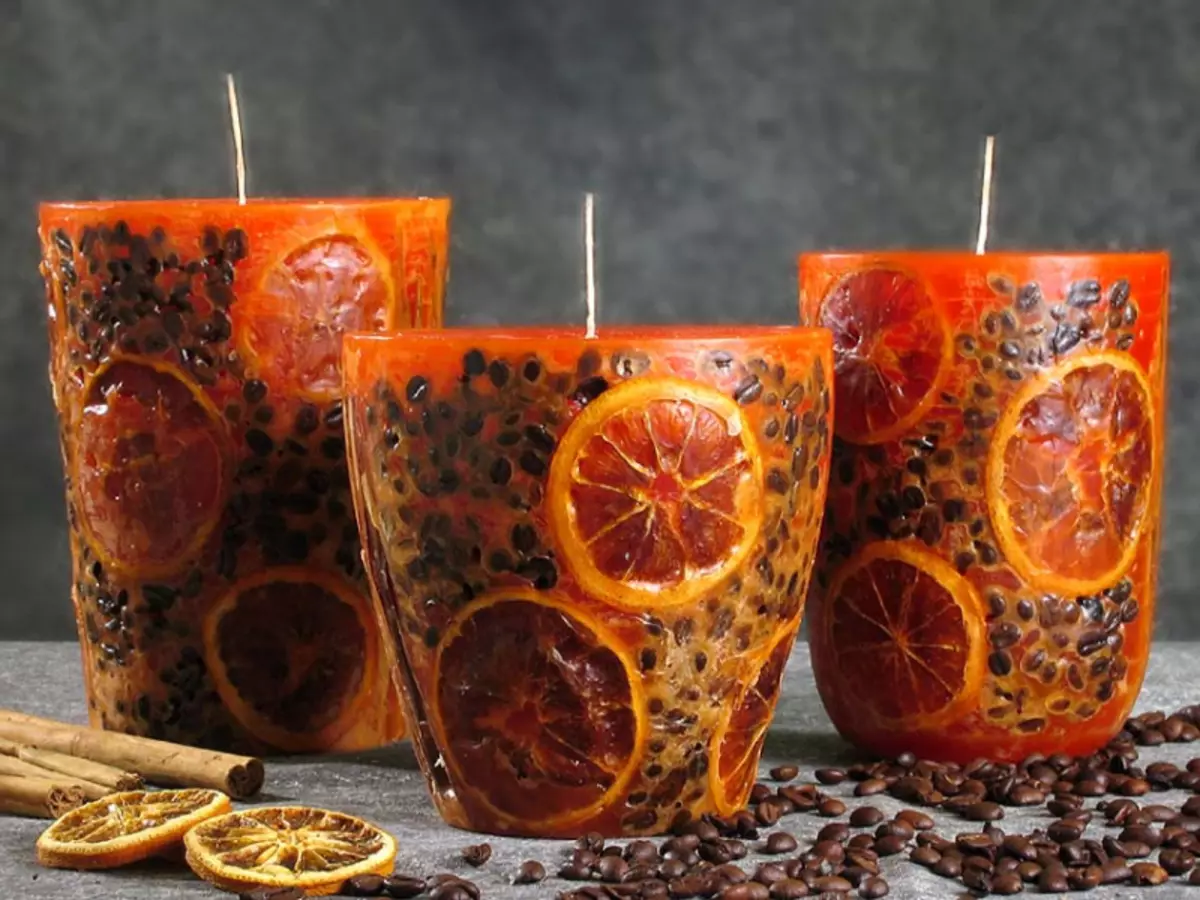
- dried fruit;
- Buttons;
- beads;
- Children's small toys, for example, from Kinder Surprise;
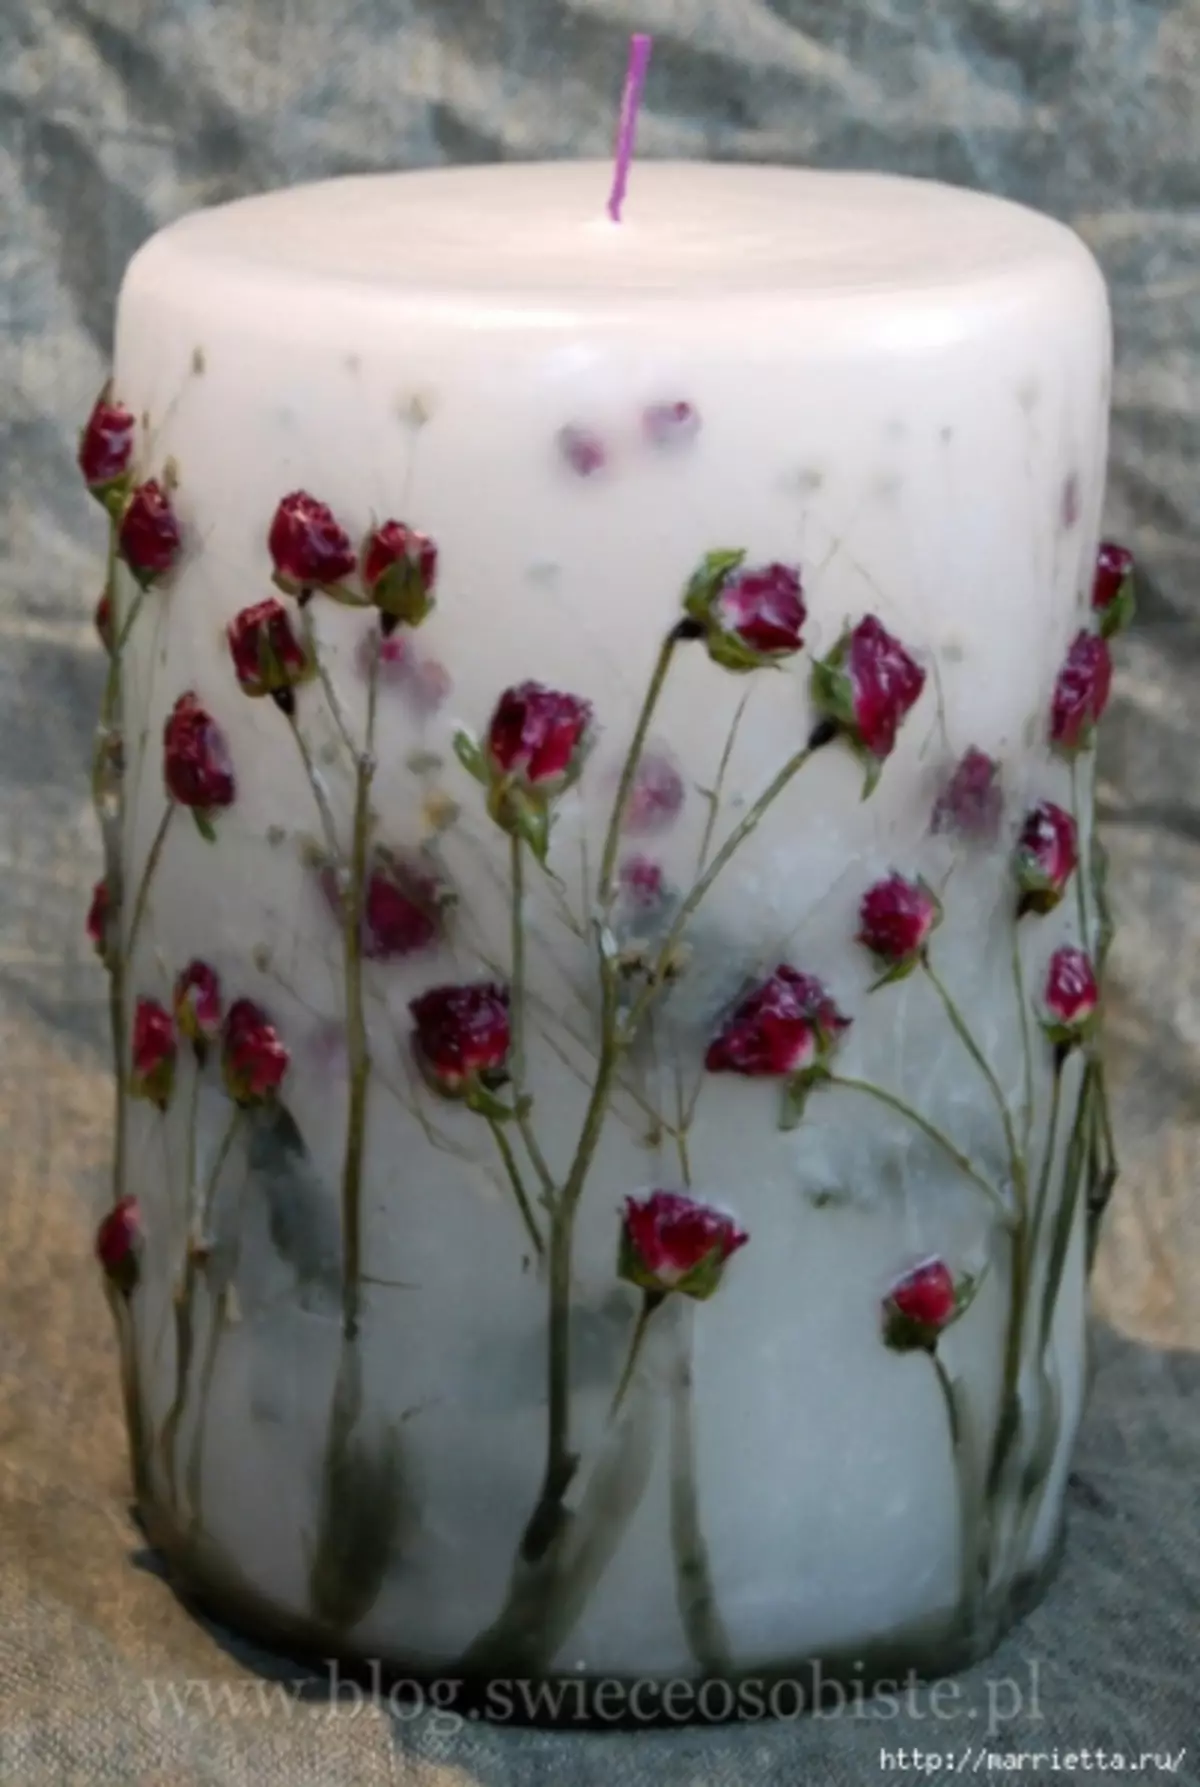
- sprigs, leaf and flowers;
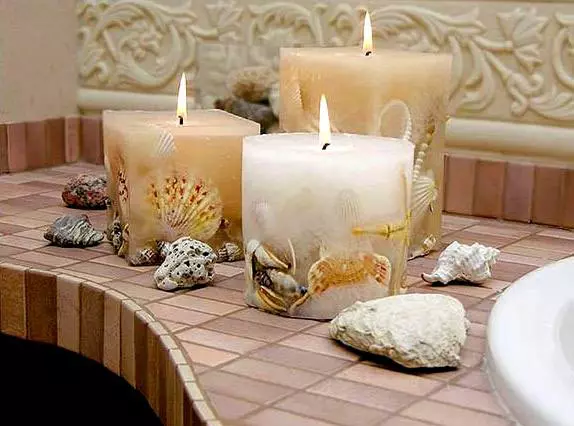
- Marine themes - pebbles, shells, sand.
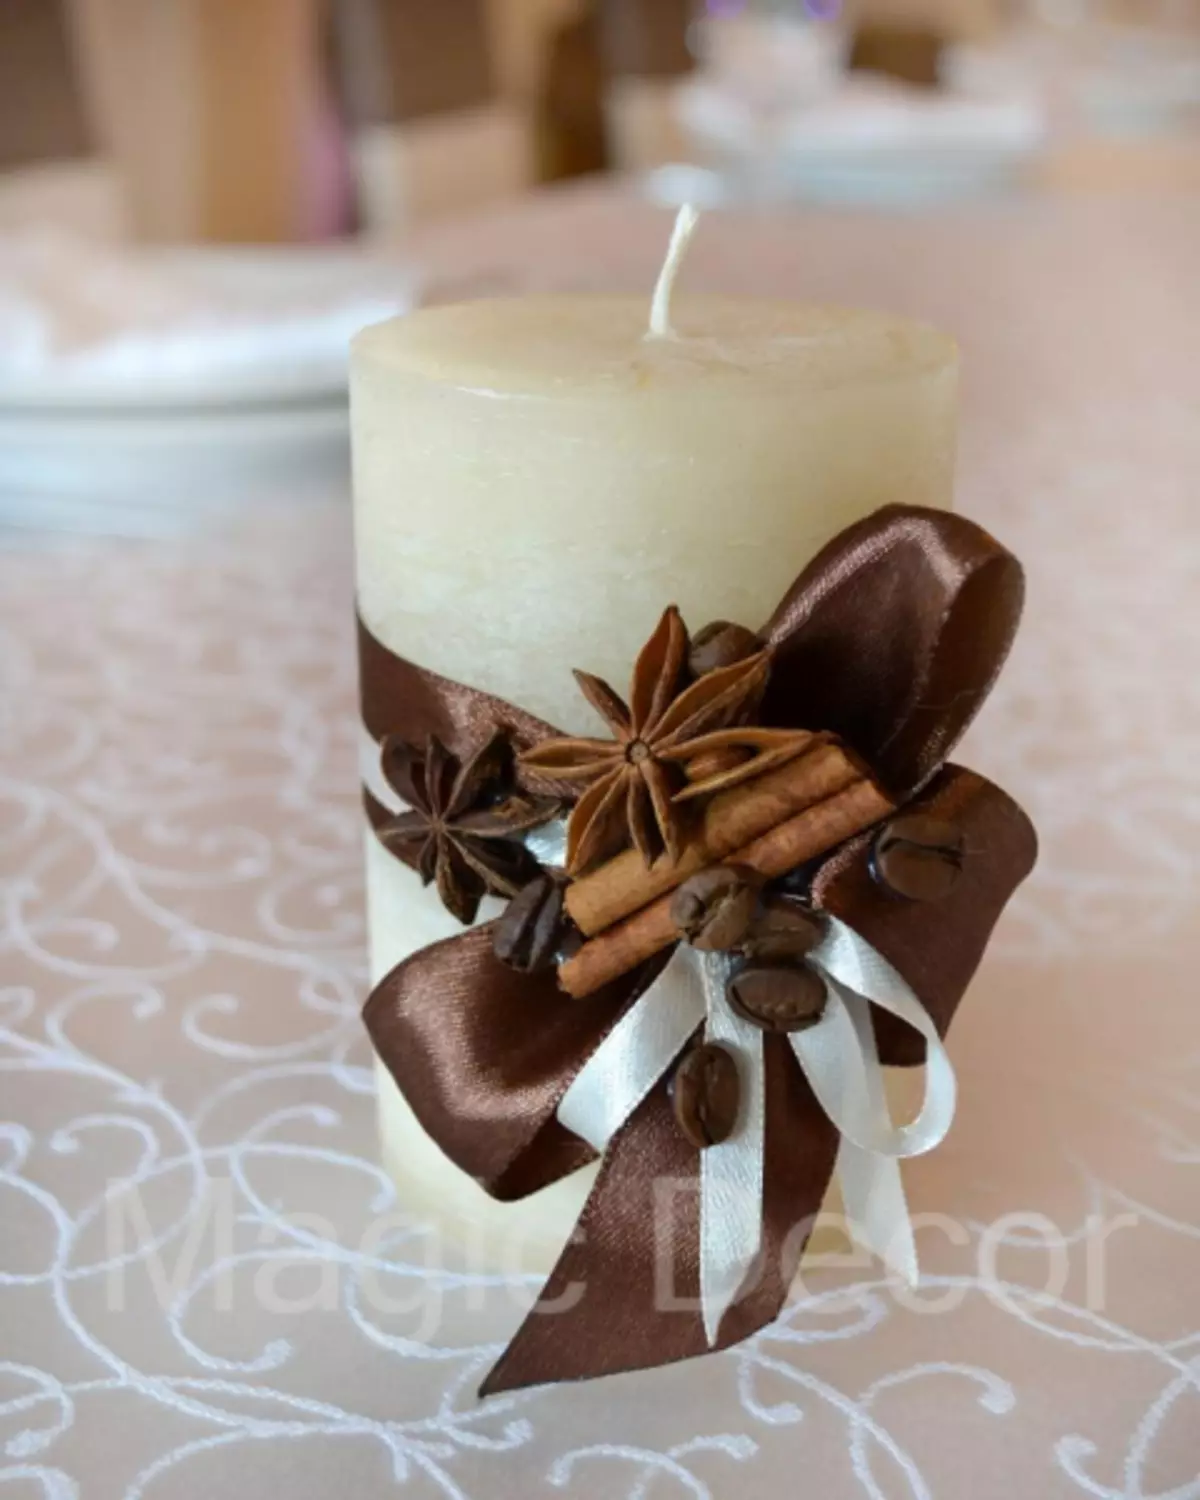
Some craftsmen add to them dried lemons, carnation, lavender and other spices, as they show in their MK.
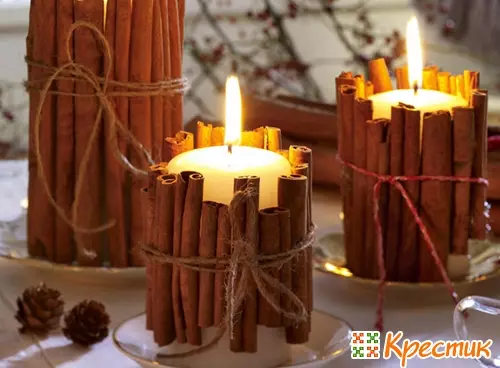
Remember that the decoration of the candles is not necessary to do inside it, the decor is fixed in the same way outside. For example, you can tighten with a candle with cinnamon sticks or with the help of an adhesive gun glue any decor.
Handmade is a beautiful hobby, of course, we begin with simple recipes, but in the future you can go to more complex candles - rifled.
Article on the topic: Garden crafts do it yourself from healthy materials with photos and videos
Photo options for decoration of candles do it yourself:

Aromatic crafts
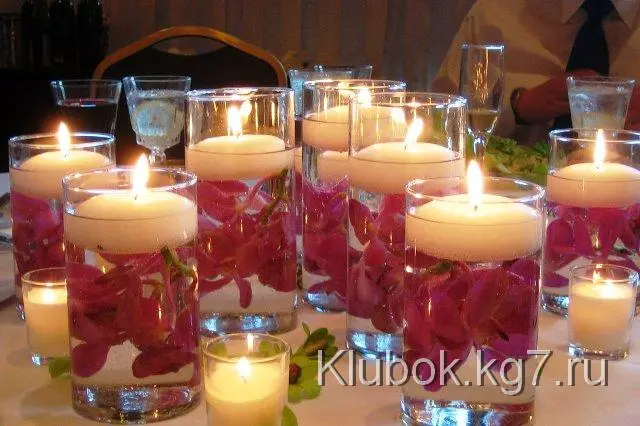
The fragrant candle in the house will give you peace and silence, which is not enough now.
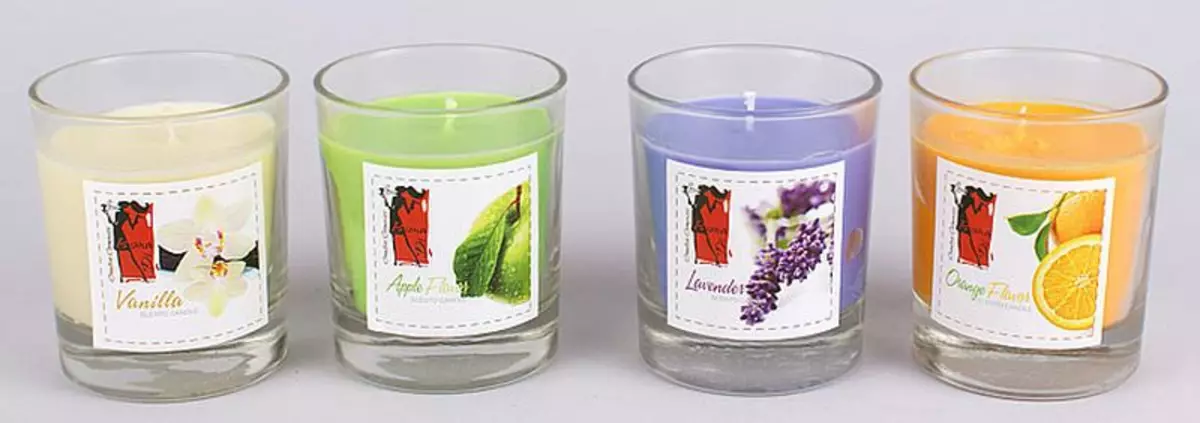

Candles will become a good substitute for air freshener. Remember that this little beauty will cure the autumn Handra and even light shapes of a cold. The candle with the addition of fragrant oils will relax your body and set up to the desired way.
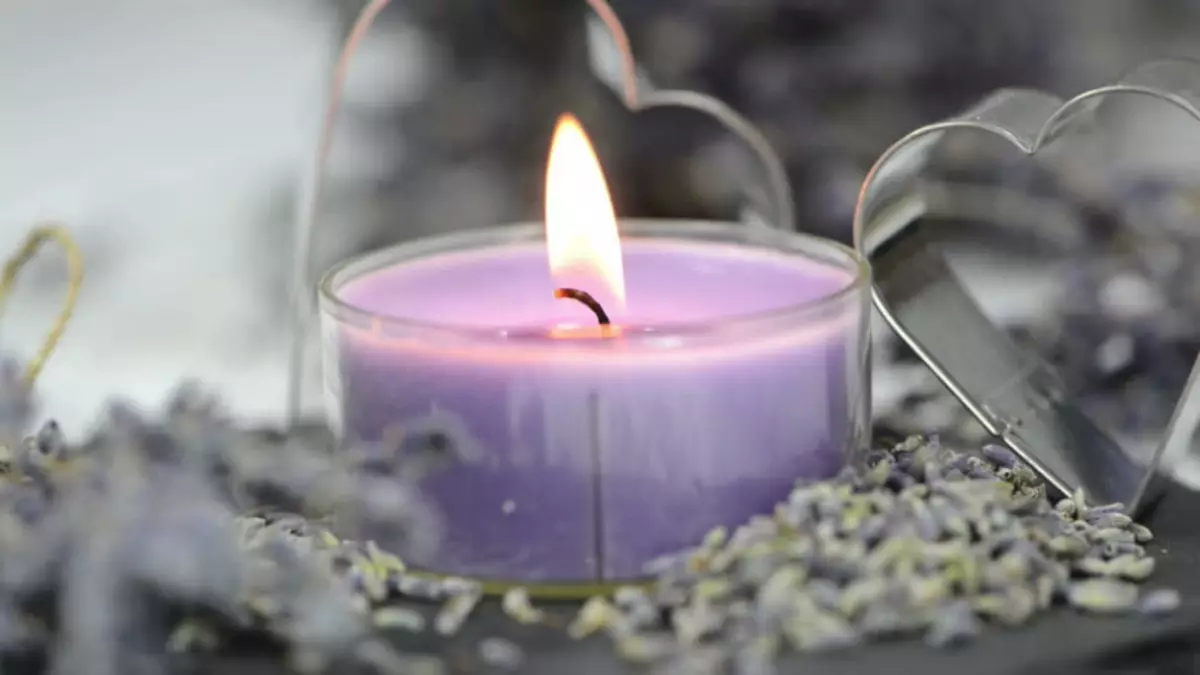
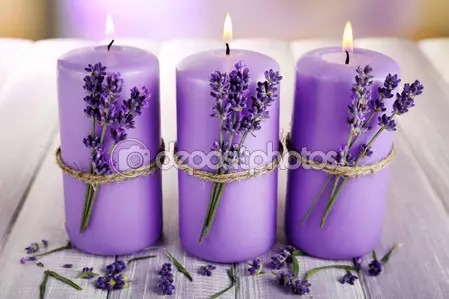
Recipe for the preparation of aromatic candle of lavender:
- Wax;
- Wick;
- Bank or glass of thick glass;
- Lavender flowers;
- Liquid oils;
- Camper for melting wax;
- Chopsticks to fix the wick.
This process of cooking candles is as simple, the only difference is the addition of fragrant oils into a melted wax.
And do not forget that the more you want to make a candle, the thicker you take the wick.
If you want to change the color of the very wax itself, which is also not difficult, the remains of wax pencils will come to the aid, for example, when adding lavender oil wax, we throw the remnants of a purple pencil. The color of the candle and the smell will be reminded of lavender fields. The more color pencil add, the more intense the color of the candle it turns out.
Video tip of the preparation of fragrant candle from lavender:
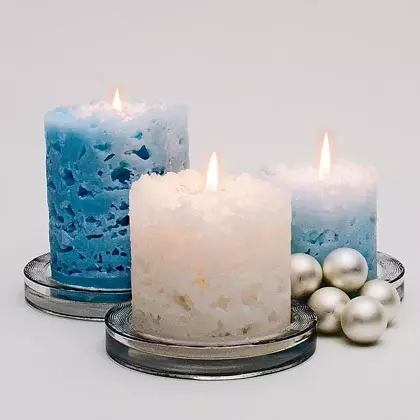
Ice to help
It would seem that I am the ice is not an assistant at all in such a fine, but in this case it is just necessary for us.
Ingredients for ice candles will be:
- Paraffin or wax;
- Finished bold ice;
- The form is desirable iron or thick glass;
- Finished thin candle;
- Knife.
We take the form of a future candle, put the finished candle inside, cutting it in advance in the size of the shape and we look at it.
After calming the wax and quickly fuel into the center of the ice form with the ice of a small trickle so that the ice covered completely. After waiting at ten minutes, we drain the water from the candle and the neat movement take out our finished candle from the form. In the future, you can add colored chalk.
Article on the topic: rabbit with knitting needles. Knitting scheme