
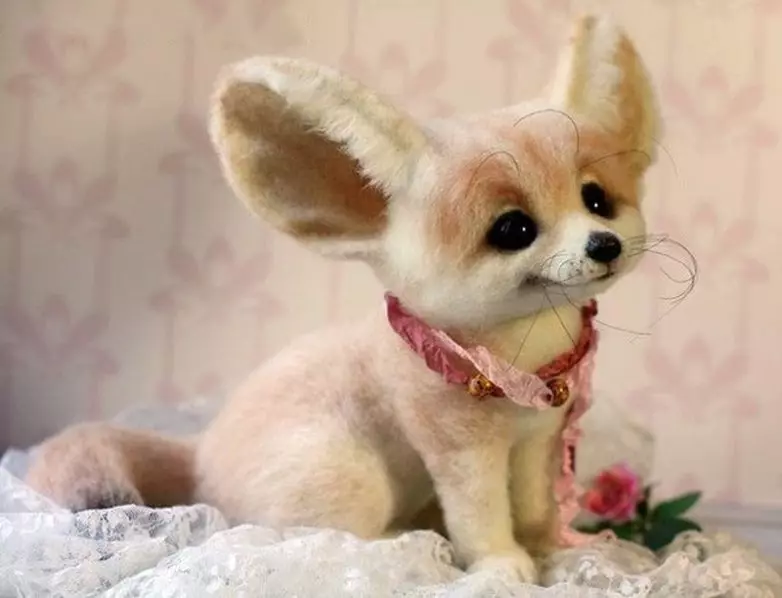
Toys from felt are quite interesting and beautiful. But felting requires a certain skill and amplitude. Restrained, you can do things similar to the work of art. Today we suggest you to get acquainted with three felting techniques and try to make a felt toy with your own hands.
Flawing techniques
Now there are three options for the manufacture of such products: dry felting (it is also called fens), wet (felting) and the newest look - machine.
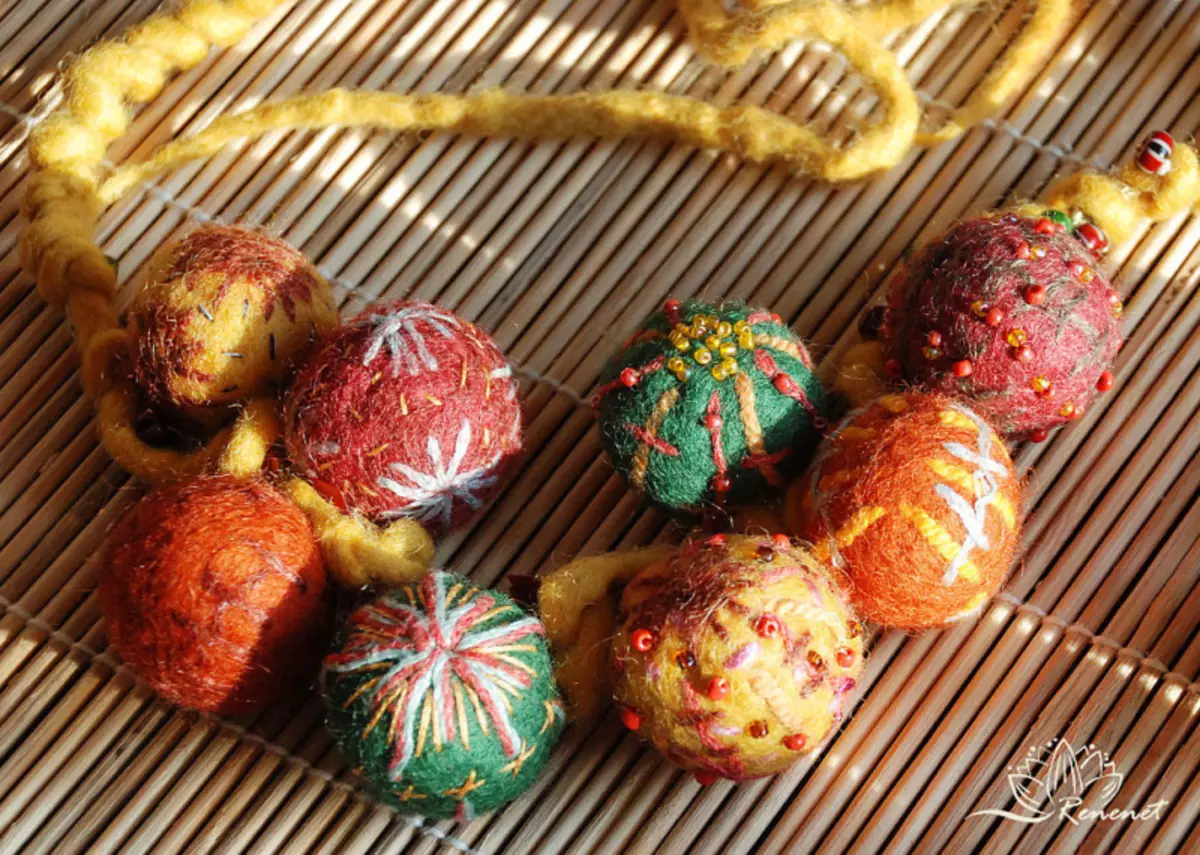
In dry technique, first make a blank of a certain shape, then the parts begin to appear. Moreover, different parts of the body are made separately, and then connected. The seams are closed by pieces of wool. Sometimes buttons, beads, ribbons, and suits on the finished figure are closed as decorations.
Falting is often used for children's toys. Wool, shattered in this way, it turns out very soft and pleasant. But be prepared that the toy will not be like, as he thought initially. There may be problems with proportions. But on the other hand, there is always a pleasant element of surprise. Each new thing turns out unique.
The washing machine in this art is used extremely rare, it is rather a way to automate several and simplify your work. After the main processing, the product is wrapped in a sheet and put in a washing machine. Erase 30-40 minutes in warm water. But after that, additional adjustment and processing is usually required.
Necessary materials
To begin with, you need to decide what material you want to work with. Natural materials are always taken for crafts. You can use a slurry to base. As a packing it is worth buying, and for the decoration of Merino.
The price may be the most outskirts, from 30 to 800 rubles. But it is better not to save, the type of finished product directly depends on the quality of raw materials.
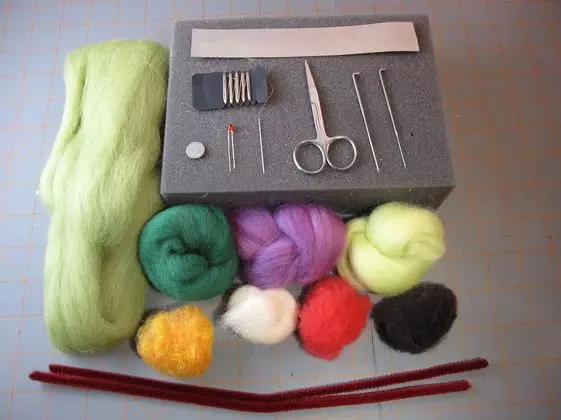
If you are going to work with dry material, then you can not do without special needles. Each has numbered numbers. The more digit, the sharper and thinner needle. Most often 40, 38 and 36 are used. The needle at number 36 is used to form a workpiece, 38 - the main working, and 40 helps to work fine elements. Also need a needle star, she helps to fluff wool and make a soft toy. It is better to buy a ready-made set, 3-5 will be enough for you.
Article on the topic: Plaid "Mermaid Tail" Crochet with Schemes and Description
The basis on which work will be lying, a sponge or a rigid brush can serve. The thickness of the sponge must be at least three centimeters. For decoration it is worth purchasing acrylic paints, beads, transparent glue and other decor elements. Take care of the surface on which sketches will have to do, tracing carton, hard cardboard, pencils.
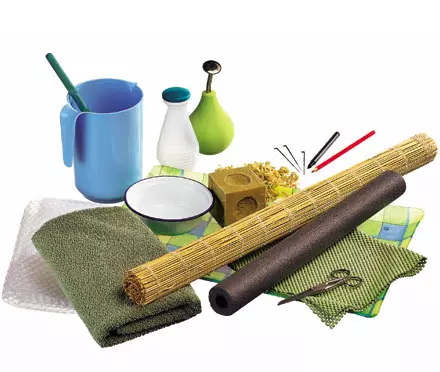
For felting, a special soap for felting is needed (but it is also a children's), a rubber or bamboo mat, not a rigid mesh and a pulverizer. It will be necessary to work in the water - do not forget about thin gloves. It may take a rolling, tape and scissors.
Hedgehog in Tumane
Those who want to try themselves in this unusual technique, we suggest trying our strength by making a brochure using this master class.
In addition, that we pointed out in the previous paragraph, you will need: black, gray, white and red wool, needles №36, №38 and №40, fasteners for brooch.
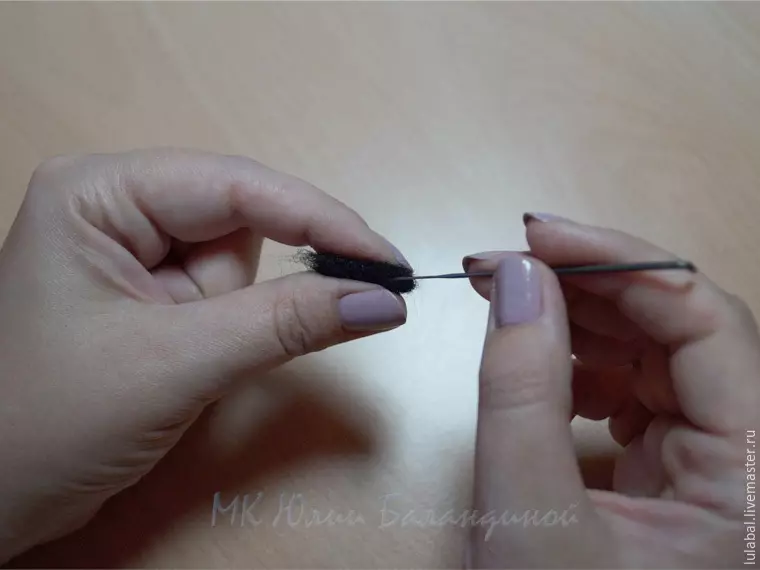
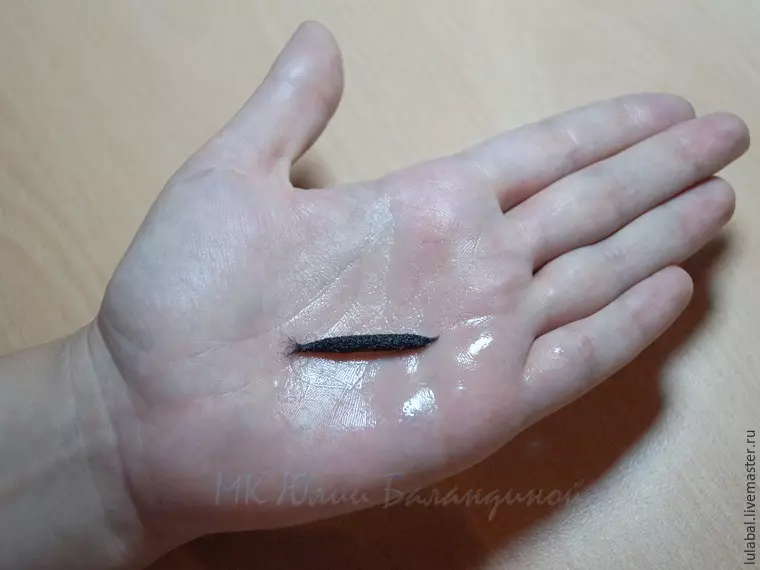
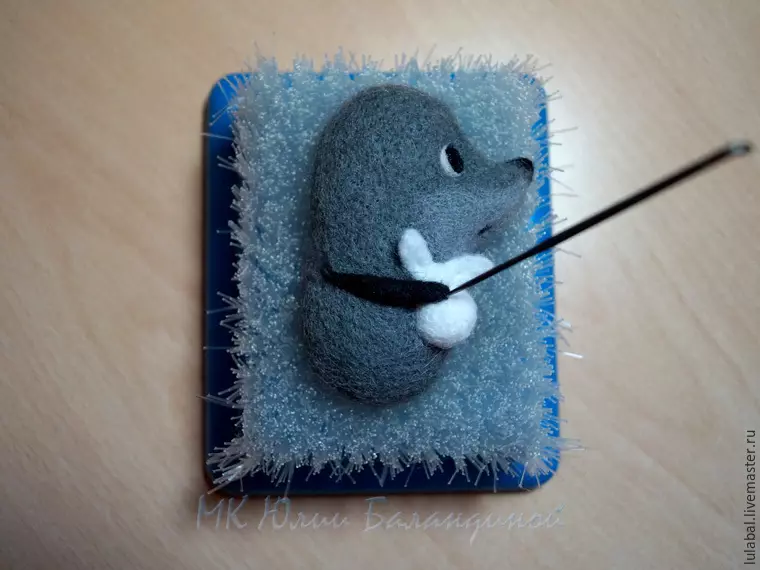
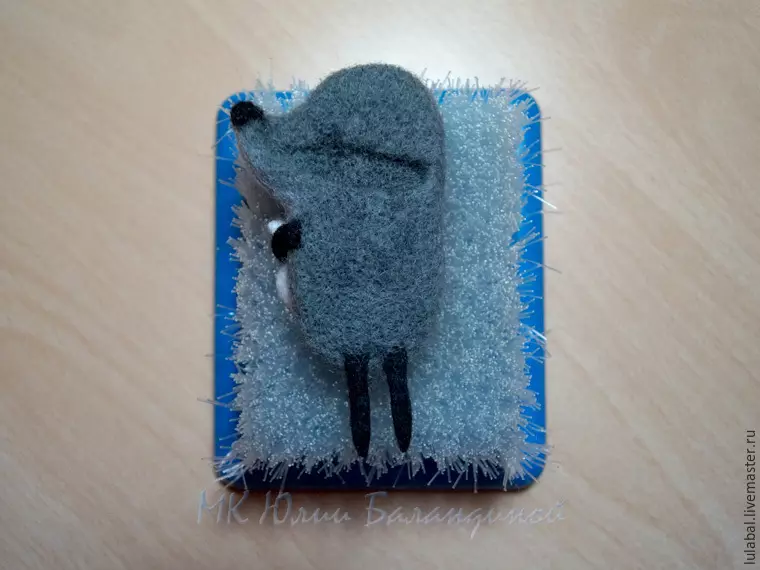
In part, we will have to apply the methods of flooding for small parts. Therefore, we will start with their manufacture. Needle №38 Steamed black wool, gradually rolling it into a roll. Needle neatly seal it. It will be hijack paws. From one end, the wool needs to be left unchanged. In a dry condition, the billet should be slightly shorter and slightly thicker than required. Well wet her and roll it between your hands, while you need to use a little soap. At the end you need to rinse them well and send to dry.
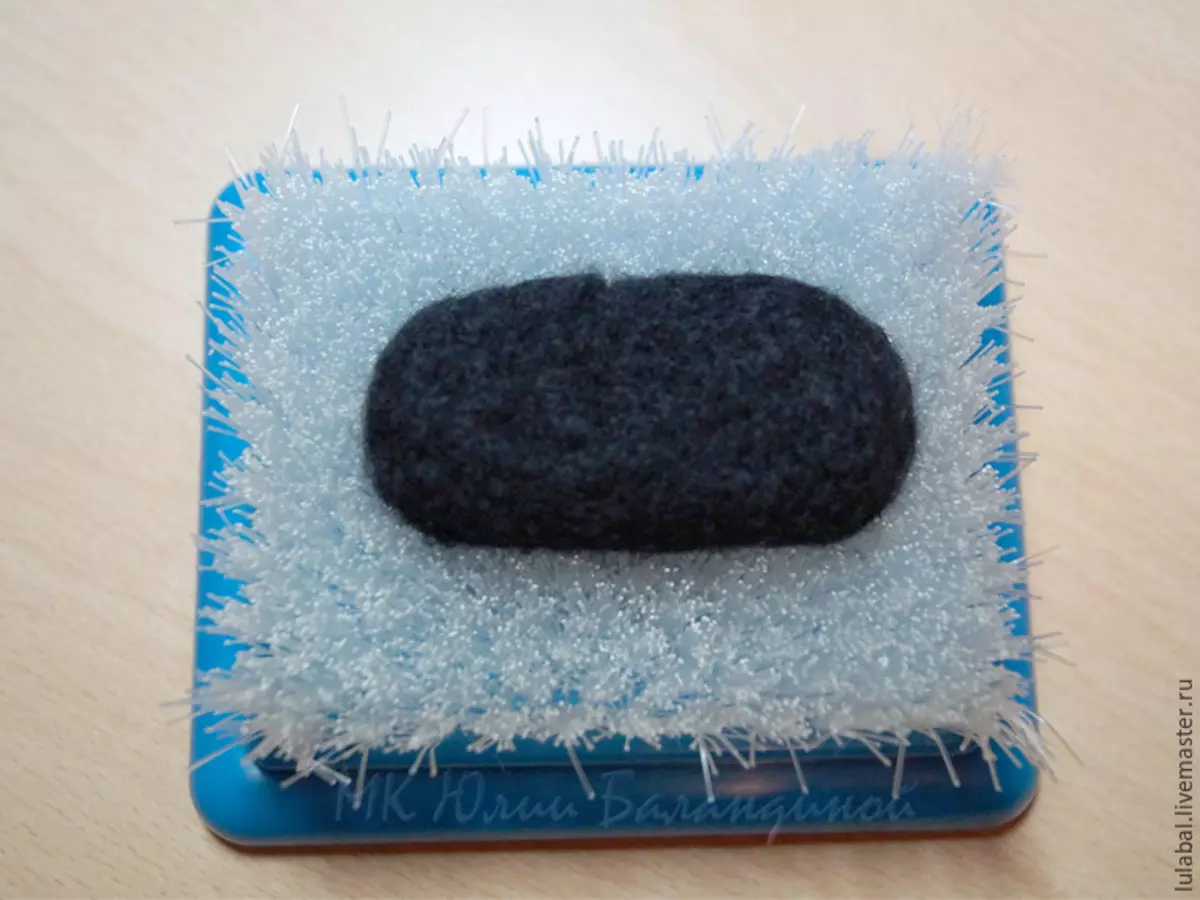
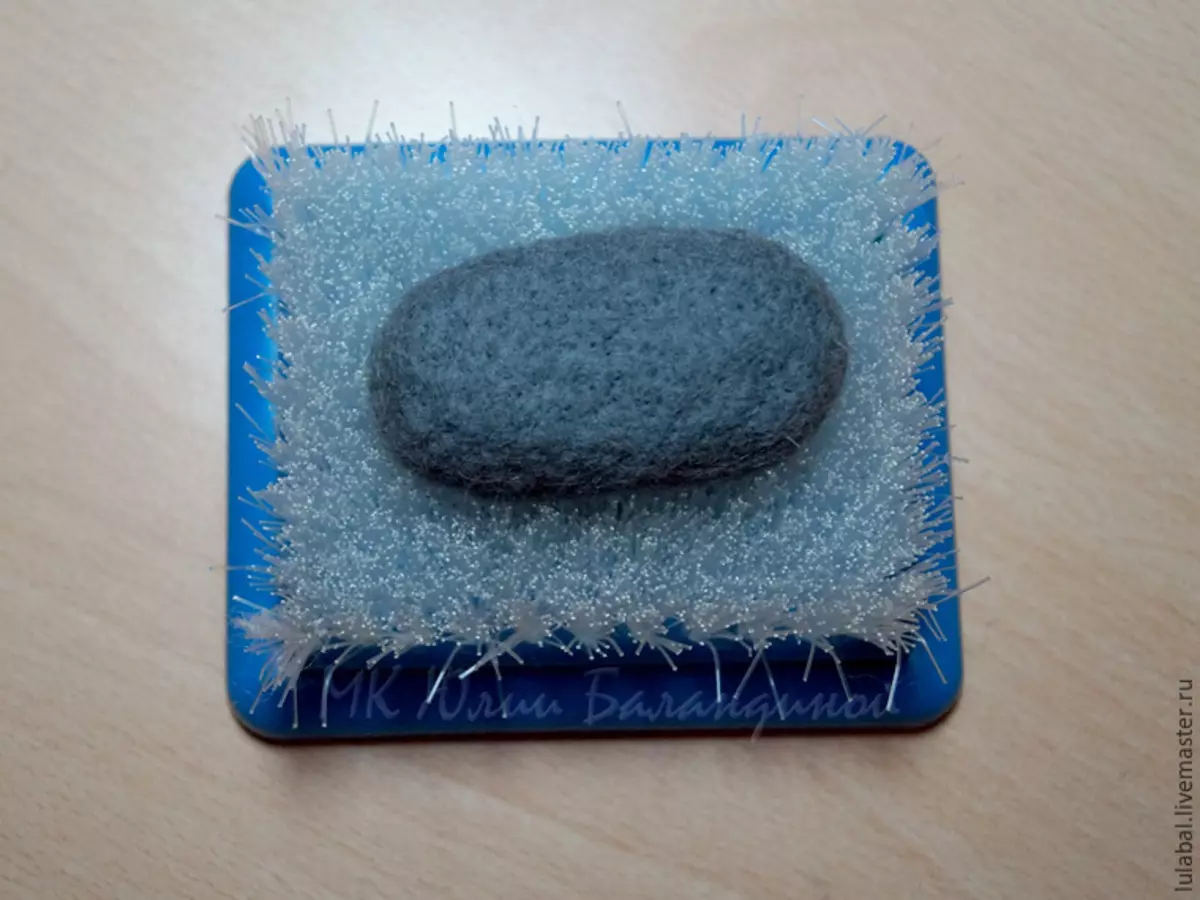
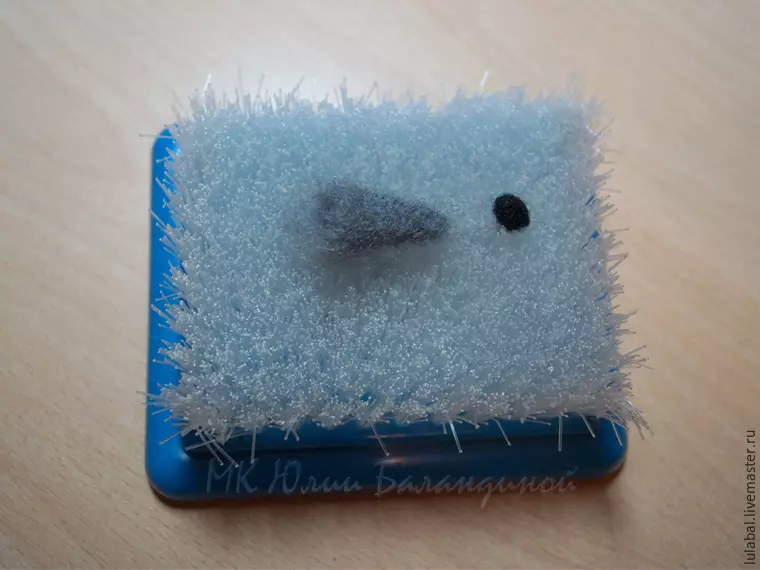
Now we will do the body of the hedgehog. Take a piece of black material and start forming a flat smooth oval. When inside the workpiece becomes dense, but will also be a premise outside, start applying a thin gray layer. Oval should become smoky on both sides. In the end, we proceed the workpiece of needle №38.
Article on the topic: Spasching for newborns with your own hands with patterns and schemes
For the nose we form a small cone with a black ball at the end. The base of the triangle should remain flushed. Take it to the body. Tinging the bottom of the nose with light gray.
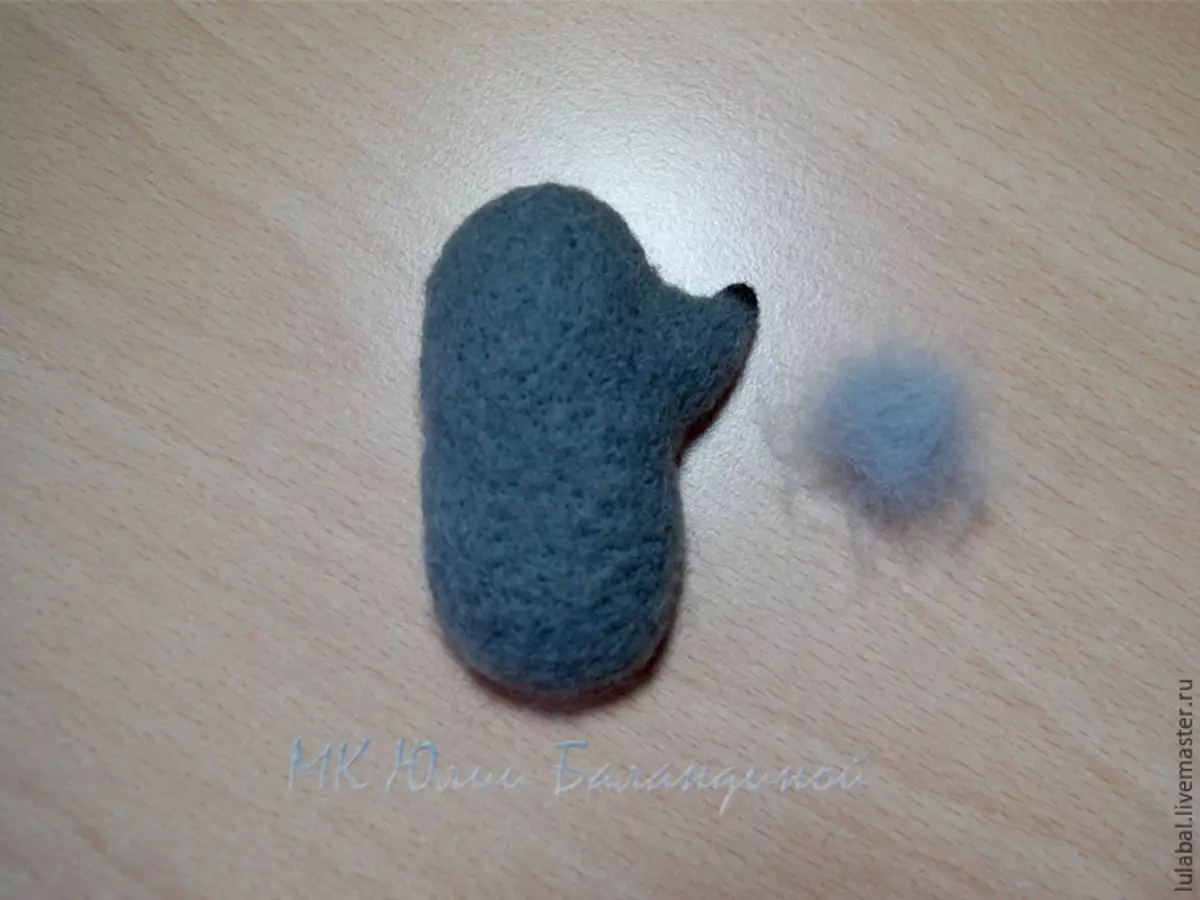
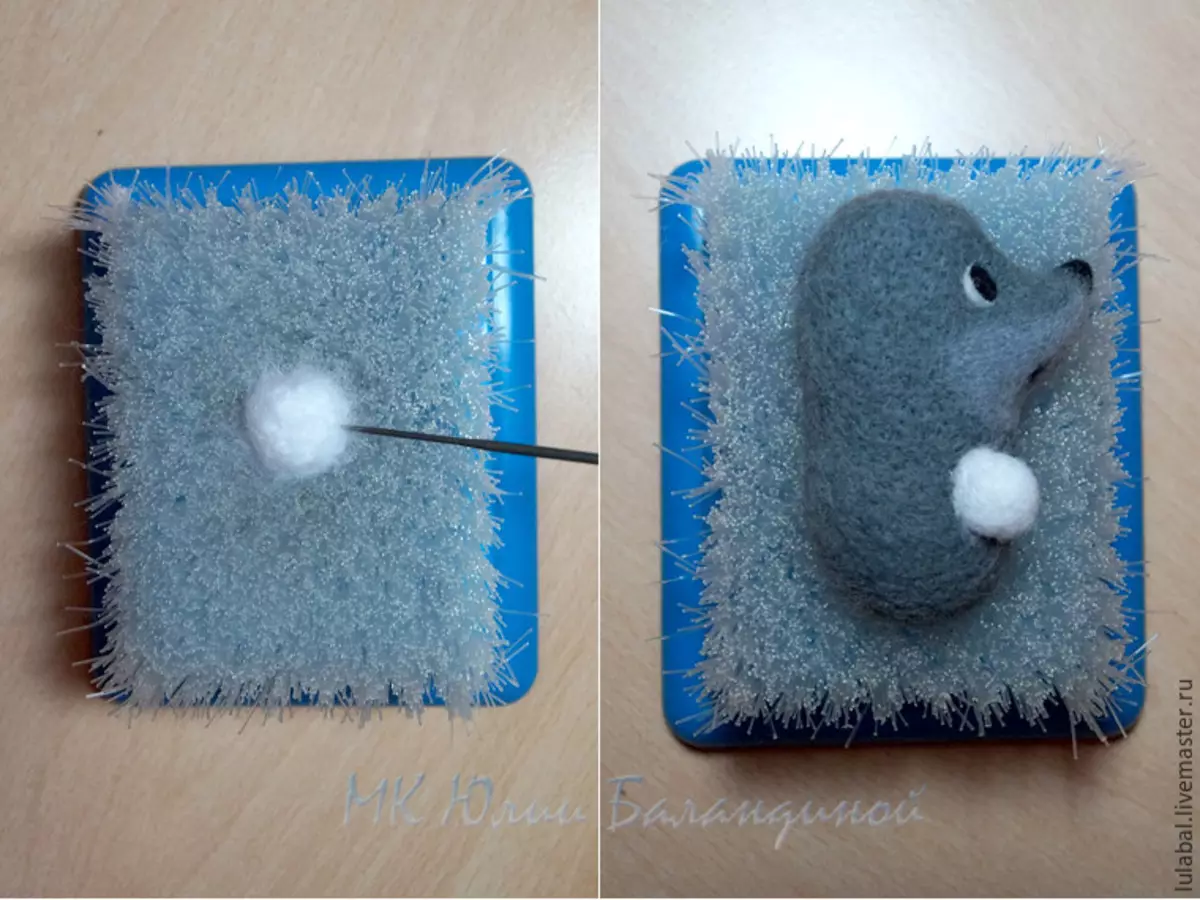
We make eyes and mouth, a tightly rolled ball of white felt tightly pulling the belly. Then you need to fix the legs dried by that time.
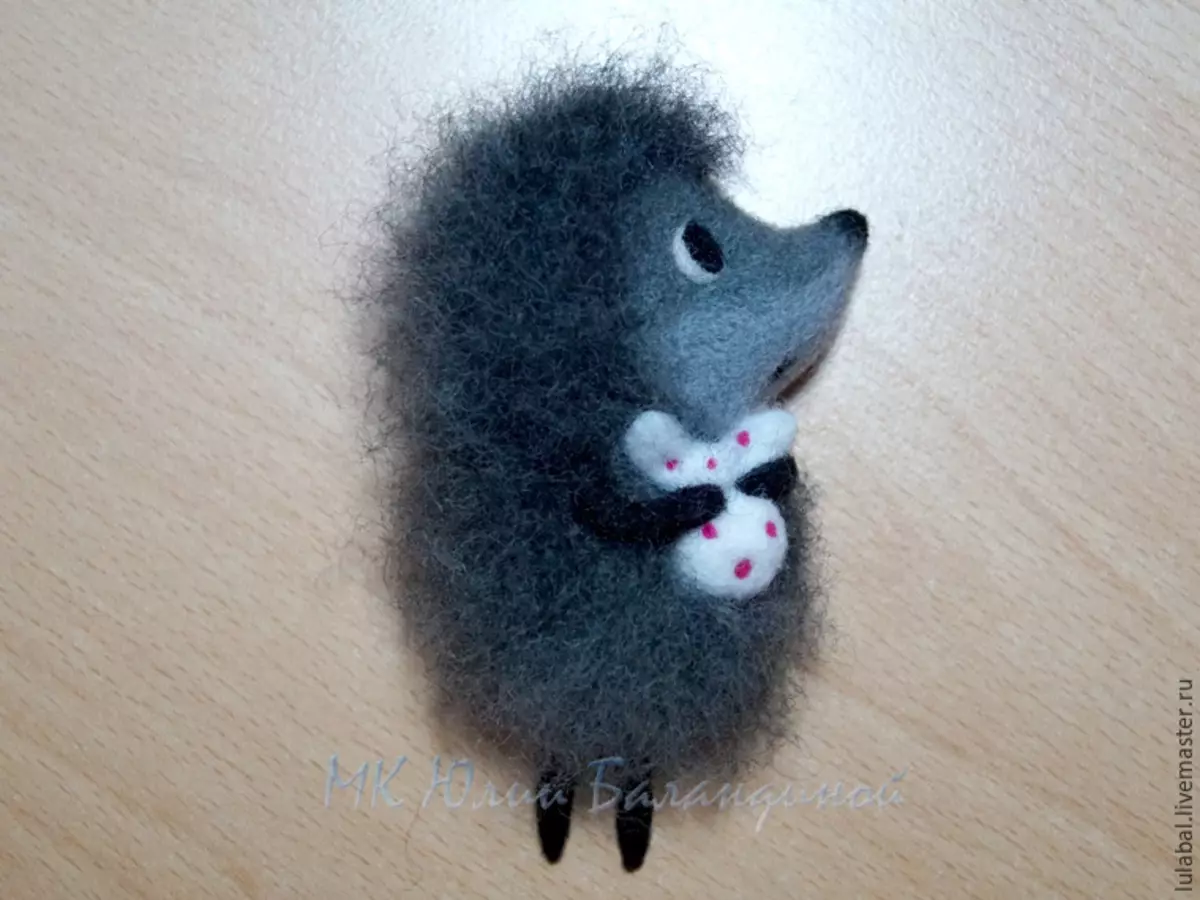
On the wrong side, we form a recess for fastening broochs using a needle No. 36. Then we apply glue to the metal base and put into the deepening. We are waiting for complete drying. After that, we make a pattern "in polka dot" on the bag with any bright color. Backless needle №40. And here we are ready for brooches, as with a photo in a collectible magazine.
Video on the topic
For those who are interested in this wonderful technique, we have prepared video lessons: