
Than a solemn holiday, the more carefully the approach to its design. Cooking for the wedding is very expensive by the number of purchases and products. Most of all forces and time leaves for styled style and decor of the banquet hall. What remains unchanged, so this is a huge number of flower arrangements in jewelry. Just obstaciously look at Topiaria from flowers, but buy them, especially from the living colors, is very expensive. You may be surprised that such topiaries can be done in the same way from the most ordinary napkins, and it will look like that will be luxurious. This article provides instructions, how to make a tree from napkins with your own hands.
How can you make a chic product of art from ordinary napkins with a minimum cost from napkins?
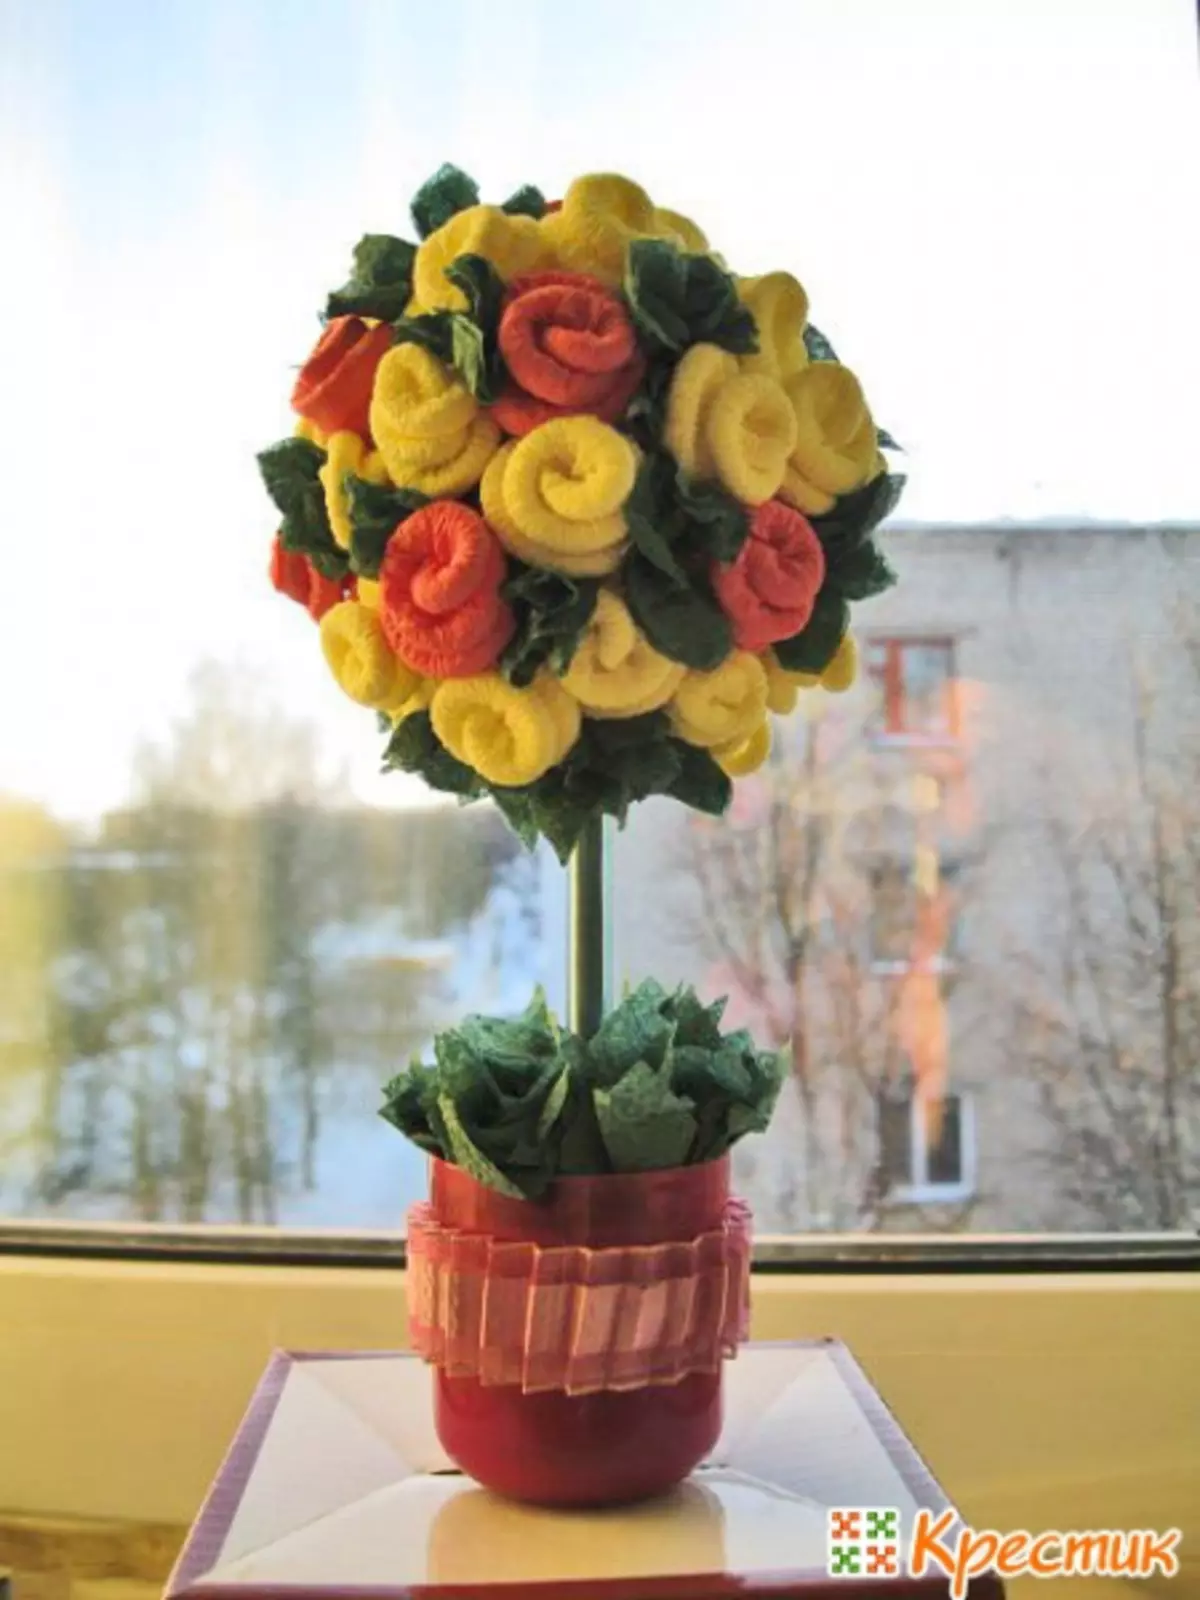
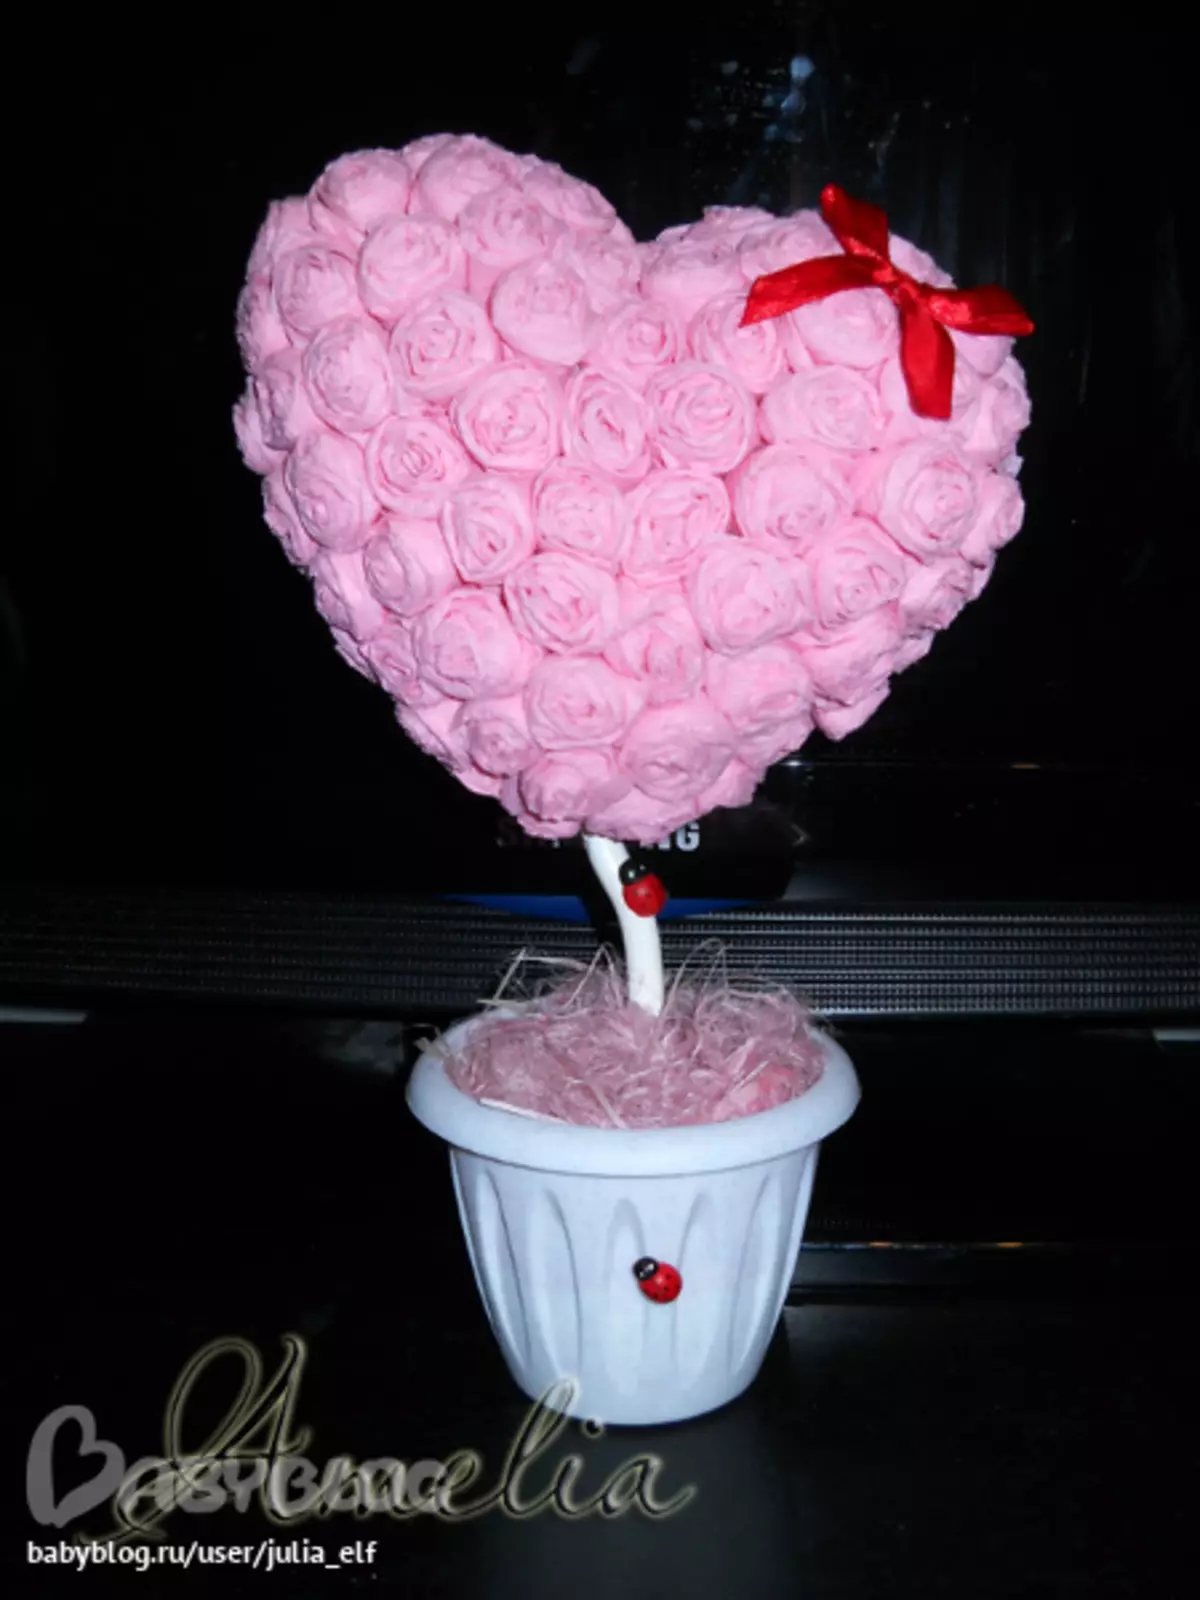
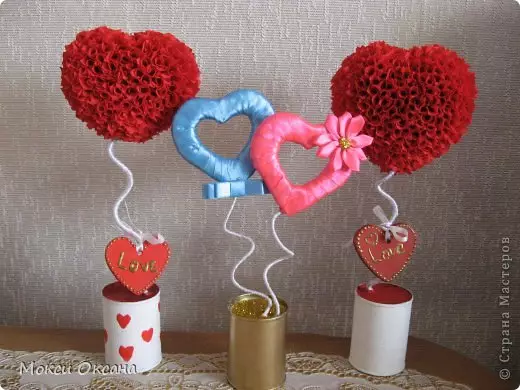
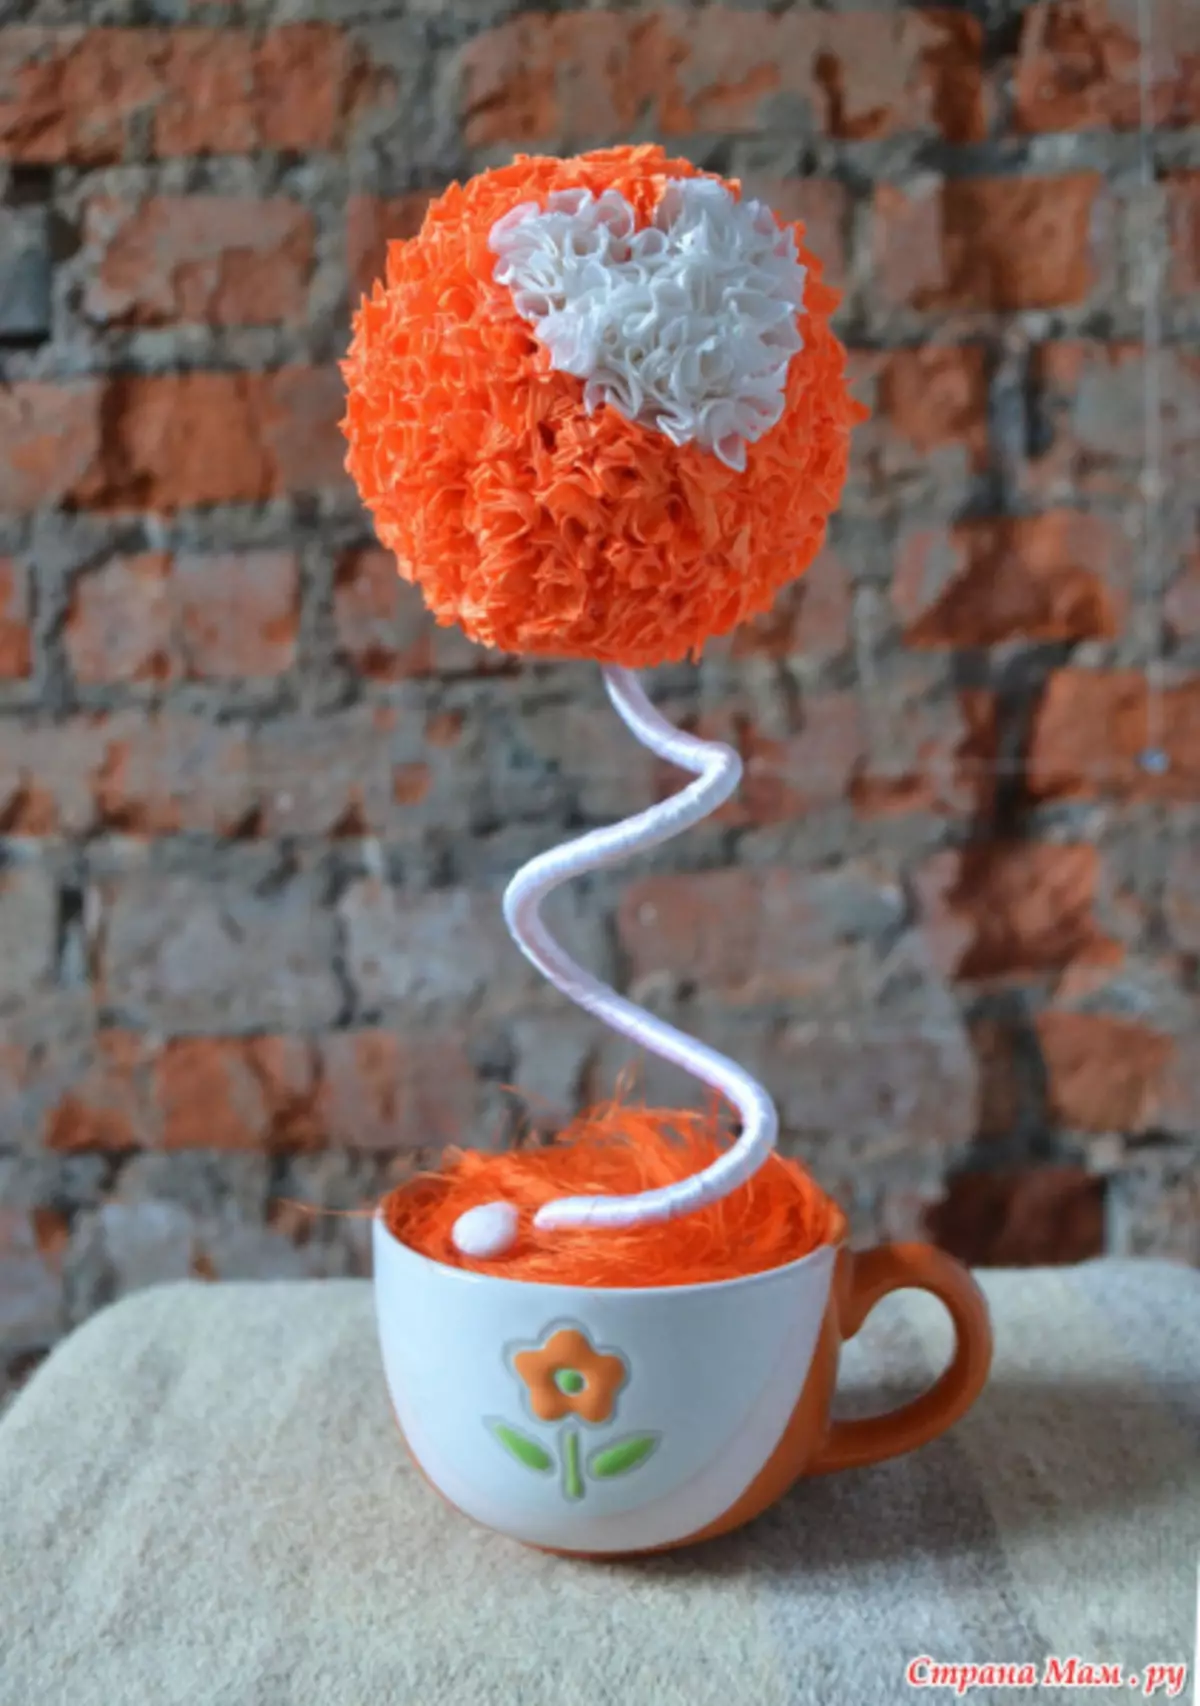
Topiary or "Tree of happiness" from napkins presents a plant that is growing from a pot, usually krone of its spherical shape, but also the top can be done in other forms, for example, the heart, which will be very relevant as a gift in love with newlyweds or as a decoration on the table .
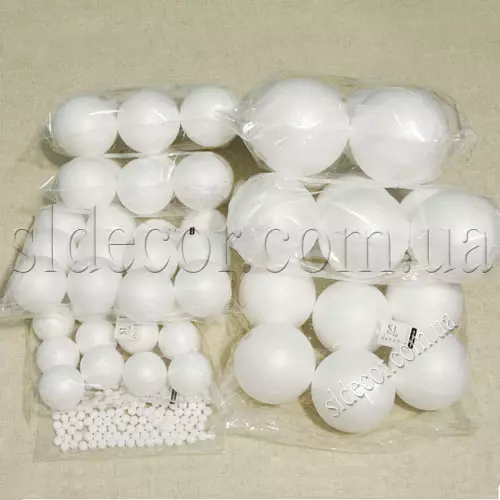
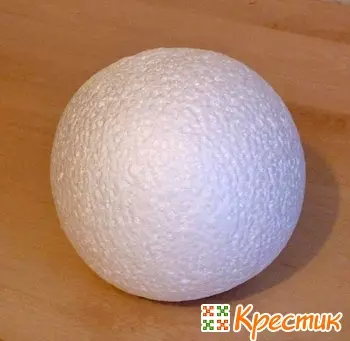
In order to create it, you need to make three parts separately, the crown of the tree, the trunk and the container, from which our tree will "grow." The base for the crown can be foam, plastic material, plasticine can be used for small sizes of topiaric.
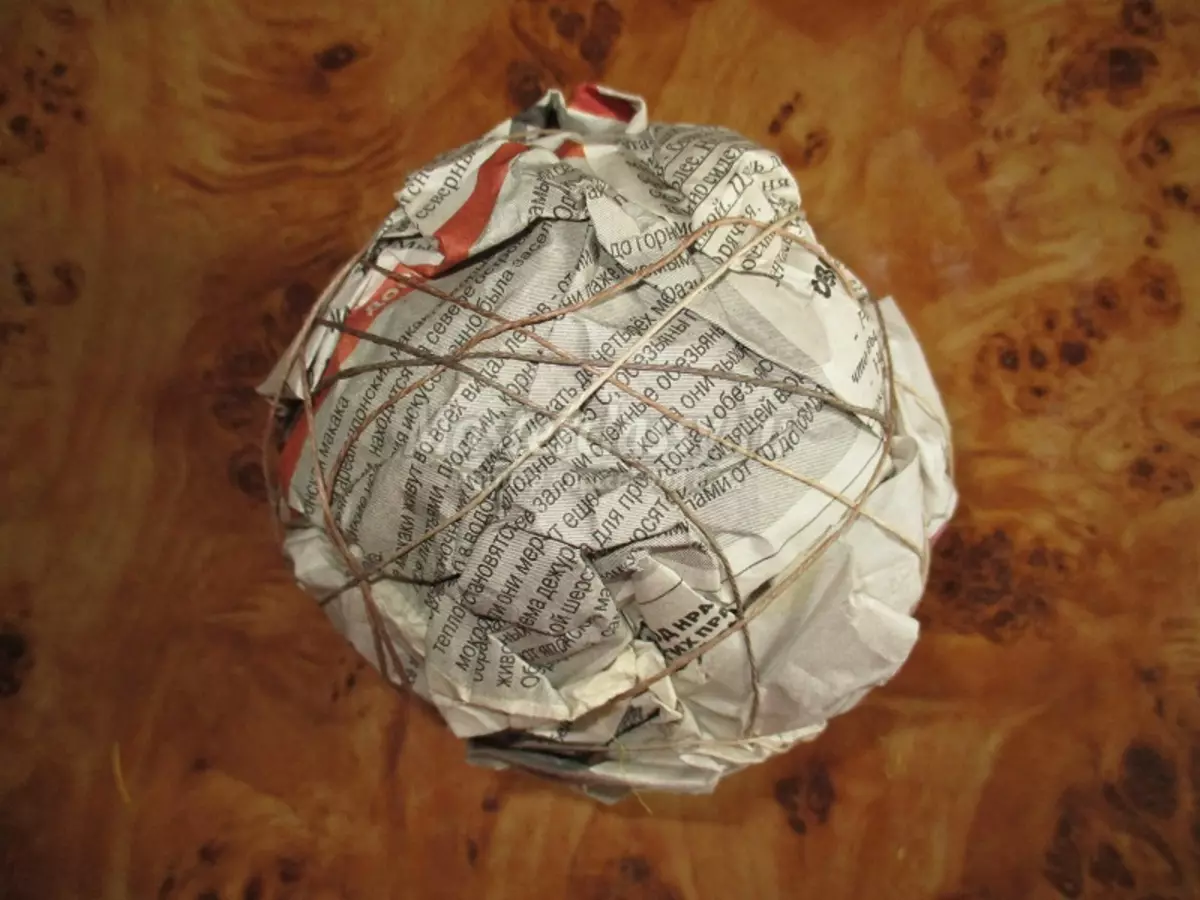
For a lack of nonsense, neither the other, even fold the old newspapers and are firmly wrapped with threads.
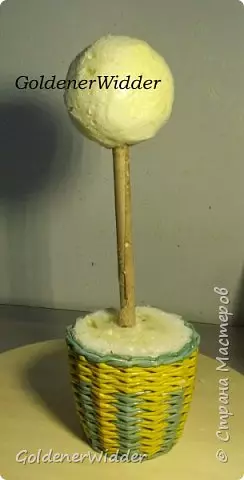
The trunk is the usual stick, a tube. It will also need to decorate with ribbons, tissues or just paint paint. The pot can be made from some tank and wrap in fabric, plane paper or use a finished pot. So that the whole design is attached, use building materials - plaster, mounting foam, cement, alabaster.
Article on the topic: Gorodetskaya painting for beginners on a tree: Patterns with photos
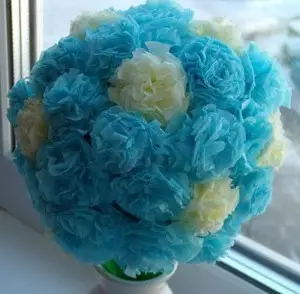
Fluffy "Ball of Happiness"
The crown of the happiness tree from the napkins can be a fluffy ball, decorated with beads and bows of decorative tapes, with the addition of flowers bouquets from the same napkins made in the Origami technique.
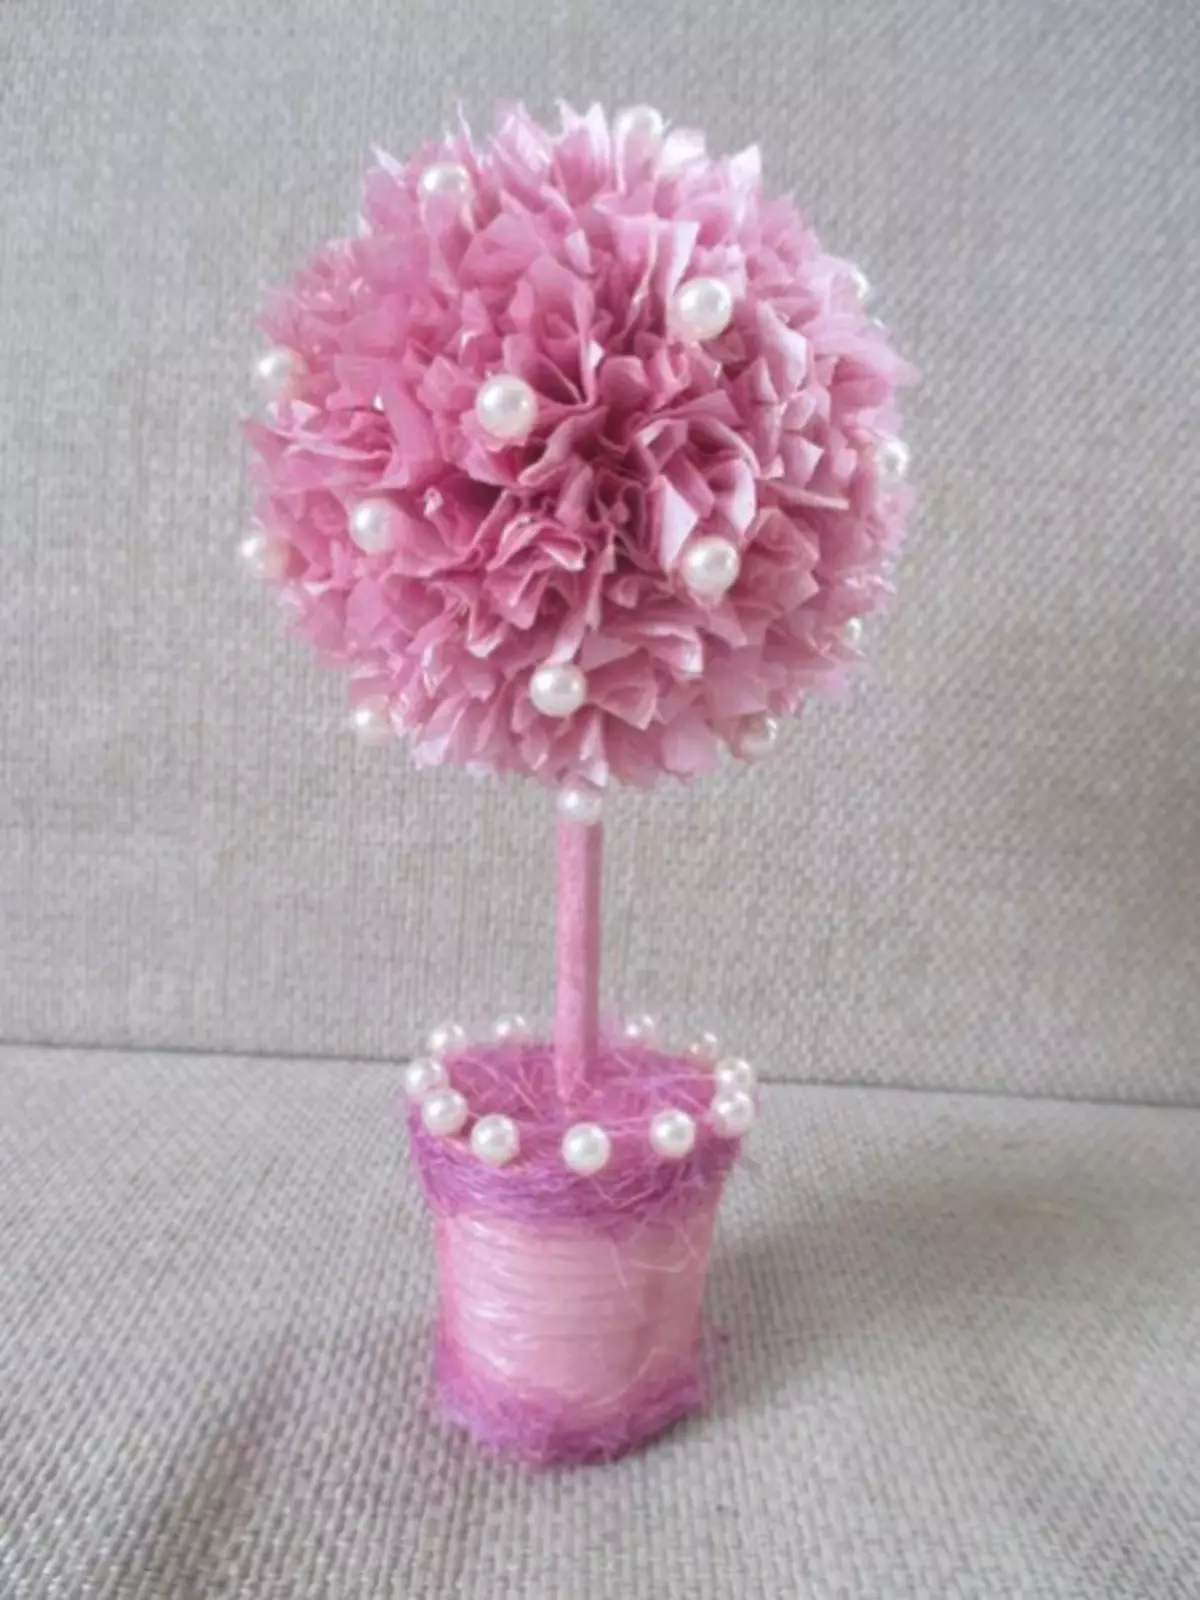
For such crowns, as shown in the photo above, you need to take a smooth ball, PVA glue, a thin wand, a lot of napkins.
First of all, you can prepare a ball, take the napkins, brush into pieces and glue them with the help of PVA glue. Take the desired cloths of napkins, cut the squares from them, preferably 2-4 cm, the tree will look more lure. Now take a thin wand and each piece of napkins wrap on a wand. Apply glue into a part of the ball and send "Mushku" there. She glued, now all the pieces are alone in the same way, along the way you can make buds of roses from napkins and also glue them to glue.
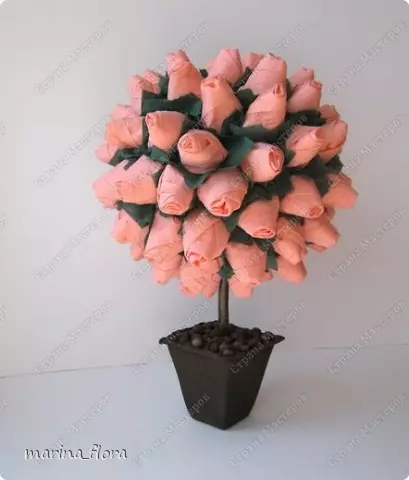
Buds roses
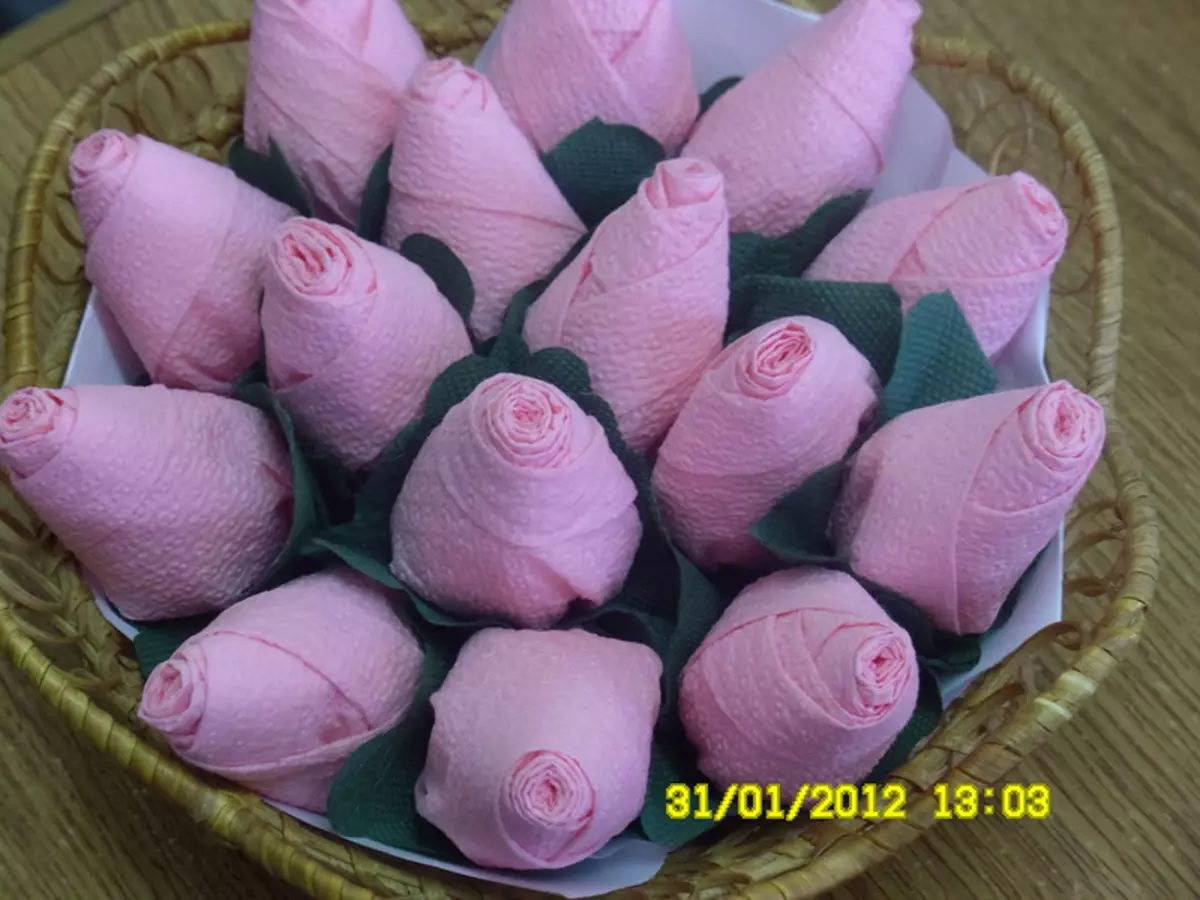
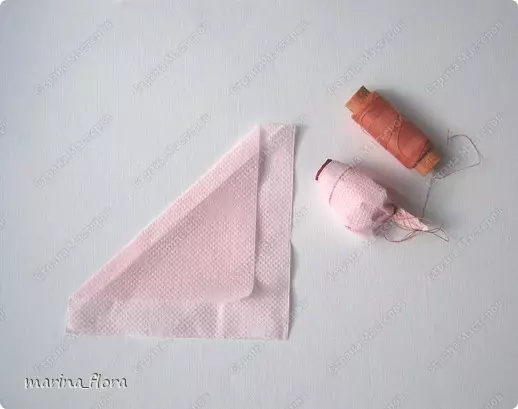
Step-by-step instructions, how to make realistic rose buds for topiary from paper napkins, provided below.
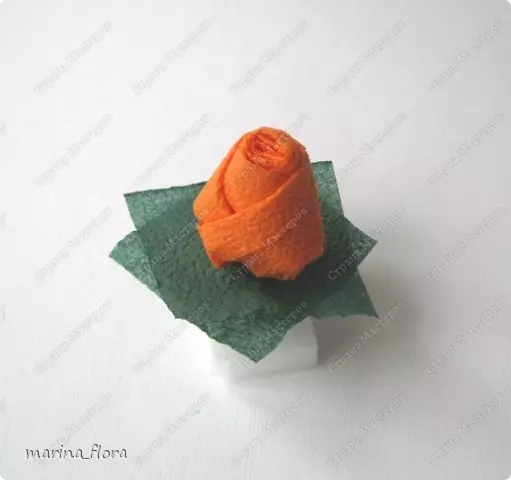
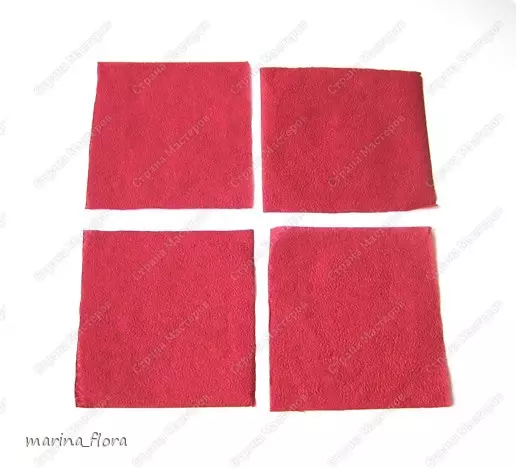
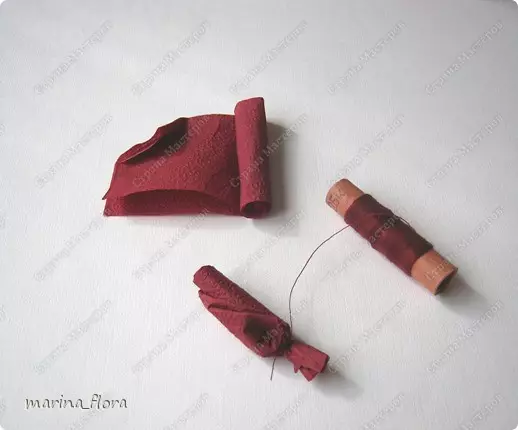
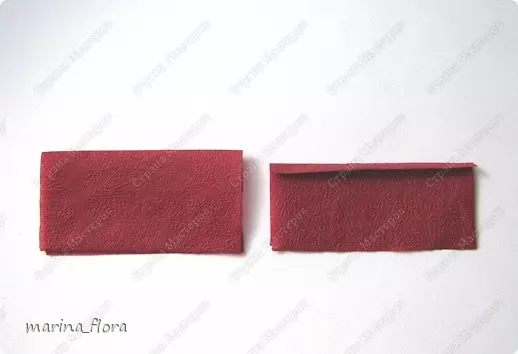
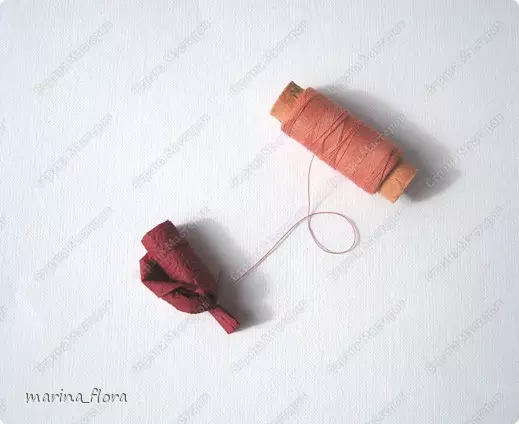
Take the napkins of different colors and threads. Cut the napkins on 4 parts. Each squares need to be folded in pressure and turn the bend tubes from top to bottom. Corbs at the end bending inside and fixed thread at the base. From above wrap the rest of the napkin.
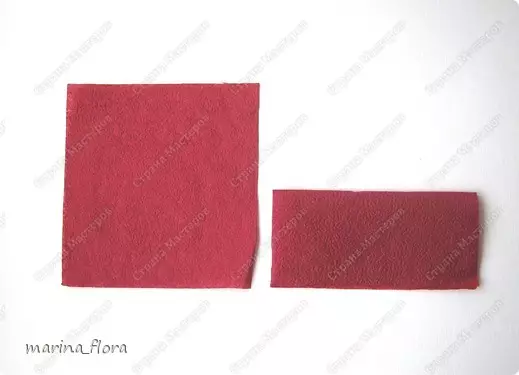
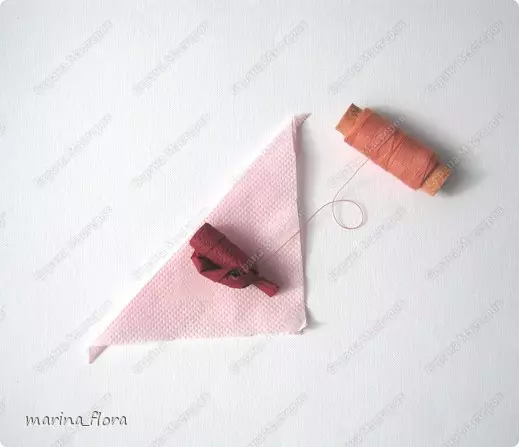
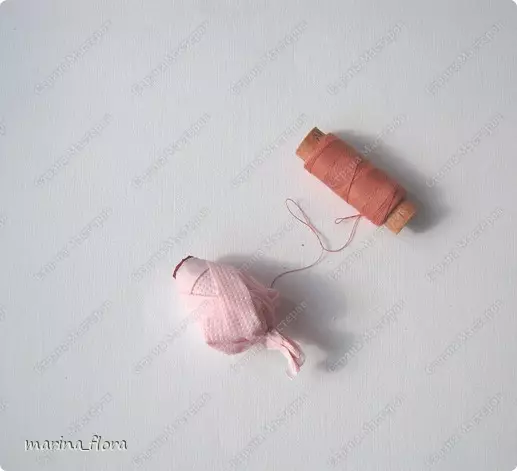
We take the second color of the napkins, we add diagonally, on bending to lay a strip of about 0.5 cm. Put on it our bouton and blindly stammer. Watch more petals, but triangles need to be increased in the amount, as shown in the photo so that our buds are growing.
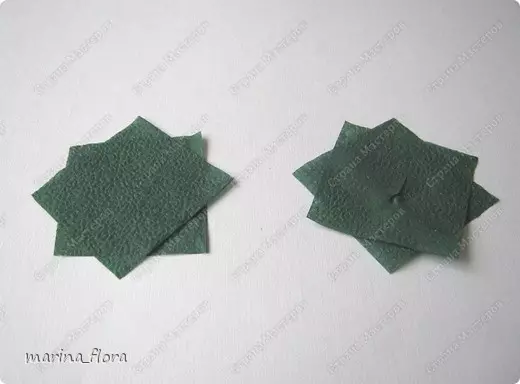
We do for bud leaves. We cut the napkin on 4 parts and two parts of them we combine together, make a hole. We insert our bud, twist the short wire.
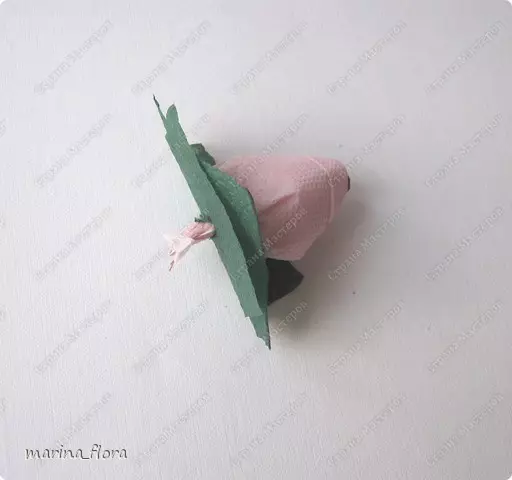
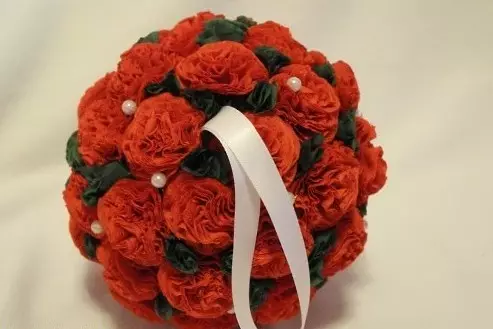
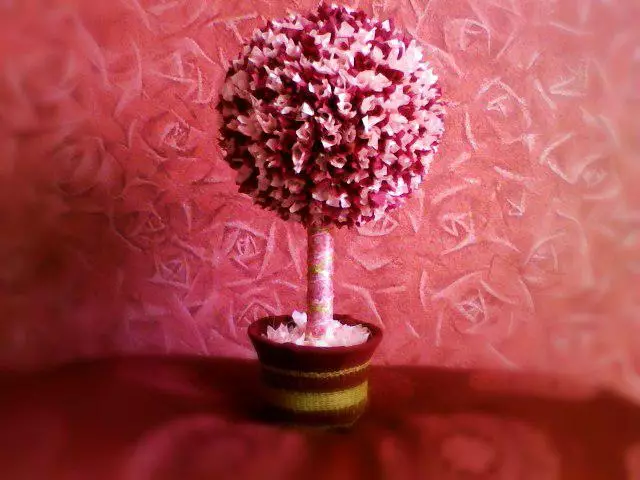
Here is such a topiary from roses buds as a result.
It can be done with solid colors, and you can combine with the carriage.
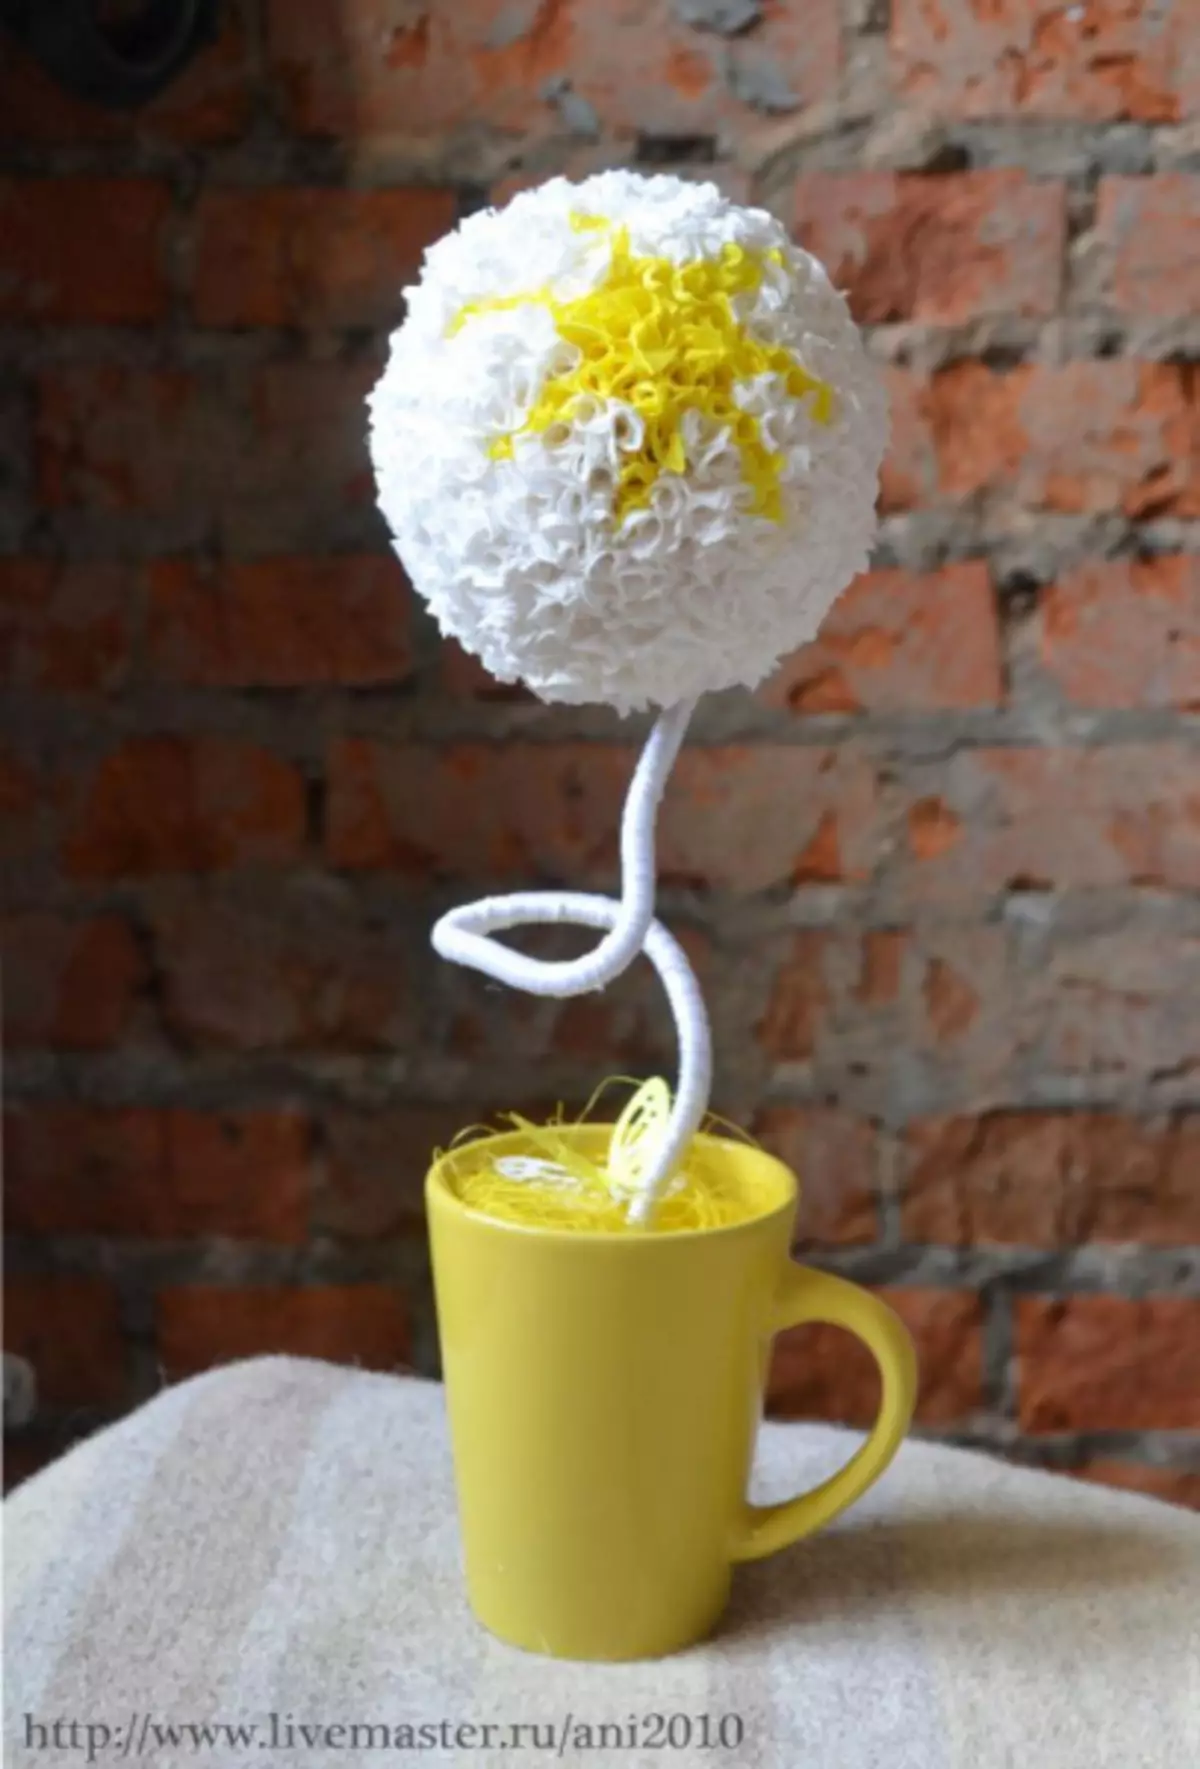
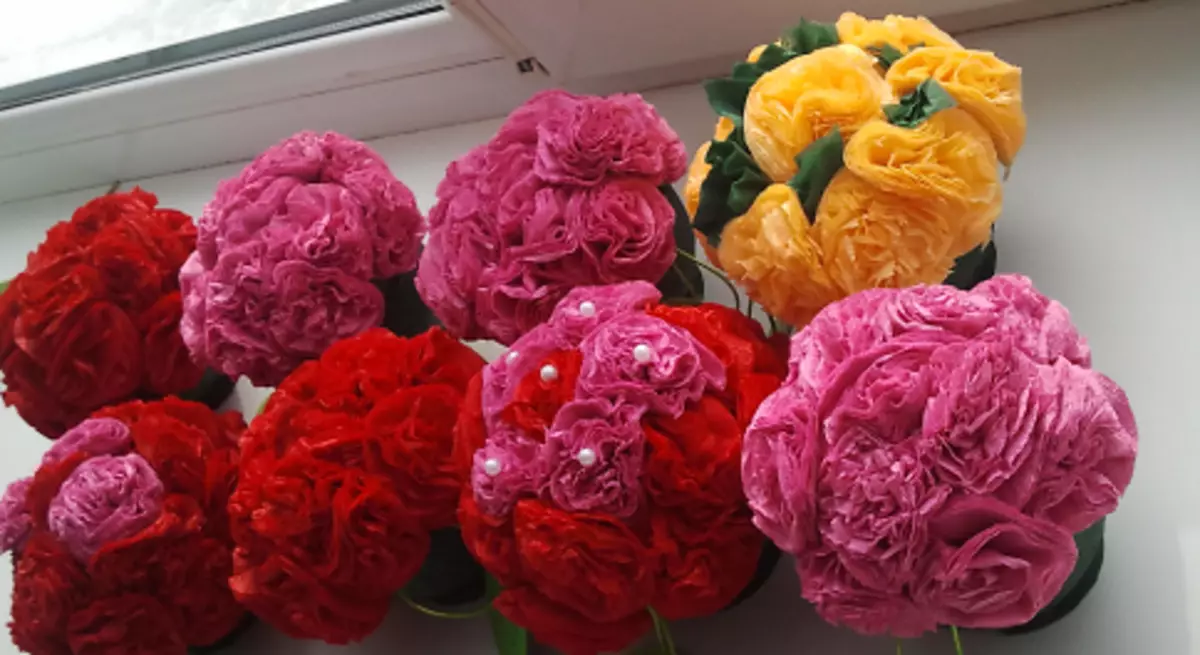
Topicia of lush colors
Options for creating flowers from napkins quite a lot and all of them can be glued to the crowns. Another master class "How to make topiary from simple napkins".
Article on the topic: Ideas of decoration of pillows with your own hands. Photo
Take the napkins and cut them into 4 parts, align 8 parts together, color can be combined. We visually divide them into 4 equal parts and secure the centers with a stapler, now cut and cut circles or flowers. Disable buds with your fingers. Now make a sufficient number of flowers and stick to the crown of the created crafts.
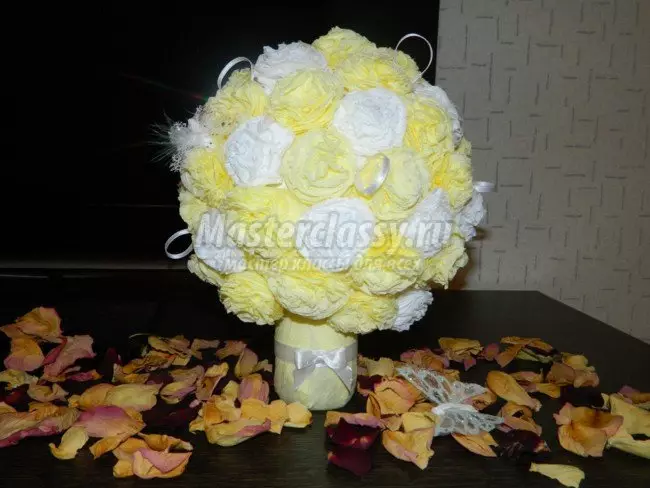
As you can see, floral trees from ordinary cheap materials, such as napkins, very simply create, and they look gorgeous. One such product is done in about a couple of hours of operation.