
The use of epoxy resin is varied: aircraft - covering wings, fuselage, helicopter blade; Construction - roads, bridges, decorative coatings, etc.; Mechanical engineering and even rocket art. But the article will describe how epoxy resin for jewelry is used. Of course, for decorations it is necessary to use the resin for creativity. For those sectors that are listed above, a product is required in composition.
Our master class will begin with safety, as it is still a chemical product:
- Avoid getting material on the skin and mucous membranes. If such a situation could not be prevented, then removing a cloth or a napkin, rinse well;
- Resin is not used for items that are found or will be in contact with food;
- The material for creativity practically does not smell, therefore it does not irritate the eyes and mucosa of the nose. However, we recommend working in a ventilated room.
To work, we need resin itself and hardener. They, as a rule, come in the kit. We mix in the proportion described on the packaging of products. This is 1 part of the hardener and two resins. We mix carefully, however, they do not beat, because bubbles can form that from the surface of the product will be difficult to remove. Next, we already apply according to one or another MK. It dry products 24 hours at room temperature.
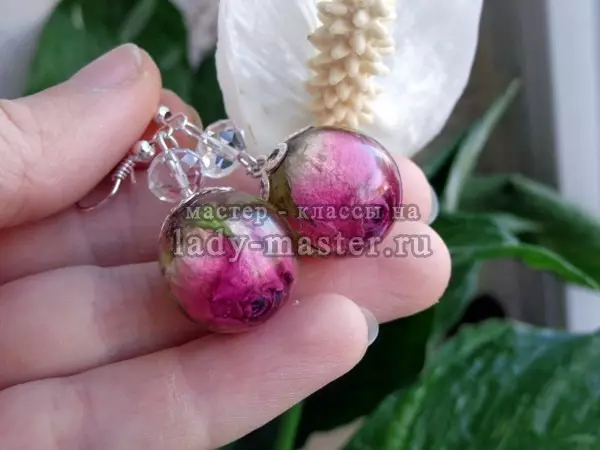
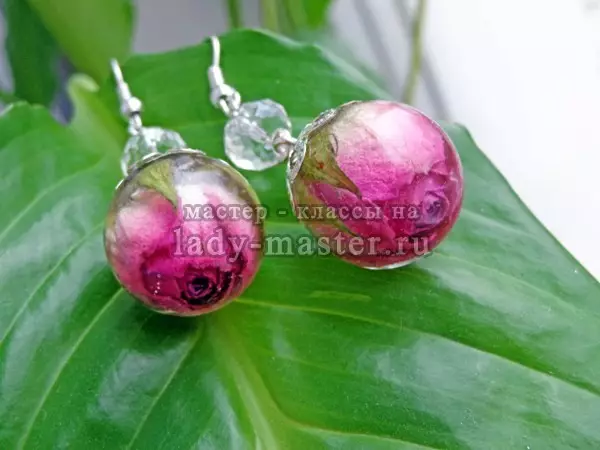
Stylish earrings
For earrings we need:
- resin;
- The basis for earrings-cloves;
- diverse glitter, mica, sequins;
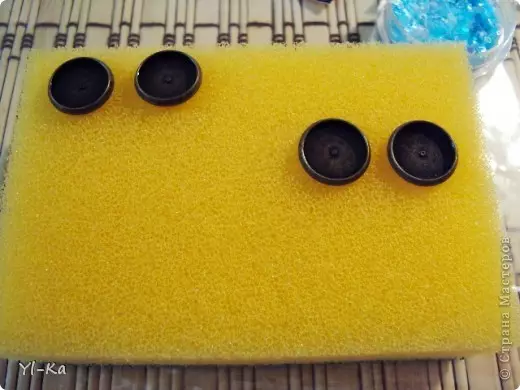
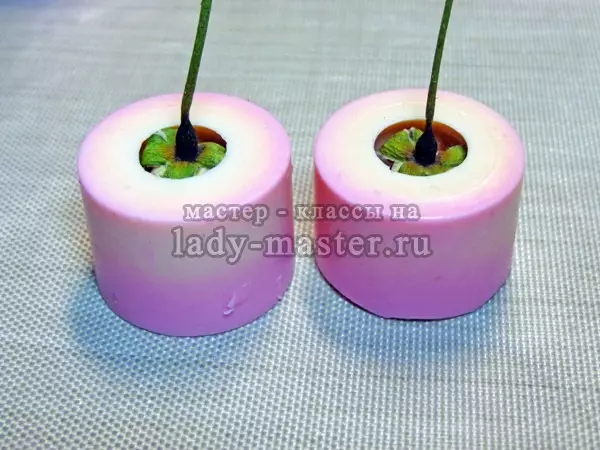
- Sponge for washing dishes to facilitate the assembly procedure.
We stick the basis for an earrings in a sponge. So the decor and the resin will not be crumbling will be flooded smoothly.
We fall asleep the brilliance, mica, you can even small beads.
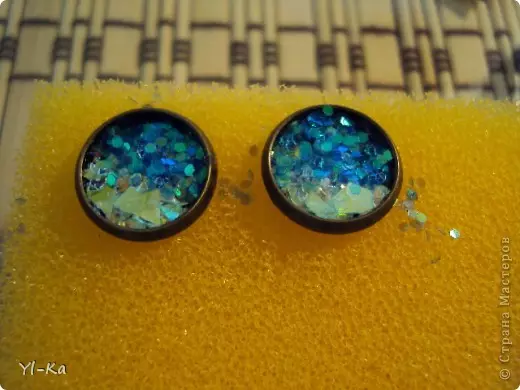
Gently from the tank (can be plastic cup), in which the resin was mixed, helping a wooden skewer or toothpick, pour the resin to the decor. If bubbles appeared, then you drive them out the same toothpick. We leave for frozen.
Article on the topic: Decoration of dishes do it yourself: master class with step-by-step photos and video

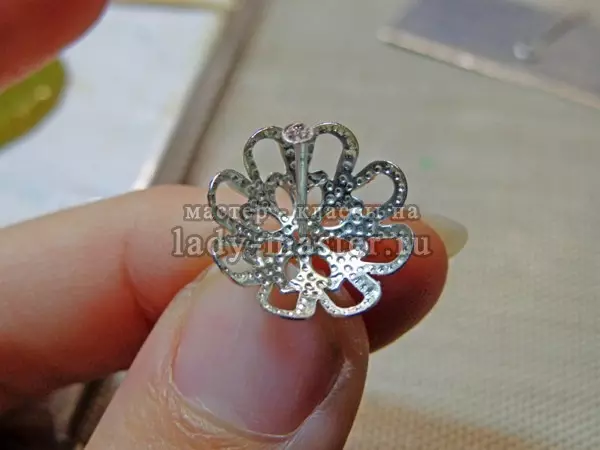
You can purchase a form for the creation of balls and boutons of small roses.
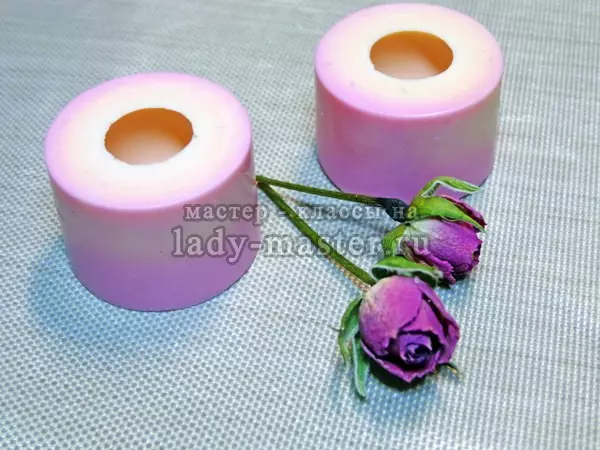
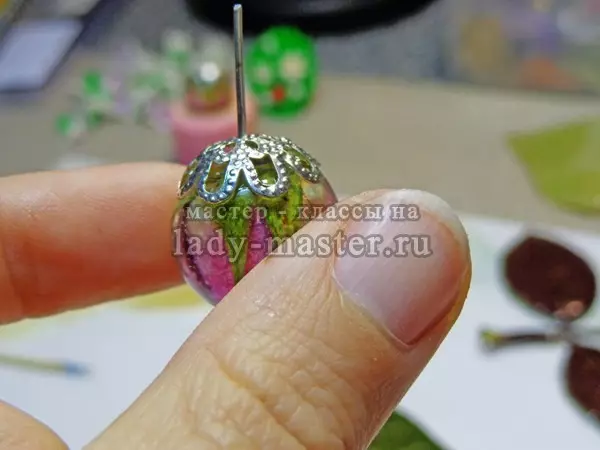
On the fifth part, fill the molden resin. If you put more or less, then the resin simply pours roses. And leave for 24 hours to frost.
After, we prepare a new portion of the resin and pour to the top of the form.

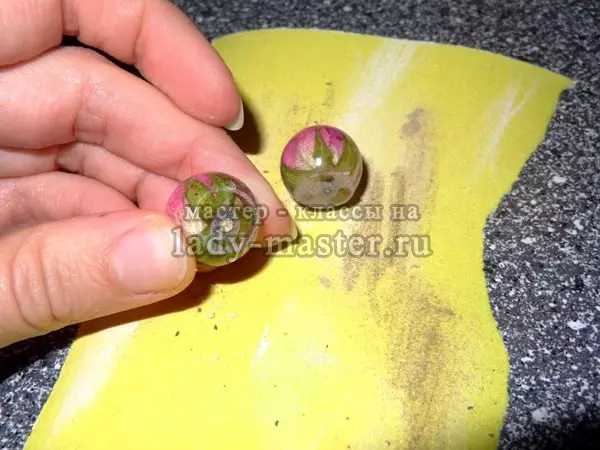
Where there was a plants skelter, cut off and grind with sandpaper or saw. Then we drag a very small amount of material and we rinse the treated zone, pre-rinse under running water and wipe dry.
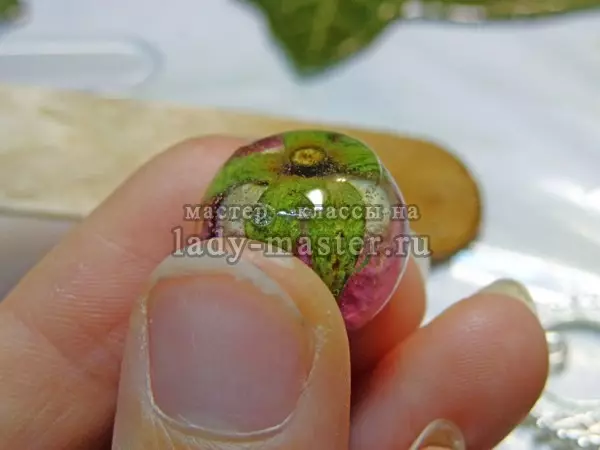
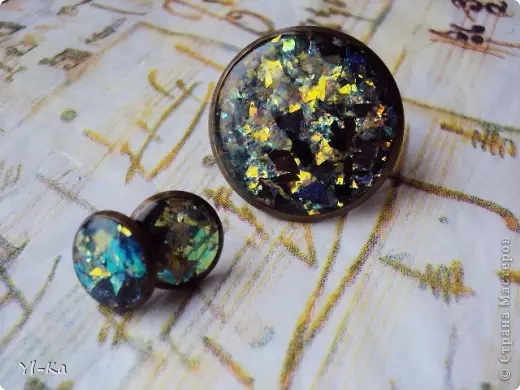
On the intermitted area, we place the necessary accessories for earrings. And leave to stick.
We drive the tip of the carnation and inventing the Swedza. You can add decor by beads.
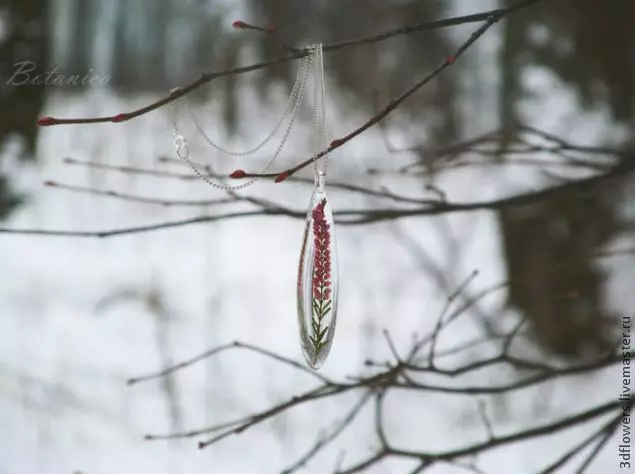
In the same way, you can make the suspension to the set to earrings.
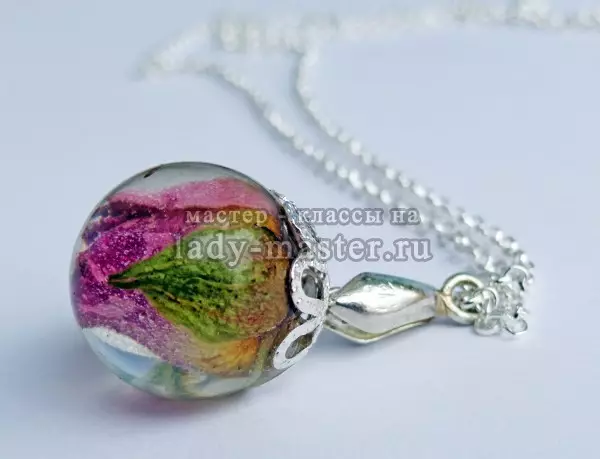
So, for example, the same suspension looks like, but with a dandelion inside:

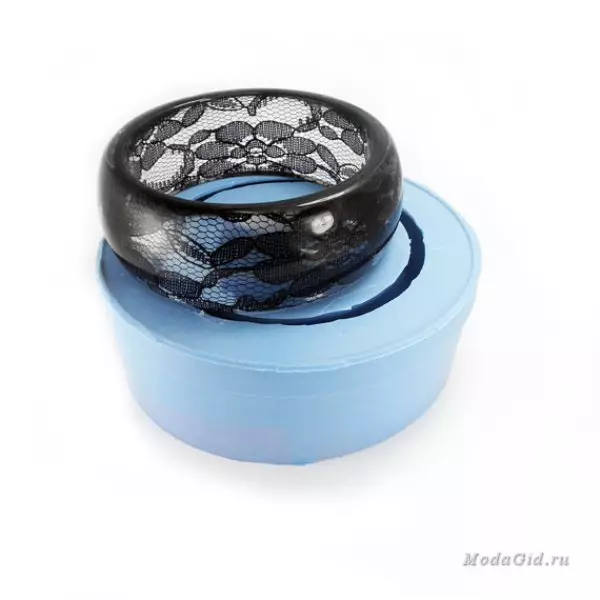
Mastery bracelet.
To make it, we need a form (Mold), dried plants.

Pour into the form of a resin. Better until the edges do not reach. Now with the help of a stick, we place a drywalk along the workpiece. Leave to stick. We take out from the form and use the new bracelet in direct appointment.
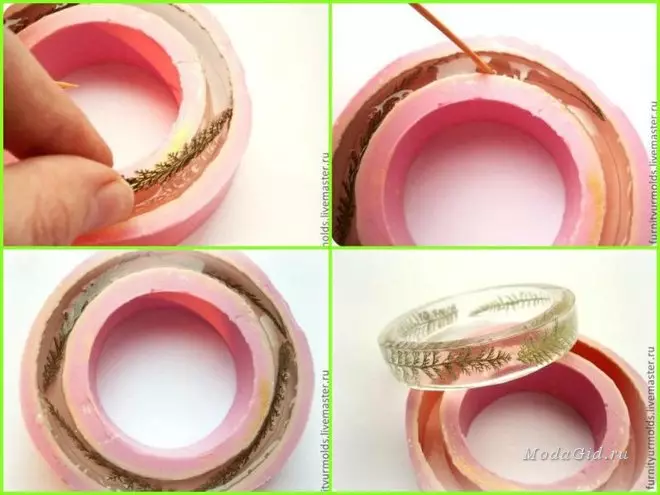
Depending on the mold and the size of your decor, you can get bracelets of a variety of sizes.
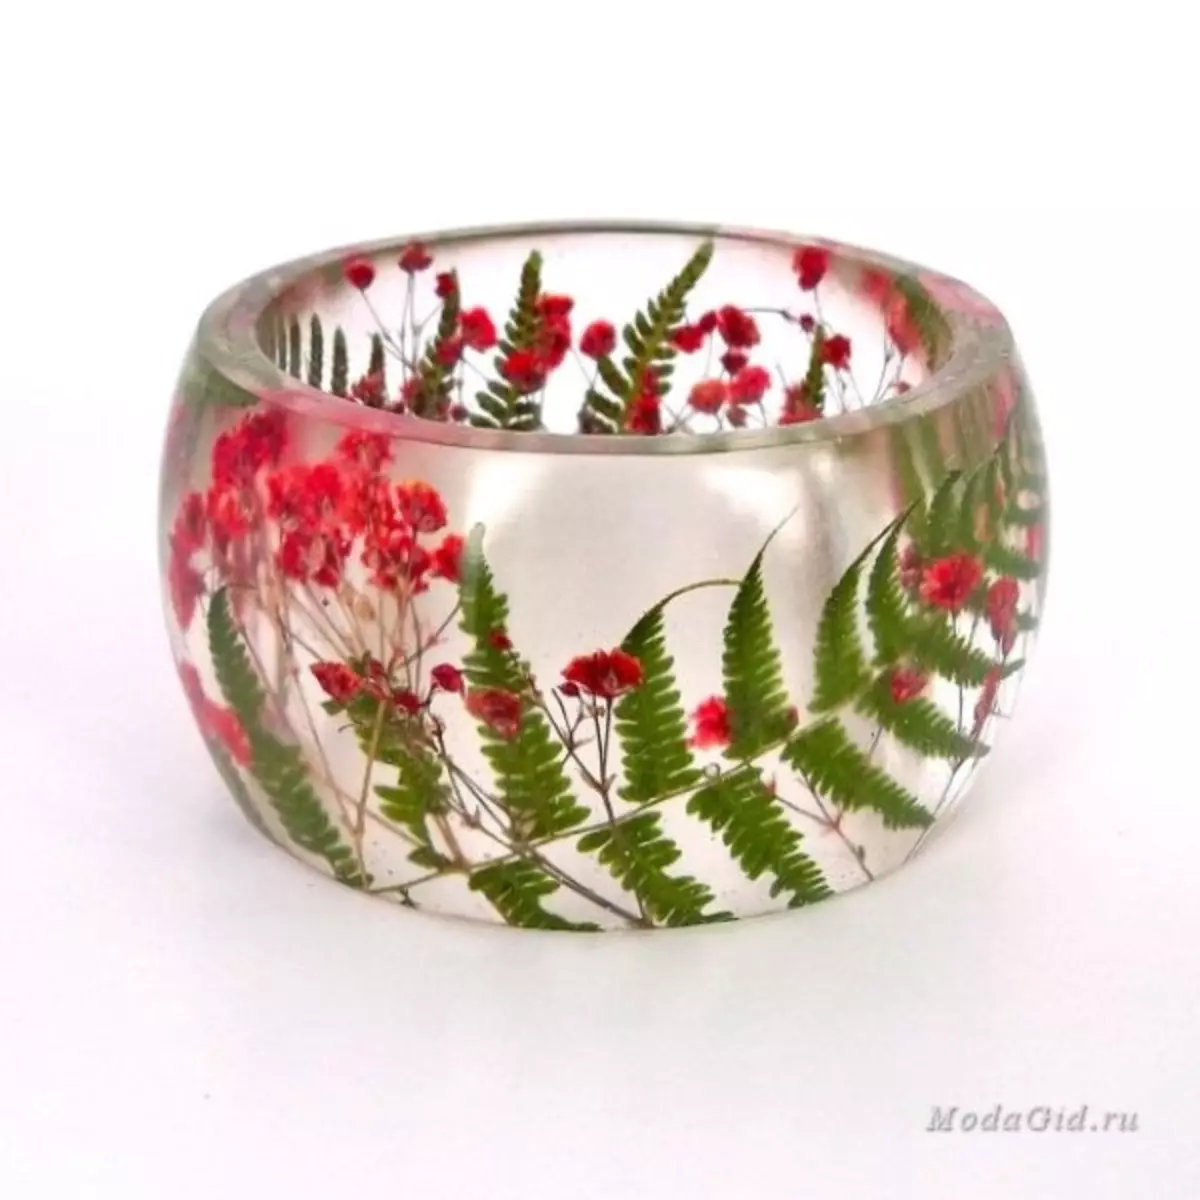
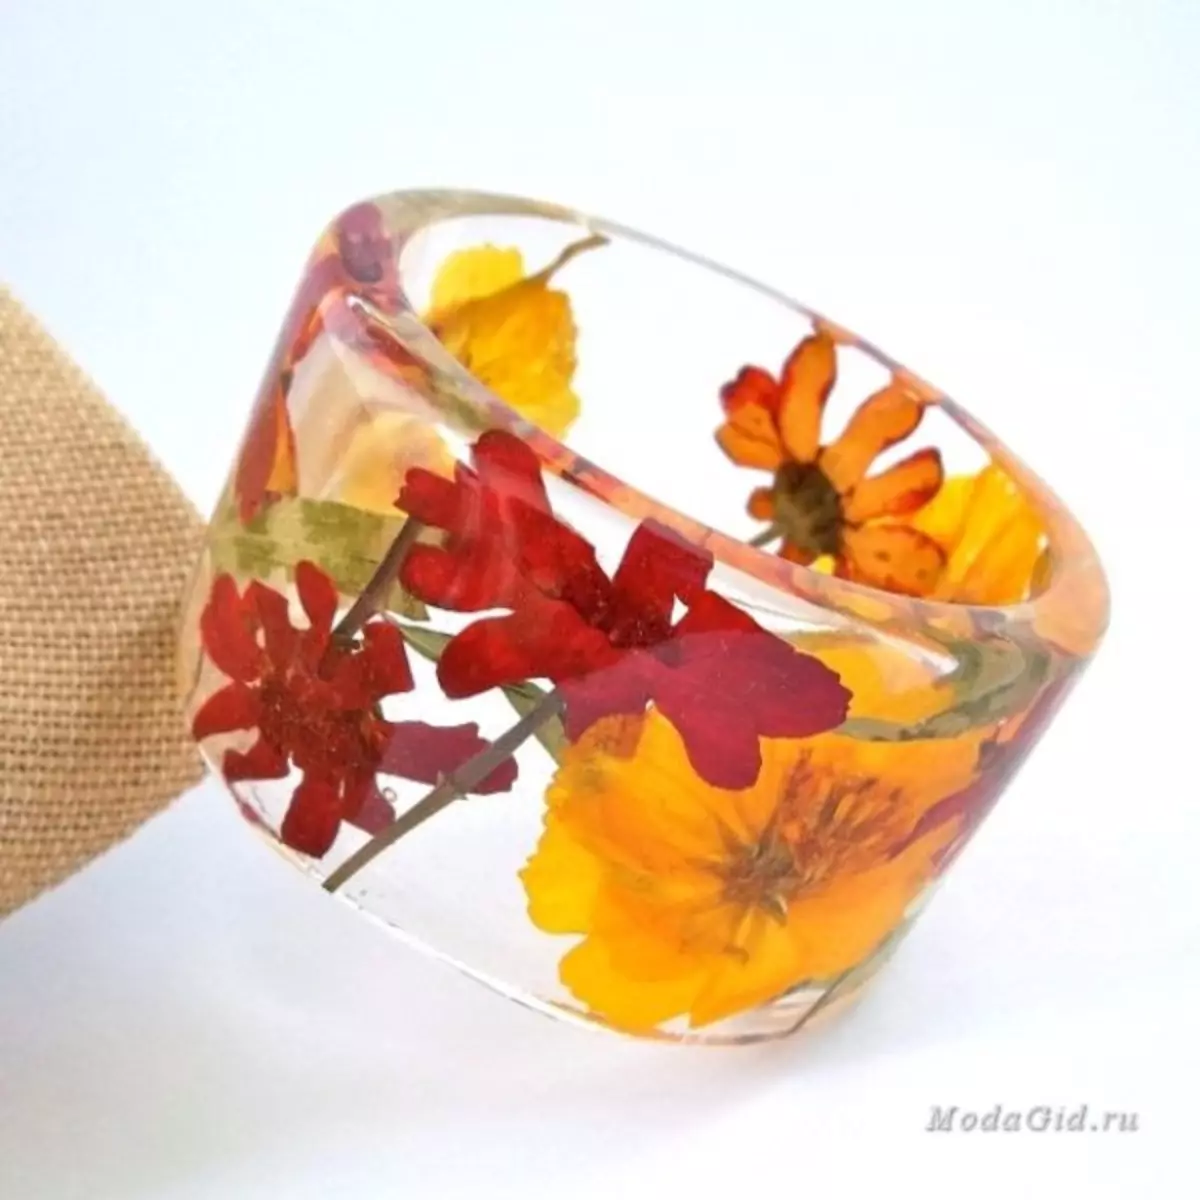
And if you place a family or lace in plants instead of plants, then the following products will turn out:

We complement accessories
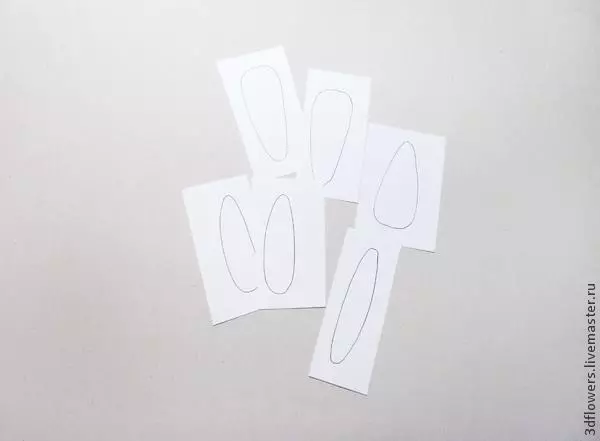
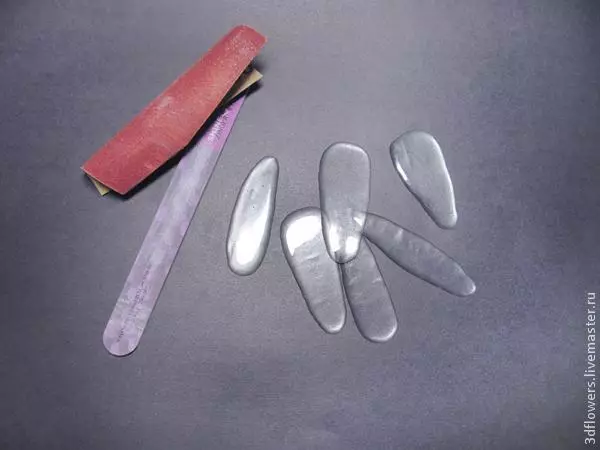
If you want to make a pair to such a bracelet pendant, but there are no appropriate forms, then we offer the following way. Draw on paper Template Future Cool.
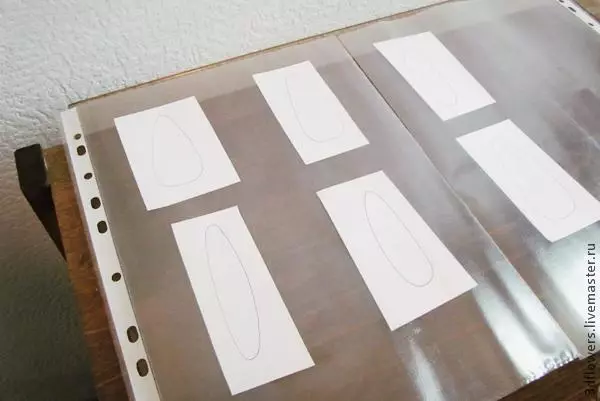
Now we place it in the file. And all this workpiece must be placed on a flat horizontal surface.
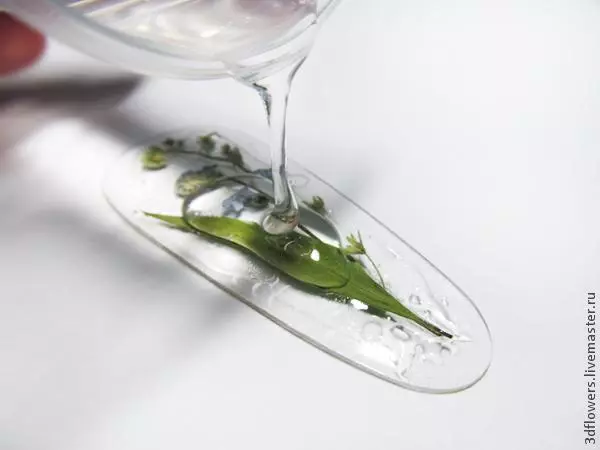
Now fill in the resin pattern. And leave for a day to stick.
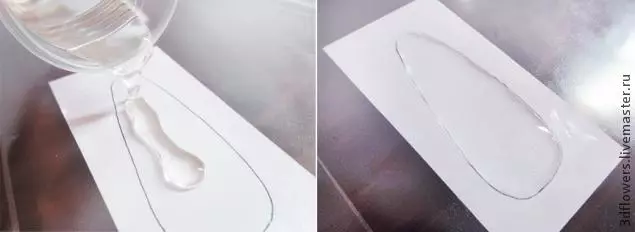
Here are the basics for the coast we will turn out.
Please note that the edges will be uneven, therefore simply process them with sandpaper or saw.
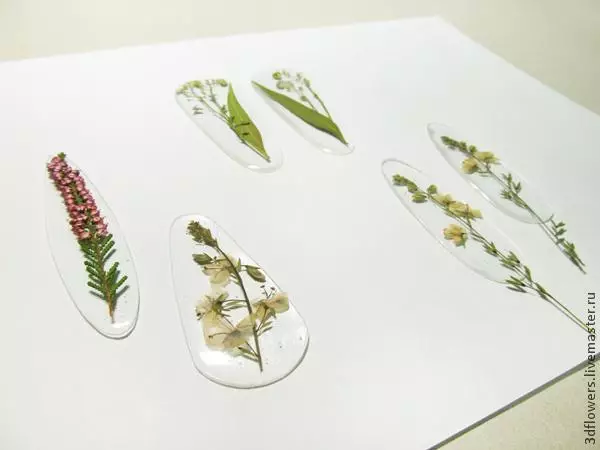
We place in the blanks of drummer, photos, lace or other decor. Fill with a new portion of resin.
Article on the topic: We clean the iron with a steam generator from scale and nagar
In the case when we want a more voluminous pendant, we can wait a few hours and re-fill, but more thick resin. Also, if your file has some texture and the reverse side of the product you do not like it, then after the frozen of the front part, cover it with a thin layer of resin.
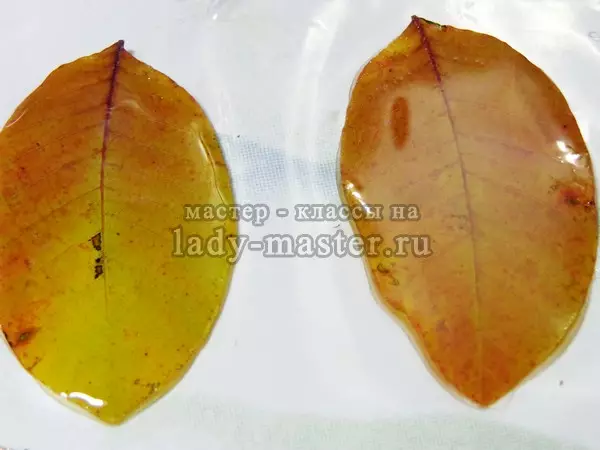
If you have a whole dry leaf, then the base is preparing for it. Next, fill and get such a suspension.
Tree and resin.
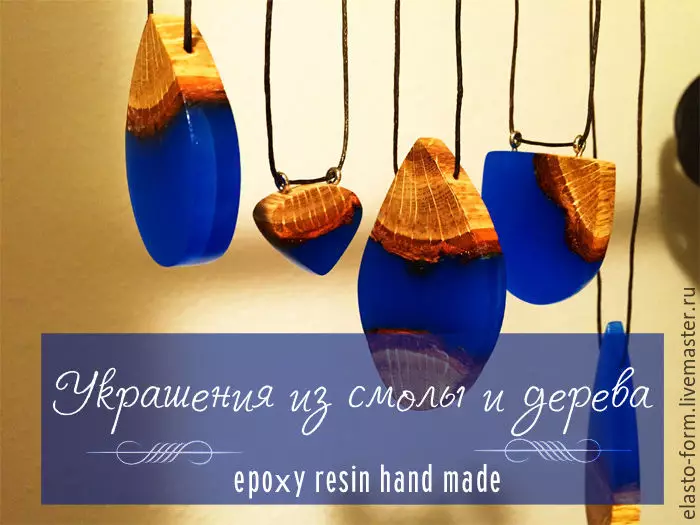
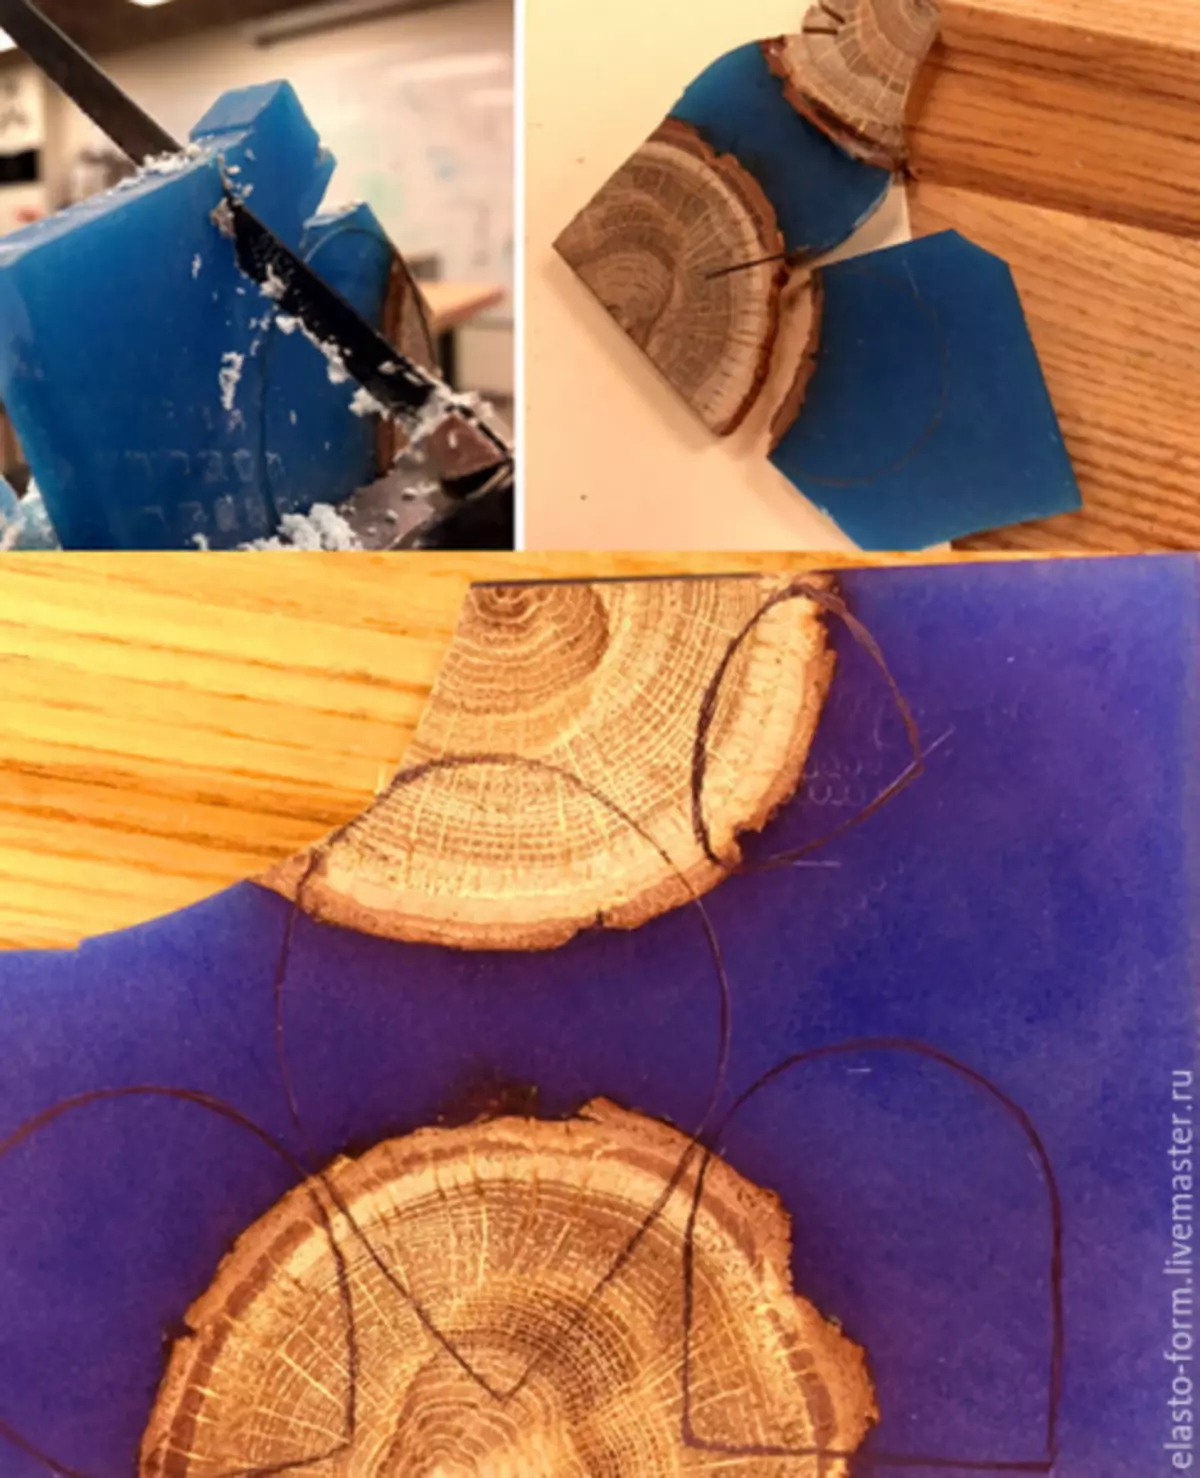
These decorations are glowing in the dark. What other than the resin will need to create them? Actually, the tree itself. Luminophore or fluorescent pigments, they must be added to the diluted resin. We place a tree in the form according to the idea.
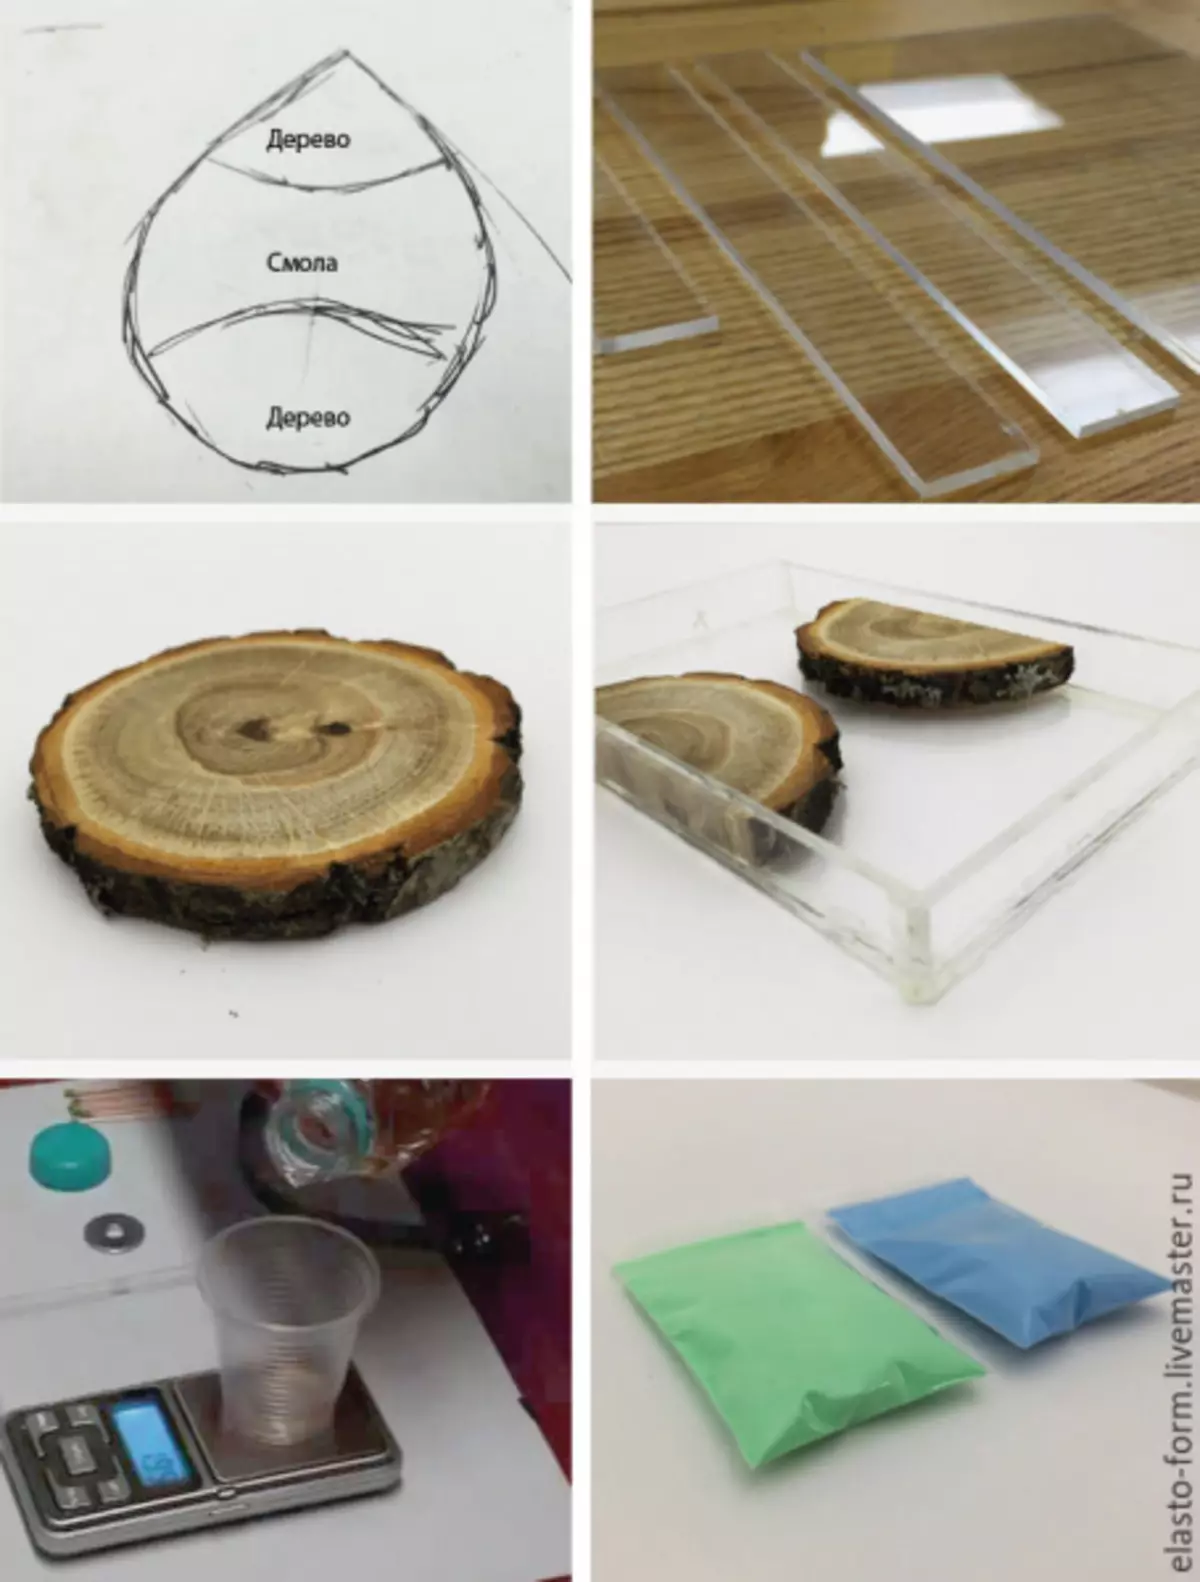
Fill with a mixture of resin and pigment.
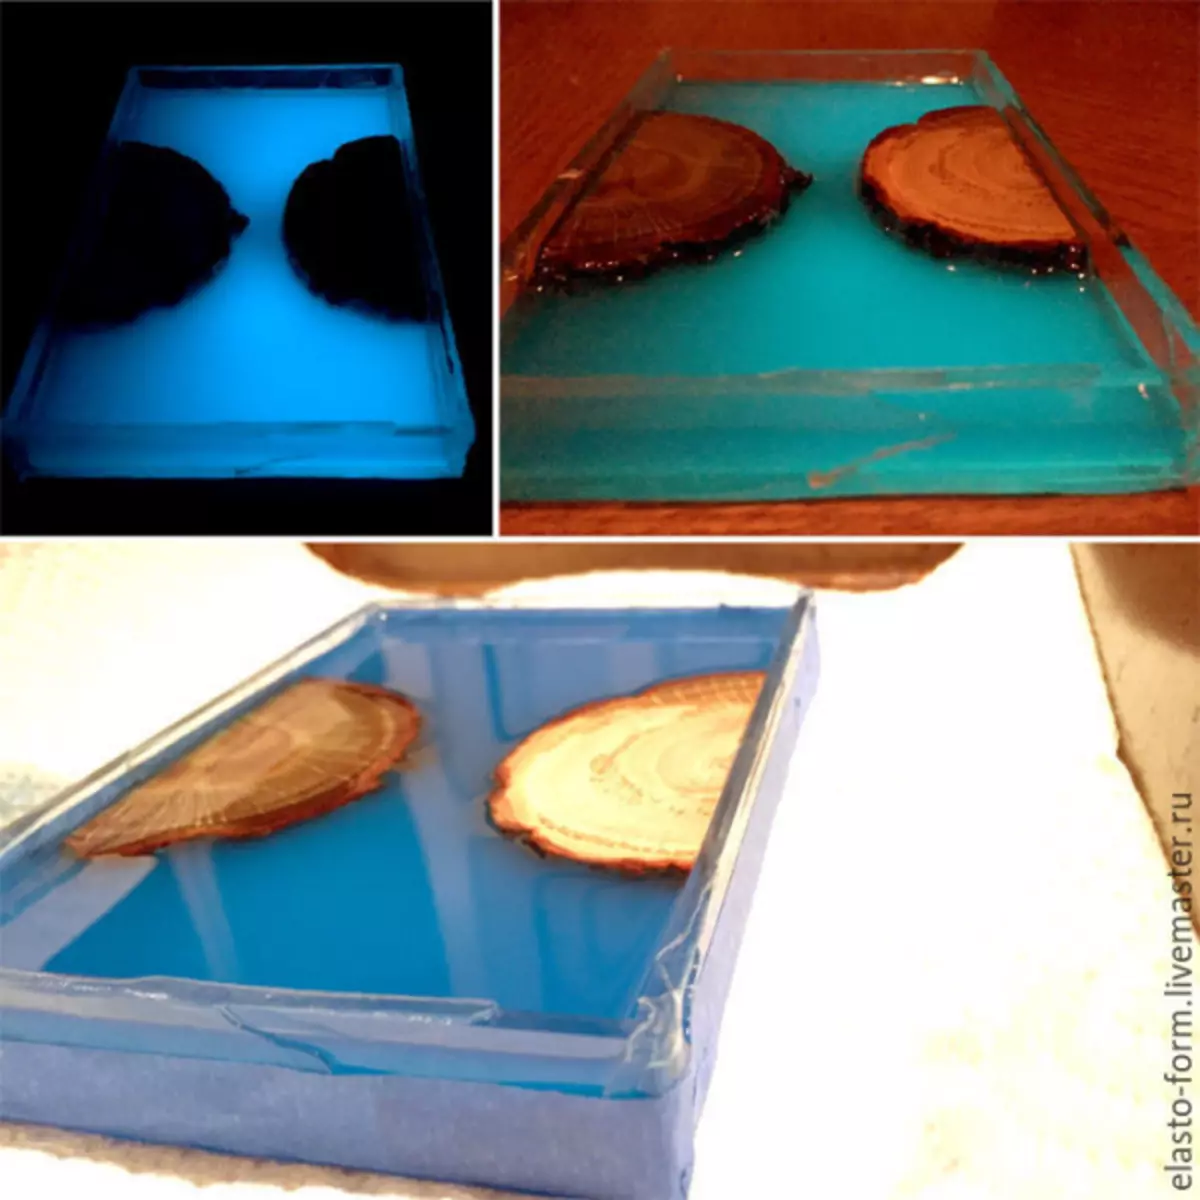
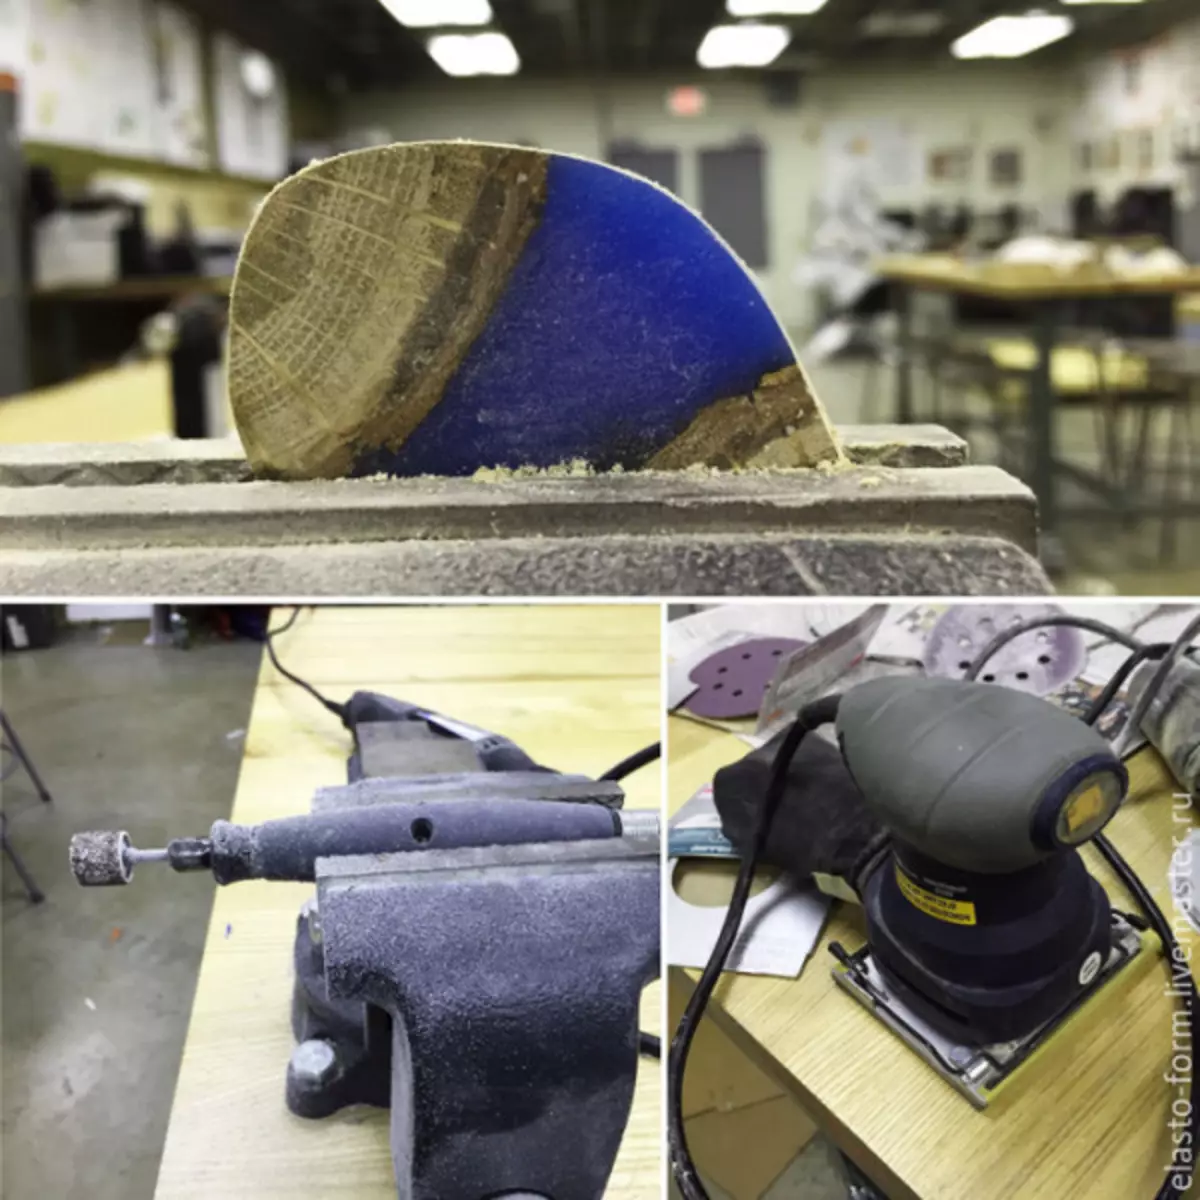
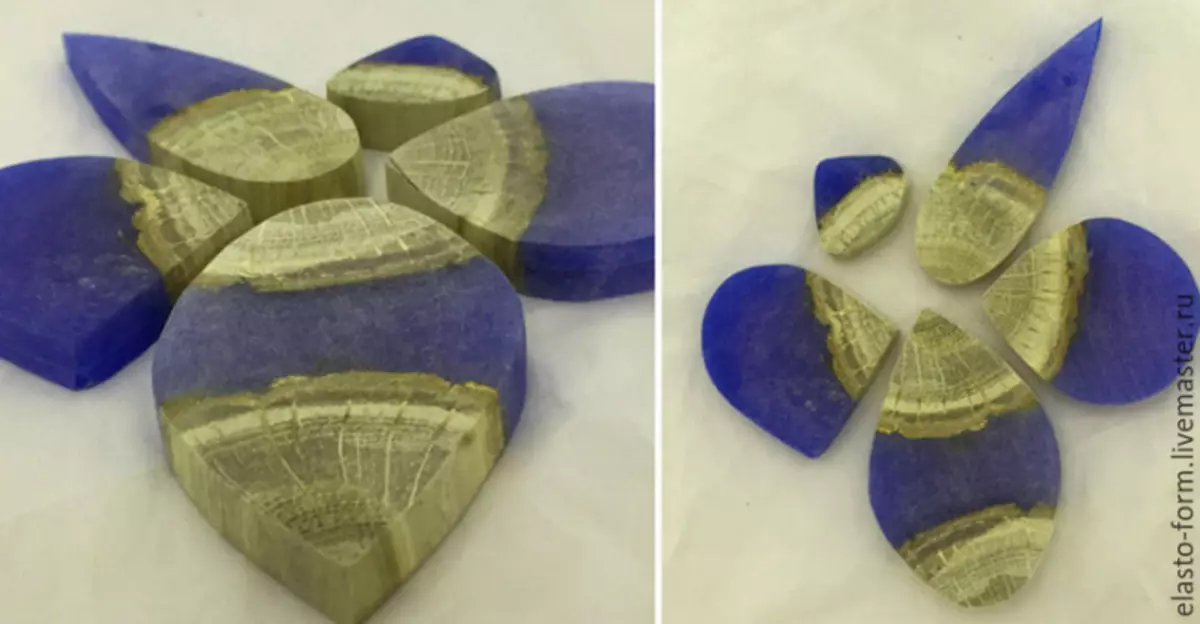
Leave to stick for 24 hours. Next, take out from the form, draw the desired forms.
Next, you will need tools: grinding, manual milling machine Dremel (you can analog). It may be from your man or you can contact the workshops for renting equipment. Cut and grind the blanks.
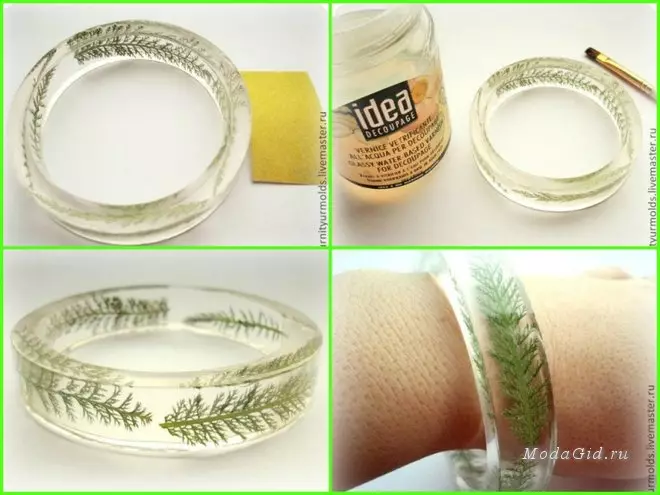
In the tree we make a hole to do the lace.
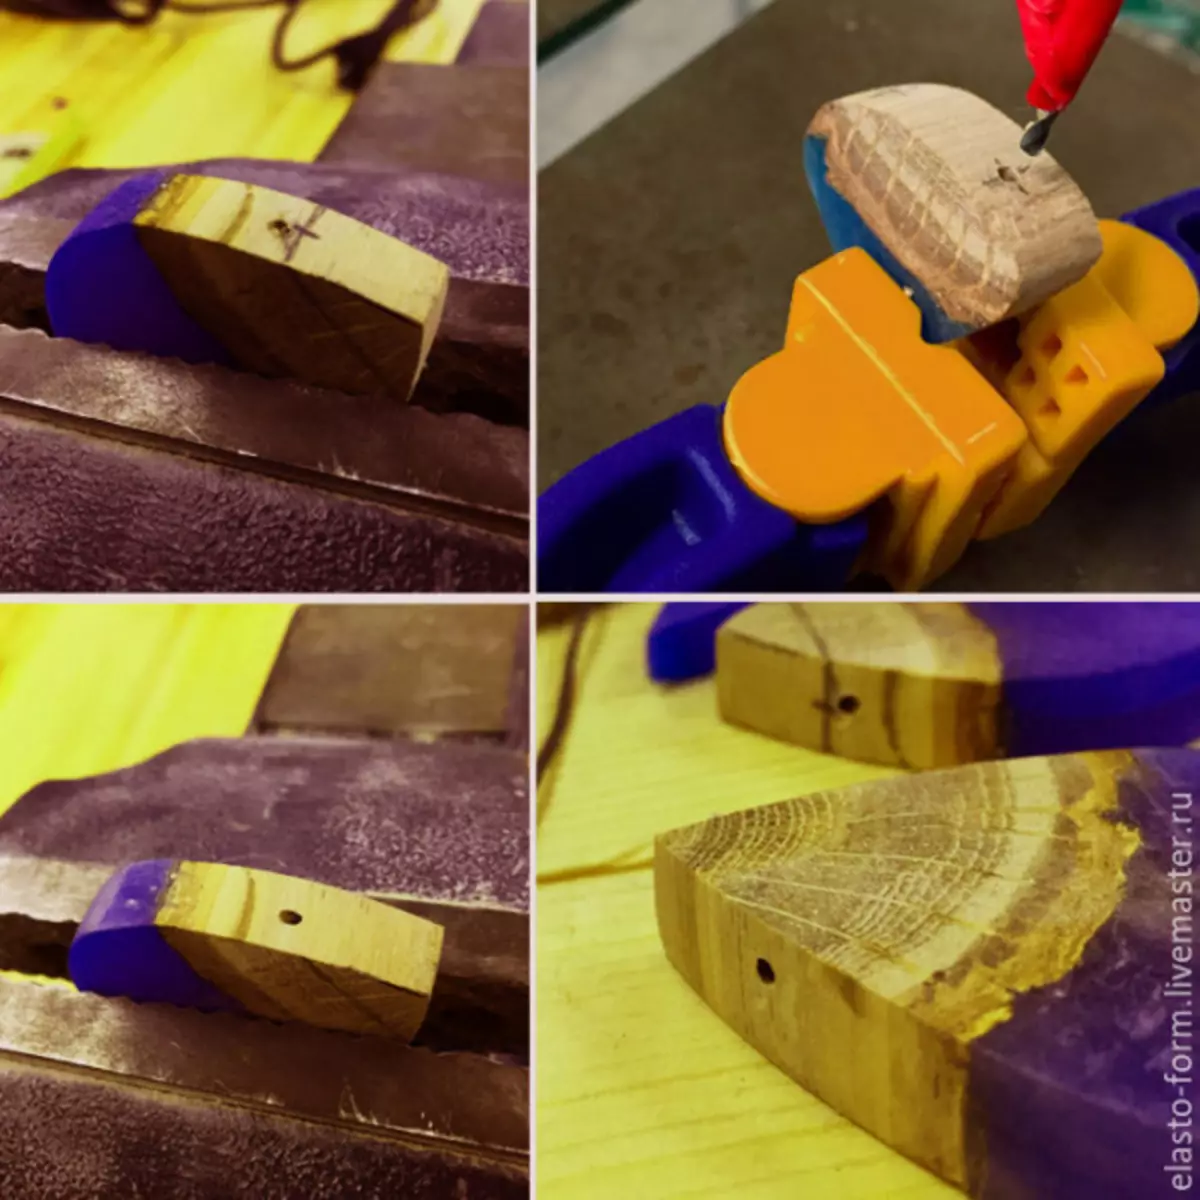
It is possible to cover the product with varnish.
Here are some options for creating jewelry with epoxy resin. Having learned to work with the material, you will become owners of just fabulous jewelry.