
It is very annoying when, after some time of the functioning of the entrance door of the house, the consumer observes certain violations: skew, loose adjustment or finishing defects. Contemplating these manifestations, the temptation appears to replace the door of the new one. But you do not need to hurry with the conclusions, because you can try to eliminate the problems that appear. This solution is justified, since many defects are easily eliminated. It also helps to significantly save money.
Repair of doors
The doors are divided into several types of both in structure and by material. The repair work of each species has its own characteristics.
Metal
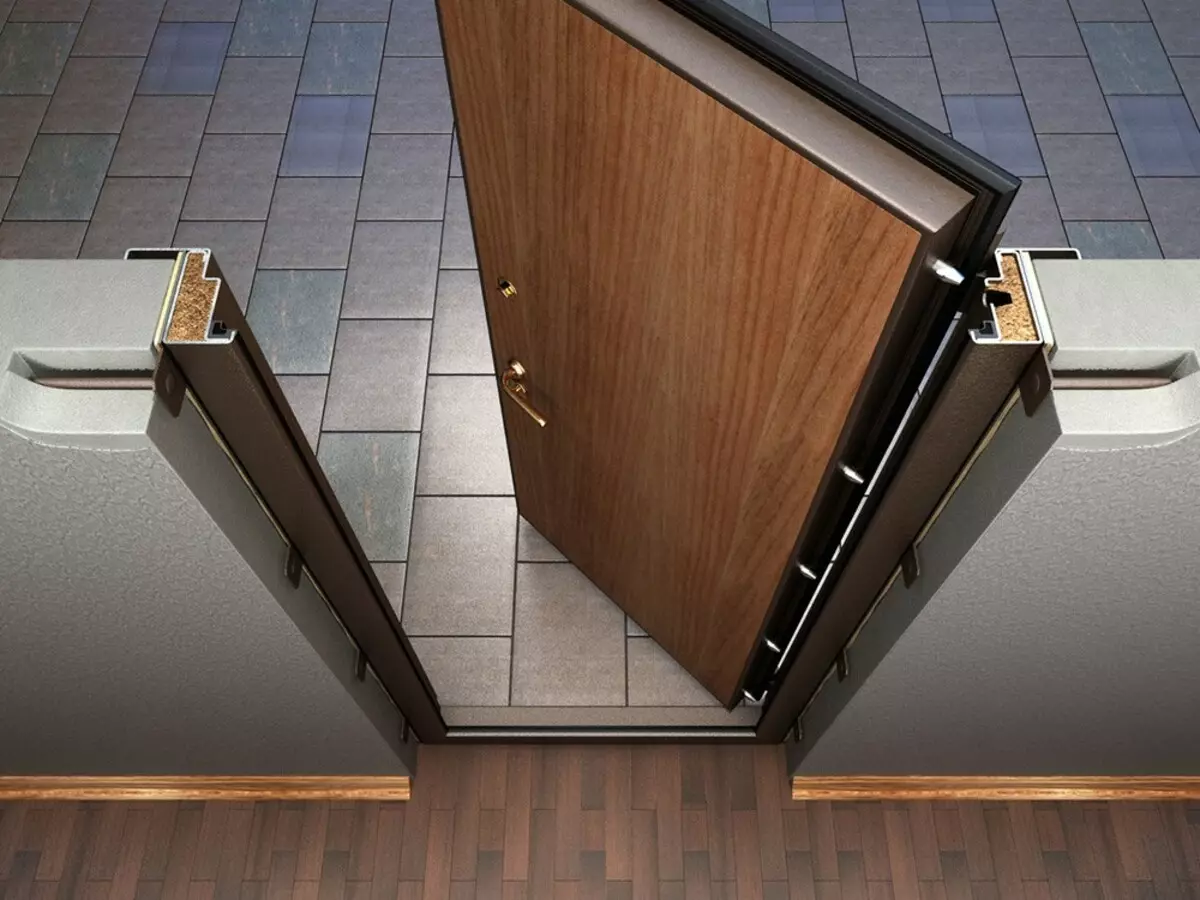
Metal doors are considered one of the most reliable structures, but despite this, sometimes due to certain reasons also require repair. Consider what defects may occur and how can they be eliminated.Dissotion door
This drawback is visible immediately - the scratching of the threshold, when closing it is necessary to make efforts, in cold weather there is a violation of thermal insulation and sound insulation. All these violations may appear as a result of various factors.
The main causes of the door skew:
- The canvas over time passed. The weight of the iron door is quite large, and the loops do not match in its strength, hence the skew. Eliminate such a lack is quite difficult, but trying to try. For this, old loops are neatly cut and try to change new ones.
- The loop with time was worn out. In this case, the repair described above is possible, but this method will not be possible if the loops are welded to the design.
- Door box twisted. You can correct the situation using wedges that are driven under the base of the box.
On video: repair and adjustment of the loops of the entrance door.
Appearance rust
Metal doors can be corrosion, especially at the bottom of the door leaf. To eliminate the coating defects, you must perform a number of activities for their restoration:
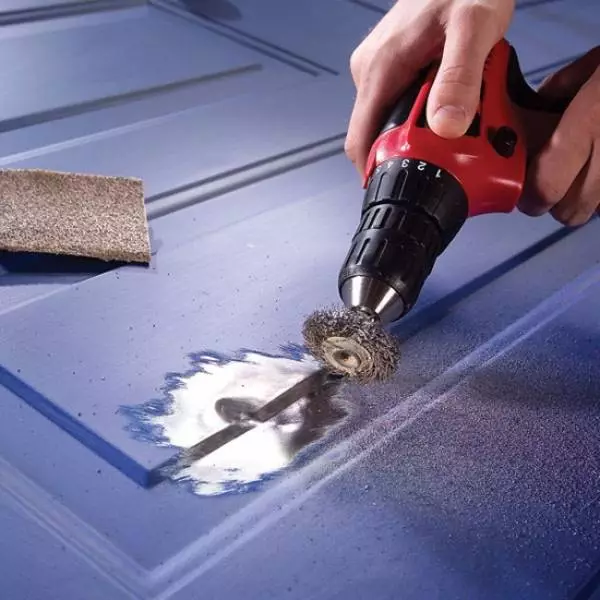
1. Processing the surface by means of a metal brush until the rust and old coating are completely removed. Using sandpaper makes surface stripping.
2. A special solvent is processed by a canvas for degreasing the surface, after which all the damage is eliminated by the film on the metal and again it is covered, covered with primer, better from aerosol cylinders.
4. After that, new layers of varnish or paint are applied. Before applying the second layer, it is necessary to wait for a complete drying of the first.
Wooden
After installing the wooden door, the hosts completely forget that the design requires constant care, and absolutely do not pay attention to it. And only when the first creaking or difficulty difficulty hears, they understand that everything is neglected. If you do not accept measures, you will have to change the door with time.
Typical precursors that the wooden door needs to be repaired:
- Sailing of the canvas and body scratching;
- the appearance of the screens
- relaxation loops;
- problems when closing the door, poorly enters the box;
- drying and appearance of cracks;
- decorative coating disorders;
- Problems with box.
Article on the topic: Doors and floor color in the interior: Tips for choosing and combination of shades | +65 photo
Troubleshooting
Sharing the boxes are usually eliminated by performing the following plan:
1. The design is released from platbands and the door canvases.
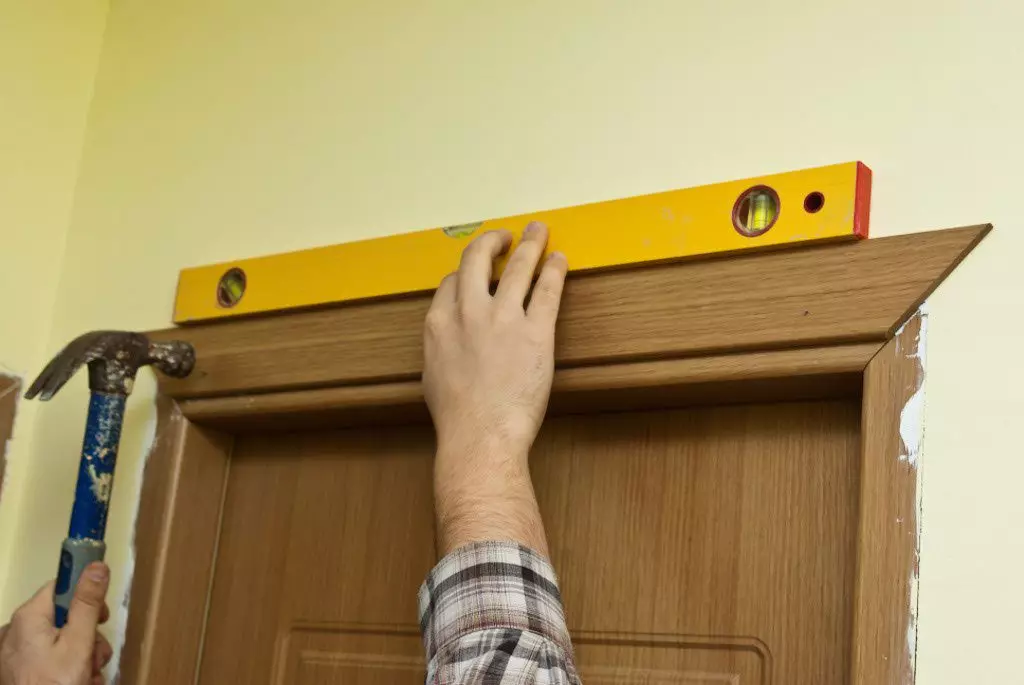
2. Through the level, steps to align the box and fix it with wedges.
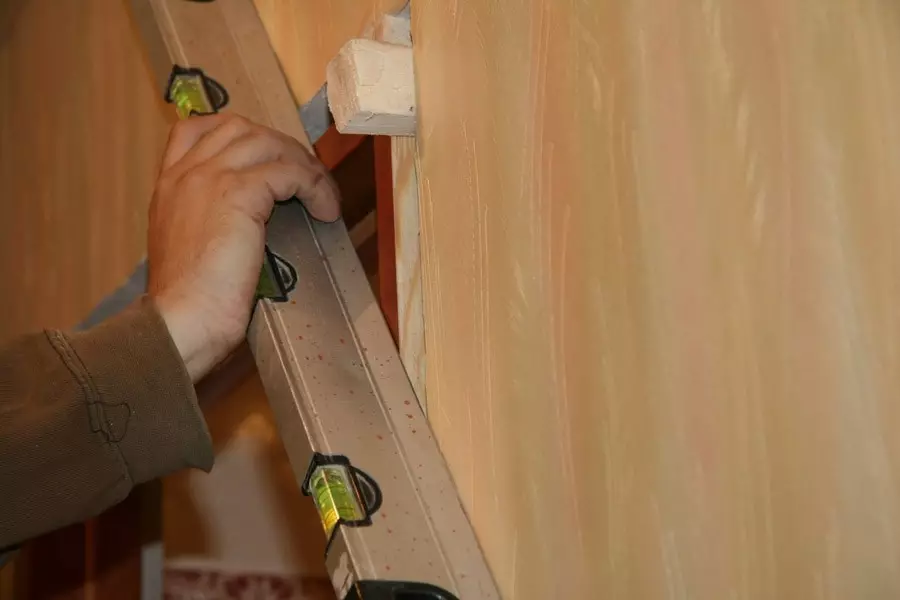
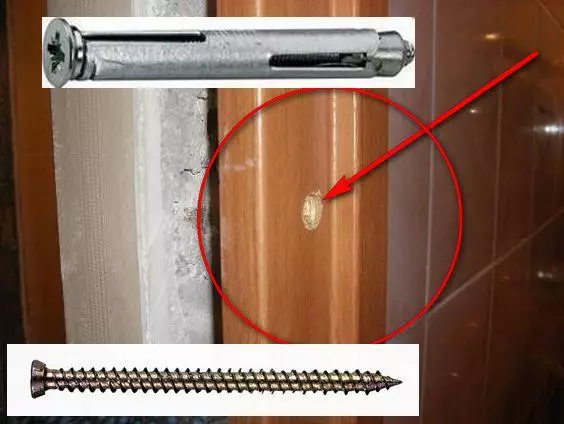
3. In the lateral parts of the design, 2-3 holes are drilled with a certain deepening into the wall. The holes are made from solid trees or steel pins and score them.
5. The door canvas hangs on the loop again, platbands are attached (use the level when installing them).
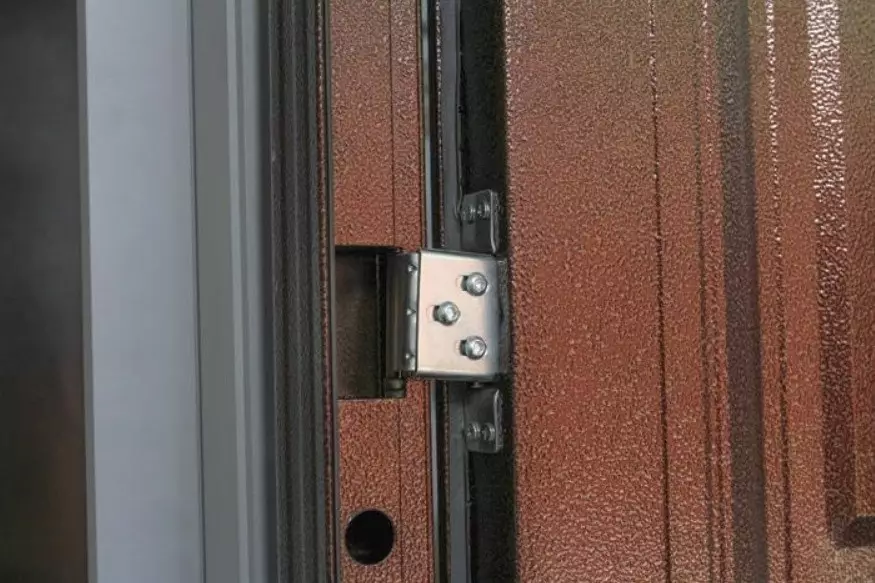
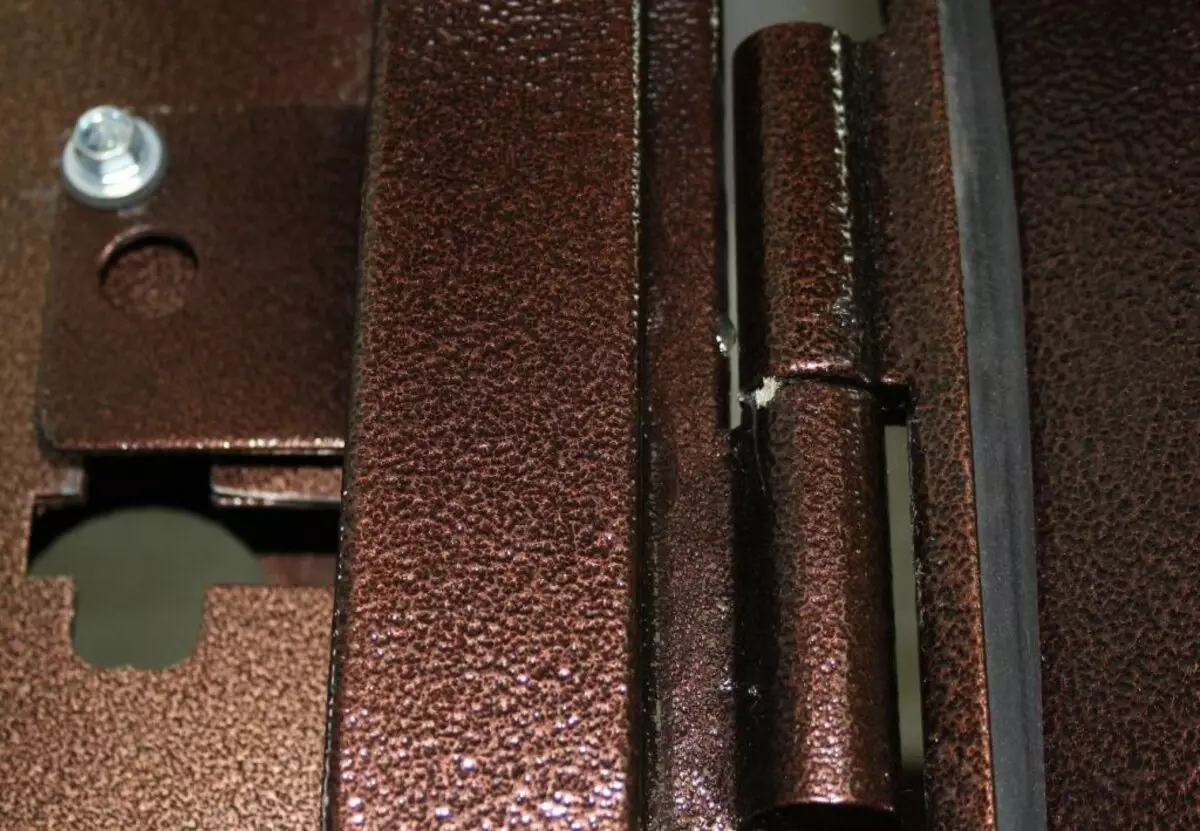
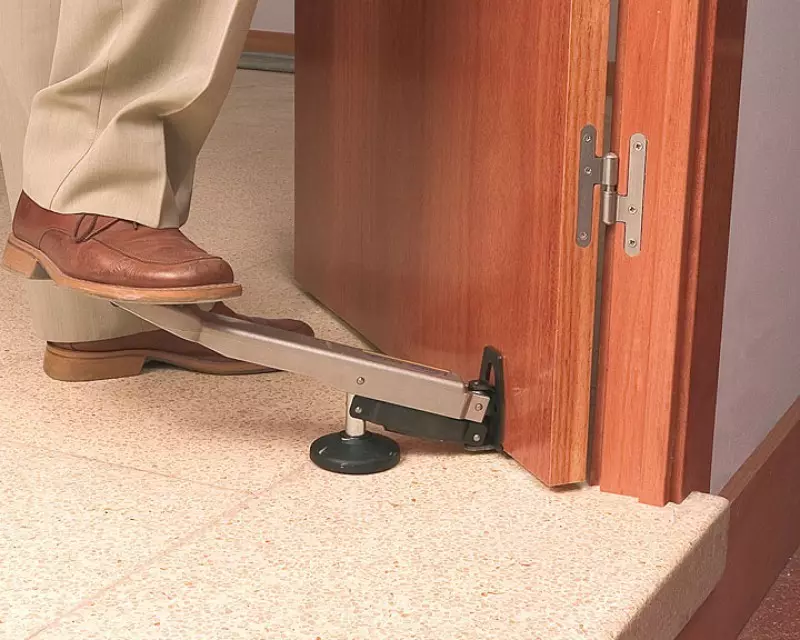
Moting with loops
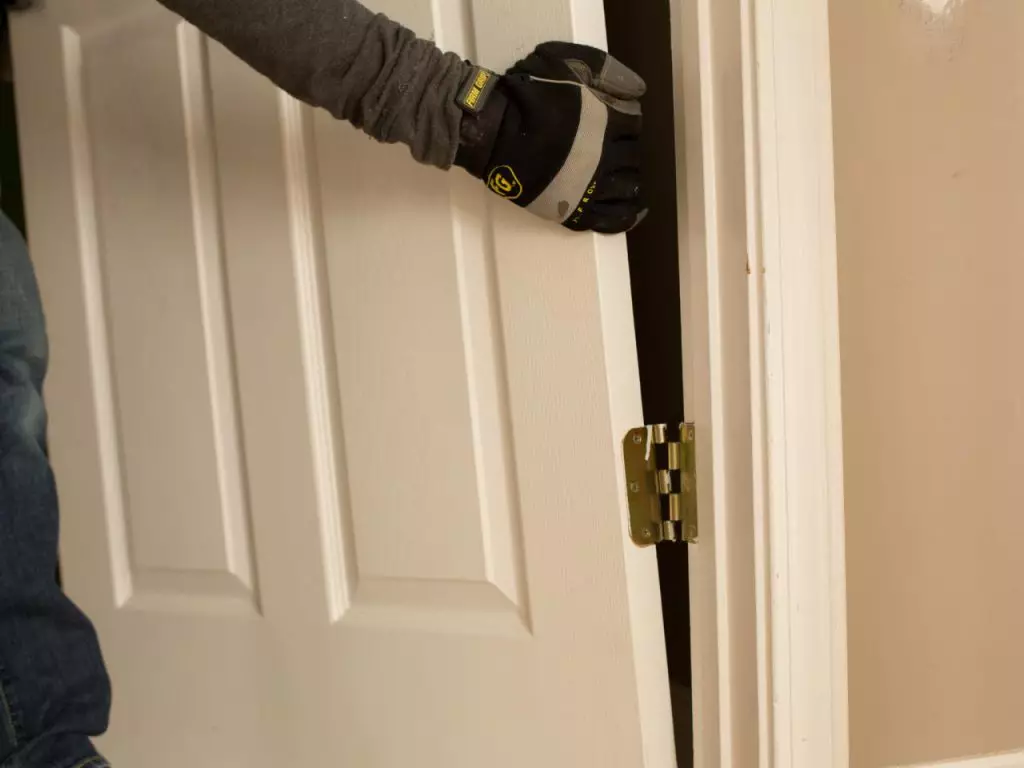
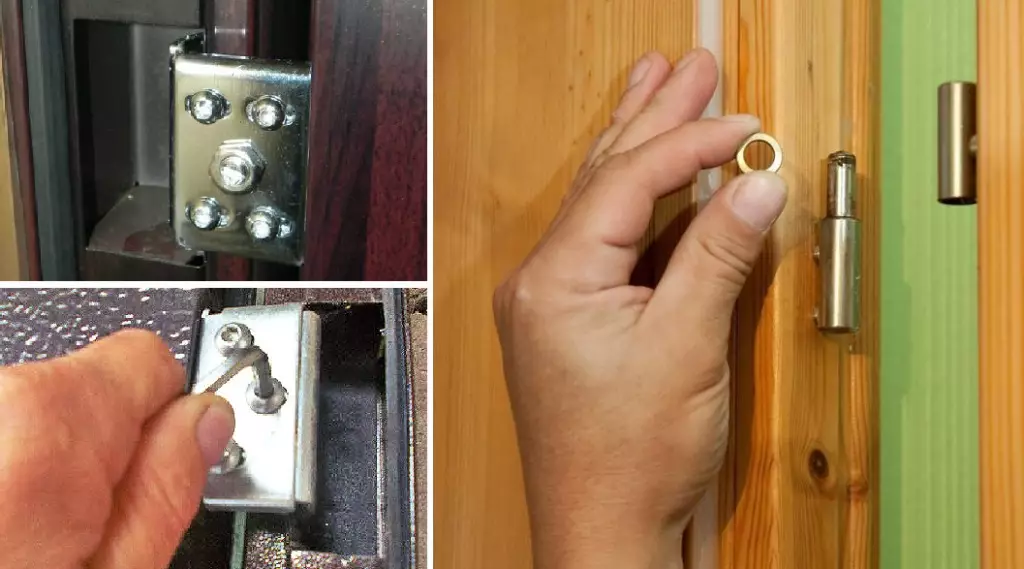
In the event that there is a hide of the doorways of the threshold, a fragile mounting, tenting, this is a signal of problems with hinges. It is necessary to make an assessment of their state and decide what is necessary to troubleshoot: complete replacement, regulation, or their movement to a new place.Let us give a list of several problems of solving problems with hinges:
- Checked fasteners, especially top. If the fasteners loosened, sometimes it is enough to simply pull the screws with a screwdriver.
- If the canvas looked at very little, then you can return it to the starting position by a ring from a dense wire on the loop.
- You can try to deepen the recess under the loop in the door frame.
- If the listed methods did not help to eliminate the problem, then the loops are better changed.
On video: elimination of door defects.
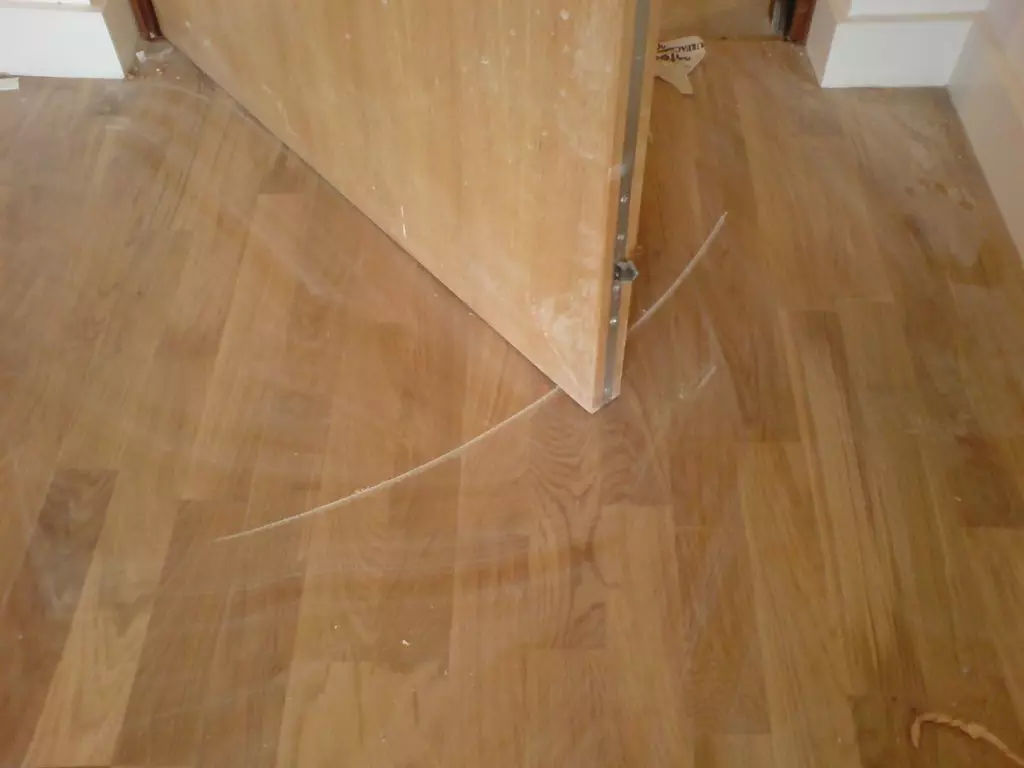
The appearance of cracks on the door surface
The usual phenomenon for wooden doors is the appearance on the surface of cracks, chips or scratches. They can be completely close independently, although the process is quite time consuming. This embodiment of the surface of the door canvase is available to almost every consumer, both in terms of cost and on the process of performing work.
Restoration work is performed according to the following algorithm:
1. Dismantling doors. The canvas stacked in a convenient location, to the floor it is better to lay a passionate film.
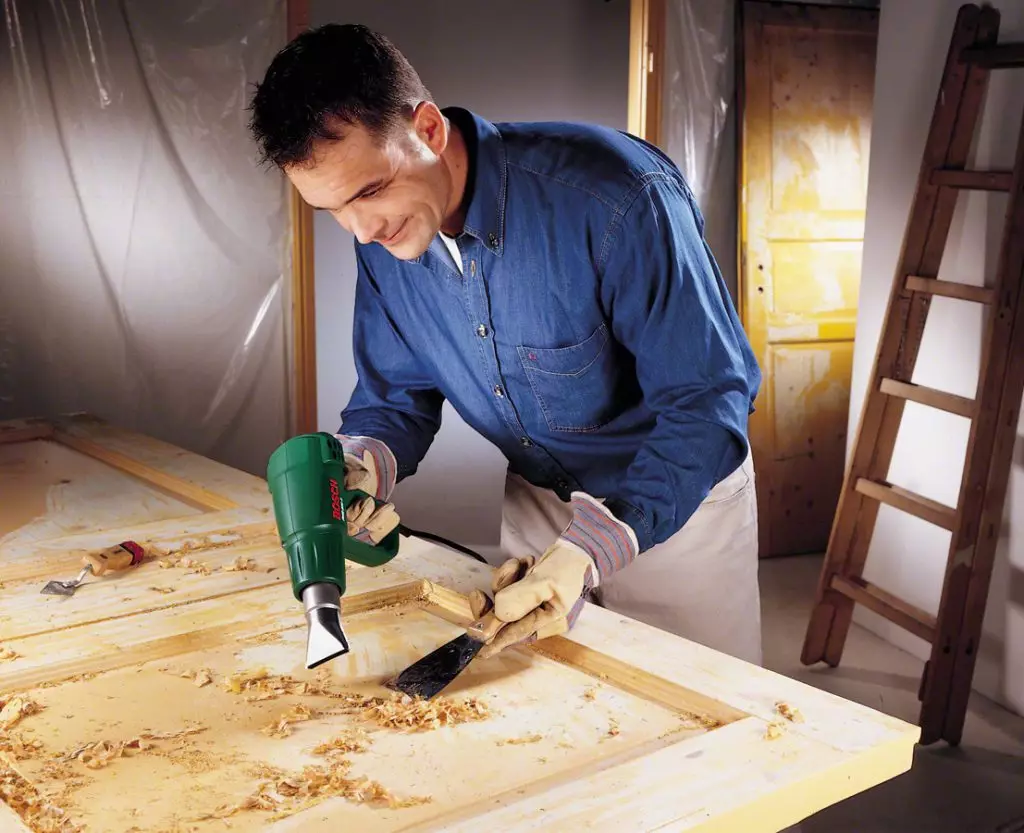
2. Old finish is removed from the surface. Here, sandpaper of varying degrees of abrasiveness will come to the rescue, special means for washing paint or construction hairdryer.
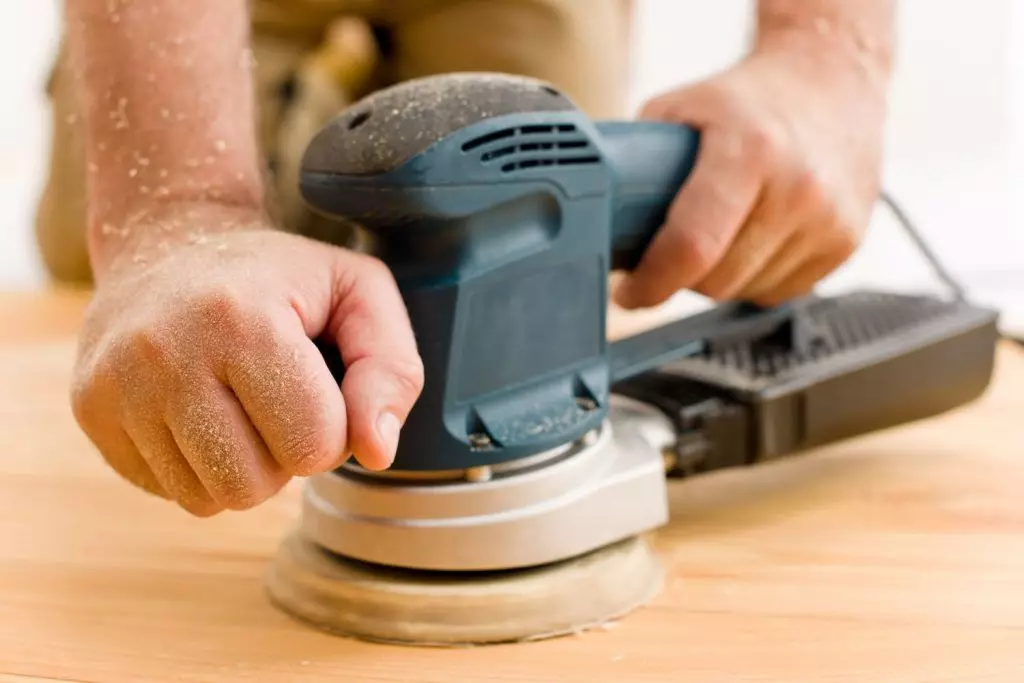
3. A complete grinding of the door canvase is performed. This is used both manual and machine methods. In the first case, you can use sandpaper, in the second - grinding. The last option is less labor-intensive.
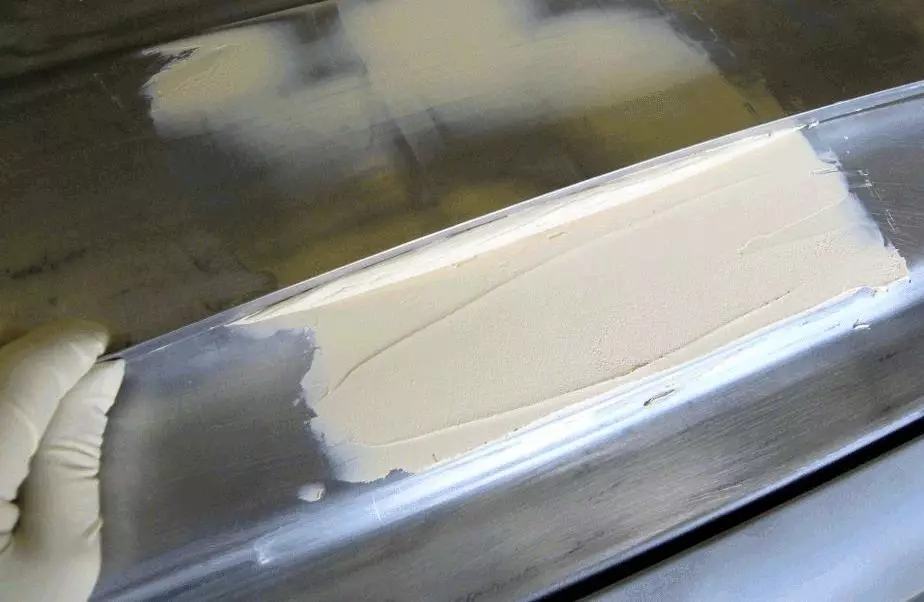
4. With the help of a woodspread on a tree, all defects are eliminated. After complete drying of the material, re-ecuring is carried out.
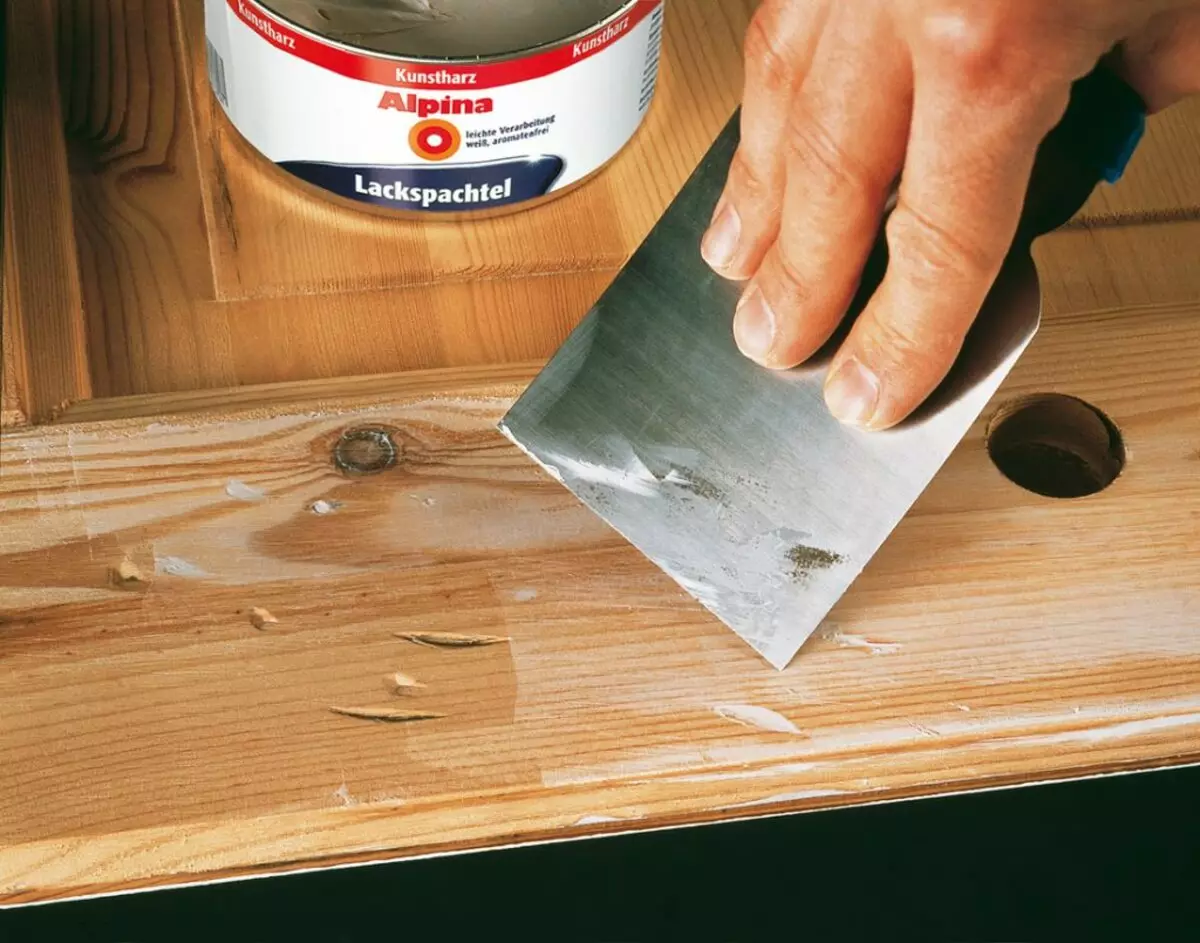
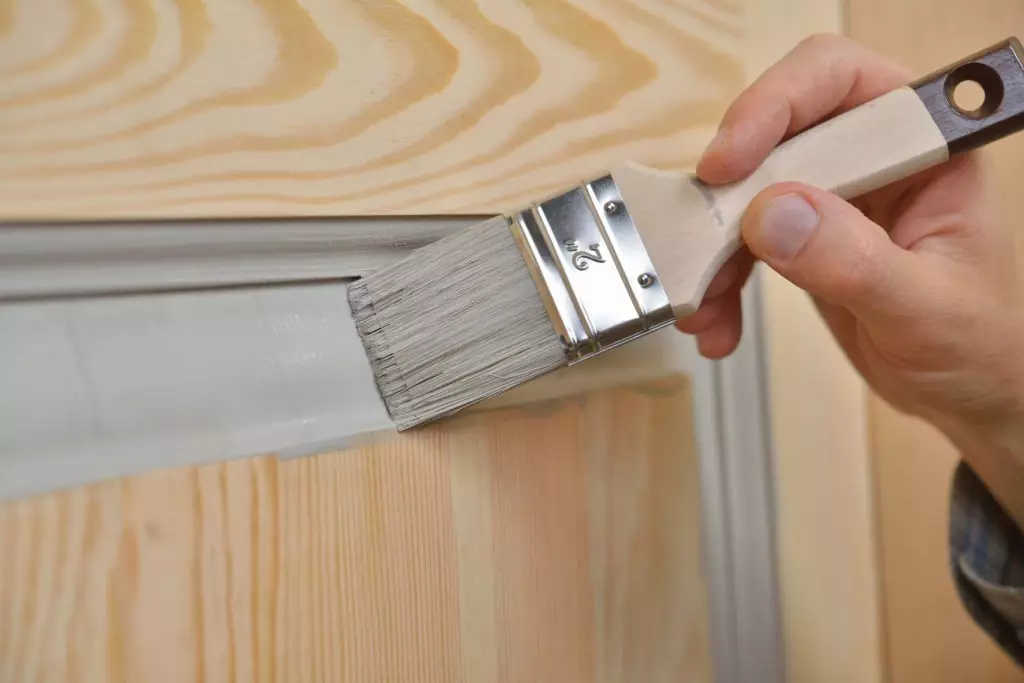
5. Finishing finish. The process of priming and staining with paint or varnish is performed.
How to install the entrance door
By purchasing the door of even the highest quality, it is impossible to guarantee complete safety if installing it is made with violations. There are cases when uninvited guests, no chance to cope with locks, just filmed the door with the door frame. When installing the door, adhere to the main rule - the little things do not happen, it is better to show patience, but to spend everything qualitatively.
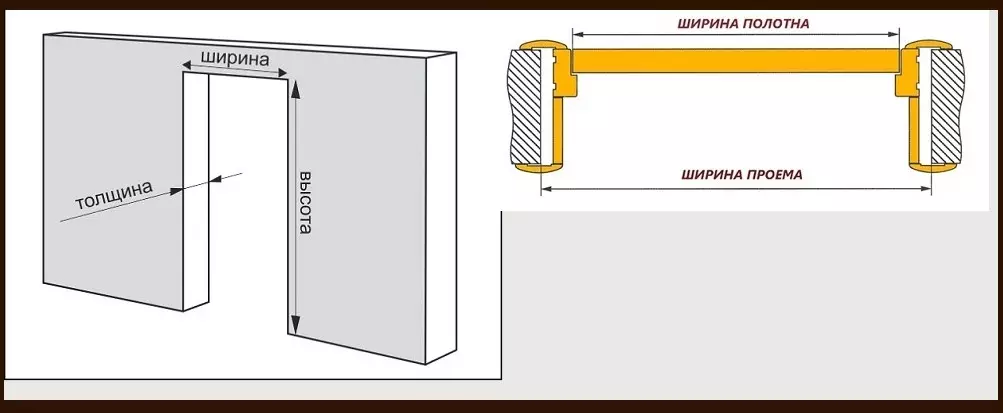
Important! Before you choose and purchase the door, you should correctly perform measurements of the doorway. The design is purchased with dimensions less dimensional dimensions by 25 mm.
Preparation for mounting
Before installing the inlet metal door to the apartment, you should prepare for work. For a successful event, the following tools will be needed:
- turbine, drill, perforator;
- Device for checking levels, plumb;
- yardstick;
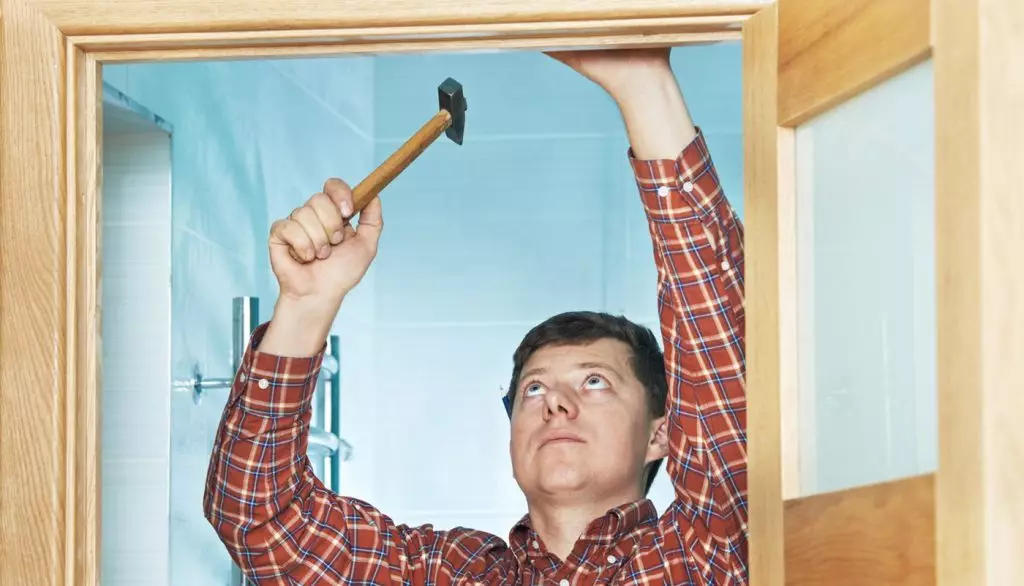
- a hammer;
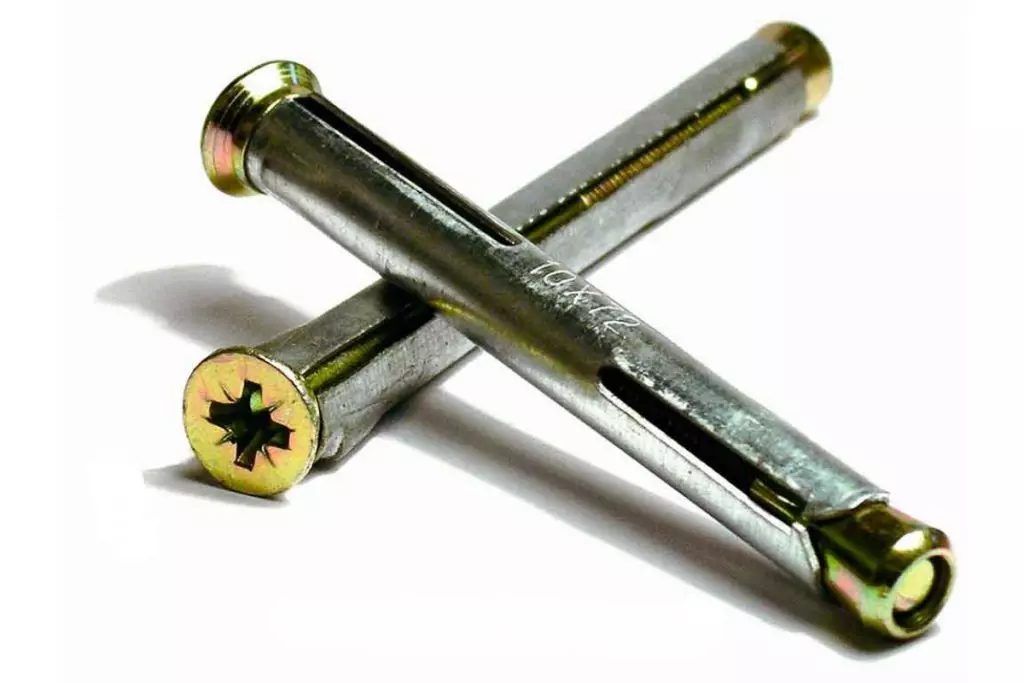
- wedges, anchor;
- Mounting foam.
Article on the topic: Which entrance door to choose for a private house: Overview of the best models | +55 photos

Dismantling the old door
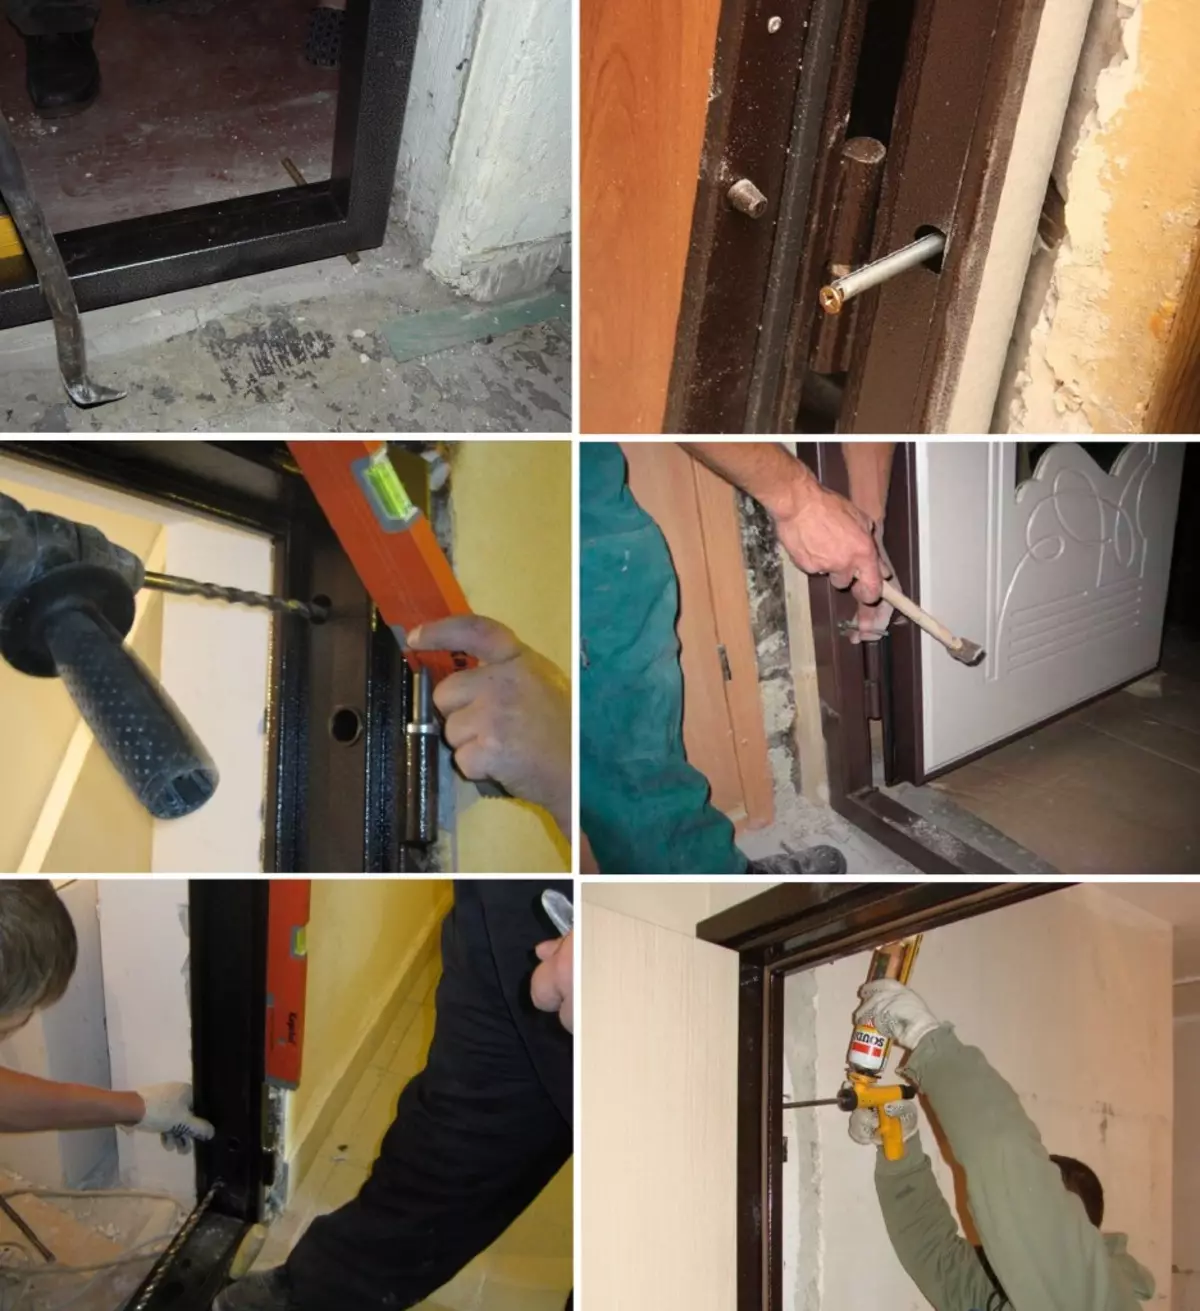
Replacing the entrance door in the apartment requires the liberation of the day in the wall from the old. For this, the following actions are performed:
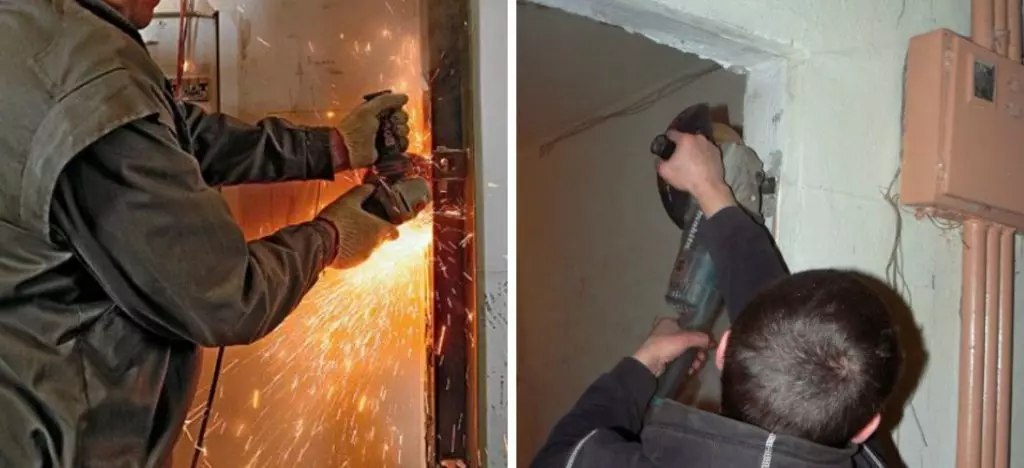
- The door leaf is removed from the loops. To do this, use lomik if the loops are detachable. If welded, then you need to unscrew the screws or cut off the turbine.
- Dismantling a wooden door frame is performed as follows: First, all the screws, nails and anchor are removed, then with the help of the knife, the side parts of the box are cut and squeeze to the middle with a lomik. The obtained parts are simply deleted.
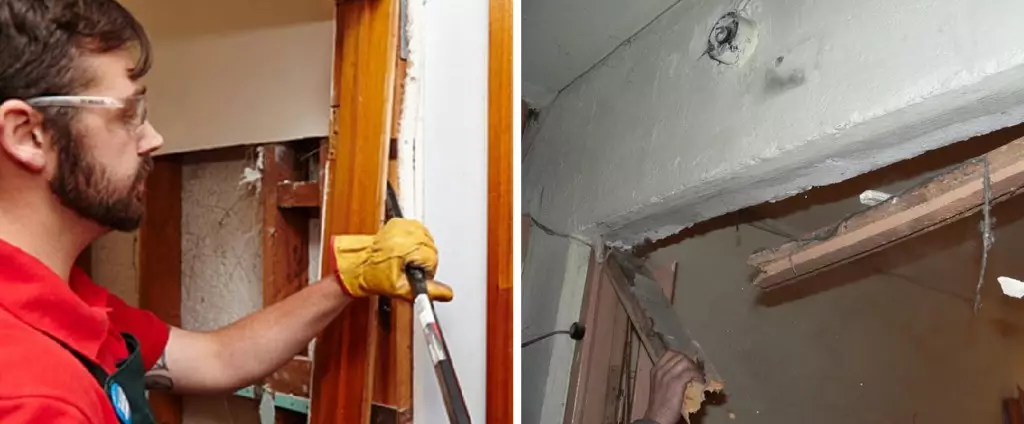
- Rail box is dismantled a little more difficult. To do this, use the turbine, with which you need to cut all the fasteners, and then remove the box. In this case, the finish of the doorway is suffering.
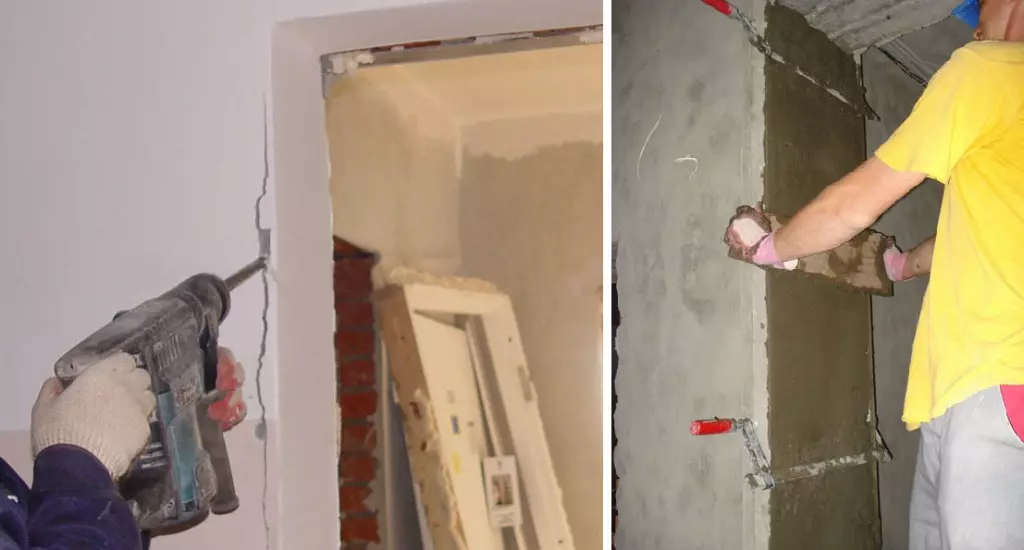
Preparation of door loan
After disassembling the box, it is necessary to estimate the state of the doorway. If necessary, ends are aligned and the disturbed surfaces are plastered. There are cases when the doorway has to expand. In this case, the turbine and perforator will come to the rescue.
Methods for mounting the door frame
By installing the doors, it is quite uncomfortable to perform all the work alone. The entrance doors are mostly metallic and have a lot of weight, so you need to think about the assistant in advance. After morally prepared, we are determined with the fastening system: through the holes in the box profile or using the mounting plates.Fastening through holes in the box profile
Fastening through holes is used in the case when the design is deepened in the doorway. But, the latest models of metal doors already at the stage of production assume holes for anchors. The configuration is the anchor themselves themselves. Otherwise, in the absence of all listed elements, it is necessary to stock up the welding machine.
Order of work:
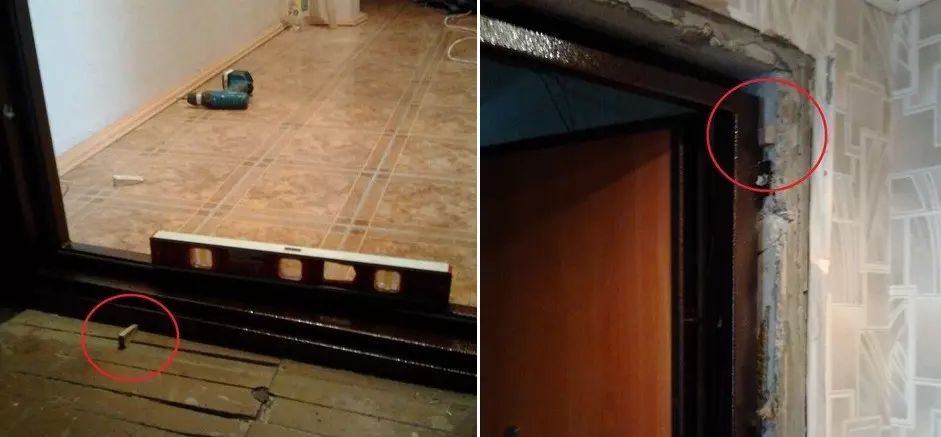
1. Initially, the door is set to the level and fixed with spacers.
2. Further in the right places, capturing part of the wall, in each side part you need to prepare three holes.
3. After that, steel rods are driven, the length of which is 12 cm.
4. Visible rod ends are welded to the metal frame of the door frame.
5. In cases where the openings already exist, after setting and leveling the door, anchor is mounted.
6. After reliable consolidation, the distance between the opening and the box blends the mounting foam.
On video: Installing the inlet metal door with your own hands.
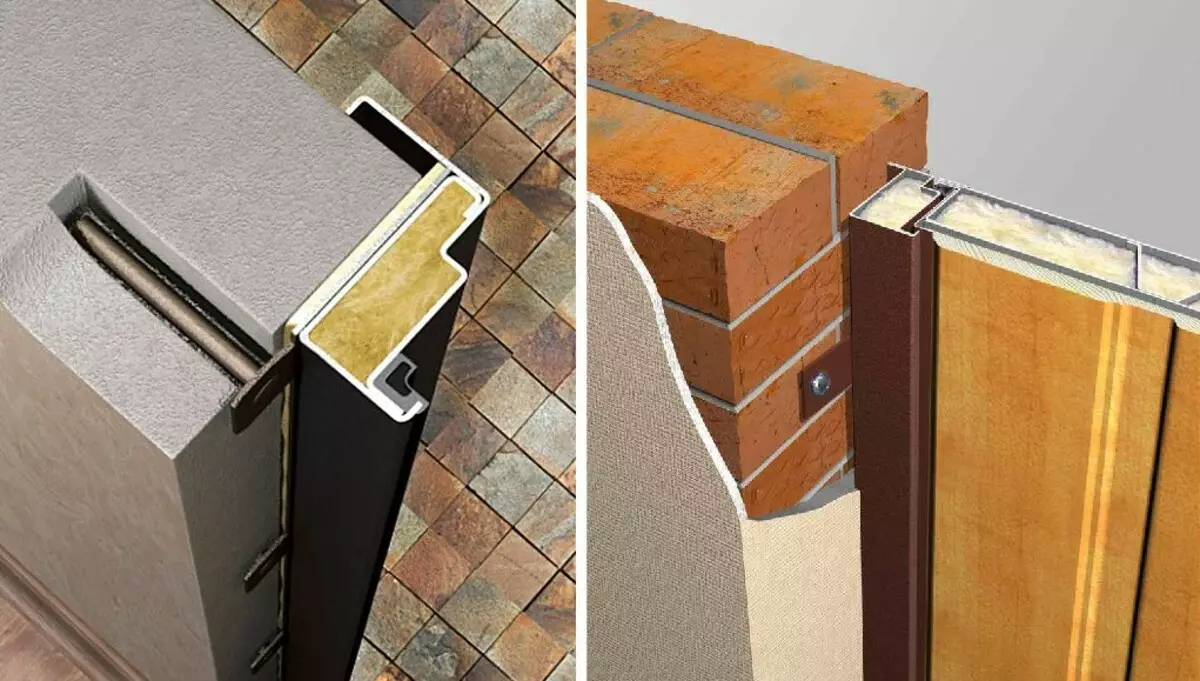
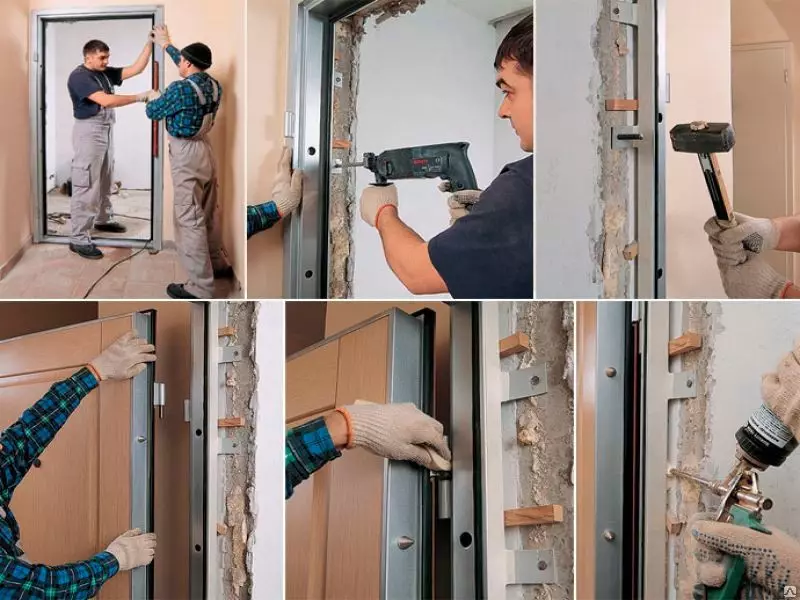
Fastening using mounting plates
The most common type of installation of the door installation is the fastening of the box to the doorway with metal plates. Plates are located on the outside of the box. On each side of three pieces.
Important! This method of fastening can only be applied in cases where the door frame with the inside of the apartment becomes closed with a wall.
Installation Instructions:
1. The doorway is cleaned from dirt and dust, and the door is set to the level and is pre-fixed with wedges.
2. Each plate has a hole. Through it, with a perforator or drill in the wall, holes are done. Then the steel rods are clogged with a length of up to 15 cm, whose ends are spread. Instead of steel rods, an anchor can be used.
3. After the door is pre-enshrined with rods and wedges, be sure to check the functioning of the door. It should fit tightly to the box, closed freely and open.
4. Conduct the wetting of the armor and use the mounting foam to close the slot between the box and the discovery.
Article on the topic: Choose the entrance door to the apartment: features of structures and advice of professionals
When installing doors when repairing an apartment
When installing the door with your own hands, the owners often arises the question at what stage of repair work is to carry out installation work. On this occasion, we give a few tips:- Set it only after the walls are fully prepared for the finish finish.
- Installation of the door is carried out when all works on the arrangement of the draft floor are performed.
- At the end of work related to the creation of high humidity in the apartment. This especially concerns products from wood and MDF.
- Installation can be carried out at any time of the year. The main condition is the optimal microclimate indoor.
Noise insulation doors
Creating comfort and comfort in the apartment without good noise insulation doors is simply impossible. In order for extraneous sounds from the staircase in the home, we think about how to protect yourself from them. The process of protection against unnecessary noise will be able to partially solve the problem of thermal insulation.
Materials
For high-quality sound insulation, the door in the apartment needs to choose the right material. Today there is a good range.
Imagine the main characteristics of some noise insulating options:
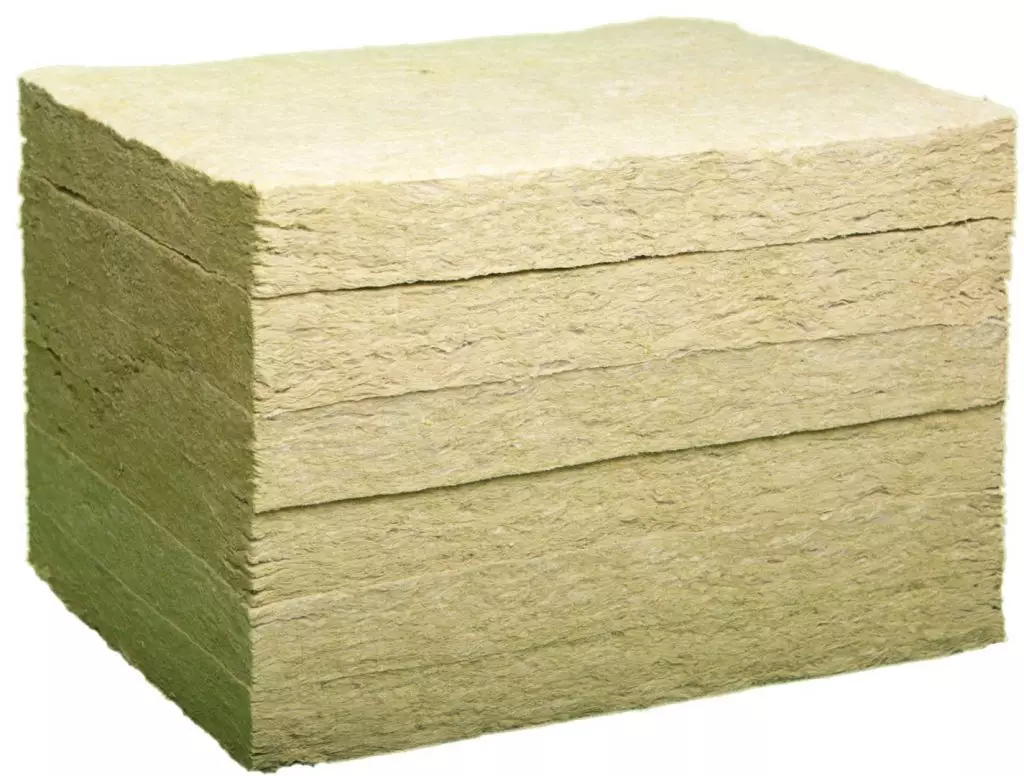
- Mineral wool. It has a high degree of fire safety. The disadvantages include the ability to sink it after a while. For partial elimination, additional ribbon ribs are mounted on the doors.
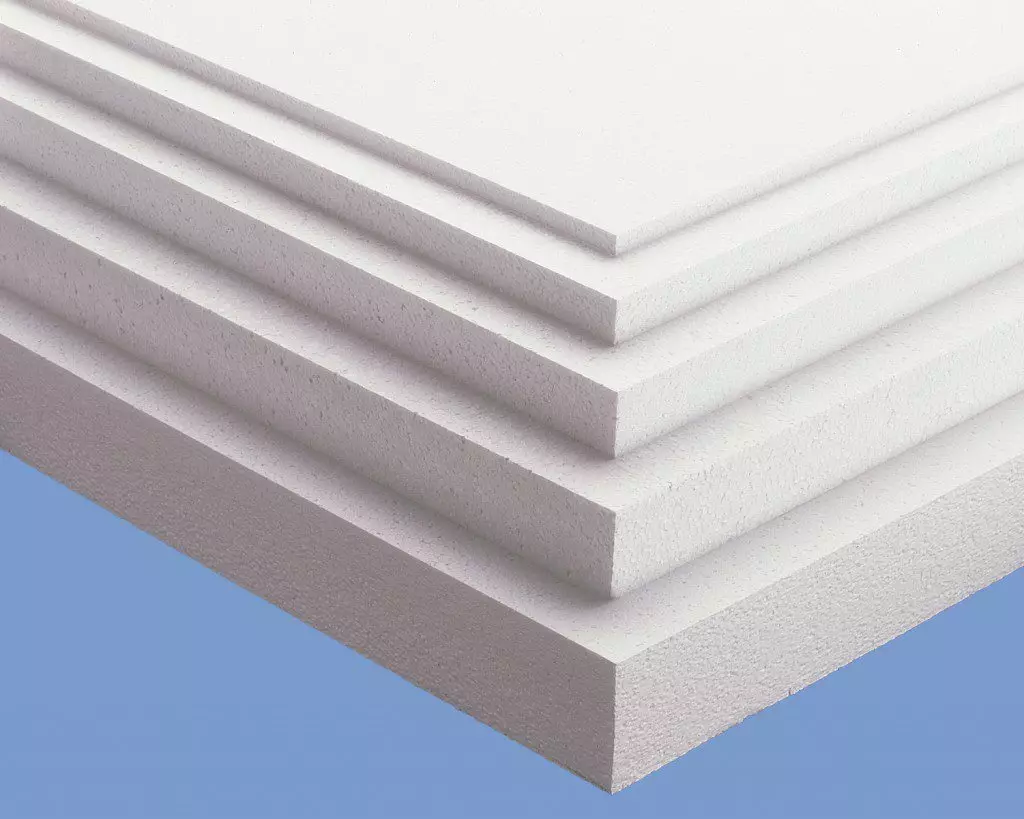
- Polystyrene foam. Pretty lightweight material, at a price acceptable. Perfectly retains primary shape. Recently, one of the most popular materials in the production of doors.
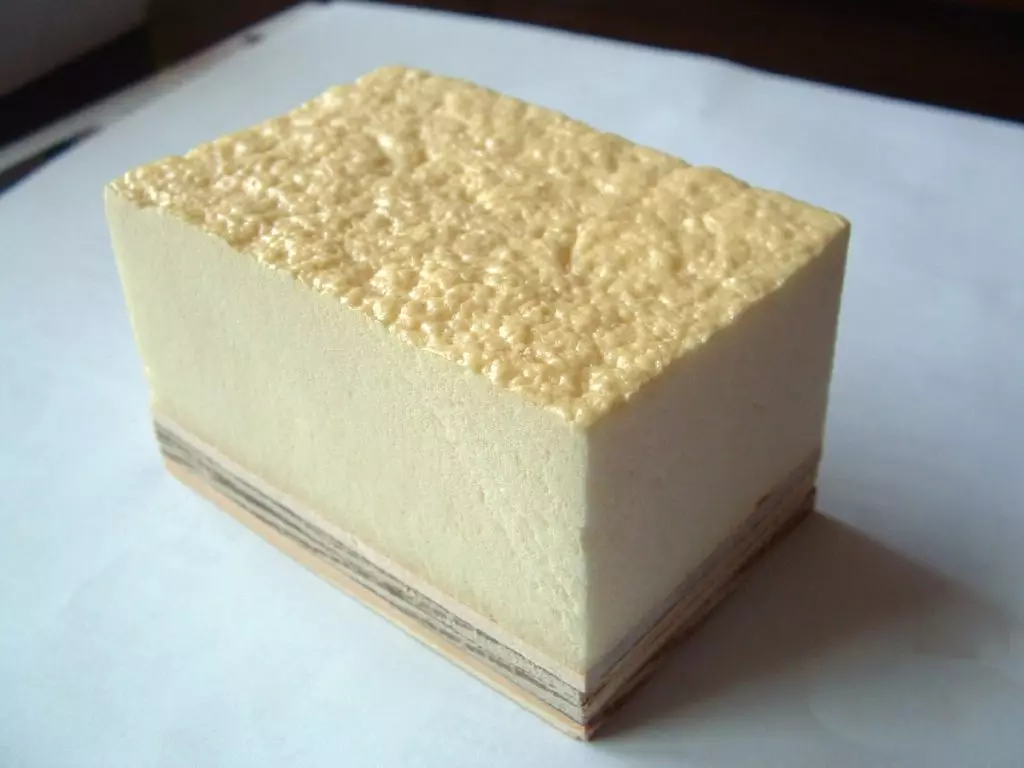
- Foamed polyurethane. On fire safety is equal to the minor, but perfectly retains the shape and fits tightly to the surface.
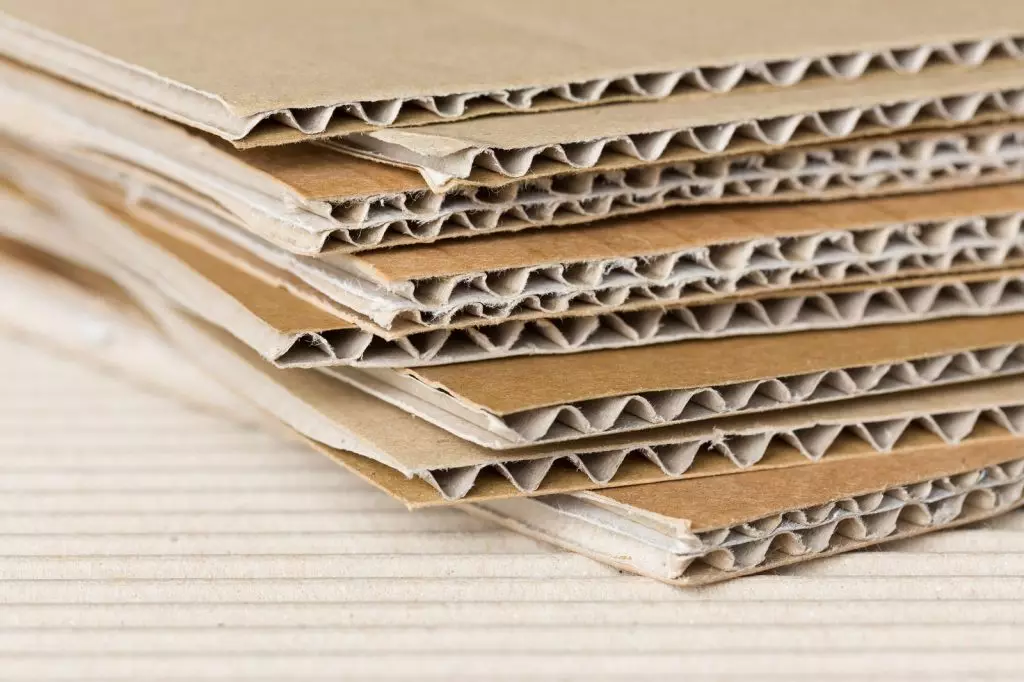
- Corrugated cardboard. Representative of low-quality materials used in the production of cheap doors from China. With independent sound insulation, it is not recommended to be applied.
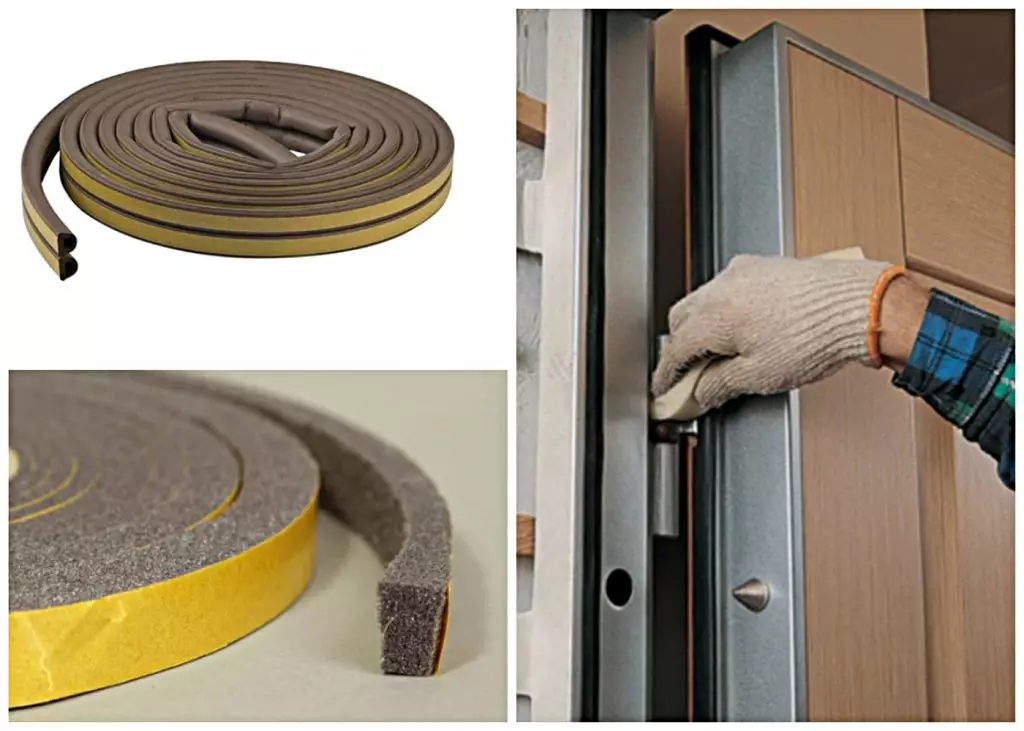
Another element that is needed during sound insulation is a silicone seal that is mounted around the perimeter of the door.
Dismantling
Work starts with the removal of external upholstery. It can be dermatin or leather. Initially, all nails are pulled out. Then gradually and gently remove the material around the perimeter of the door. The decorative finish is removed from the fiberboard and organity. Start the preparation of the surface to the installation of sound insulation.
Surface preparation
The preparation of the surface is reduced to the processing of its solvent. The rags are wetted and wipe the door leaf. Do not forget to wear gloves to protect the skin of the hands from the effects of chemicals.Laying of sound insulation material
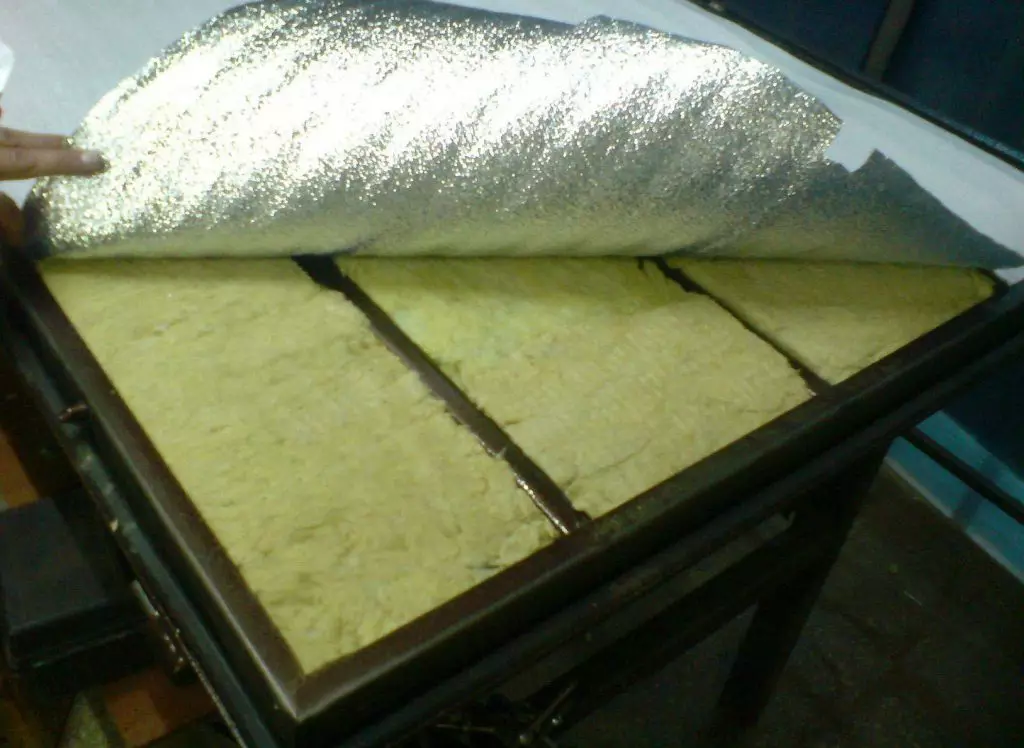
Soundproofing material is stacked throughout the area of the doorway. It should fit tightly to the edges, and the seams in the middle close up with a sealant.
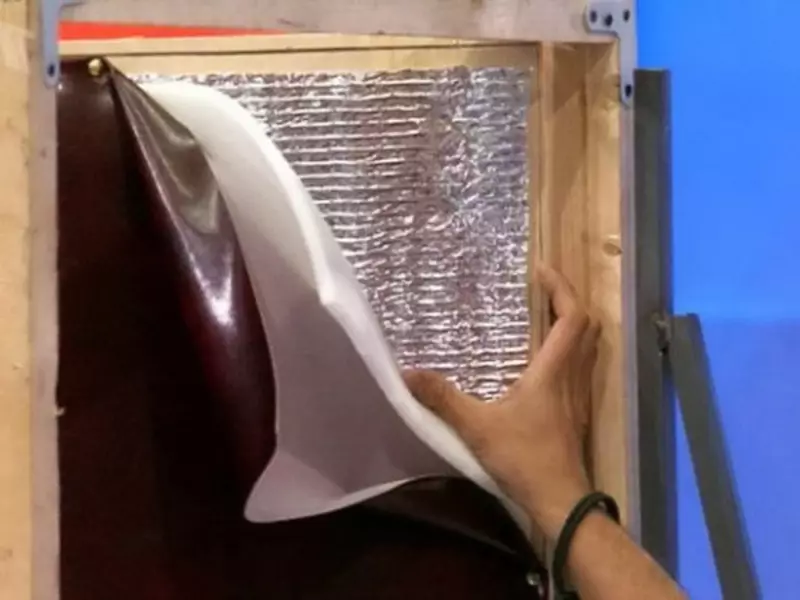
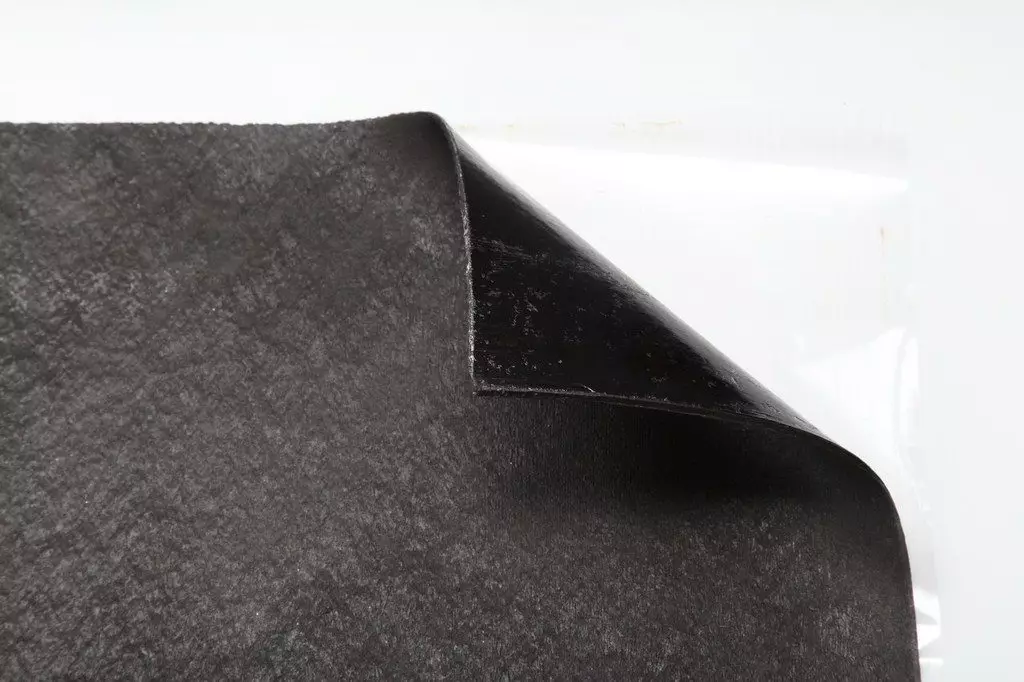
How and how to fix materials on the canvas
Before making a sticking of noise insulation, the cloth is originally covered with bitumen sheets. They adjacent to the surface on one side and allow you to ensure reliable fixation of the insulation. The same material is mounted on the removed sheet of fiberboard.
Completion of work
After the material is reliably fixed on the borders of the panels, decorative strips are recorded, which will hide the irregularities of the cuts. Between the door frame and the seams are sealed, and the seal is mounted.As can be seen, most problems associated with the door breakdown and its replacement can be solved on their own. All the advice on this article will come to the rescue.
Noise Isolation and Upholstery Metal Door (1 video)
Repair and installation of door structures (44 photos)


