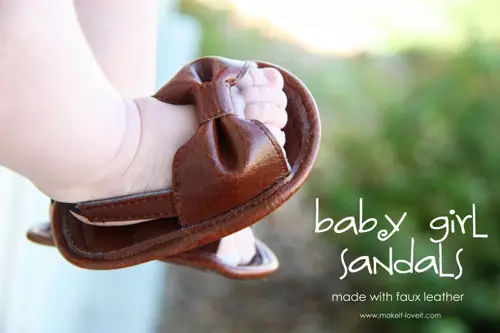
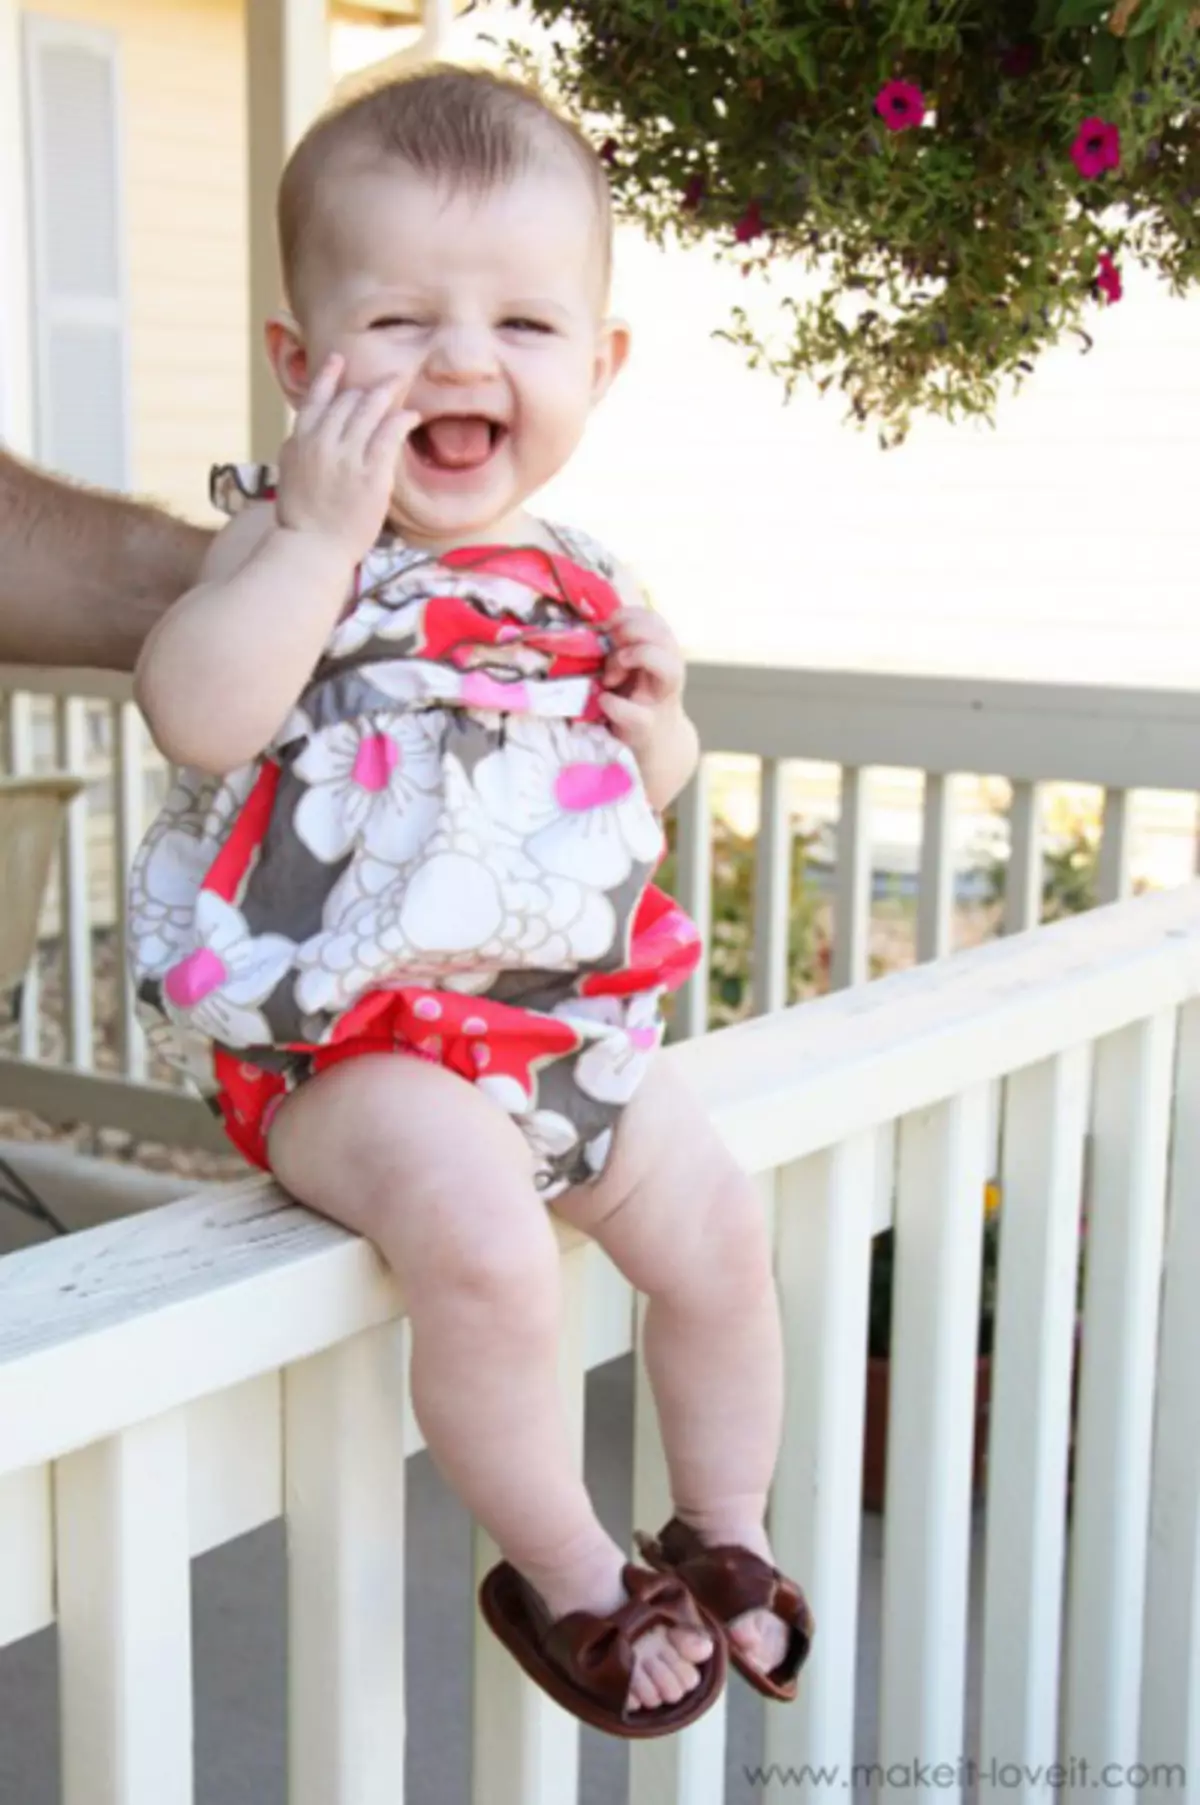
Shoes for girls are an eternal problem for moms. The leg of the child grows quickly, but this is not the most important thing. From the convenience of shoes in which the daughter walks and knows the world, the formation of its gait and posture depends. In order to protect the running, walking and other joys of your child's movement, we have prepared a wonderful master class for you on how to sew children's sandals with their own hands.

Required materials and tools:
- slices of felt;
- Artificial leather (vinyl), which should be soft enough, otherwise it will still have to stretch it.;
- Sewing materials.
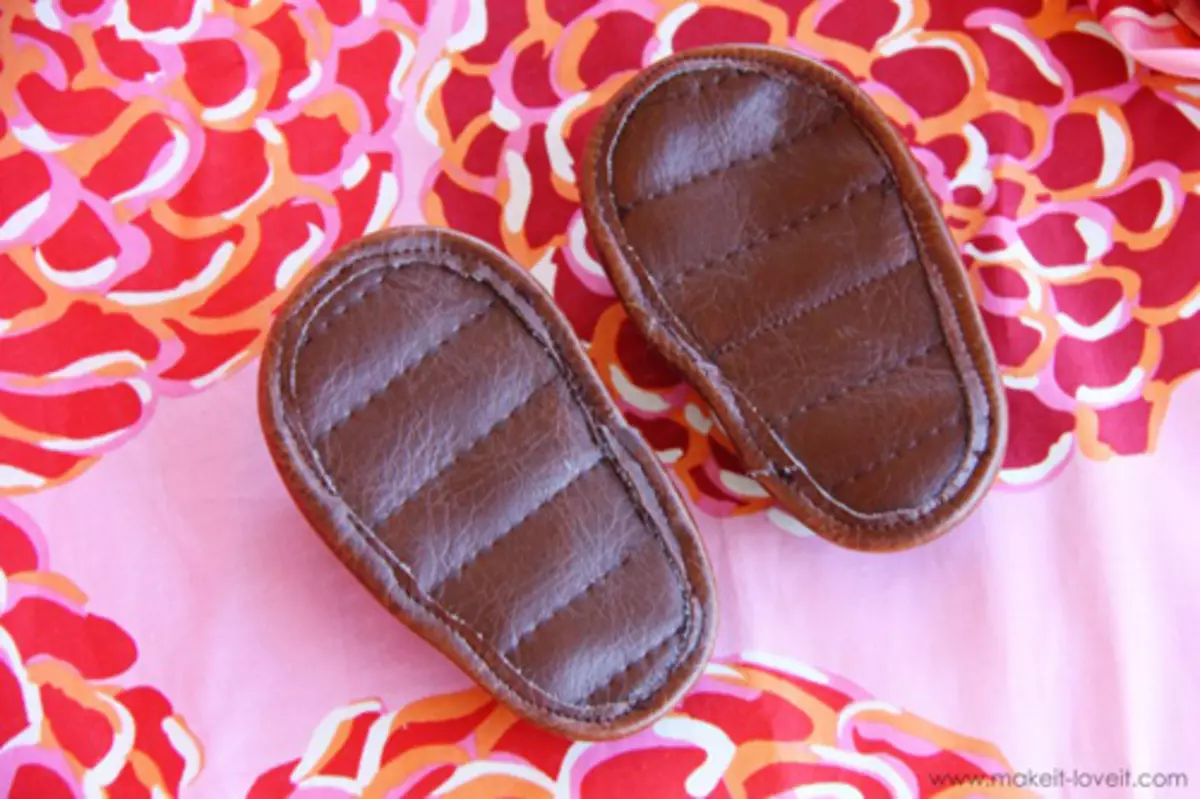
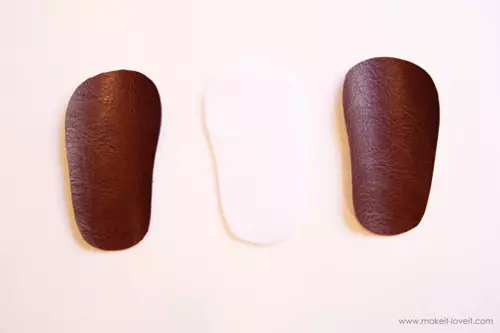
We do sole
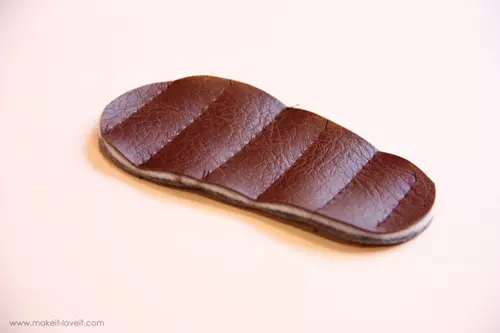
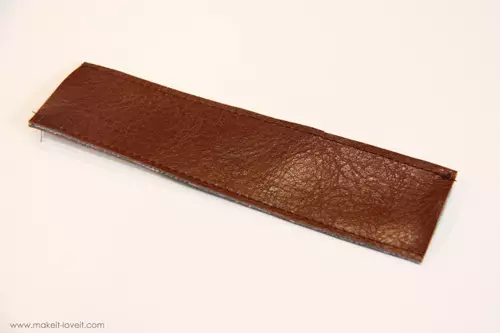
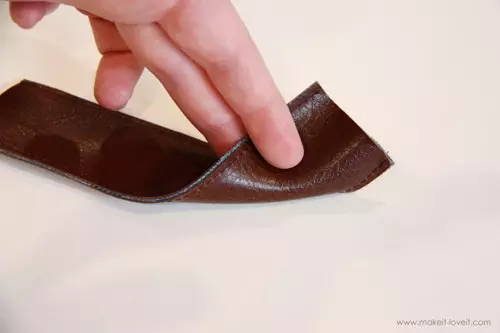
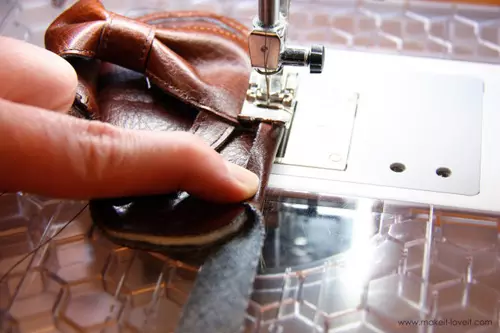
In order to make the sole of our children's sandals with their own hands, take the shoes for the template that your daughter wears. Cut from the skin two of the same, but symmetric oval and one item from the felt. All items are parts of one sandal. Fold three details together so that the felt is between vinyl, and in vinyl parts the front side was outside in both cases. Stretch the workpiece of the soles in several places. So that the layers are not shifted, the first line must be made in the center.
Making harmonica
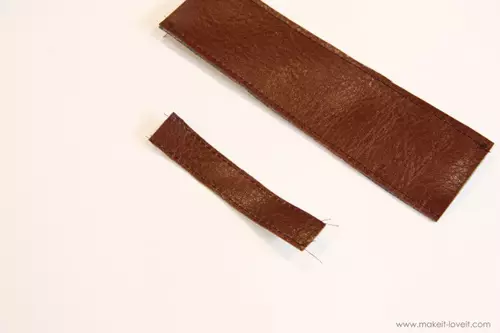
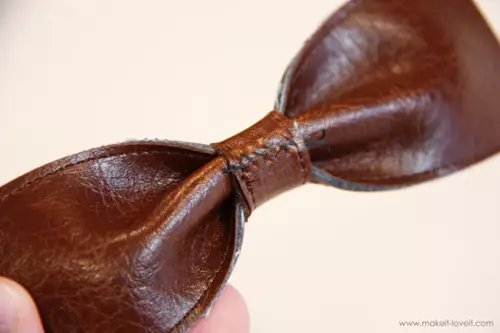
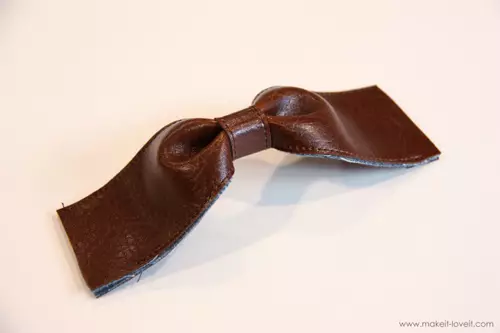
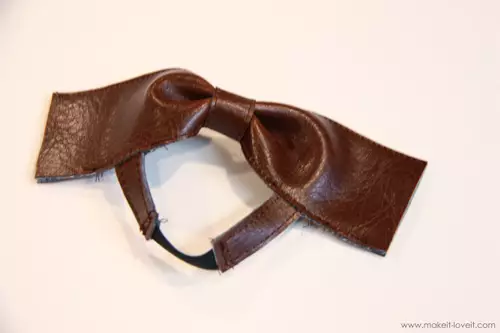
Then cut out two strips from vinyl to create a strap that will be located above the fingers of the legs. Sew them along both long edges together. For the center of our strap, cut a small strip. Stretch it on both sides. Now take a big strip and fold in half, edges upstairs, as shown in the photo. And then fold the edges of another time, in the other side, so that it turns out beautiful harmonica.
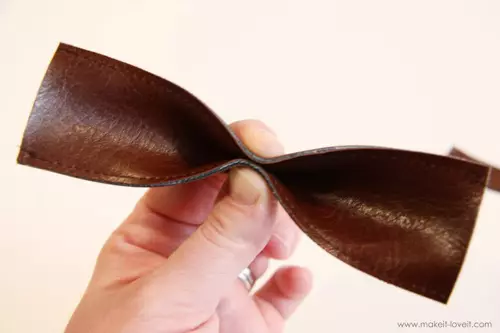

Wrap harmonica
Wrap the middle of the harmonica of a narrow skin strip, heading the ends of the strip on the wrong side. From the wrong side, cut off the strip too much and sew edges. As a result, it turned out the curved part of the top of the sandals, which, due to the bent, will be perfectly wrapped in a nursery leg.
Article on the topic: Lepim from salt dough: Education in stages and video

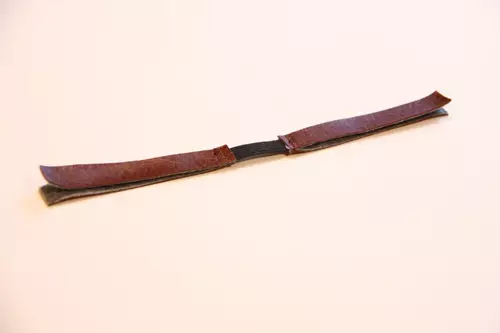
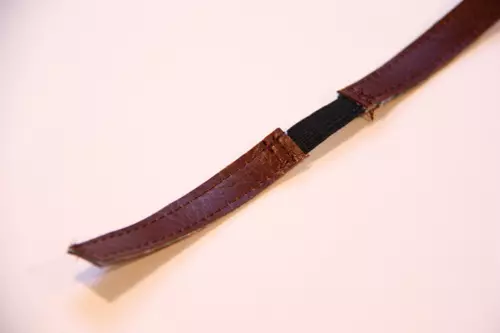
Making a strap for the back
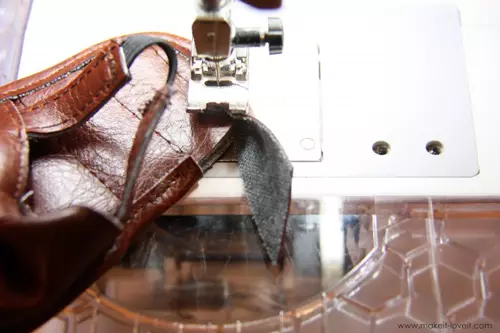
Now it's time to do the strap, which will keep the leg from behind, without letting the shoes from it. To do this, cut out four strips from leather and cut off a piece from a wide gum. We place the end of the elastic gum between the two strips of the skin and spend two seams for reliability. We also do the same with other ends of the gum. Do not forget to control the facial side of the skin outside on both sides of the strap.
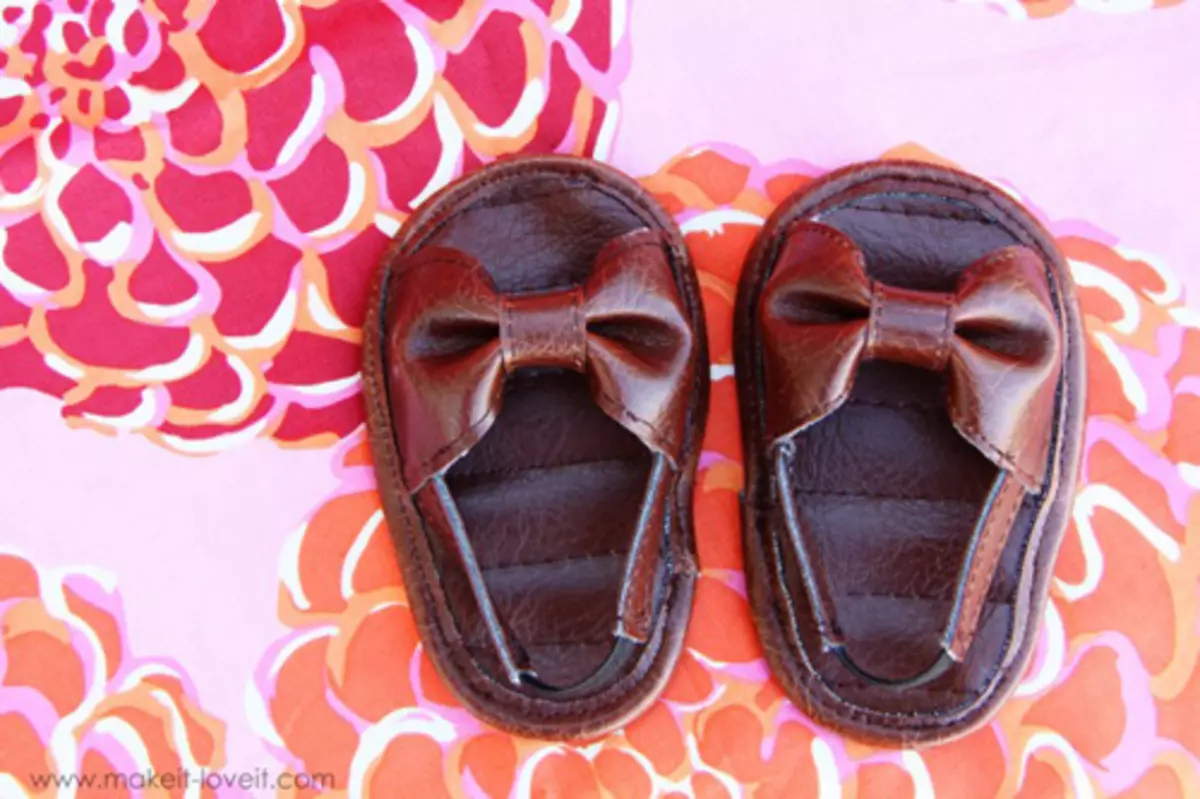
We shoot the strap and attach to the place
Stop straps around the perimeter. Now a responsible moment has come - it is necessary to properly place the straps, especially those that will wrap the leg over the heel. If he is tightly lay down to his leg, then shoes can deliver the inconvenience to your child. If weakly, the children's sandals created by their own hands will fly away.

Send details
Put the leg of the daughter on the sole of future sandals and attach both belts on it. Mark the required length of the strap and cut down too much. Do not forget to make a marker on a wide strap, where the clutching strap is wound. Repair on these points of the seams and the lice of the strap. Now place the belt on the top of the sole. To properly determine the locations of the sole with the belt, again encourage the sandals for the girl. Connect all the details and step on the sewing machine at the very edge of the sole. Cut the strap all unnecessary so that they ended strictly on the edge of the sole.
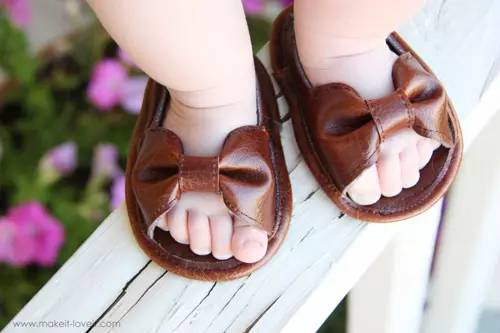
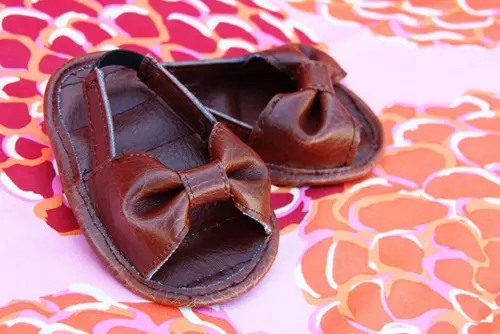
Children's sandals are ready!
Now we will process the outer edges of the sole, we cut out from the skin on the oblique strip with a width that will allow it to be folded along in half. Fold the strip in half, put it on the edge of the sole, closing the untreated edges. Take this strip, capturing the bottom of the edging. So that the mowing of the leather beyk lay neatly, stretch it a bit with a uniform force. Condure more superfluous to make the ends of the oblique bey, cut down at an angle, overlapped the beginning of several centimeters. Repeat all these steps in order to make children's sandals with their own hands and on the second leg. Ready!
Article on the topic: Savings book for newlyweds with their own hands with photos