
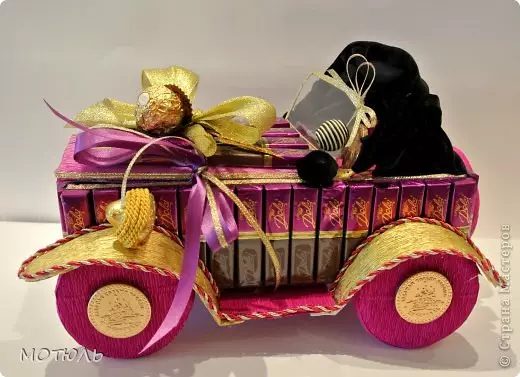
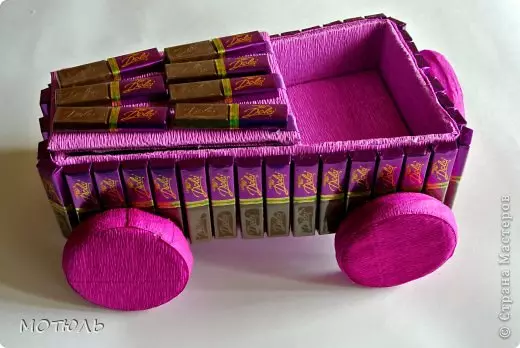
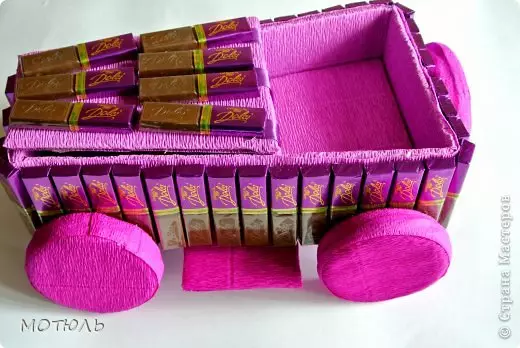
The car is a great gift for both February 23 and on March 8, even if it is such sizes, which is easily placed on the table. Chocolate decoration will raise the mood and will allow you to pass the time for a cup of tea. Creating a candy machine with your own hands is a great way to show fantasy and to enjoy in the manufacturing process.
Tasty automotive industry
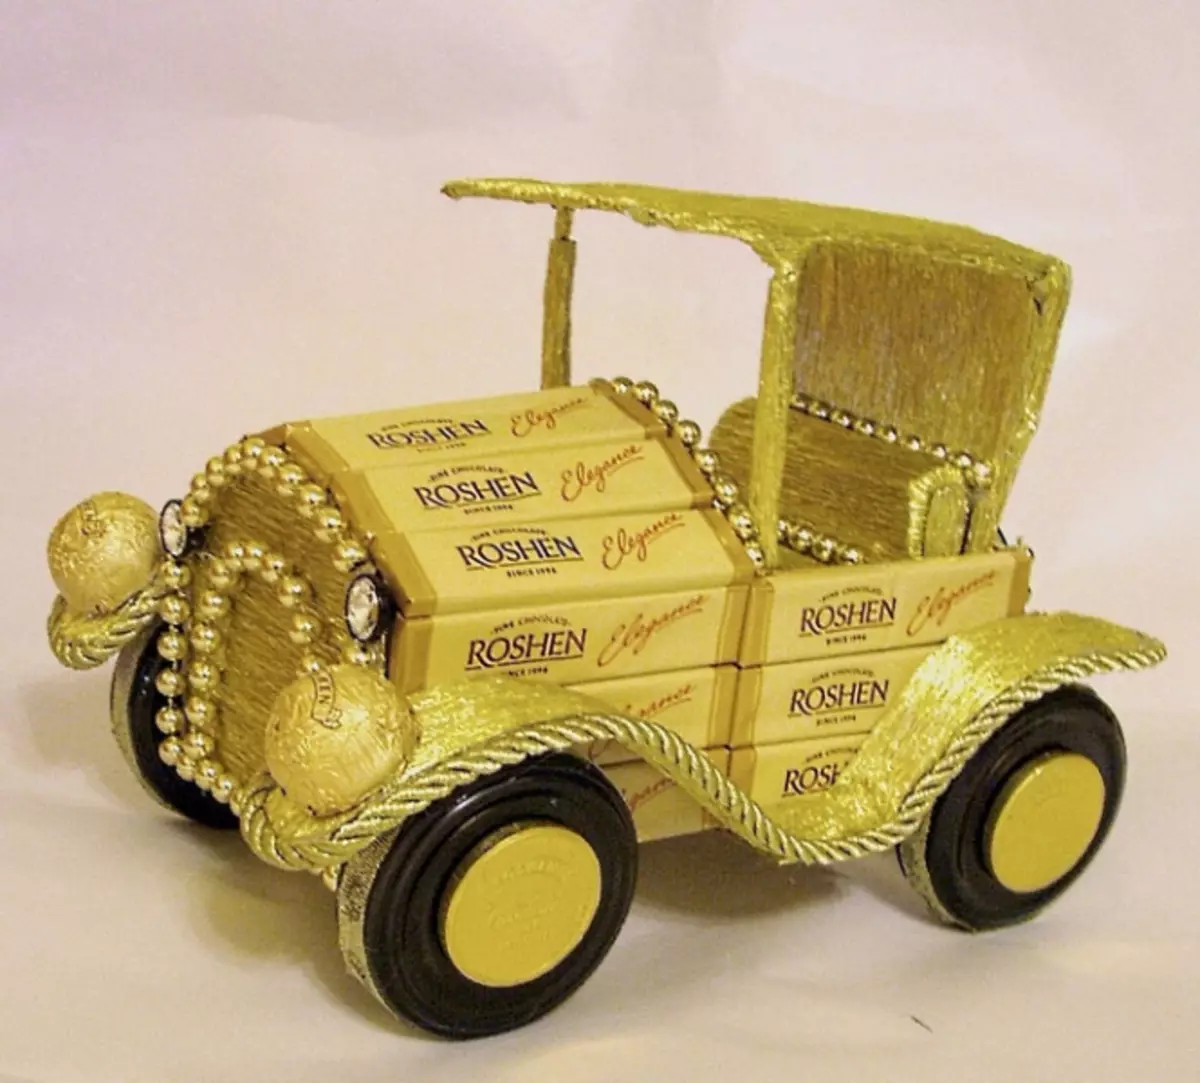
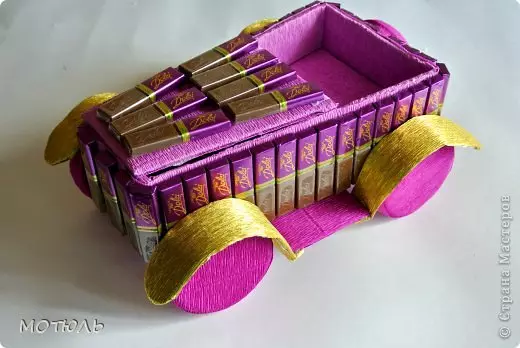
The first master class will teach you how to make a car on a cardboard basis as a gift. Depending on the color solution, this retromobil will delight a gentleman or lady.
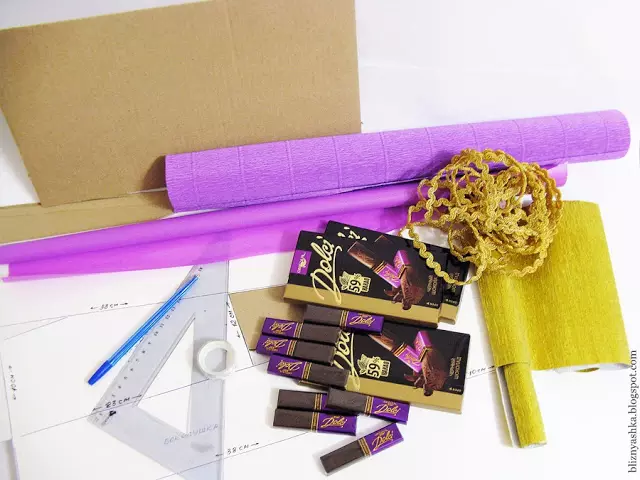
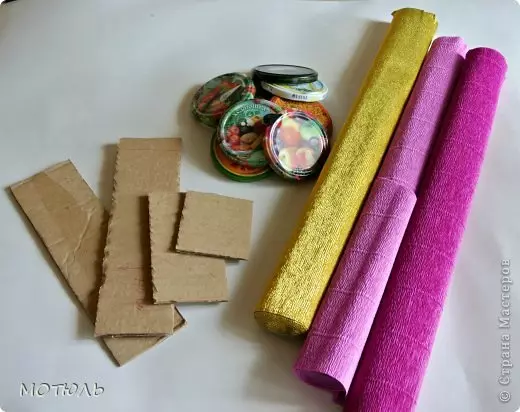
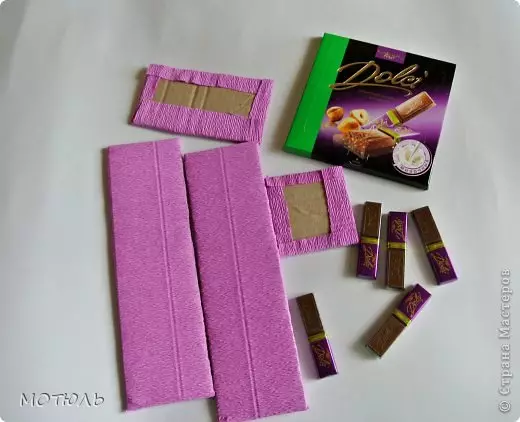
For the manufacture of the car you will need:
- Small portion chocolates, round chocolate candies;
- Chocolate coins;
- Crepe paper;
- 8 metal covers for cans;
- Cords, satin ribbons;
- Velvet fabric;
- Styrofoam;
- Glue pistol;
- Cardboard;
- Scissors;
- Pencil;
- And, of course, the mood is to create a cup of tea.
Description of the manufacturing process and step-by-step photos will help to cope with this task.
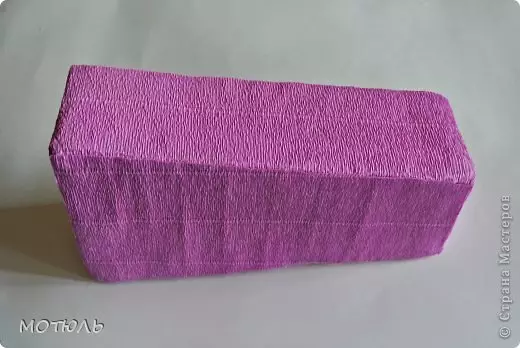
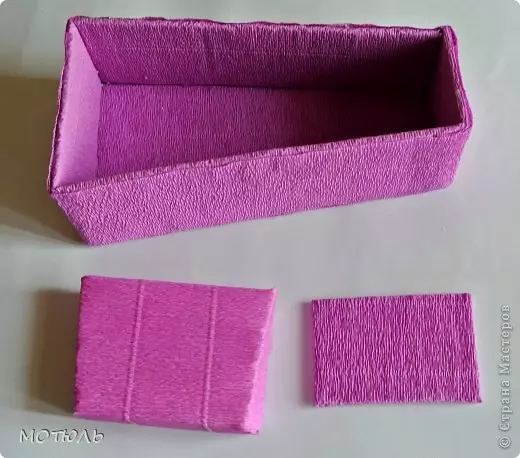
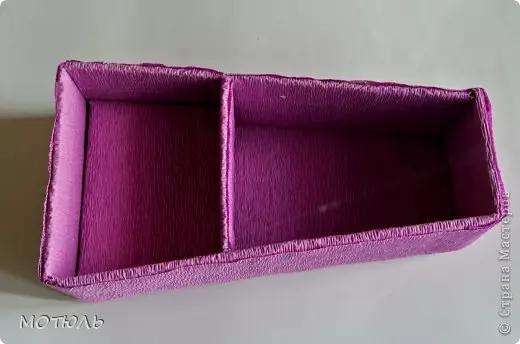
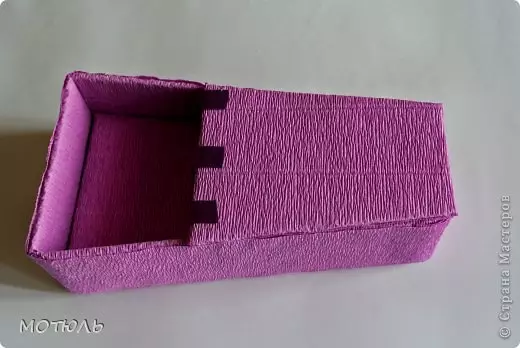
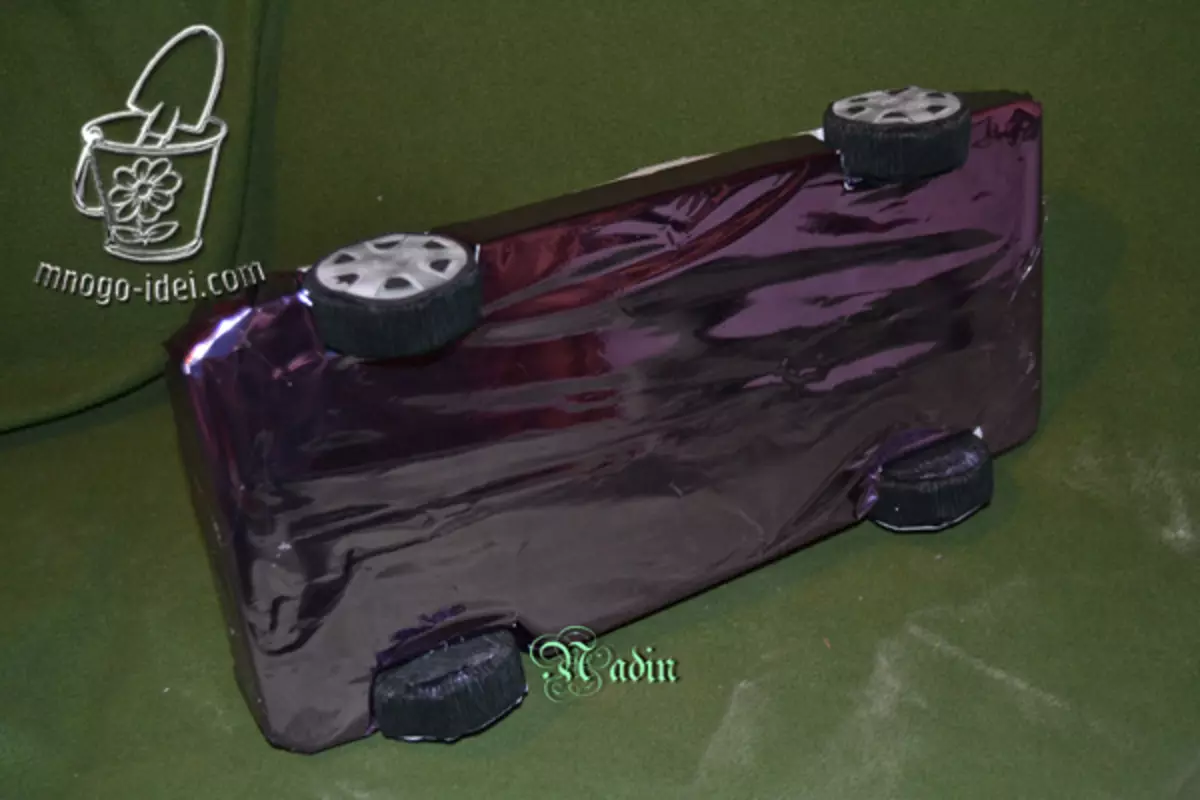
From dense cardboard, perform rectangular body blanks: 2 side parts 26 * 7.5 cm, 1 rear 14 * 7.5 cm, 1 front 8 * 7.5 cm.
Puck the elements by the crepe paper on one side.
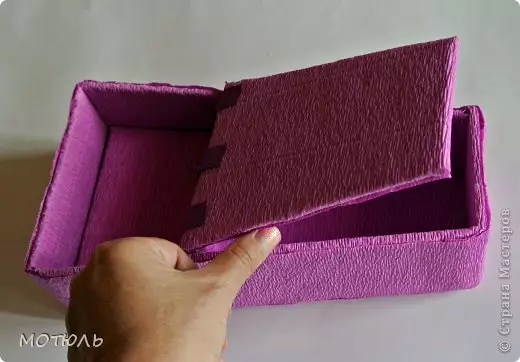
Collect body workpiece from parts.
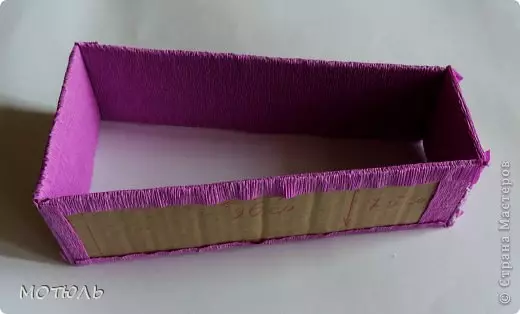
The resulting box circle on a new sheet of cardboard on the contour - the bottom of the machine will work. Cut with a slight margin.
Stick the crepe paper on one side of the bottom.
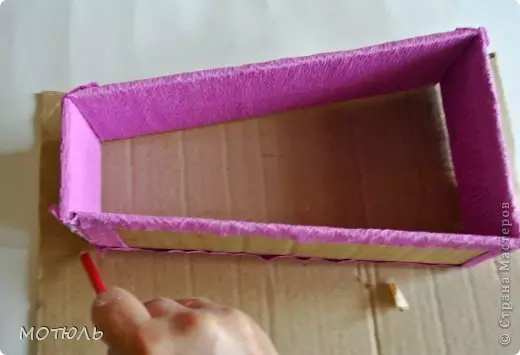
Connect the bottom and body walls using a thermopystole, and then take a papers in a circle.
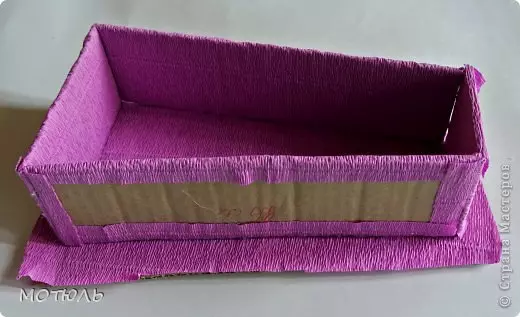

Get paper on the bottom.
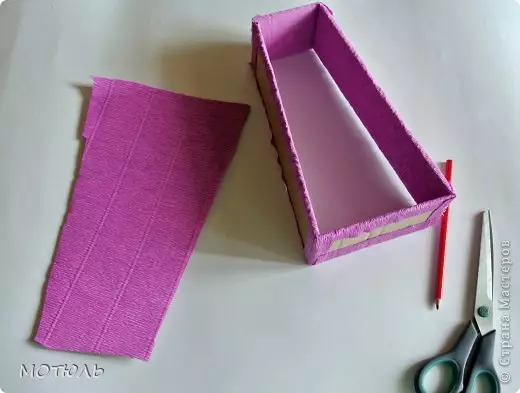
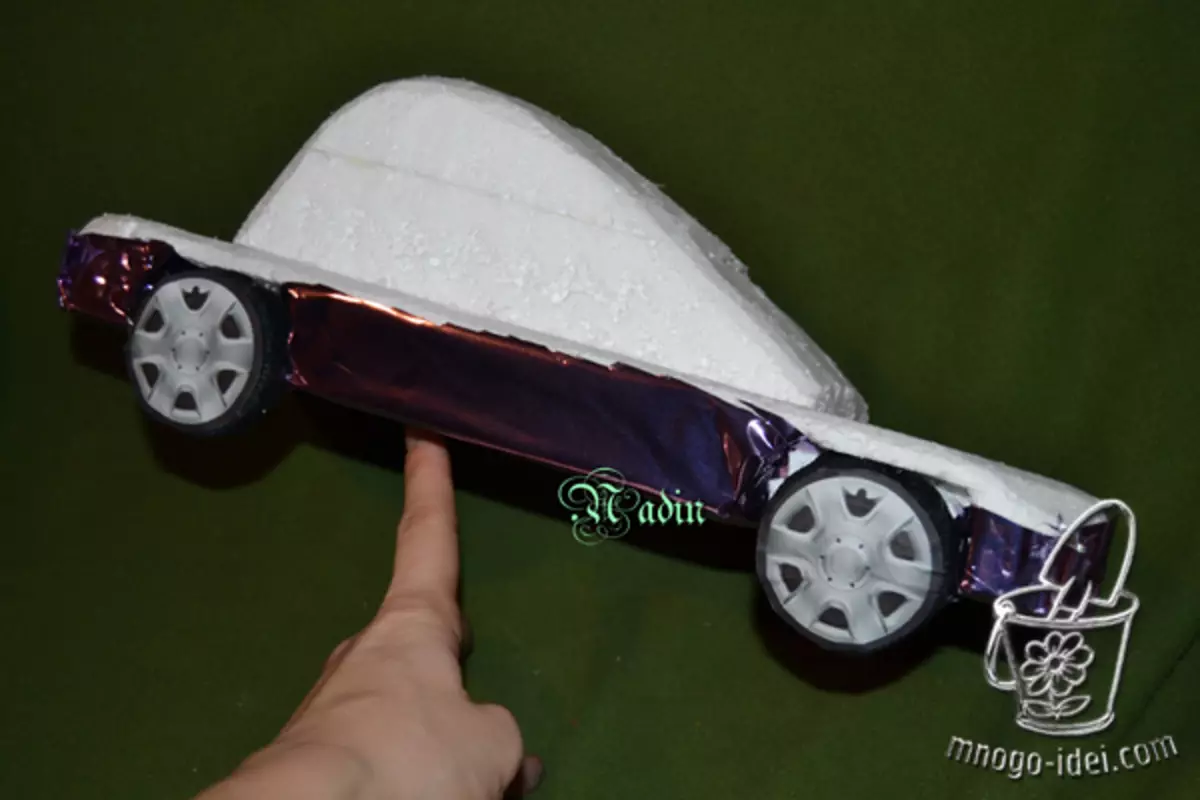
On the internal dimensions of the car, measure the foam to create the bottom of the cab, up to 9 cm in length, then sizes cut a piece of rectangular cardboard for partition. Puck paper parts.
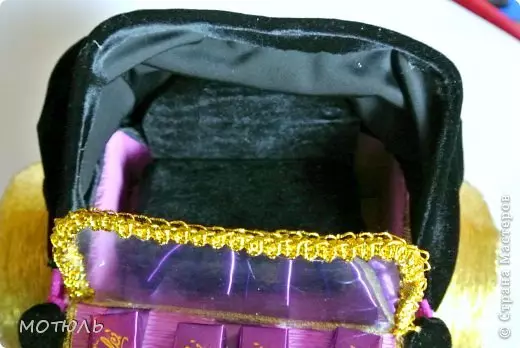
Cut the hood detail, take the paper and tie to the body with ribbons. This will provide free opening to accommodate candies.
Article on the topic: Drawings for wood thread - more than 100 sketches
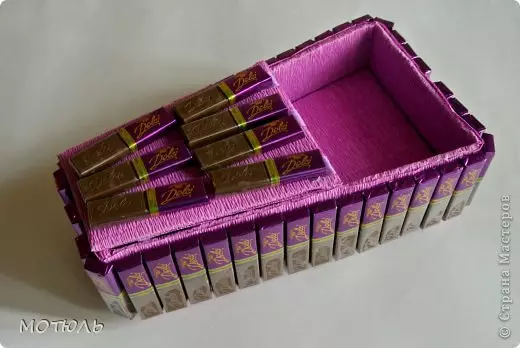
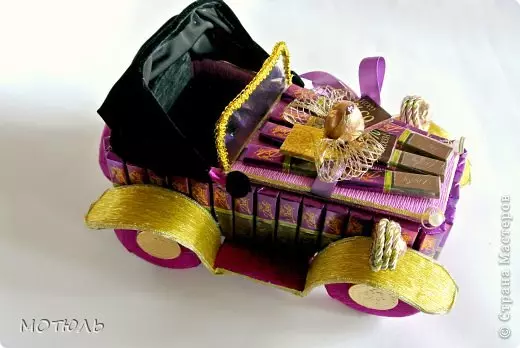
A thermopystole sticks chocolate on the hood.
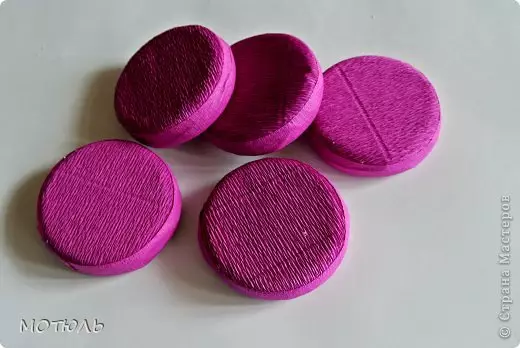
From pairwise glued metal covers, decorated with paper, the wheels of the car will turn out.
We attach the wheels to the car, from the rectangular pieces of cardboard we make items.
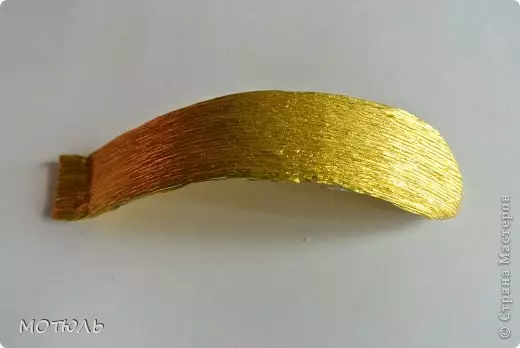
Then cut out the wings from the cardboard, we have a gold-colored paper, slightly twist to give a semicircular shape. We glue to the car.
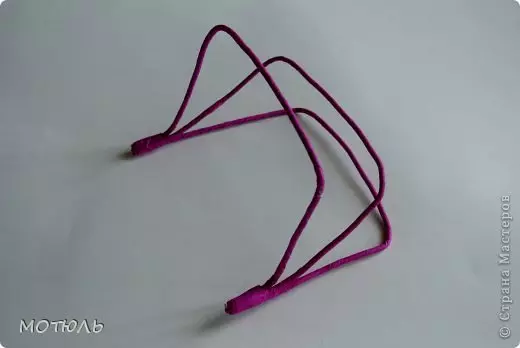
In terms of the cabin, we measure the wire, wind by paper, bend from it the hood frame from it, then be seized with a cloth.
Insert the steering wheel, seats, wheels decorating chocolate coins.
On the hood on the ribbon fix a bouquet.
For boyfriends
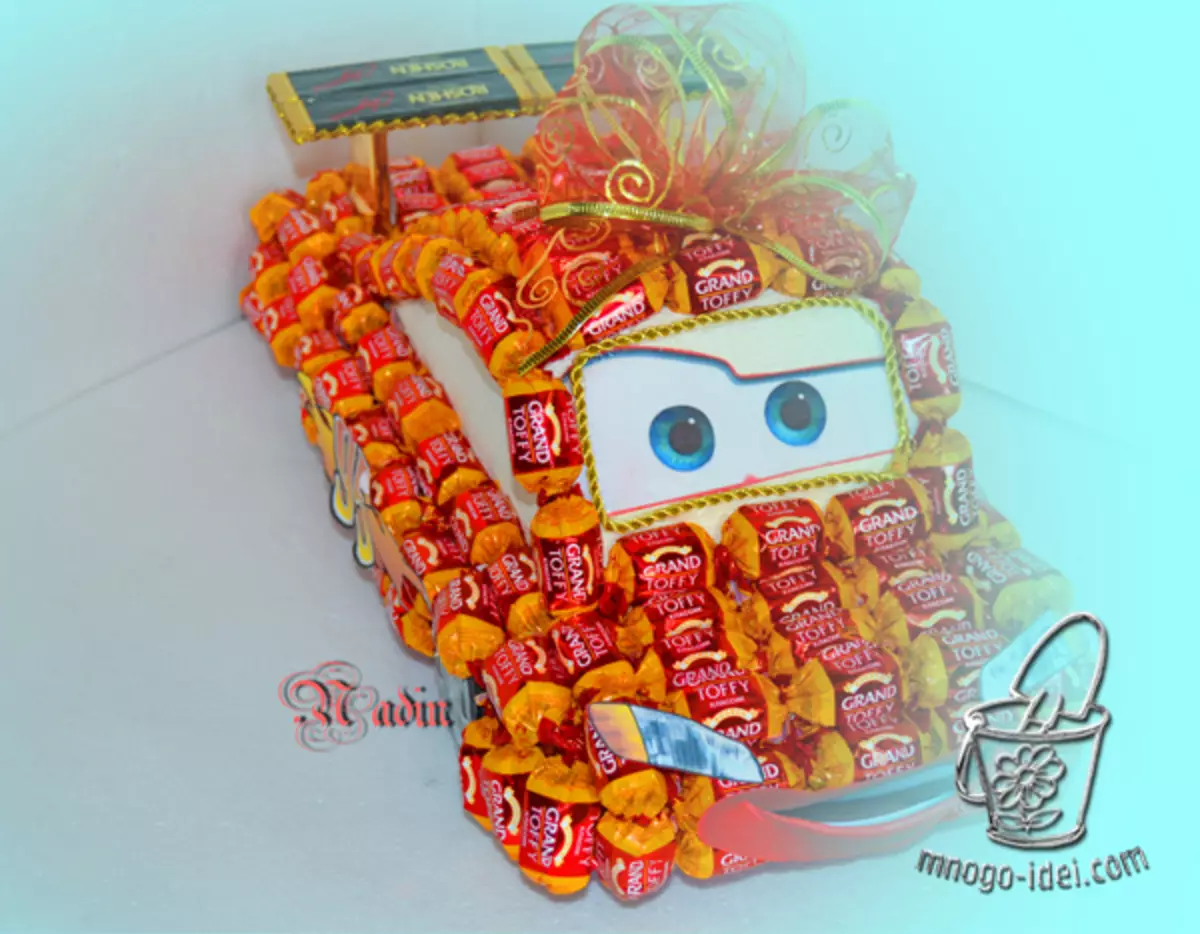
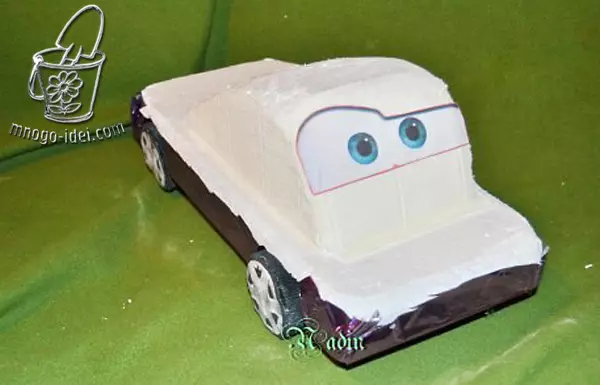
The second master class will tell how to prepare a gift to a child from a foam-based machine. Any boy would be nice to get such a gift.
You will need:
- Wrapping paper for the bottom of the machine, glossy paper white for glasses;
- Styrofoam;
- Knife;
- Scissors;
- Candy in the candy;
- Printing eye machine;
- Printout wheel image;
- Ribbons, decorative cords;
- Thermopystole, PVA glue.
Progress
Step-by-step description Production of surprise for a young motorist.
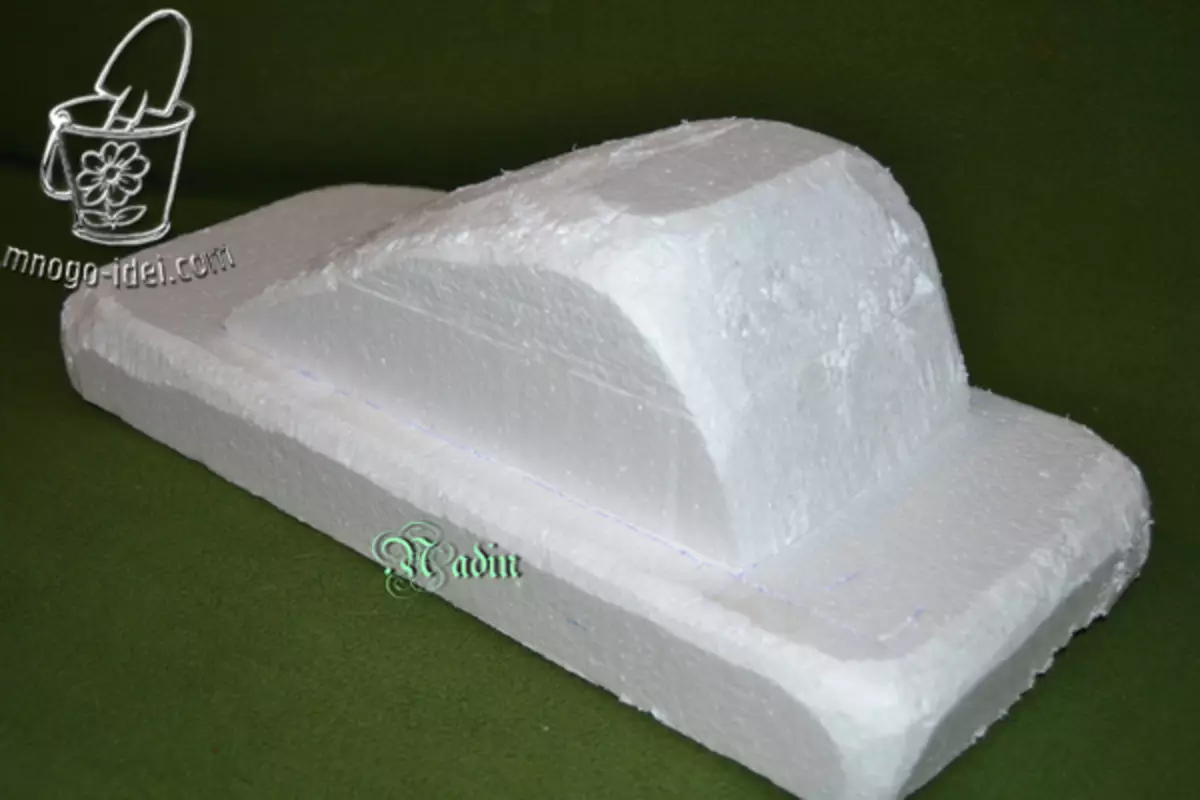
Cut out the blank of the future machine and 4 wheels from the foam. In the billet, make cuttings under the wheels.
Puck the wheels with paper with tires and caps, and the bottom of the machine is decorative paper.
With the help of white brilliant paper, create imitation of glasses on the windshield, make mischievous eyes.
Puck the car with candies, behind two candy glue a spoiler, which will consist of a cardboard blank, decorated with shiny paper.
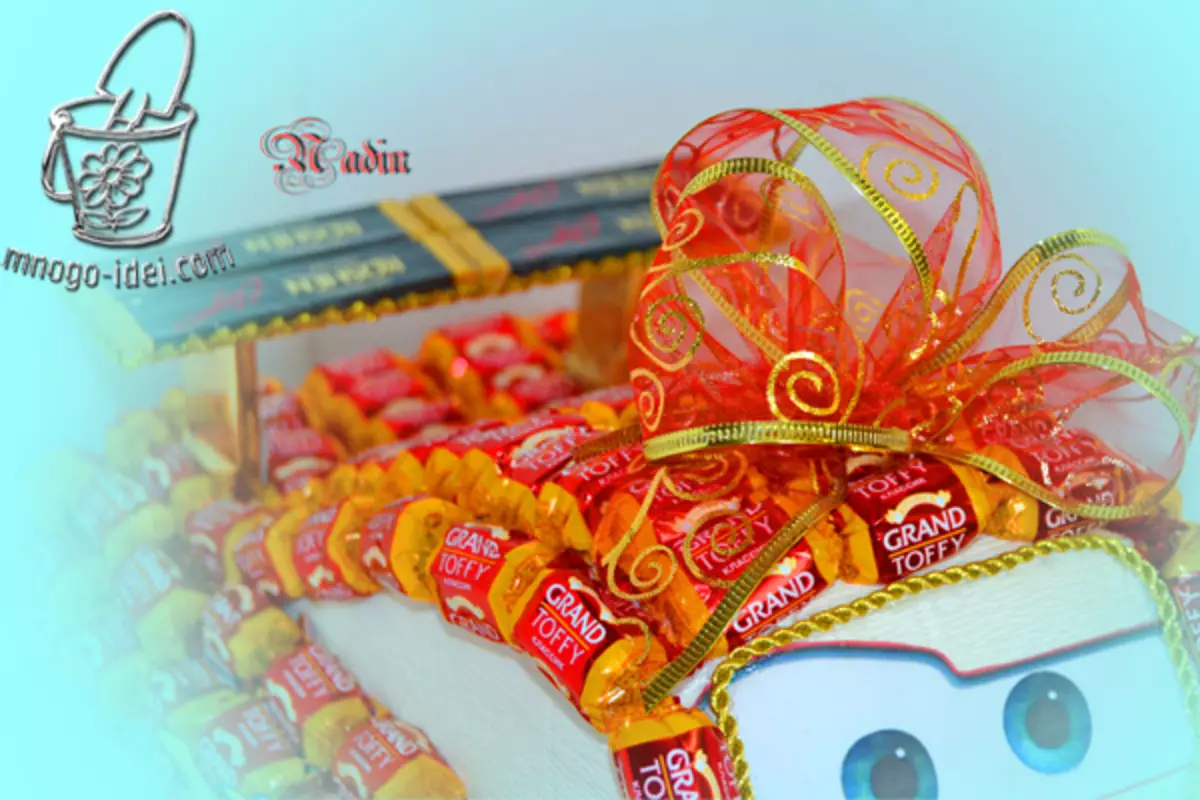
Puck the windshield with a decorative cord around the perimeter, tie a bow to the product tone.
The gift is ready!