
Nowadays, handicrafts are very popular with their own hands. They help to develop fine motility of hands, attention and patience. In this article, we suggest considering the creation of a Luntika handicraft with your own hands. This friendly character loved among all the children of preschool age.
In Origami technique
The process of manufacturing the Luntka technique origami from paper can be traced on the example of the master class. We will need paper and glue for work.
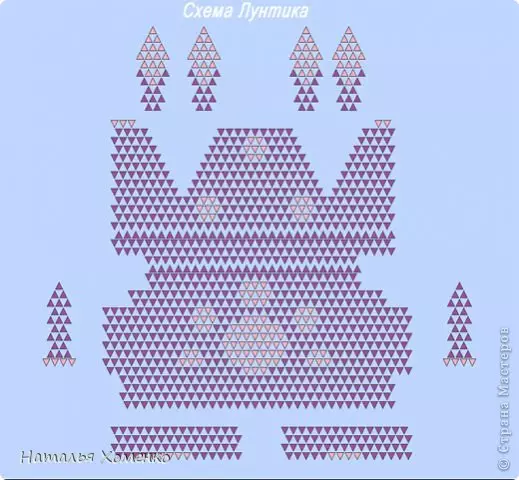
We will need 1269 modules in total: of these, only 166 pink, the rest of the lilac color. Module size - 1/16 part of the A4 sheet.
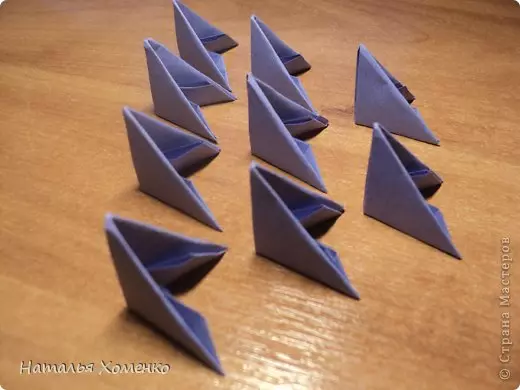
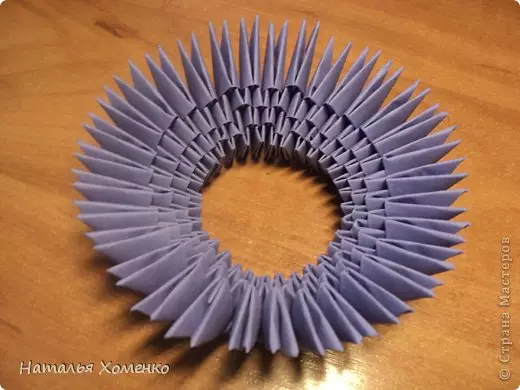
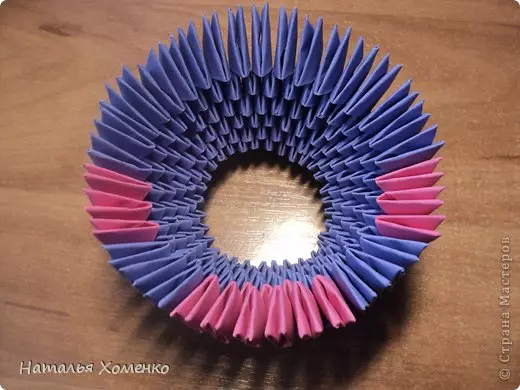
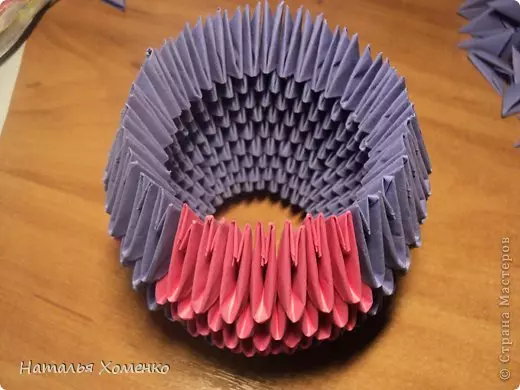
We collect four rows of 32 purple modules, as shown in the photo.
Close the ranks in the circle.
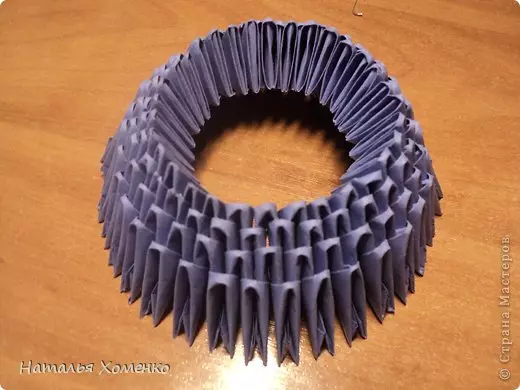
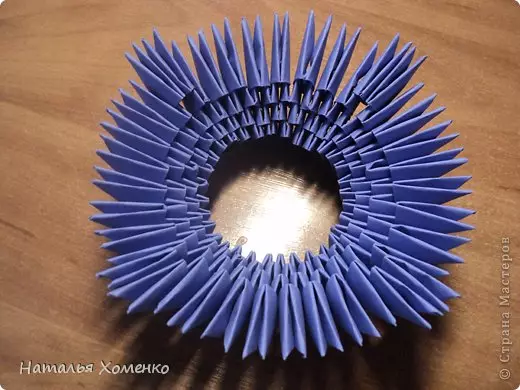
Now you need to turn the item.
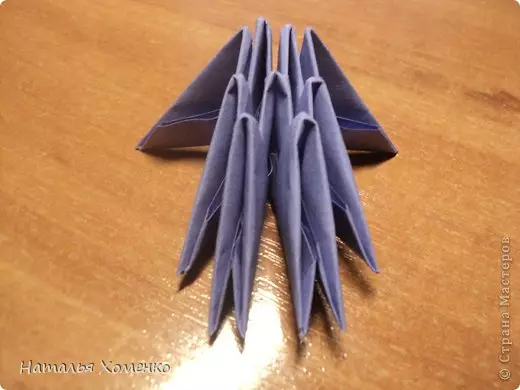
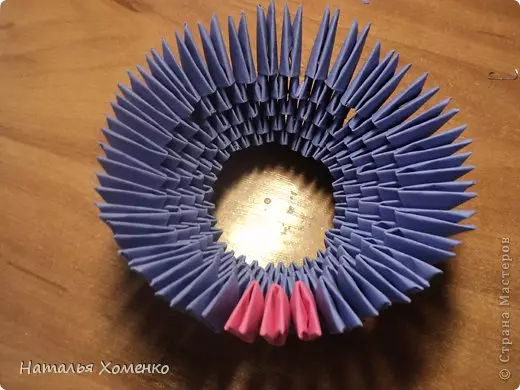
Every 8 modules need to make an increase in 4 modules. For full perception, the gain is shown in yellow, but we do violet.
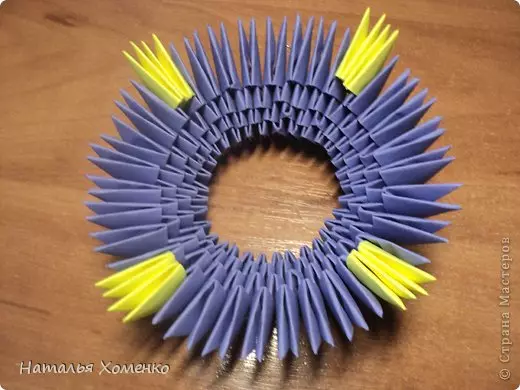
We wear modules only on 1 edge.

That's what should happen.
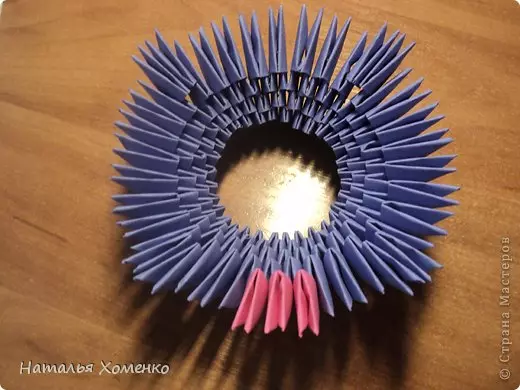
In the middle add three pink modules.
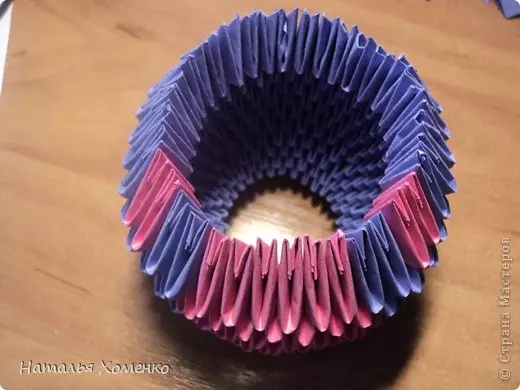
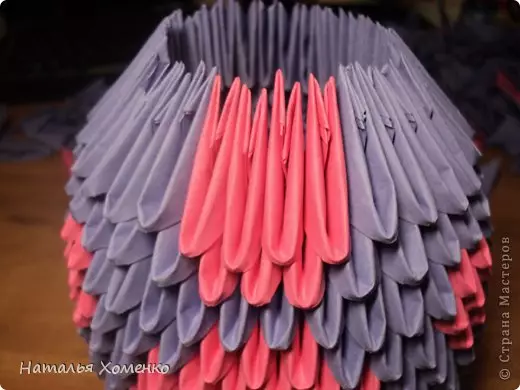
In the next row, three pink, three purple, then 6 pink, then three purple, three pink and finish a number of 18 purple modules.
7 - a pair of pink, three purple, 7 pink, 3 purple, a again a pair of pink and 19 purple.
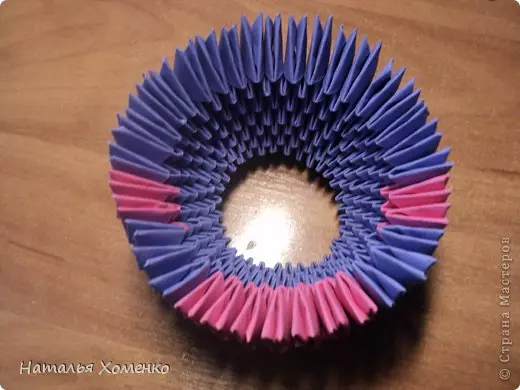
Eight pink, 28 purple.
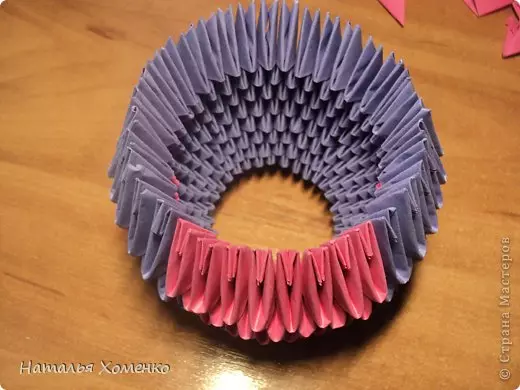
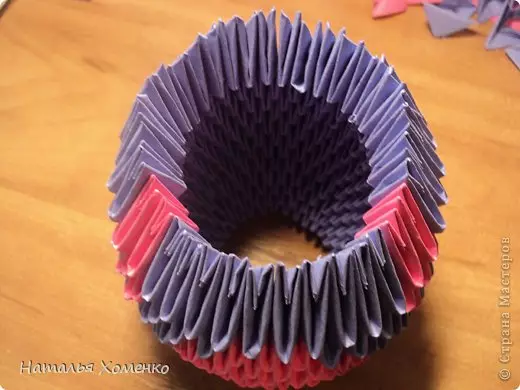
We change one pink to the purple module.
10 - a pair of one-time, violet, six pink, violet couple, a pair of pink and 22 purple.
11 - We alternate three modules, ending with 22 purple modules.

Pink pair, 10 purple, pink pair, 22 purple.
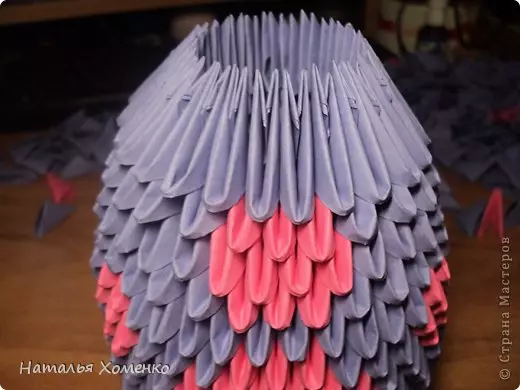
In the 13th row we remove six modules.
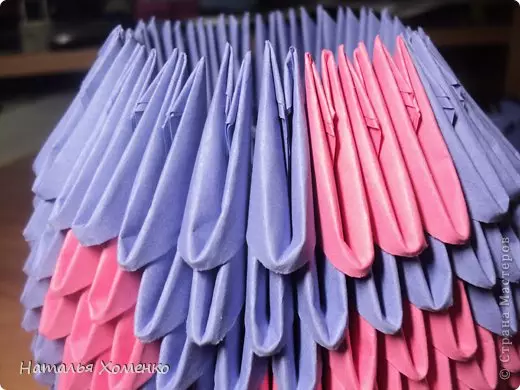
Four pink, 26 purple modules.
Returning in five modules: three pink, 22 purple.

16 - 18. Only violet modules.
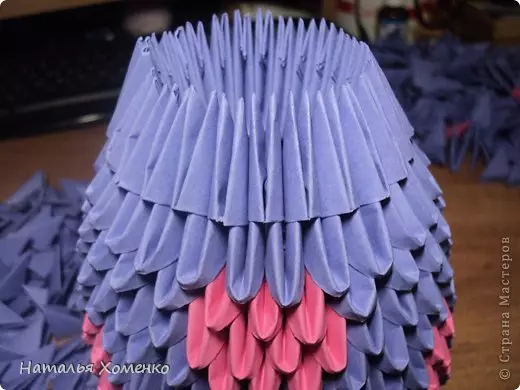
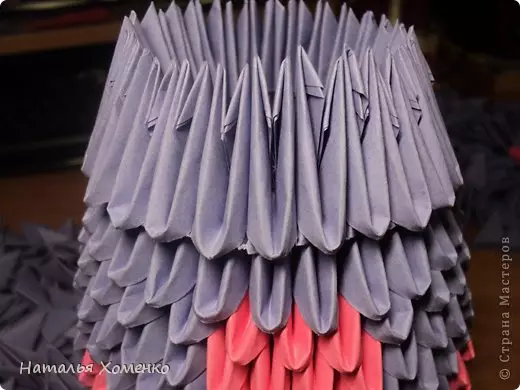
Using this scheme, continue to work. We glue parts for super glue.
Article on the topic: Detailed instructions for the manufacture of hangers
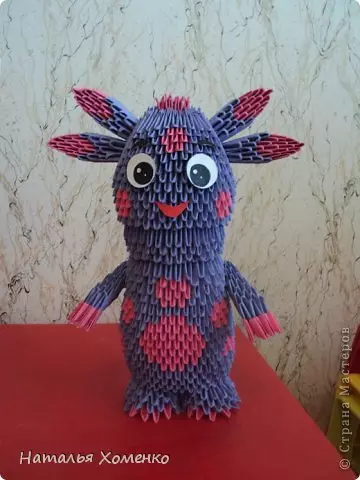
Here is such a nice Luntik turned out.
Another variant
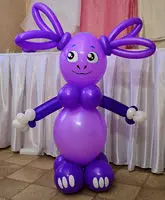
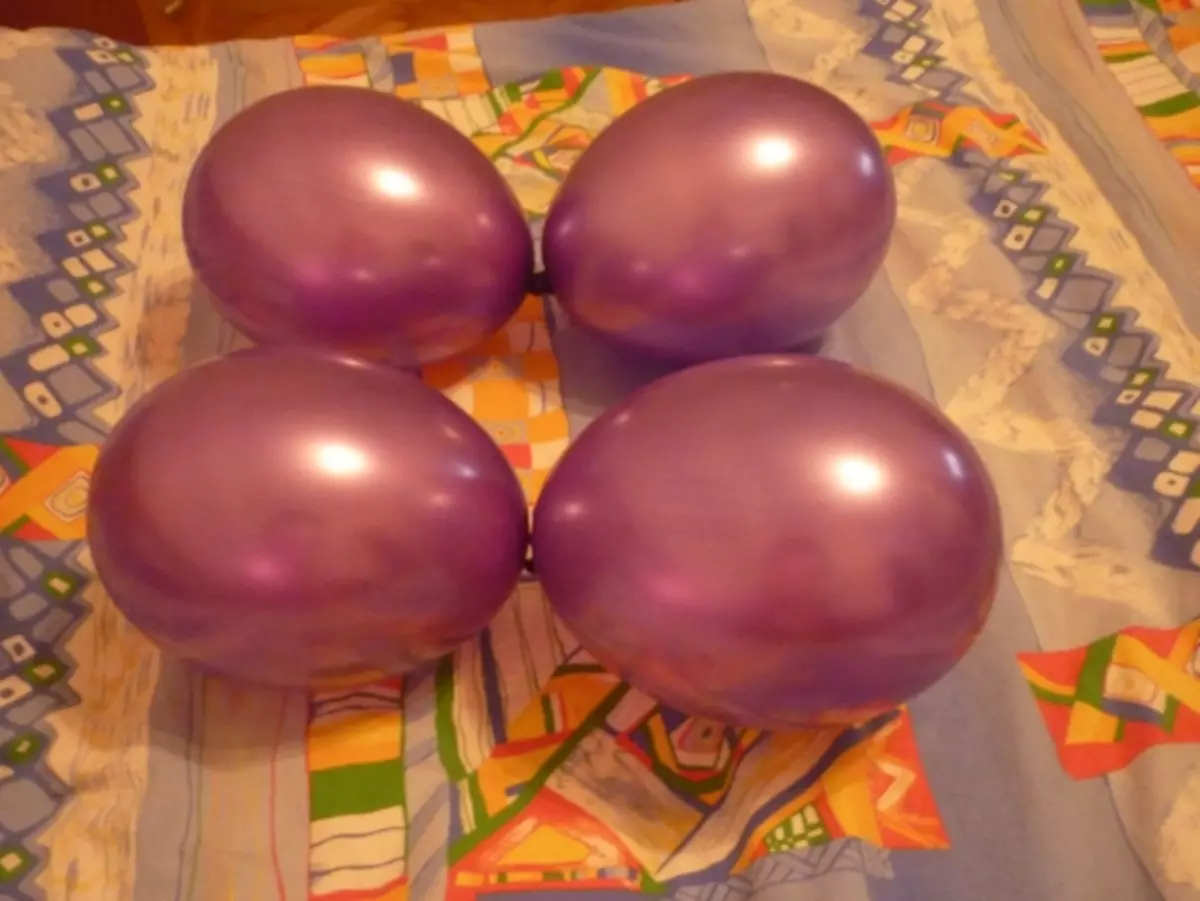
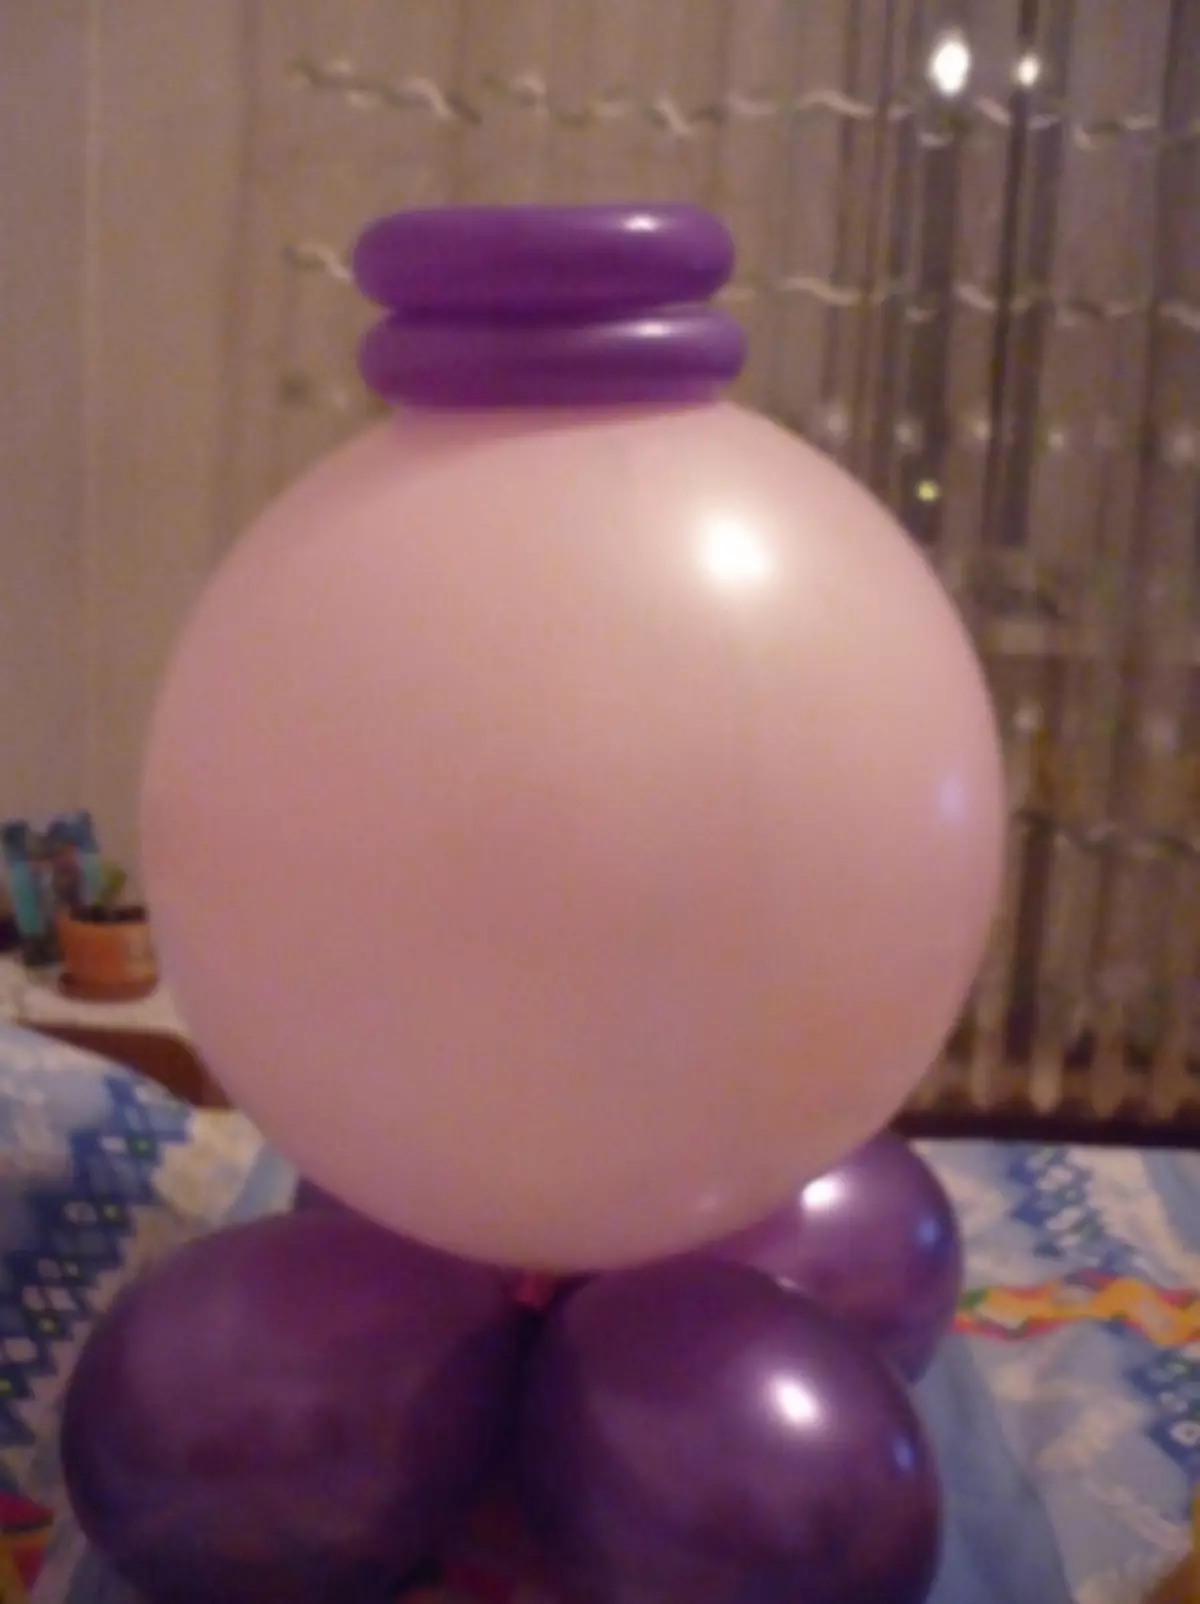
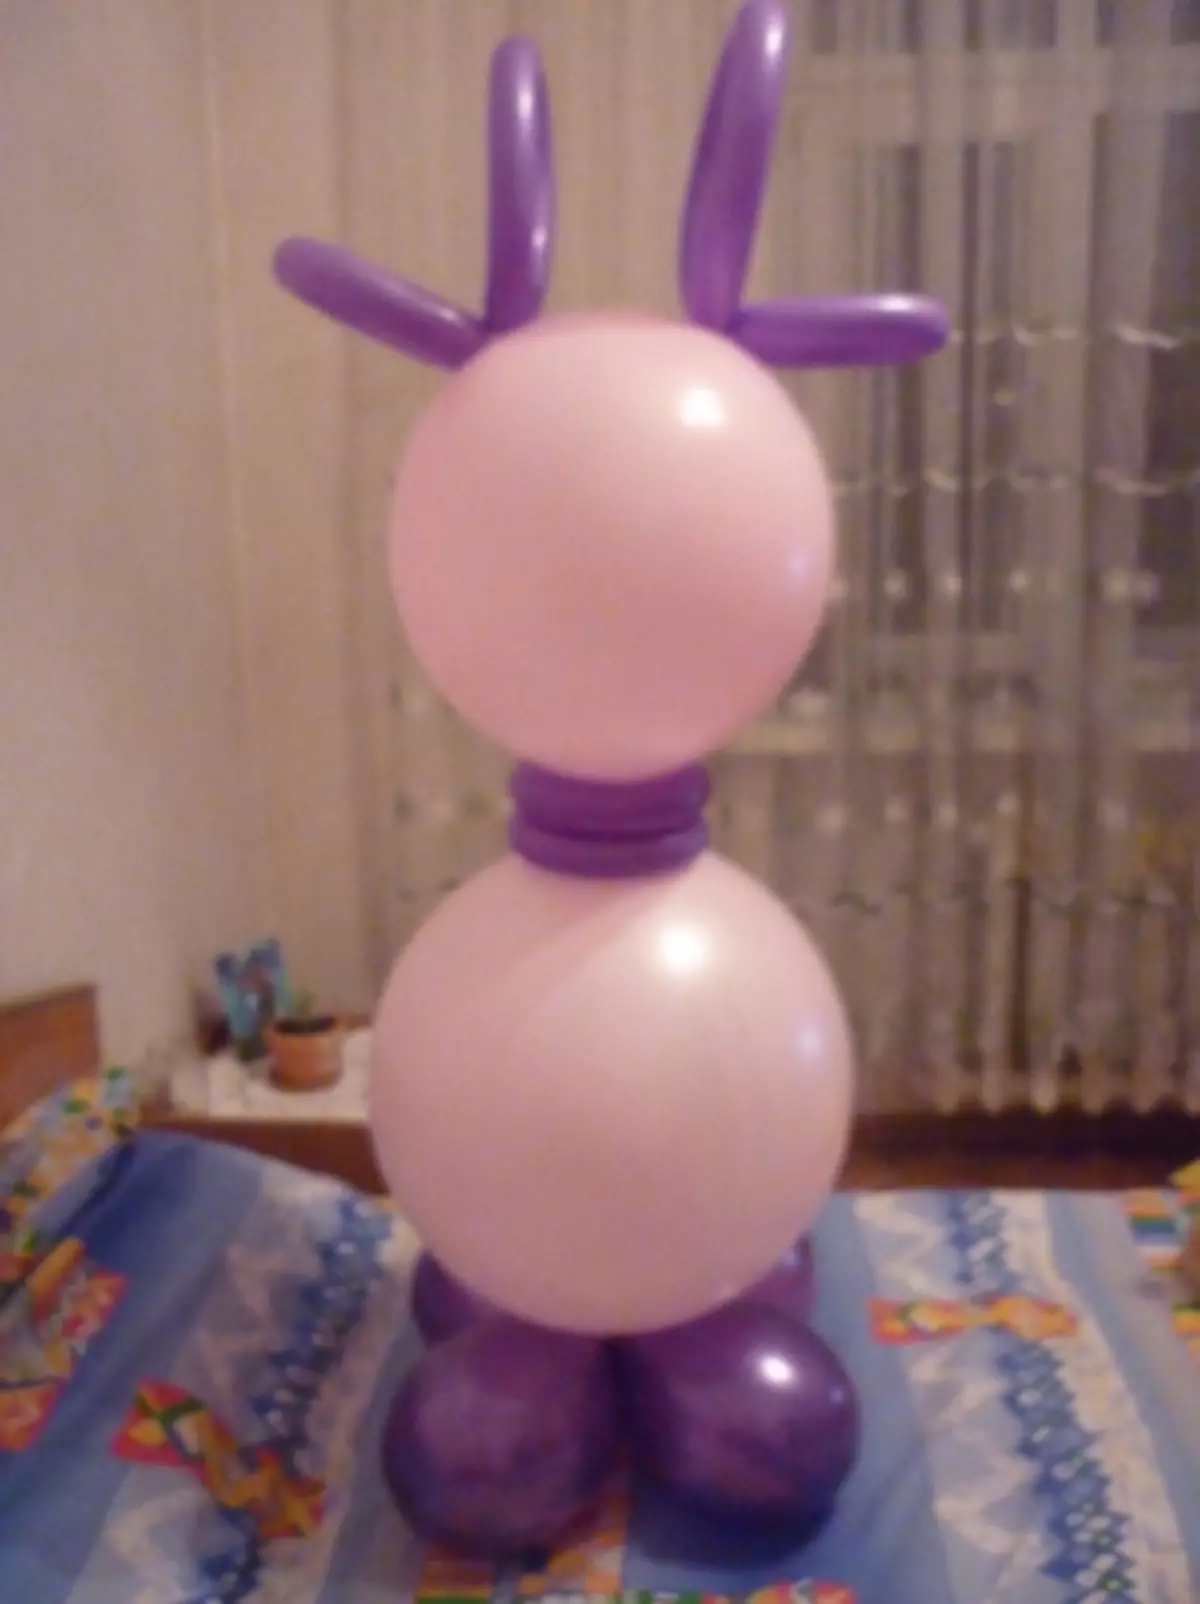
To create such a Luntika from the balls, two-sided tapes, gouache with tassel and balls. First influence four balls, the diameter of which is 10 inches. We associate them with each other.

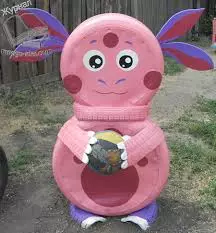
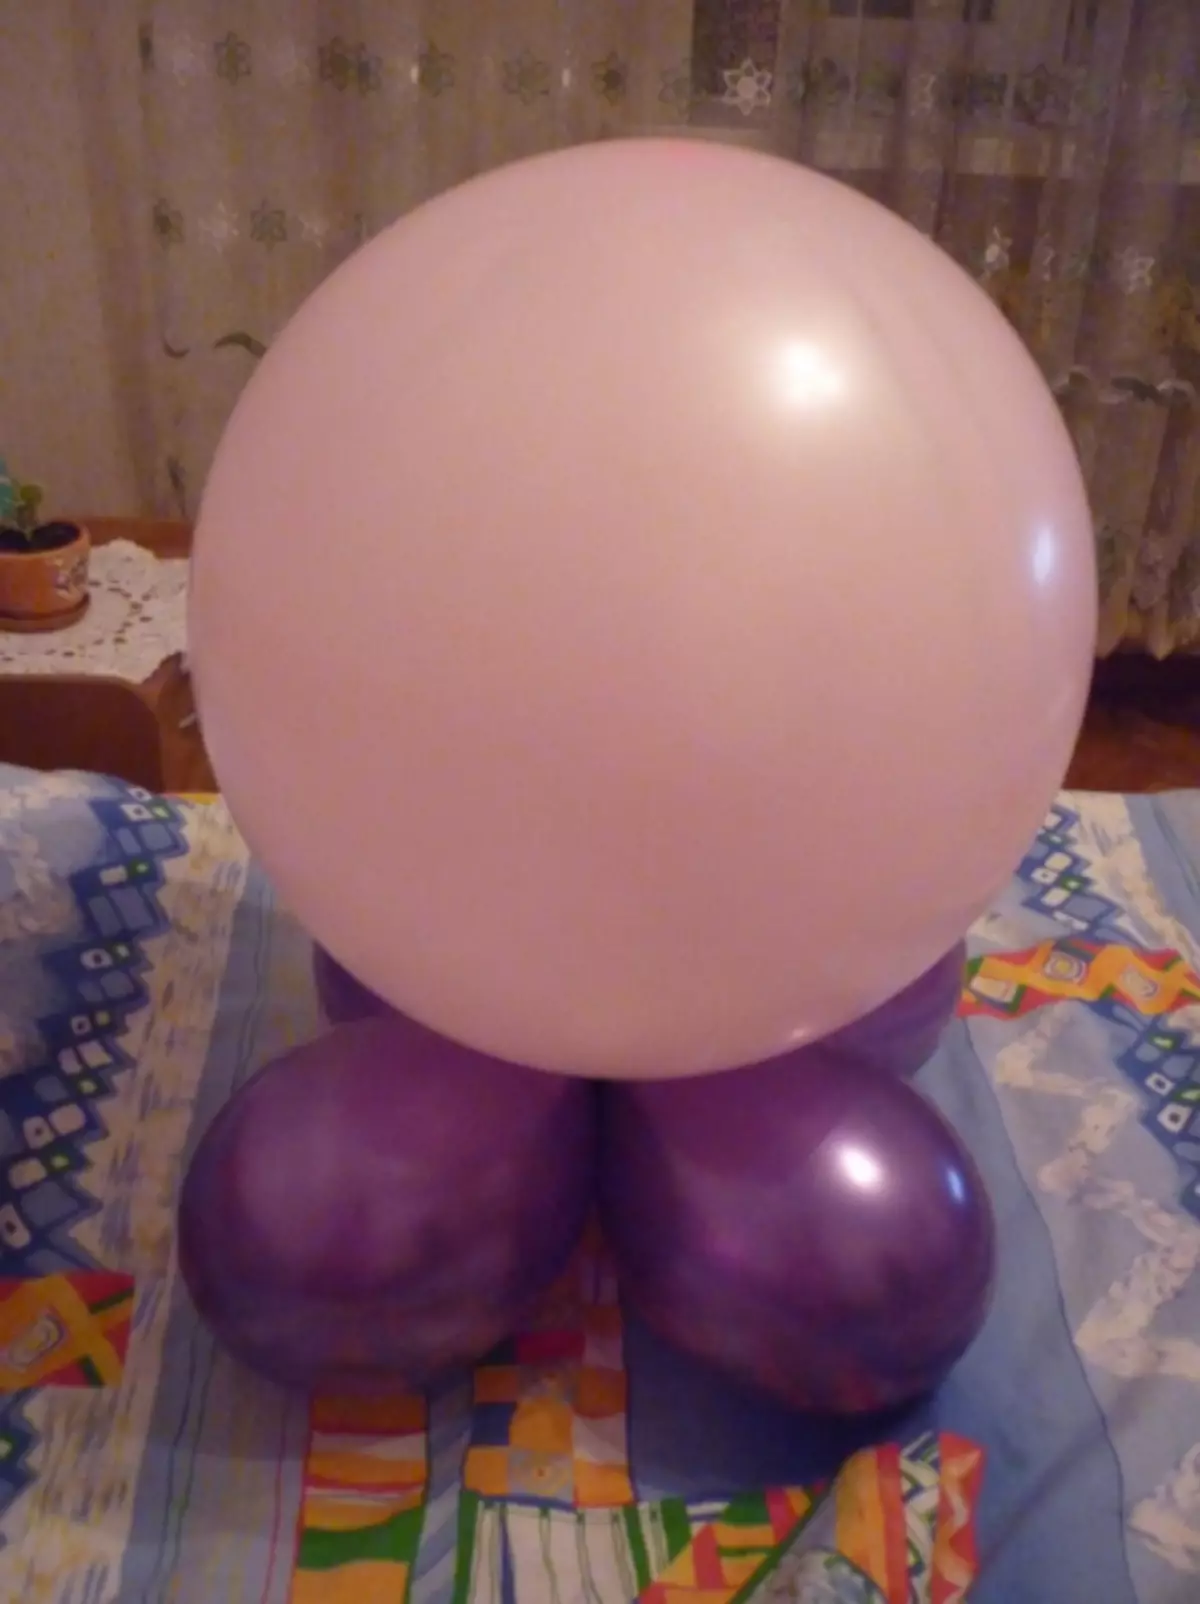
Next, we take a big ball 18 inches, inflation and attach to the previous part.
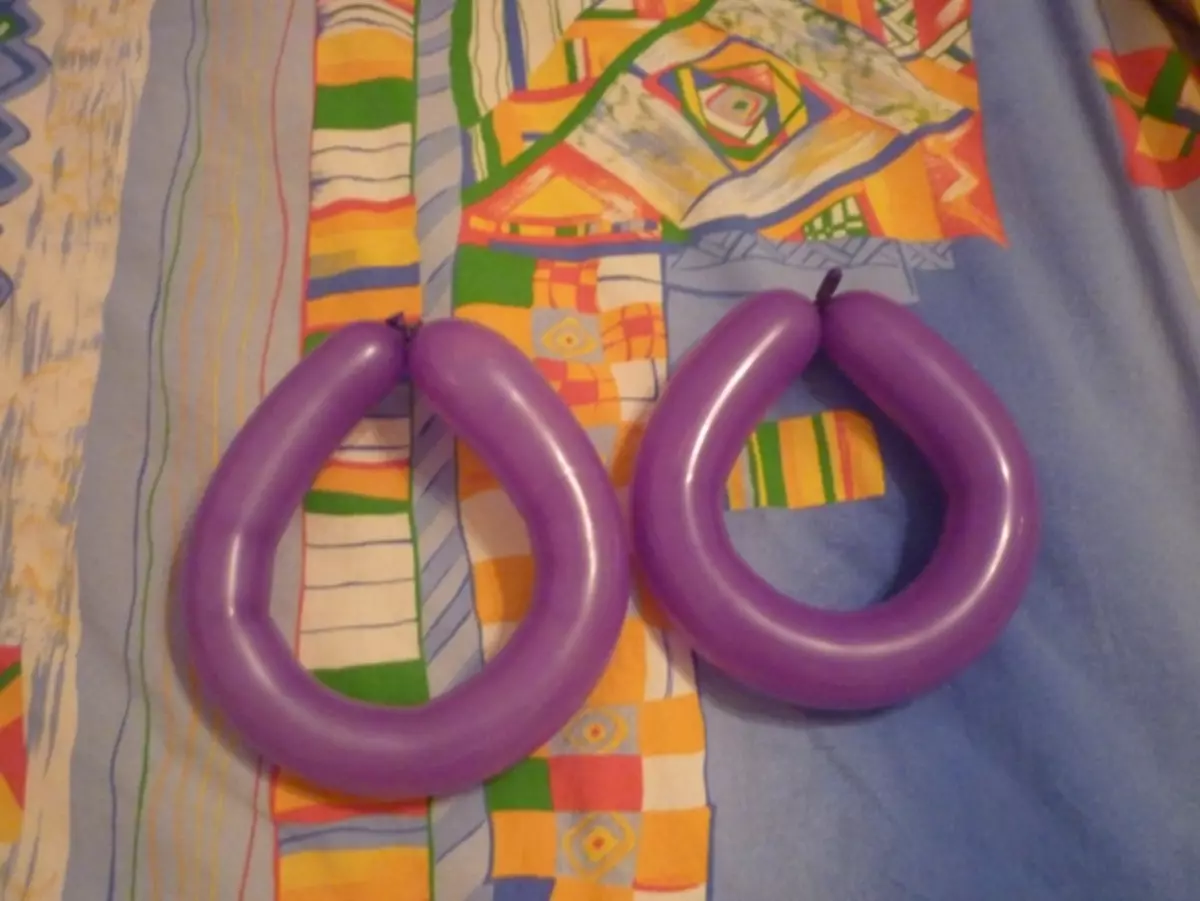
Inflation a couple of long balls, glue them with each other as shown in the photo. Bilateral scotch tape harder to the body.
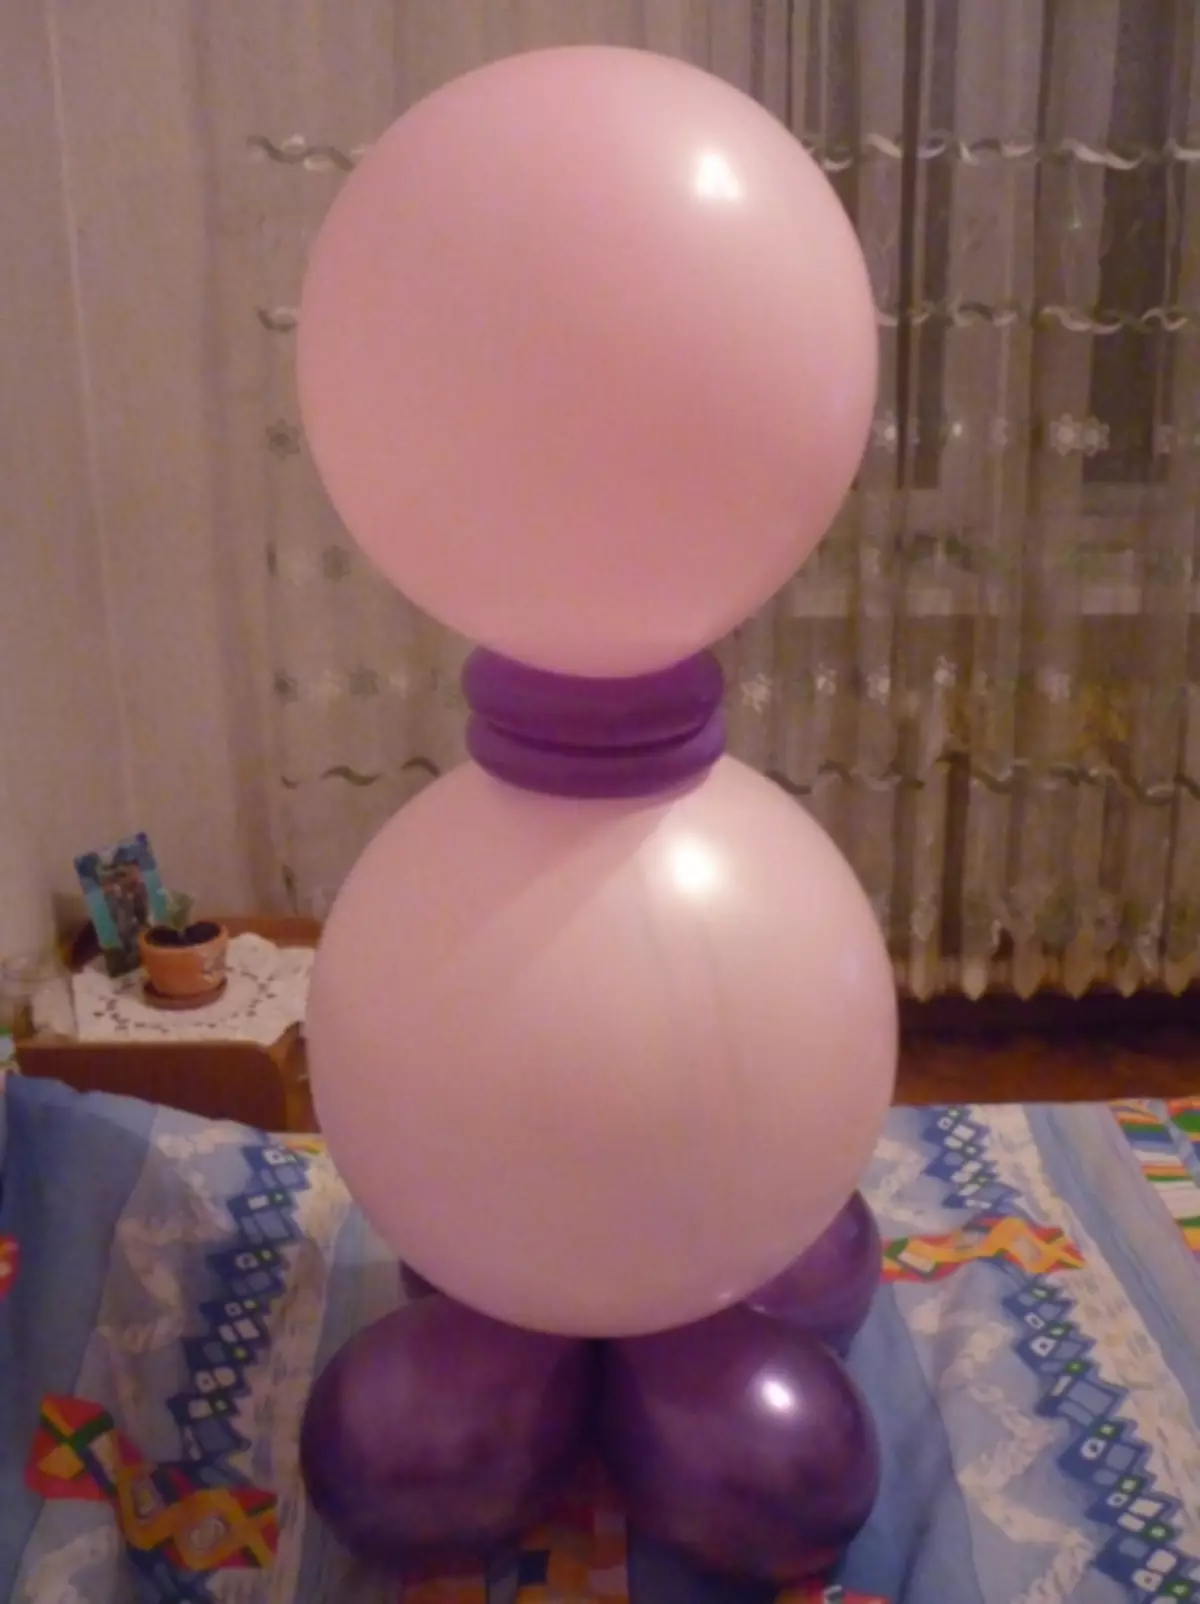
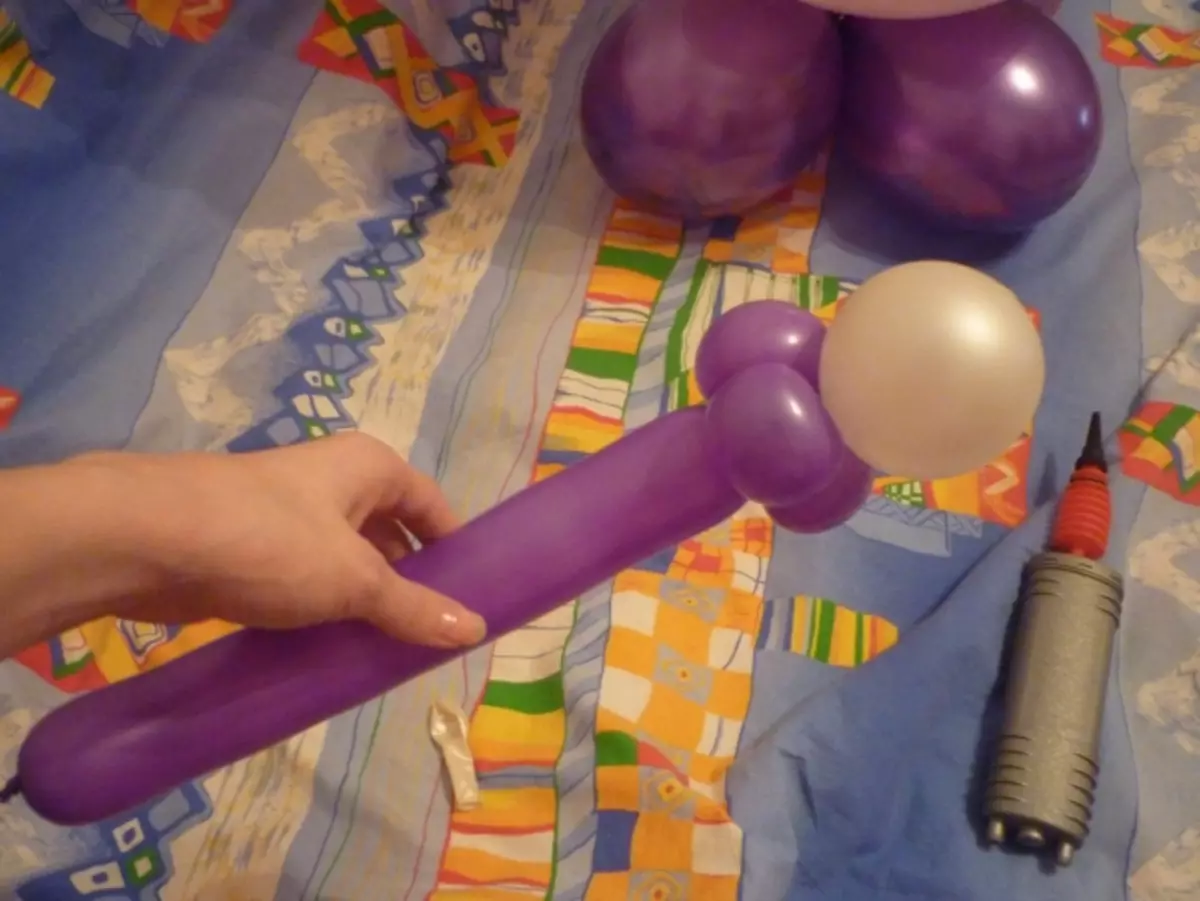
Inflation another ball for the head. We glue it to the neck.
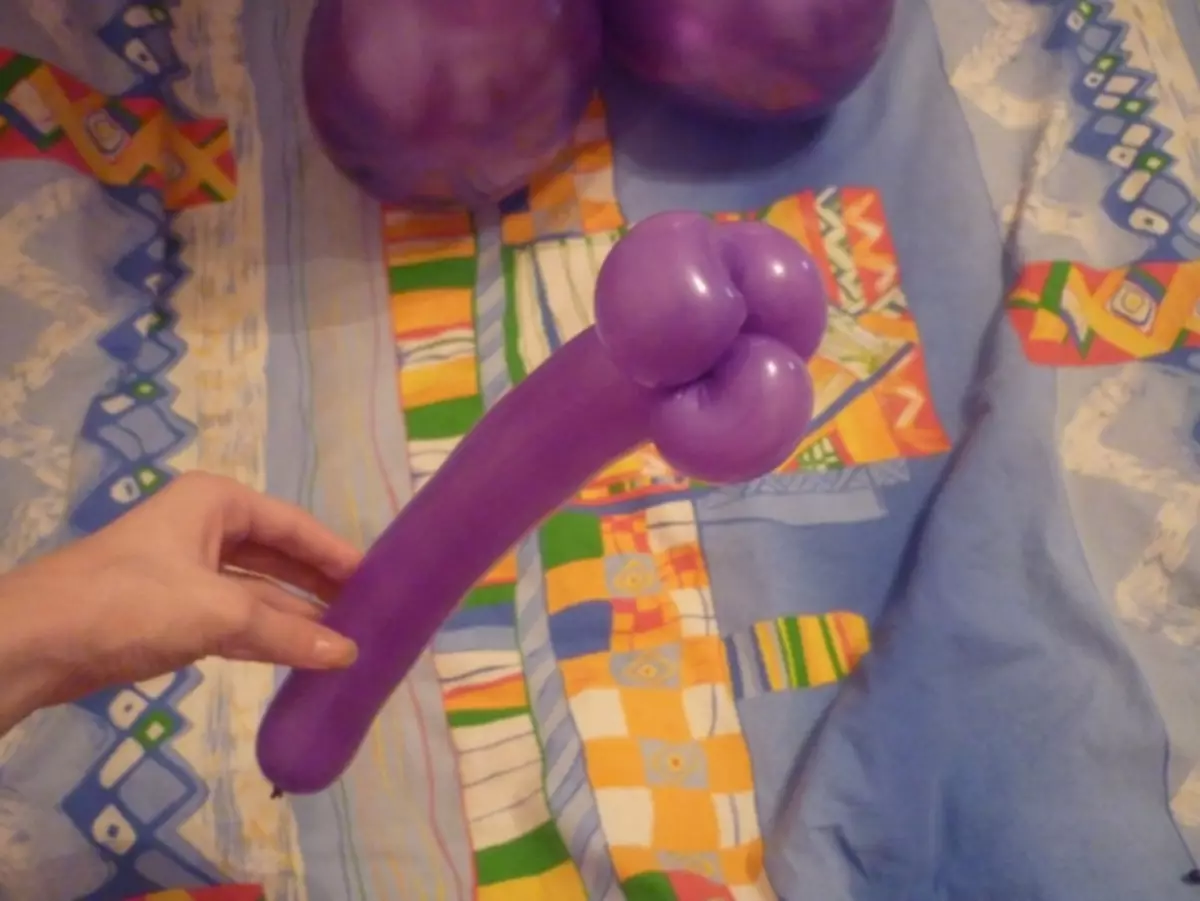
Take long balls again, inflation them, and then twist eight.
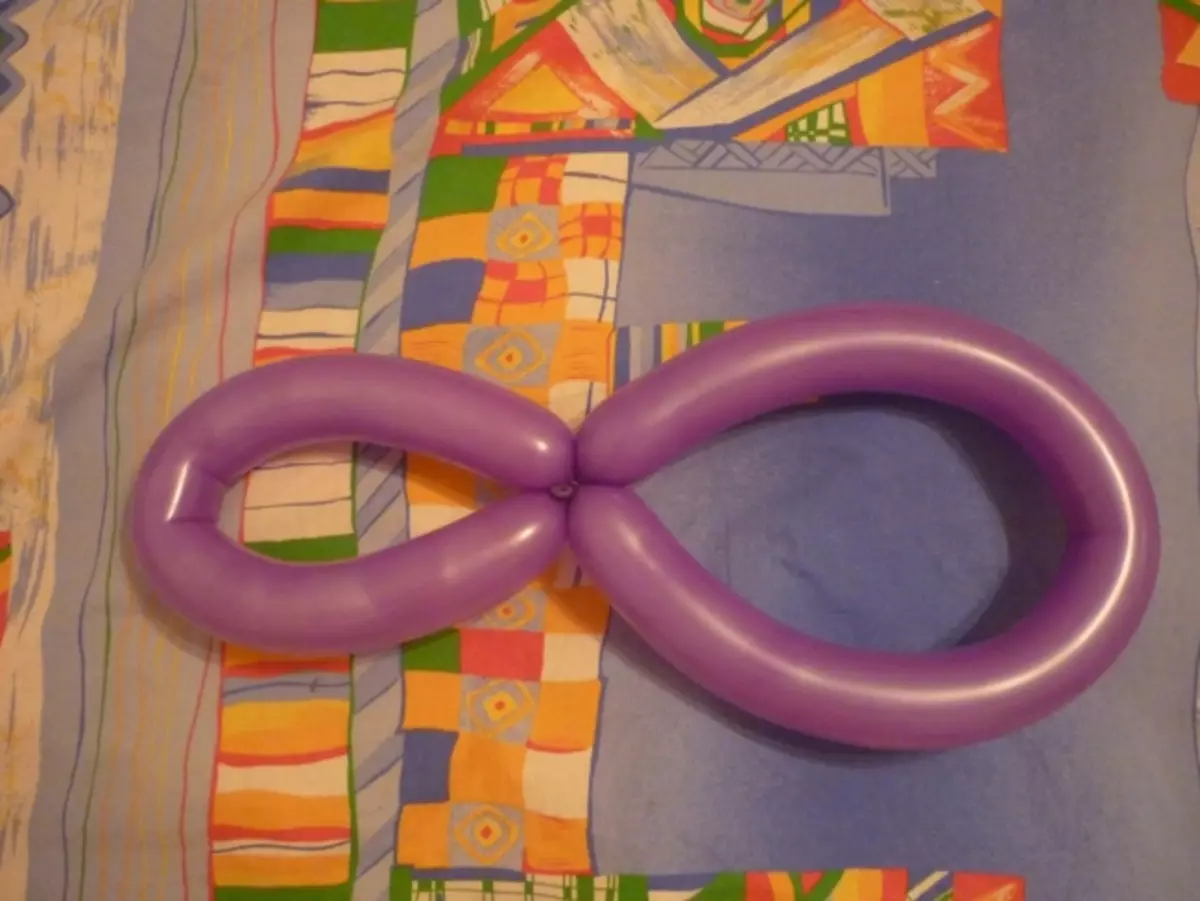
Attach.
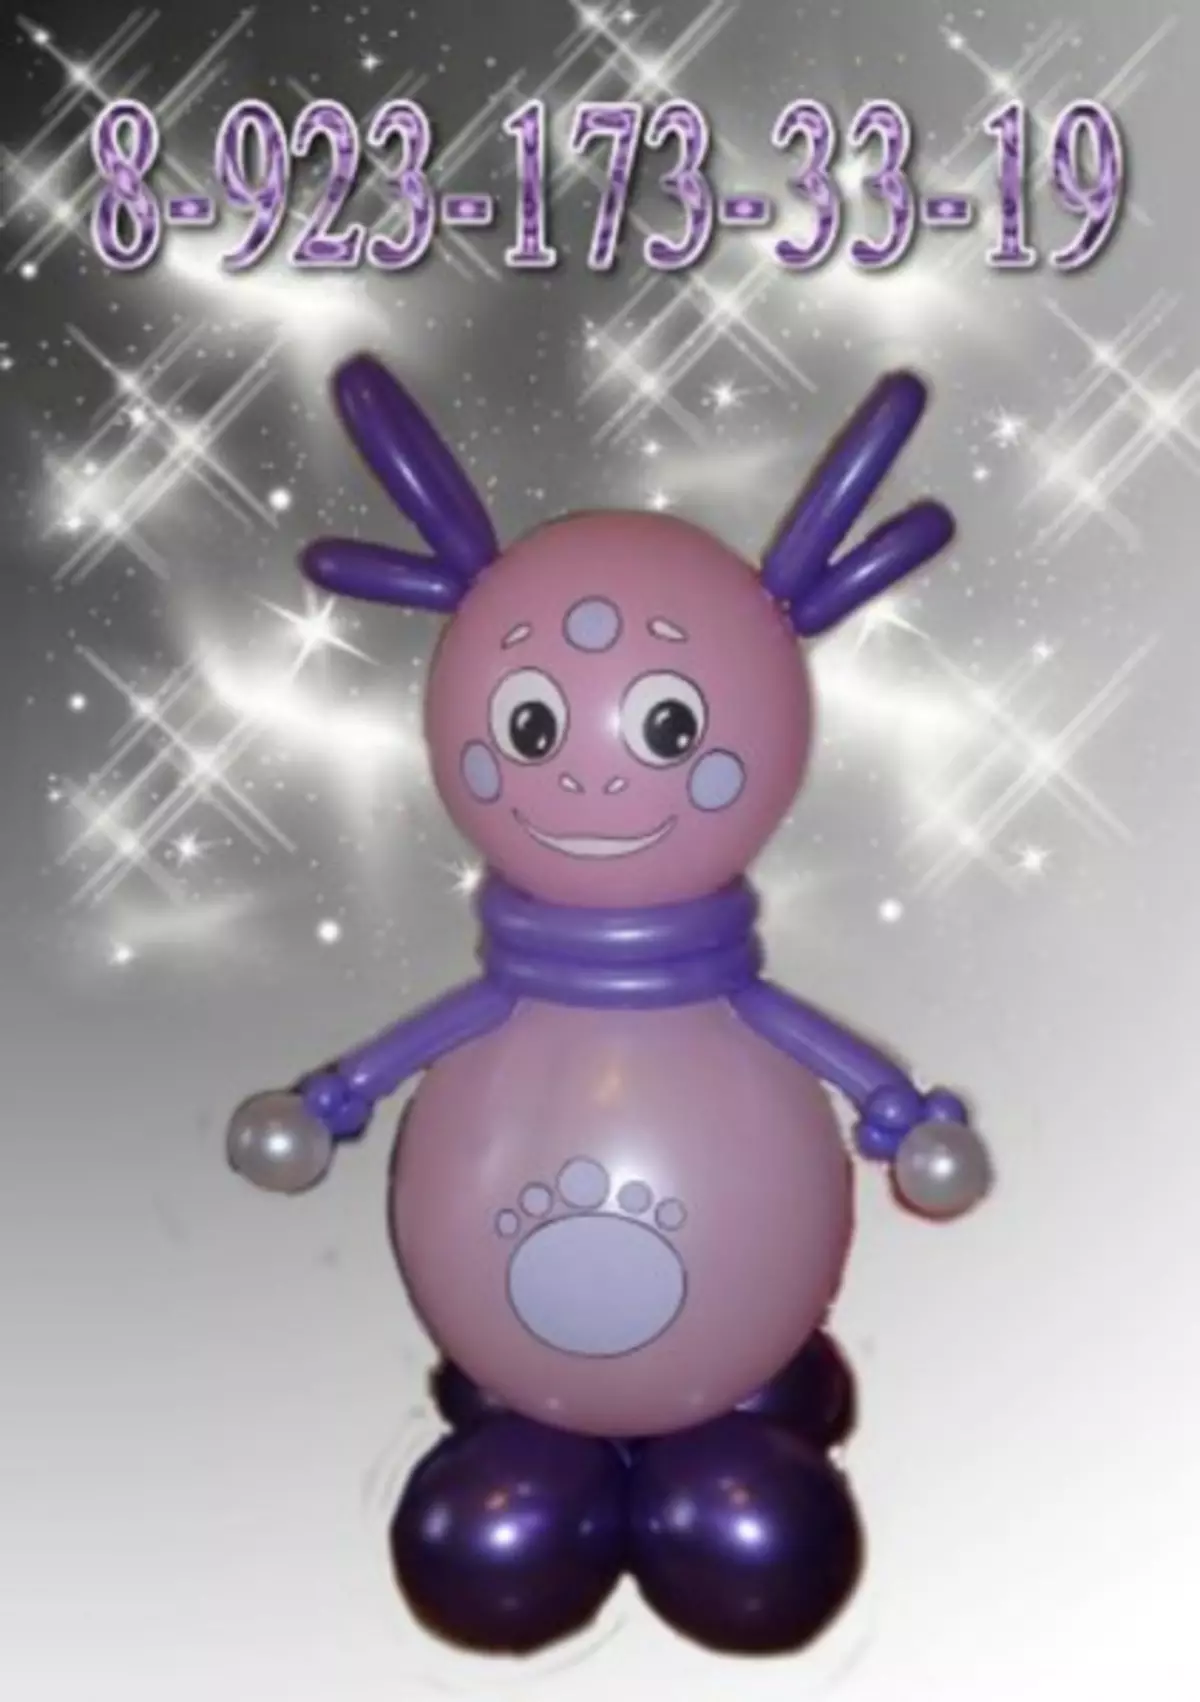
We make handles as shown in the photo. I attach the finished item to the main handicraft and draw a face and specks with a gouache.
Luntik from the balls is ready!
Two ideas immediately
We draw blanks on paper.
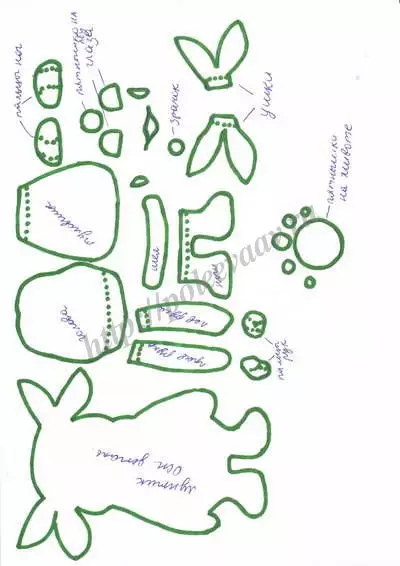
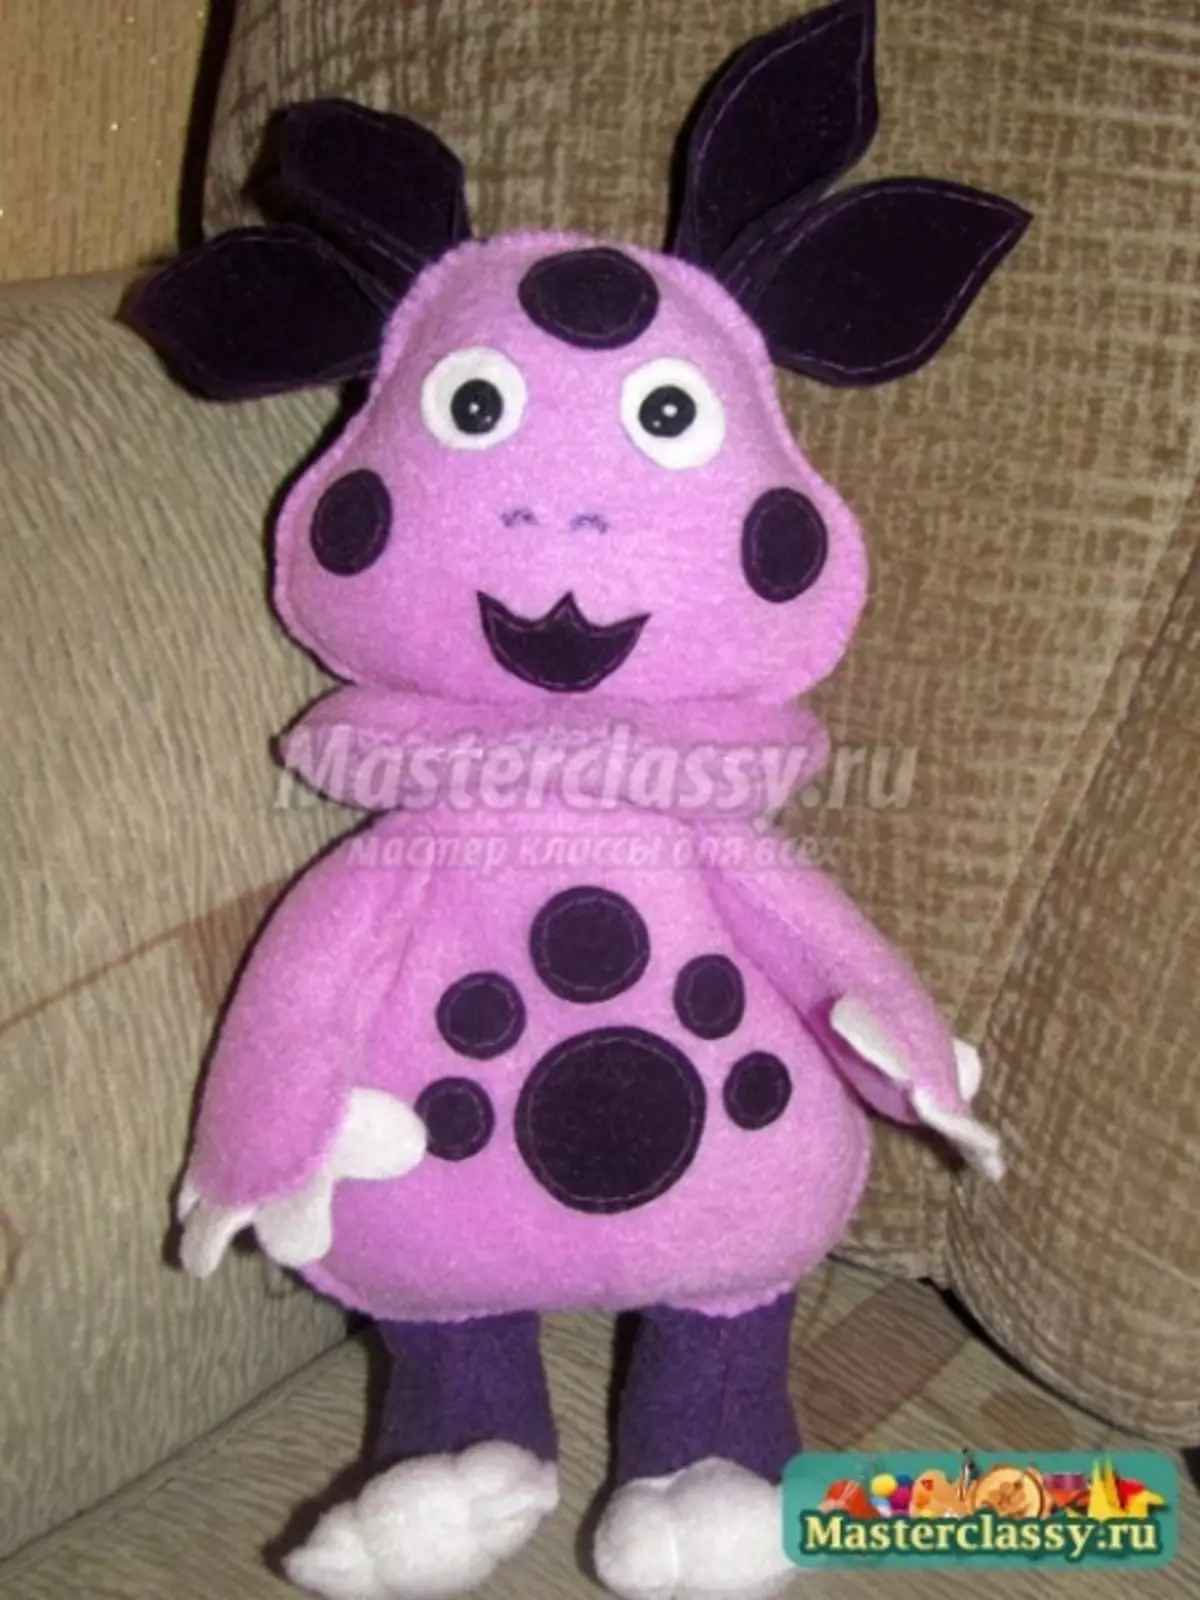
We carry the drawing to the felt. Cut the details.
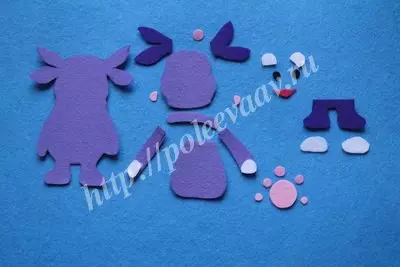
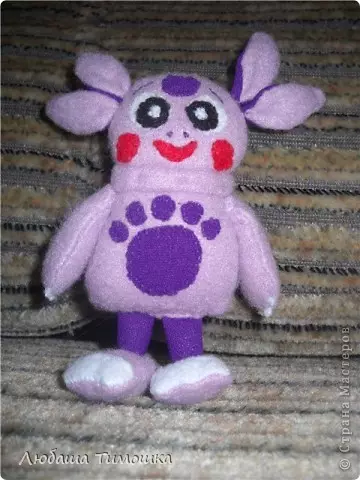
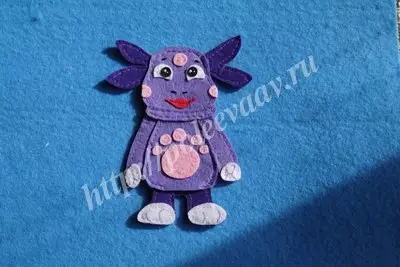
Glue them with each other. That's so very quickly it turned out Luntik from felt.
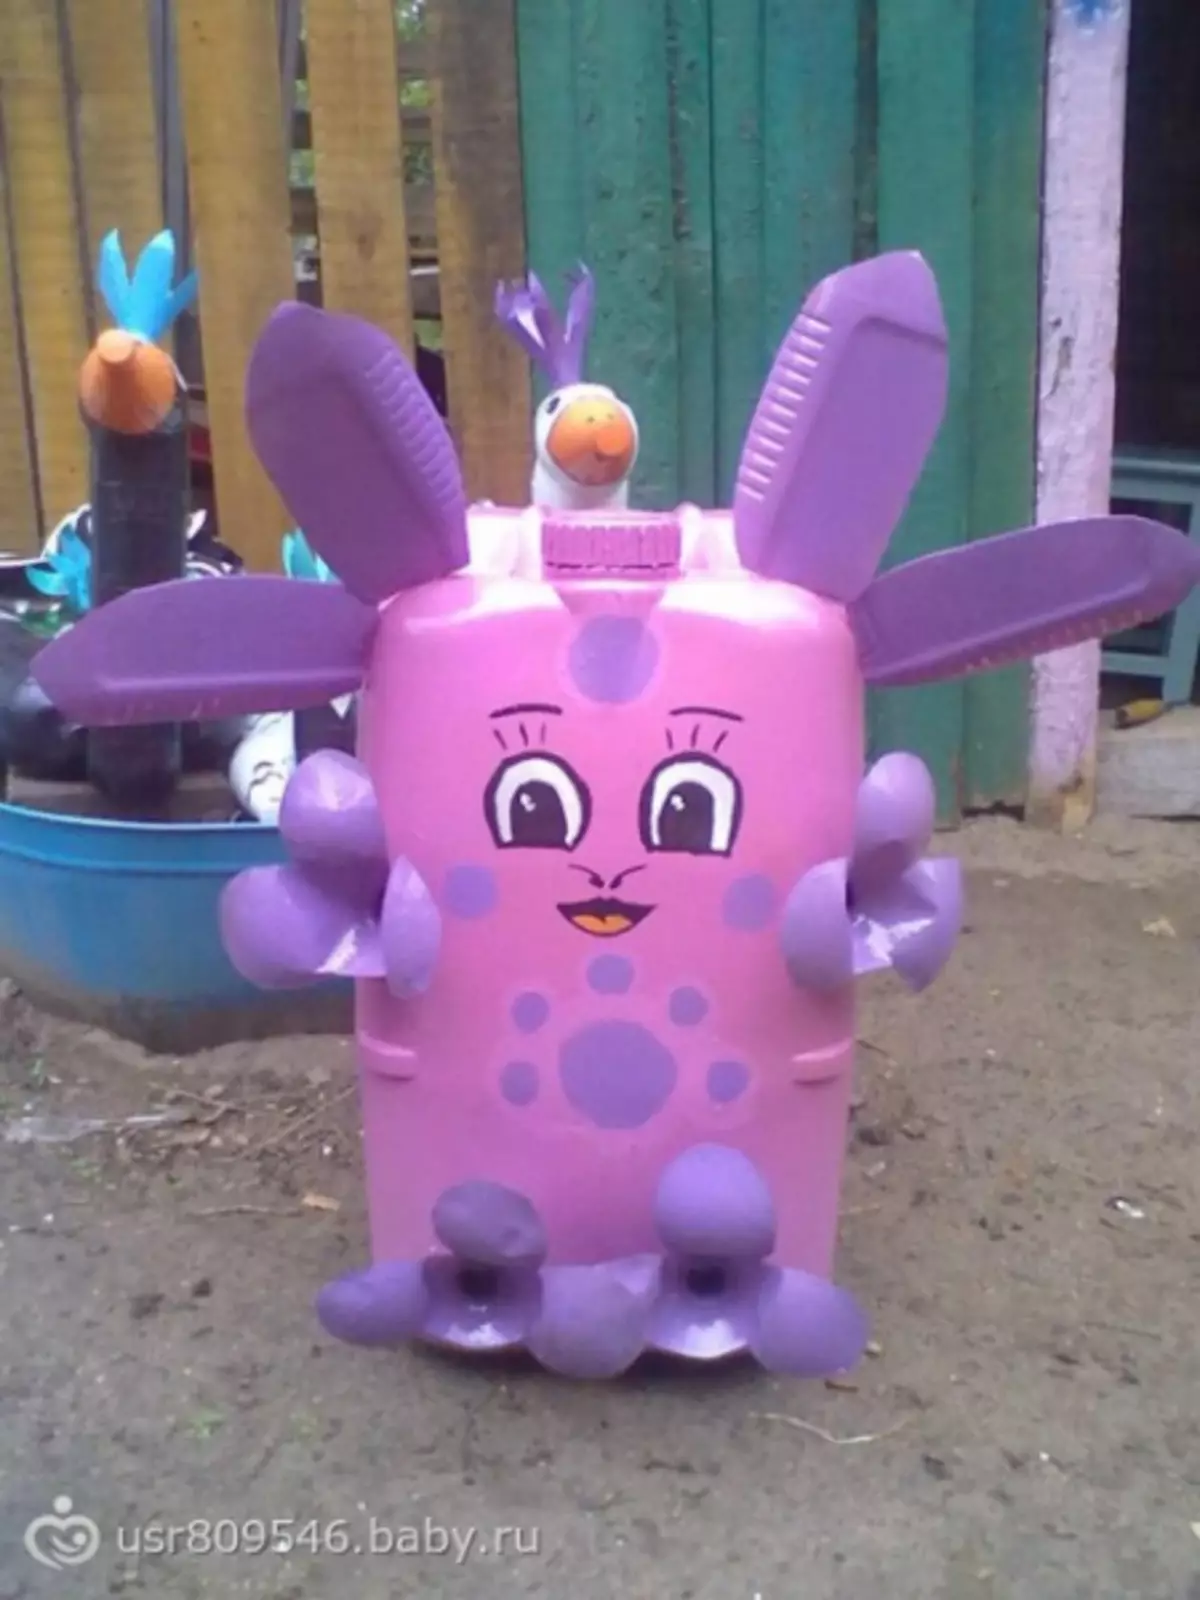
Redraw the drawing you can and plastic bottles. Then it is worth painting the details obtained and it will turn out a small pretty Luntik of plastic bottles.
Interesting job
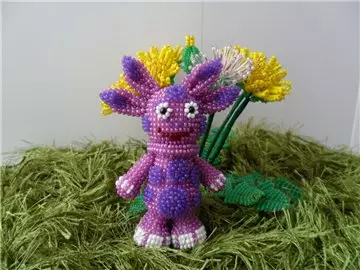
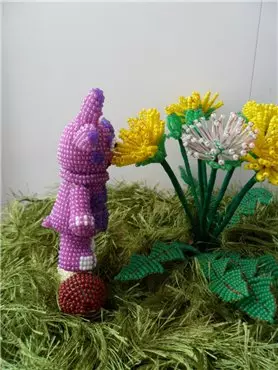
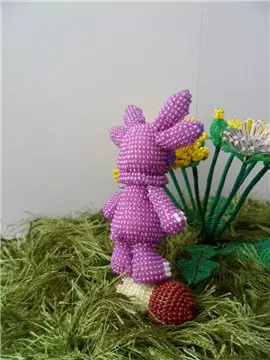
We propose to consider the creation of a bead figurine.

Hands 6, 12, 18, again 18, 12 (we do another 7 times), 6, 1. Feet 2, 8, 16, 24, 28 (two more times), 24, 20, 18, (a couple of rows). Ears 6, 9, 12, 15 (another 4 more); 18 (3 times) Then bend in the form of the letter "C" at the bottom. Next you need to make a detail. Specks 2, 8, 16, 24 - 1 piece; 2, 8 - 4 pieces; 6, 12 - 3 pieces; 2, 8, 16 - 1 billet. Tail 5, 7.
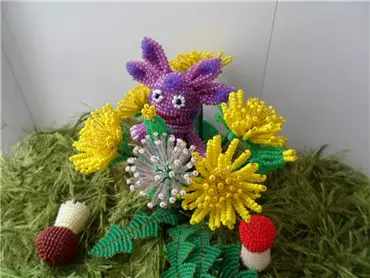
Head, neck, torso in this toy knit together.
2, 8, 16, 24, 30, 34, 39 (a couple of times), 42, 45, 46. We begin to make a slope for six loops in each next row: 48, 42, 36, 30, 24 (17 rows). We continue: 24, 30, 36, 42, 42, 36, 30 (7 rows). Next, 30, three rows of 33, two to 36, 39, 42, 45, two to 48, 42, 35, 28, 21, 14, 7, close in a circle (17-19 rows).
Article on the topic: Cap with tit with Women: Master class with video
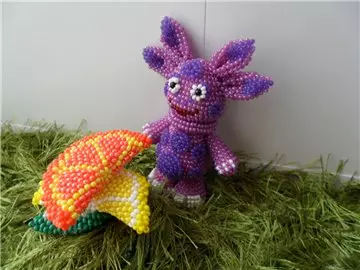
According to the same scheme, you can tie a toy Luntka Crochet.
Video on the topic
Look a selection of video to create a Luntik.