Needlewomen, designers and just curious hostesses have long already known what toopiary is and how can it be done. And for those who do not know, tell. You are presented to the master class "Wedding Topiary with your own hands."
Topiary is the ancient art of landscape design, before the decorative haircut of trees for decorating gardens, parks. But now this concept is found in needlework and began to make the manufacture of small trees for home decoration. It has several other names - "European tree", "Tree of happiness". And the dimensions of Topiary can be from 10-15 centimeters to half a meter. It all depends on your imagination and desire.
Topiary can be used as an interior element, a gift to relatives and loved ones and just such a lesson can be a hobby.
Now you can often see the topiary and weddings. Yes, yes, this is an excellent holiday attribute that carries a lot of meaning and positive, especially if you do it with your own hands. The newlyweds are very carefully referring to the choice of decorations for the most important day - weddings. That is why everything should be at best and without originality herehere else.
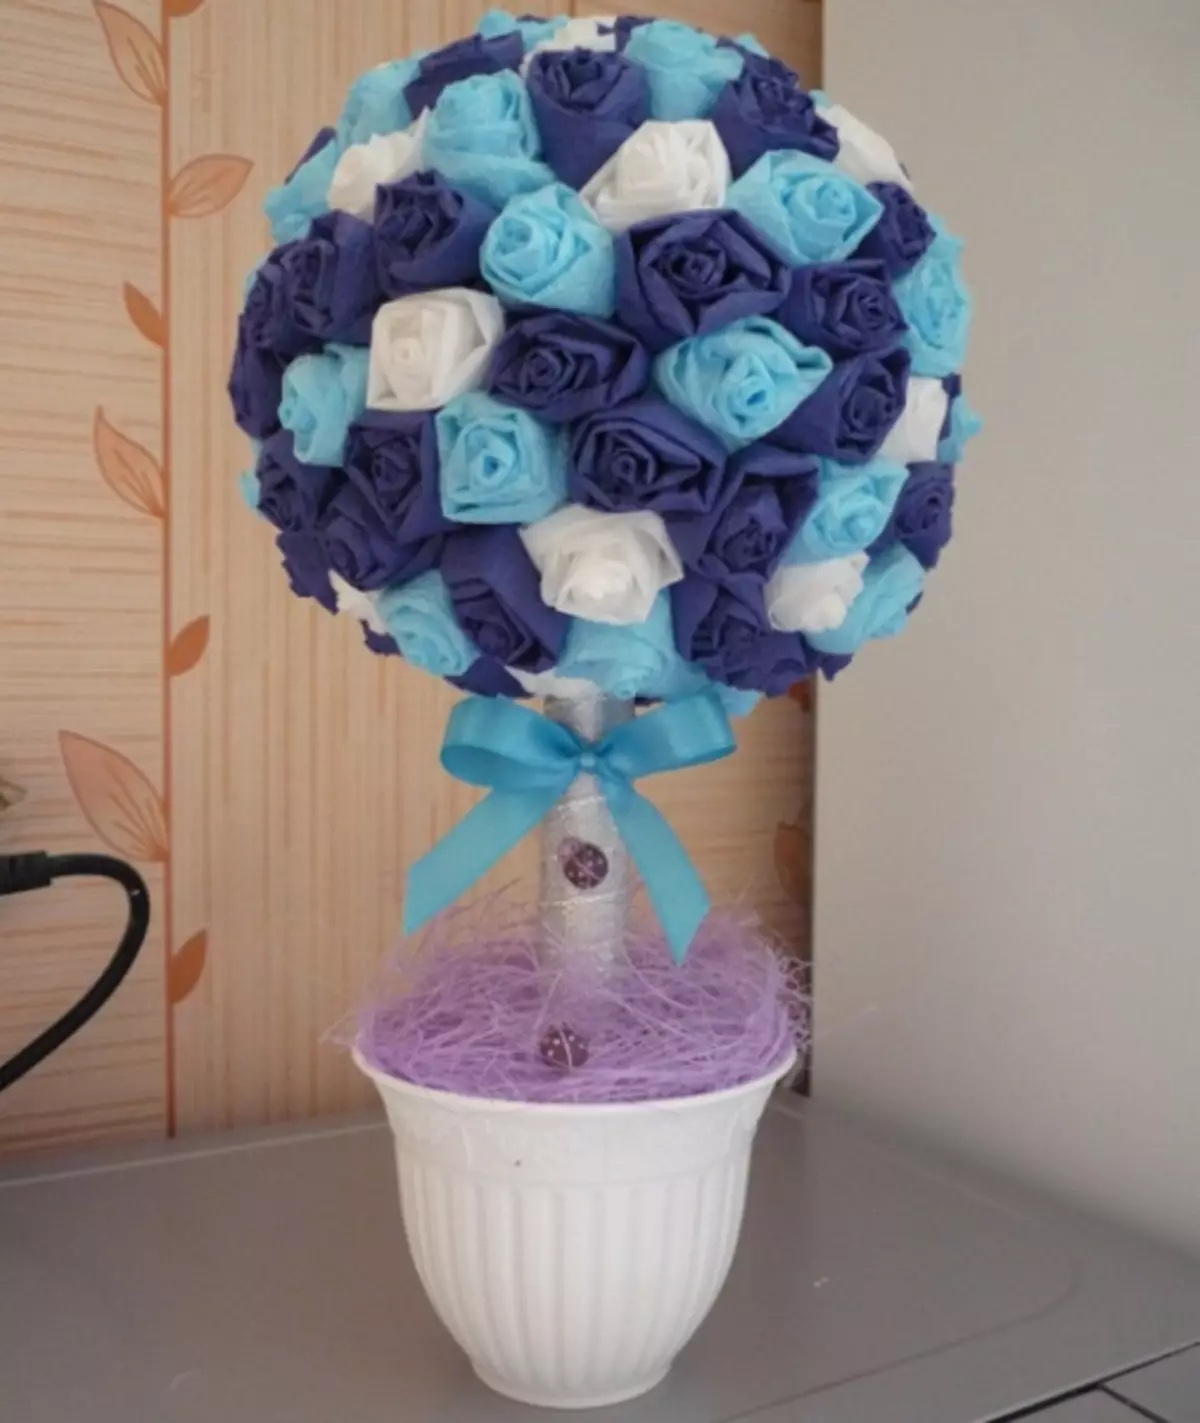
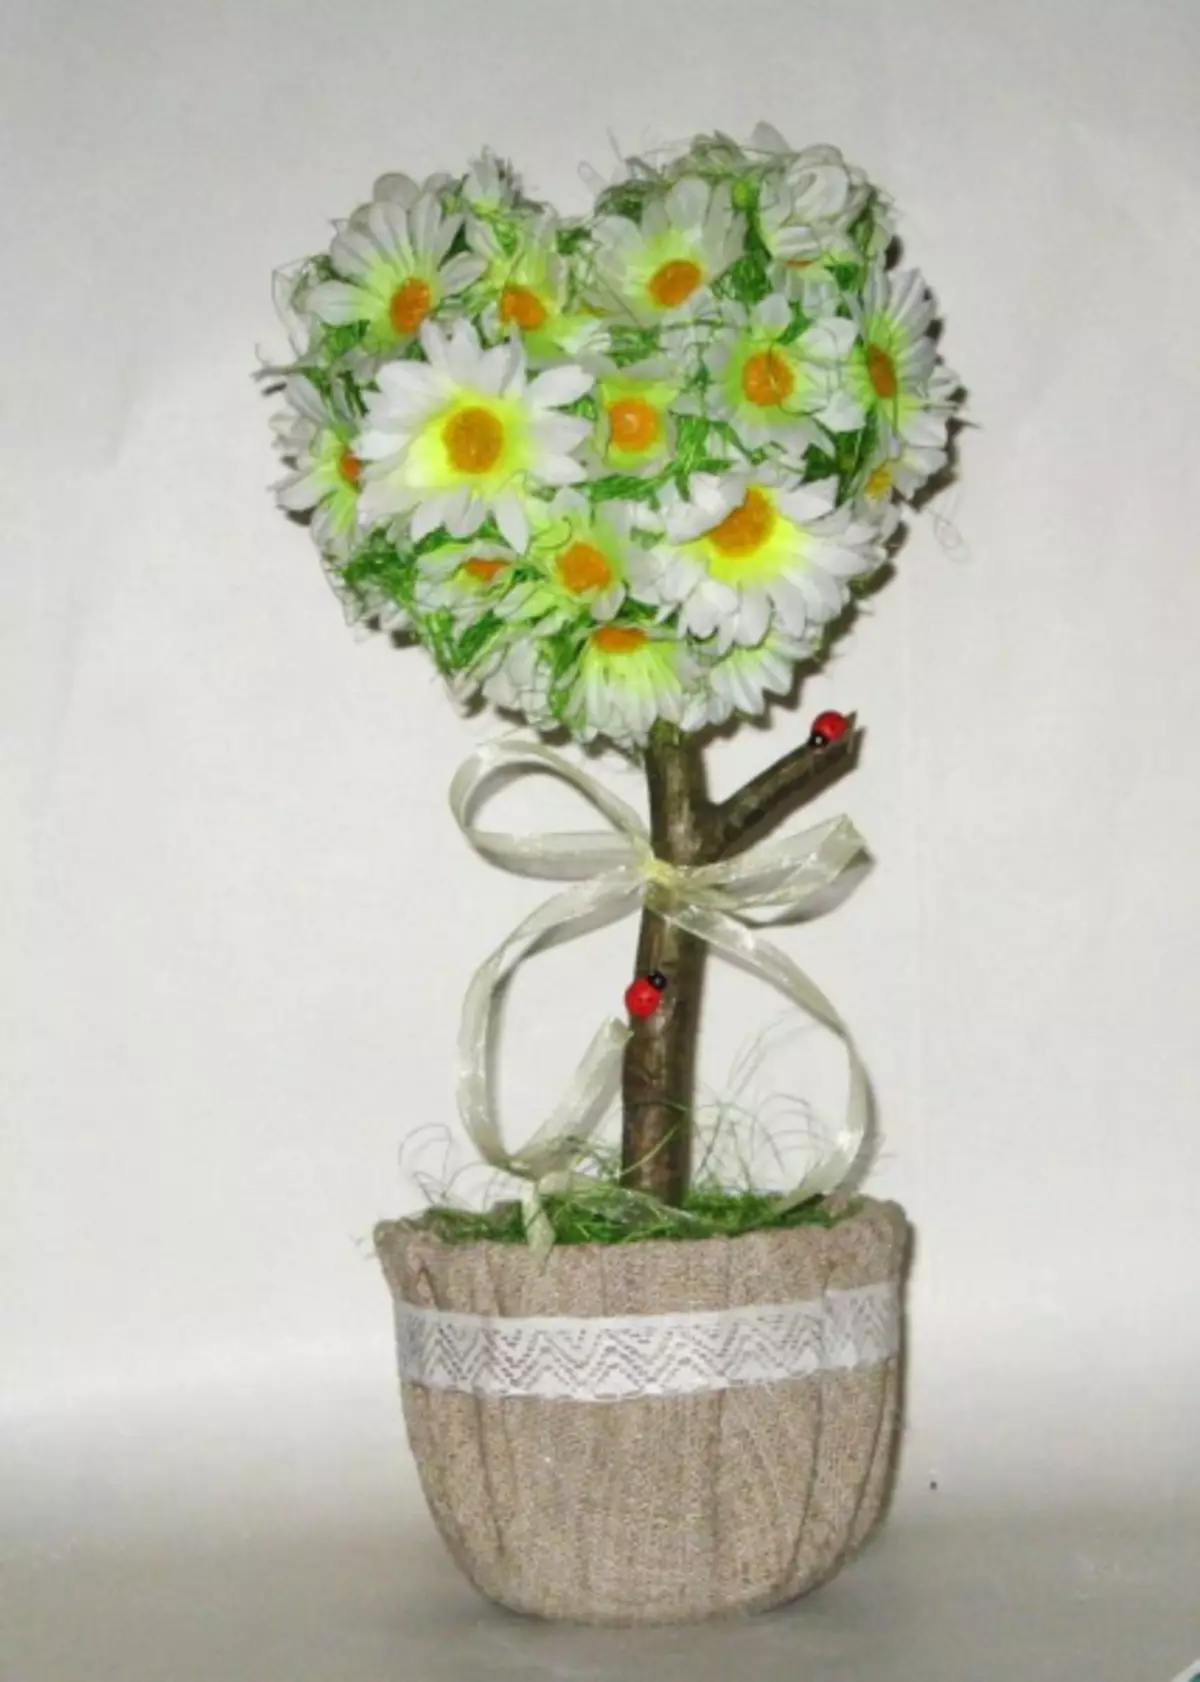
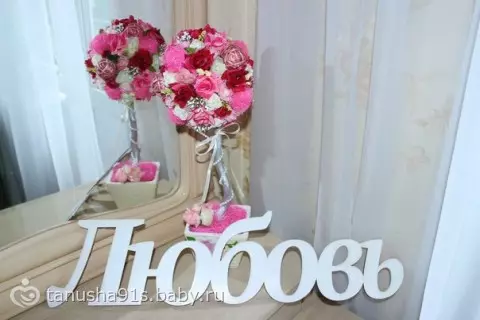
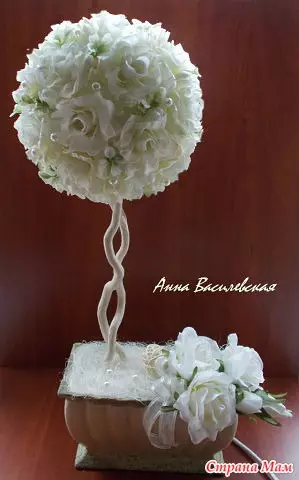
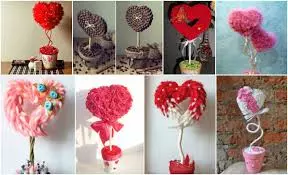
Photo examples Topiaria:
On the Internet there are many ideas how to make a topiary for a wedding, and what materials can be used.
Present for the wedding
First you need to figure out, from which parts consists of topiary and what can be used to decorate it.
The main elements of Topiaria:
- base (ball, heart);
- trunk;
- crown;
- Pot or stand, cup.
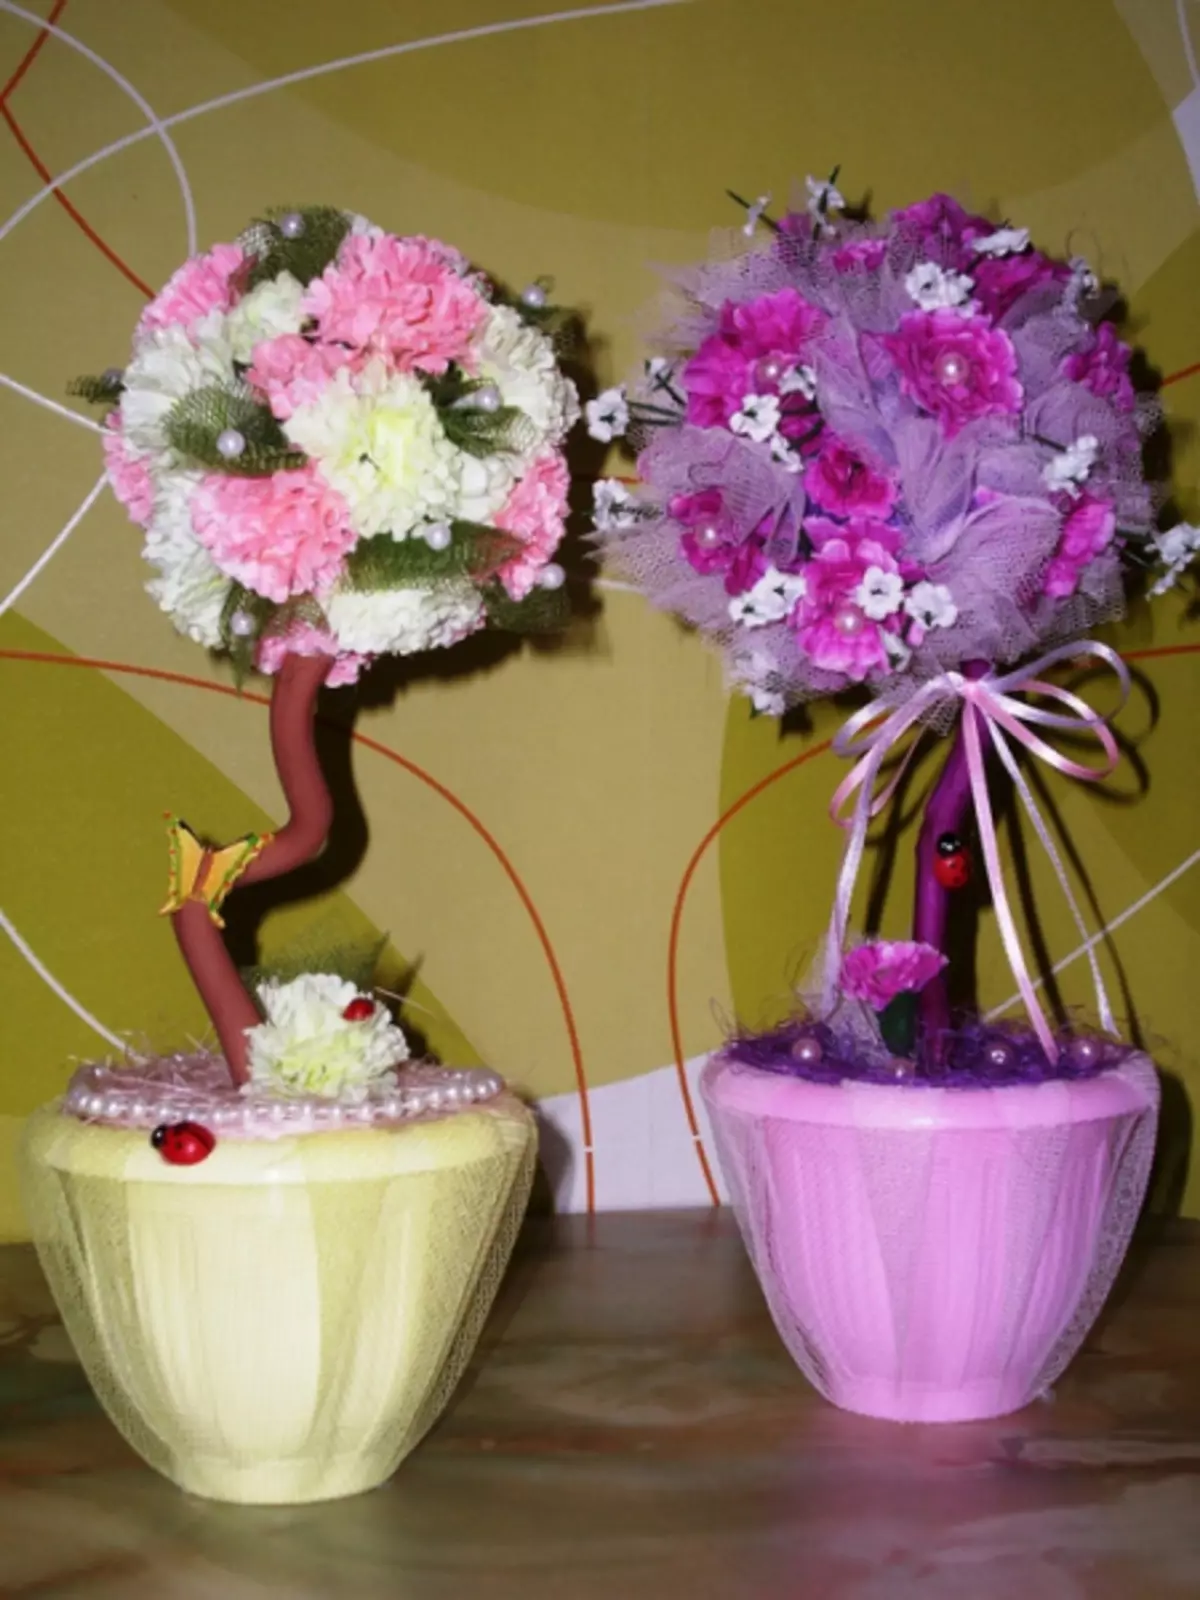
Materials for the decor can act: napkins, satin ribbons, natural materials, shells.
Wedding Topiary can be diverse and depend on the time of season, when you can deepen into a certain atmosphere and use shells, pebbles, or acorns, nuts, bumps, chestnuts and dry leaves of maple, oak, birch, and may depend on the desire of the newlyweds themselves.
Article on the topic: Hook in robes crochet. Scheme
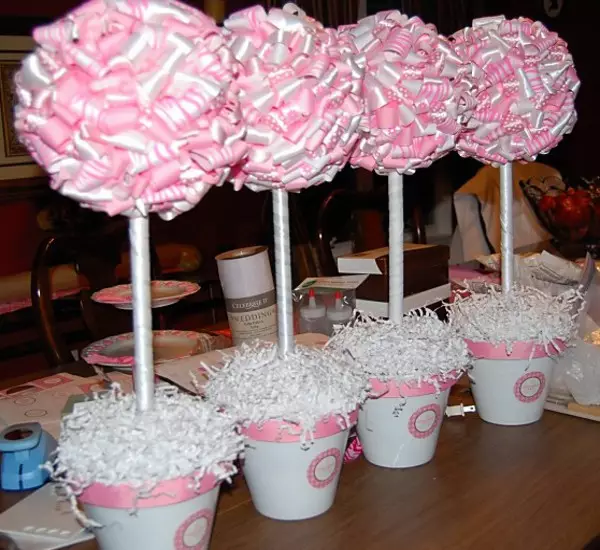
Wedding Topiary is a very good and budget version of the hall and tables. In order to make topiary from satin ribbons yourself, Such materials are needed:
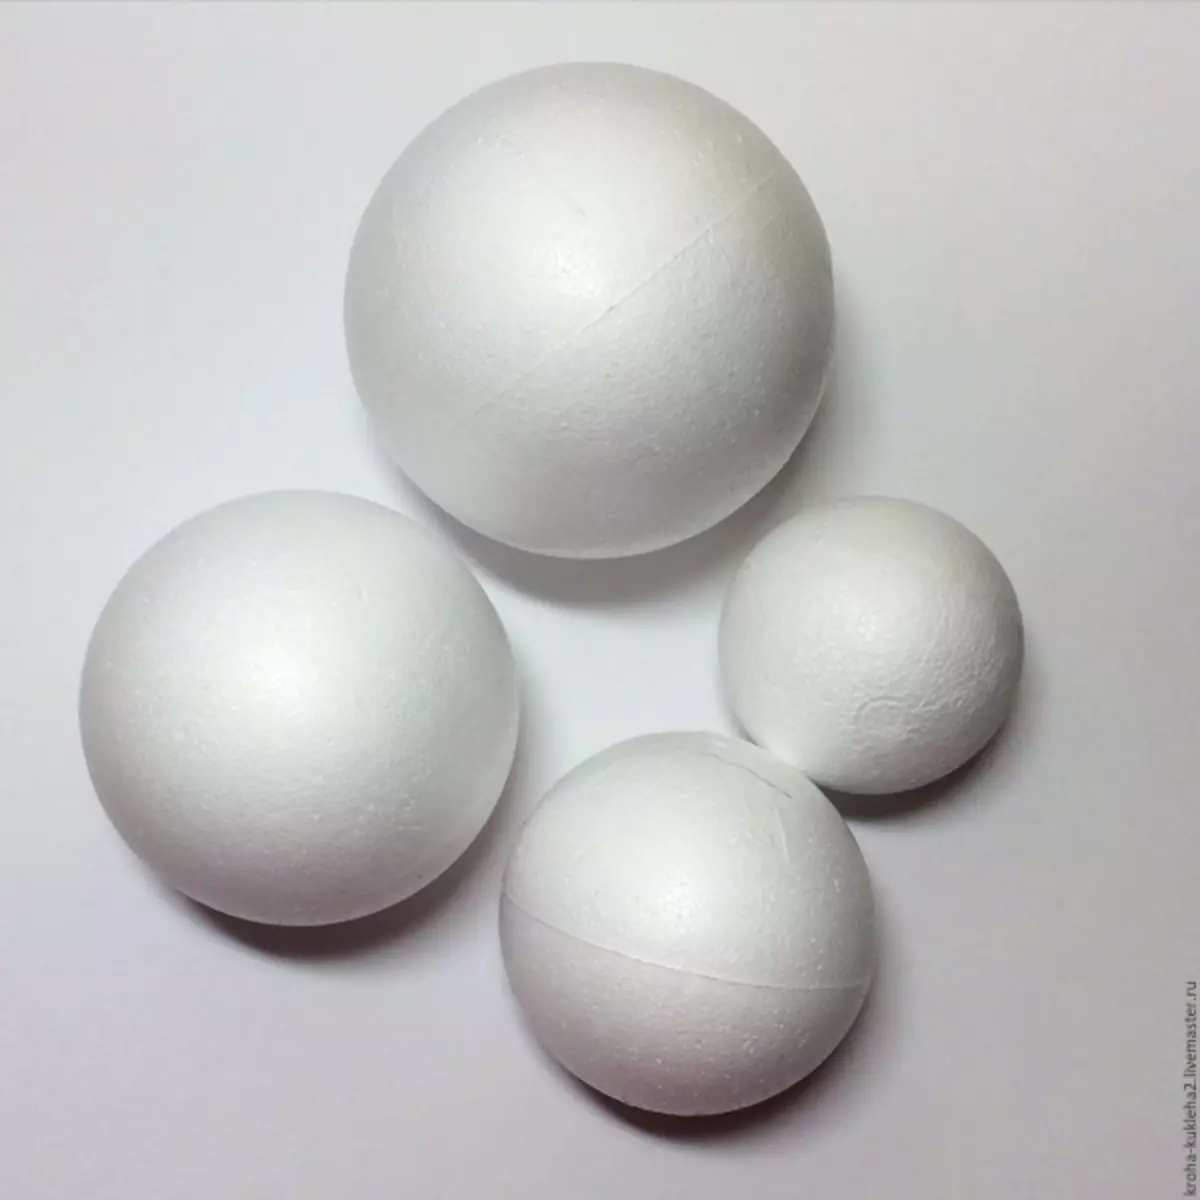
- The ball is the basis for the future wedding Topiary from the mounting foam or foam, you can also use a conventional newspaper, crumpled into the ball and widespread wide scotch;
- Cotton balls;
- Spokes, sushi sticks, wooden or plastic straight stick for the trunk;
- Super-glue, PVA glue or glue-gun;
- Decorative or marine pebbles;
- Nail polish or paint;
- Brush;
- Decor elements: feathers, notes, beads, rhinestones, stones, satin ribbons;
- Candles;
- Sewing pins;
- Mounting foam, gypsum or alabaster;
- Capacity for the future tree.
Cooking the pot for our tree. A plastic or glass cup can be played in his role, the bottom of the plastic bottle or a clay pot. In order for it to look much more attractive, it needs to be reapped with paint or satin ribbons and rhinestones, fixing everything desired super-glue.
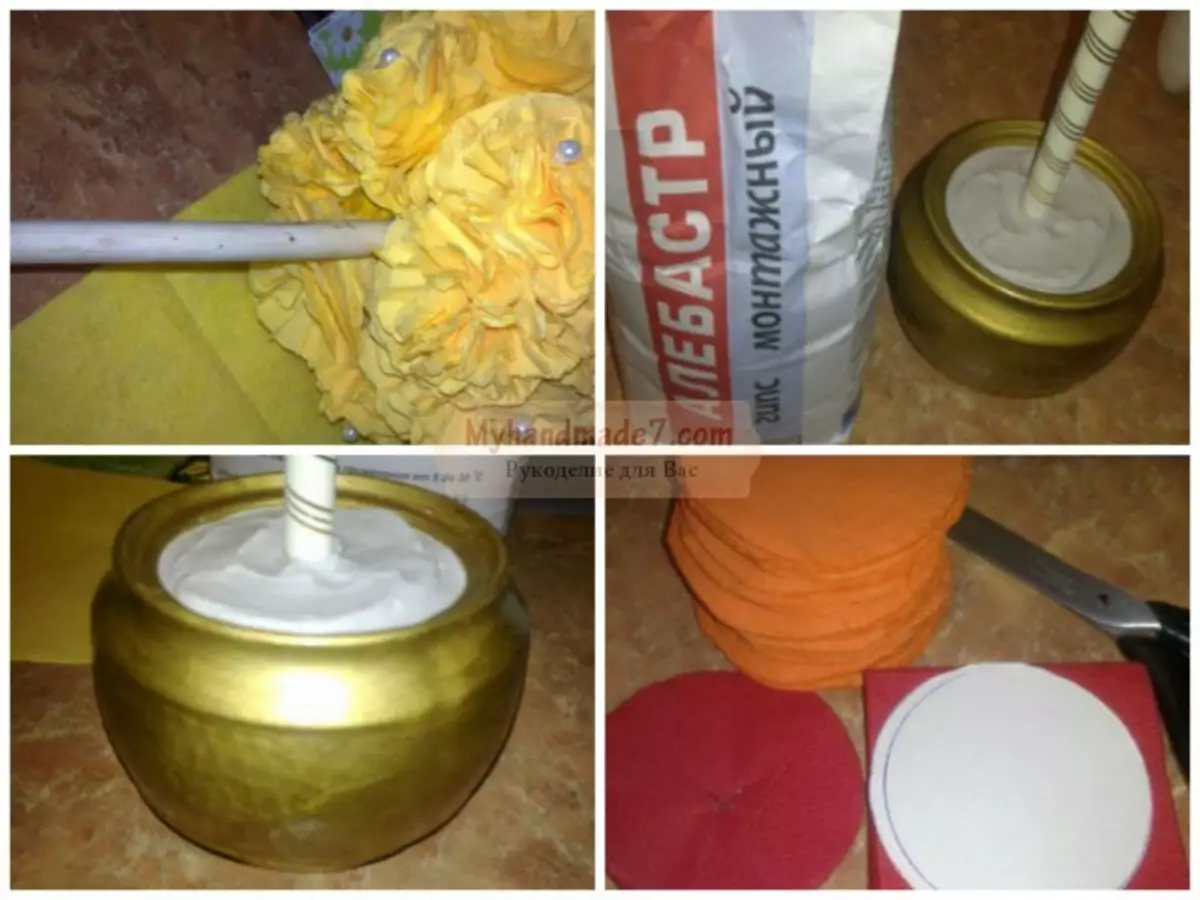
Now proceed to the basis for wood, pot or cup. We will use a glass or you can buy a beautiful small pot. Inhatened plaster and pour water. Consistency is needed as thick sour cream. Insert our tree into it and wait until the gypsum hardens.
If you wish, you can use alabaster or choose any mounting mixture (cement-sandy solution, putty, gypsum), or the same floral foam / foam. If you like the first option more, we recommend using alabaster. It is available, it can be bought at any store building materials, it is easily divorced and does not crack. And here is the instructions for its use:
- To fill 1 capacity, the alabaster will require about 300 g of the mixture and approximately 1.5 glasses of water.
- Stir the solution for 2-3 minutes.
- As soon as the mixture thickens to the consistency of thick sour cream, pour it into a pot, install the barrel and hold it in a flat position for 2-3 minutes.
- Leave the mixture to dry by 8-10 hours.
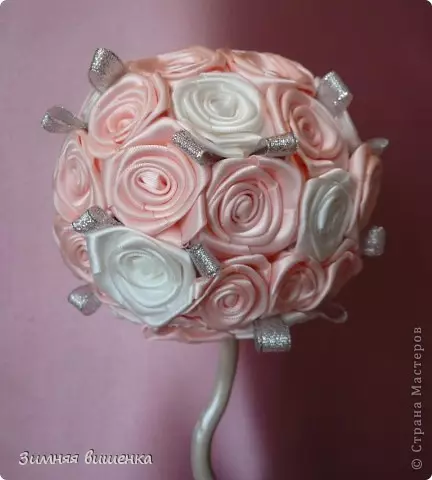
For the crown of the tree we will use a foam ball. For wood decor, we choose satin ribbons.
How to make roses. First, it is necessary to cut a small square of the tape, folded diagonally and glue. After that, two corners glue the petal to the bottom edge of the triangle. Prepare the required amount of material, glue rosettes from all petals: the first petal twist into the tube to make the core. Further attach the petals in a circle. Do not forget to leave the hole for the trunk.
Article on the topic: Vintage paper dolls with clothing
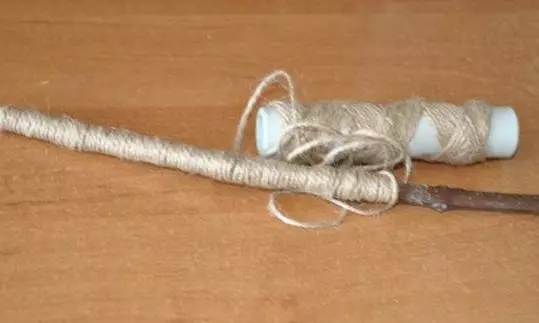
Decorating wood stick-barrel. In order for the trunk to be attractive, you can wrap it with satin ribbons and glue over rhinestones or pebbles.
Well, to complete the work, you only need to collect all the elements in one. The stems put on the ball, then lower the tree into our pot with plaster, fix and check how well the stem is fixed in the pot.
Our work is ready.