
The piggy bank is not only an accessory where you can throw a trifle, but also the original piece of decor. The history of the storage capacity began several centuries ago, and for the right to be called the birthplace of piggy banks at once, China and Germany. Today in stores there are numerous variations of this accessory in the form of all sorts of animals and funny cartoons. But uniqueness in the modern world is valued above all, so try creating a piggy bank from the bank with your own hands. Surely to collect money in such a container will be doubly pleasant. These step-by-step lessons will help you in creating a personal piggy bank and the development of decoupage techniques.
Textile decor
Required materials and tools:- glass jar with lid;
- fabric and ribbons for decoration;
- glue pistol;
- Scissors and sharp knife.
Step 1. The bank is placed with a cloth, for this use a gun.
It is not worth choosing a very thin or light material as a finish, as glue can be noticeable.
Step 2. With a knife, do a rectangular hole for coins in the lid. Then plunde the cover with the same cloth as the jar. Make a cut in the center of the bank and gently wrap the material inside, secure the edge with glue.
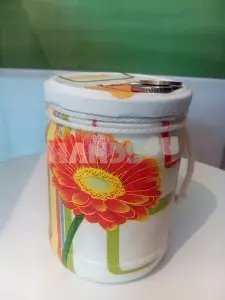
Step 3. At the edges of the lid, glue the decorative tape.
That's all, your piggy bank is ready! You can add details to your taste - rhinestones, sequins, beads. Or place a photo on the accessory, so you align at once two design items in one - piggy bank and frame.
Video on the manufacture of piggy banks with textile décor:
Piggy bank with pattern
In this master class, we need materials and tools:
- glass jar with lid;
- white acrylic paint;
- PVA glue;
- sponge;
- file;
- Water pulverizer;
- sharp knife;
- dry brush;
- Napkin with a favorite pattern;
- acrylic lacquer;
- Emery paper M40 (zero).
Article on the topic: Paper hat with your own hands: Scheme with step-by-step photos and video
Step 1. Before starting to work, the bank must be prepared. If necessary, remove the label, get rid of glue trails, degrease alcohol.
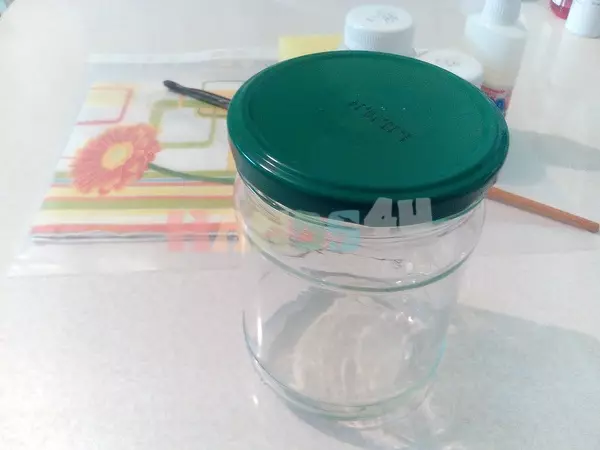
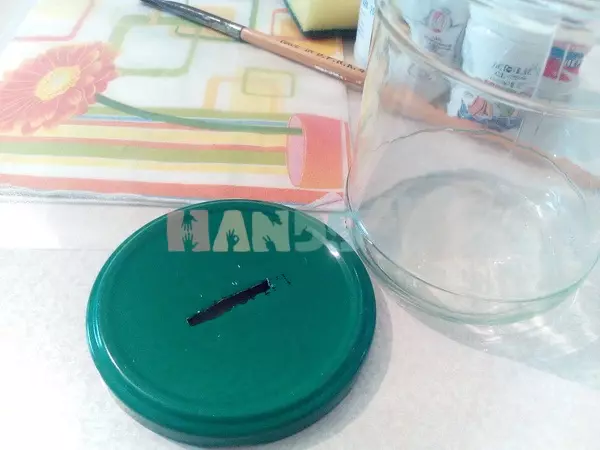
Step 2. In the lid neatly do the coin hole.
Step 3. Globe Sponge into acrylic paint and neat movements evenly apply it to the surface of the lid and cans. The coating should be as thin as possible. After that, give the future piggy bank to dry completely and apply paint in two more layers.

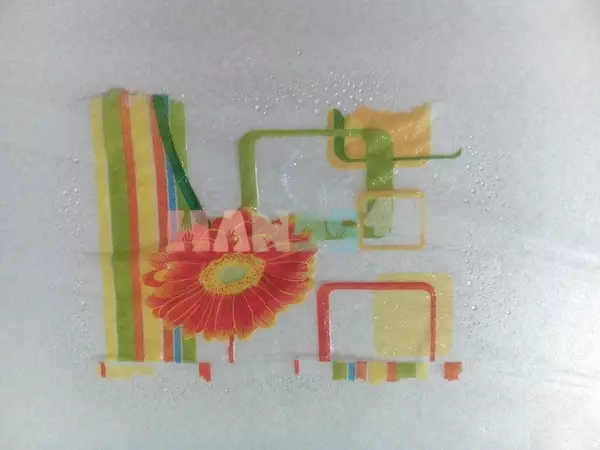
Step 4. From the napkins gently tear off the part with the picture you like. It is not necessary to resort in this case to the scissors, since the torn edge will be less replacements on the finished product. Then very carefully separate the top layer of the napkin, where the drawing is applied. It is important to choose the image commensurate your bank. Note that after subsequent manipulations, the napkin will increase in size.
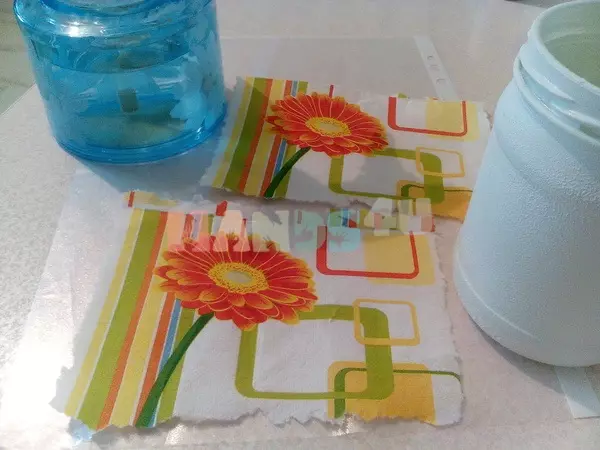
Step 5. PVA glue to dilute with water in a 1: 1 ratio. Put the napkin to the file drawing down. Pretty sprinkle with a pulverizer and apply diluted PVA.
Step 6. This is the most responsible effect in creating piggy banks. Carefully attach a file with a napkin to the outside of the can, lengthenly press your fingers. Then carefully delete the file.
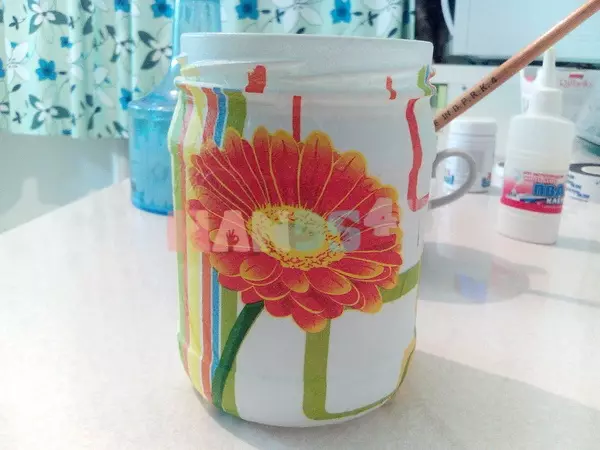
Step 7. The dry brush is walking on the surface of the napkin. Perform this manipulation from the center to the edges. Gently smooth out all the folds and air bubbles.
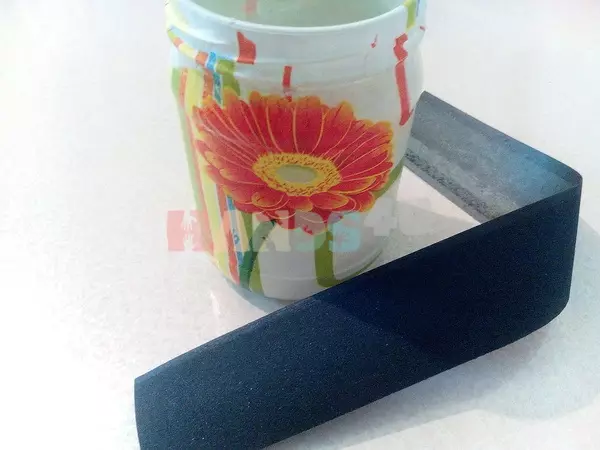
Step 8. Leave the bank to complete drying. The remaining flaws (bloating or chances) can be carefully lured using soft sandpaper.
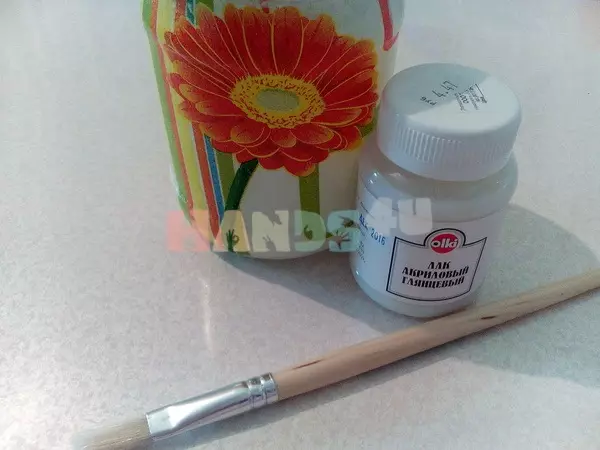
Step 9. To secure the drawing, it is necessary to cover the bank with acrylic varnish. It is better to do this in 2-3 layers. It is only important to let dry the bank after applying everyone.
Tip! So that the coins do not damage the bottom of the cans, put the foam or several layers of soft tissue.
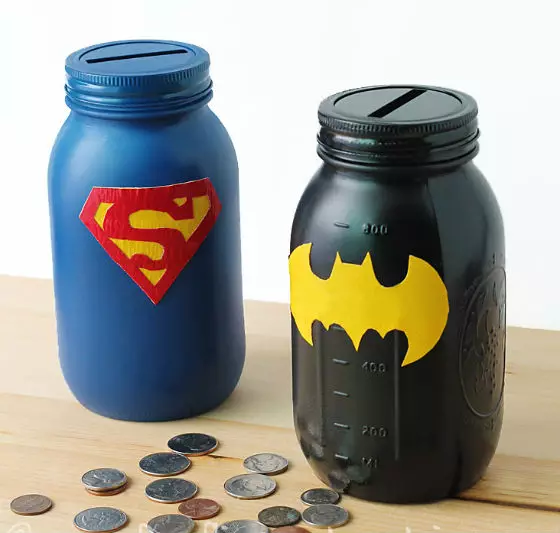
Superhero accessory
This option is suitable for those who have a small fan of the world of comics. Yes, and the creation of such an accessory will become an excellent way of fun and useful leisure activities.
Article on the topic: Airplane from paper: origami with instructions and photo schemes
Required materials and tools:
- glass jar with lid;
- aerosol paint;
- Colored paper or template with superhero emblem;
- PVA glue or adhesive gun;
- acrylic lacquer;
- Scissors and knife.
Step 1. Prepare a jar. Thoroughly wash, remove the label and glue, degrease with alcohol.
Step 2. Using a sharp knife, make a hole for coins in the lid.
Step 3. Apply an aerosol paint on the lid and the jar. Paint in several layers, every time let's dry the future piggy bank. The color of the product depends on what superhero will choose a child. Black paint is suitable for Batman's piggy bank, for Superman - blue.
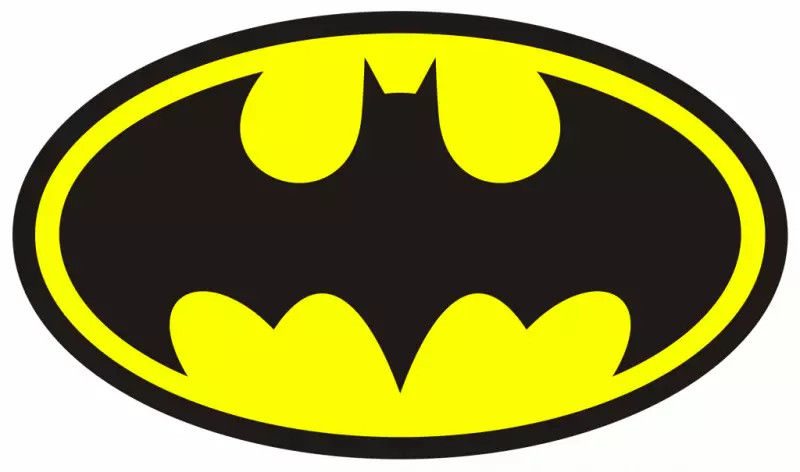
Step 4. From the color paper cut the superhero emblem or prefix the template on the color printer, cut out and glue.
Step 5. Cover the finished product with acrylic varnish in two layers, every time let's dry the piggyback.
Templates of superhero emblems.

Video on the topic
Video lessons who will help make a piggy bank independently: