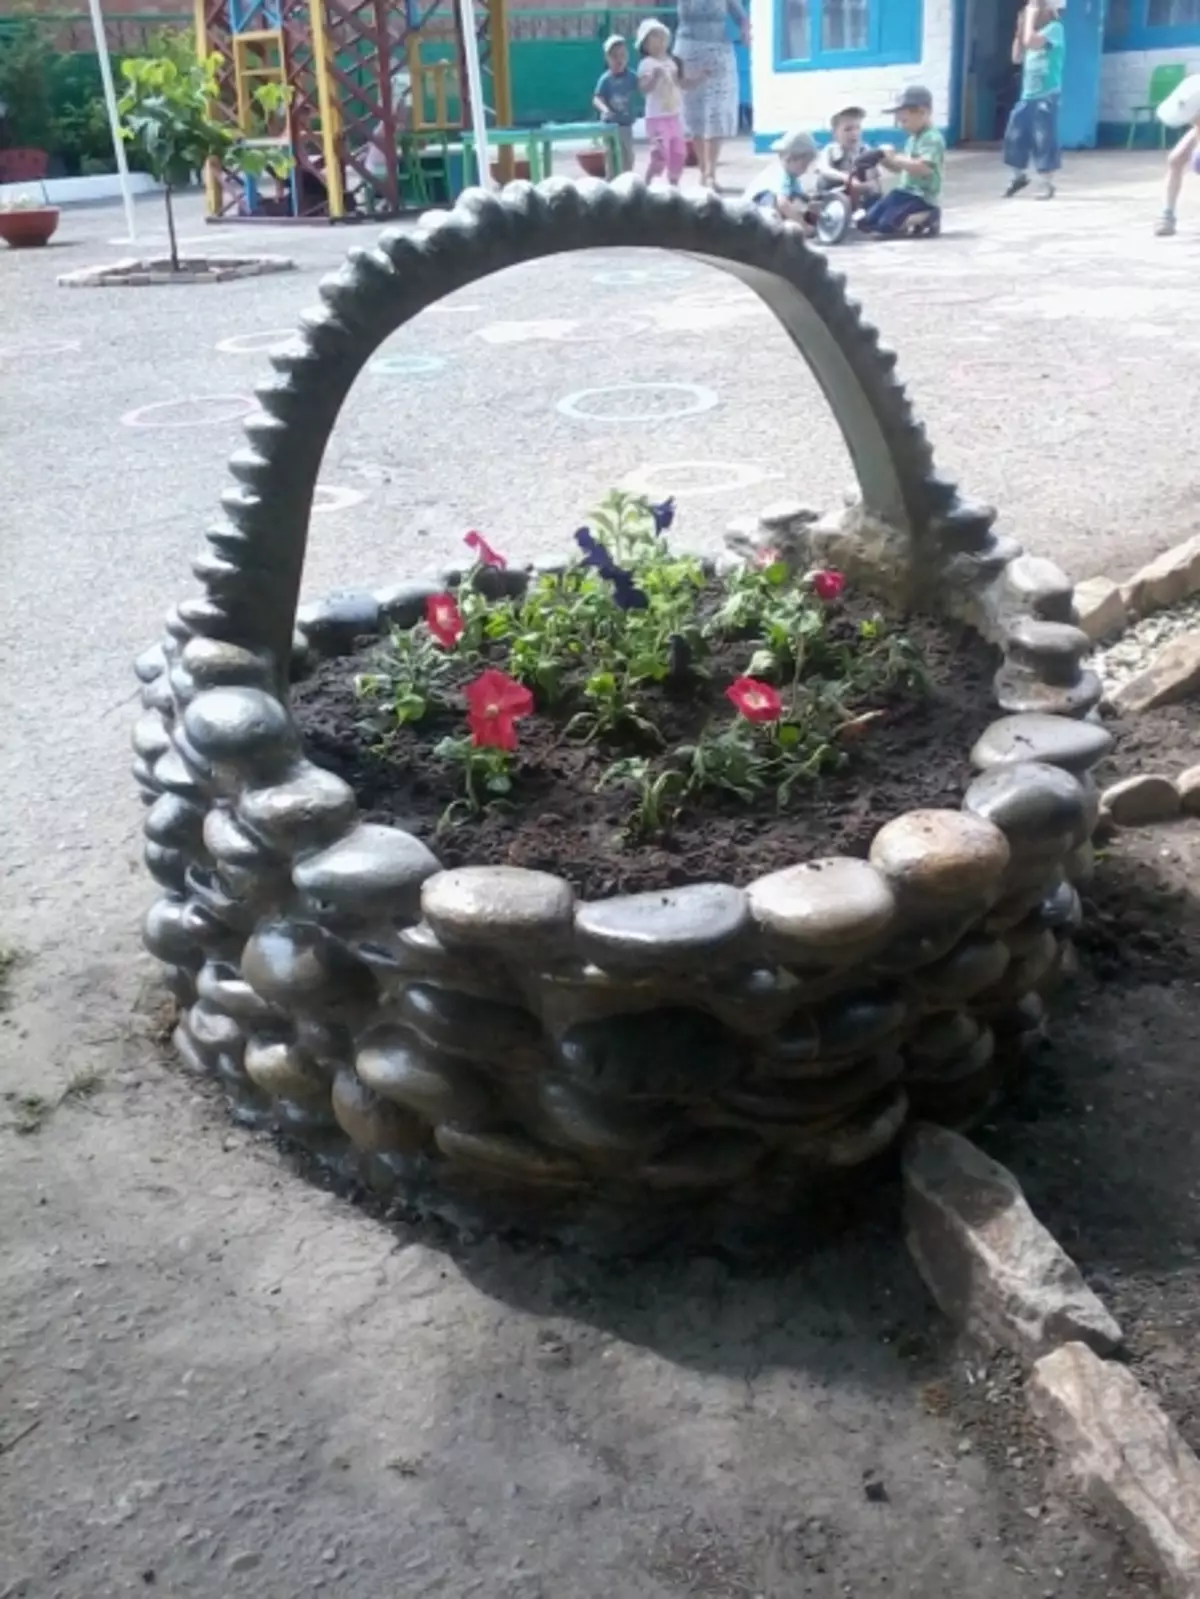
In search of something incredible for his site, many are created not one basket of stones for the garden with their own hands. Such products become raisins of any territory. The basket size is as diverse as its shapes and sizes. The most common material for creating baskets is a trash stone. This article will show a master class to create a masterpiece to decorate a small garden. But such flowerba can be made in several copies and arrange all over the garden.
Galka basket
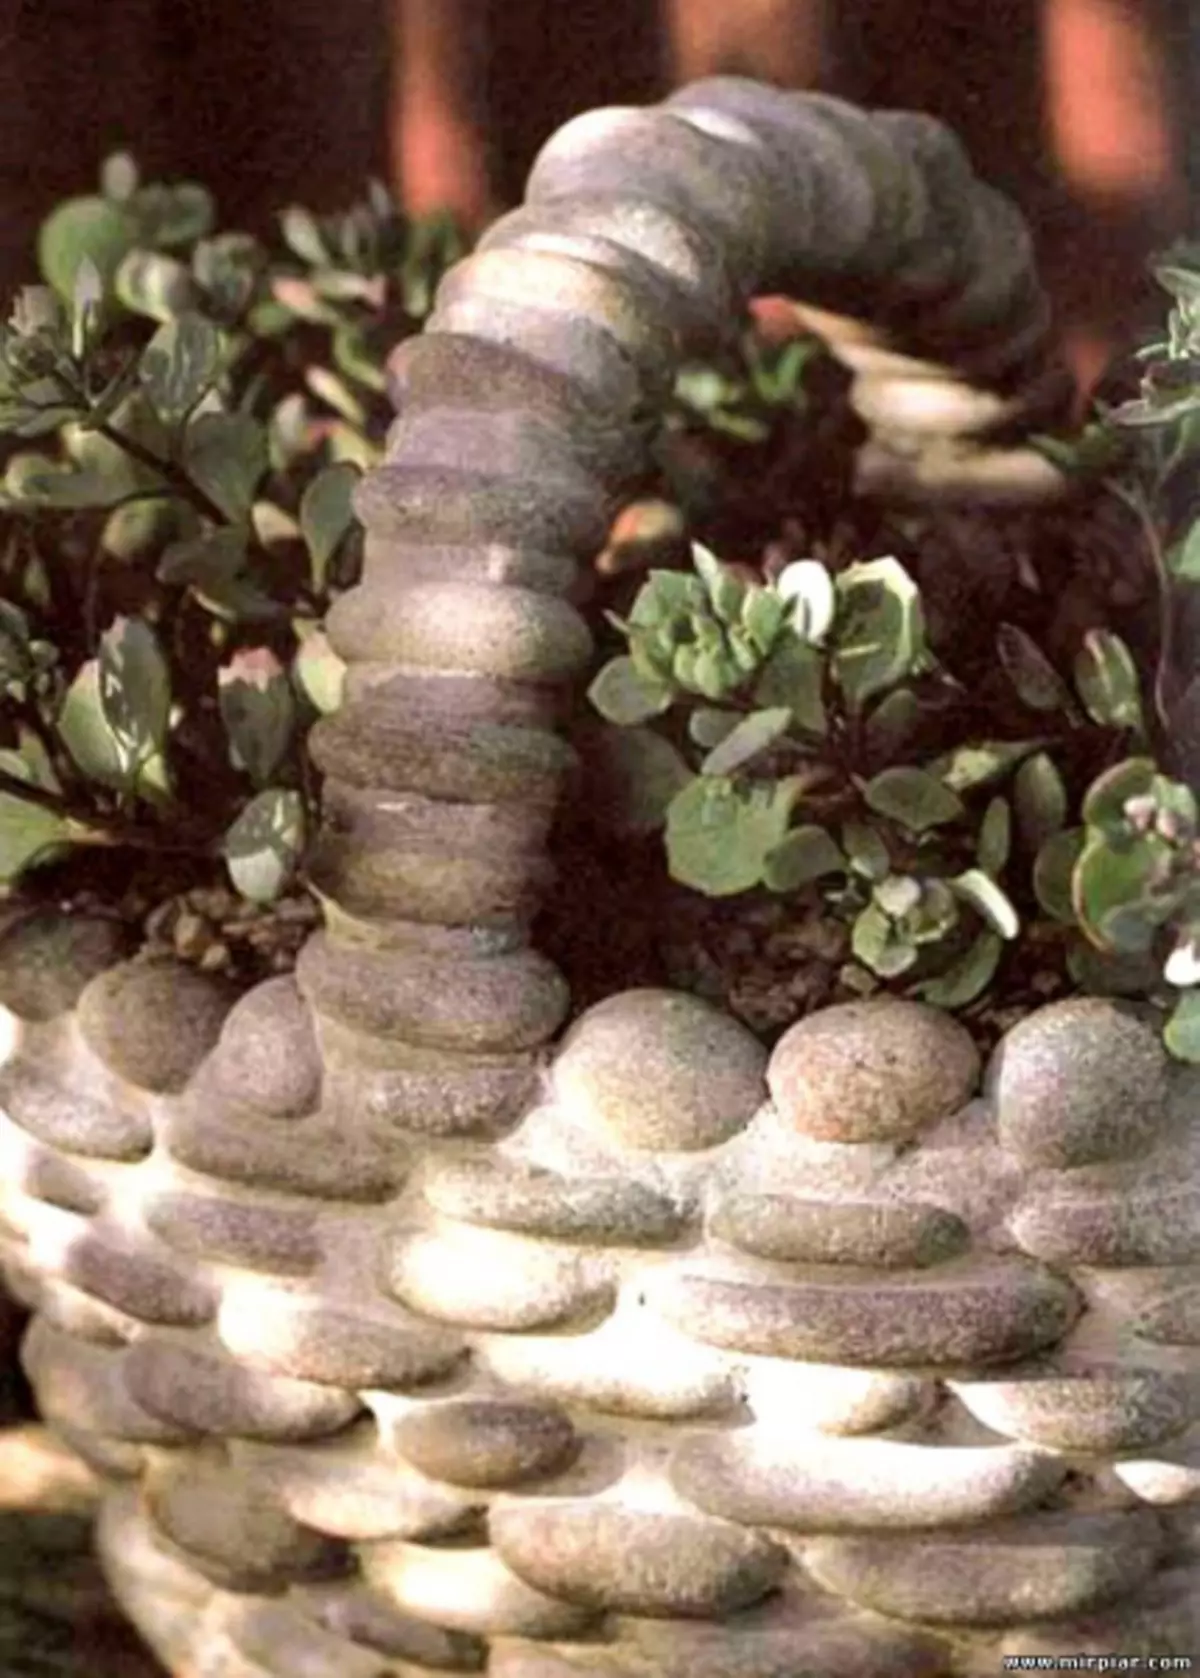
The most interesting and affordable material for creating a flower bed is pebbles. Its different shape and color will give the brightness and unusual composition. The properties of pebbles include its incredible beauty and glitter after watering or after the rain. Pebbles become brilliantly, acquire a smooth texture and simply please the eyes. Perform a flowerbed cart in one day, of course, because it is necessary to froze the material and the best fixation by other parts, but this expectation is worth it.
For landing, the flowers are used by unpretentious varieties. Such a basket can not be transferred, holding only the handle, it is heavy enough. For the safety of the entire product, the rise is performed during the bottom and neatly transferred to a steady surface.
Toolkit for work:
- Gray plane pebbles - about 222 pieces;
- cement glue;
- wire mesh measuring 26 * 26 cm;
- Plywood blank 26 * 26 * 2 cm;
- Lobzik;
- paint and brush;
- hammer and 8 carnations with a flat hat;
- pencil;
- Capacity with cement;
- Tools for working with cement mass;
- Scotch and transparent film;
- nippers and scissors;
- 2 plastic pots.
The process of creating a basket with your own hands. Initially, the given master class is being collected and the location of all the necessary tools within walking distance. The plastic pot is trimmed with a rim of 2.6 cm wide. After which it is squeezed into the oval and applied to the plywood in order to create an outline on a plywood with a pencil. Using the jigscription, this oval must be cut.
Article on the topic: Slippers from hexagons with a crochet with a diagram and describing
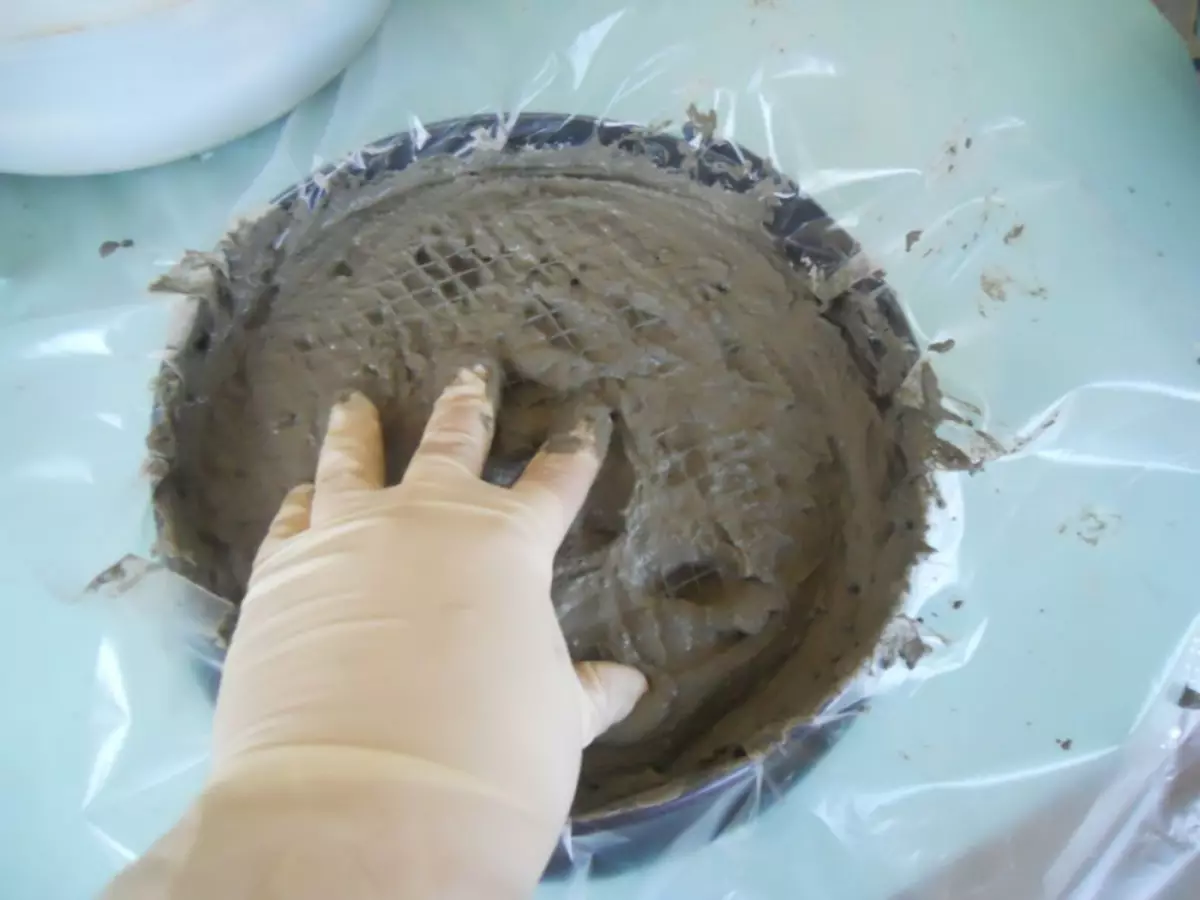
A rim, dressed on an oval blank, is fixed on nails located at an equal distance. The base is covered with a transparent film. The thick consistency is divorced by a cement solution and is poured into a blank of up to 1.2 cm high on top of the film.
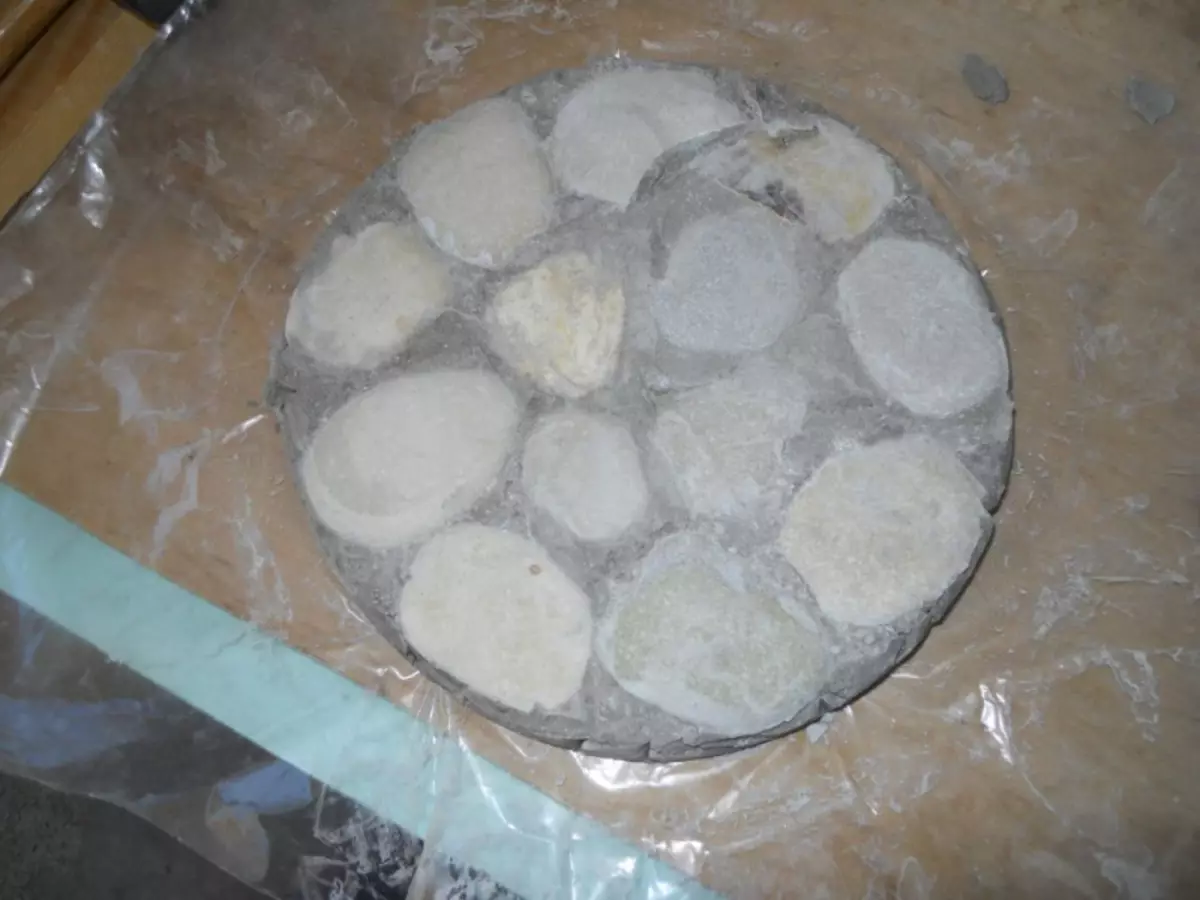
The grid cut in the size of the workpiece falls on top and slightly appropriate.
On the reverse side of the pebbles, a slight amount of cement glue is applied and fixed to the bottom. Now the ground must dry. To do this, it should be left a dry cool place for the night. After that, the blank is removed from plywood and rim, the film breaks down.
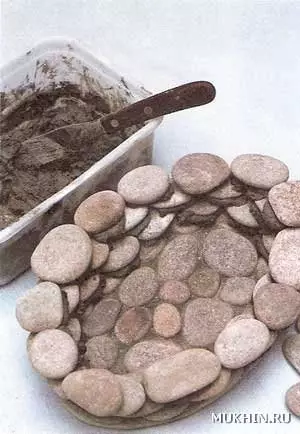
Applying glue to the opposite direction of the pebbles, the walls of the flower bed are laid out. This action is performed from a number of in a row, increasing the volume of the basket using a light tilt of the walls.
Having posted the first five rows, the interval of 35 minutes is a break in order to solidify the solution and the solid stability of the next rows of the wall of the basket.
If it seems that the walls are weakly held, and the design does not have time to dry, it is better to use the object in the form of a metal cylinder for the backup.
Subsequent two rows using a flat pebble are final, the next row is laid out round pebbles. Laying the row using round pebbles, from two opposite sides it is necessary to leave places equal to the size of a flat pebble. These gaps will serve as the beginning of the handle of the basket. Excess cement merge. For one hour, so far the materials for the rim will prepare, the basket is without actions over it, the flower bed is needed for graze.
Two rim cuts out of the plastic pot. For strength, they must be combined with scotch. The resulting billet should be placed in the places left under the flat pebble for the handles. When the handles are in place, they must be fixed with pebbles at the same time from two sides with a large number of cement mortar. The handle is laid out from under the Niza to the top, the last pebbles should lie down at the top of the center.
Article on the topic: how to make a hookah at home correctly do it yourself
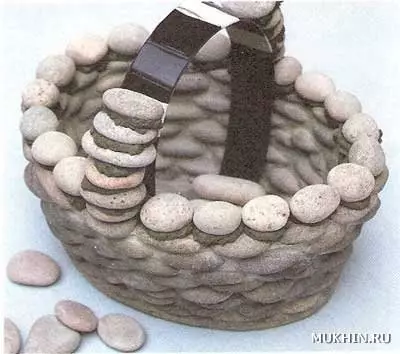
The time interval in two hours will be sufficient for drying the handle from cement. But before this time, it is necessary to clean the surplus of the solution. When two hours passed, you can clean the circle of plastic and cement, accumulated on the handle from the inside.
Everything! It is possible to put a basket of flower beds to the place allotted to her, fill the earth, plant plants and enjoy the beauty and fragrance of flowers.
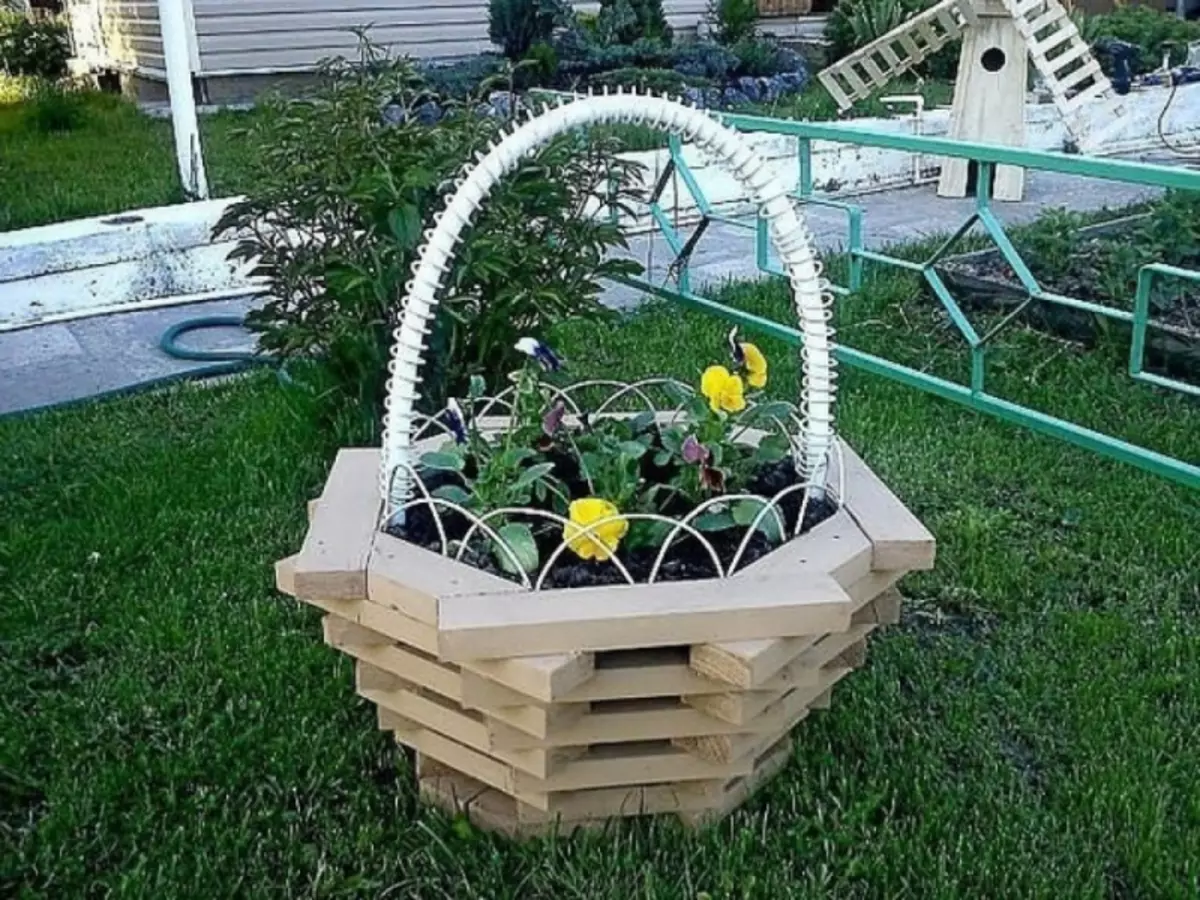
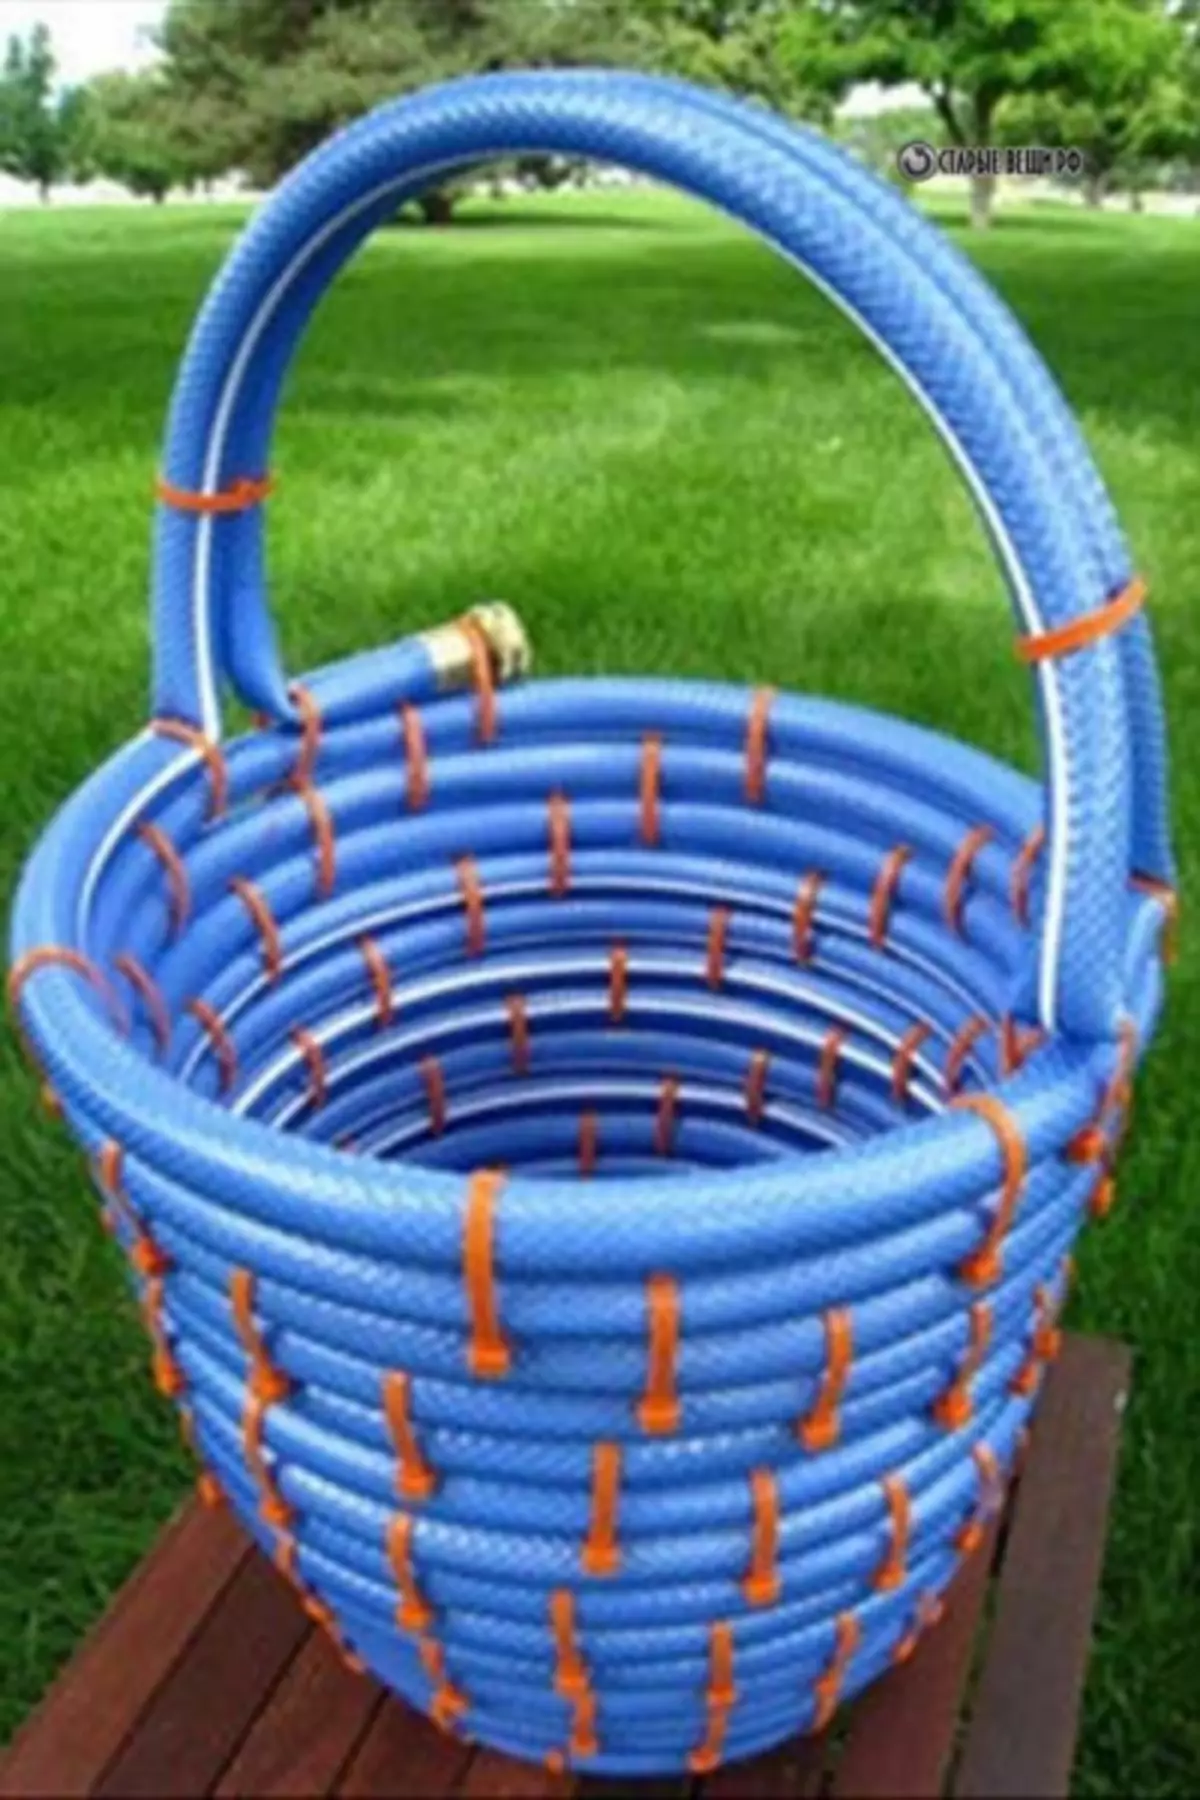
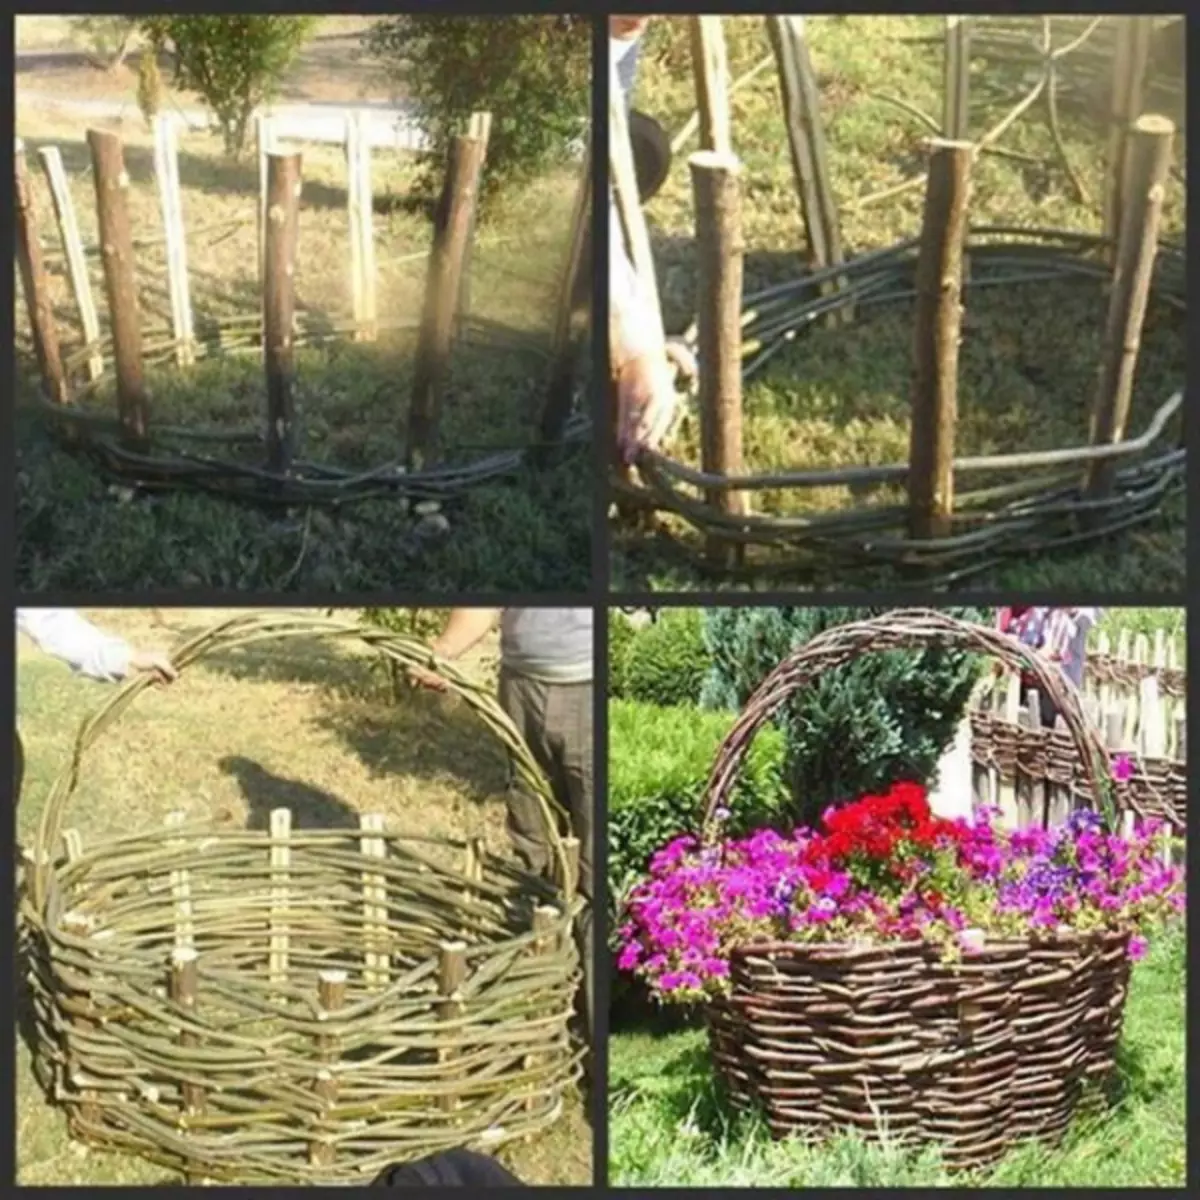
Clubs in the form of baskets for the household territory can be created not only of pebbles, but also other available materials. This can be seen in the photo below.