
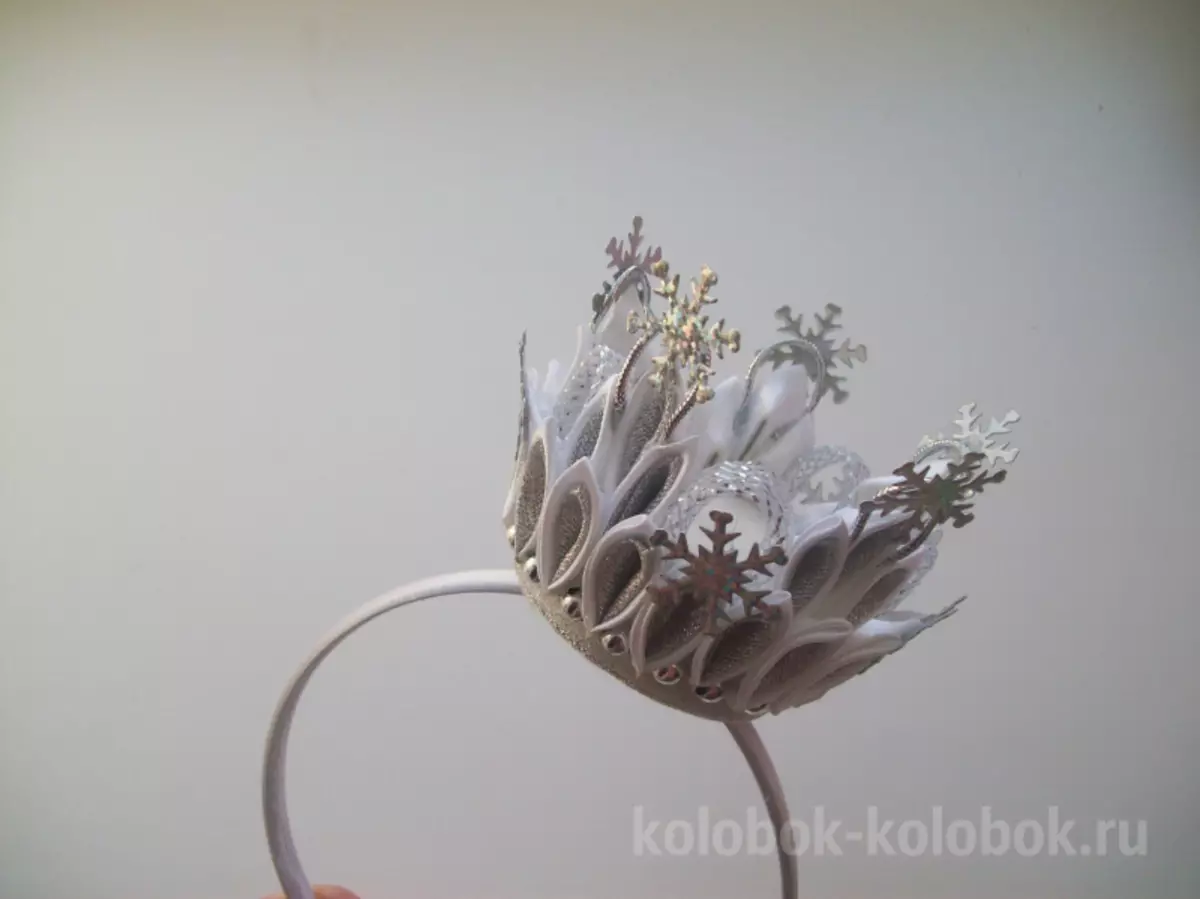
Costumented baby matinees die variety. Alternative only remains for each holiday of several girls in the princesses. To distinguish your child on a general background, you can create a princess costume. Exclusive crown. The girl will not remain in the shadows, if a skillfully made crown from satin ribbons will decorate her wonderful head.
Beauty in detail
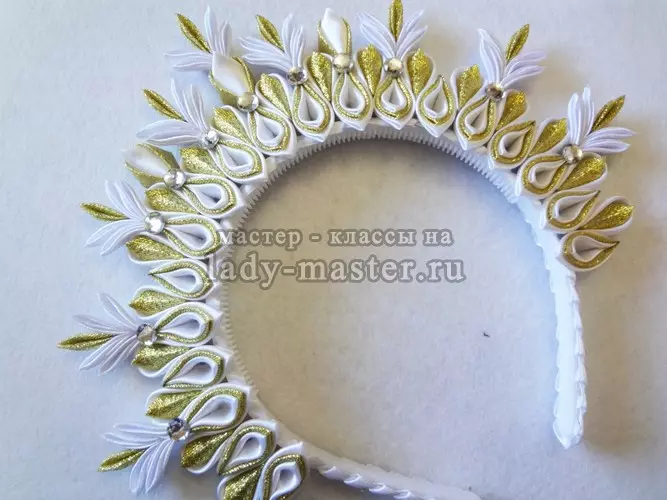
In order for the accessory to be really extraordinary, it will have to work on it in stages. This product is performed in Kanzashi technique. Complex multi-layered elements will give the crown of a luxurious appearance and make the owner of a true princess.
For the creative process you will need:
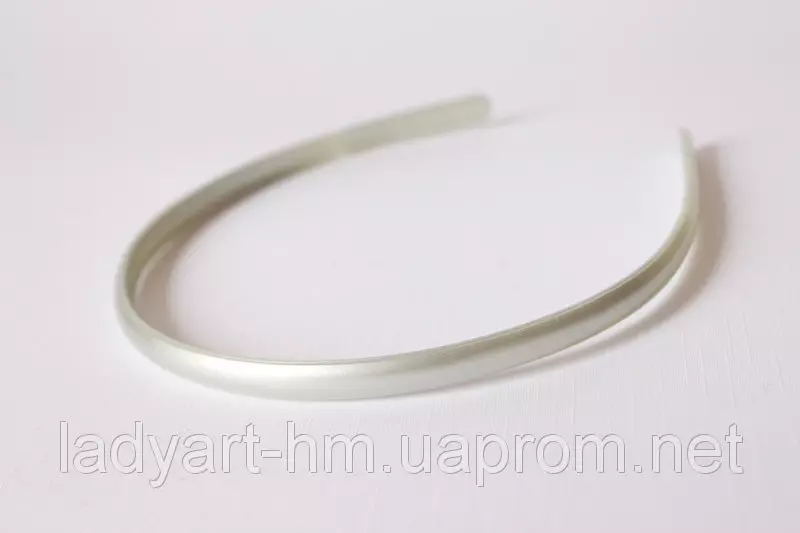
- plastic bezel;
- white-colored satin ribbon 0.5 cm wide and 5 cm;
- Golden Barcha
- semi-shaped silver color;
- glue gun.
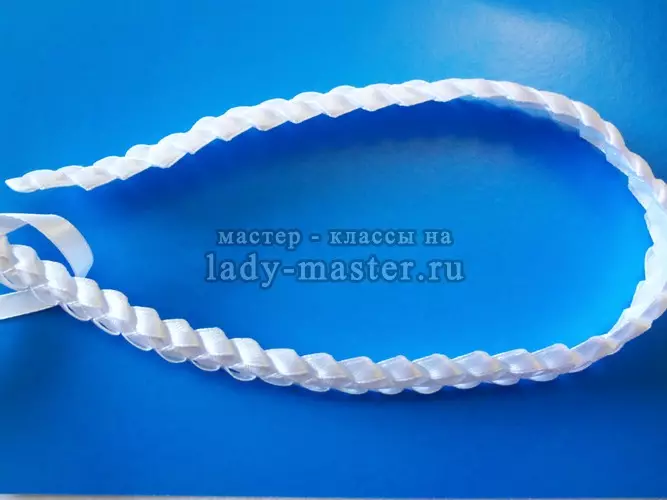
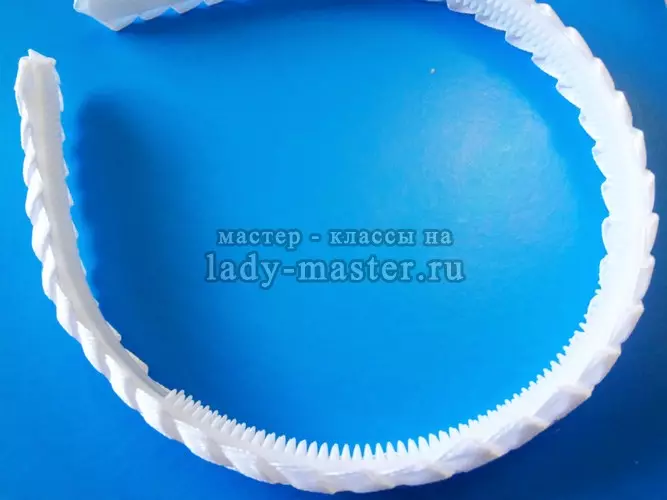
This master class implies the presence of a framework on which the main work is underway. This basis is the ordinary rim, which should be prepared properly.
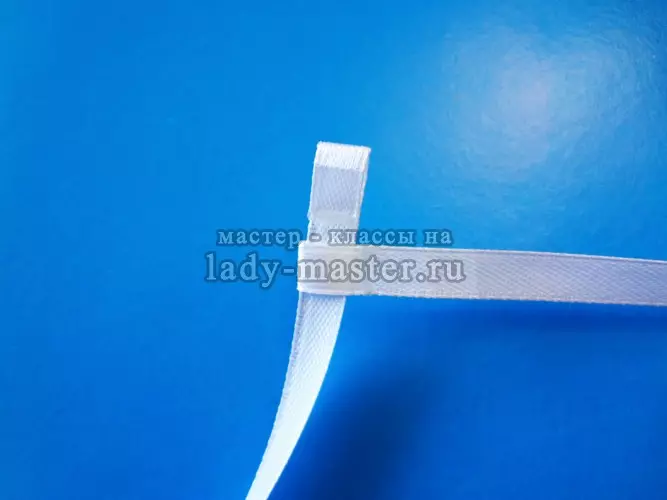
For this, a spit is braided from a white satin ribbon, which is subsequently decorated with a rim. Two tapes are taken 2 meters. At their ends, loops are formed.
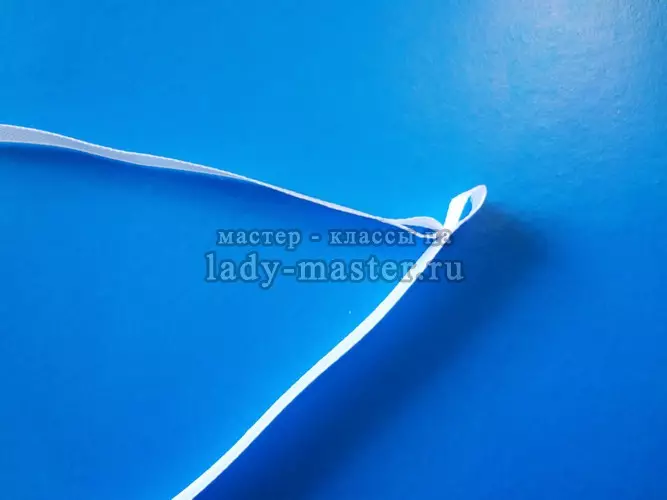
One loop is inserted into another.
A small bend is formed on a ribbon with a busy loop, which is placed inside the free loop of the second satin ribbon.
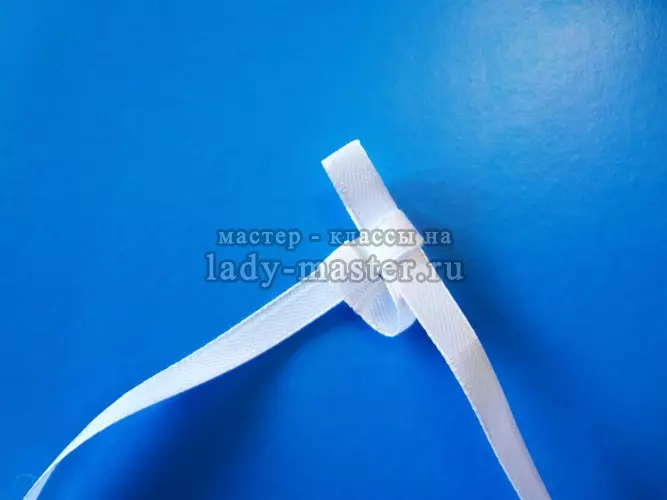
Again there was one free loop. It needs to be filled with a fold of the tape where the loop is busy.
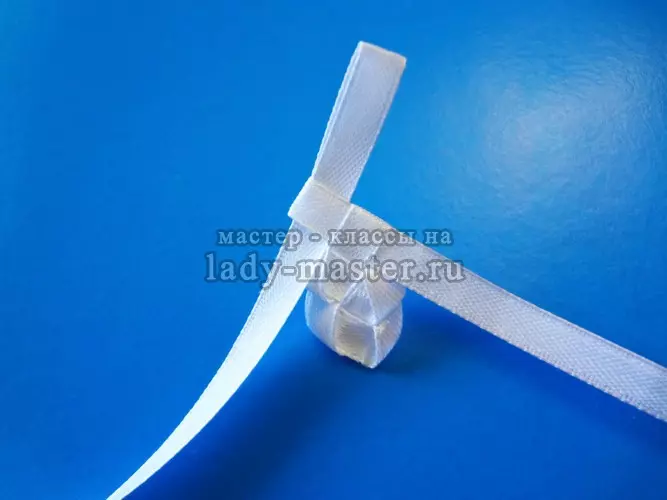
The work continues in a similar way until the length of the satin bands is completed.
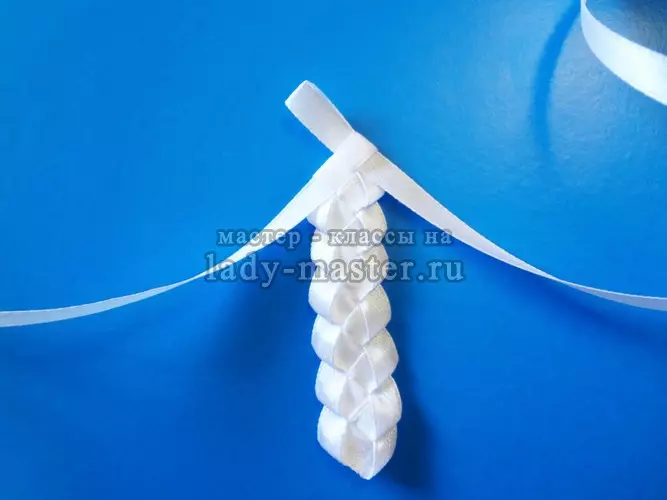
The resulting braid should be equal to the length of the rim. At the final stage, the free end of the tape is stretched into the loop and is delayed in the node. The edges are cut.
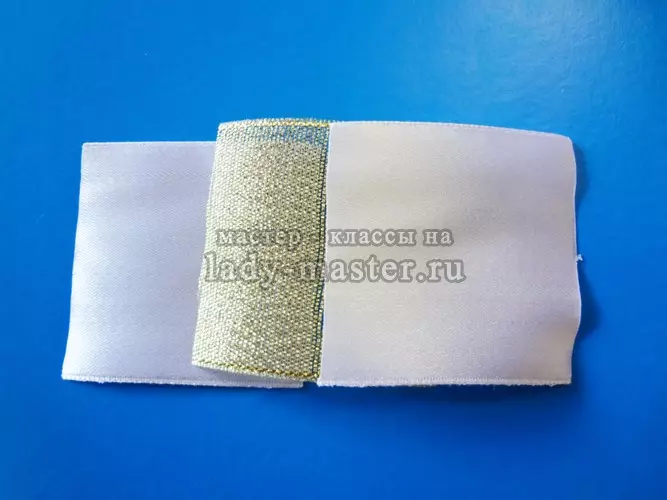
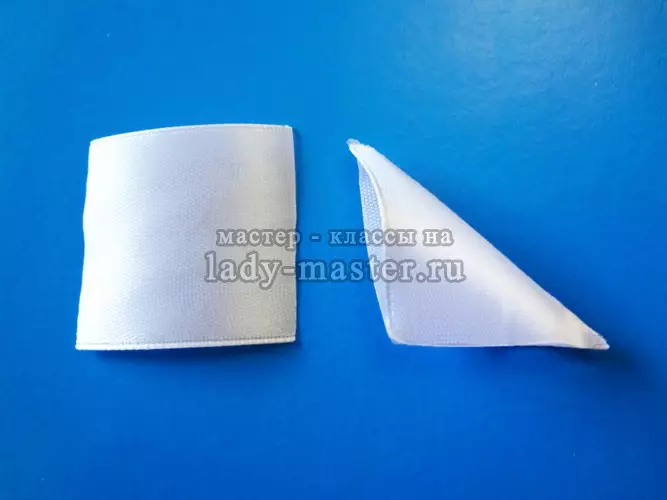
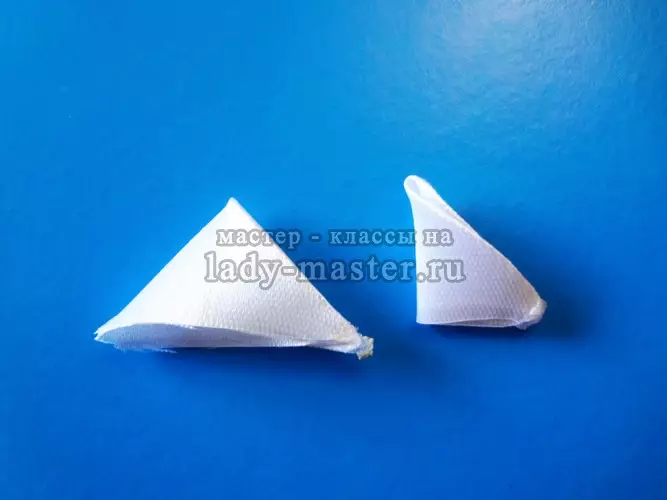
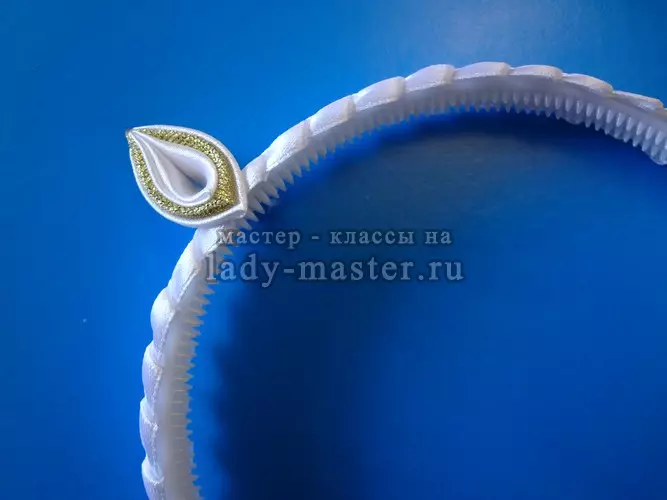
To form the petals of the first row of the crown, it is necessary to cut three blanks in the form of squares with a side of 5 cm. Two parts - white, one - gold.
Squares are folded diagonally.
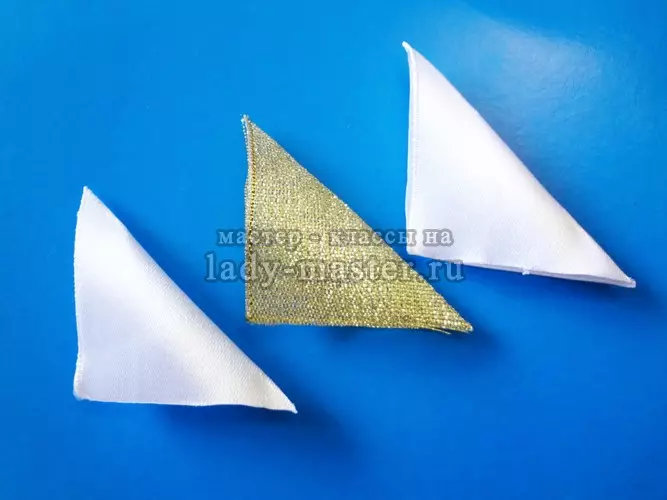
Then the edges of the resulting triangles are combined.
Article on the topic: Vintage postcards Valentine's Day
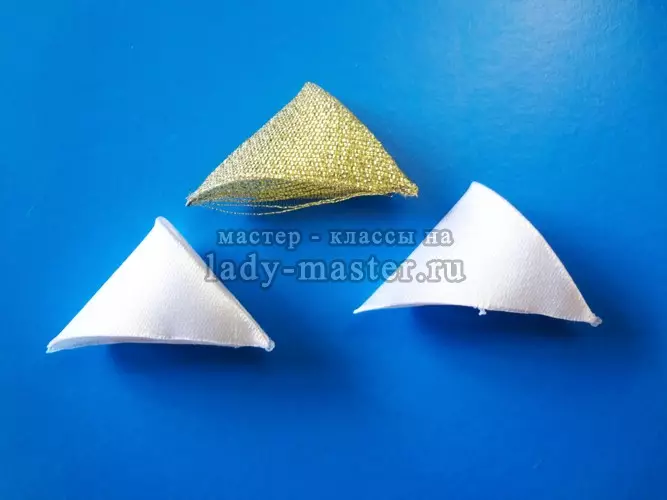
Details folded one to another, while each top shifts relative to the previous one by 1-2 mm.
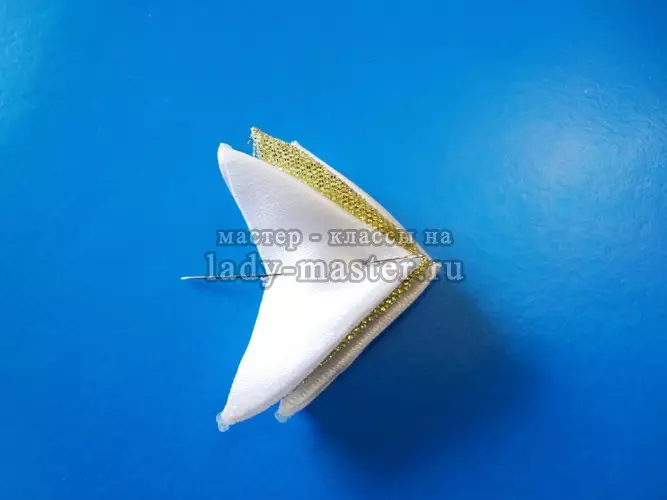
The lower corners of the triangles are connected and subjected to operation. The melted corner must be mixed with their fingers to form a single petal. The back of the workpiece is cut into, in order to obtain a flat base.
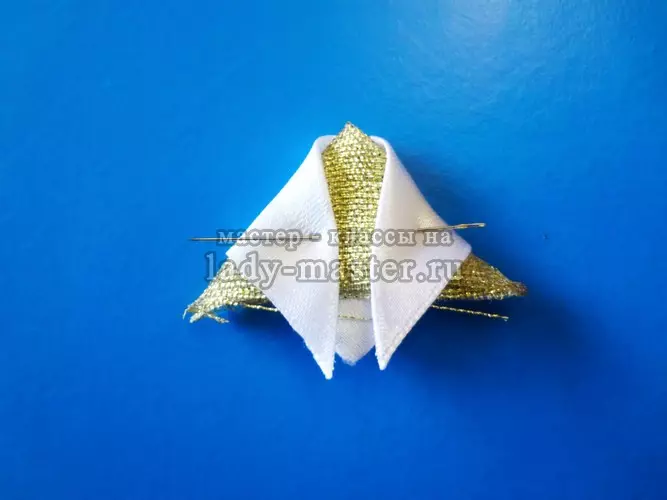
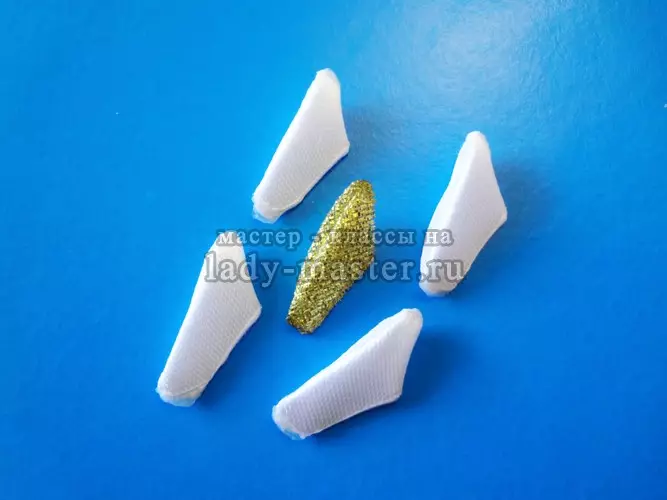
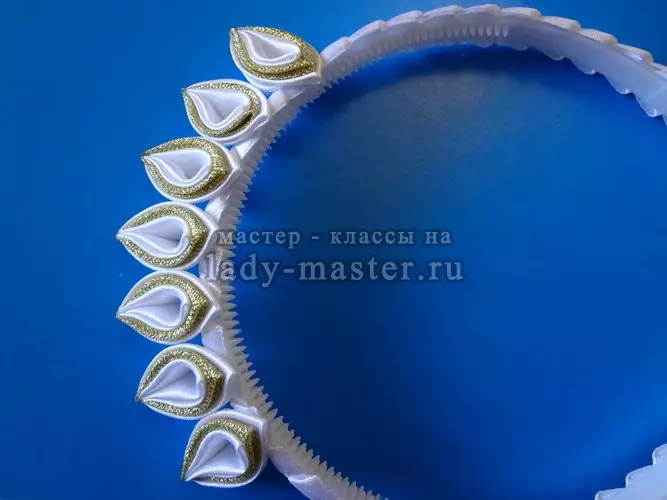
This type of petals will need 19 pieces. For the next part, you need to take one square of white and gold colors with a side of 5 cm. Parts are bend diagonally. In the gold element, the lower corners of the triangle are connected.
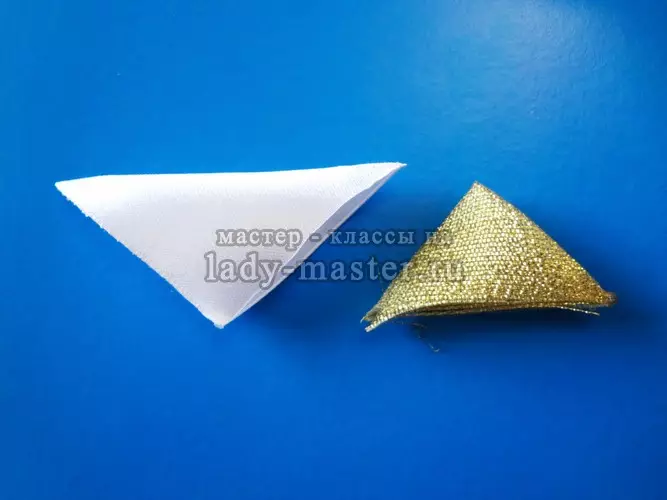
A small triangle is superimposed on a big one. At the same time, the peaks of triangles look strictly in opposite sides.
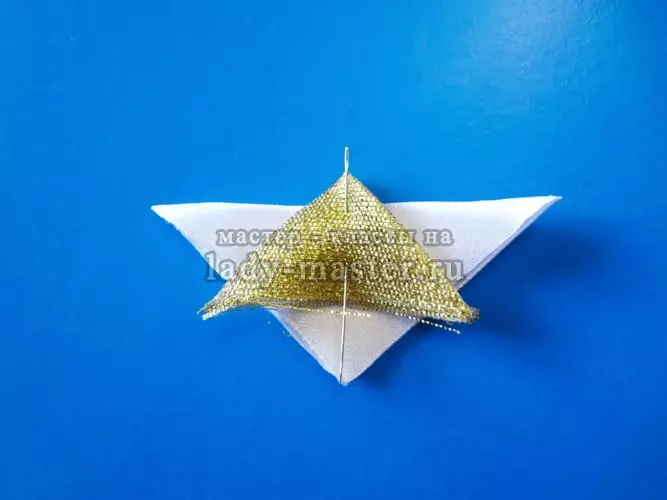
Two angles of the base of the white element bend on the front side parallel to each other.
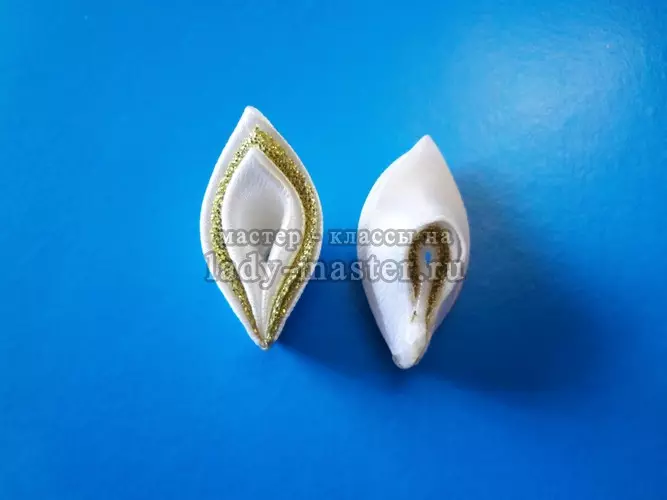
White corners need to be combined, trimmed and melted with fire.
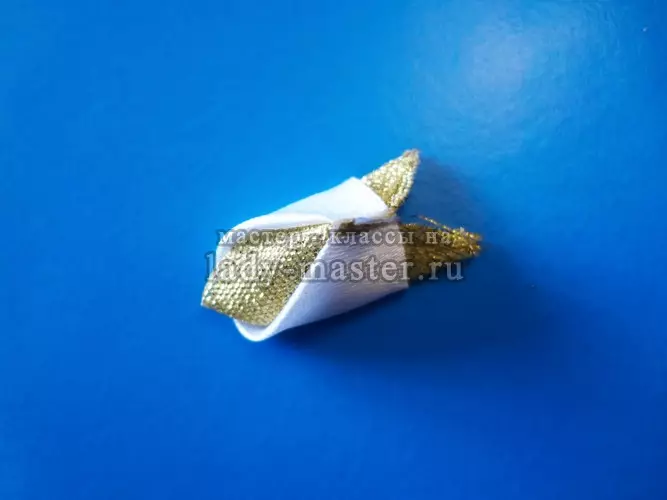
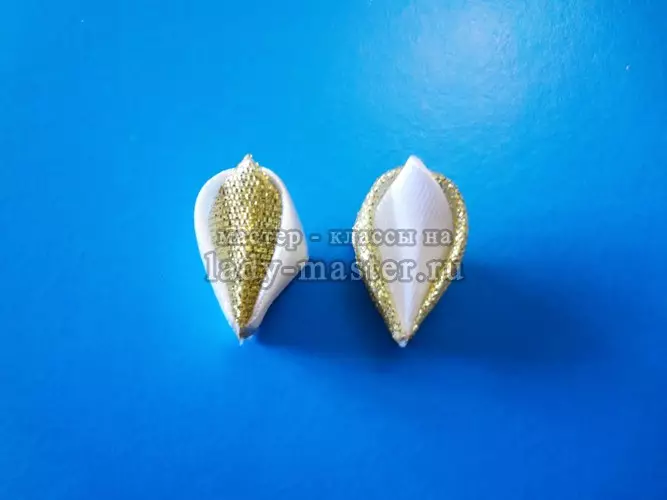
From the bottom item is cut and also subject to heat treatment. It turned out a droplet with a golden middle and white border. When assembling, the crown participate 18 similar details. You should also add three items where the middle will be white, and the edging is gold.
Another detail that will be present in the finished product is formed from several elements. At first, the white square is 5cm x 5 sizzy. A piece is beyond diagonally, then folded again by the already known manner.
Ends of details solder. This is how 4 white and one gold part are created.
All of them are connected by gluing in the form of leaves with a golden middle.
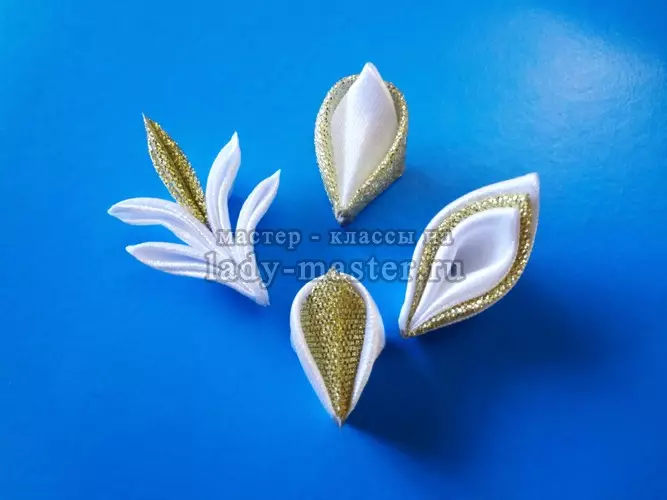
Such twigs will require 9 pieces. The work goes to the assembly of the main product. Pre-woven satin spit paste on the frame - rim.
Special attention should be paid to the cropped end of the ribbon. It needs to be well fixed on the basis. 19 Petals, made in the first stage, form the first row of crowns. They need to stick to the curved edge down. Details should be located along the rim line.
It's important to know! In order not to happen an unexpected displacement, the framework of the framework should be found and secured the first blank there.
On both sides from the initial petal to evenly fix the rest.
Article on the topic: Envelope from paper with your own hands on a birthday without scissors and glue
In the intervals between the elements of the first row, harvested "droplets" with golden meanings are pasted. Details with white middings need to be located in the central part of the crown. It remains to complement the product with sprigs. They are distributed symmetrically throughout the pattern.
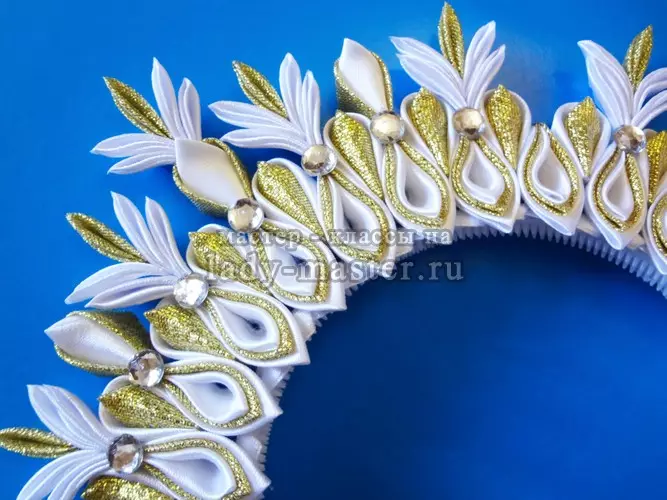
The connectivity of the leaflets and twigs should be covered with semi-graysins. Amazing crown is ready.

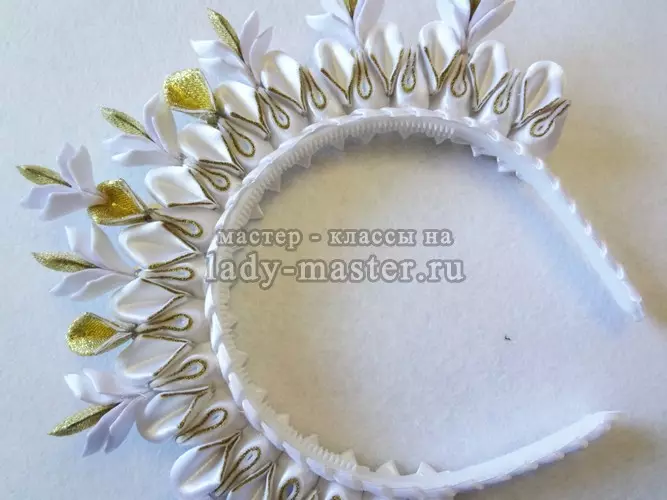
Neat and proper manufacture of each element as a result will allow the product to be admired.
Video on the topic
The presented video contains a variety of ways of modeling the crown using satin ribbons.