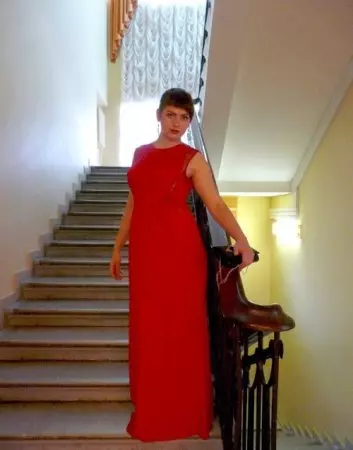
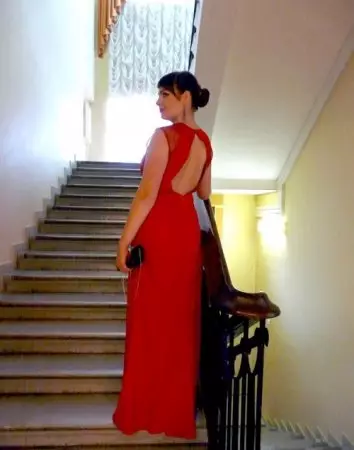
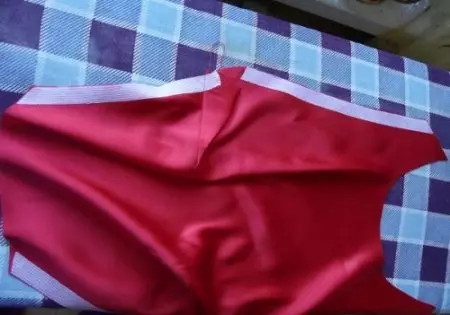
In the wardrobe of each woman should be at least one evening dress, which is often quite expensive. But, for example, sew a dress with an open back is absolutely not difficult, especially if you follow the advice of our master class. We bring to your attention a fairly elegant evening dress with floor-length and non-shy movements.

In addition, like all dresses for such purposes, this option is quite sexual, but not vulgar, but bright and classically strict.
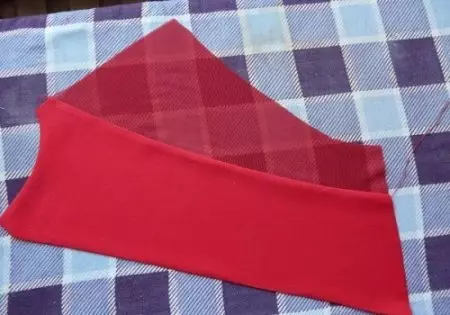
So, how to sew an evening dress with your own hands for the upcoming celebration. A special highlight of the dress is correctly selected fabric, in the role of which in this case will be a bright red silk atlas, which will be needed just over two meters. In addition, you should prepare a stretch grid.
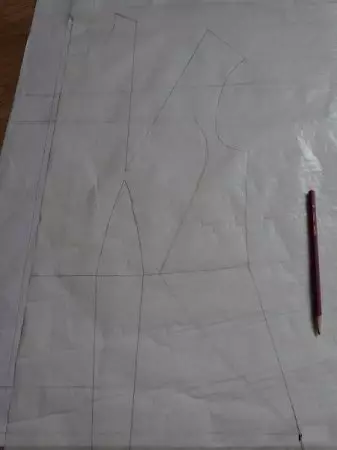
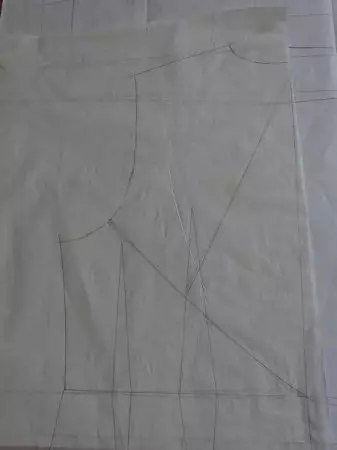
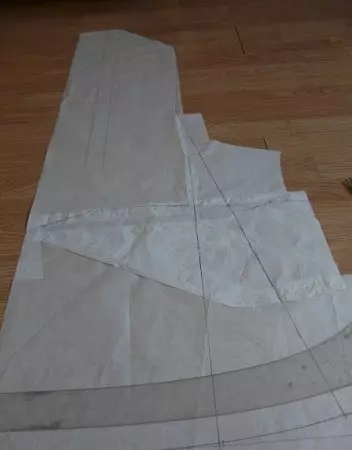
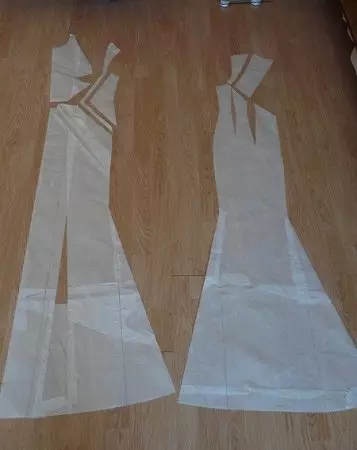
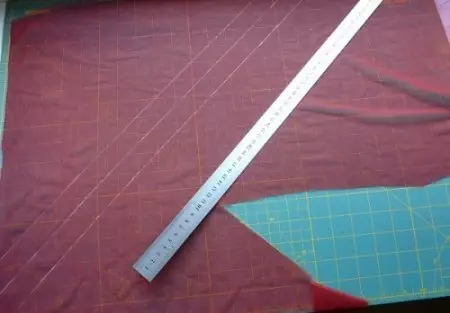
First of all, the dressing of the evening dress is necessary, which should be translated into tracing.
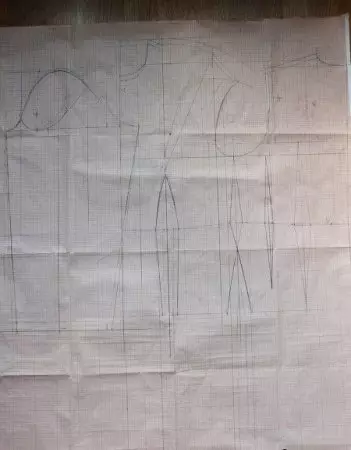
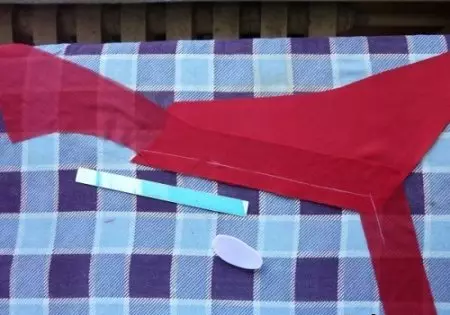
The pattern of the open back dresses should be a bit converted, which should be started with the layout modeling. In our case, it should be cut off side and part of a transparent material.

The next step should be transferred to the breastplate so that as a result it has revealed in the relief line. After that, a new lattice line can be applied.
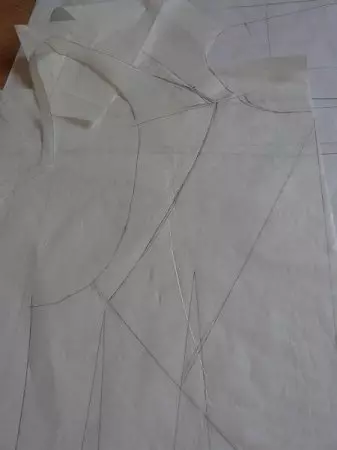
For this stage, it is necessary to cut the traction on the line, which goes with the shoulder and close it.

Then you can try the line of the relief to the end.
We begin to cut on the resulting line of the bodice and put the breast pad, which goes from the shoulder side.
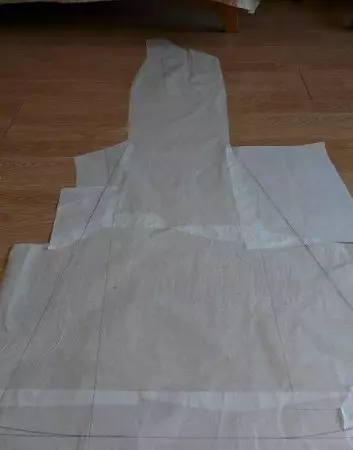
At this stage, it is necessary to make a section of the front of the dress along the waist line to the place where the relief has. Failure on the waist can be closed.
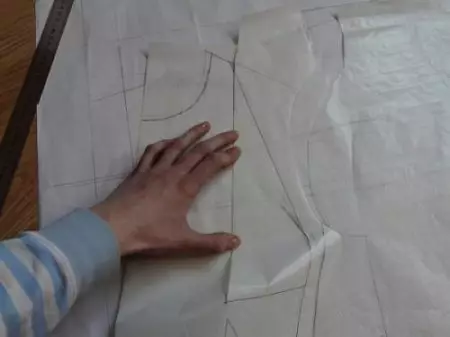
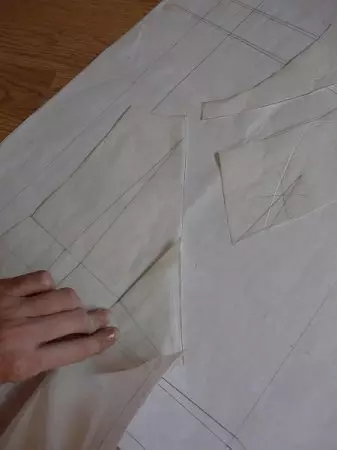
We begin to simulate the back of the leaf, for which the cutting line should be applied on this part.
Similar to the details of the front of the dress, you should draw a coquette from the shoulder side.
Article on the topic: how to sew a peignoir: video instructions for sewing with your own hands
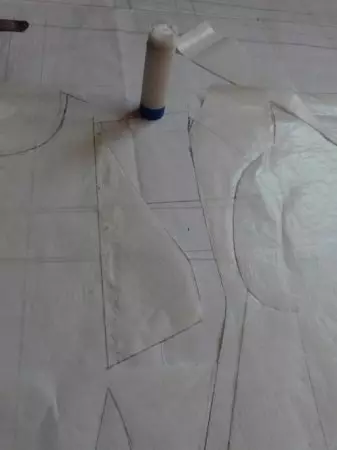
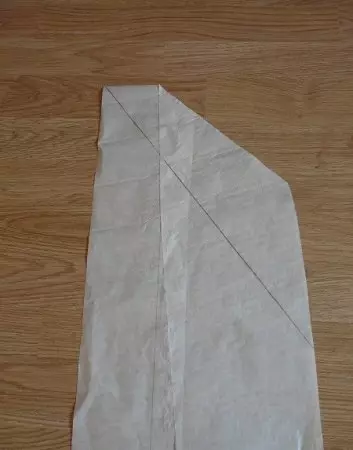
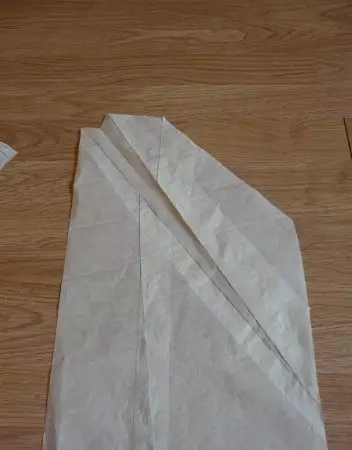
Now the details can be cut on the diagonal, lay the outlet on the back of the product, following all lines to be conjugate.
The process proceeds to modeling the lower part of the dress. To do this, retreating from the waist for forty five centimeters it is necessary to spend a line of level where the skirt will be narrowed. For narrowing, two centimeters should be resulted over the side and medium seam.
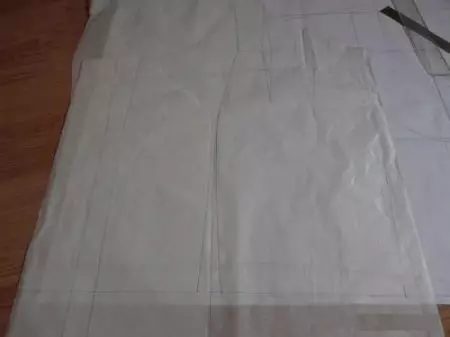
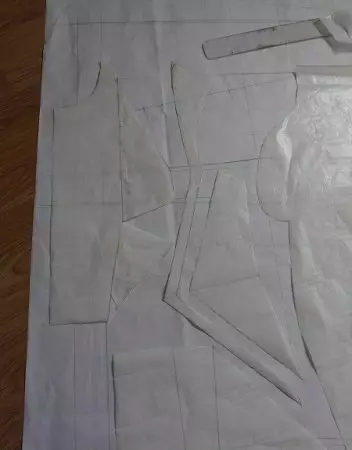
Next, it is necessary on the front of the lower part of the dresses to measure the selected length and extend the side line. At the same time, it is necessary to spawn relatively twenty centimeters relative to the straight line.
Similar effects should be done with the side of the sides on the back of the product, as well as sprinkle in the midline.
Additionally, it is necessary to close the outlet on the waist of the front of the product, which will allow to increase the glue to this value.
This is a side of lateral sweet.
This line should be pushed into four centimeters and put on the reverse side.
In order to simulate the fold on the paper on the center of the part, it is enough simply a milestone to attach not to the fold line, but a little retreating. The distance of the retirement is equal to the width of the fold.
That's what happens ultimately on the trash.
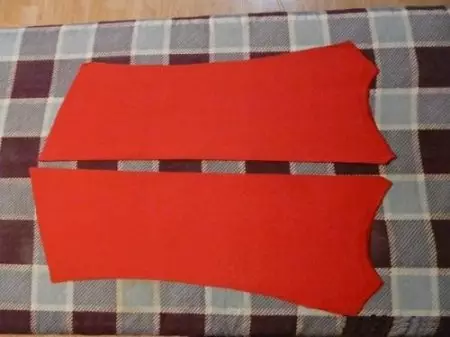
Now proceed with the decomposition of the resulting on the material.
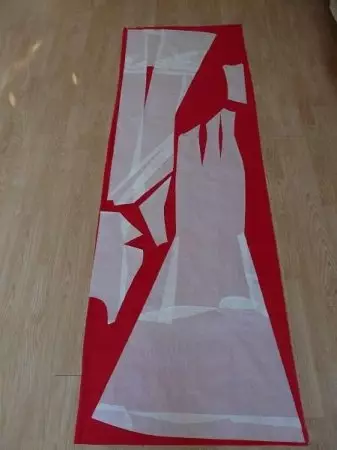
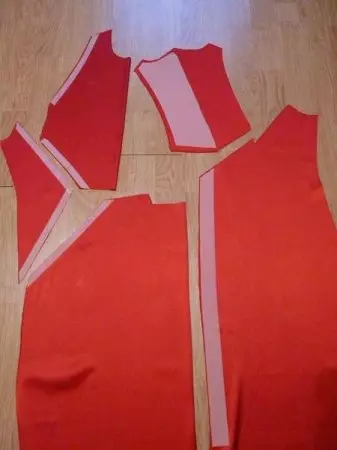
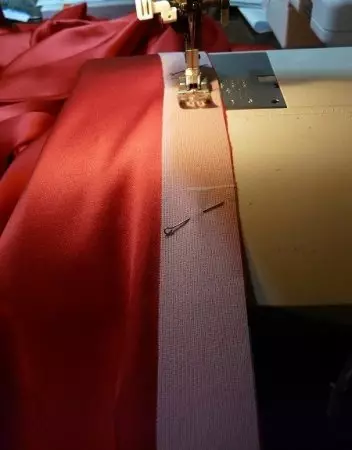
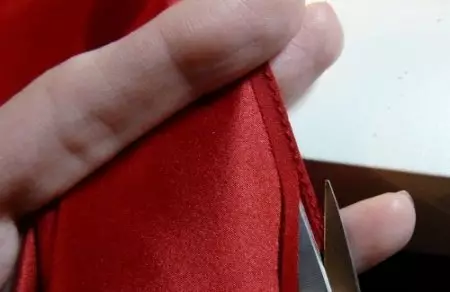
All items should be carved, taking into account one and a half centimeter to allow the seams. Then, after the parts are cut, they need to be enhanced with a dublerin, and the slanting cuts are additionally sampled by a special ribbon, the width of which one and a half centimeter.
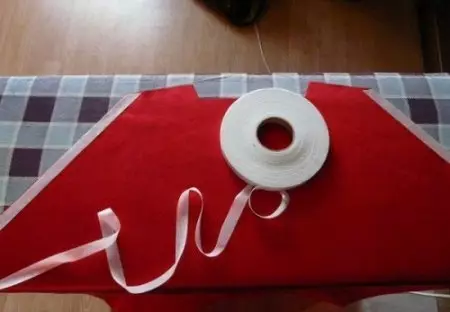
Additionally, it is necessary to think about strengthening the average seam, for which it is recommended to use a thin stretch dublerin. This material should be cut to strips along the side that the most reaches. It will be enough three centimeters width.
A small tip: It is best to duplicate parts into two stages, for the first use iron without steam, and then with the use of steam.
Article on the topic: Children's sandals do it yourself
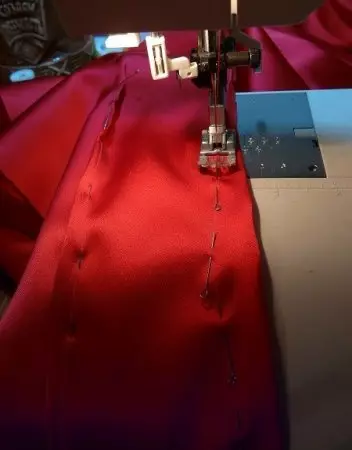
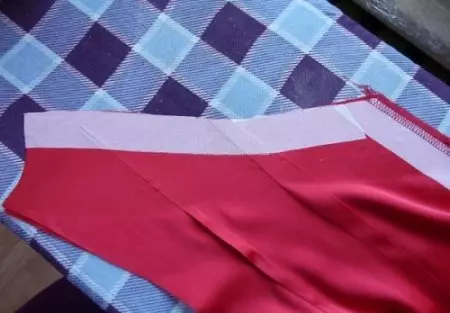
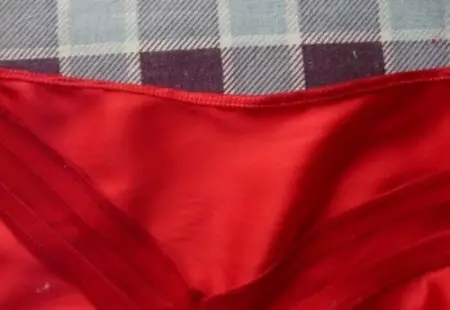
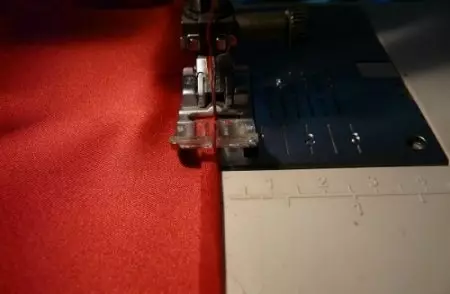
We start crossing parts from the middle seam, while the line should be flashing before the place where the zipper will be zipper. All sections should be immediately cozy.
Go to the tonsings on the waist, which are previously cleaned and mint.
Please note that the fabric is sufficiently tender, so the lines should be fixed with the ends.
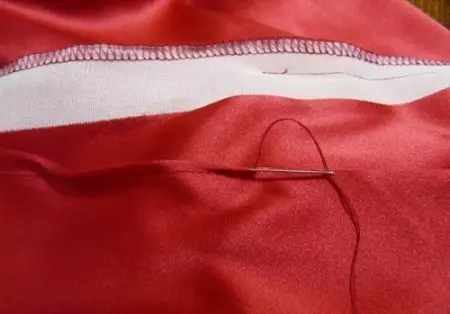
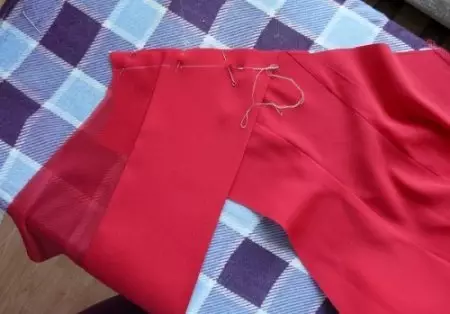
At this stage, the middle seam can be smoothed, however, like the molding.
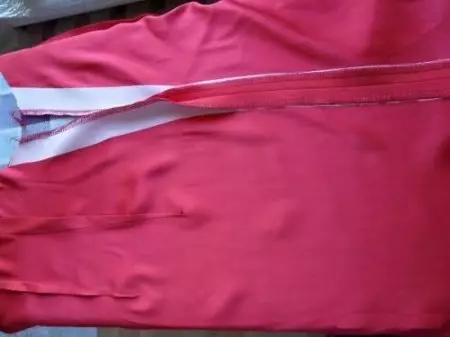
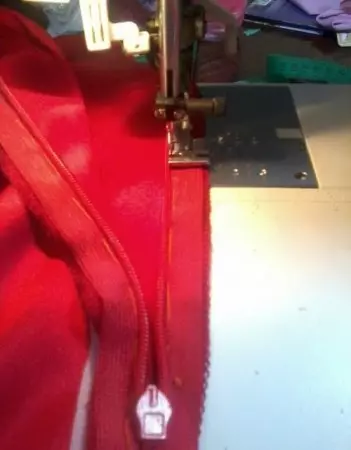
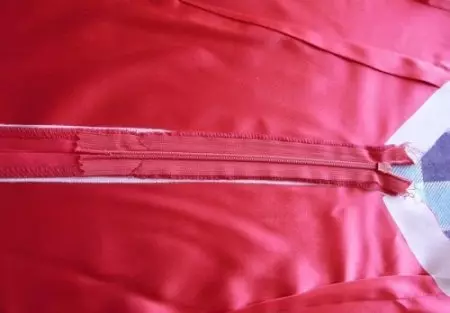
The queue for lightning, which is pre-wound, and then sewn on the place intended for it.
Now we work on the details of the top of the back, the middle line of which you need to smooth out.
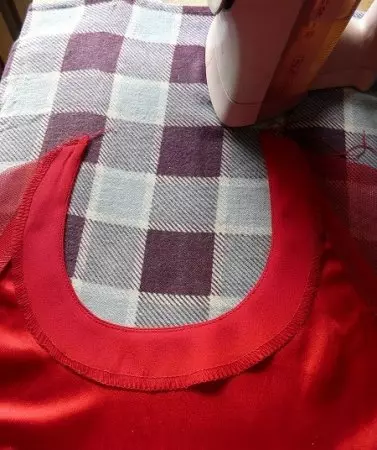
From the reverse side you need to draw the neck.
For smoothness, you should put in some points in the seams and twist the item on the front side.
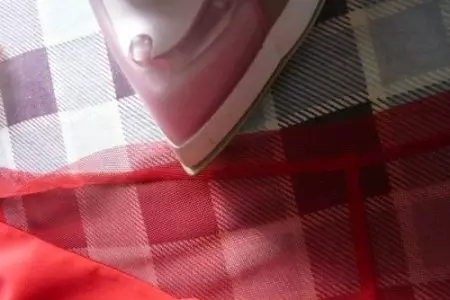
Gently stroke this place, forming a kant with hands.

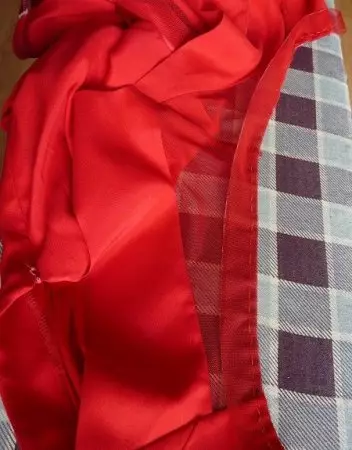
The same part of the product must be turned off on the wrong side and attach a mesh part of this part. All layers to make and become stap.
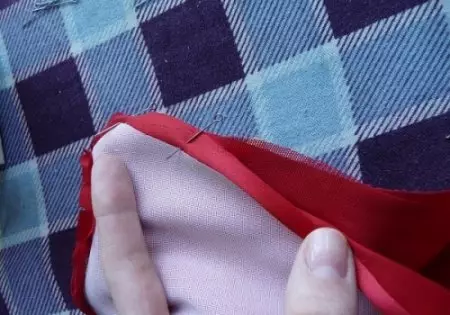
It remains to be turned on the front side and to smooth out well.
Go to the back, the diagonal of which needs to be enhanced by dublerin.
We rock and then take the top and bottom of the backrest.
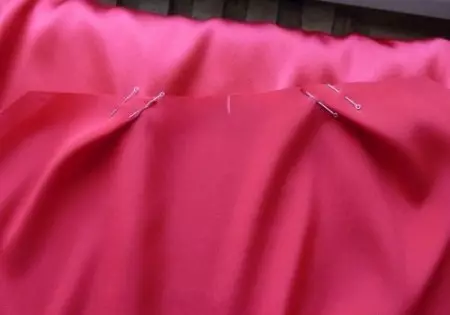
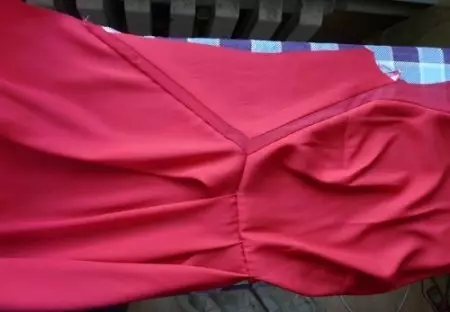
Go to the front of the evening dresses, starting with the twist on the chest, which should be stated.
Please note that in this case, the extuckle is rooted on up.
On the front of the skirt, the folds should be made, which will be with side edges and on the central part of the part.

We take the bodice of the dress and skirt, after which you can put the line, smooth all the sections should look up.
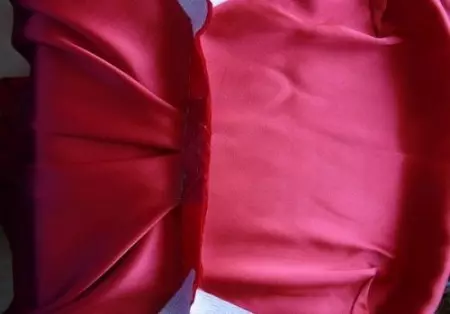
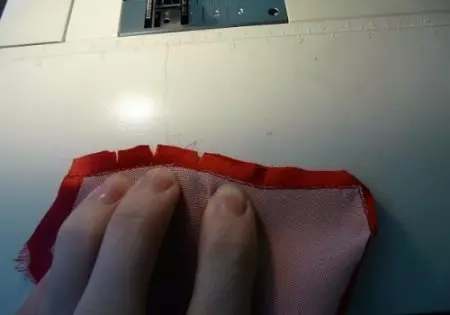
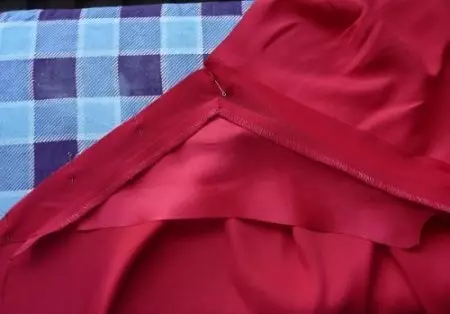
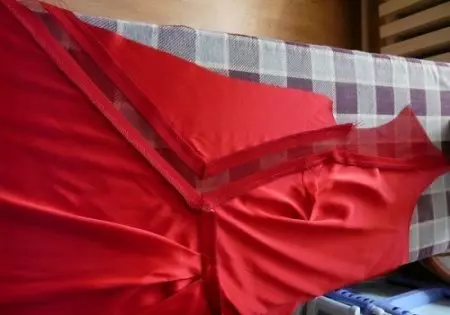
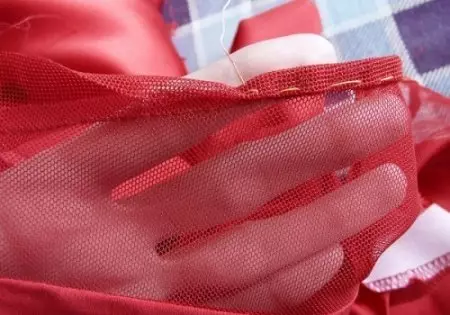
Next, on transparent parts, there should be an allowance for seams. Send them as shown in the photo.
By placing the product with a grid up, process cuts.
All allowances must be found in the side of opaque fabric.
Article on the topic: Snowflake with LED illumination with their own hands
Using the same principle, you should connect the side and central part of the part.
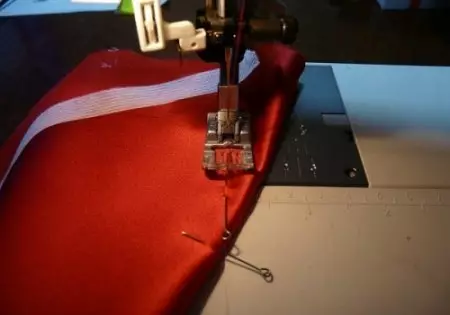
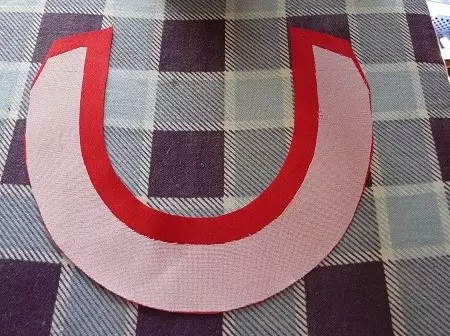
To handle the neck of the front of the product, you will need a wrap, the pattern of which will turn out of the paper pamal three centimeters width.

From the fabric, cut out the furnace, taking into account the allowances on the seams only on the side of the neck, while the outer side should be without letters. The obtachka should also be enhanced with a dublerin, and the outer edge is notified.
Send the garbage to the neck and cutting the allowance to the seams.
To fix the cutting on the cut, the stacks on the seams should be directed towards the calculation after which it is to impose a line at a distance of three millimeters from the seam.
The neck is ready, it remains only to smooth out.
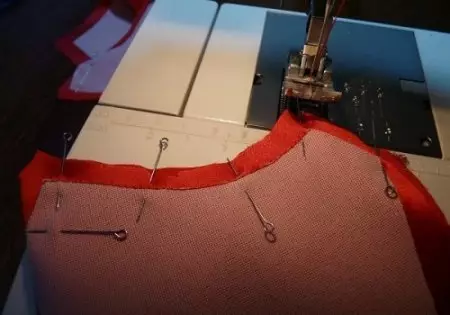
Go to the processing of the diagonal line is cut on the back of the dress. To do this, you will need a leaf again that needs to be folded so that the extractors closed. Then put the traction and it is necessary to draw the line of the hopper.

Cutout on the back of the product should be treated with a slap in front of the neck.
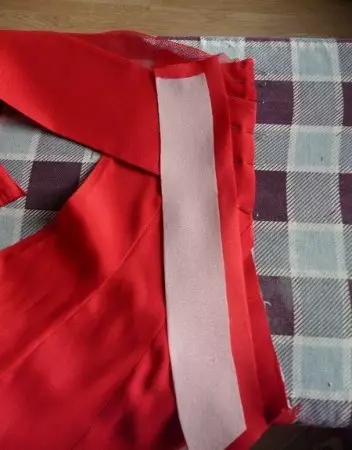
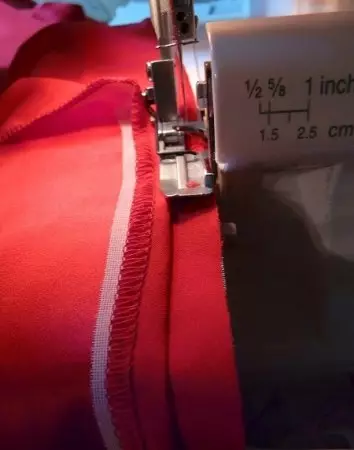
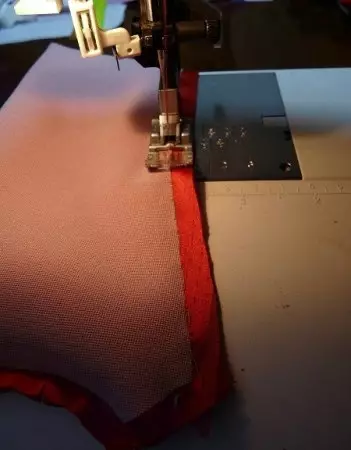
To heat the shoulder seams is better to use Overlock. Slide the allowances in the direction of the back of the dress.

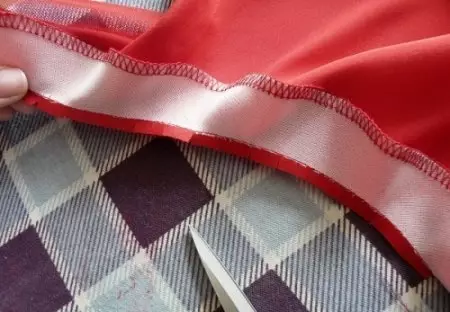
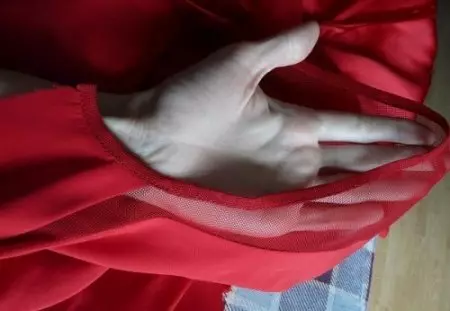
For processing, there will be a grid, from which the strips are cut along a braid width of three centimeters.
Carved strips should be sewed from the front side to the product with an allowance for a seam of about four millimeters.
Stripe smoothing.
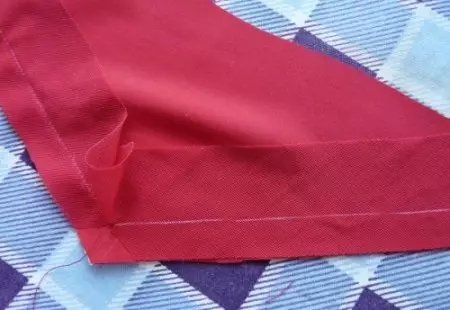
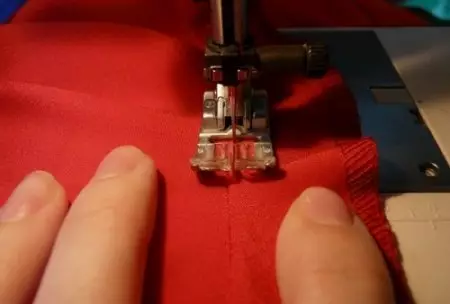
Now the edge is processed as shown in the photo.
The machine line is superimposed and smoothes the iron. Pruraum is ready.
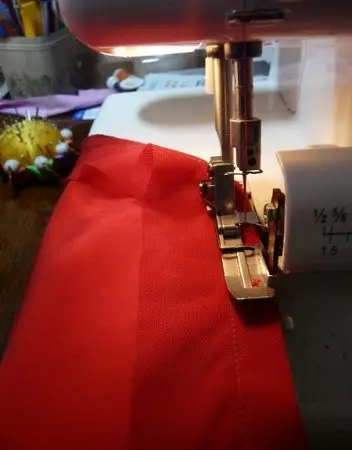
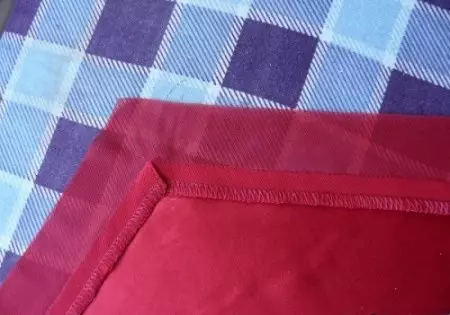
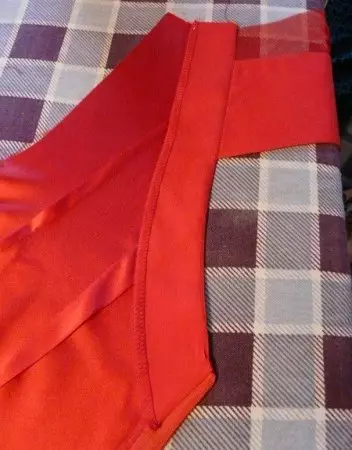
Side seams should also be made overlock, after which the allowances should be smoothed towards the back.
Using the Moscow seam, the bottom of the product is processed.

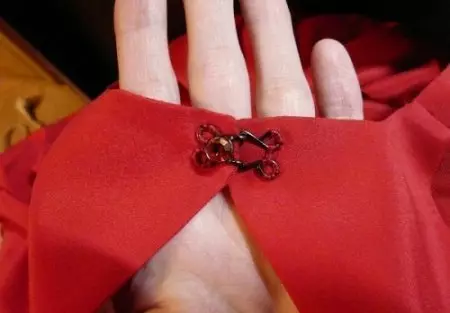
It remains only to sew a suitable decorative hook and the dress is completely ready!