
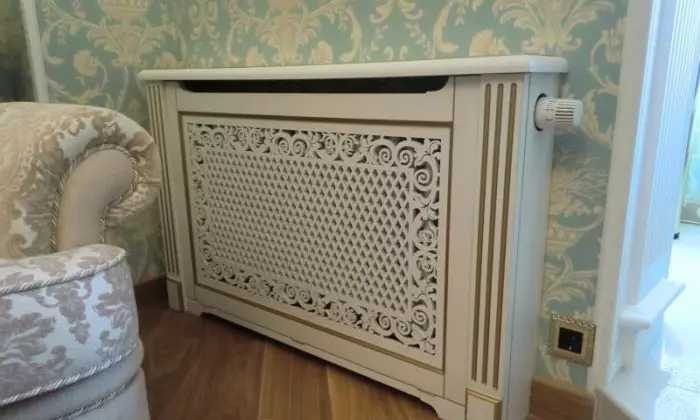
Screen for the battery, as everyone knows, is widely used to cover the battery.
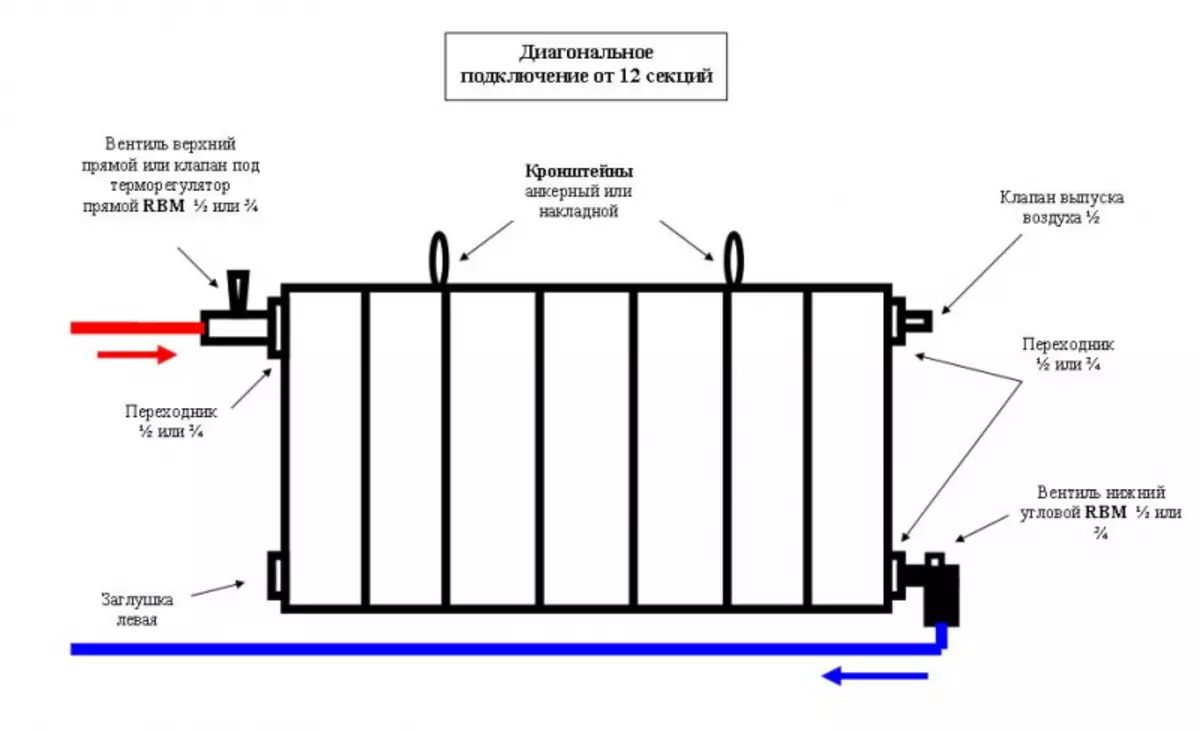
Scheme of installation of heating radiators.
This is due to the most ordinary thing: even aluminum radiators can spoil the interior with their appearance, and the screen can eliminate such a deficiency. Each in the house I want to cover this lack of beautiful, and most importantly, inexpensive screen, but not always both of these items are combined together: order an exclusive screen - it means to spend a rather big amount, and you just don't want to buy an ordinary. In this case, the battery screen can be made independently, with your own hands, while spending a minimum of funds, even without any special knowledge, except the most common. When creating a screen for a radiator, with your own hands, you must also be guided by some of the rules of thermophysics and just know how the radiator works so that there is no big heat loss.
Material radiator

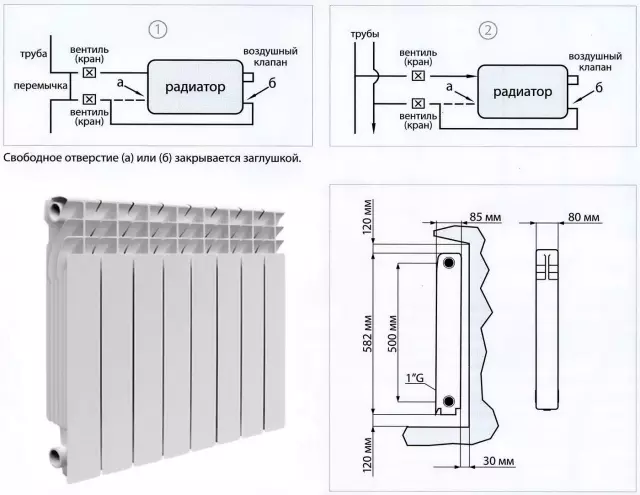
Scheme of the structure of the heating radiator.
It is worth explaining a device a little to understand how the radiator works. The heat supply to the room is carried out with the help of heated air, which, in turn, appears due to water passing through pipes, and by radiating electromagnetic radiation. The ratio of these two factors varies depending on the water passing through the system, and some external conditions.
Today, the most popular and in demand are 2 types of radiators, these are cast iron and a battery of profiled aluminum. The device should be disassembled separately in more detail. The so-called cast-iron heats the room mainly with the help of convection, and precisely because of this, the older generation people perfectly remember that sometimes it was even impossible to touch the battery, although today it is perceived hard enough.
Batteries from profiled aluminum, in turn, today practically ousted their competitor, although they work almost by the same principle, but have a somewhat more noble appearance than cast iron. It is worth keeping in mind one nuance of such a heater: if the air circulation is broken by something, then this air is redistributed towards the front flat panels (screens), and the radiator itself is already moving into heat emission mode. It becomes clear what the screen actually should be: it should not be deaf, completely closed or have small and at the same time rare holes, as a result of which much less heat will flow into the room.
Article on the topic: Embroidery works by cross: gallery ready, manufacturing technology, photos and videos, paintings and schemes, sewn handmade
Material for screen
Scheme of sectional radiator.
When the grille is installed with your own hands, do not forget that the outer screen should absorb IR from the battery, and only an absolutely black body can do this. Thus, the outer screen inside should be black, but do not forget the fact that it should be reflecting behind. Most often, several options are used as a material for manufacture, it may be: plastic, wood, metal or drywall. It is necessary to disassemble each of the presented options most fully, to make a certain choice on the basis of the received data.
Plastic - it is not suitable for some reason. First, the plastic is quite expensive, which means that the screen is completely made from it - the case is quite expensive. Secondly, plastic is a bad heat conductor, and in addition, from high temperatures, it can overcome and even be covered with spots. And, thirdly, to give the necessary spectacular aesthetic type of plastic is quite difficult.
The following material is metal. Compared to plastic, it is not expensive and is a good heat conductor that in this situation is a predominant aspect. The main minus is that not everyone is able to work well with the metal, that is, create a spectacular appearance for the future battery frame, it will be quite difficult, and this will require an extensive range of tools.
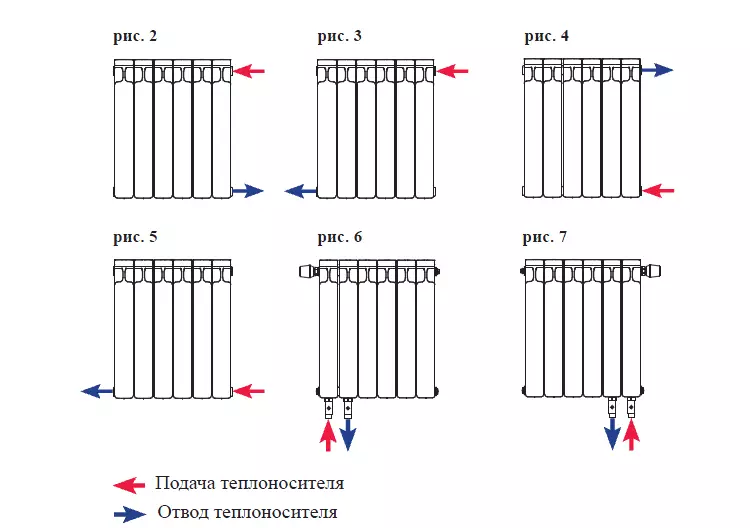
Schemes for connecting bimetallic radiators.
Plasterboard: Immediately it is worth saying that drywall from uneven heating can disarm or even start to peel or crack. In addition, it also does not differ in thermal conductivity. But if you properly work with it, you can make a fairly good screen for the radiator.
The process of preparation of drywall is in more detail. It is necessary to have a needle roller rollers with it, with which you need to roll off the cut out of the blanks, and after this procedure is completed, the workpiece will be impregnated with a water emulsion of PVA, which is not so expensive today. Thus, having carried out these 2 not very complex procedures, everyone will be able to achieve: first, improve the thermal conductivity indicators (such an effect is achieved precisely due to the impregnation of emulsion), secondly, drywall will be protected from drying out (everything is due to the same emulsion) Thirdly, the paint will be much easier and restfully go to the plasterboard.
Article on the topic: How to install a castle on a plastic balcony door
And the last material is a tree. A tree, as everyone knows, has its own unique and in its aesthetic properties, and in addition, it is absolutely environmentally friendly, it is easy and pleasant to work with it. A significant disadvantage of wood, in turn, is that it is a bad heat conductor, and it is impossible to improve it. But still, if you correctly do the screen, it will be quite effective. In this case, it is necessary to consider the manufacture of the screen with your own hands using the tree.
Start steps
First of all, before the battery grille is created, it is necessary to measure the radiator itself for which this screen will be made. But you need to add another 10 and 5 centimeters in width and height, respectively. A piece of fiberboard is cut. The next stage is to measure the depth of the radiator, while it is necessary to add 2.5 centimeters to the results obtained, and 2 pieces of wood slabs are cut down the resulting dimensions. The same process must be repeated and with the top of the future lattice of the battery.Then you should make holes on the facade side. In order to do the most accurately, it is necessary to carry out a line with an indention from above and below 7.5 and 11 centimeters, respectively, and the holes themselves must have a diameter of 1.2 centimeters. Then the square or rectangle is cut on these lines. After this procedure is successfully completed, it is necessary through the entire profile part line to cut 45 degrees using the hacksaw. This end will serve as a finish for an angle. In the same way, it will be necessary to do with the remaining details so that in the end it turned out the same parts. When this procedure is completed, you can prepare directly the grid itself for the future screen window. The choice is practically no limited, and therefore anyone can choose the grid exactly from the material that it prefers. In addition, you do not need to forget about the main nuance in this process: the grid must be 5-6 centimeters more windows around the perimeter to which it will be attached.
Assembling lattice battery
Now you can proceed to the grid assembly process. First of all, connect the side panels of the future screen with the front. The next step provides for the production of fasteners for the legs of the same material as before. As for their manufacturing, it is done as follows: first measure the height from the floor to the heater, the height of the legs and the rest distance from the bottom of the box to the nose of the corner. Based on these calculations, fasteners for the legs are made. Next, you need to position the corners at the appropriate places (from the inside of the front corners), and then you can then start the installation of the screen and adjust the height of the legs as it should be adjusted. In order for the heat to the maximum is reflected in the heated room, it is necessary to make a rectangular metal sheet with a screen size and then connect them together. Thus, it is possible to reduce the indicators of heat loss.
Article on the topic: Spring crafts in the style of quilling do it yourself (20 photos)
To secure the screen on the wall, you can use anything. Today, it is very often used for this threaded studs in anchor colans and wooden chumbs. In this case, it is necessary to take into account and take into account the following: what would you choose that you choose, the total area of all these elements of the facial surface should be less than the gaps between them. The visor is required for any radiator screen. If it is absent, then the airbag will be formed under the window sill, which will completely overlap convection.
Summarizing
Thus, make the lattice on the battery is quite easy and simple, most importantly - it is necessary to accurately comply with all items of this process. In the event that everything was done correctly and without errors, the screen will delight you not only by the fact that it practically does not absorb heat, which gives the heater, but also with its beauty. In addition, it is necessary to clarify that when the screen is done with your own hands, you can save quite well on this, for example, take wood from the cottage and use it for this purpose. Of course, the time will be spent a little more than if you chose the screenshot version. Therefore, you should not be afraid to take it into your hands, on the contrary, it is possible to do this and even need to be saved. If you do not want to make a lattice yourself, you can always refer to specialists who will make an exclusive screen in a short time and for a moderate fee.