

Some printed publications are of particular value, and sometimes they have to reanimate them, replacing the oldest cape new. In this master class, we will demonstrate in detail how to do it. As a result, you will get a book in a soft skin cover with original embossed. Excellent will look at a similar copy as a cover for notepad of manual manufacture.
Materials
Before making a leather cover for the book with your own hands, make sure that:
- tight sheets of paper for forboats;
- dense cardboard for the cover;
- Skin piece;
- glue;
- wooden sticks;
- acute stationery knife;
- scissors;
- line;
- a piece of rags;
- cotton disks.
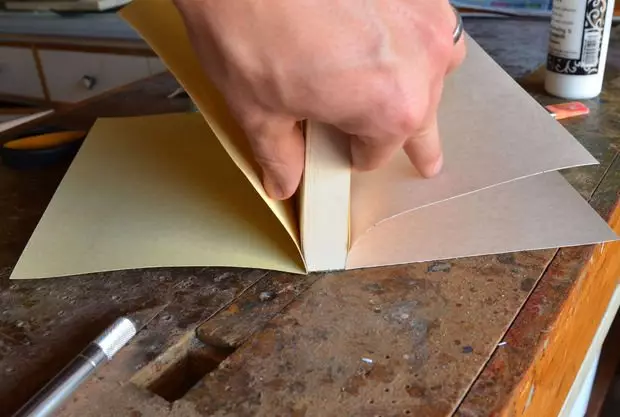
Step 1 . Remove the old cover with the bell. To do this, open the book and hold the first sheets with your hand. Cover pull in the opposite direction. Do it carefully, so as not to damage the sheets or binding of the book.
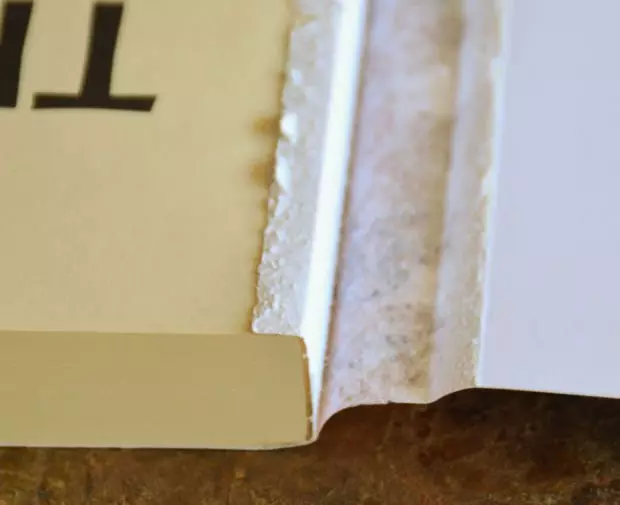
Step 2. . From the root of the book remove the remnants of the paper component and glue. To do this, blot water with a cotton disk or a small piece of fabric and carefully walk along the book binding.
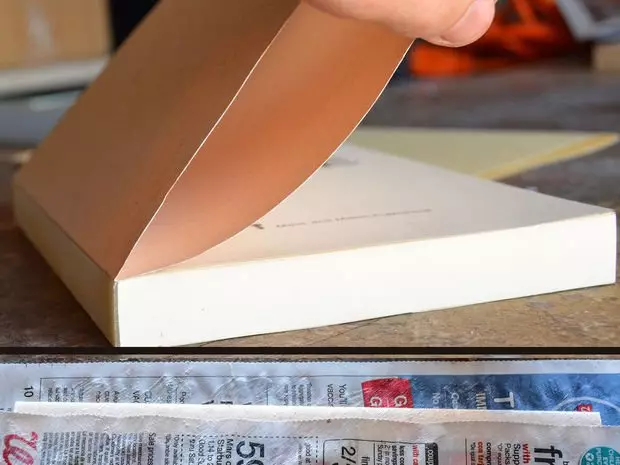
Step 3. . Pickup a sheet for the boom of the book. It can be monophonic or with a print. It depends on the design and the subject of the publication. Cut it. In height, the sheet must match the pages of the book, and in width - to be more exactly twice.
Step 4. . Bend the sliced sheet of paper double along the fibers so that the forboat is not deformed from moisture and has not published superfluous shelest at the time of the book disclosure. These instances you need 2 pieces.
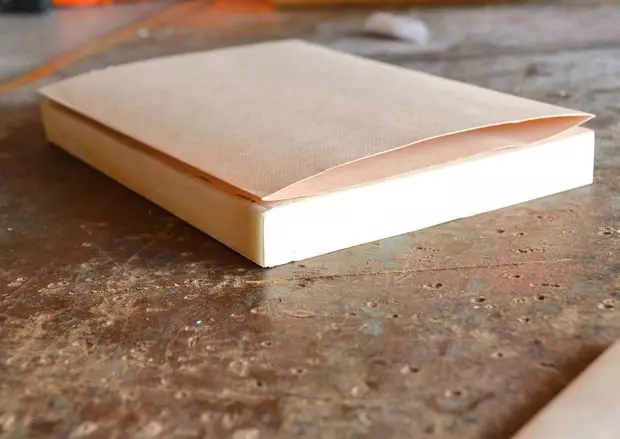
Step 5. . Attach the cohesive sheets of paper to the book. One on each side. If necessary, the paper is welded in size, and then stick the bells of one half to the first page of the publication. Glue apply a bit, a strip of about 1 cm and distribute it gently.
Article on the topic: Complex for cats do it yourself with drawings and photos
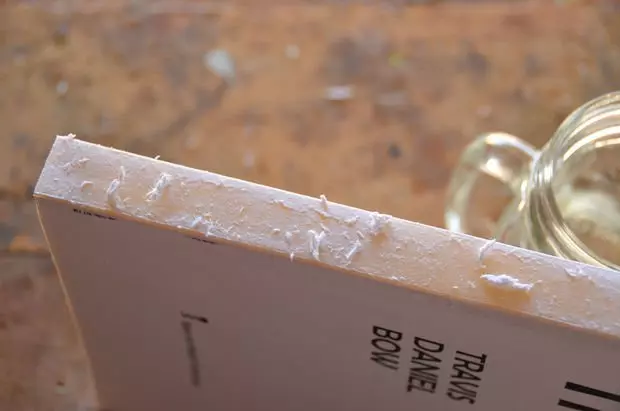
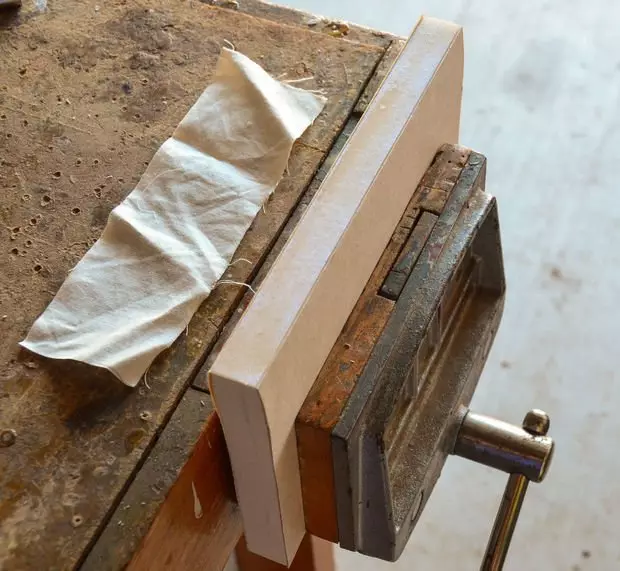
Step 6. . On the root of the book glue a small piece of rectangular fabric. Scroll it so that there are no folds and chances.
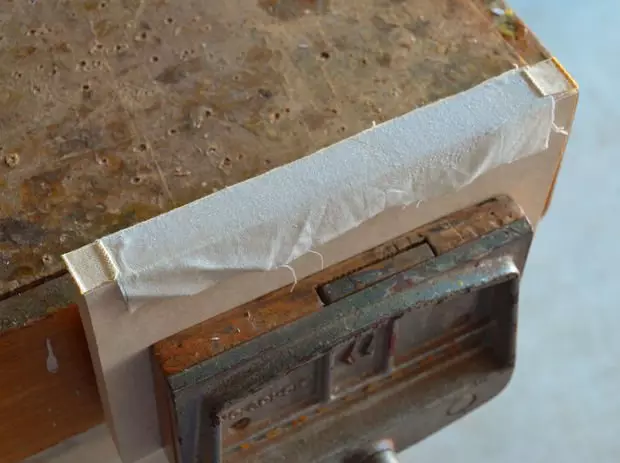
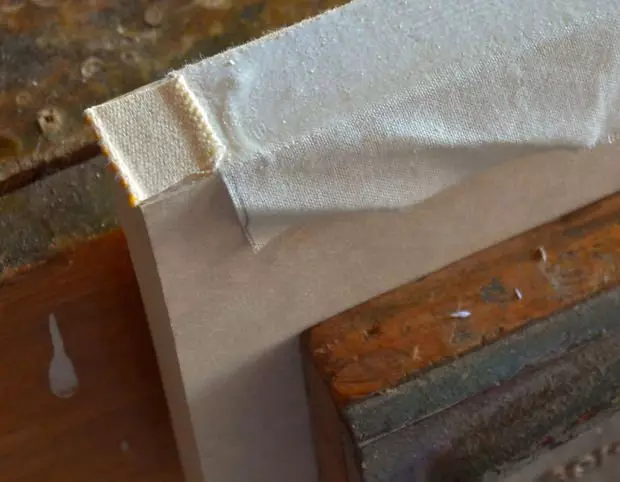
Step 7. . At the ends of the roots, glue small pieces of fabric. So that they are realistic to imitate the binding, a rectangular piece of fabric lubricate the thin layer of glue. In the middle, glue a tight thread or a thin lace and glue the ends.
Step 8. . Take a tight cardboard sheet and cut two rectangle from it. This will be the basis for the cover. Attach cardboard to the book and, if necessary, pon it in size. Since this is the cover, the cardboard should look beyond the pages of the book on three sides, except for the place where the root is.
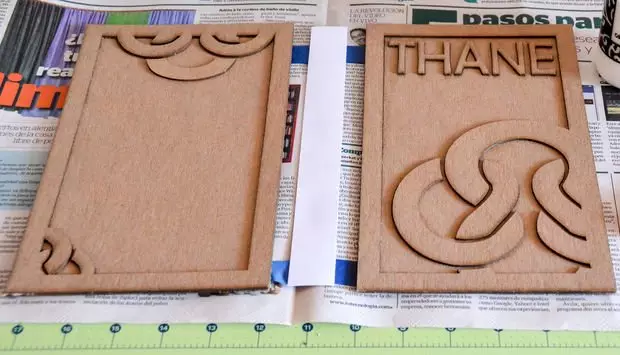
Step 9. . If you do not want to make embossing, this stage can be skipped. To create a volumetric pattern from the same piece of cardboard, you need to cut the figure part. The drawing can be arbitrary, but you can manually cut it or with special machines. The prepared carved base of the cover is glued on top of a simple and even base.

Step 10. . Cut the strip length and width from the root from the cardboard and connect it with two pieces of the cover with the help of the tape. Between the three components of the cover, make indents of 1 cm.

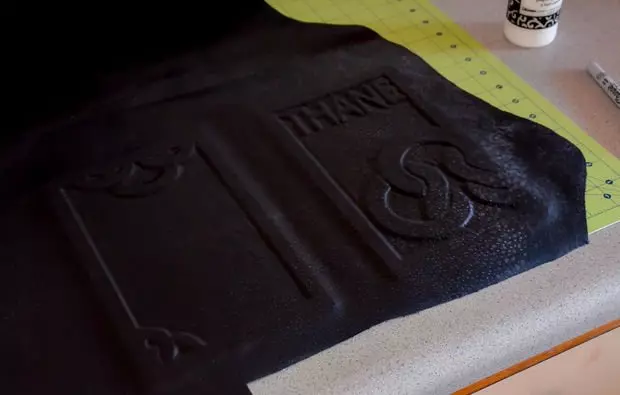
Step 11. . Take the skin. It must be thin and moderately elastic. Cardboard foundation for the cover of a book from the outside, smear glue. Apply it with a thin layer, but do not skip a single corner.

Step 12. . On top of the cover, attach the leather material and gently, with the help of the blade, take it to the cardboard. Squeeze the skin during the process, but do not stretch it.
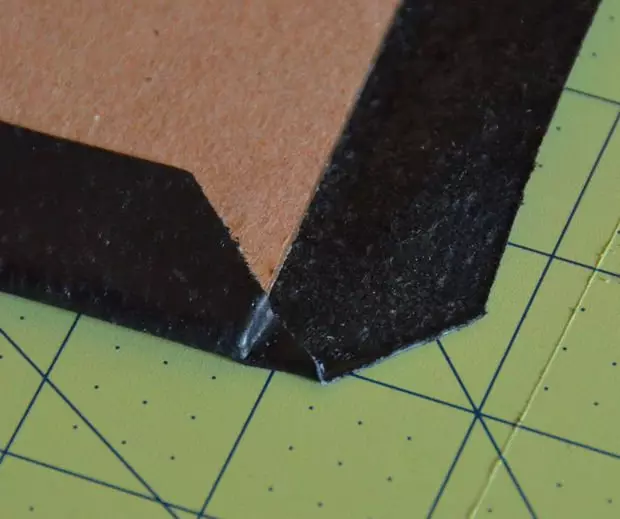
Step 13. . When the skin sticks, cut it, leaving from all sides of 2.5 cm of stock and cutting the corners as shown in the photo.
Article on the topic: Folk remedies from black mold, about which no one knew
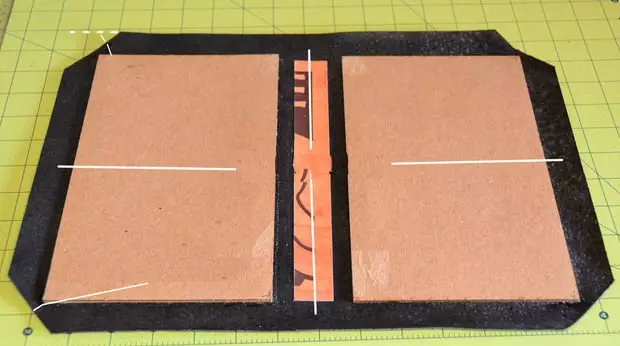
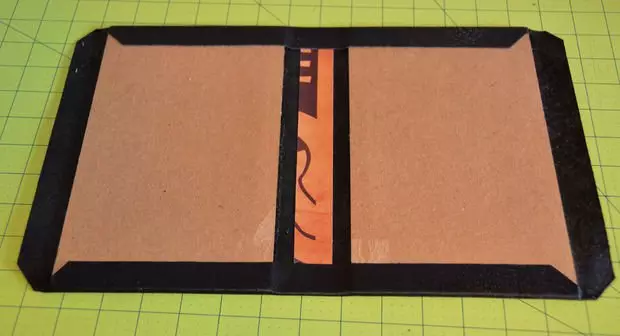
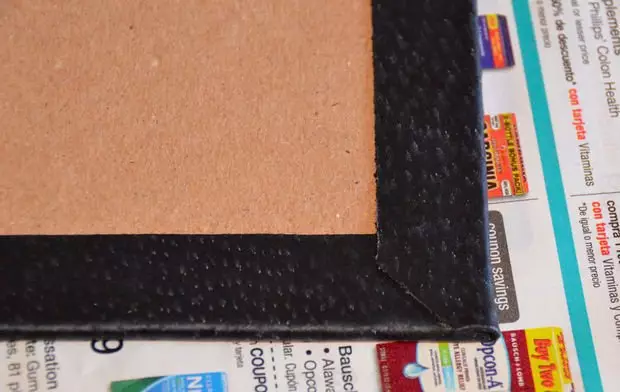
Step 14. . Clean the cardboard cover on the edge from the inside and generate the allowed allowances, especially carefully processing the bends in the corners.
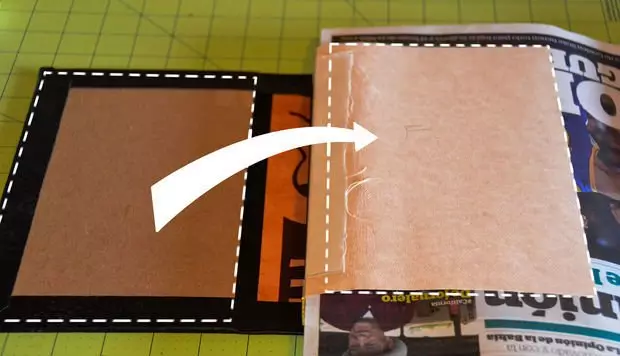
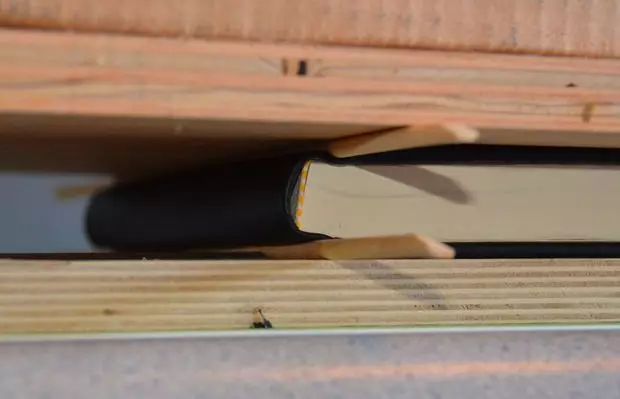
Step 15. . After drying the glue, it is once again to check how well the cover is adjacent to the book, and after sticking it to the bells. Closer to the root put on the cover with the front side of thin dowels or wooden sticks and send the entire design under the press.
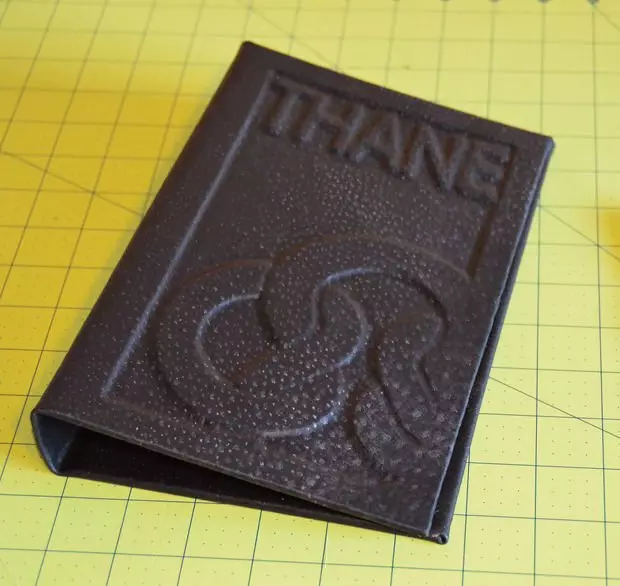
New skin cover for a book or notepad is ready!
