Every girl in childhood loves to play dolls, collect Barbie and create your own style for each of your princesses. Many mothers who love needlework, sew for the pupa of their daughters of the new Suites, dresses, skirts and another wardrobe. But few know that the dolls can also be changed hairstyles and even the color of the hair. A wig for the doll with your own hands is a great way to transform your favorite toy in a short time, because now it is quite expensive to buy different types of Barbie. This master class will help you easily and not spend time learning to make wigs for dolls.
A budget option
Wigs can be created from different materials, such as satin ribbons or threads. We will use cracks in work.
For the manufacture of a wig, we will come in handy:
- Silk thread or a piece of curtain fabric;
- threads;
- needle;
- package or food film;
- sharp scissors;
- pencil or marker;
- brush;
- PVA glue;
- cotton fabric.
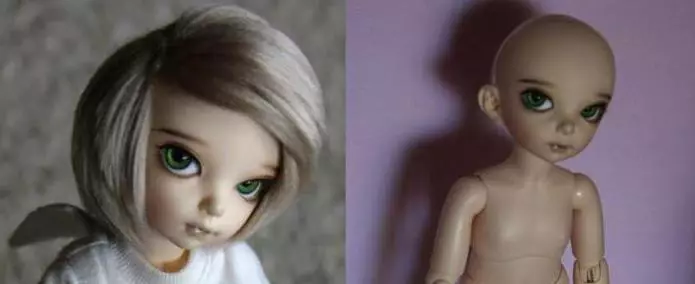
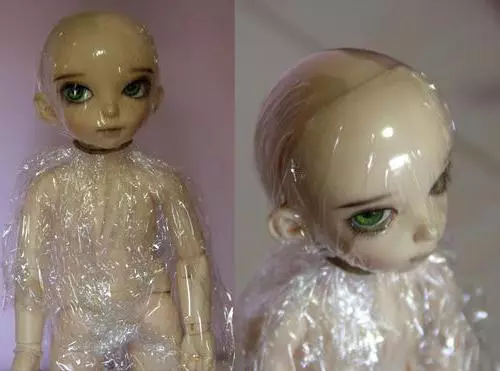
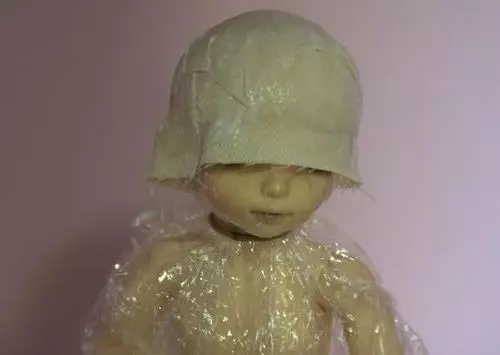
To begin with, it is necessary to wrap the body, the head and the hands of the pupae with a bag or food film. It is worth thoroughly tighten on the head so that there are no folds.
After cooking a bowl or a bucket with water to wash the adhesive on time with tassels and hands.
At each stage, the hands must be clean, as the glue can get on the hair of the wig, which guarantees the inaccuracy and negligence of its appearance.
We make a tassel glue on the head of the pupa.
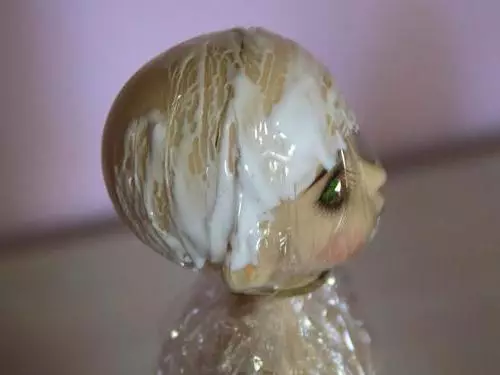
Wrap your head with pieces of fabric in a circle. Edges to strip.
Put another piece of fabric from above, cut the edges to be convenient to smooth.
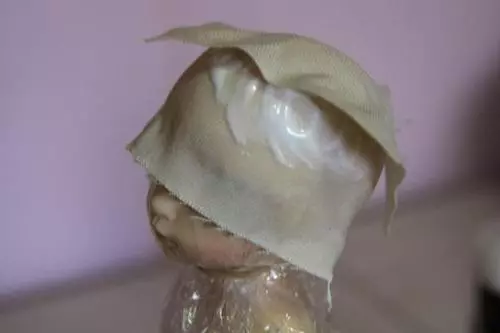
When the pieces of wilds to the head, you need to pay attention to the fact that nothing will be silent and did not dug. Wait for complete drying.
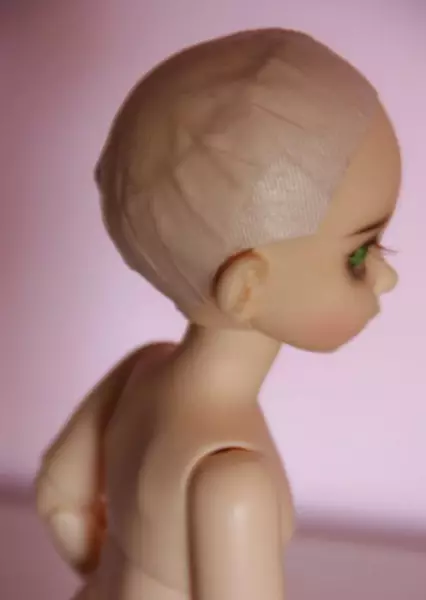
After the hat dried, draw the contour of its edges and cut out the contour pencil. The contour is required to pass the forehead above the ears.
Article on the topic: Children's appliques from colored paper with their own hands: Print templates
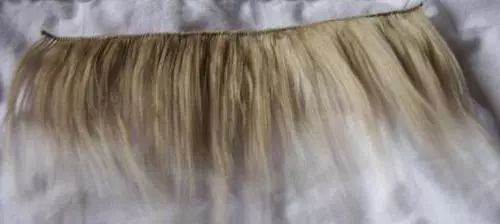
We begin to dissolve the material that replaced the hair.
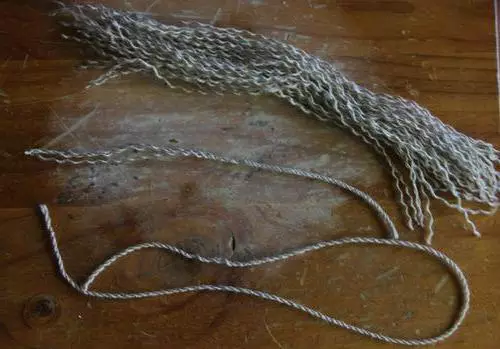
After all the strands become rapidly, starting to connect to a grade. To do this, you just need to take a long thread and tie all strands to it.

Favorable cracks combing comb with rare and long cloths. To speed up the process, you can moisten with water hair or apply the usual hair balm.
An ordinary iron straightened strands, you can also use a fluff. Then the cracks can be attached to the head. To do this, make a pencil on the cap circles. Doing it is required, especially if you are new.
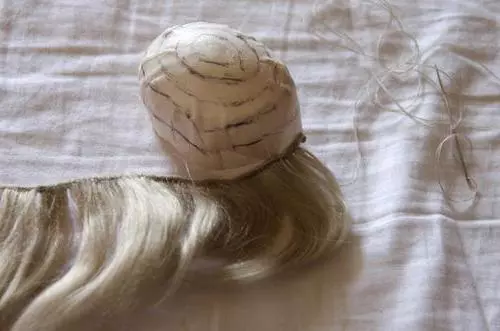
Next, fasten the string knot at one of the edges of the cap cap. The nodule must be strong. Start sewing a tresser in a circle until the opposite edge starts.
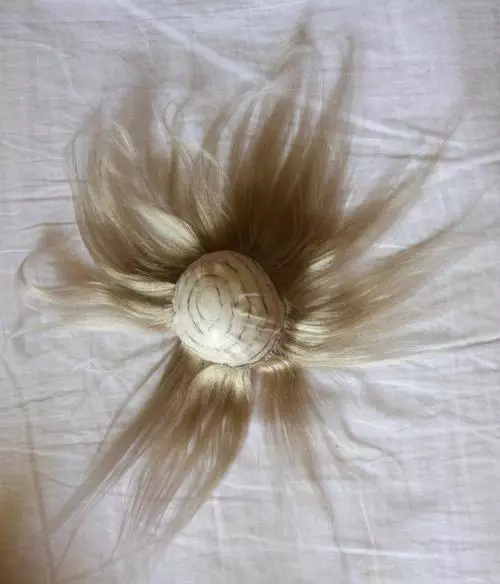
Our hat is completely covered by strands. But the wig is not ready for the end, as there is no probor in it.
To take another piece of cracks for it. Thread to which strands are attached will be a sample. We have on her head as we like. You need to enter the needle for sure. It is best to make point seams.
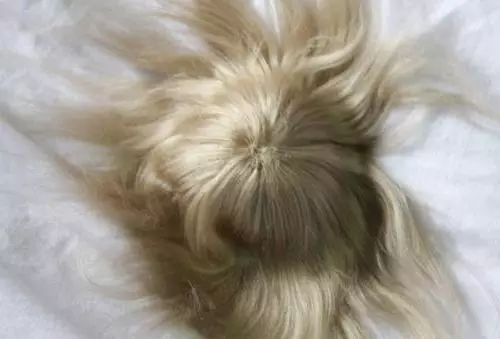
In the final to fill the hairs. A wig for dolls from servers is ready!
Fans of knitting
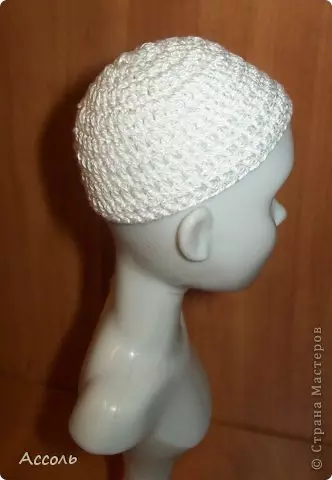
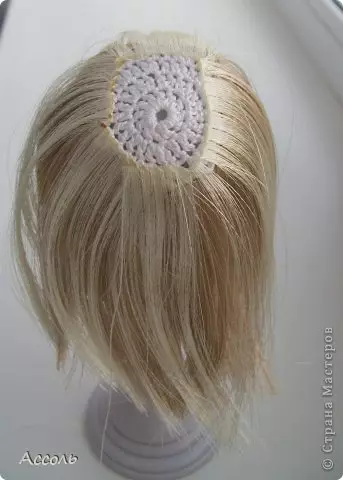
This method will like those who are crazy about knitting, as here we will knit with a crochet hat for a wig.
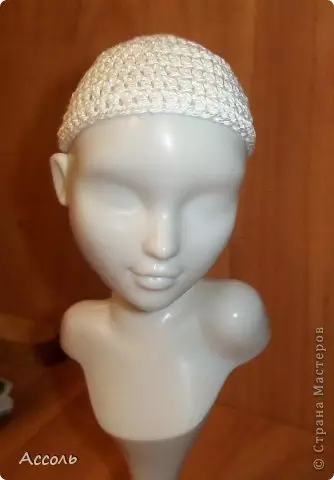
Knitting scheme is very simple. Six air hopes need to be closed in the ring. The first row link from 12 columns with Nakud. The second row consists of 24 columns with Nakud. In the 3rd row we have already 36 columns with Nakud. And in the fourth - 48 Stage with Nakad. After the additives do not need to do, continue to knit the cap to the necessary sizes.
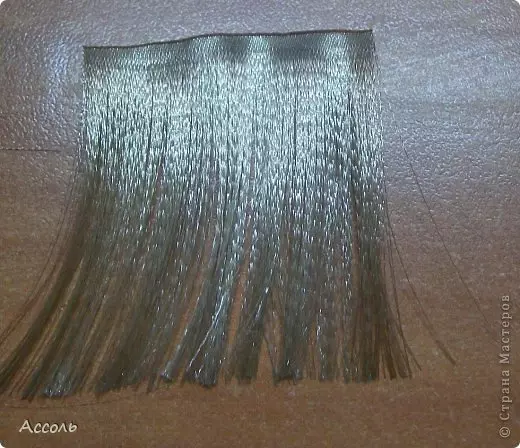
For hair, take a satin ribbon and gently dissolve it with a needle.
Article on the topic: Shawl "Flower Echo": Scheme and Description with photos and video
Then sew stitches through the edge, to enter the needle from the side of the header.

Thus get to the top, then start gradually to form a naughty, the head and sample.
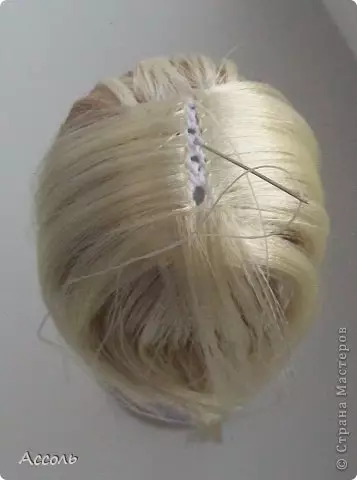
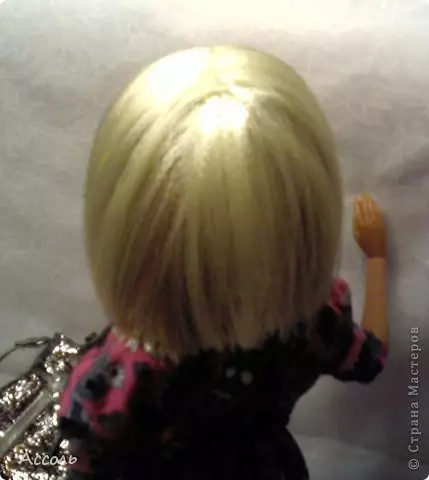
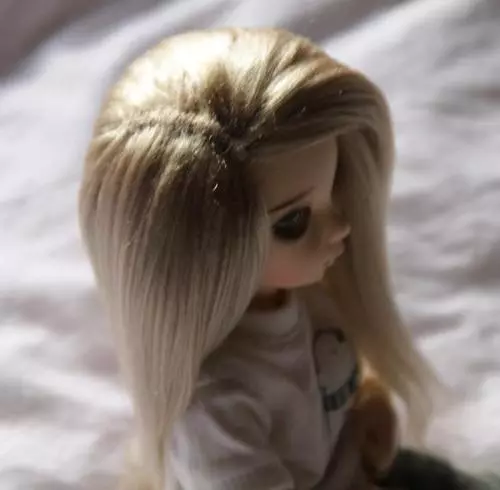
Our wonderful wig for the charming blonde Barbie is ready!