
In this material we want to share with you work that you can do yourself. These are not only decor elements, but also useful things. For example, a children's backpack or various interesting products that we can make it easily with children. In order to be interesting to you, and children, we offer to make work in the form of cartoon characters. The child will love to make sinks with her own hands.
"Smeshariki" is a modern cartoon with a lot of interesting heroes. They are kind and teach kids easily to cope with everyday problems.
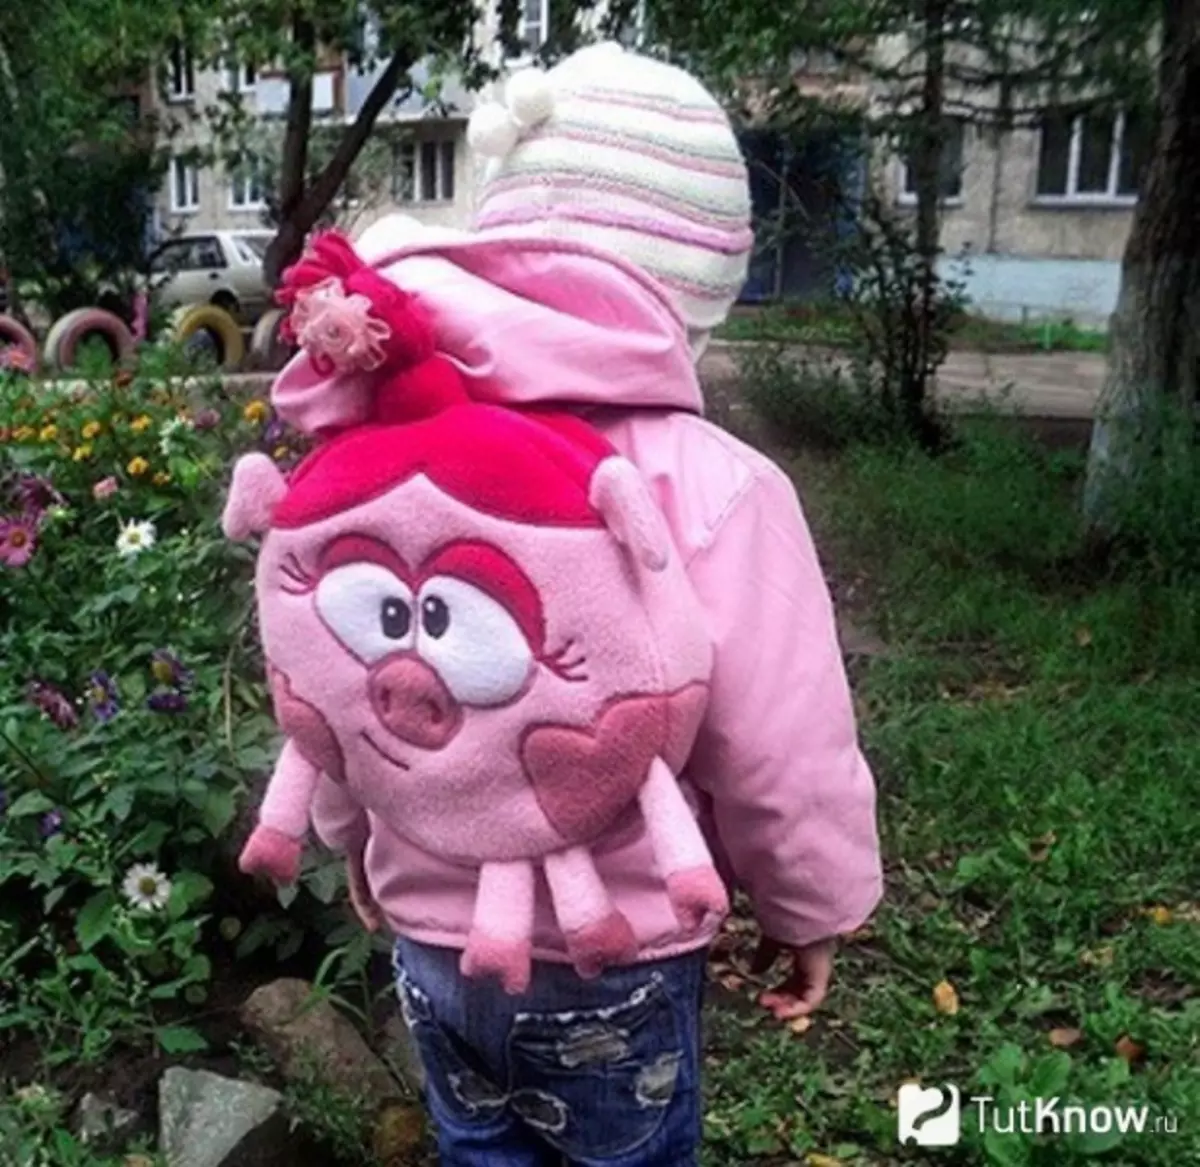
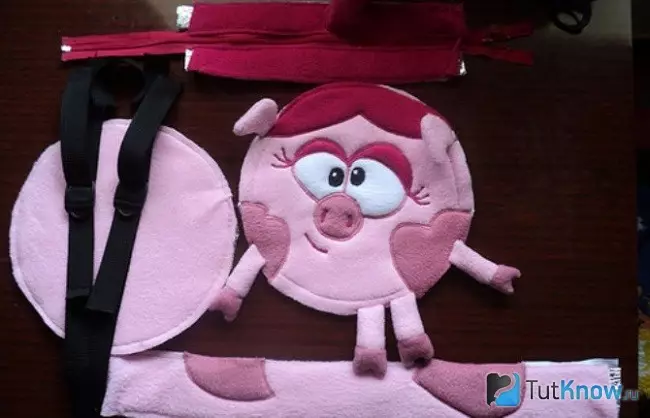
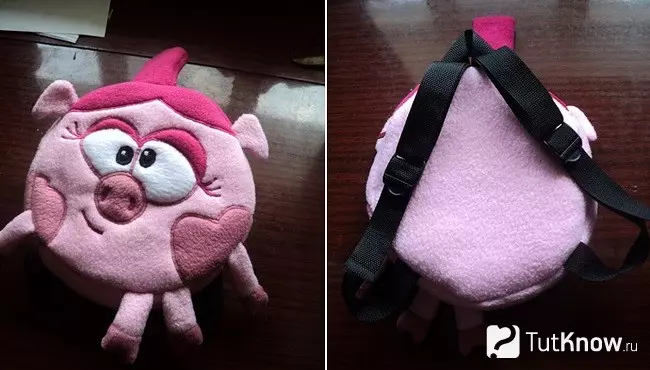
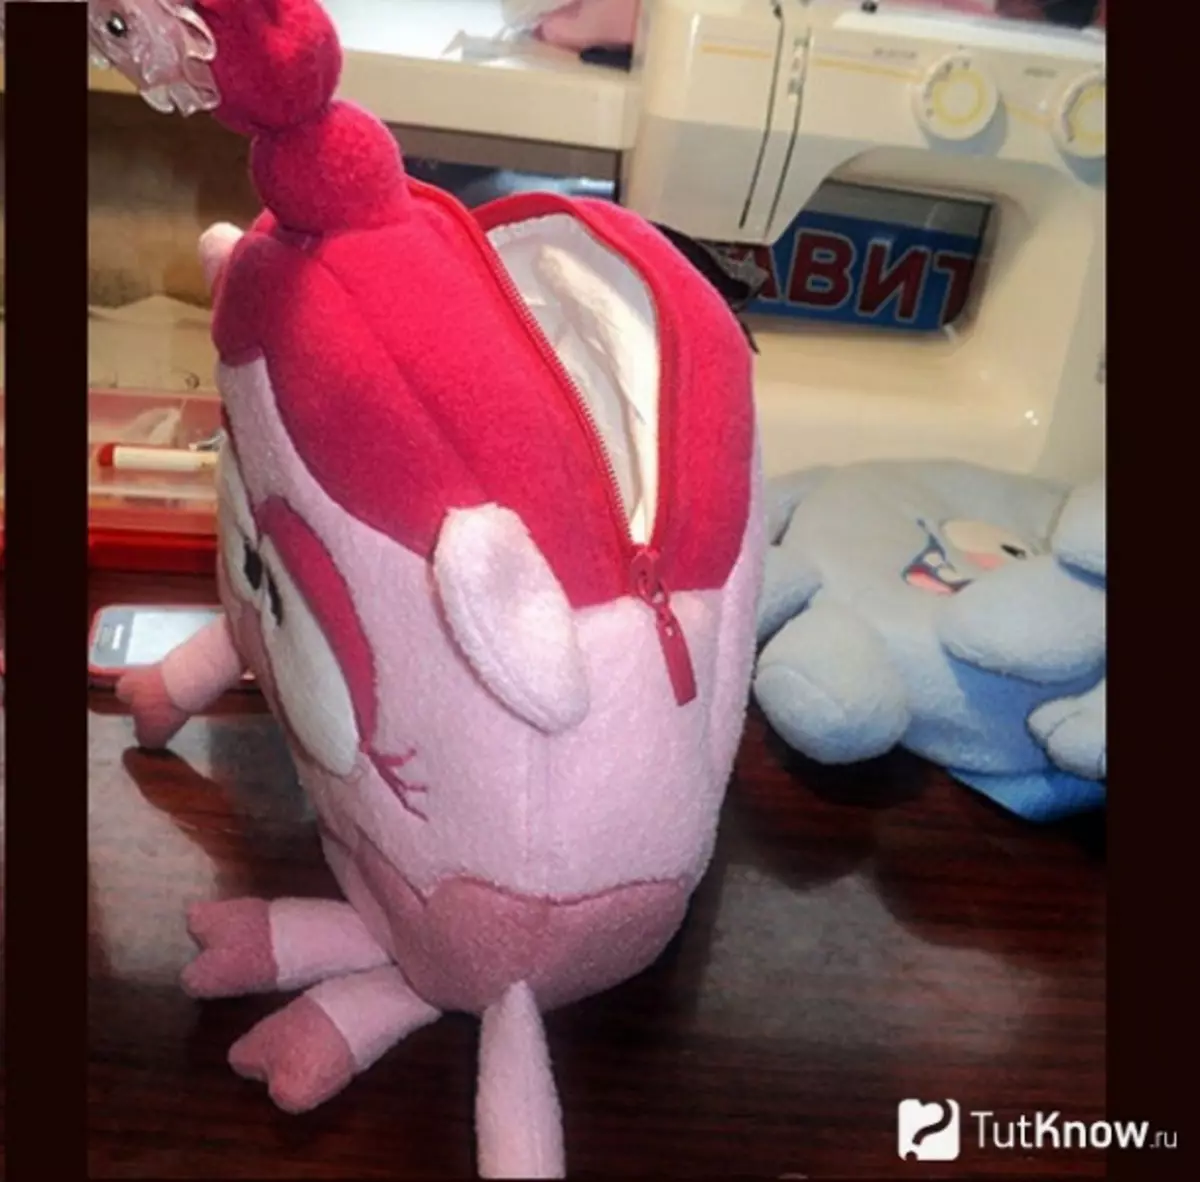
We sew a nyusha backpack
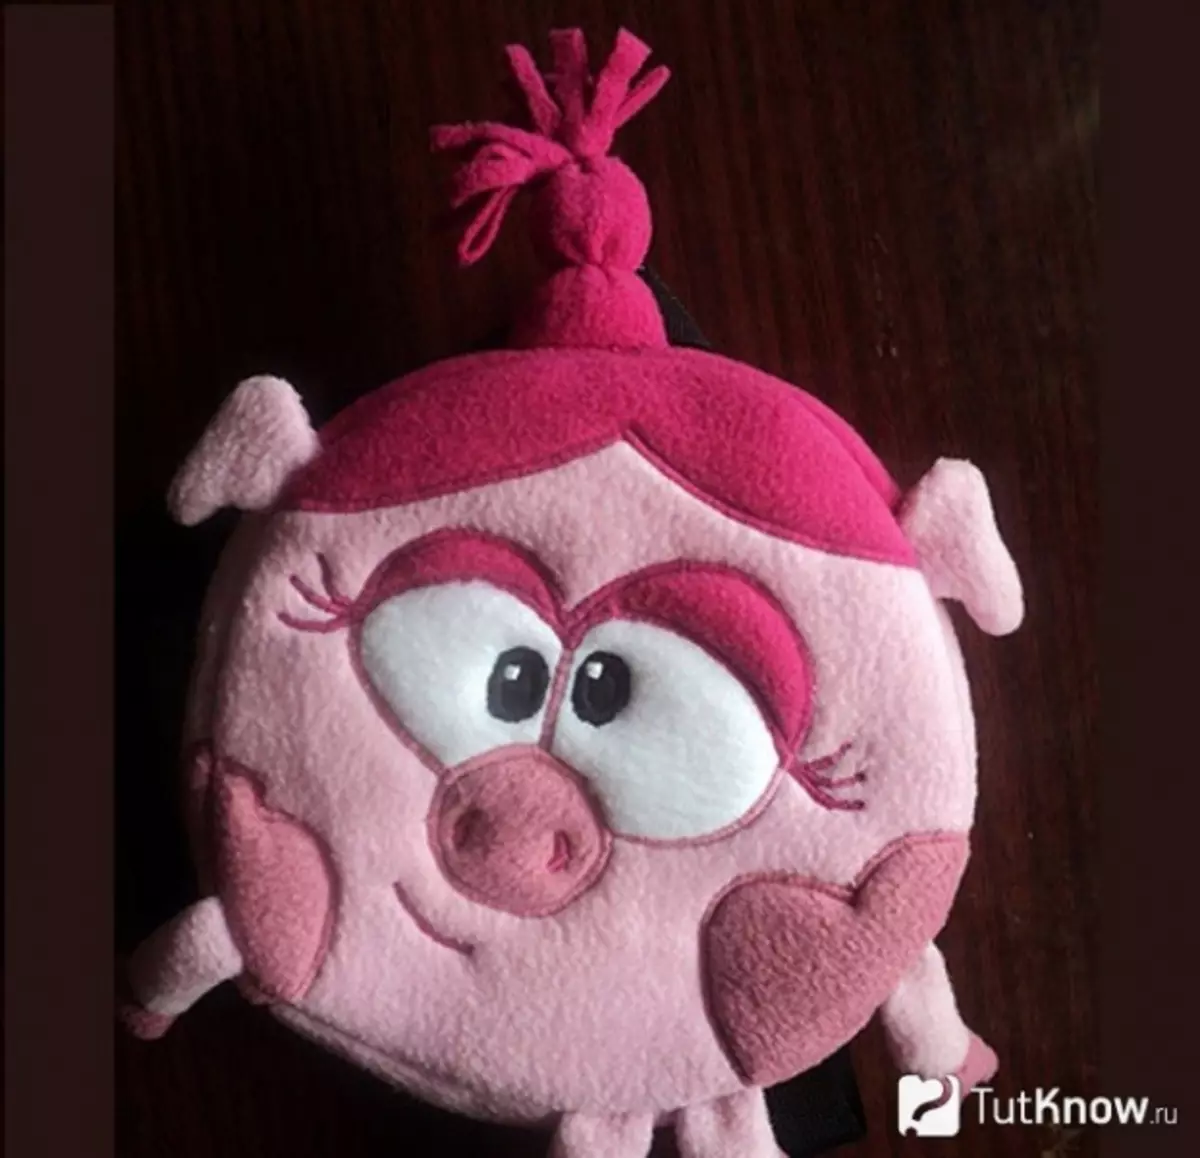
As we said, in the cartoon many favorite heroes. In this workshop, we took Nyusha as an example, it is a pink princess piggyback, a cheerful and mischievous girl.
For a boy, you can sew crumb or Copatych.
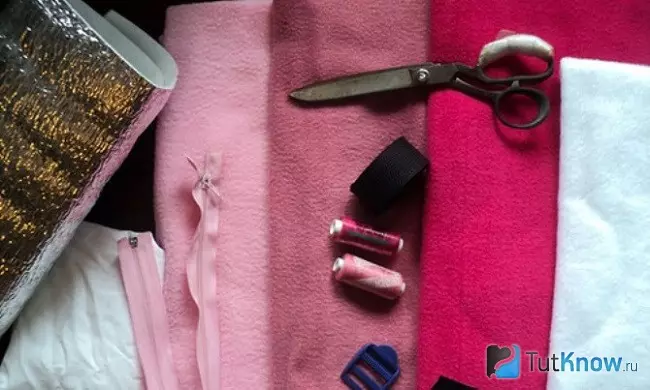
To work with backpacks, we will need:
- Fleece fabric: pink, red, light pink, white, black black;
- belt tape, meter 2;
- hawk;
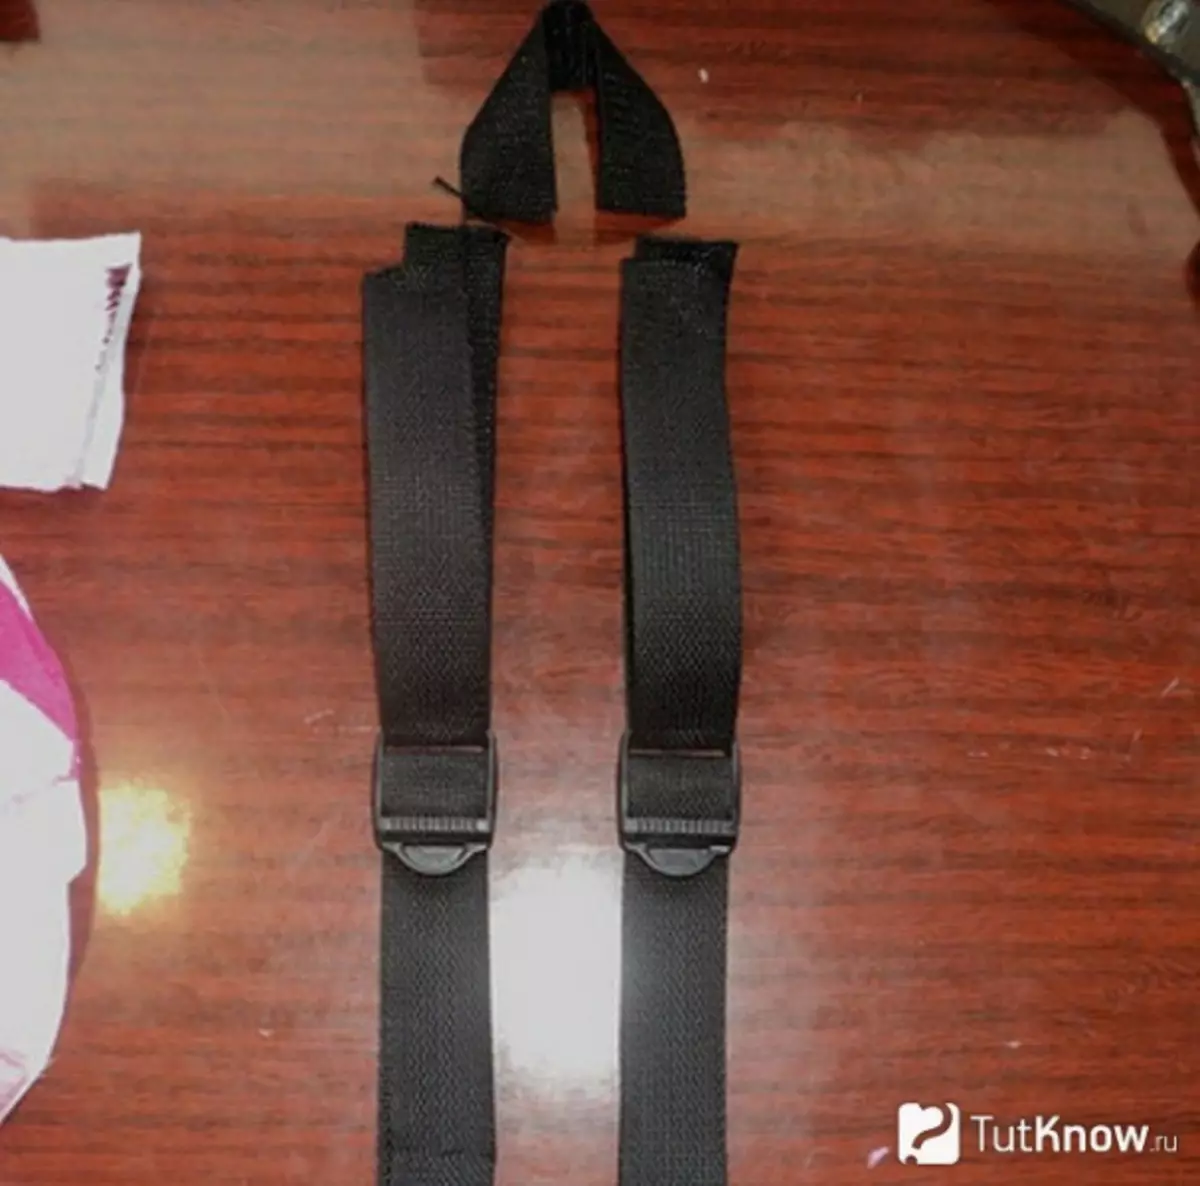
- Regulators for straps;
- Polyeneetylene;
- Hollofiber for filling;
- snake fastener;
- Threads, needle, scissors.
The construction store sells foamed polyethylene, in our case it is foolish.
It gives additional protection, things inside the backpack will not wet, if suddenly falls under the rain.
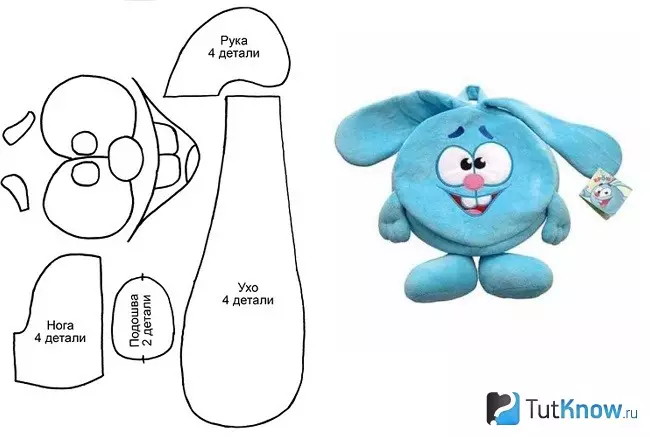
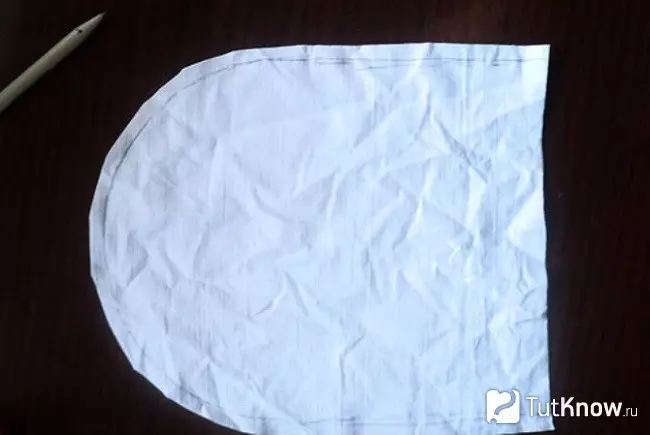
In the following image, the pattern of the face.
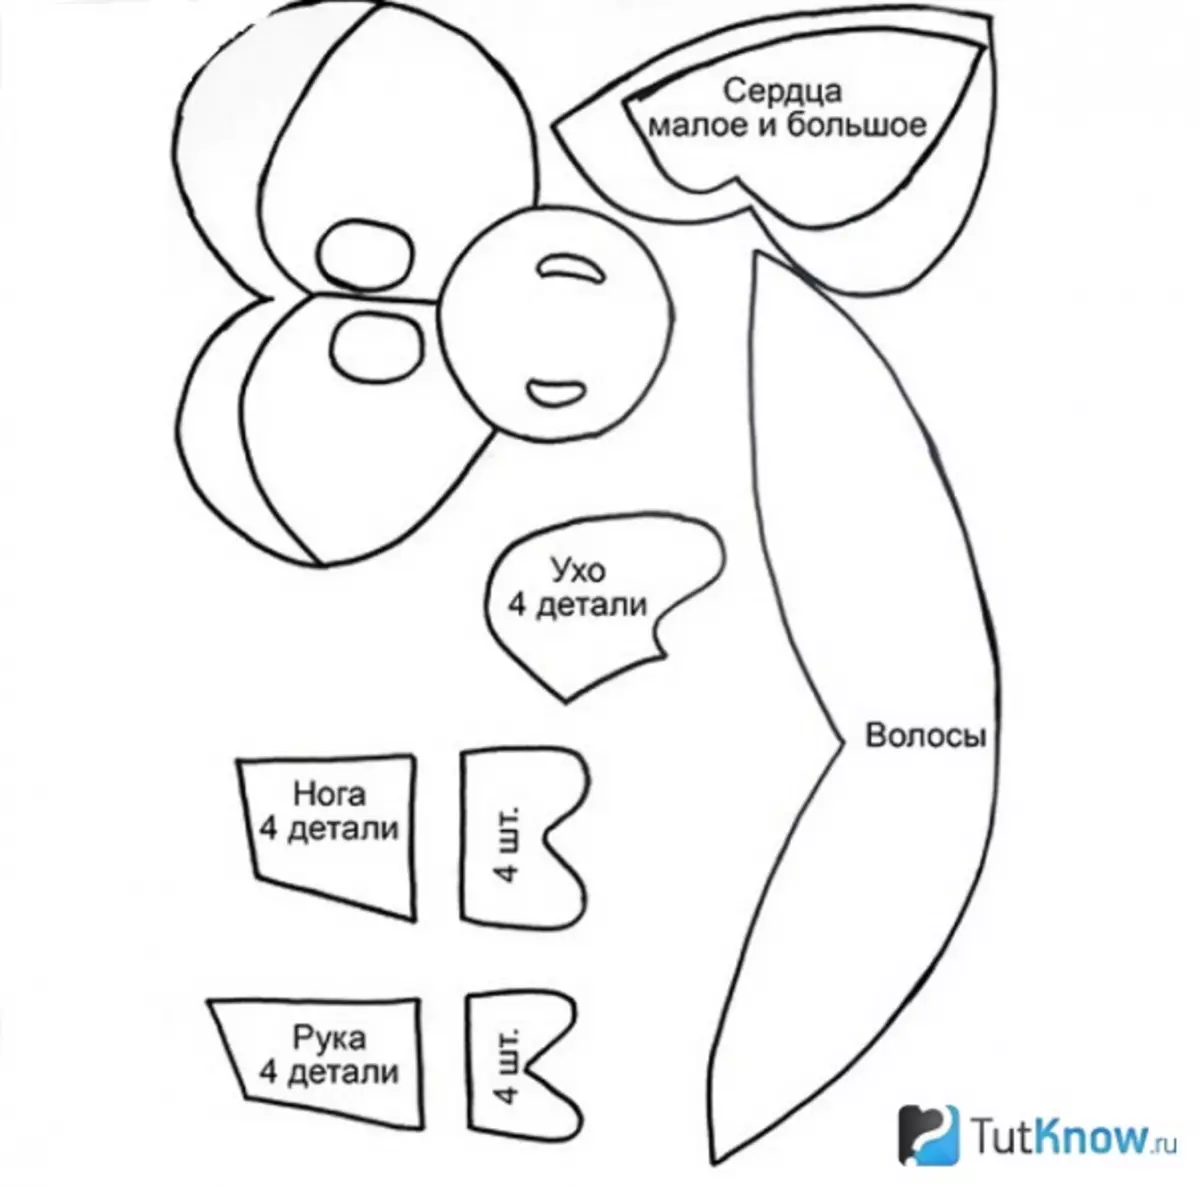
You can simply print this photo and cut, but if there is no such possibility, just attach a thin paper to the monitor screen and redraw.
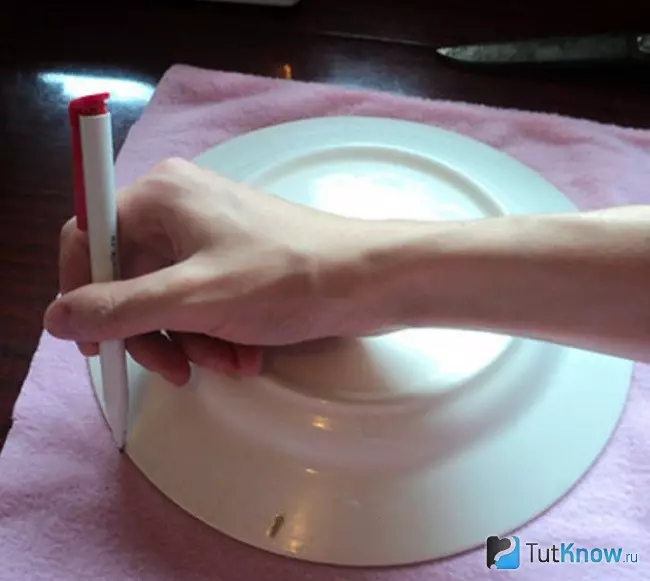
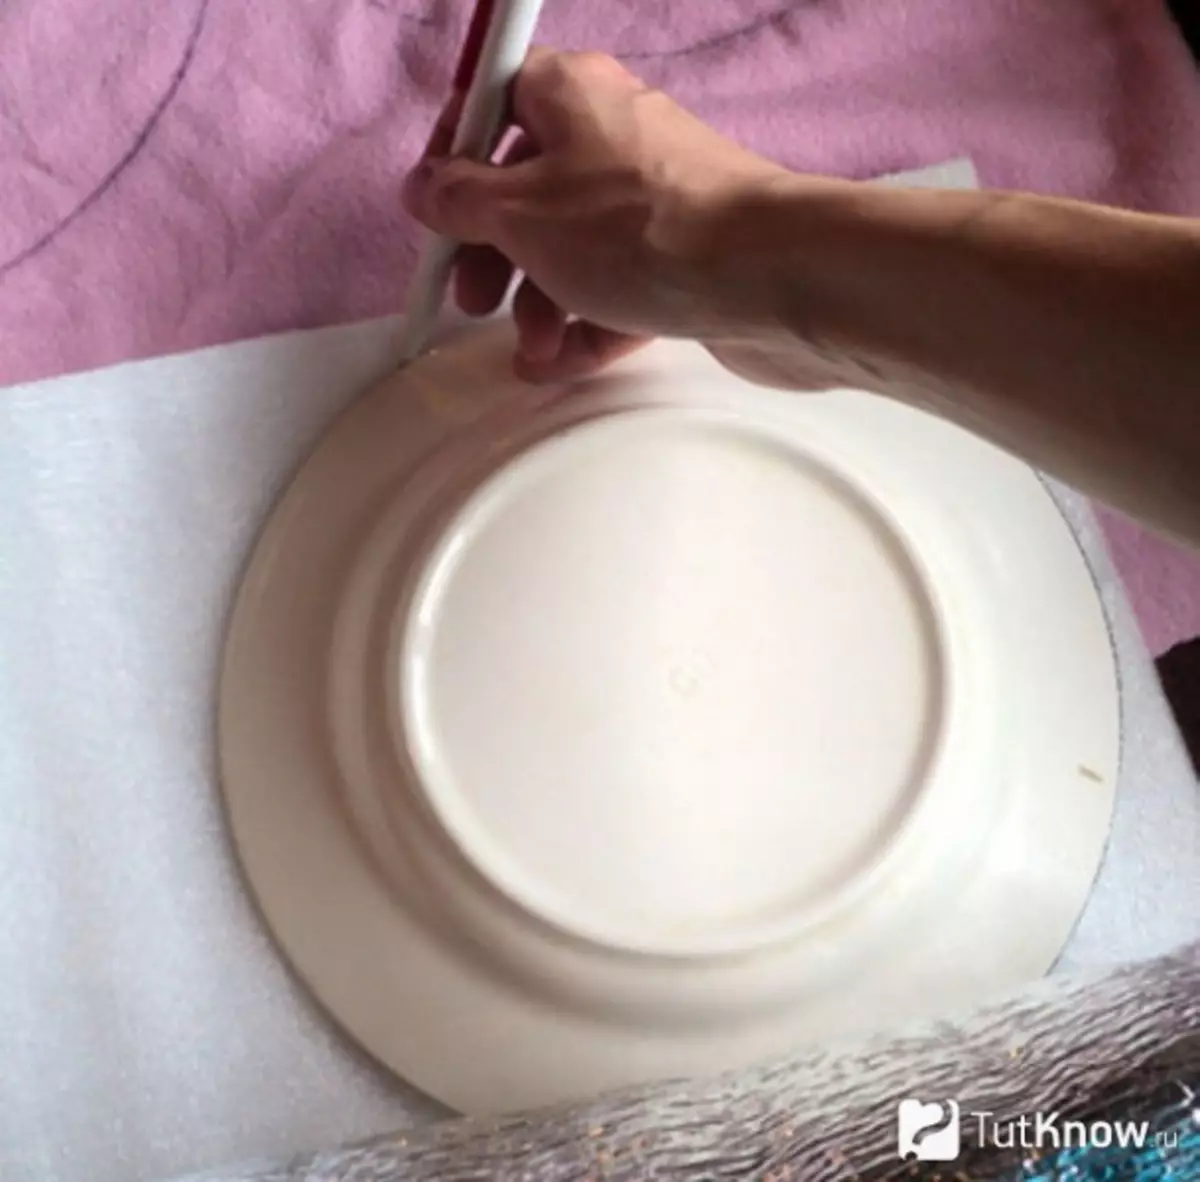
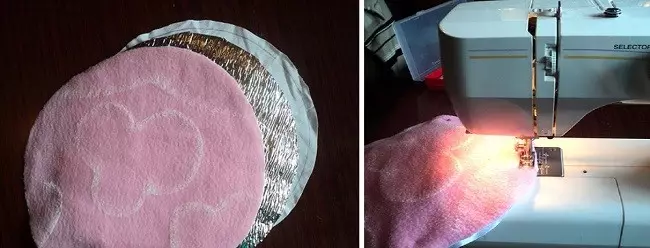
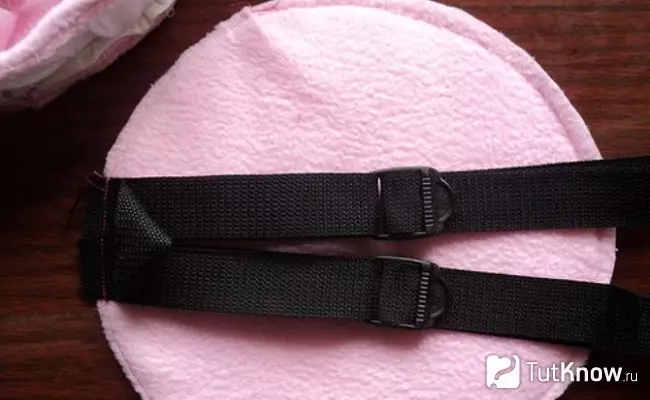
Next, we need to make the basis for a backpack. Cut two circles with a diameter of 25 cm. Use the circular to accurately. Or take a plate of approximate size and circle on the fabric folded in half. Then then cut out folded. Just do not forget to leave points on the seams.
In the same way, cut out the billet from foamed polyethylene. They should get the same size.
Article on the topic: Whale, Seal, Polar Bear and Penguin Crochet
And for the inner lining, we also do and cut out 2 circles from Bosi.
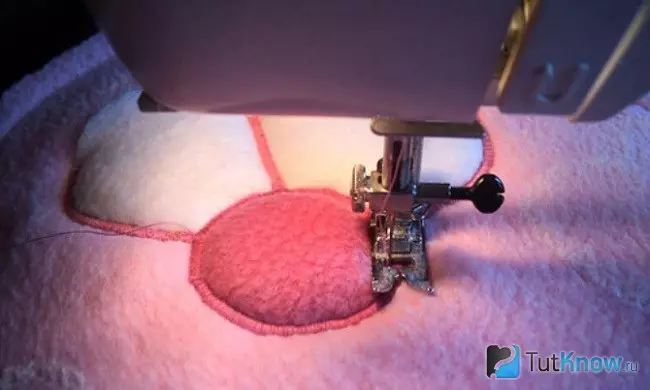
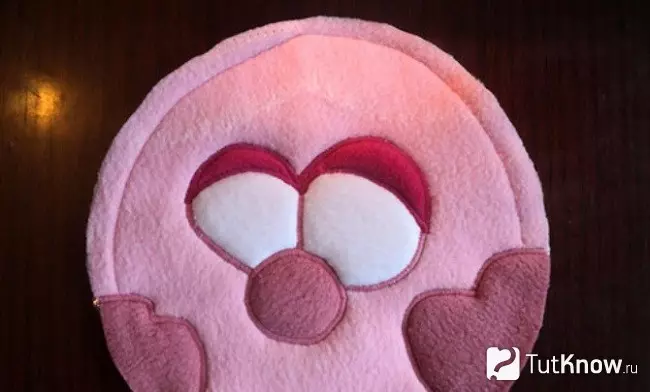
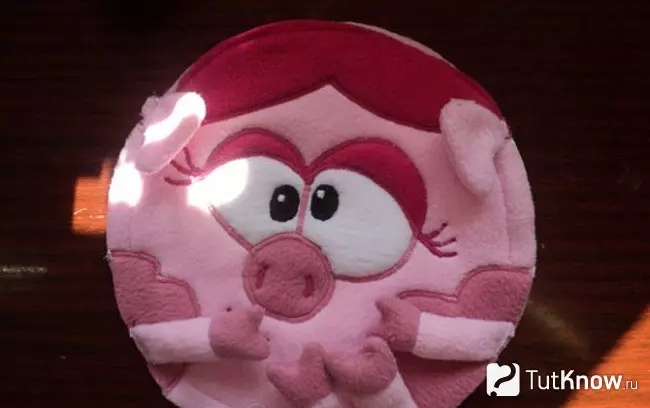
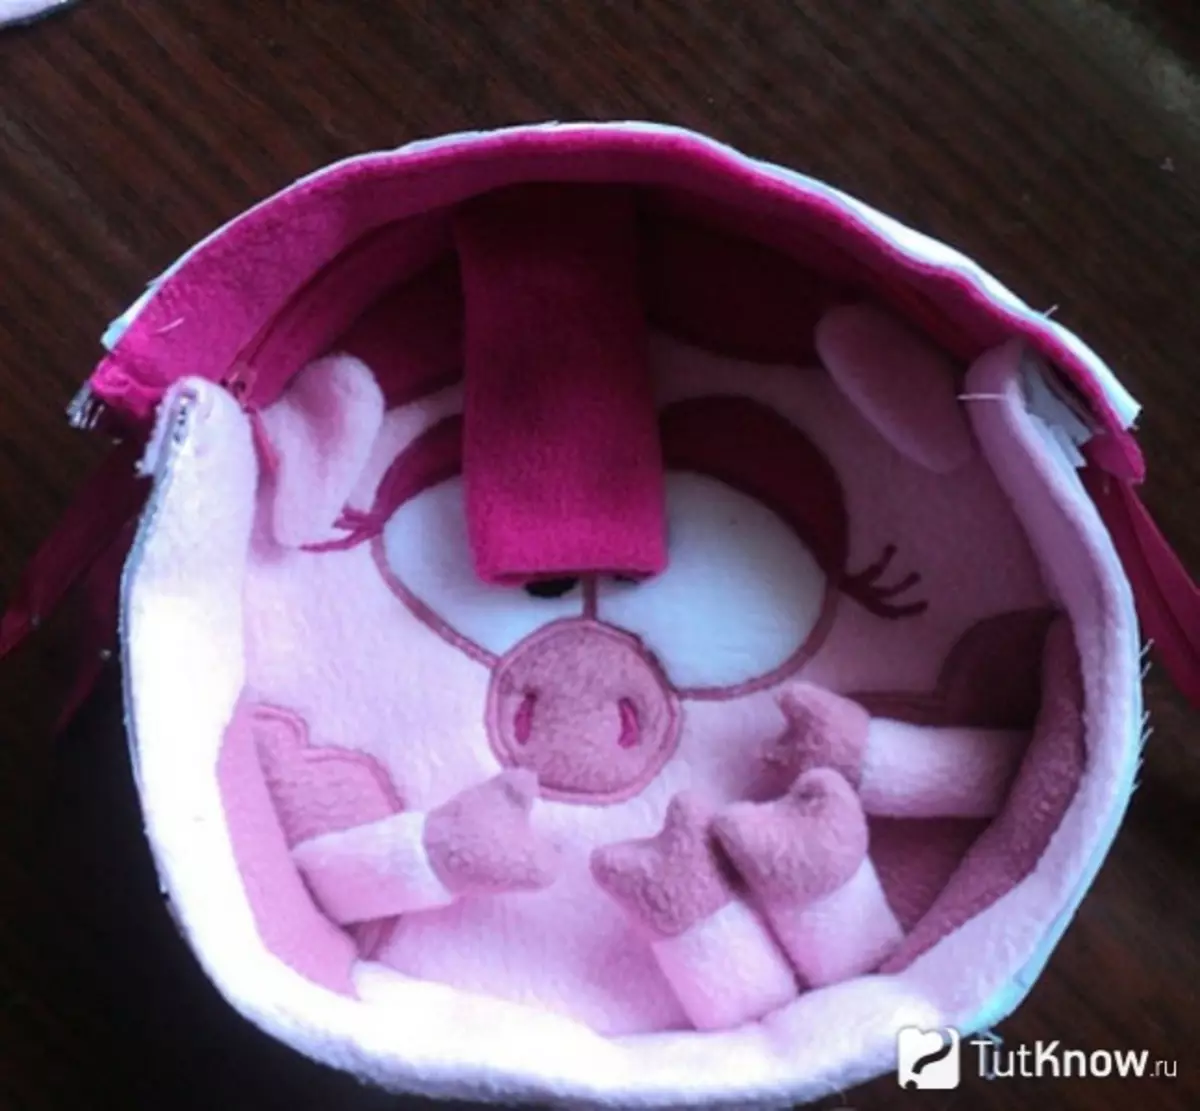
We form our muzzle, the allowance is no longer needed. Of the white fleece, cut your eyes, eyelids, nose.
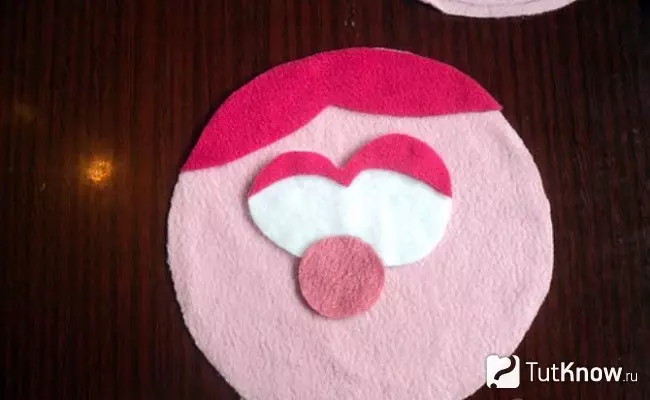
Add cheeks and pupils (black).
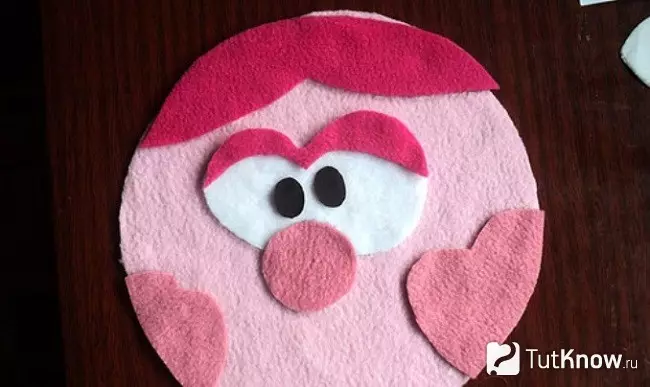
We fold all the parts alternately together and stitch, we shoot in a circle to only connect.
And sew the face:
Cheeks:
All items are sewn with a zigzag lines.
Such a seam will make cilia and mouth.
Now it is necessary to cut from each material of the strip of 25 * 2.5 cm.
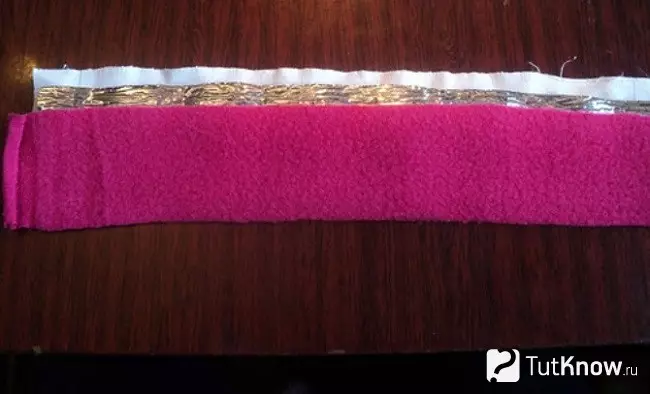
You will need two such details.
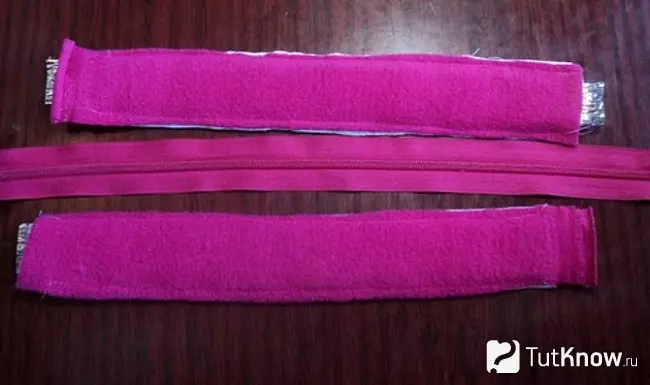
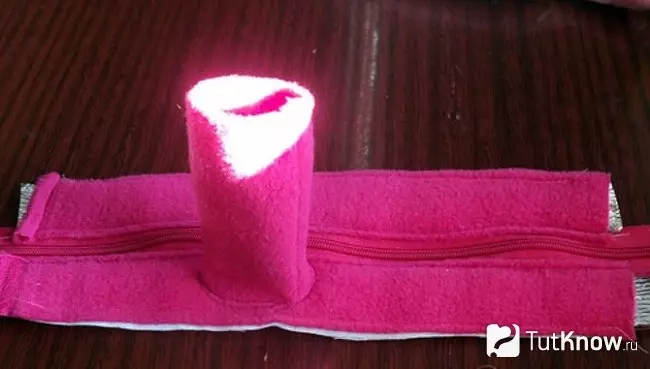
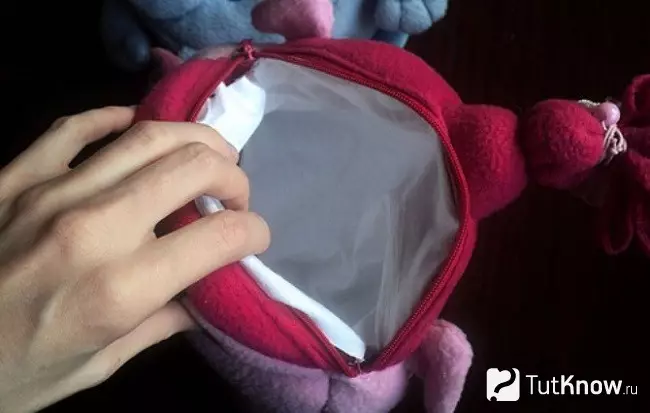
Protecting and sewing a zipper.
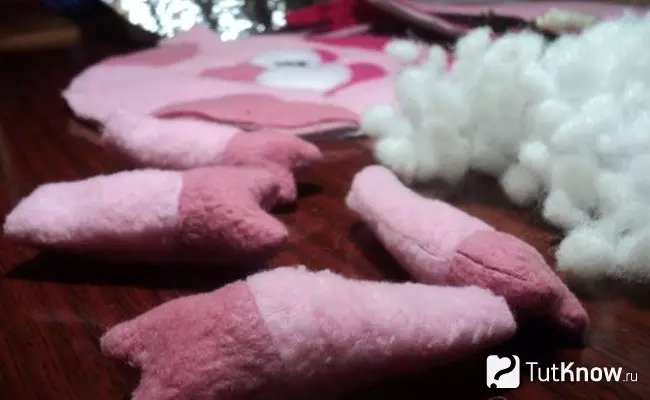
Cut from pink material hands, legs, ears. Each item cut out in pairs so that the filler can be added.
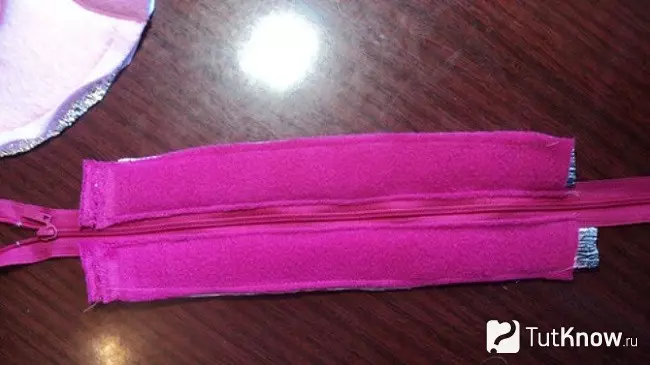
Cut the strip of dark pink color 20 * 13, we turn it in half and stitch to the parts with lightning.
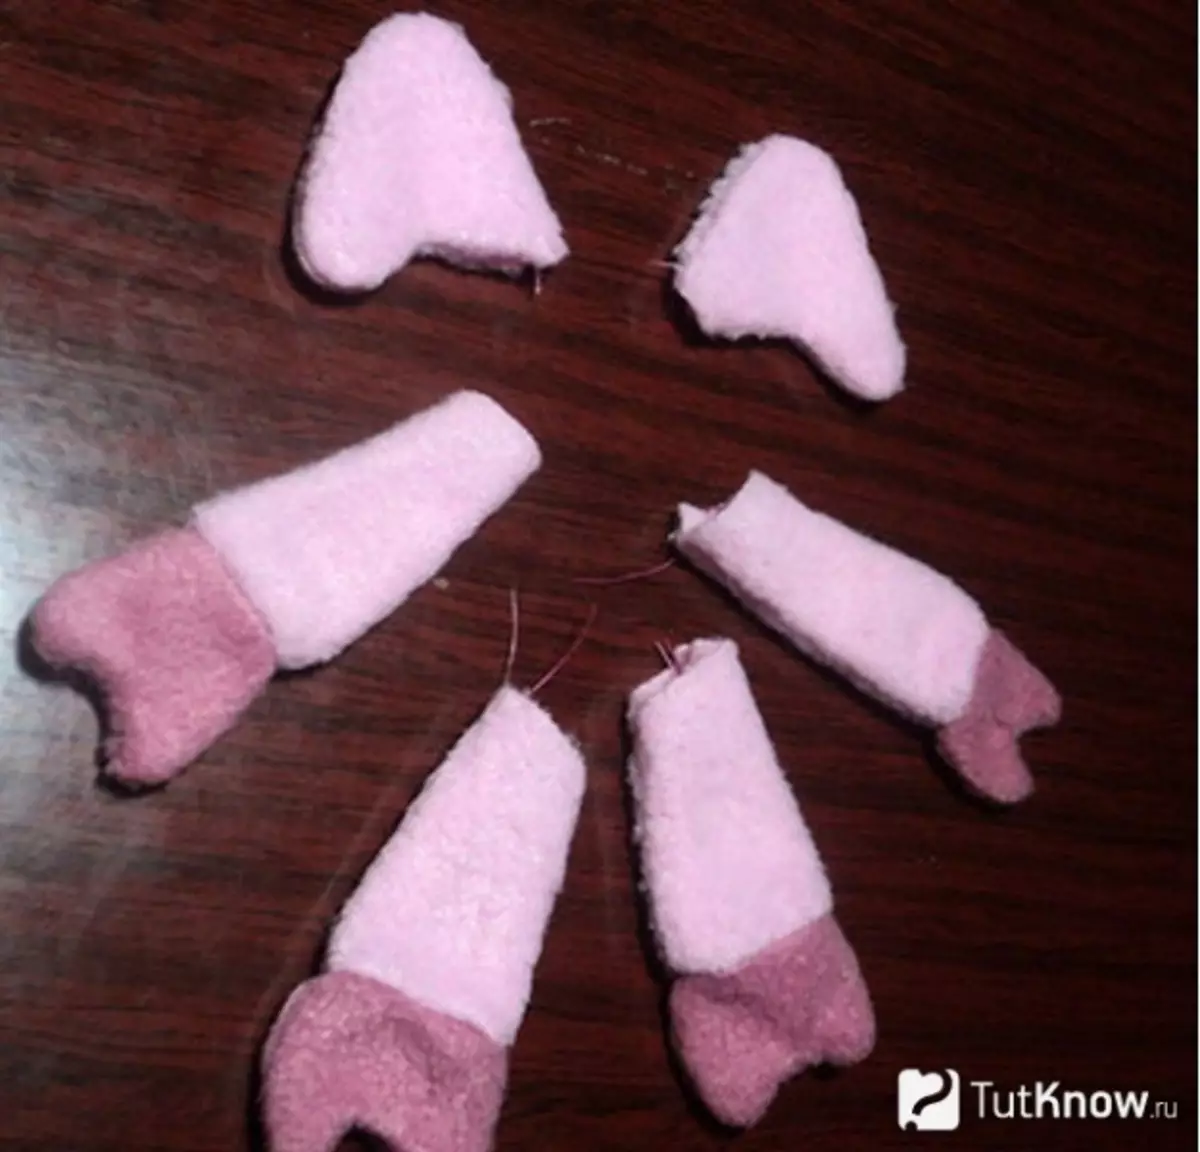
Now it is necessary to sew all small details: ears, paws.
Cut off the ribbon of a certain length, install the regulators, and the cut edges we fall with fire, so as not to be unwound. The edges we add and spend the typewriter.
Ready details:
And begin to sew everything.
Separately to the second part sew straps.
We deploy the product to the wrongness and also flash all the details so that they connect to each other.
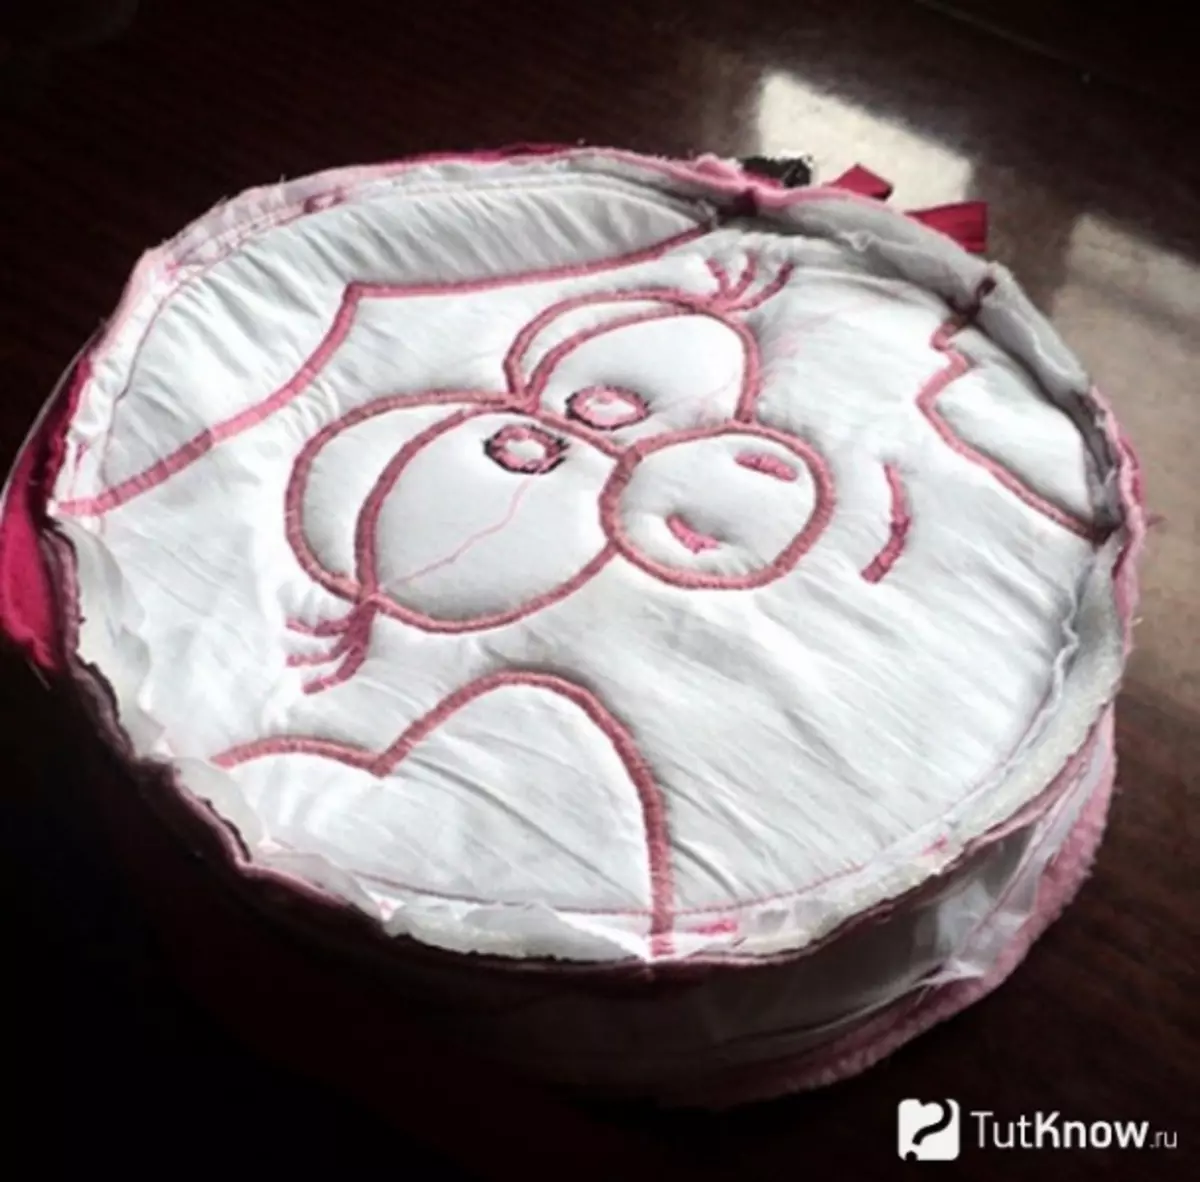
Turn the backpack.
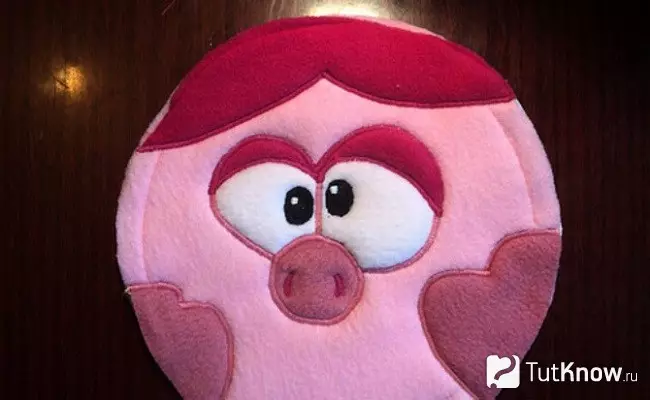
And sew our pigtail.
Start a lining. We fold the cloth in half and form crescents.
And sew inside.
That's ready our backpack for a little princess.
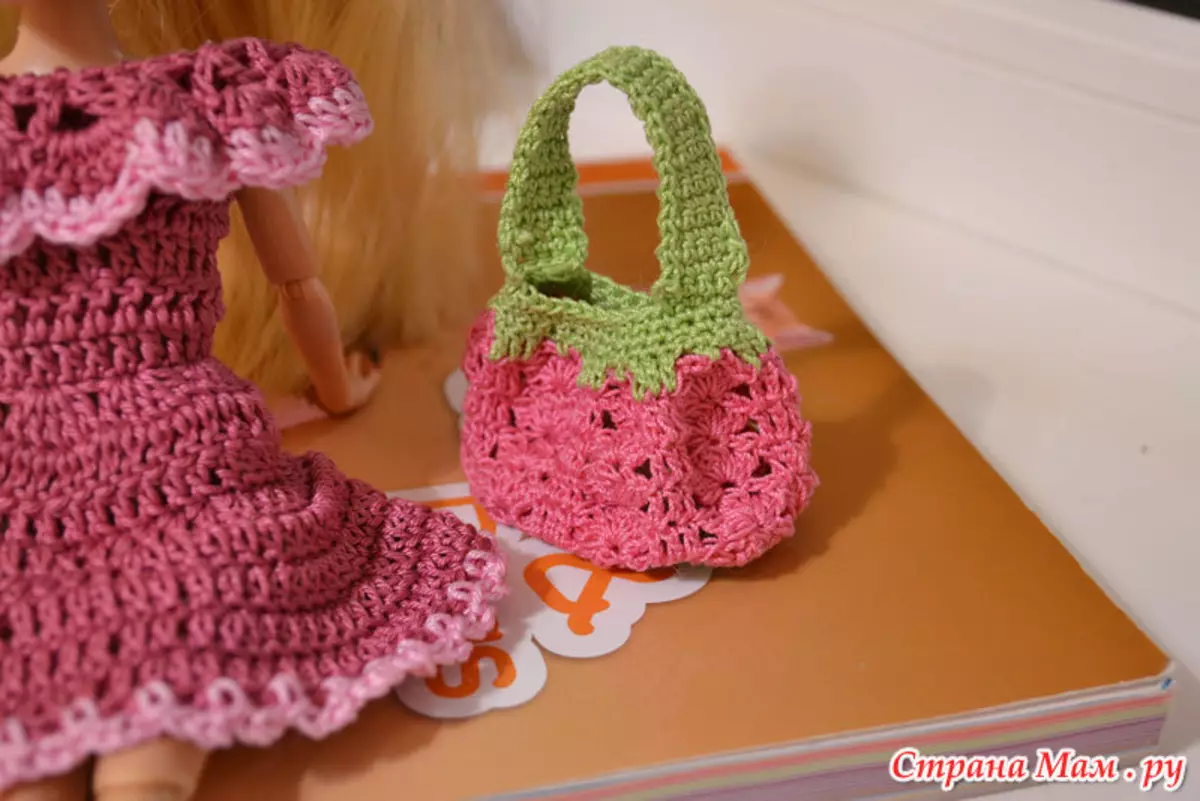
You can separately tie a handbag and supplement the image of our nose.
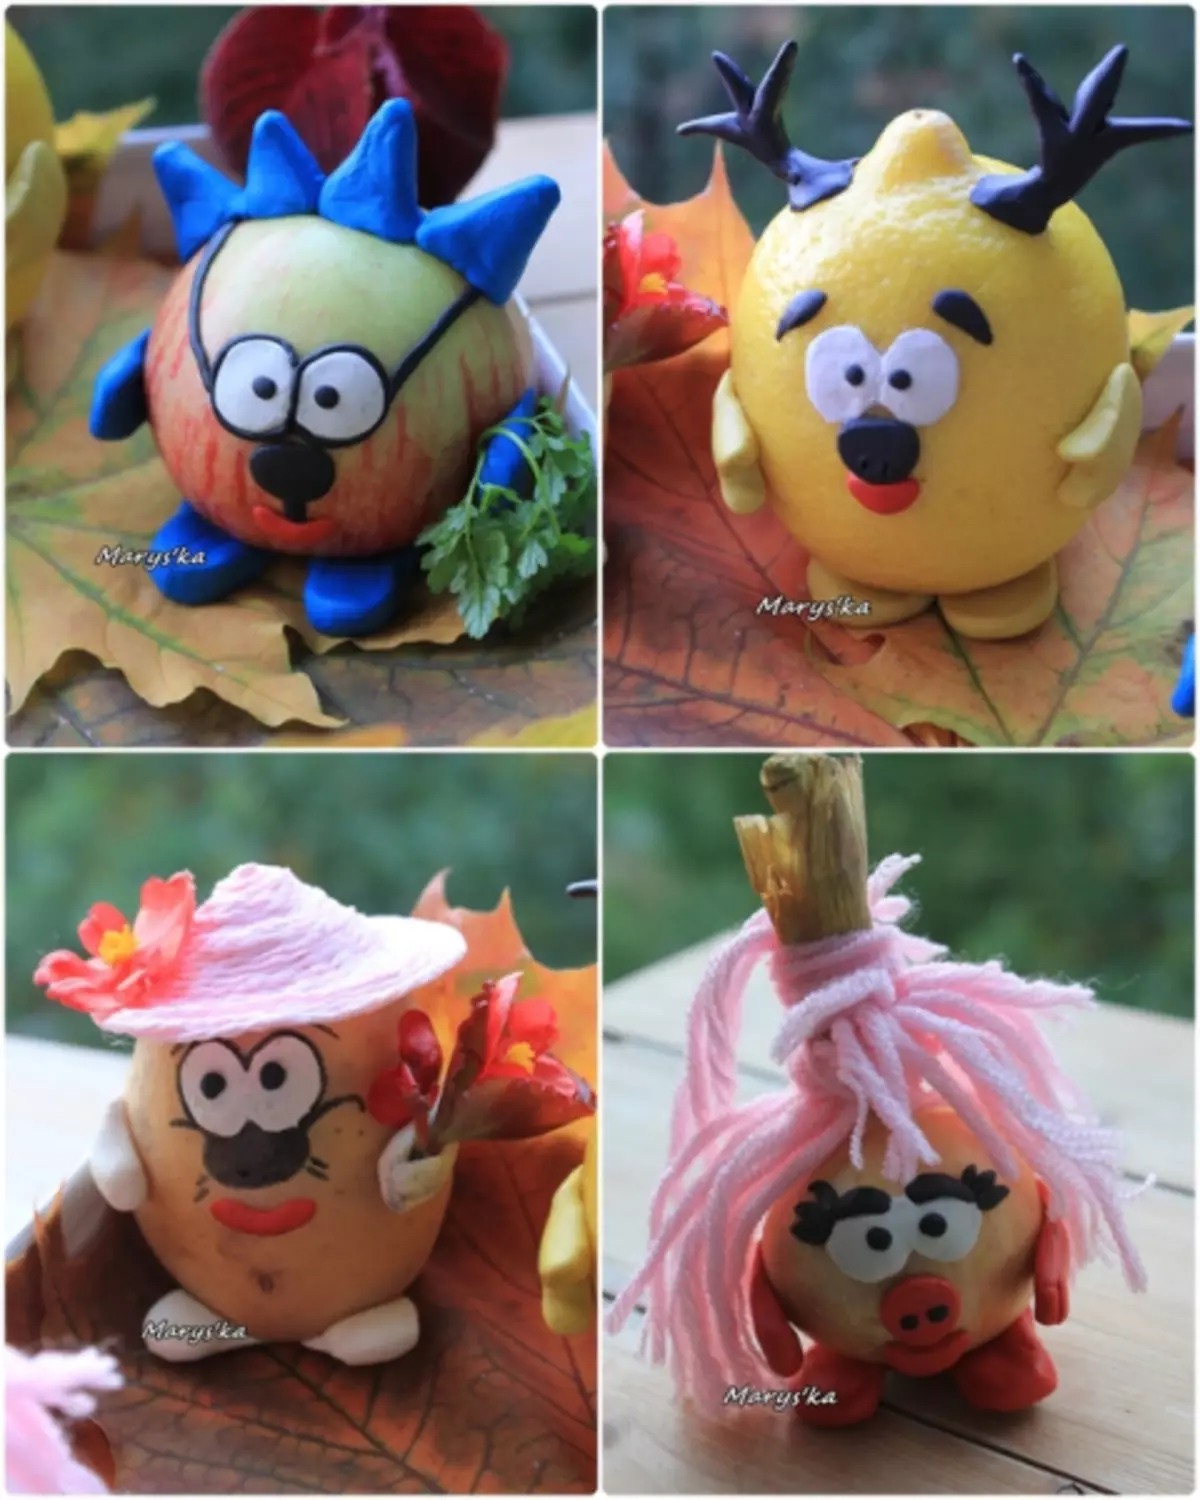
Organic Smeshariki
Together with the baby, you can perform a simple and interesting handicraft, which will decorate the school fair and will be made of natural materials.
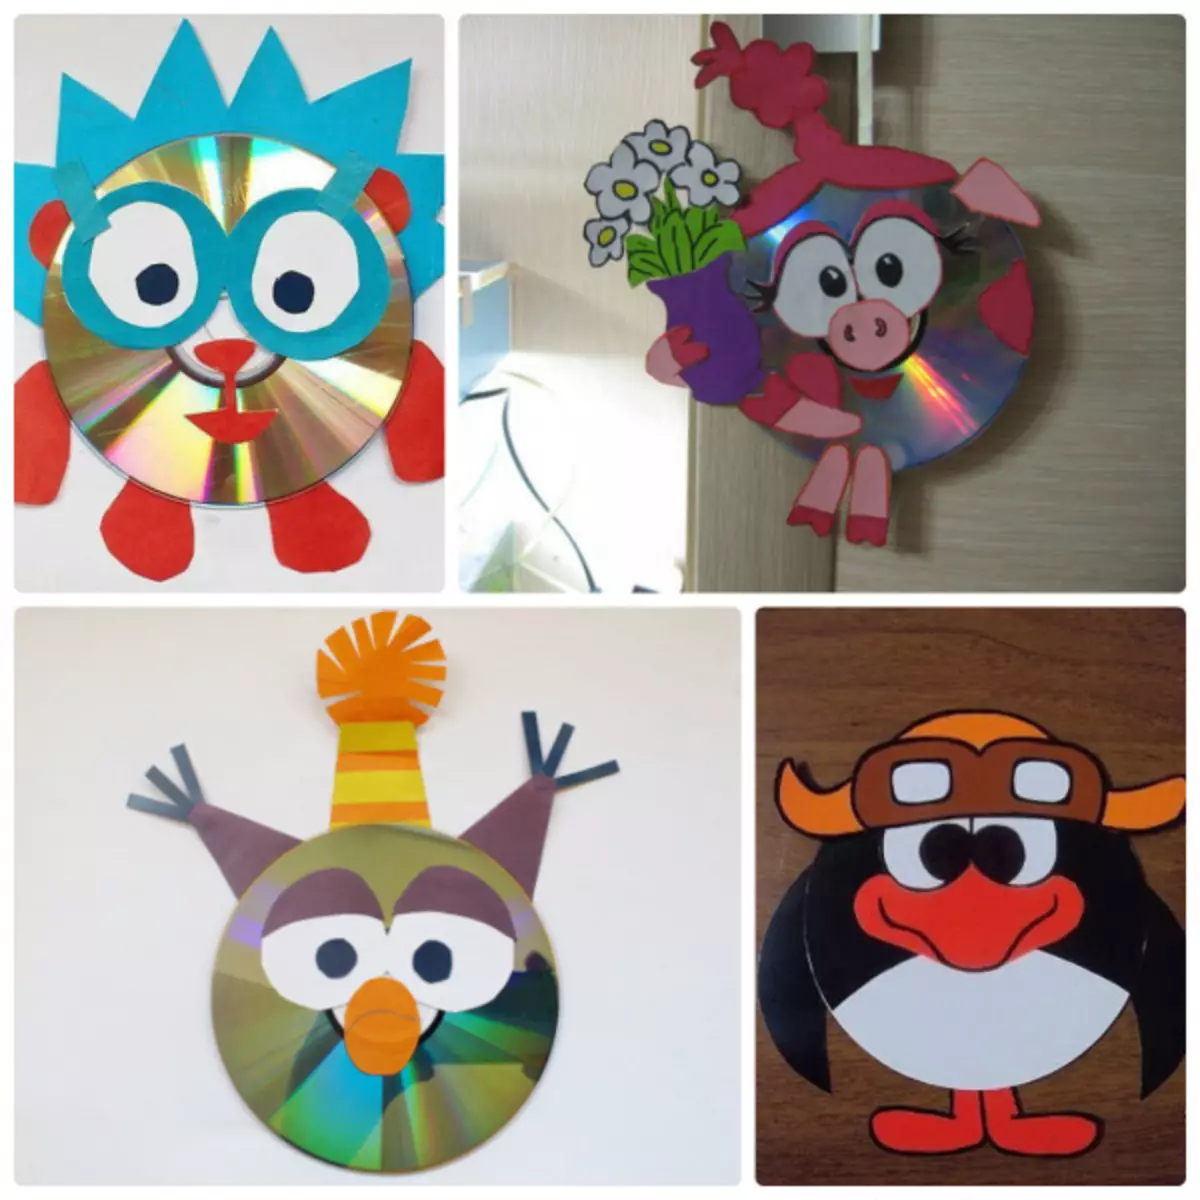
This composition can be added by crafts from CDs.
With a backpack made by my mother's hands, the baby will be with great pleasure to go for a walk and admire such a gift.
And joint crafts will help you get closer and do something in common.
Article on the topic: Layout of the solar system with his own hands for school: Master class with photo
Video on the topic
A selection of video for a more detailed lesson.