
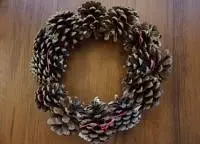
The decoration of the house for the new year is always an exciting, especially if you are trying for his execution with your own hands. But there is nothing to fear! After all, you can make a lot of different New Year's decors! We offer you a master class on a vase from the cones, which will perfectly fit out not only in the New Year's interior of the apartment, but will also become an indispensable subject of the summer country house. And in general, the bumps look perfectly at any time of the year.

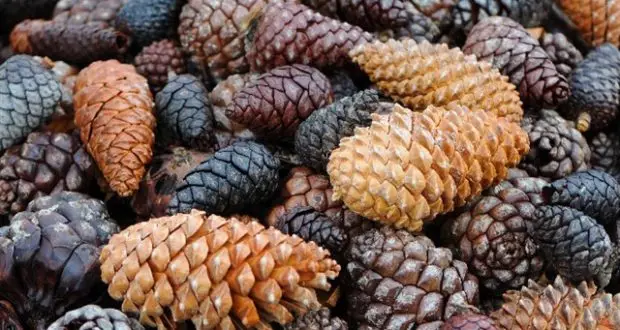
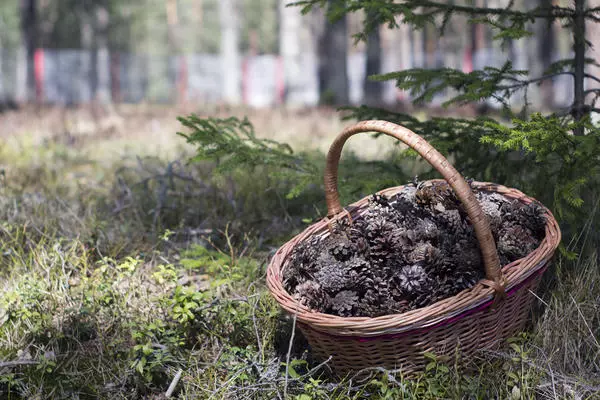
Make such a vase is quite simple, the main thing is to have patience and include your fantasy at full capacity. And, of course, prepare a sufficient number of cones. You can connect your children to this lesson, they will probably enjoy how to collect bumps in the forest or park, and glue them into a single composition.
Rules of preparation of cones
Often, the fallen bumps are closed, and by the time the work began over the cradle, changing their appearance. It can spoil the handicraft, because you will count on a certain size and state of cones, and these parameters will change, thereby changing the idea of the craft itself.
There are several tips how to avoid unwanted changes.
- In order to leave the bumps closed, as when you collected them, they need to immediately add home to the container with joinery glue no more than 30 seconds. So they will not reveal, and the glue will give the brilliance cones.
- So that the bumps revealed faster, you can cook about half an hour, and then dry on the battery or send to the oven, warmed up to 250 degrees for a couple of hours.
- Be sure to handle the cones from small insects. Here, too, will come to the aid of the oven - place the bumps on the baking sheet, pre-wash and rub with a paper towel. Put a baking sheet with bumps into the oven for a couple of hours.
- To make the shape of a cone, what you need, you can put a bump in the water for 10 minutes, and then, tightly by tapping it with a rubber band or thread, dried.
Article on the topic: Support for knife with hands from a tree with a photo
Create beauty
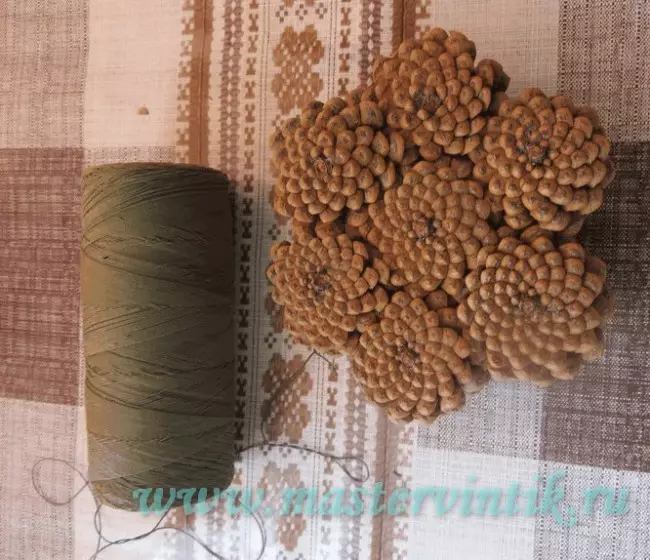
Materials that will be useful to you to create a pretty cones vase:
- Very many cones (their size depends on your desire, if the vase is large, it is desirable to collect more than 200 cones. For small vases, less than 50-100 pieces are suitable;
- Thin brown wire;
- Thermo glue.
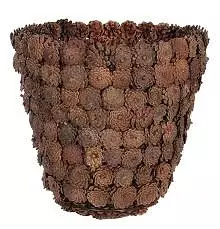
The easiest way to make a vase from cones is to connect them in a circle, sticking together to each other. Each conex additionally envelop the wire, connecting it the following.
We connect step by step until the diameter needs the circle. When the first circle is the base of the vase - is ready, the bumps must once again be copper for greater reliability with the wire, this time ghits the whole circle.
In this way, we collect several circles, depending on how high your vase will be.
Each subsequent ring should either decrease in diameter, or increase, again, depending on your idea - whether it will be a vase with a narrow neck or expanding up.
Having gathered all the rings from the cones separately, with the help of thermo-glue they need to be connected to each other. The bottom, the first circle you did, also glue the walls. Vase ready! In this way, you can make a dish for fruits, bread or candies. It can be covered with waterproof varnish.
Support for flowers
To work, we will need:
- cones;
- thin wire;
- plastic bottle;
- varnish.
The bottom of the vase is starting to make, tying the bumps with wire. First, you wind one bump, central, then we glue it to it and also wrap the wire for six more cones.
The second row is screwed to the same wire, not forgetting for strength to fasten the cones among themselves with thermo glue, we attach them at a small angle to the bottom, forming the walls of the vase, as in the photo.
Article on the topic: lampshade hook
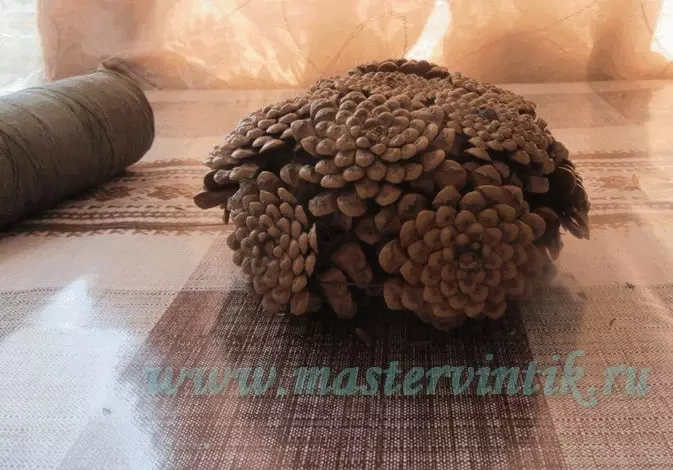
The third and subsequent rows of weaves and glue already perpendicular to the bottom, lifting the walls of the vase up to the height you want to see the vase.
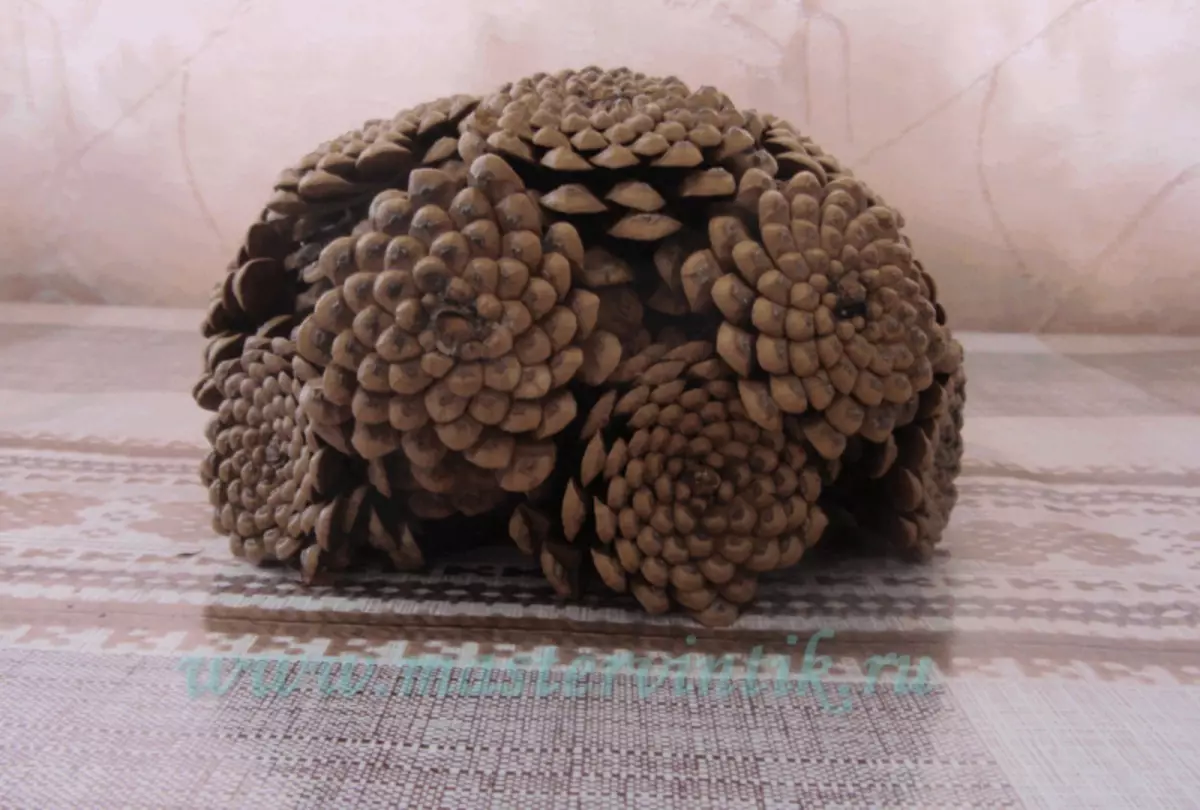
If you want to give a vase shape of the ball, then, starting with 5 or 6 rows, tighten the wire and add additional cones. For the very last row, it will be better to choose small bumps and pull them as hard as possible wire.
Inside the finished vase, we put a cropped water bottle, and put a beautiful bouquet into the water! Vase ready!
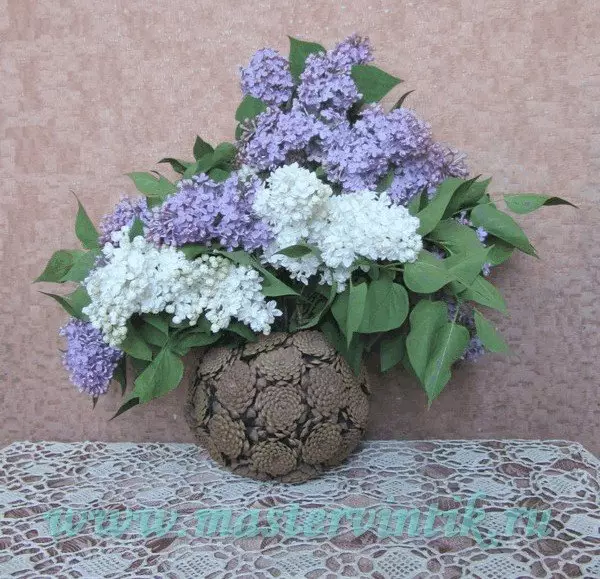
Of course, if you do not put an extra container with water in a creek vase, alive flowers will be delivered to it problematic. But for dried flowers or decorative plants, such vases are suitable perfectly.
In addition, if you have a tin can or an unnecessary high container, which can cope with the role of a vase or basket, it is not necessary to throw it away, you can give it an interesting look using the thermo-glue and cones to it: Put the bank with cones from the outside, add it with ribbons or twine, and the original vase is ready!
Video on the topic
Look at some video master classes to make sure that there are very simple vases from the cones, as well as some tips on the use of cones.