
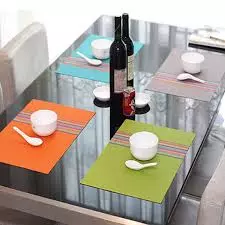
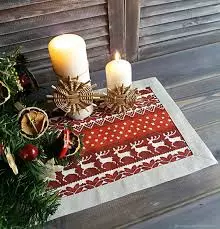
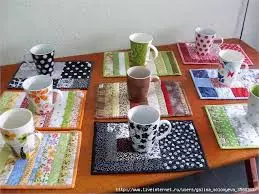
The napkin on the table under the hottest is a very useful thing that is also just done with your own hands in one hour. For more complex options, you will need several hours. It will be possible to use it not only for hot dishes, but also under the mugs or as an object of decor. How to create a useful object for the kitchen, you will see in this article.
Step by step
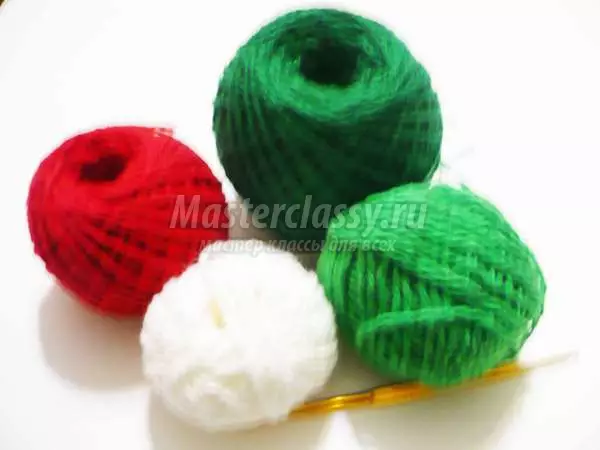
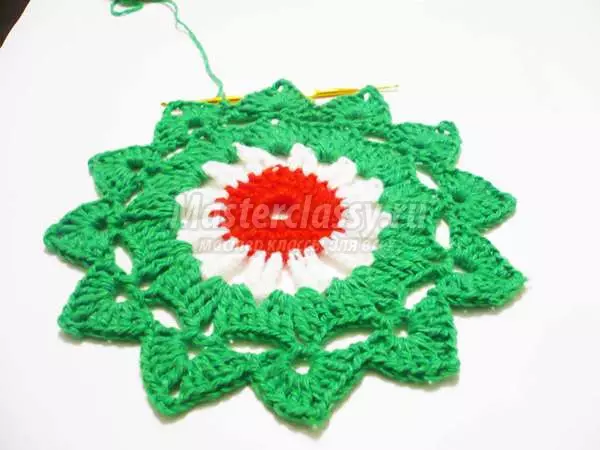
The first step we suggest creating an unusually beautiful crochet napkin, which you can decorate the New Year's table. It can be done in one-year, and it is possible and a tricolor.
The diameter of the napkin is twenty one cm, and the size depends on the thickness of the thread. To work you will need yarn (one or three colors), hook.
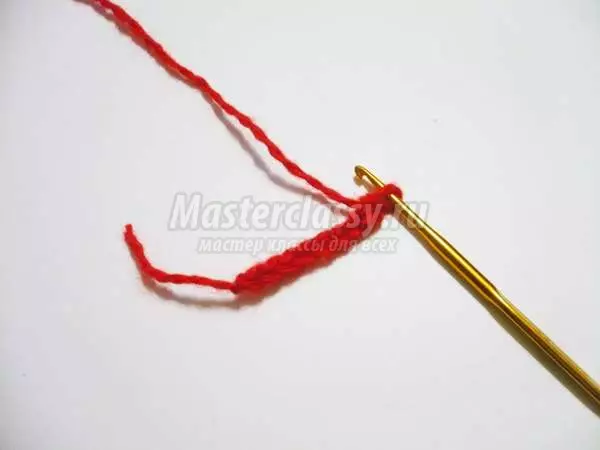
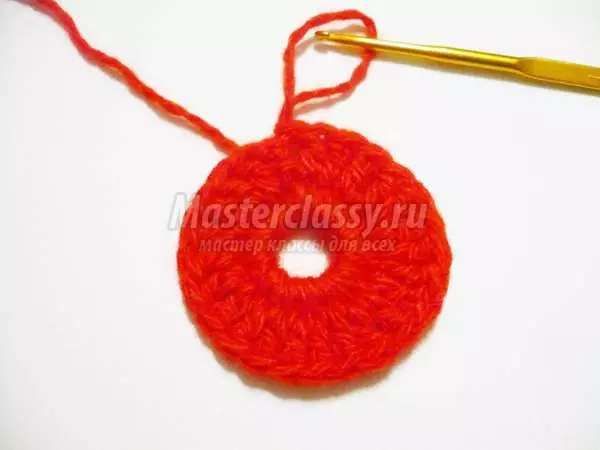
Slip the chain of eight air loops.
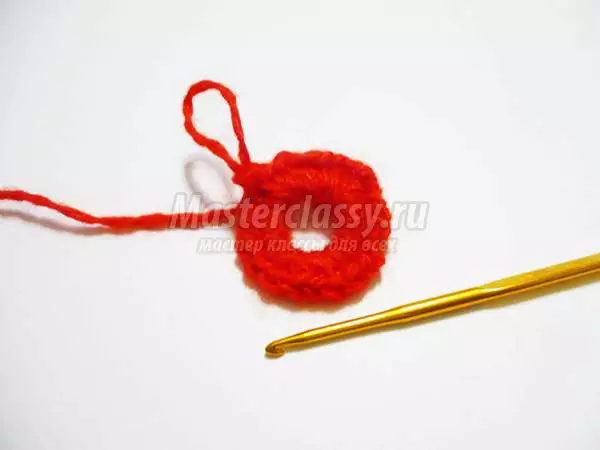
The connecting loop closes the chain into the ring, make a lift loop and insert twenty-three columns without a nakid, connect to the ring. The free end of the thread is involved in the canvas.
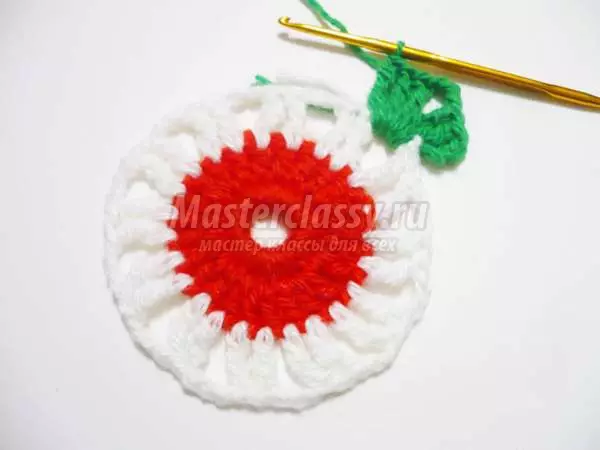
Three lifting loops, and then tie into each loop of the previous row of a column with Nakud. A row closes the connective loop. Change the color of the thread.
We attach white thread, it is possible and not to change the color, then insert four lifting loops. We make a column with two casuals, then three air loops. Up to the end of the row, work with the following scheme: two columns with two embesows, three VP.
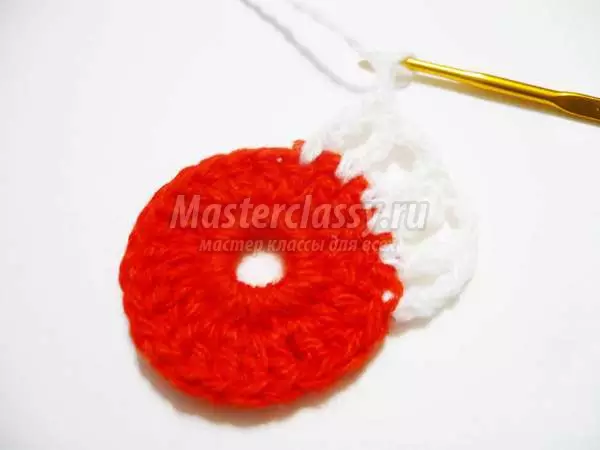
Until the end of the row, we repeat the rapport, and the column with nakidami is tied to each loop of the past row.
Then we attach the thread of the new color and begin to knit the fourth row. Enter threads are necessary in the arch, which is made of three air loops.
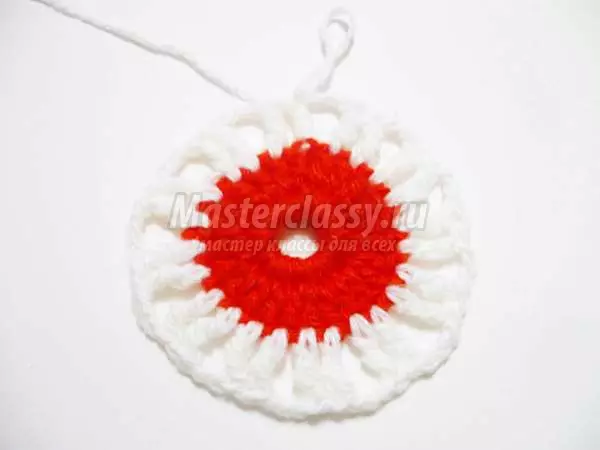
We make four lifting loops that are fixed for the first column with two Nakida, and then we make two columns with two casuals, three air loops and a couple of columns. It is worth considering the fact that gradually we must associate the remaining ends of the thread.
Article on the topic: how to make a stencil from a photo
The previous scheme is repeated and with the next arch.
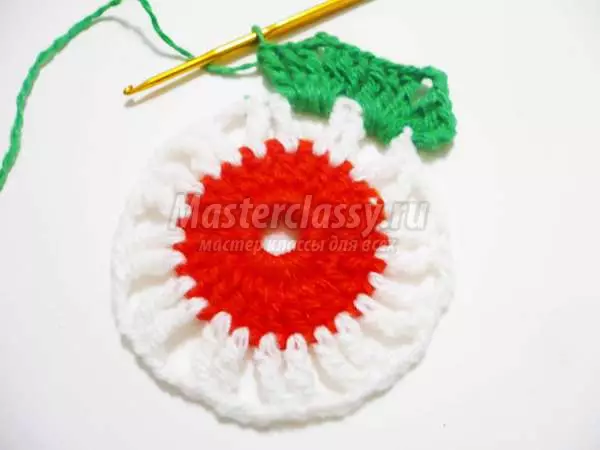
It is this scheme that they prove until the end of the fourth row, the connecting loop of it closer.
We proceed to the process of knitting the fifth row. To do this, tie two connecting columns and go to the arch from the VP.
In it, check the lifting loop, five air loops, which are attached to this frame with a column without a nakid, again five VP and IF, but fix on the next frame. Slip five air loops that fix in this frame. And go to the next arch with the help of five VP.
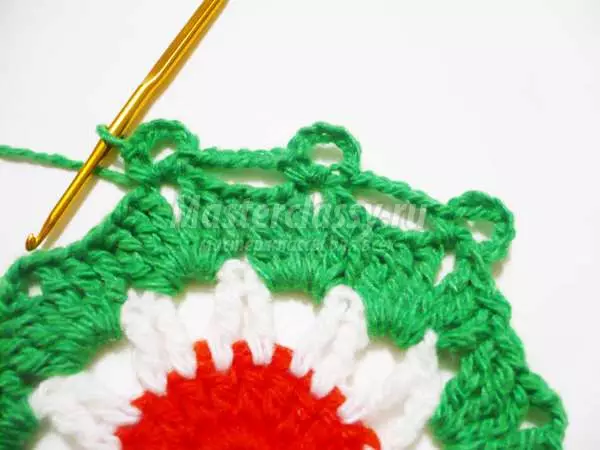
We continue to knit the whole range according to this scheme.
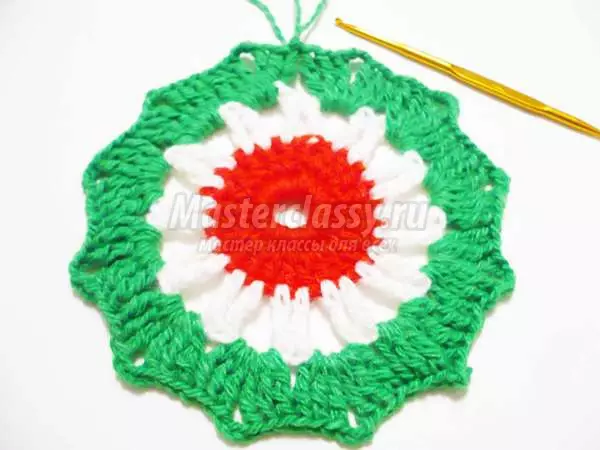
In the sixth row, we make three lifting loops in the first arch, then four columns with Nakid, three air loops, and in this frame five columns with Nakud.
And in the next, we make one column without Nakid and go to the third arch, in which we work in the same way as in the first.
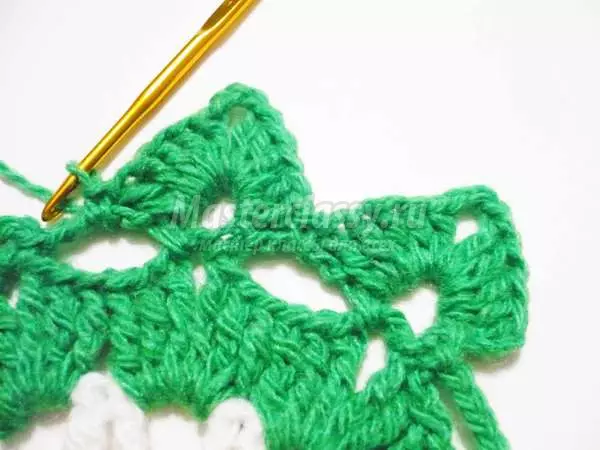
Until the end of a row alternate steam and unpaired arches.
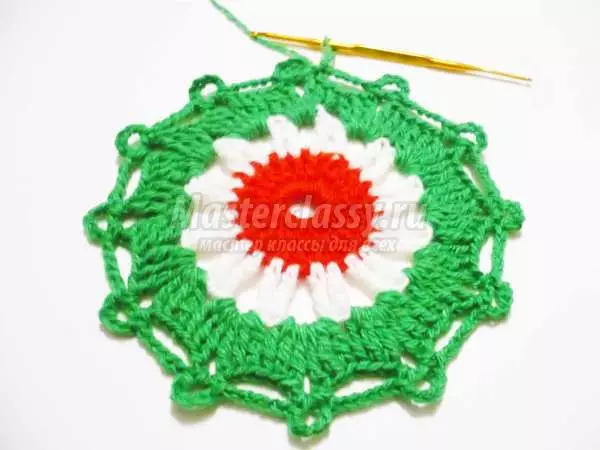
The sixth row ends with the help of a column without Nakida in the last arc and a connecting loop in the third lifting loop.

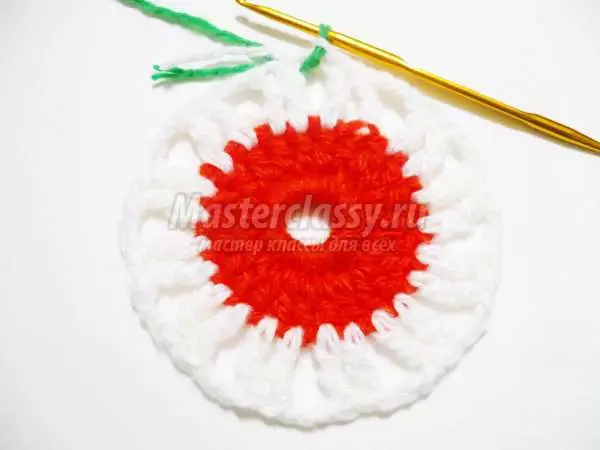
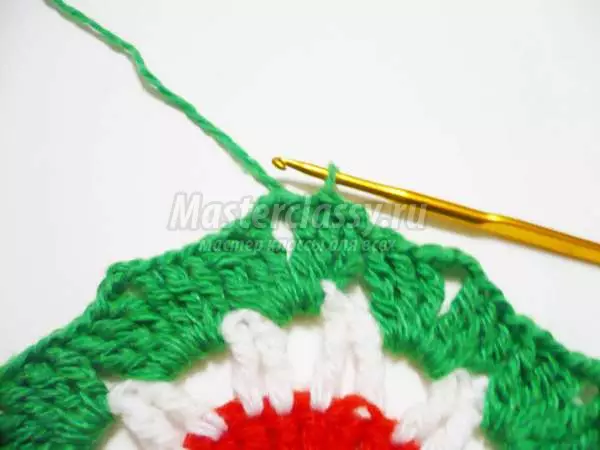
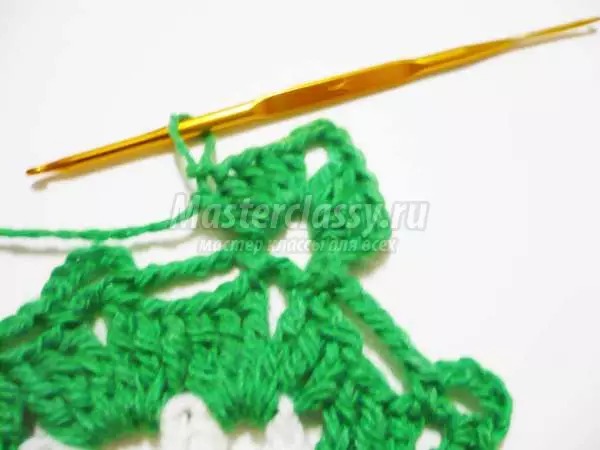
At this stage, cut a thread and hiding it on the wrong side. This can be done using a needle or thin hook. Gently hide all the tails, because the front side should look like the wrong side.
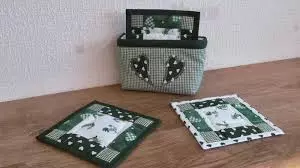
Slightly move away through the wet cloth a New Year's napkin, and the stand under the hottest on the festive table is ready.

We work with the needles
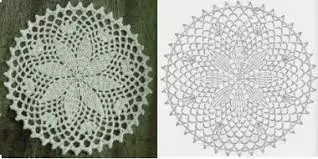
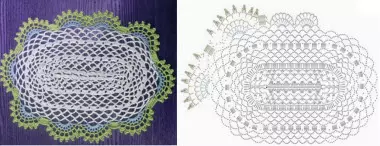
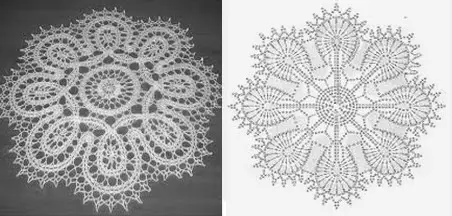
You can also connect a napkin-stand under hot, and with the help of the spoke, and you can make sure that you can, looking at the schemes, which are shown in the following photos.
Making a fabric stand
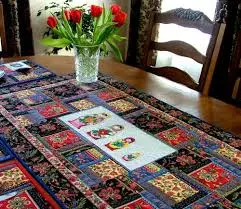
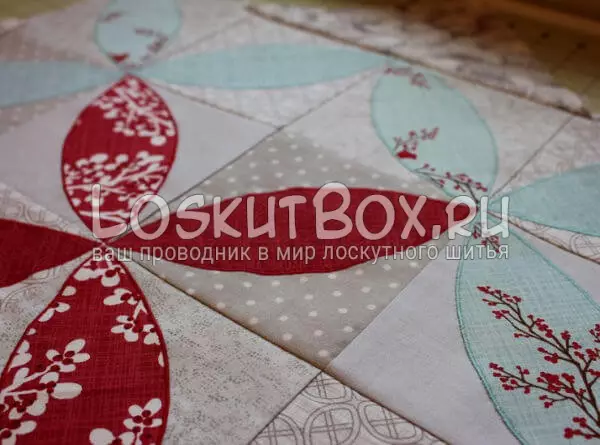
It is possible to make a napkin-stand under hot, not only for a festive table, but also for ordinary everyday life. And looking at the next step-by-step instructions, you can learn how to make such an item into the kitchen using a patchy sewing technique. This means that you will not need to spend money that is never unnecessary.
Article on the topic: Wadded toys do it yourself: master class for beginners
The first step of the tissue residues produce the squares of the same size.
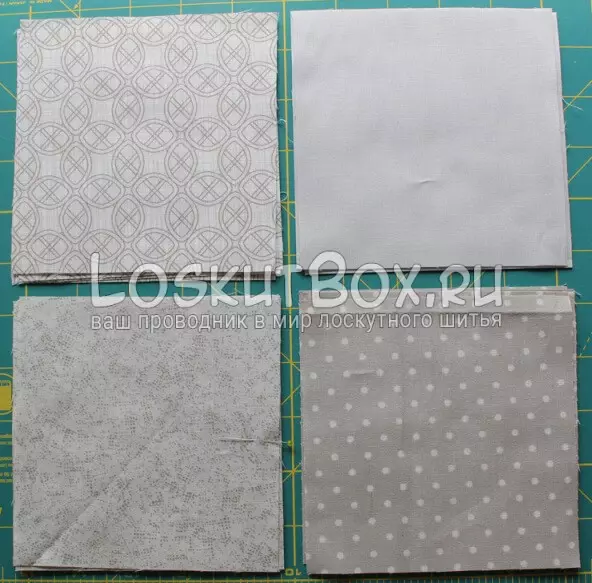
Then sustate them in pairs.
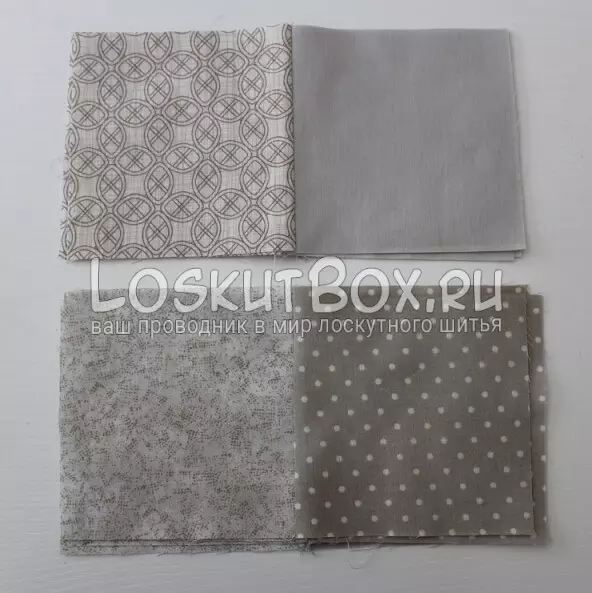
After that, the pairs from the napkins are south among themselves. As a result, one large square of four small.
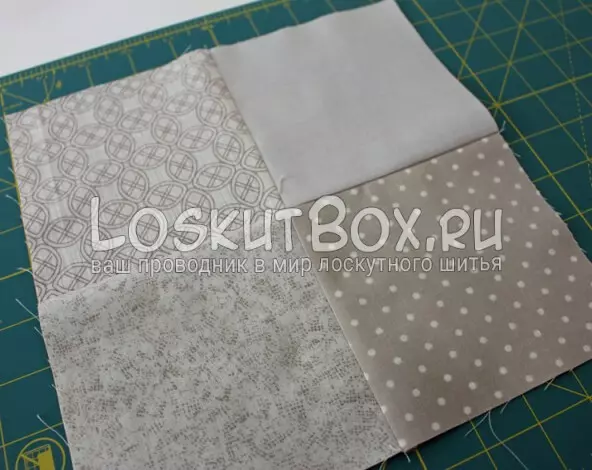
We sew among themselves four large squares.
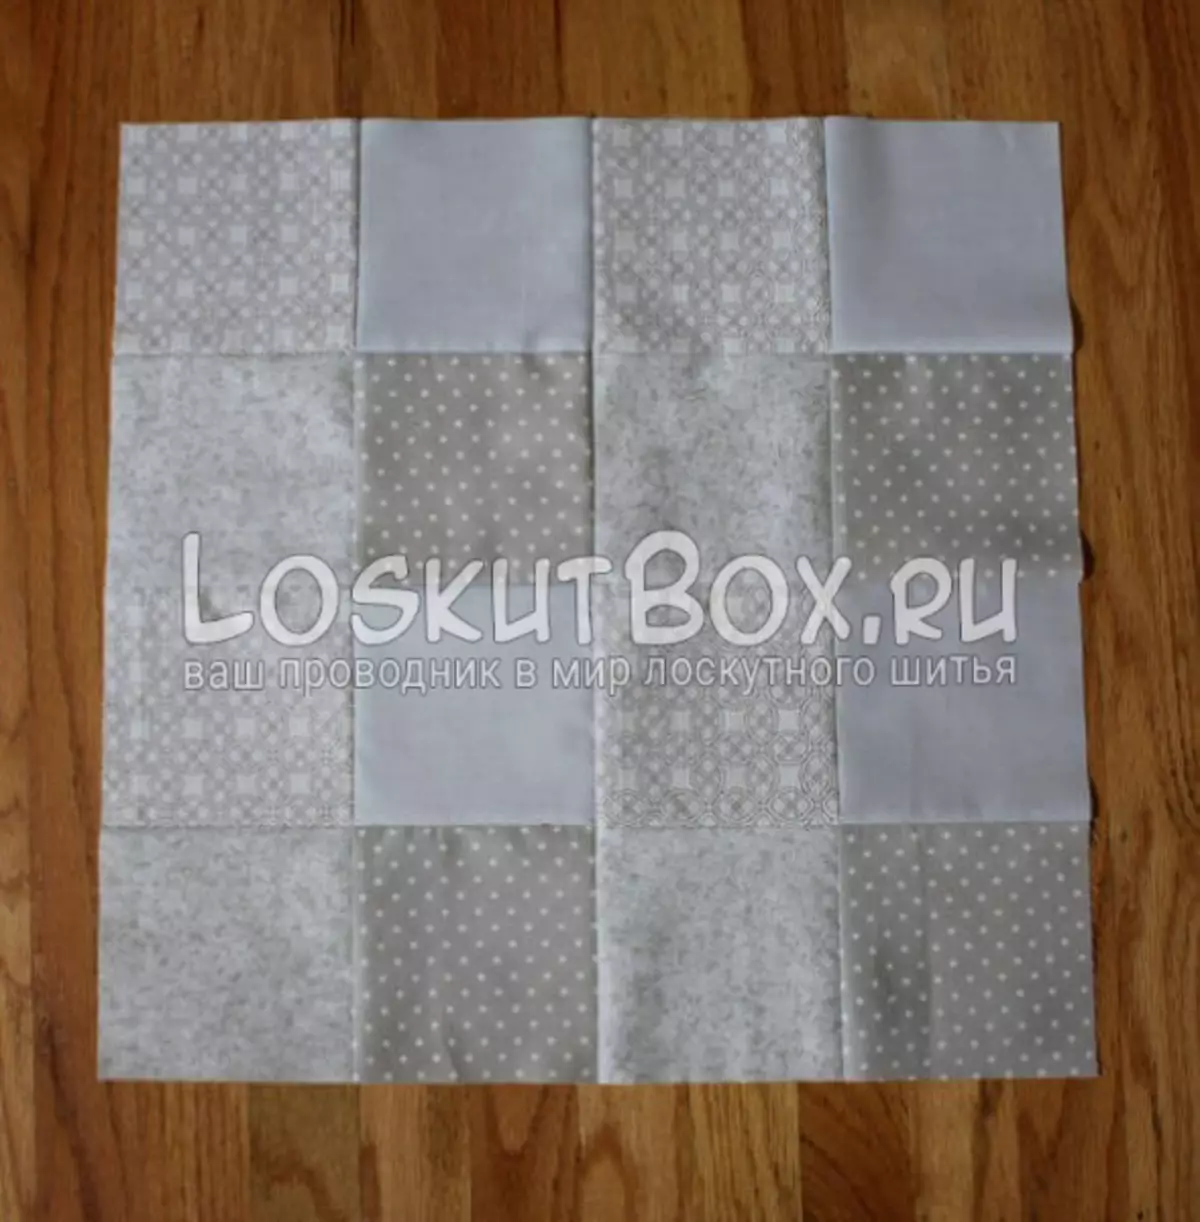
We make two such huge squares, one of them can be decorated with various inserts, which are individually attached.
Take the lining material and take both parts of the napkin among themselves.
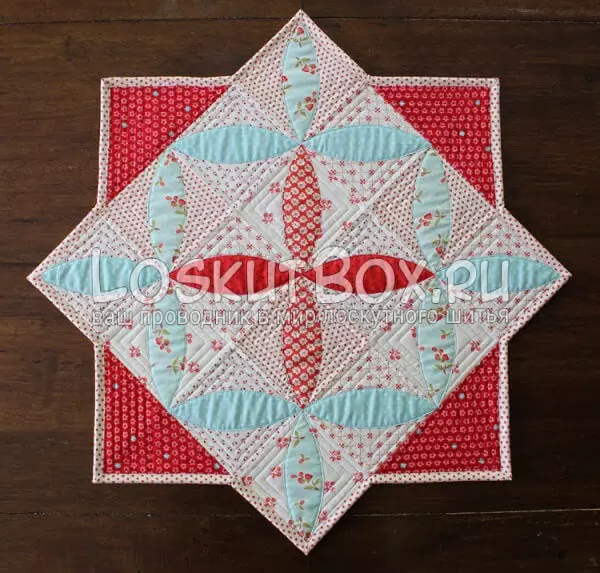
Finish the edges with a piece of bright fabric. And the napkin is ready.

Video on the topic
Well, at the end of the article, we offer a selection of fascinating video on how to make a napkin stand under hot, do it yourself in a few hours. In these master classes, you will see new options for making napkins, as well as experienced masters will share with you with all their secrets, which will greatly simplify the entire creation process.