
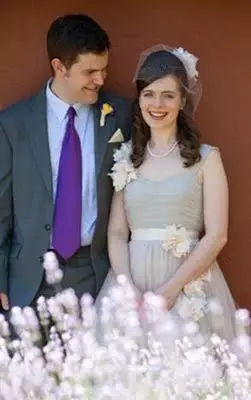
The traditional outfit of the bride consists of a wedding dress and fate. Fata, as a symbol of purity, very decorating young brides. However, now veils often replace the hat with a veil. Veil came to us from Europe and already won the favor of our brides. Before my own wedding, I got a similar question: what to choose? After reviewing the photo on the Internet, I no longer doubted - my headdress will be a hat with a veil, and today I will tell you how to make a veil with my own hands.

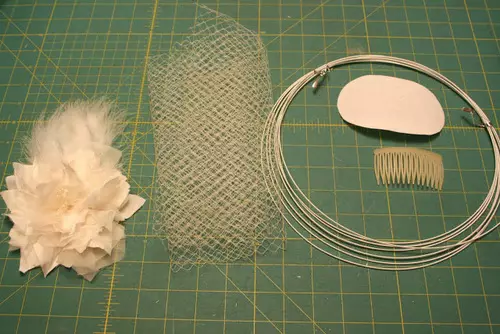
Required materials and tools:
- Large artificial flower (buy or make yourself);
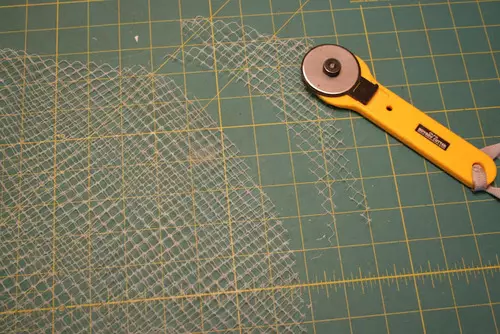
- 1 meter light transparent fabric for veil (sold in every fabric store);
- 40-50 cm Hat Wire;
- Tight hats (instead of it there are two pieces of cold cloth, stitched together);
- small scallop;
- threads and needle;
- scissors.
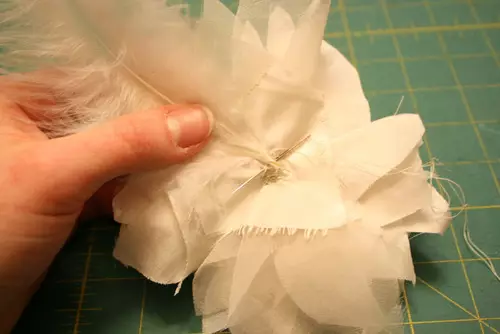
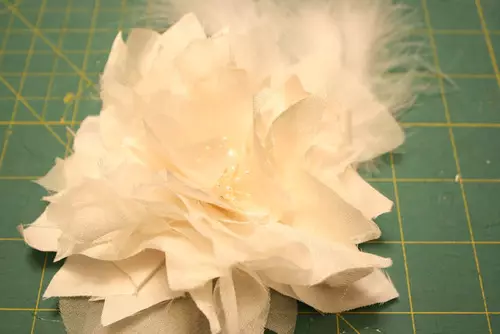
Flower manufacture
Flower for Vuali I used similar to the one I did for a wedding dress.

You can choose a flower for your veil in a wedding salon or a sewing store. Beautifully arrange a veil with their own hands will help breed materials. I sewed inside my flower penette white and secured it with a thread.
I took the stamens from the old flower.
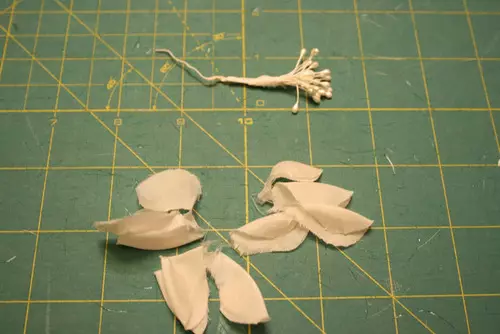
Make a hole in the flower with a sewer.
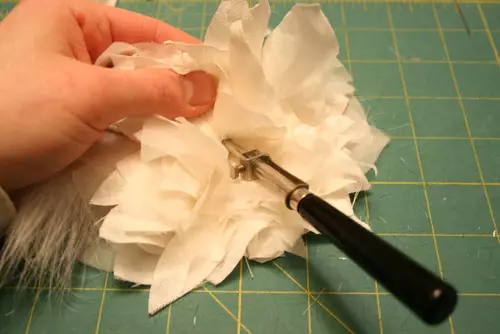
I inserted the stamens, although they can hardly see.
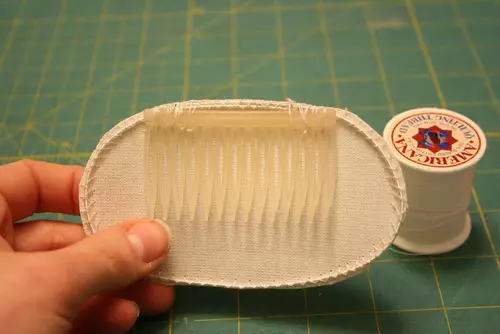
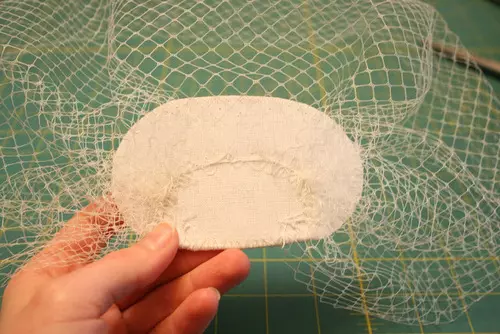
Production of the base for veil
To make a mini-hat for the base of the veil, you need to take a dense fabric and set the hatch wire around the perimeter of the template.
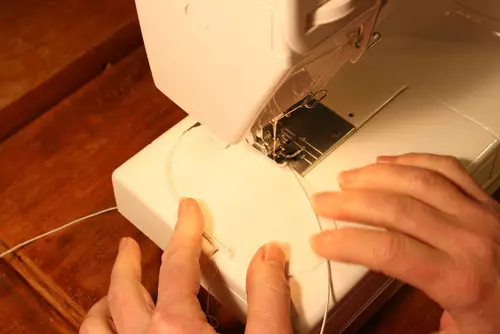
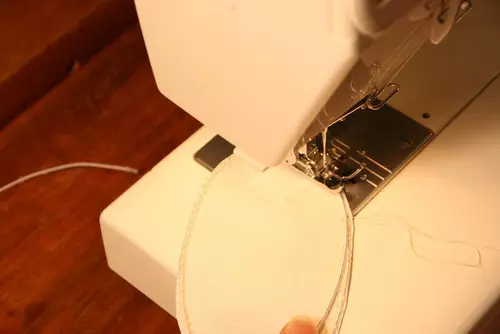
Wire ends should go for each other. Cut the extra end of the wire and once again step up the basis of the perimeter to reliably fix the wire.
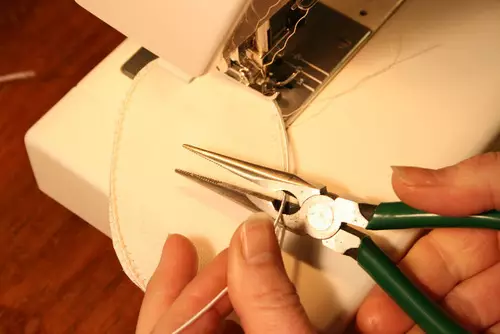
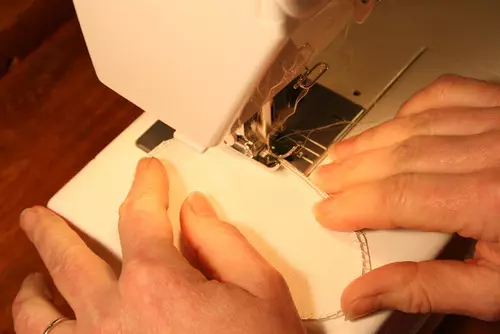
Give your billet to a convex form so that it lay down on his head correctly or on the hairstyle, as in my case.
Article on the topic: Audine for a newborn with his own hands: Drawings with photos
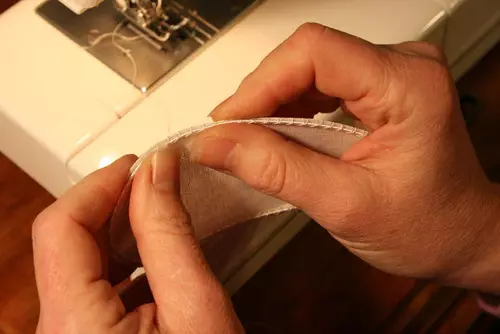
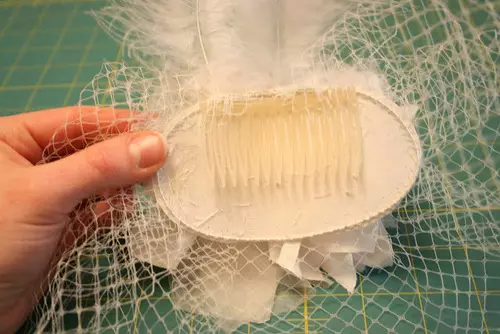
Manually sushting scallop to one side of the base of the veil.
Assembling veil
Fold the fabric for the veil in half and round the corners on both sides above.
Start making assemblies along the edge of the whole fabric. Grab by a needle with a thread formed folds. Do not tighten the thread too tight so that the folds are easy to straighten.
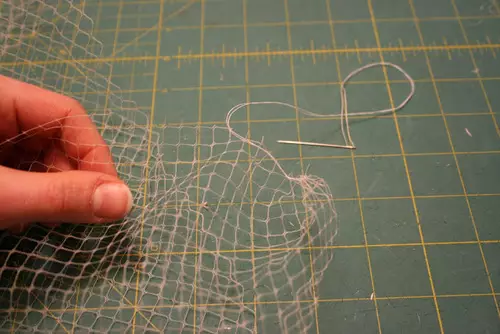
Position the folds are uniformly based on and sustain them by manually with neat stitches.
Now take your flower and see it to the base of the veil.
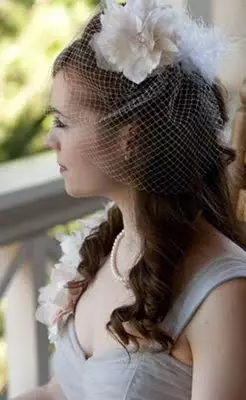
Ready
All is ready! Start! Having made this magic veil, you can stand out, demonstrating your individuality and style. Do not forget that the decorations on the veils should be echoed with the dresses decor. You can add a highlight and wrap the bride bouquet as the same cloth from which the veil is made. It all depends on your imagination! Good luck to you!
If you like the master class, leave a couple of grateful lines to the author's author in the comments. The simplest "thank you" will give the author of the desire to please us with new articles. You can also add an article on social bookmarks!
Encourage the author!