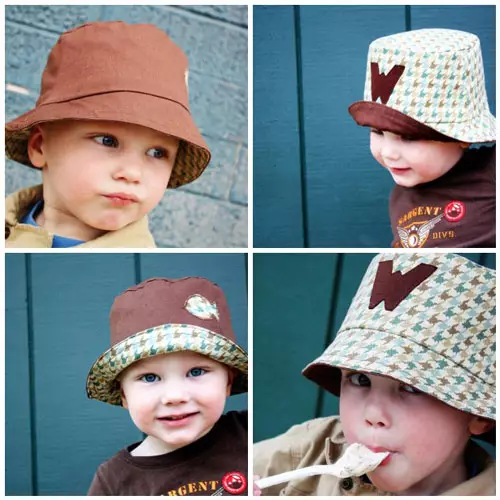
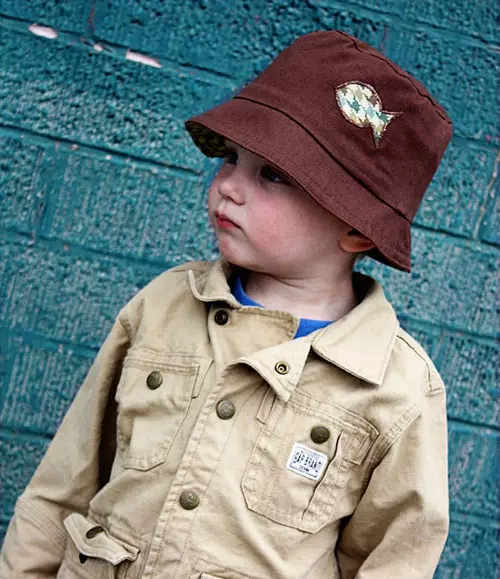
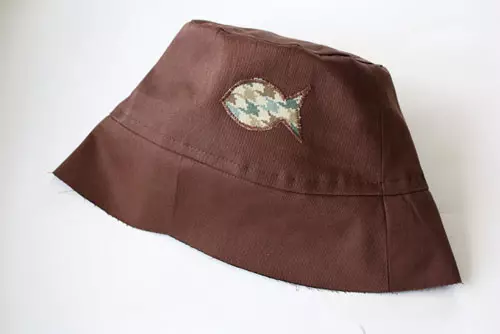
Most needlewomen seems that the sewing of the children's panama is quite complicated, but the sewing of the children's head care is one of the simplest types of sewing, while it is not necessary to make a lot of fabric for stylish panama and it can be easily made from a variety of trimming. Panamka for the boy with his hands is two-way, so you will have to taste a little fashionable. However, choosing fabric, you should not forget that the finished panama should be easily blurred, but at the same time not to deform and be tough, so the best option for sewing will be denim, velveteen or lightweight fabric with lining.
Required materials and tools:
- 1/4 meters of basic fabric;
- 1/4 meter of fabric for the second side;
- 1/4 meters of lining fabric;
- scissors;
- pattern;
- threads in tone tissue;
- sewing supplies;
- sewing machine.
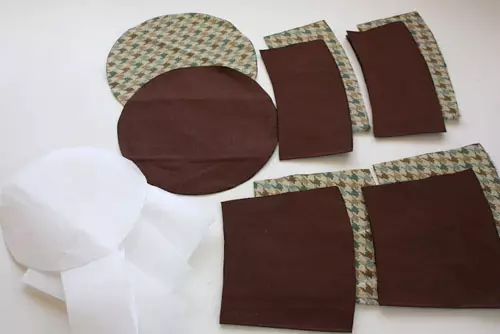
Cut the details of the panama for the boy
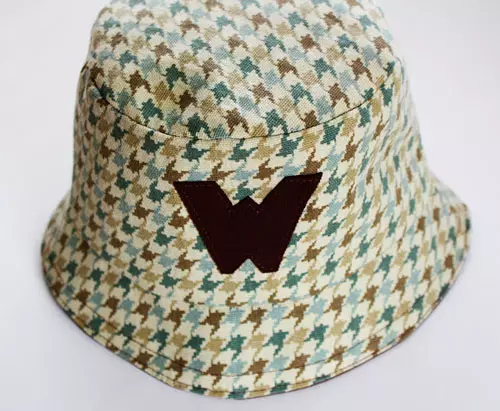
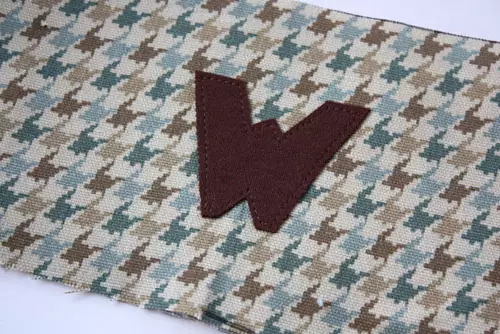
So that we have a beautiful children's panama for the boy with your own hands, print a pattern on the printer. Cut the necessary details from paper. Attach them to the main, lining and rigid tissue, circle the portno small and gently cut down the contour. Cut your taste applique from another tissue and sushach it with a sewing machine. Use for registration of your child's interests: for example, in the form of applications, you can put a soccer ball or the emblem of your favorite team.
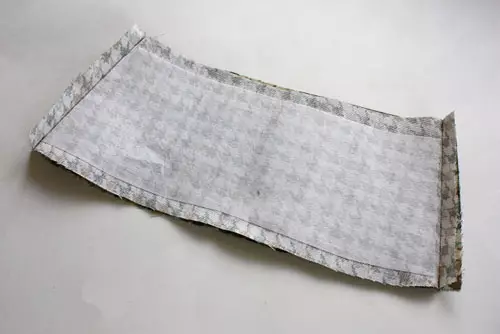
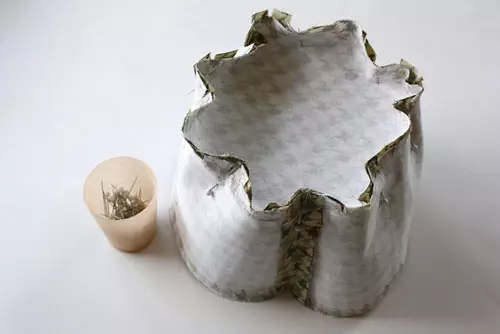
We sew the sides of the panama
Take two side details from the main fabric and step up along the side of the sides, leaving a small distance on the sides. Stick in the middle lining fabric. Relieve the bottom and top edge of the sides. Repeat with other side details.
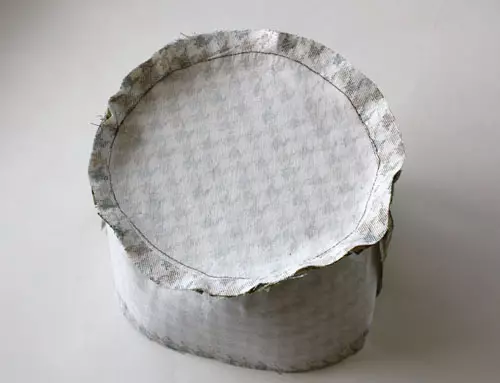
Stitching top and sides
Now take the central circle to the top of the panama and attach from the wrong side to the side items. Stick on the circle lining tissue. Gently push along the upper edges of the tops and side parts.
Article on the topic: Christmas star do it yourself from paper with schemes and video
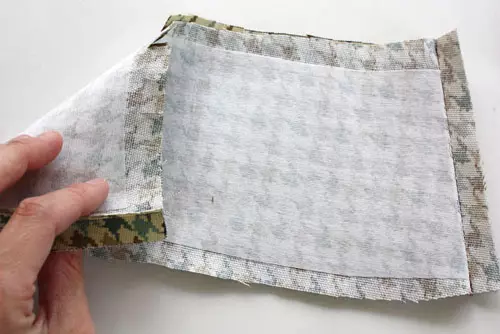
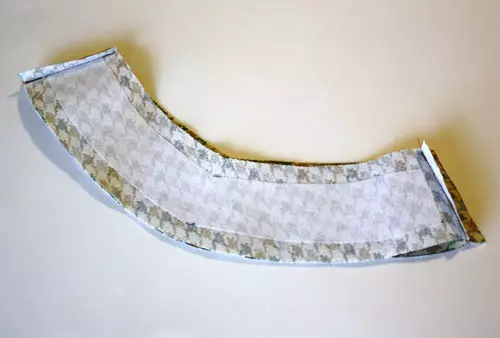
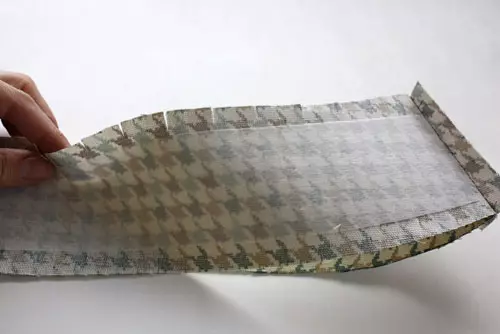
We sew the fields
Then take parts for fields from the main fabric. Fold them with the side short sides together and push the typewriter. Stick in the middle of the involved side of the lining fabric. Cut the top and bottom edge of the fields. Attach the caps and side details of the field to the involve side, step along the bottom edge on the sewing machine. Remove on the front side. Repeat steps 2-4 for the details of the wrong side.
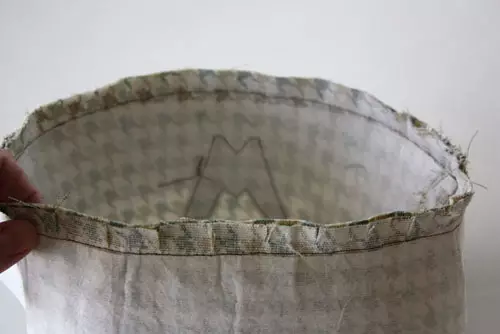
Send details
After the two details of the panama are sewn, fold them with the front sides together, enter along each edge and leave a small hole. Remove the panama through the hole. Bind the iron and take a double seam along the bottom edge of the panama. Panamka for the boy with his own hands is ready!