Throughout the twentieth century, the cap was a headdress for all layers and classes of society. She was worn by presidents, leaders, athletes, artists and scientists. All managed to use this original headdress as the main element of the outerwear. Today, the cap is absolutely everything: ranging from schoolchildren ending with older people. As a rule, equal caps are sold in stores. There is no such that would not be from others. And many girls want individuality. Therefore, we prepared a great master class today, which will tell you how to sew a cap with your own hands in a single copy!

Required materials and tools:
- Old sweater or T-shirt;
- threads in tone;
- sewing supplies;
- sewing machine.
Cut the part for the cap
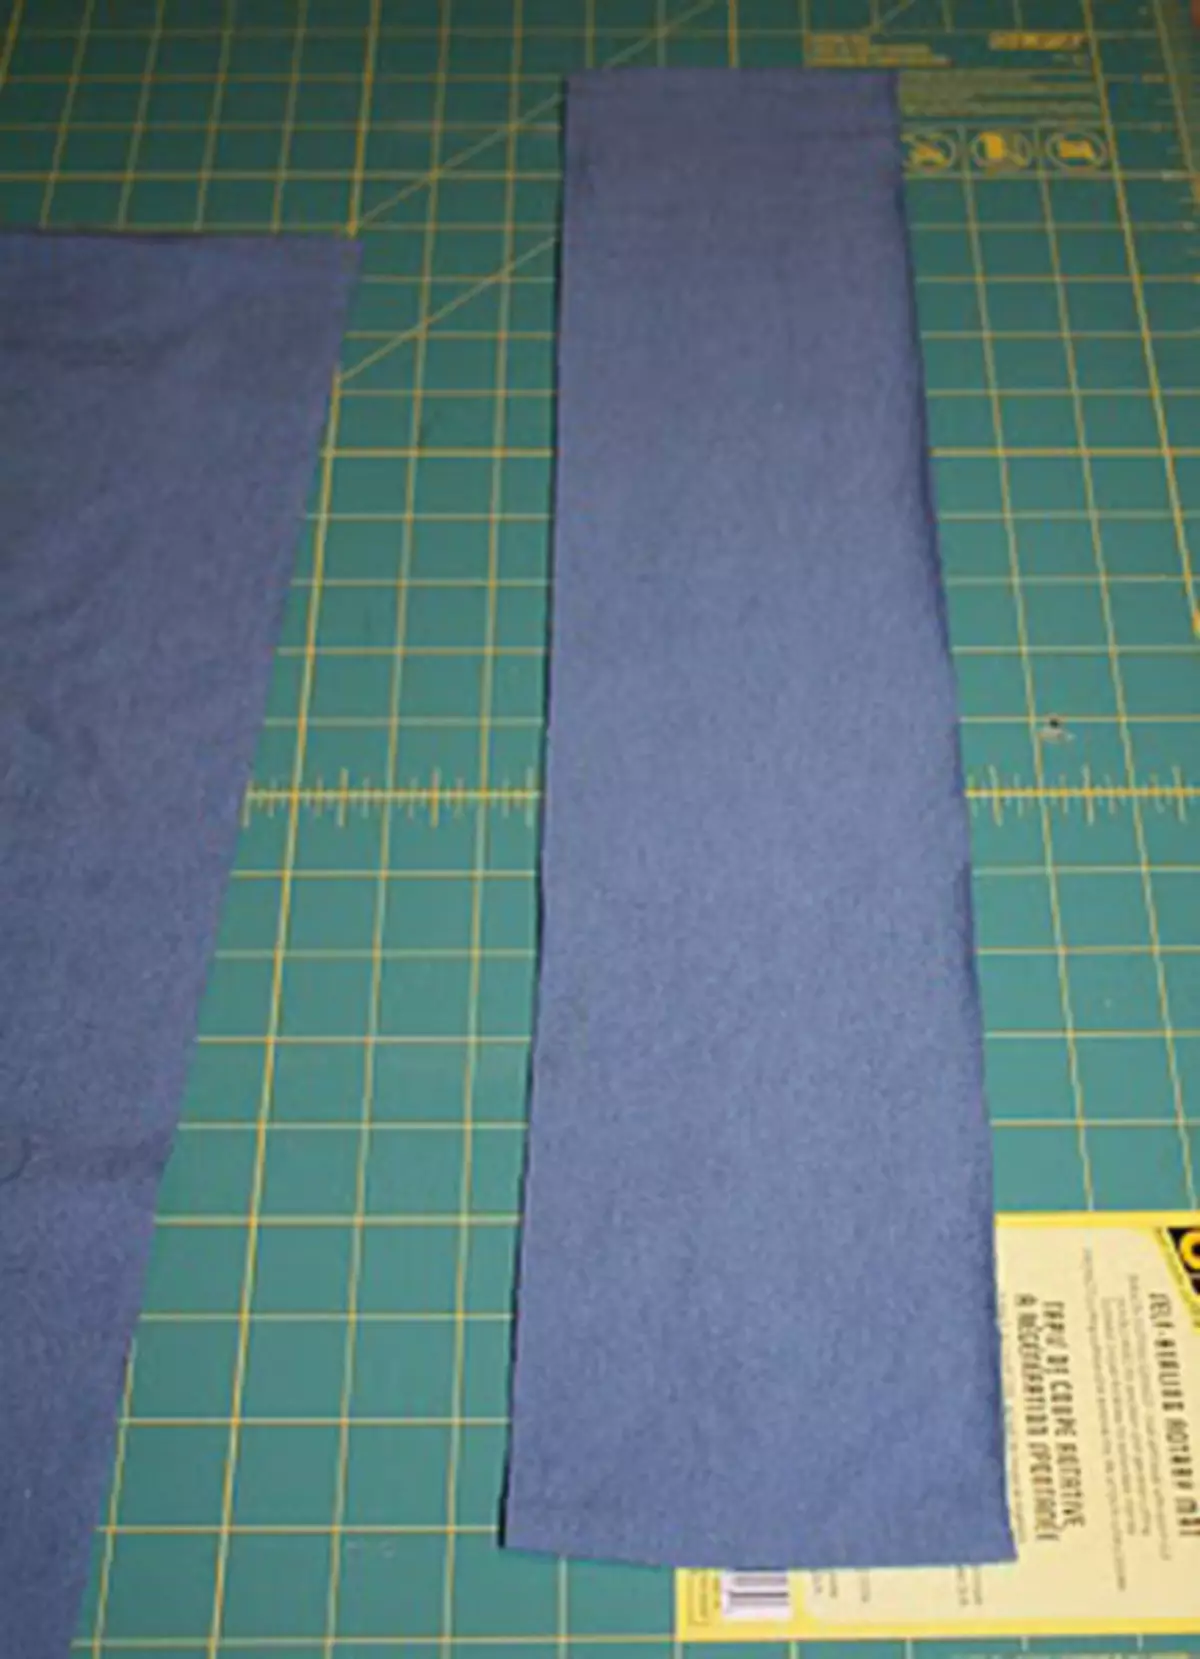
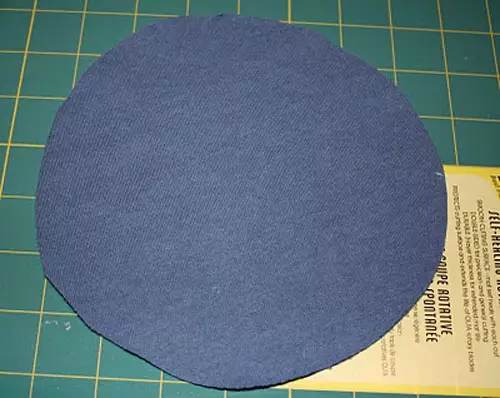
So how to sew a cap with your own hands? For sewing, we will need an old blouse, a T-shirt or a blouse of a dense tissue of a bright color. We used a long sweater with blue sleeves. Measure the girth of your head or baby head. Then cut a strip from the sweaters about 20 cm in width and fold in half. Its length will depend on the scuffing of the head + 2.5 cm for points on the seams. Then cut a small circle from the fabric for the top of the cap.
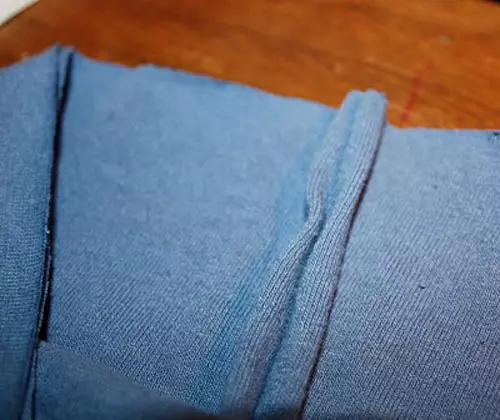
Stitching Cap
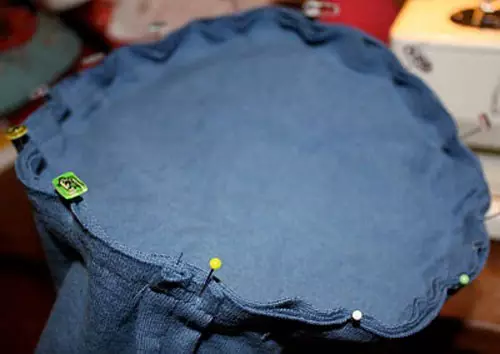
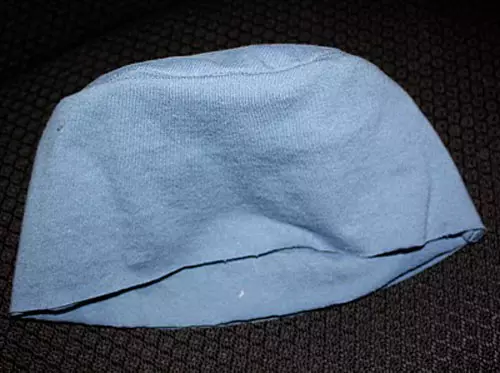
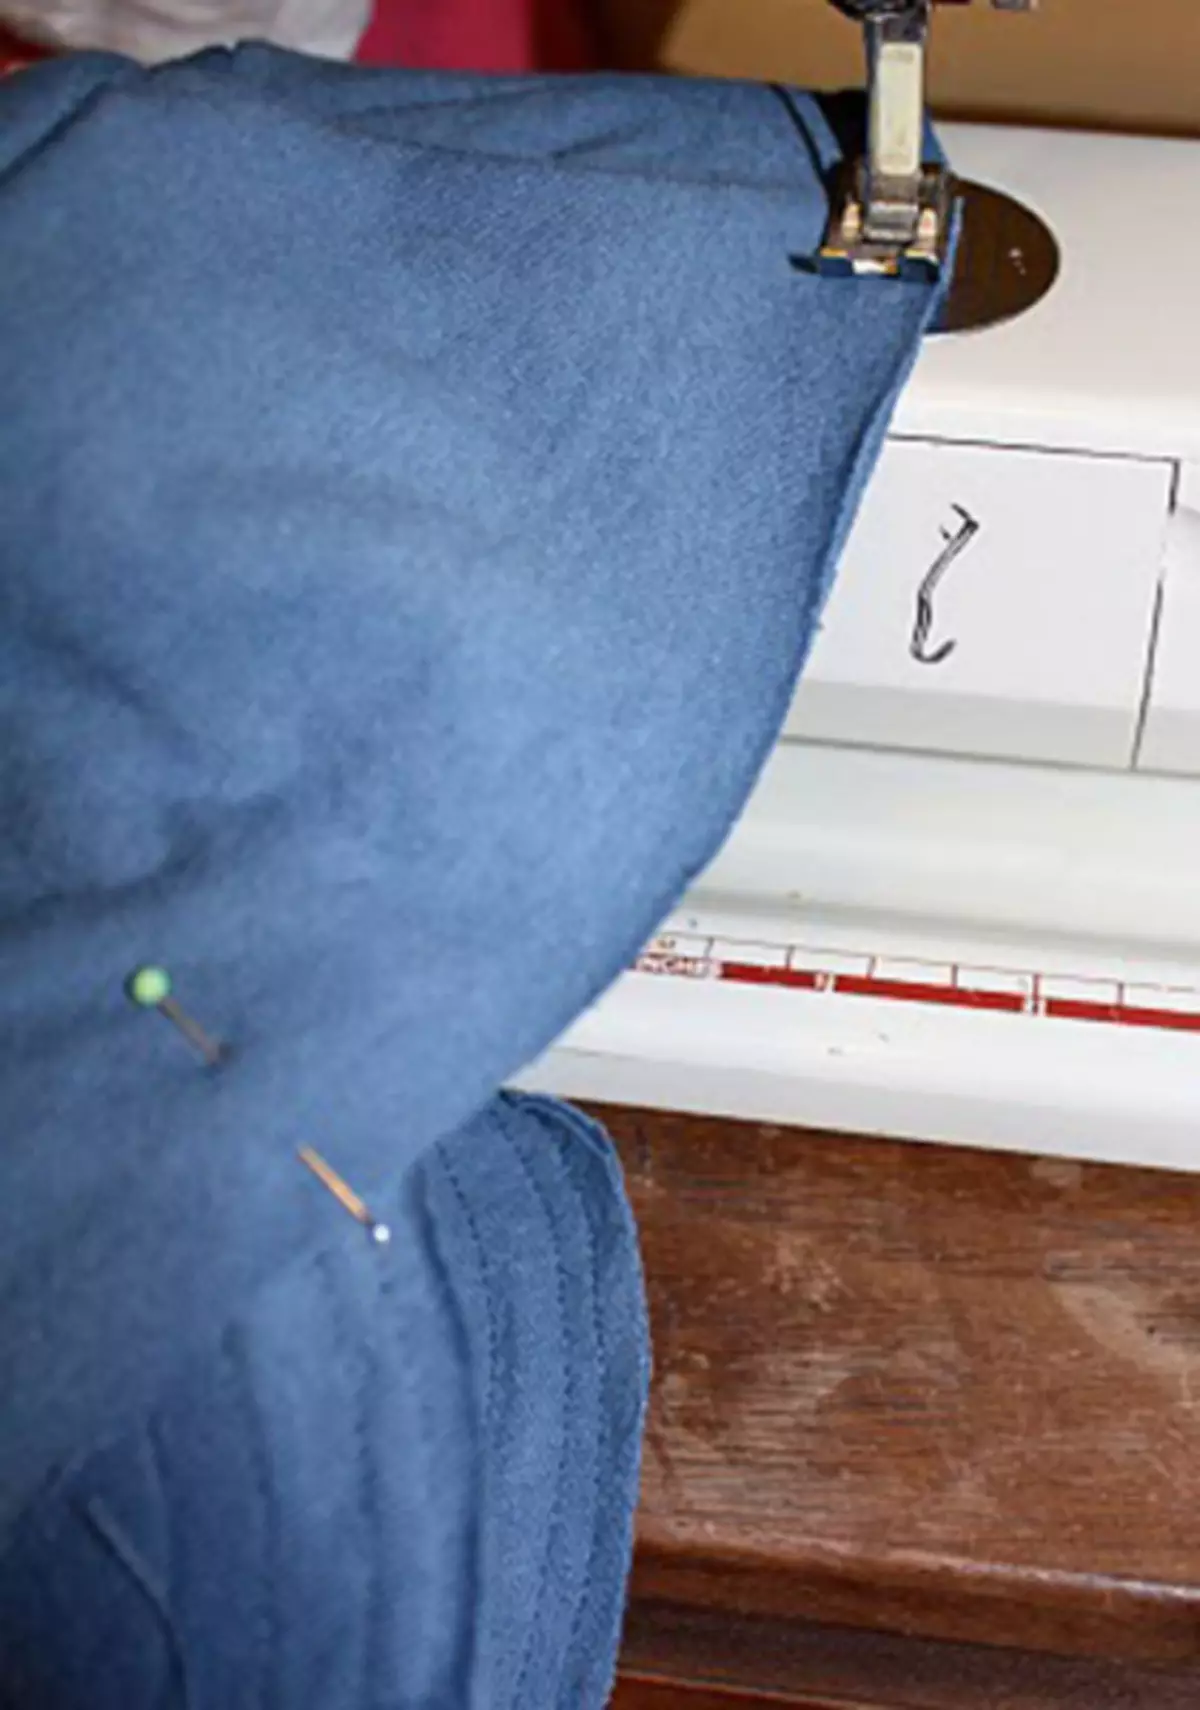
Sew the ends of the long strip so that the edges wrapped. Attach the cutting circle to the upper edges of the strip and step by double seam on the sewing machine from the wrong side. Remove the cap on the front side.
We make a visure
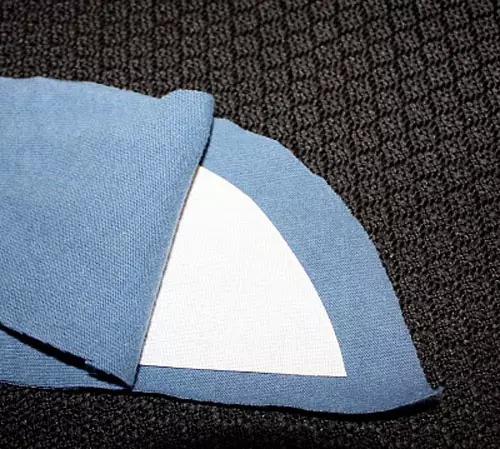
Cut two semicircles from the fabric. It will be a visor. Fold the two parts together and insert dense paper between them, the fabric or other material so that the visor kept the shape. Put along the bottom edge of the visor, and then add a few more seams so that the ready cap looked beautifully.
Article on the topic: How to read crochet schemes? Crochet designation

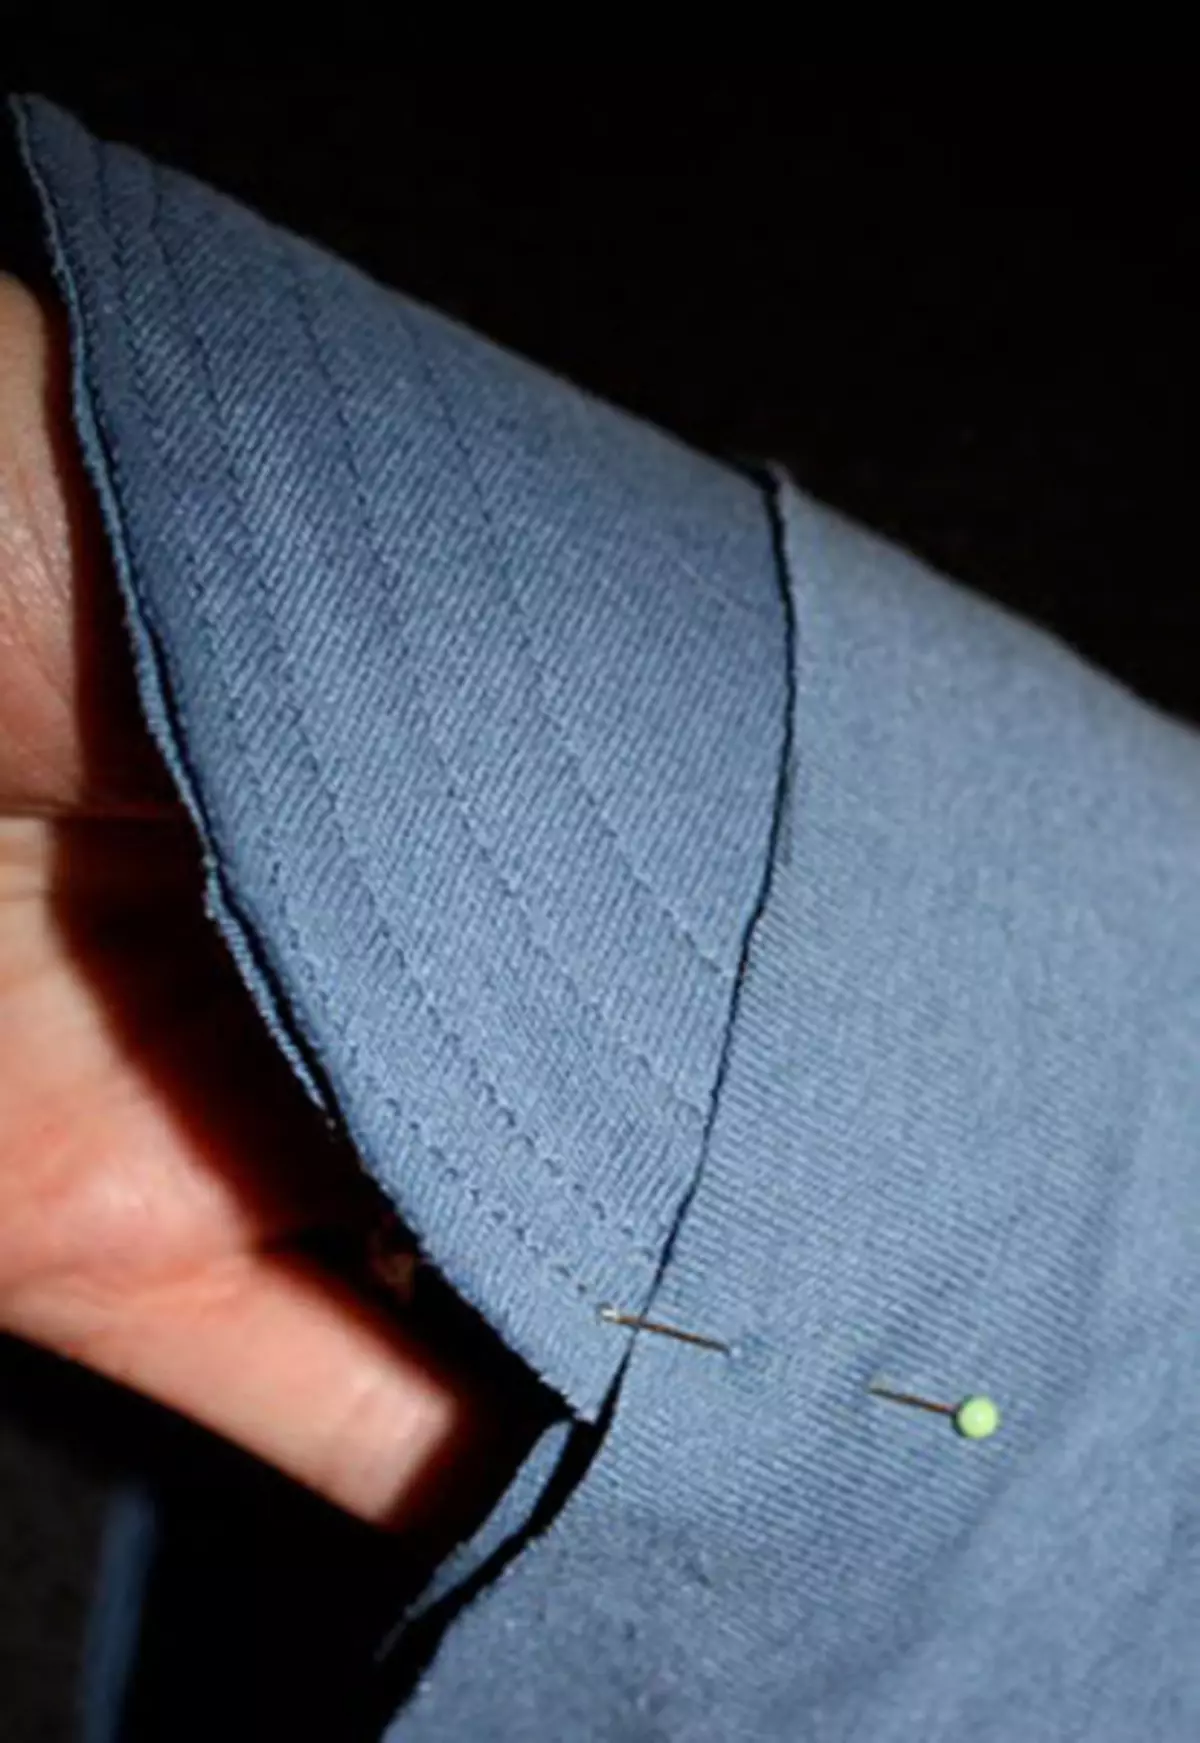
Send the visor to the cap
Insert the visor between the two layers of the fabric cap. Fasten his sides by tailor needles. Put the cap on your head and see what a visor looks like. You can insert less or more of its length between the layers. Experiment with its magnitude until one of the options satisfy you. Then step the bottom edge of the cap and the visor on the sewing machine. If you wish, you can handle the edges of the cap by zigzag lines or overlock.
Decorating the Cap
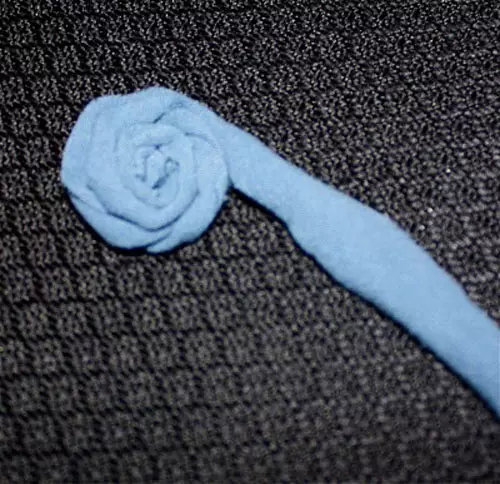
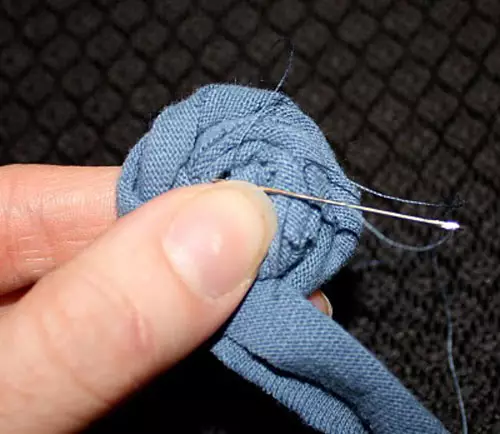
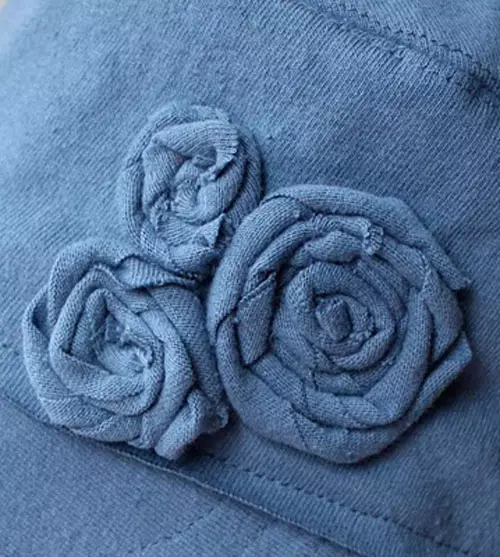
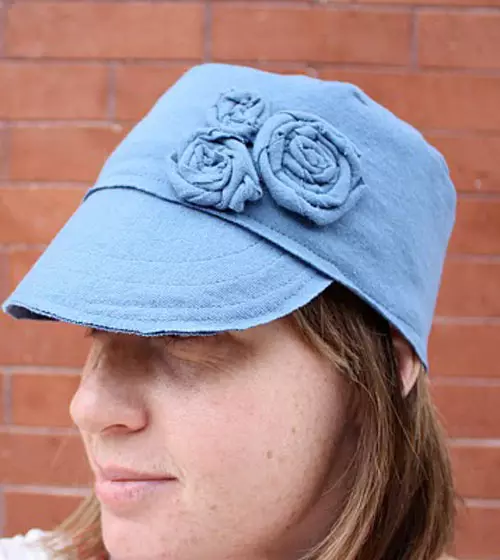
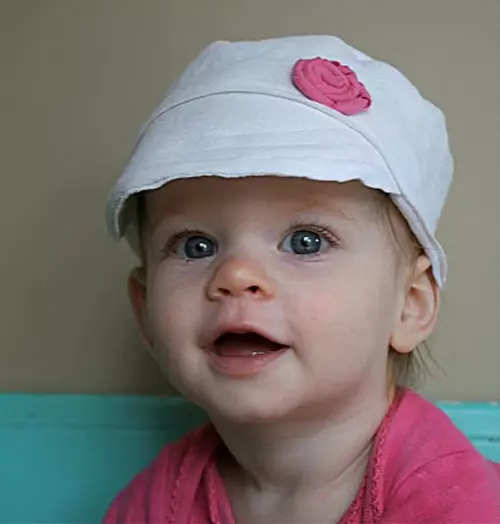
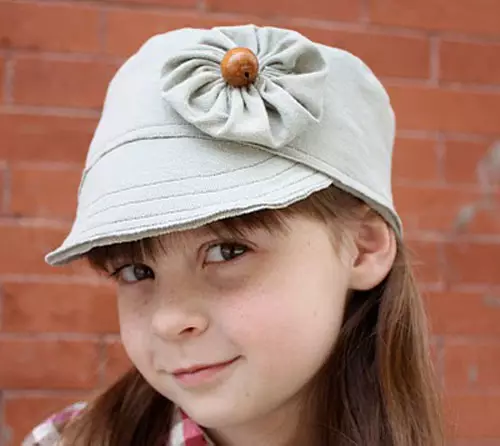
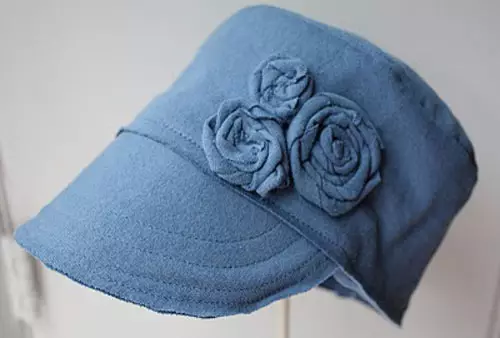
Now it's time to decorate in front of our cap. To do this, cut a few stripes and roll them into a circle. Gently stick or enter them to the cap. Repeat with other stripes. Also for decoration you can make several flowers from different fabrics. Cut around 6-7 petals, wish them with each other. Sew them to the cap, and in the middle place a beautiful button or a bead. Ready!