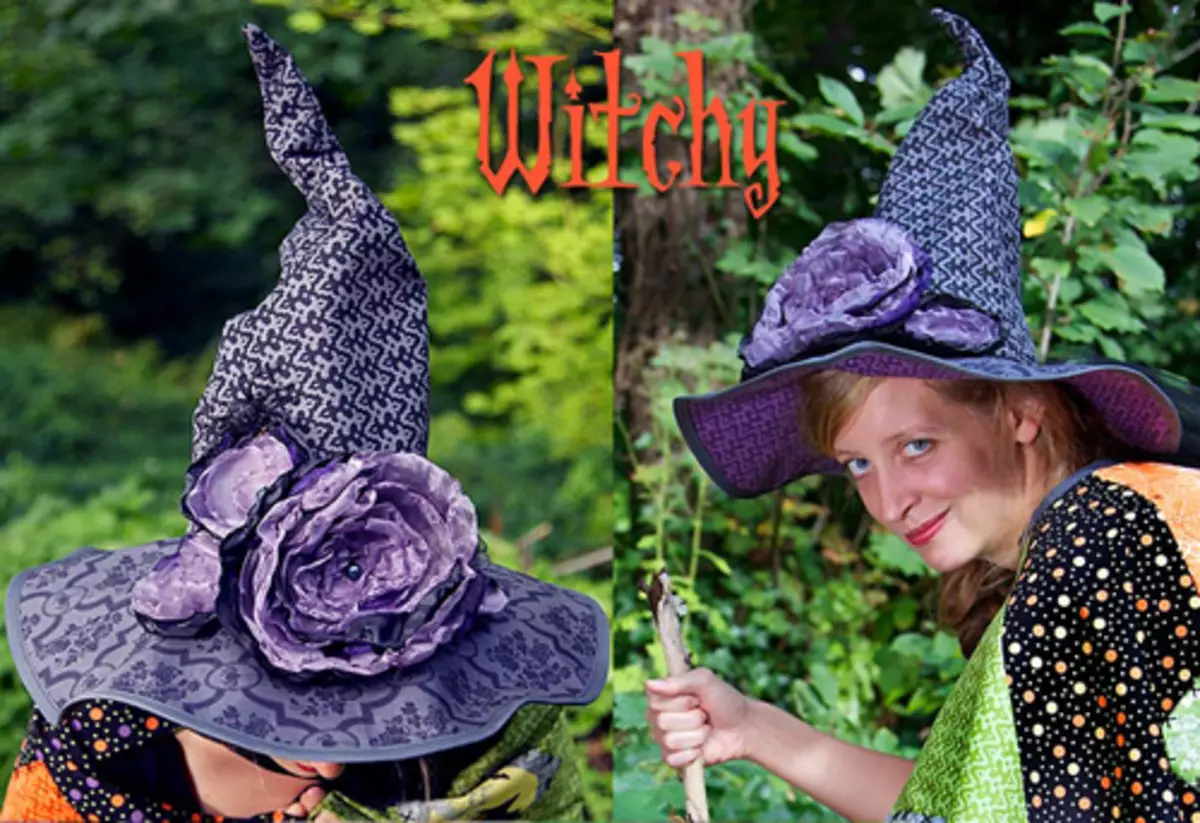
The most win-win and interesting outfit on Halloween is the witch costume. Every woman in the depths of the soul feels a little sorcerer, so you can turn into a masquerade both in good and cute and in the evil sorceress. Therefore, the online magazine "Handmade and Creative" has prepared this master class and a special pattern so that you have a wonderful withend hat with your own hands.
Required materials and tools:
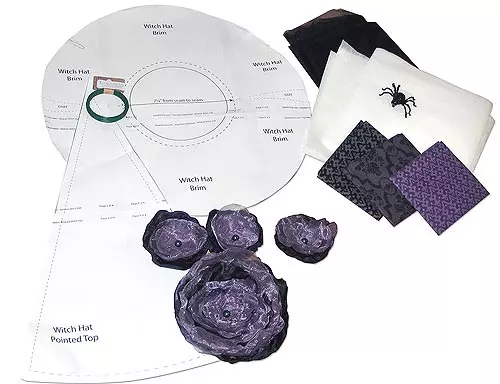
- Three squares from jacquard for lower edges, pointed tops and upper edges 46x56 cm;
- 2 meters of black grid;
- Light linen fabric - 1.5m;
- tape for edging;
- thin wire;
- Threads, appropriate fabrics;
- transparent line;
- roulette;
- Pencil for fabric, handle and chalk;
- Iron and ironing board;
- Portnovo needles;
- scissors;
- One big shiny spider.
Cut the details and sew hats fields
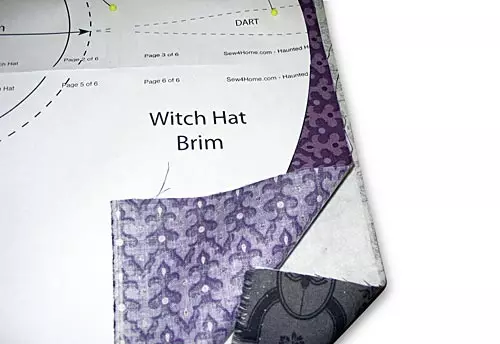
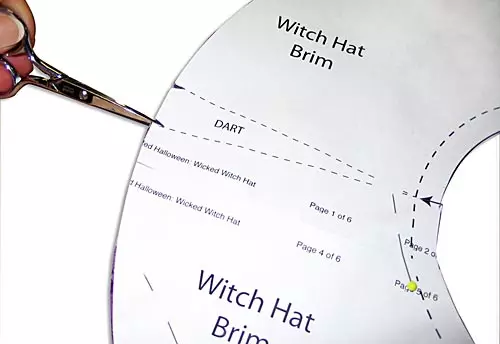
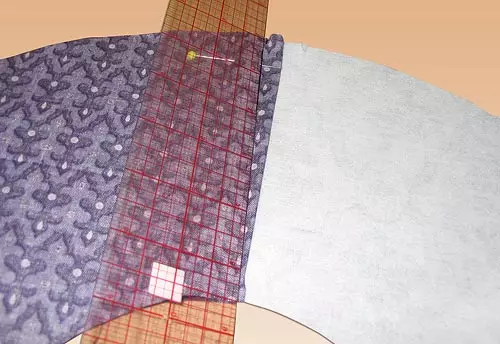
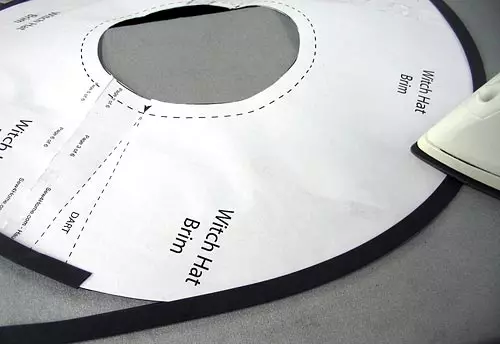
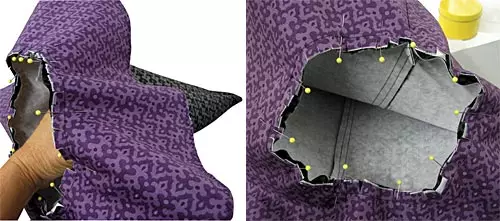
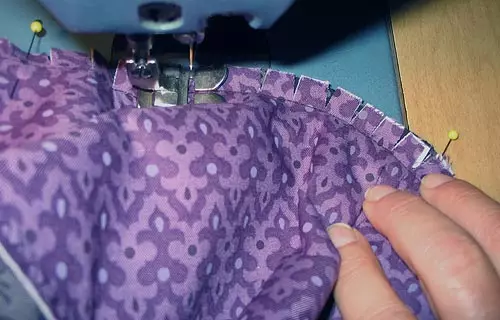
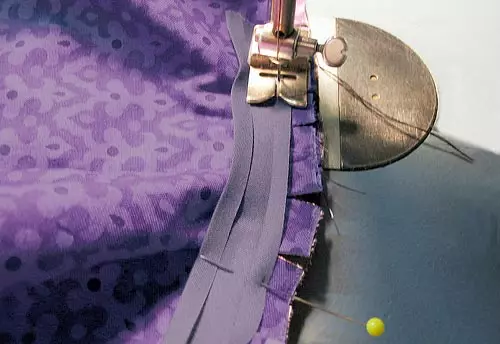
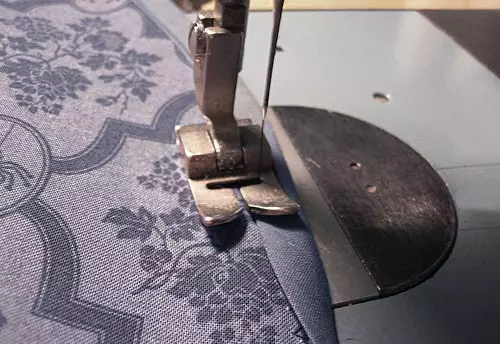
So that you have a beautiful witch hat with your own hands, download and print a template of chiffon colors and hats. Cut all the templates along solid lines. Cut two rectangles from the lightweight fabric 46x56 cm. Put two fabrics for the hat with the oncoming sides together and attach the pattern from above. Cut extra cloth around and inside the circle. Align the edges cuts and mark this place. Sew the edge with each other. Repeat to sew the upper circle. Cut the top edge for elasticity, as shown in the photo. Using the pattern of the template, attach oblique places to the hats fields. Squeeze its bends in the fields, as shown in the photo.
Top hat
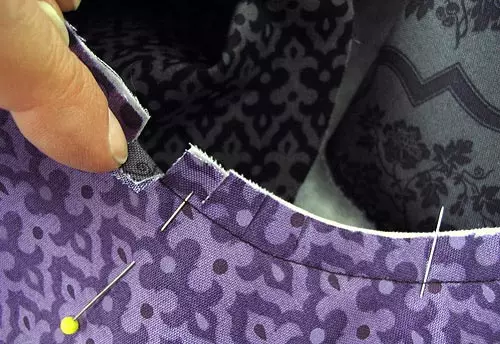
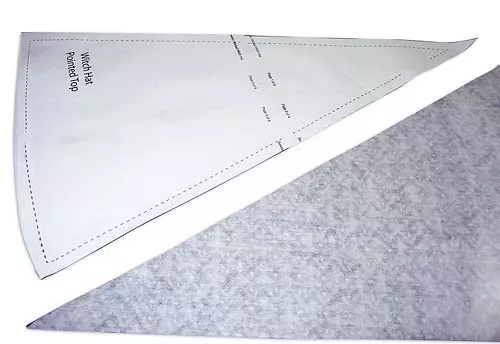
Take parts for a pointed tips of the hats and place a fabric on the working surface. Cut two triangles from the material and fold them with the front parties together. Stretch on the sewing machine along the side side to the top. Then keep one more stitch next to the first seam to insert the wire. Cut the stamps on the seams and remove the top of the hat on the front side. Place the pointed top inside the fields so that they find themselves face down. Stretch through all the layers of the inner circle. Attach oblique beyk to the inner seam and step on the sewing machine.
Article on the topic: Kotoshapka knitting needles: Description and schemes in a step-by-step master class with video

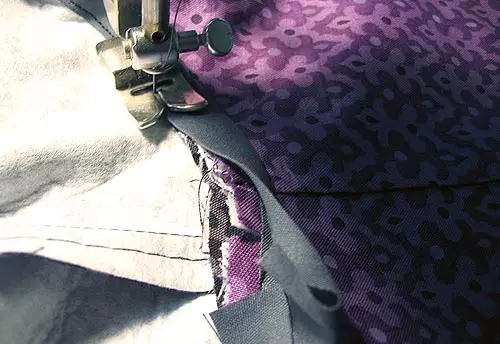
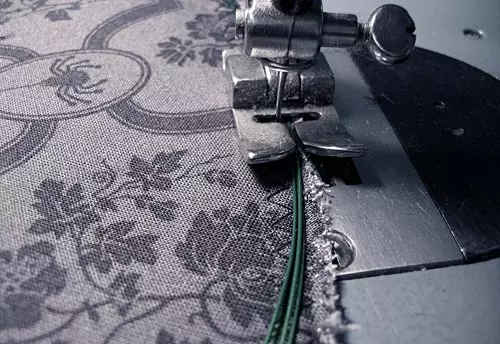
Insert the wire
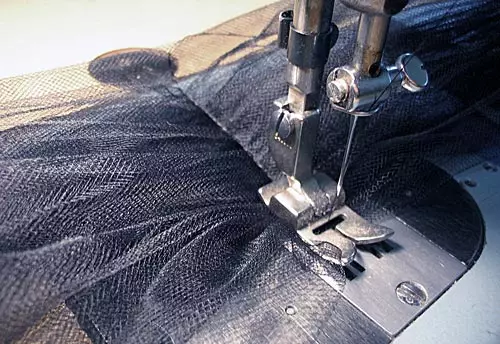
Find the wire or wire and measure the circumference of the fields, cut the desired length. Put the sewing machine on the widest zigzag and start sewing the wire. Then close the wire oblique baker and the trick of it. Measure the side seam of the hats and cut the length from the cord. Insert the wire seam and create a curve tip. Cut extra from the wire or hide into oblique places on the fields.
Send flowers and grid
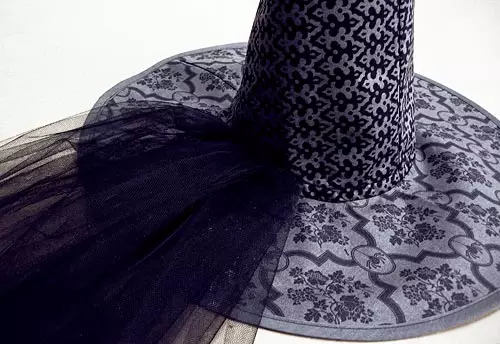
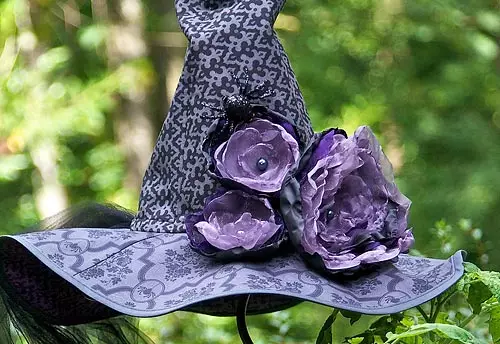
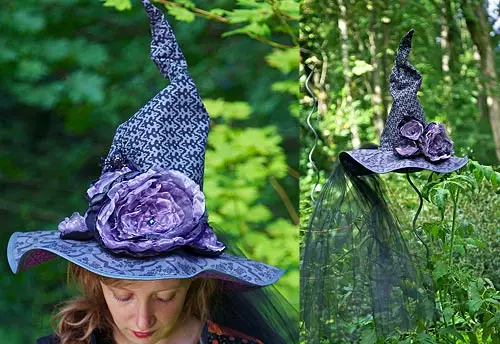
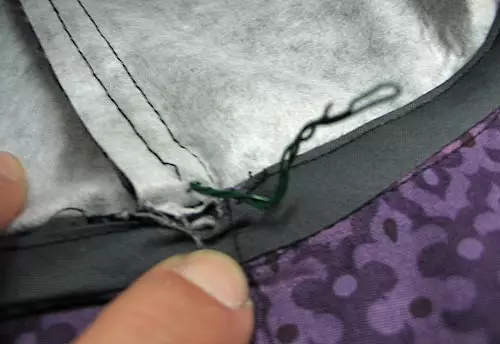
Take the grid and fold several times. Stop in the middle. Then, enter it to the side of the hat, pre-folding the grid in half. Make a few roses and pass them to the hat. Adopt one decorative spider on top. Witch hat with their own hands ready!