
If you are looking for creative and original methods of making mailbox with your own hands, then you are here! In this article you will find several master classes to create creative crafts. Of course, it will be problematic to use them in direct appointment, for example, in the country or near the house. But, as interesting crafts for the holiday, for creativity with a child or just for the decoration and interior additions, they will fit perfectly.
Felt mail
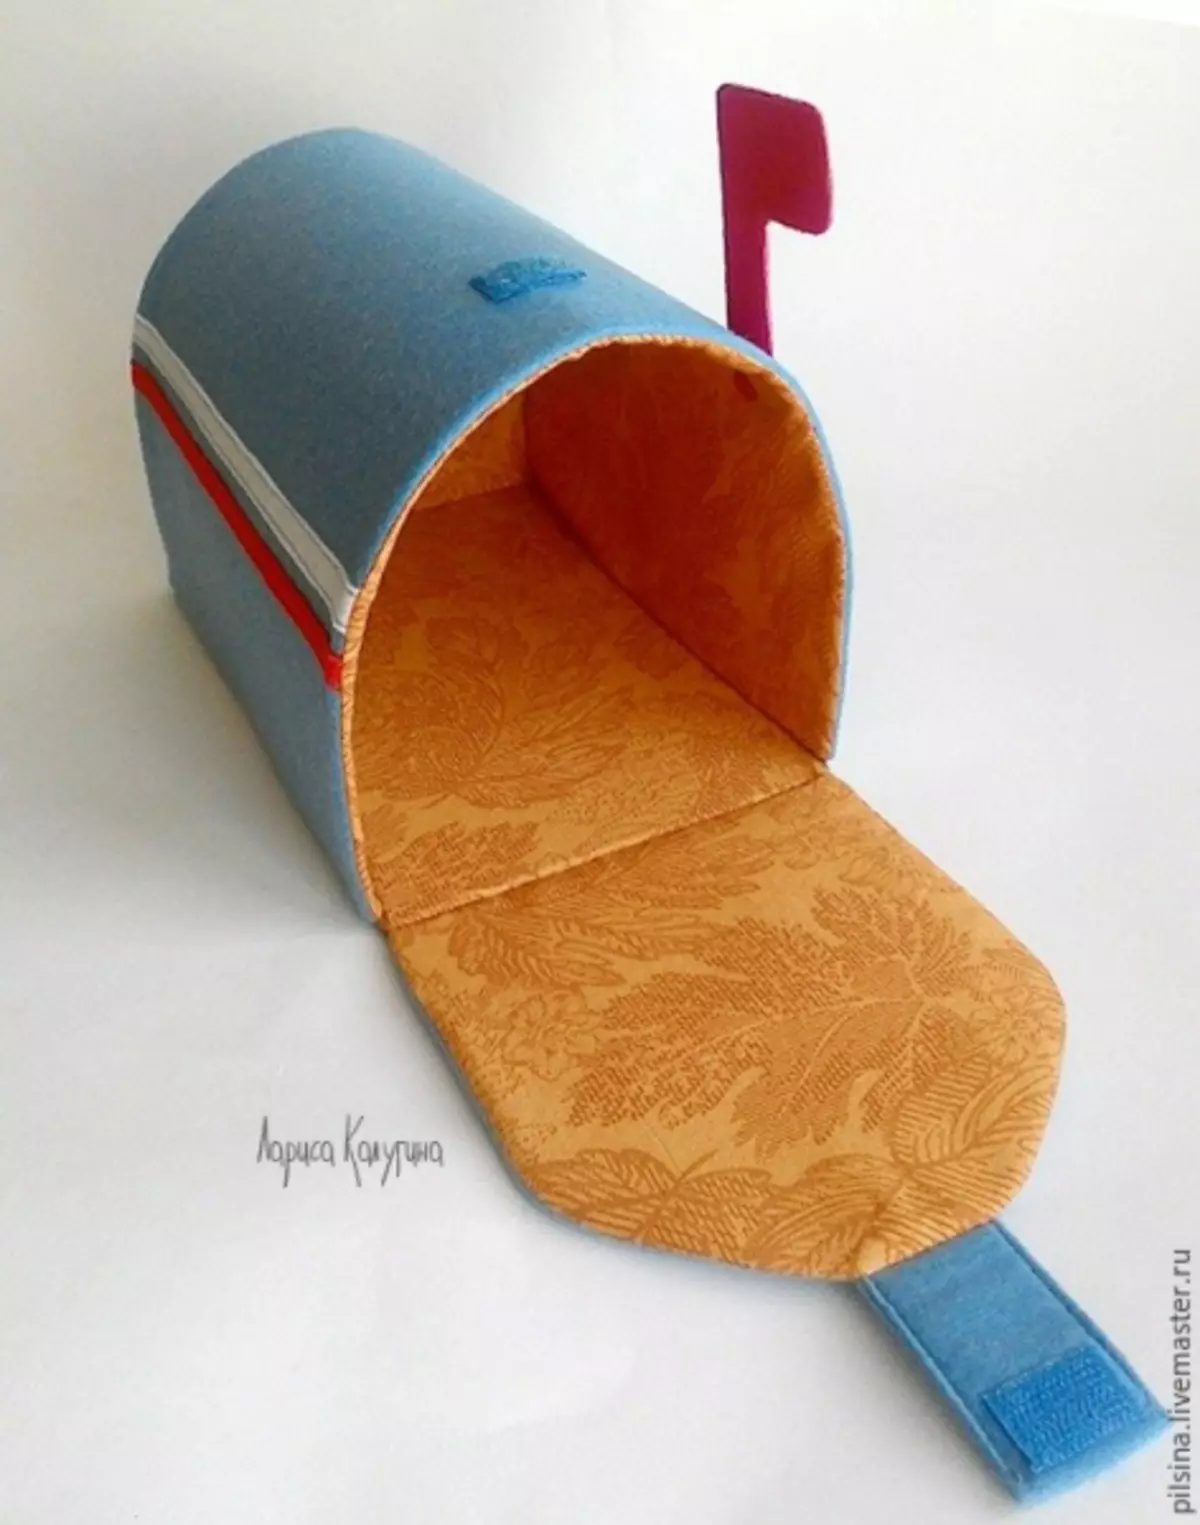
Beautiful toy or craft in kindergarten for a child will serve as a mailbox from felt. Soft and pleasant to the touch, it can serve long enough, without having lost shape. Materials can be taken absolutely any colors that you like.
To work, you will need:
- Felt, you can make several colors to make the product more colorful;
- pattern;
- lining fabric;
- threads;
- Fliselin;
- small velcro;
- glue;
- cardboard;
- needle;
- sewing machine;
- iron;
- Any decor elements (buttons, minor toys that could be seeded or glued to the craft, etc.).
From the cardboard, cut out part of the pattern. Cardboard is needed to give the density to your craft.
In the same way, we cut the elements from the lining fabric and felt. We glue the fliesline to the feta. Stroke iron.
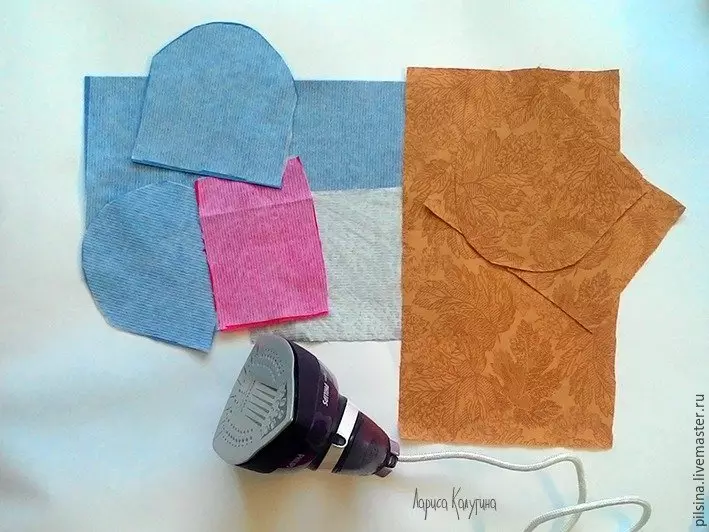
We sew parts for the bottom (from felt and lining fabric) from three sides, insert cardboard into the fourth. On the felt details of the top of the crafts we are sealing decor elements. It can be stripes of other color fabric, or cut letters for the word "mail", or any other decorations for your taste. You can make an embroidery on the top of the craft.
Next, the top and side elements of the product are stitching on the principle of the bottom from three sides. Cardboard is also inserted. To the front side detail you need to sew a strip of felt with velcro.
Article on the topic: Conducting set of loops with knitting twin thread with video
Now you can sew karmos for cardboard countersight and also connect all the details. We get the original craft, which will delight your child and will not leave indifferent even the most serious adult.
Universal plastic
Plastic is considered one of the most durable materials, and, therefore, products from it can be served long with proper handling. From a plastic bottle, you can do whatever, most importantly - a little fantasy and skillful hands. And the mailbox will not make difficulty. In addition, in our master class, the box can be used not only as a handicraft, but also to its intended purpose.
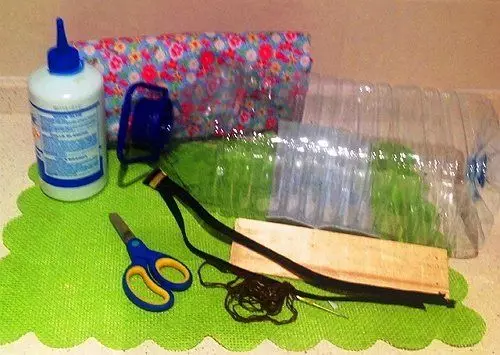
The following materials will be needed to create such a product:
- plastic five-liter bottle;
- dense moisture-resistant fabric;
- scissors;
- plywood or 25 × 5 cm board;
- glue;
- needle;
- Strong threads;
- lightning.
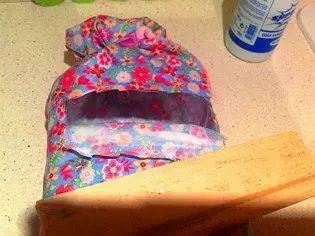
We take a plastic bottle, cut it from the bottom around the perimeter, leaving the fourth side of the untouched. This will be the back of the mailbox. We choose the zipper of the desired length by applying it to the cut of the bottle.
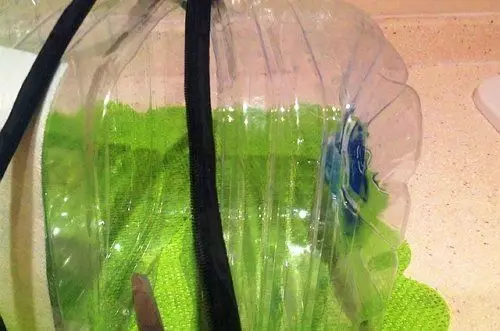
Next, zipper must be sewn by hand with thick threads or securely glue, as in the photo.

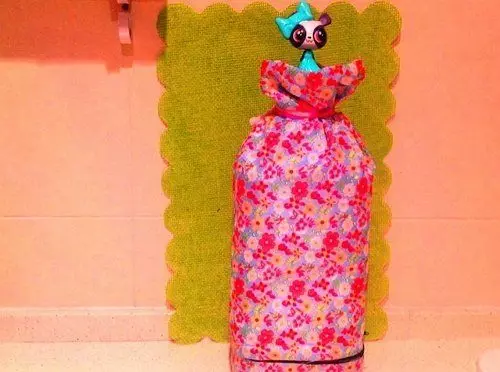
From a dense material cut the part corresponding to the size of the bottle. You can use an unnecessary bag or an old jacket. Bottle smeared with glue and wrap the cloth so that the top of the product is completely covered with matter, and the bottom remained transparent. Then you can see the presence or absence of mail in your drawer.
After the craft is dry, you need to make a slot on the place of lightning so that the bottom is easily opened.

To make the top of the future mailbox, you can tie out a cloth with a color wire or ribbon, attach toy or any other decorative object there. And you can simply tightly glue matter to the top of the product.
To create a hole for letters and newspapers, you need to make a slot on the rear wall of the container without removing the fabric. It needs to be placed the edge of the opening, as shown in the photo.
Article on the topic: Schemes Kirigami for beginners: Templates for children with photos
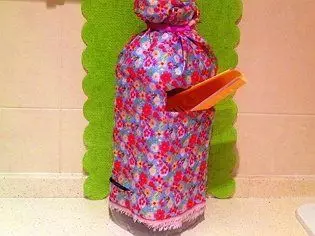
The final stage of glue to the rear wall of the product under the hole for letters so that it was possible to attach a box to the fence in the future.
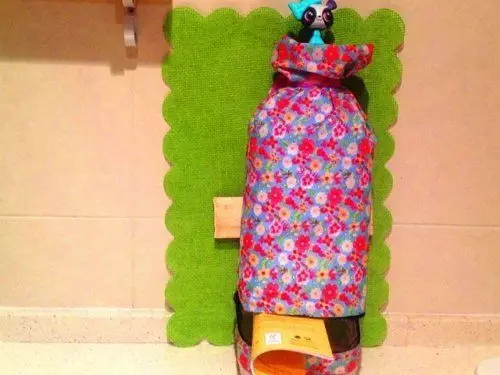
To create a mailbox from a bottle, you can use almost any blowed materials, any plastic container, fabric and decor elements. Fantasy, manifested during work, will help to make a unique and unique handicraft.
The easiest option
The easiest option that can be made even a preschooler is a mailbox from the box. In our article, we will tell you how to make a craft from a shoe box, but you can use absolutely any cardboard capacity of the desired size.
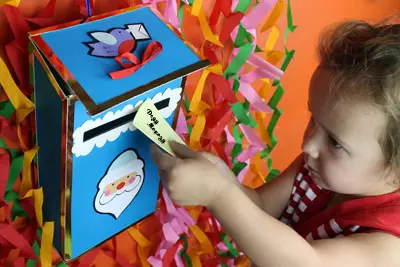
The usual rectangular box from under shoes with a lid is best for the craft. The box itself needs to cut the side corners on the one hand. The box cover should be cut off the sides and cut the hole for letters. Using the tape to connect the top and bottom of the box.
The next and final step is to decorate. You can enclose the box with colored paper or cloth. Corners and edges of the slot to handle with narrow strips of paper or tape. You can decorate such a mailbox by anything: decor from paper and color matter, stick buttons or rhinestones, etc.
Video on the topic
Below are the video showing other ideas for creating mailboxes with your own hands: