
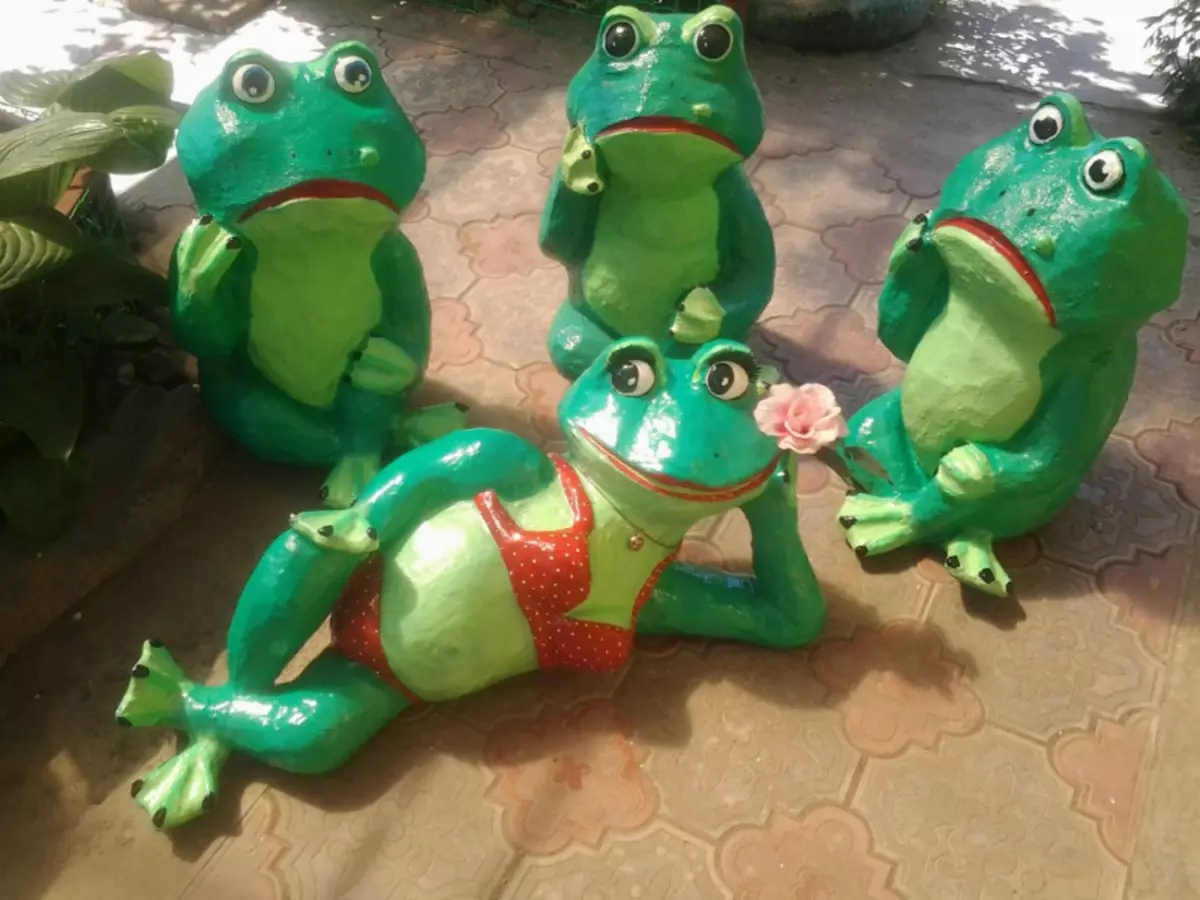
It is no secret that the main task of the craft is to develop creative notes, show the child the world that surrounds it. Any such crafts should not be costly, that's why materials that we can find at home are used. One of these crafts is a frog of plastic bottles. Basically, similar products are used in the garden decoration as garden figures.
Those who have already tried to create such a frog will agree that there is one minus plastic products - ease. After all, when the wind fits, the frog "jumps" from his place and then it will be difficult to find it. Therefore, it is recommended to fill it with the land or pebbles.
Plastic miracle
For many years, many people decorate their garden sites. Such art came to us from America, where residents do not have such gardens, as in our country. I liked this idea very much, and many such figures began to appear in the store. But the cost of their huge, so not everyone can purchase them. This master class will help the newcomer to understand how you can easily make such a toy with your own hands. In fact, if you adhere to the instructions, you can easily cope with this task.
What needs to be prepared:
- 2 bottles, different tanks (one - 2 l, and the second is 1 l, choose the same in shape and color);
- a bottle from which we will do foot;
- paints, several colors, must be green;
- wire;
- scissors;
- marker;
- thread;
- needle;
- Tassels for paints.
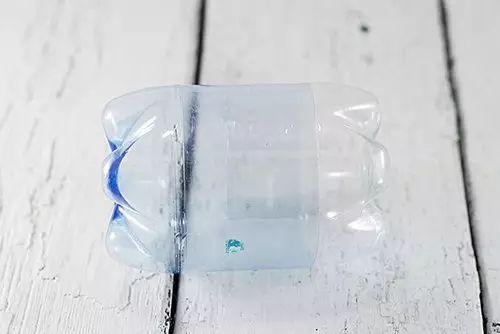
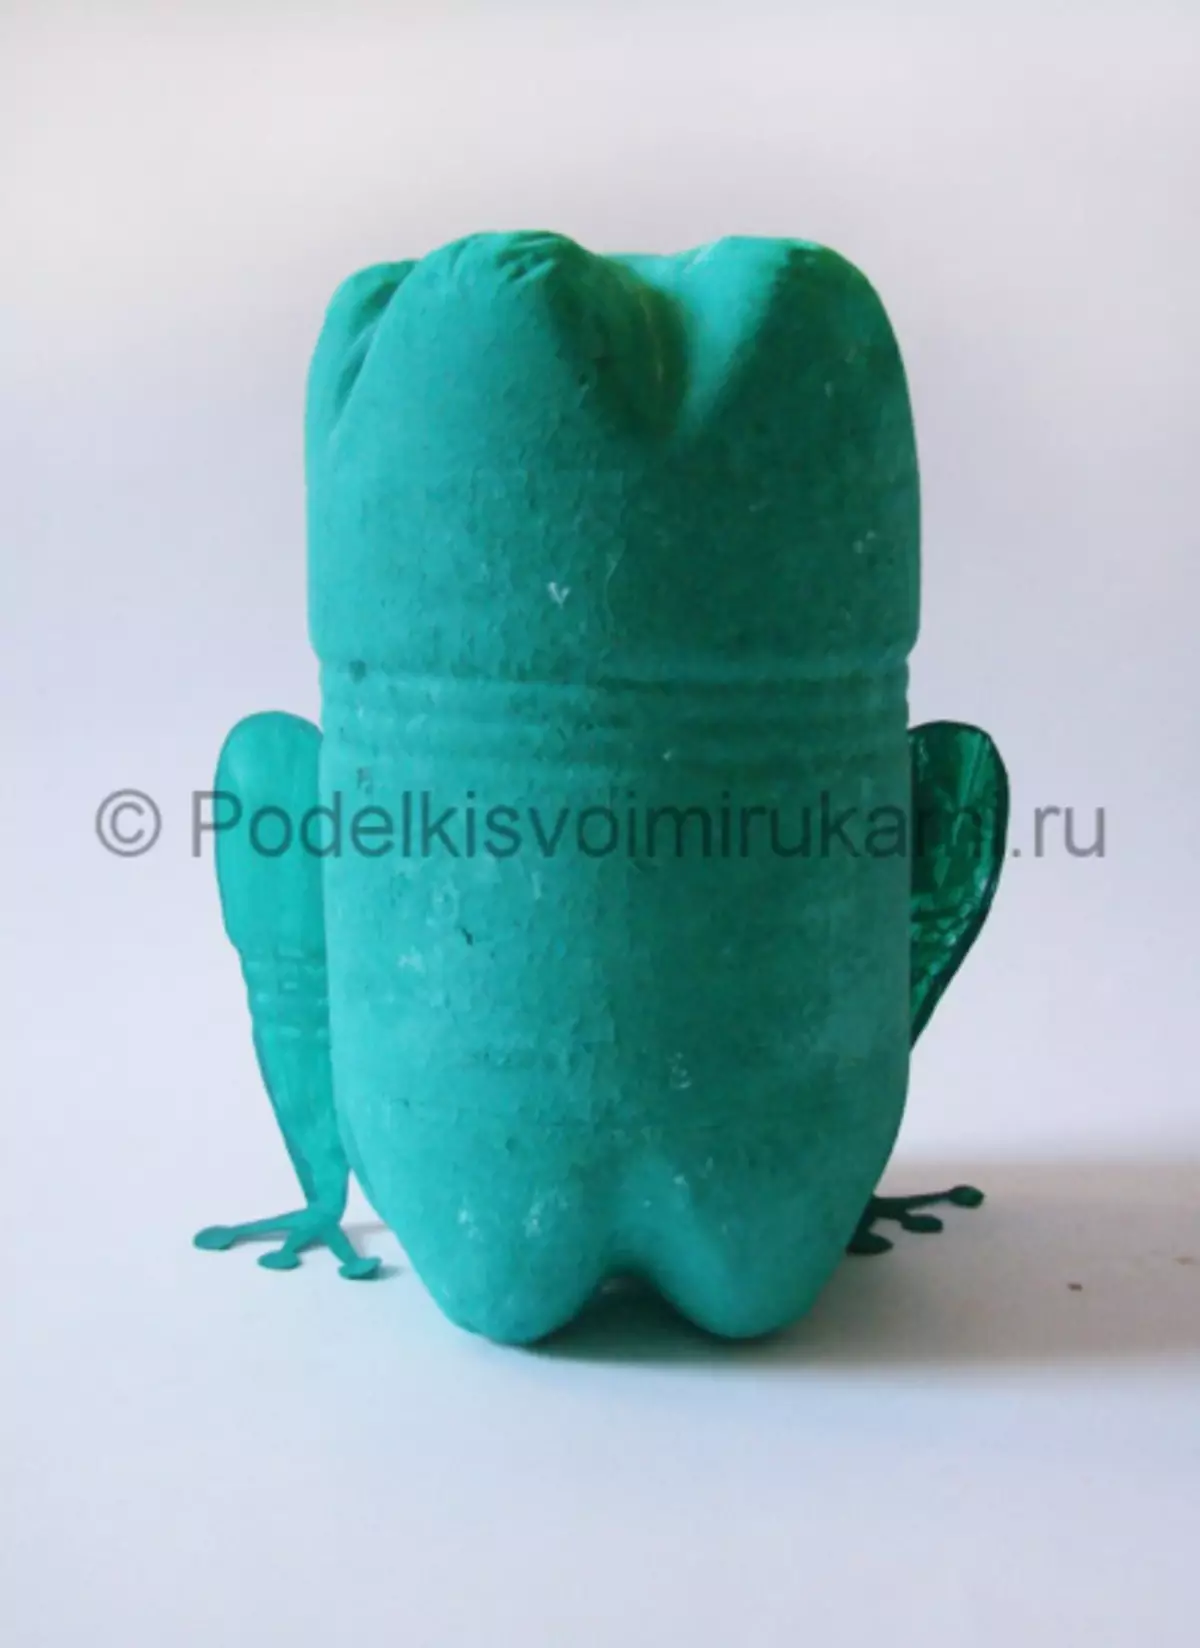
We proceed to creating a frog. First take two bottles and scissors, but before you remove the labels. Next, we need to insert a small out of bottles in a big bottom. It is worth cut off not much, since with the help of shorting we can adjust the desired height. But even if it is cut too much, you can still try to take advantage of your fantasy.
Article on the topic: Wedding necklace from beads: Master class with schemes
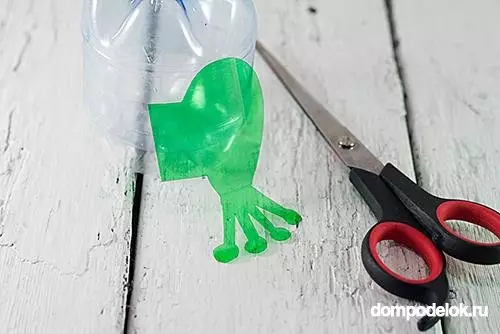
For your feet, you can take a green bottle, in which the color should be even - cut off the lower and upper part, then cut the vertical. We look at the photo below how it should happen. We take the marker and draw your paws, after cutting out. But it is not necessary to draw, you can just cut to the eye. To get a symmetrical second paw, you just need to attach a paw to the bottle and cut the felt-tip pen along the contour, cut out.
Now the resulting paws are secure with a thread, because glue for such a material will not suit.
This is due to the fact that the threads are more durable and despite the fact that the frog can fall under the rain, the thread will hold a long time.
It will only be the rear paws, now we need to cut and the front. To do this, repeat all previous actions. Now we proceed to staining the frog of green paint. It is starting to paint from top to bottom when everything gets dry, we apply the second layer. Leave dry.
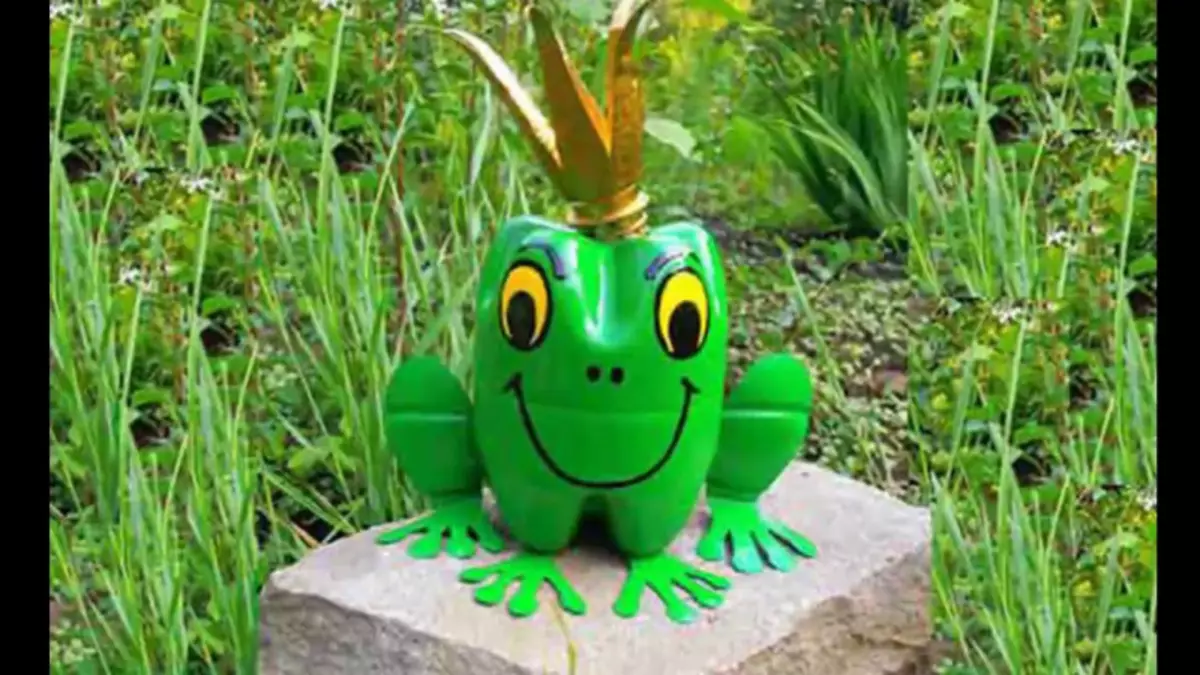
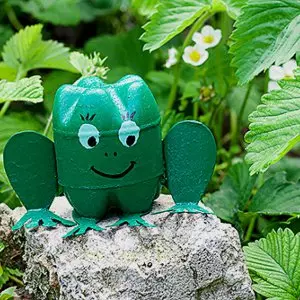
When the paint is dry, we start drawing eyes, nose and mouth. Some craftsmen not only draw, but still fasten more volumetric details. So our frog is ready. You can still make a crown, an arrow and anything, which will only allow the imagination.
Cheerful frog
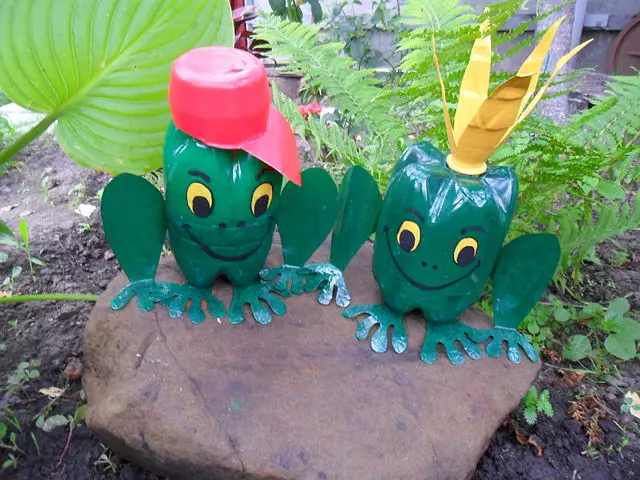
The desire to decorate your garden plot appears increasingly from modern gardeners. But buying constantly new clothes is not always affordable, so you can make crafts yourself. Run it easily and simply if you follow the instructions provided in this master class. Now we will make a cheerful frog with a cap.
What do we need:
- two bottles of two-liters;
- Flomaster;
- scissors;
- paint;
- Hot pistol (you can take threads).
We take two bottles and cut them, then connect with glue with a glue. It is necessary to carefully monitor not to overheat plastic, do not deform. But it is better before connecting, inside to put earth or rubble - this is done so that the frog does not fly through the entire territory with windy weather.
Article on the topic: Male jamper diagram with knitting needles: how to associate a hooded model for 2019 with video
From the remnants of the bottle, we should cut your paws and stick or sew them. You can still leave the foot length slightly to cover it inside the bottle, fixing. When everything is attached, we proceed to painting, best in two layers. When the paint dries, draw a frog face and make a crown or cap. And here is our handicraft ready.
Video on the topic
This article presents video with which you can learn how to make a frog from plastic bottles yourself.