
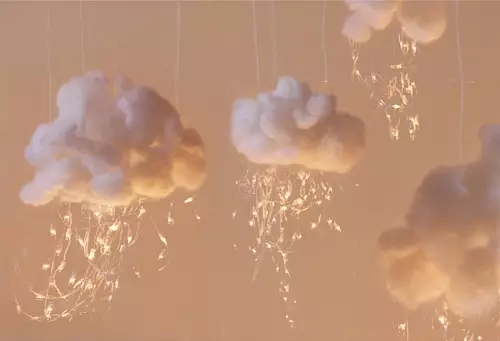
Decorating the rooms is not too difficult, but even more so rooms for your favorite children. You can hang stencils, such as butterflies or stars on the wall, make crafts and put them on a shelf. The original idea can be considered the decoration of the room with something air and easy. This is what we will deal with this article. Make the clouds from the wool with their own hands is very simple, so you boldly attract children to work and creativity. We will also show another idea with the use of Singrytegone. By the way, take note that you can decorate the room with such beautiful clouds while preparing for a romantic evening.
First method
Creating air clouds can be traced on the example of the master class.
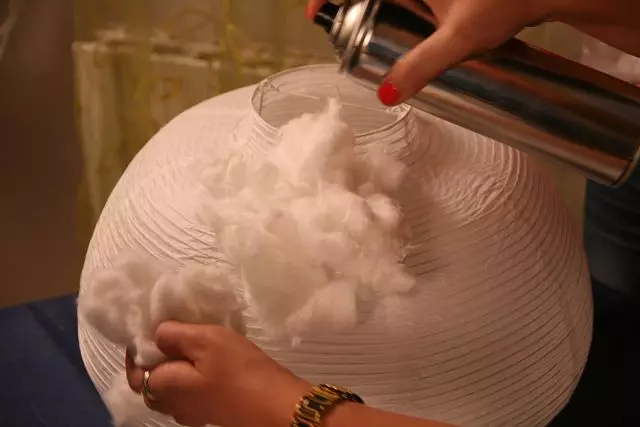
To work, take the lamp shade from rice paper, glue, which is in the canopy, and our main component is wool.
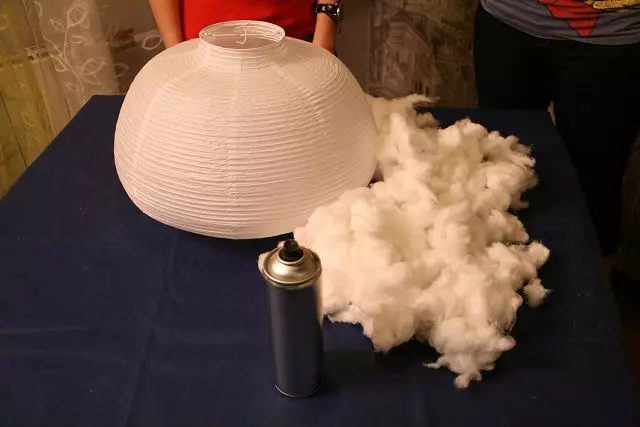
Take the basis. We prepare the lampshade, you can buy it (factory option), and you can make it yourself. For this method of work, it is best to ask for someone's help. Covered with lampshade glue.
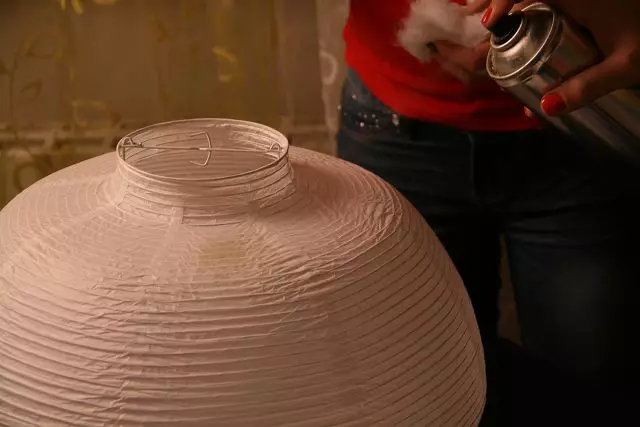
At the moment when one person splashes the lacquer, the other should evenly stick wool around the perimeter.
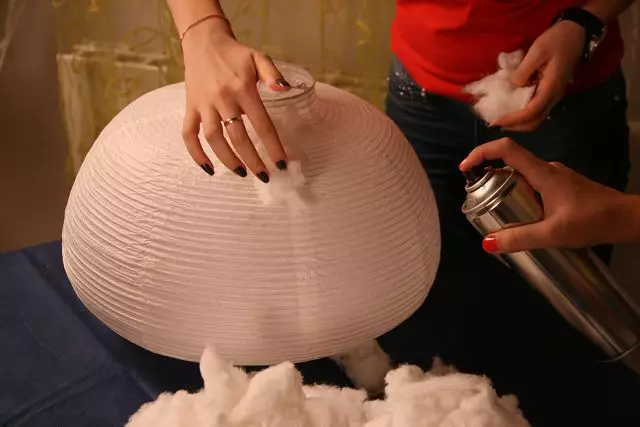
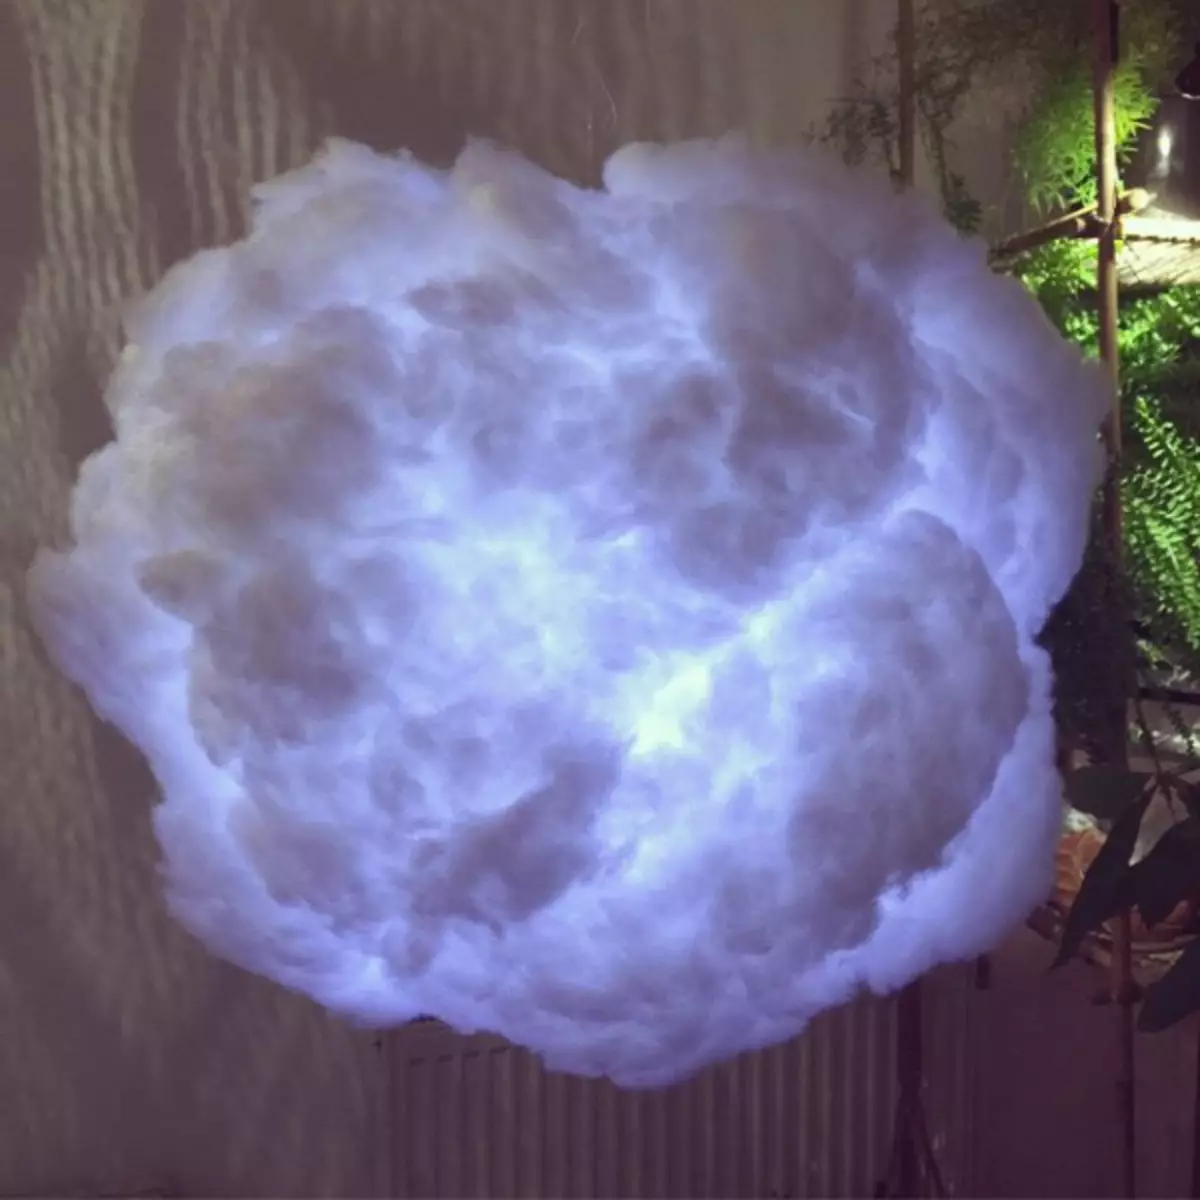
That's what should be obtained during the work. Do not forget to make a cloud volumetric, sticking somewhere more, and somewhere less wool.
Here is a pretty cloud with us turned out!
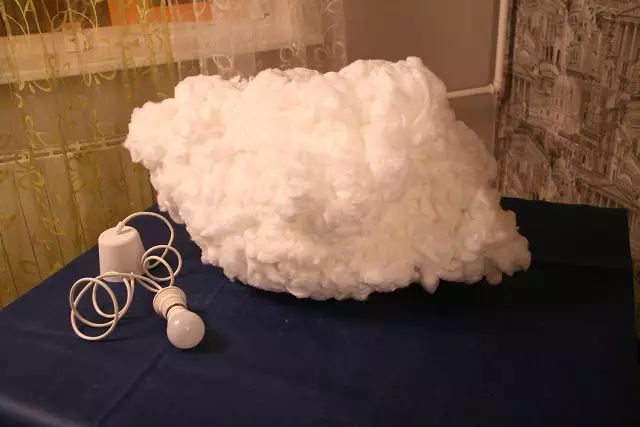
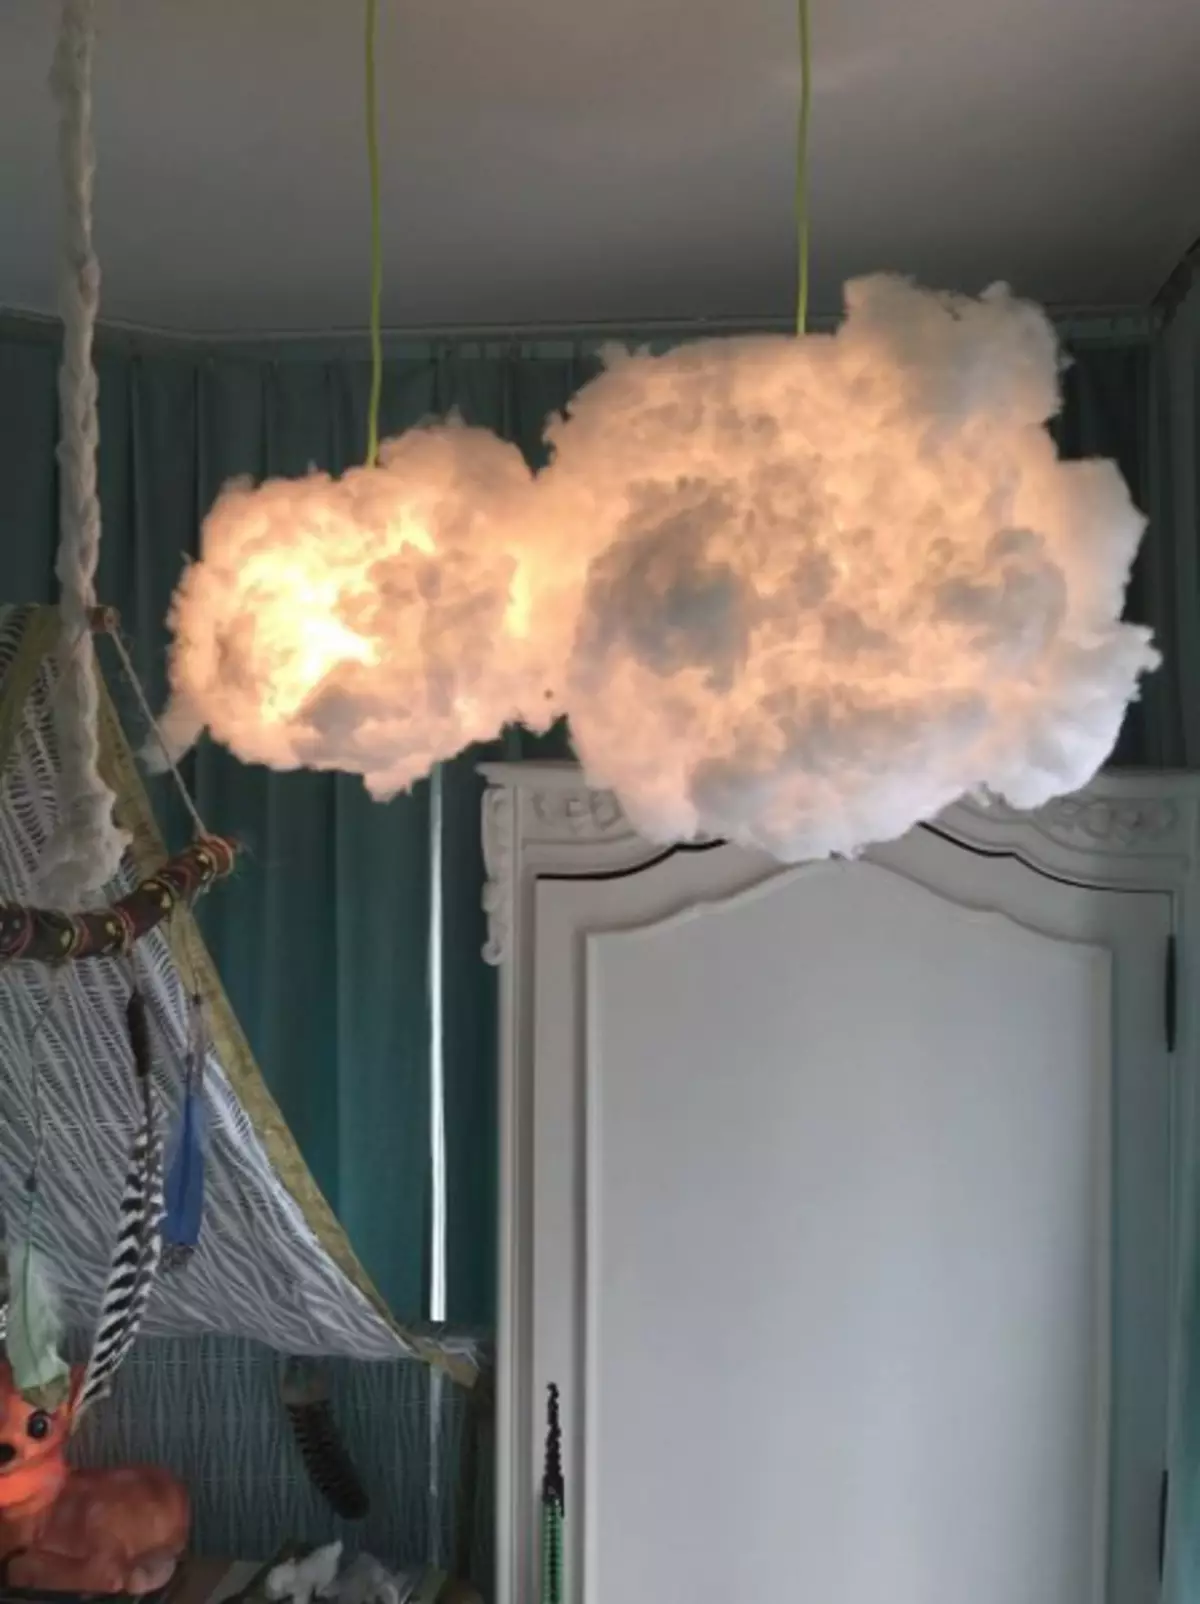
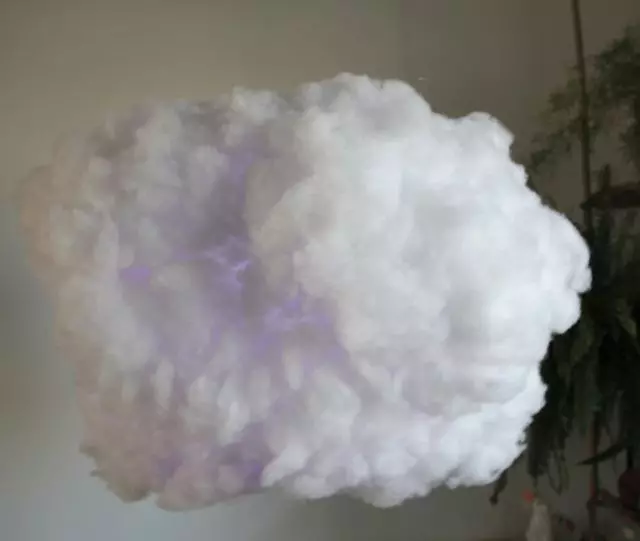
Leave the cloud for a while to make a glue. If you want our craft to shine, then insert into lampshade, ordinary light bulbs or multi-colored backlights.
Second option
Make beautiful air clouds can be without a basic from the lampshar.
For this master class you will need conventional white balls, which is perfect for the form. We also need PVA glue, paper and, of course, wool.

The first step we influence the necessary number of balls and associate them in a certain order in the form of a large cloud. You can also inflate the helium, then the finished clouds will take off. Then they seek the workpiece with the usual PVA glue. The next step is to blame paper on the pieces and in the technique of Papier-Masha we glue the balls. It is because of the paper that the design will look more solid. Again we cover the blank layer of PVA glue. Top stick pieces of wool. Here are ready clouds from the balls.
Article on the topic: How to sew a case on the chair: pattern with a description of cutting and sewing
Idea number 3.
We will also consider the following idea on the example of the master class.
To create it, take the Kleister, sought to dry up the clouds, a tray and a lot of cotton wool.
We make from a mixture of potato starch and water Clauster. We mix the ingredients, heat the water boiling state and cooled in room temperature.
Wat will be the basis for the clouds, so it needs to take more than in previous master classes. Fill in the sudine, it may be a pelvis, aleas. We form the clouds of the clouds you need from cotton wool. Then dipped them in the liquid. Uniformly distribute the adhesive element over the entire surface of the future cloud. In the event that alee is very much, press wool. We post on the tray of the workpiece so that they can dry. Drying takes about 20 hours of time.
Try not to forget that every two or three hours we need to turn our future clouds!
After the drying stage was gone, give the clouds the necessary form. To do this, you just need to mock them in some places. If you want to make a drop of rain, then cut them out on paper and glue with threads to the cloud. At the same time, the billet itself also secure the pair of threads to the ceiling or chandelier.
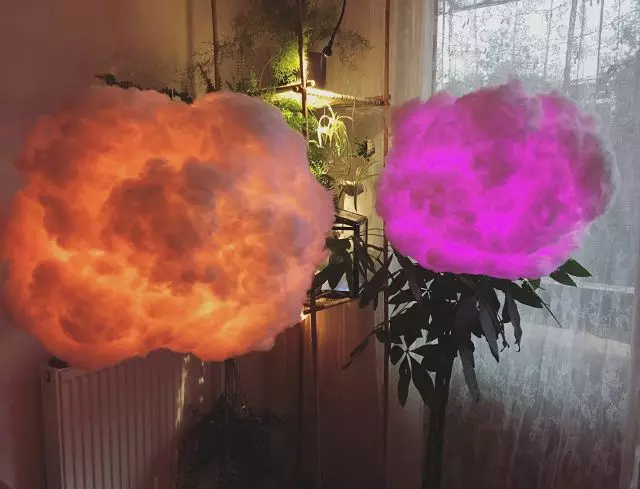
By the same scheme, you can make clouds and from the synthet board. It's even easier! We will not need adhesive base at all. Due to the fact that the synthesis is a bulk, elastic and very lightweight material, can be easily given any shape, stretching the fibers in all directions. You can also place a light bulb or backlight.
In order to make clouds in the future, make small spirals from wire, to which leak or ordinary thread. We ride the clouds on the spiral, simply screwing it inside the workpiece. With the help of a scotch, attach the free ends of the thread to the ceiling.
Article on the topic: Knitting verges with pattern knitting needles 33
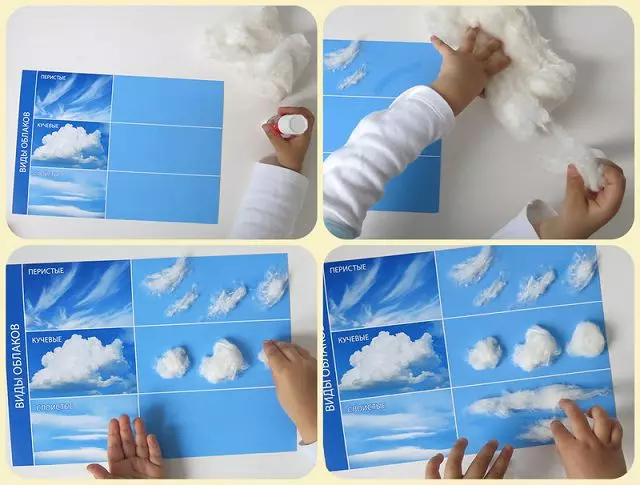
Very often, the clouds of wool for applications also make children in their crafts. To do this, it simply leaves a piece of watts and is glued in a suitable form for PVA glue.
Video on the topic
Consider a selection of interesting videos, which show a phased process of creating clouds from Wat with your own hands.