
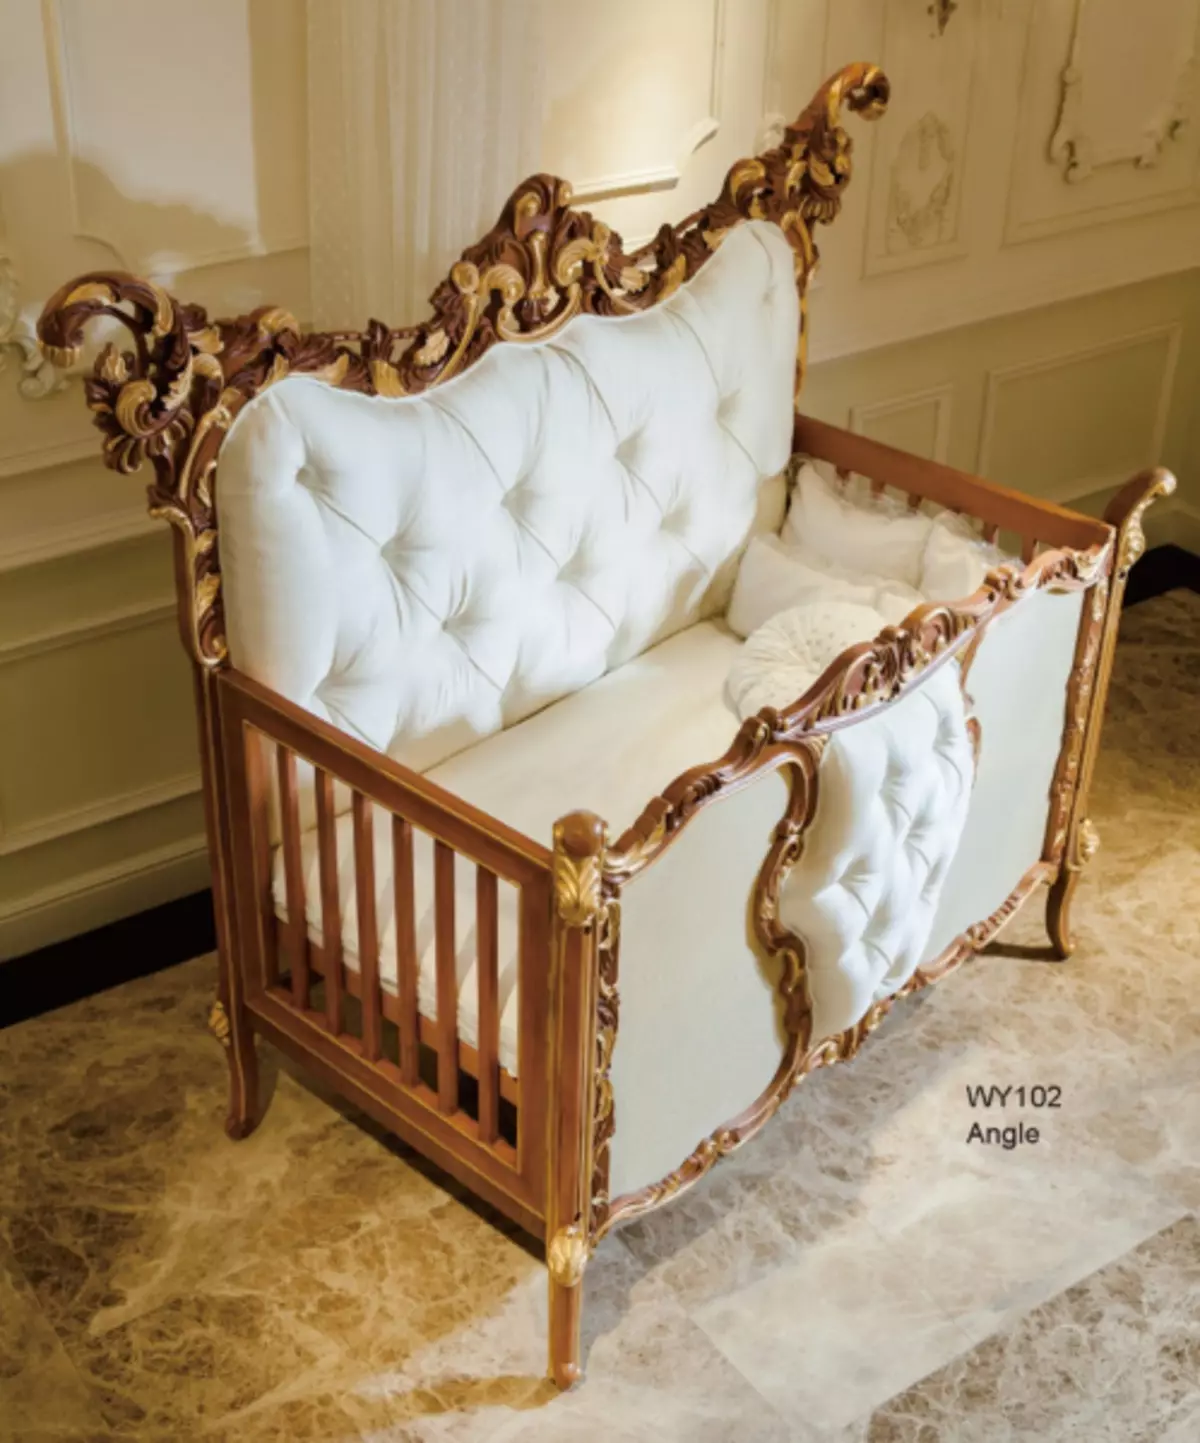
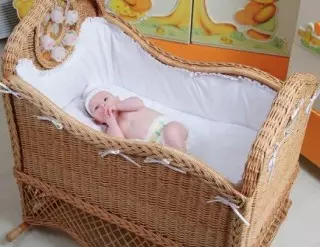
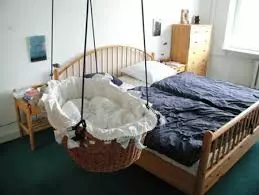
The cradle is a small bed for the baby, which is suspended in the air. This is one of the oldest and, unfortunately, the most dangerous beds for kids. If you do not comply with the right technology and use low-quality materials, the cradle can simply break together with the baby. In this article we will tell you how to make a chalk for a newborn with your own hands, only she will stand on the floor for security.


Go to the lesson
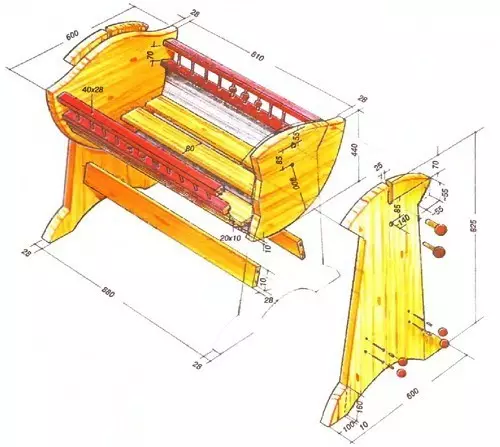
You can view the craft manufacturing process on the example of the master class. We took the scheme from the last drawing and simply simplified it.
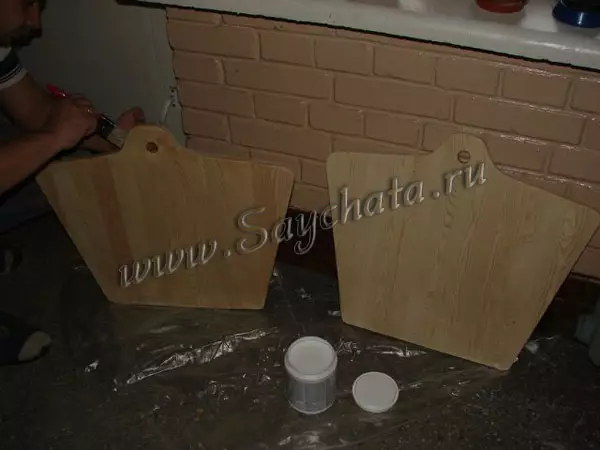
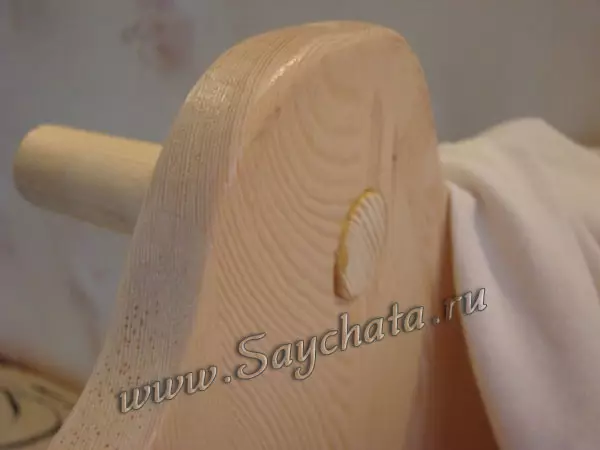
Cut the headboard and legs, then cover them with a colorless transparent acrylic varnish.
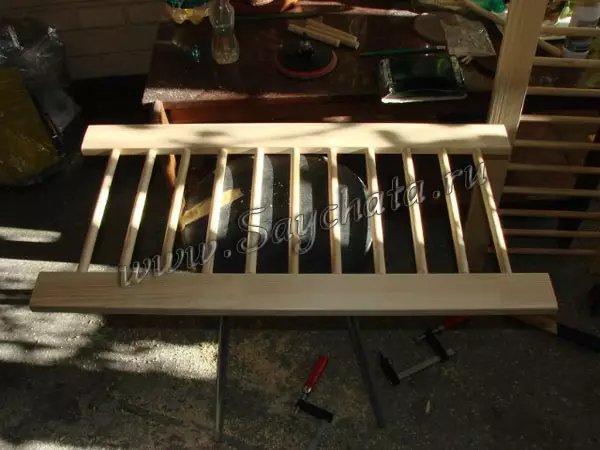
Next, we make sidewalls.
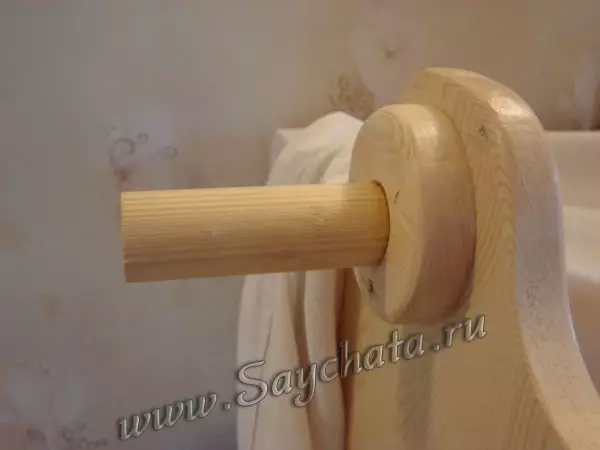
You can buy these round sticks in the store, then they will need to grind and glue to two straps.
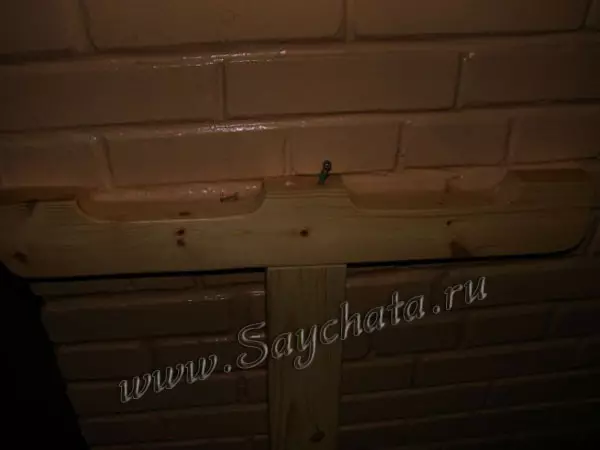
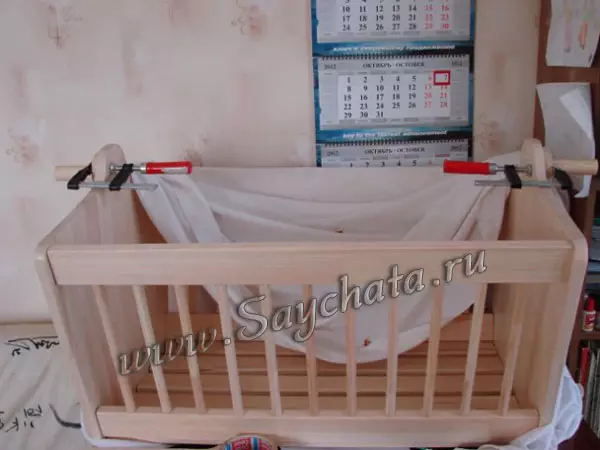
Make the bottom of the cradle. As you can see, we do it not from one thick board, but from the rails.
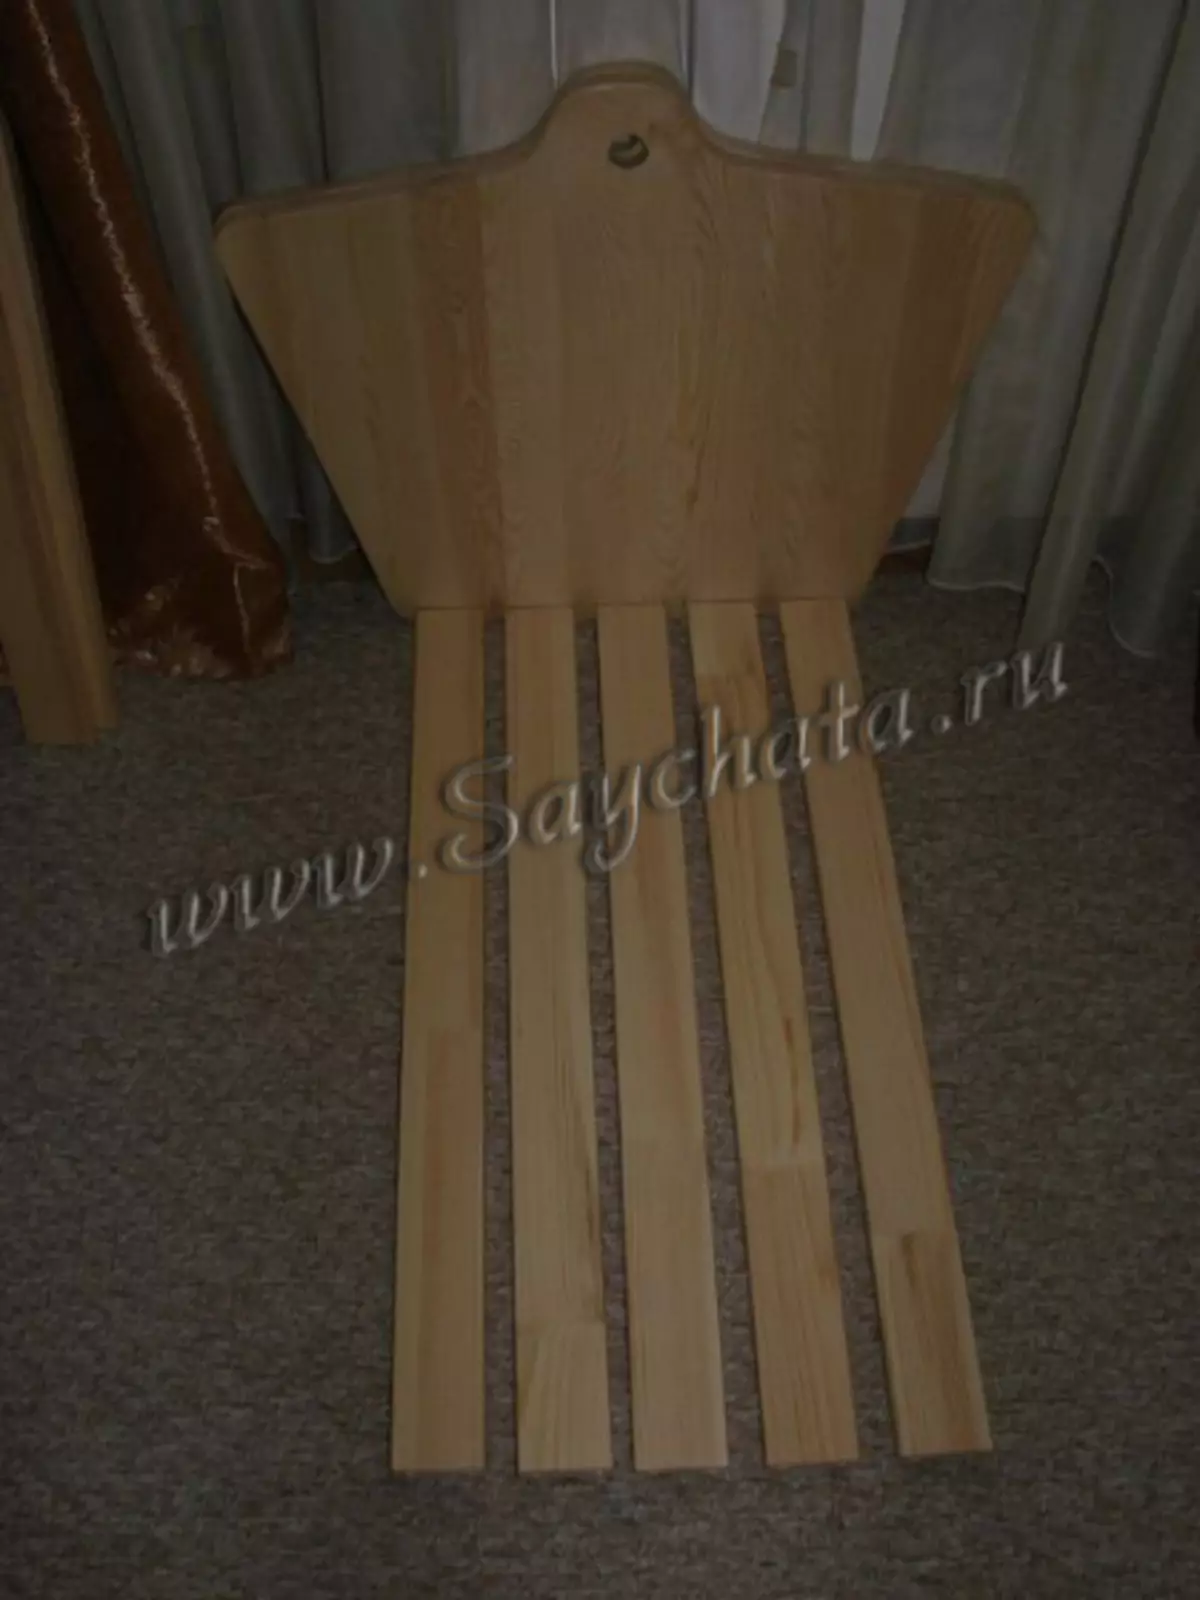
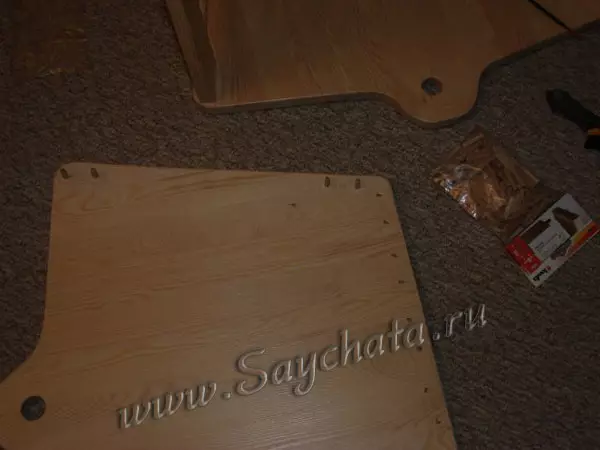
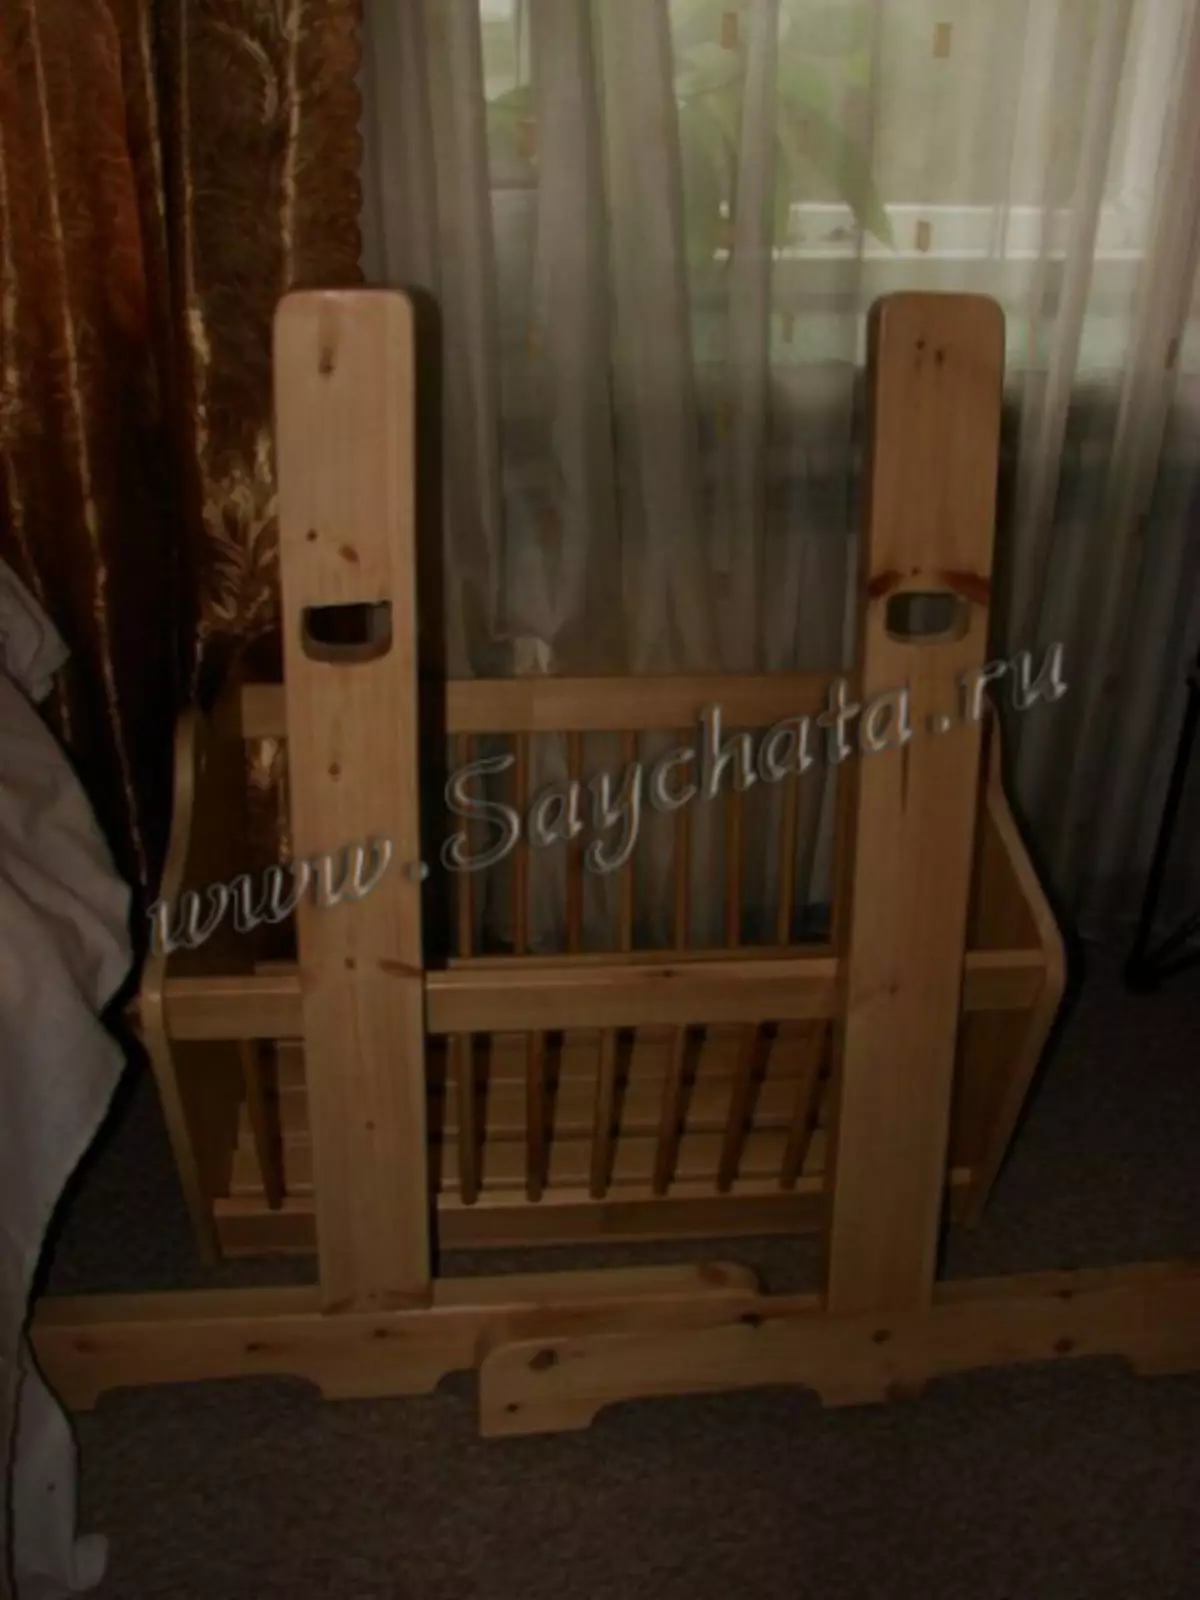
Drill holes and start collecting a crib.
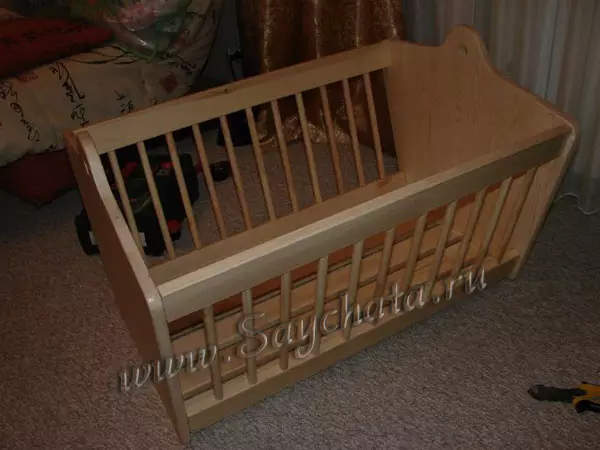
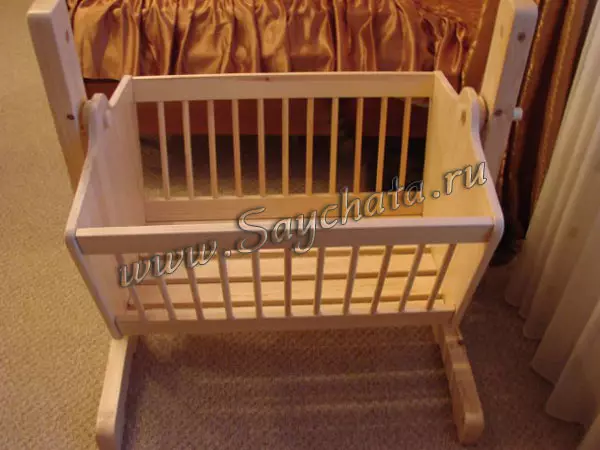
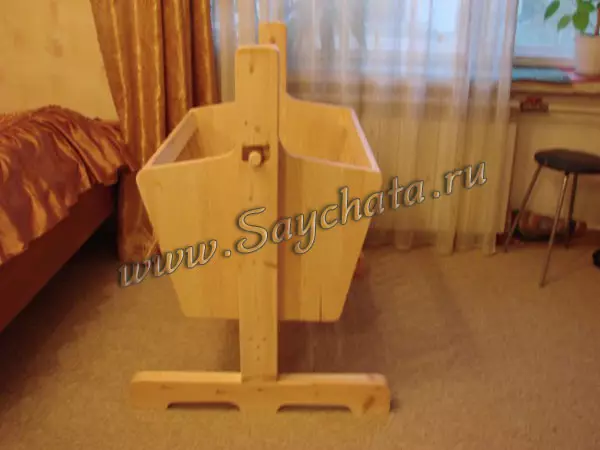
That's what should happen at this stage.
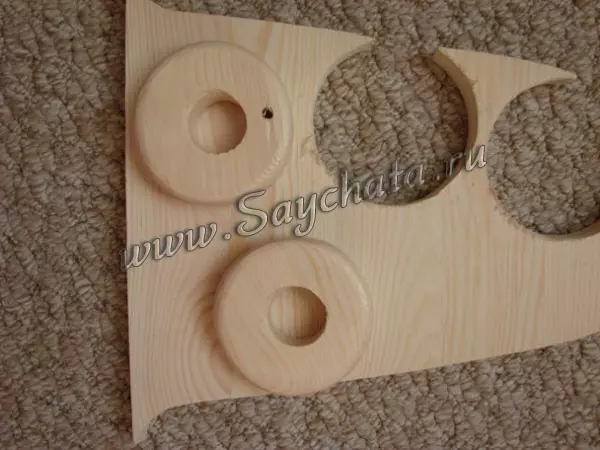
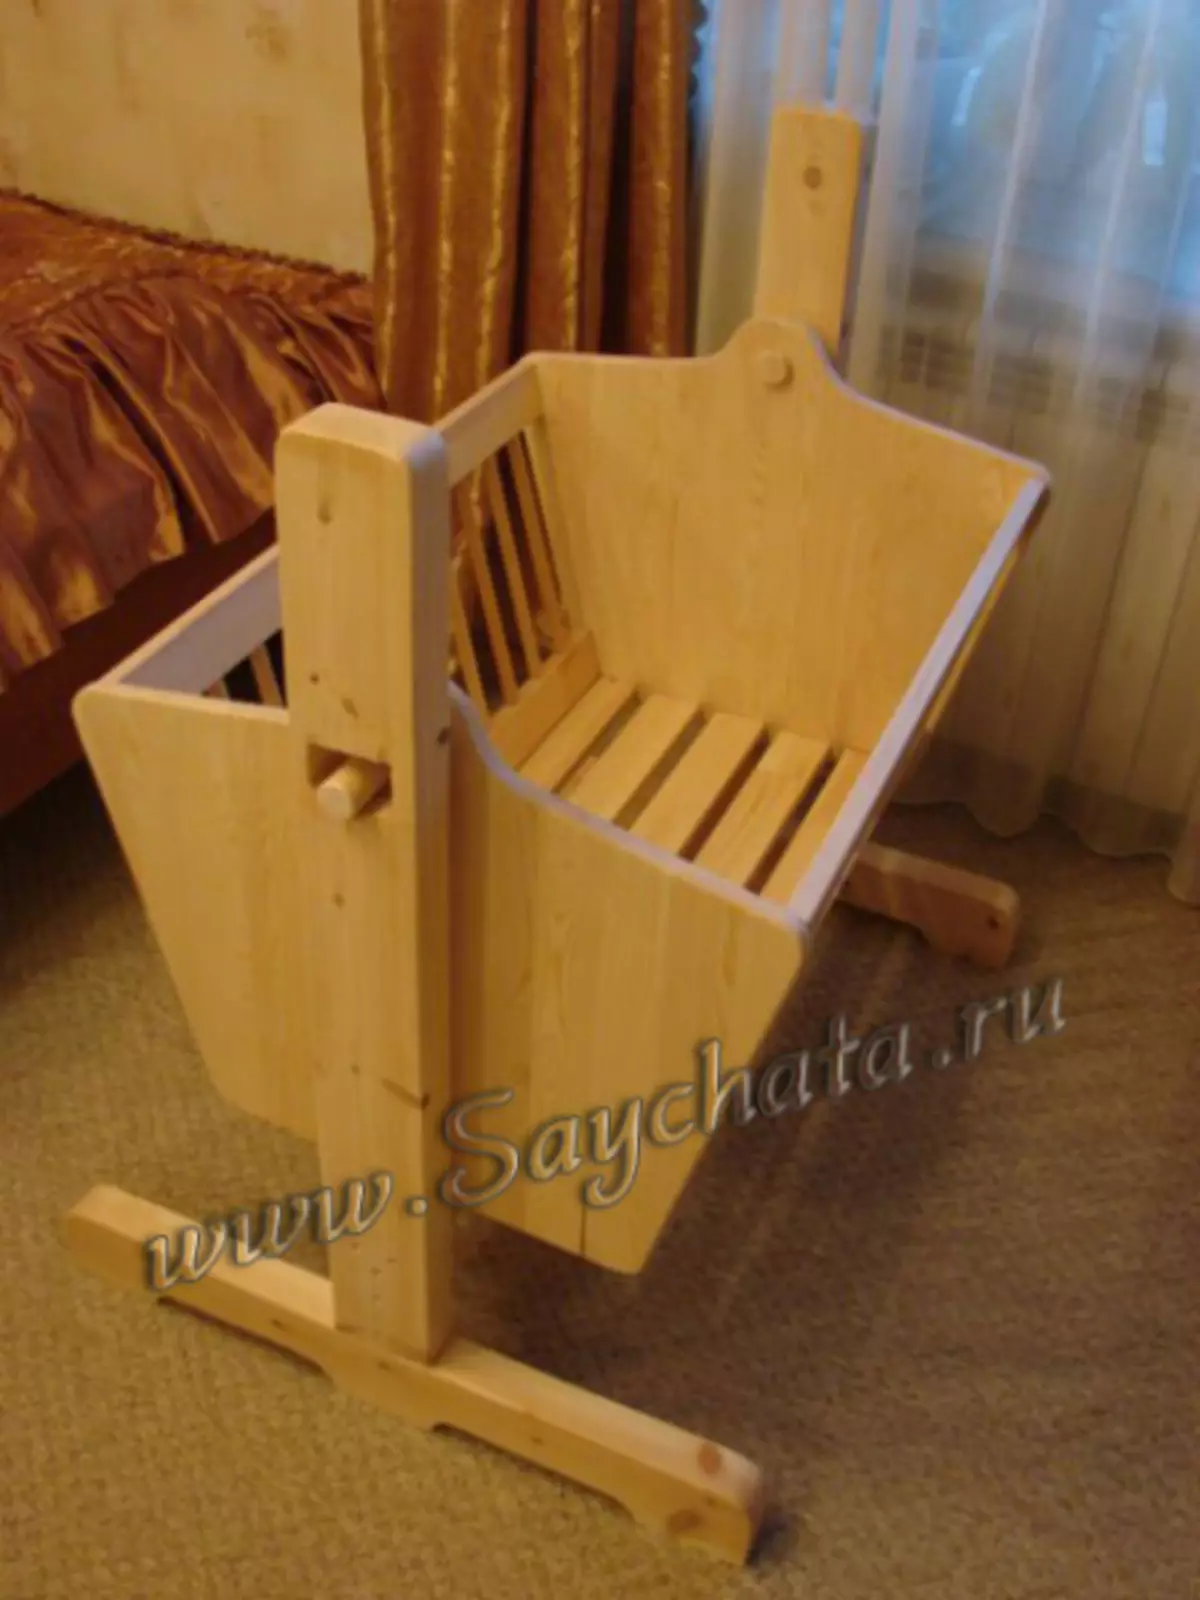
Cut the legs in the form of the letter "g".
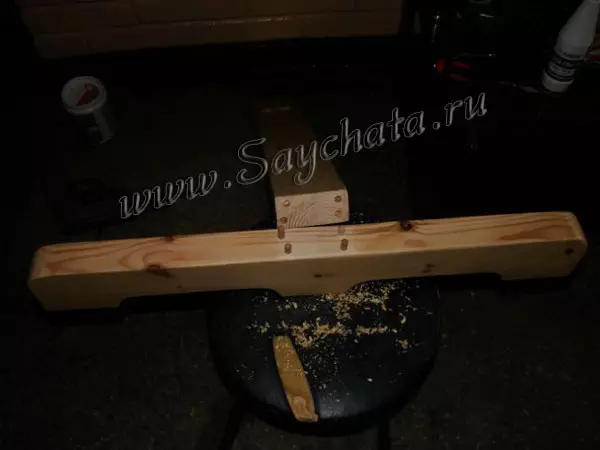
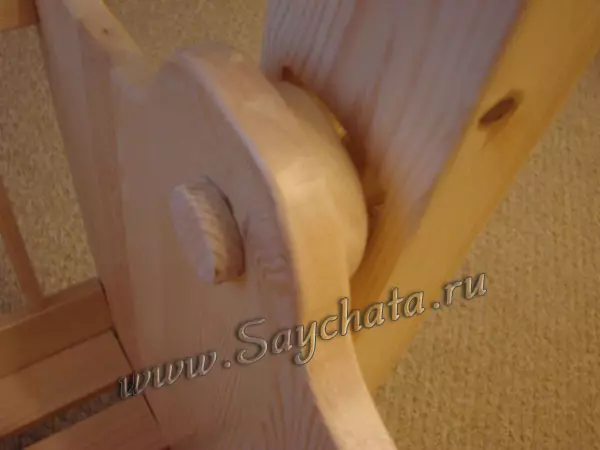
Cut the swing mechanism.
We collect it.
At night, you can hook wheels with clamps so that they are better glued.
We present the photo of the cradle, which we turned out, from different angles.
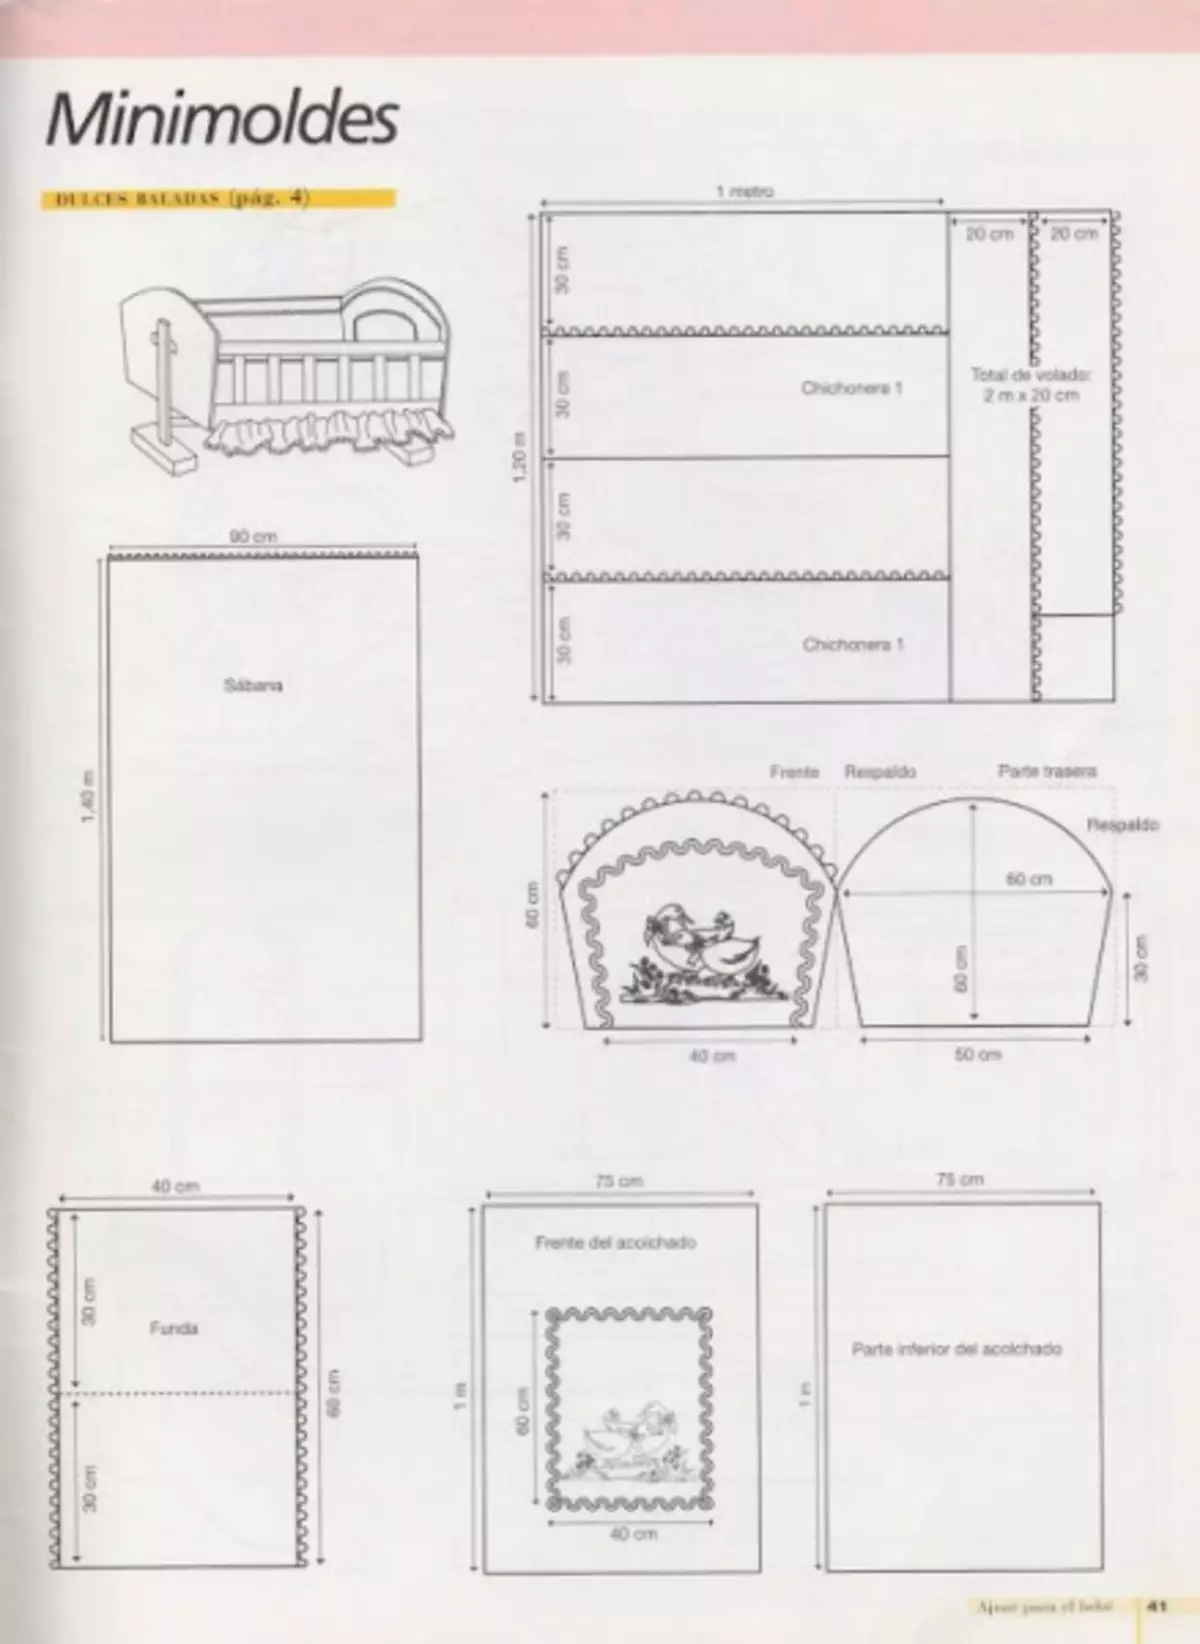
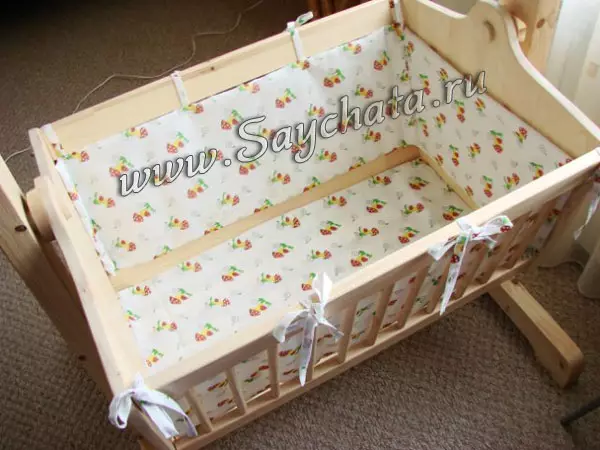
We sew sides and mattresses.
Cute nest
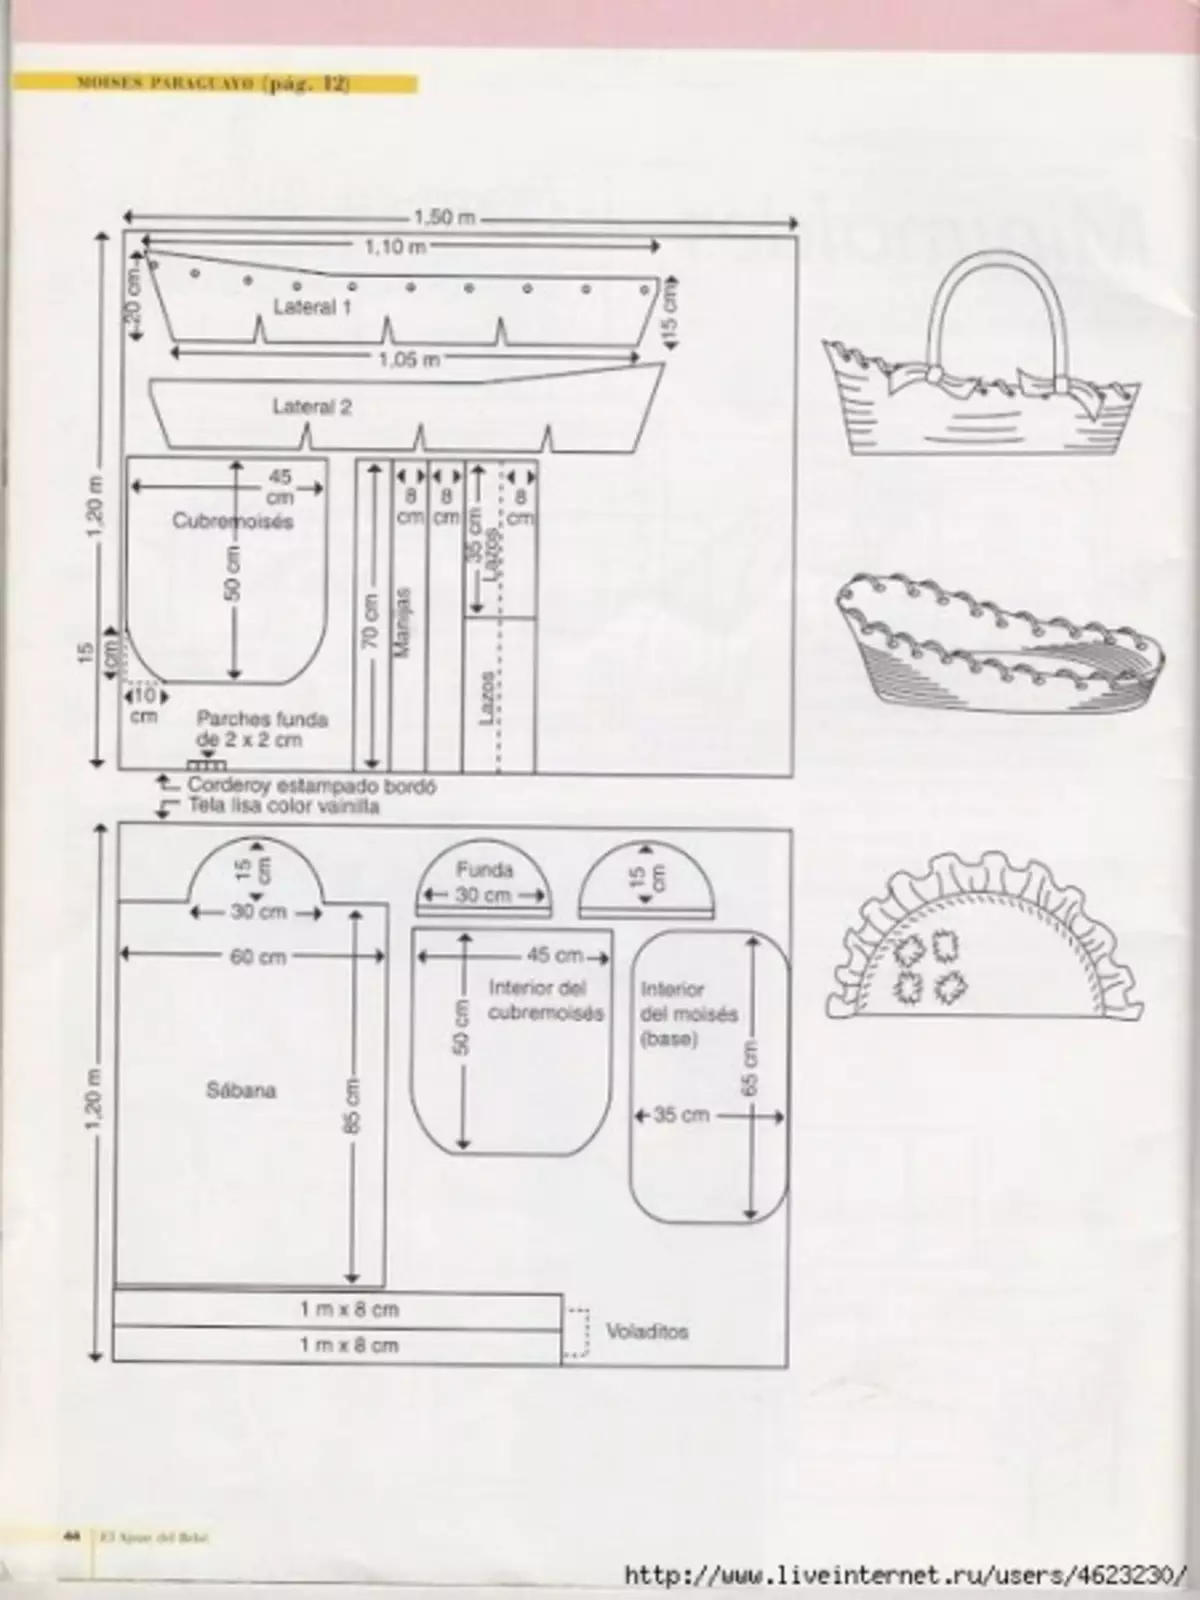
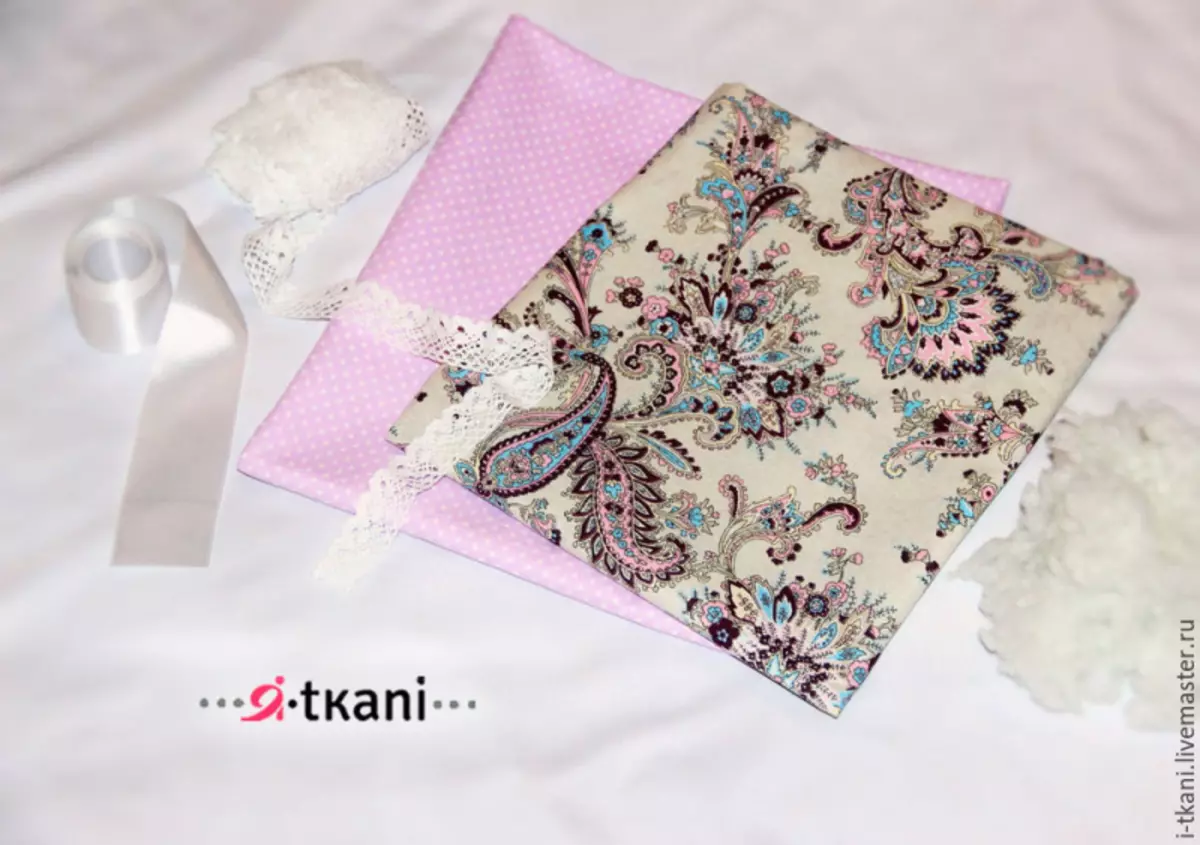
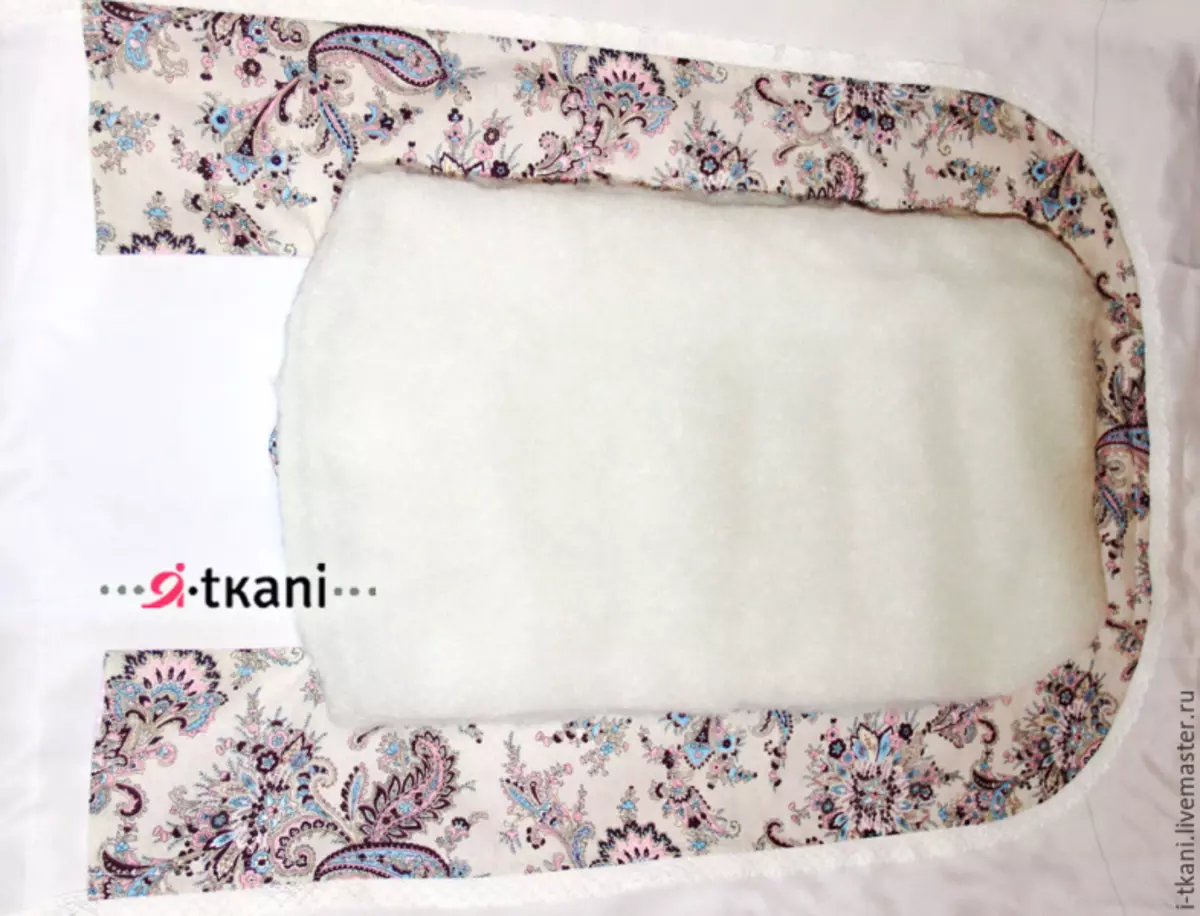
The process of creating a root nest can be traced on the example of a master class. To do this, we need a cotton facility with a size of 80 * 100 cm, you can take two segments of one or more colors, openwork lace and satin ribbon of about three meters, holofiber or sintepon.
First we make a pattern. It is perfect for kids. It can also be downloaded from below the link.
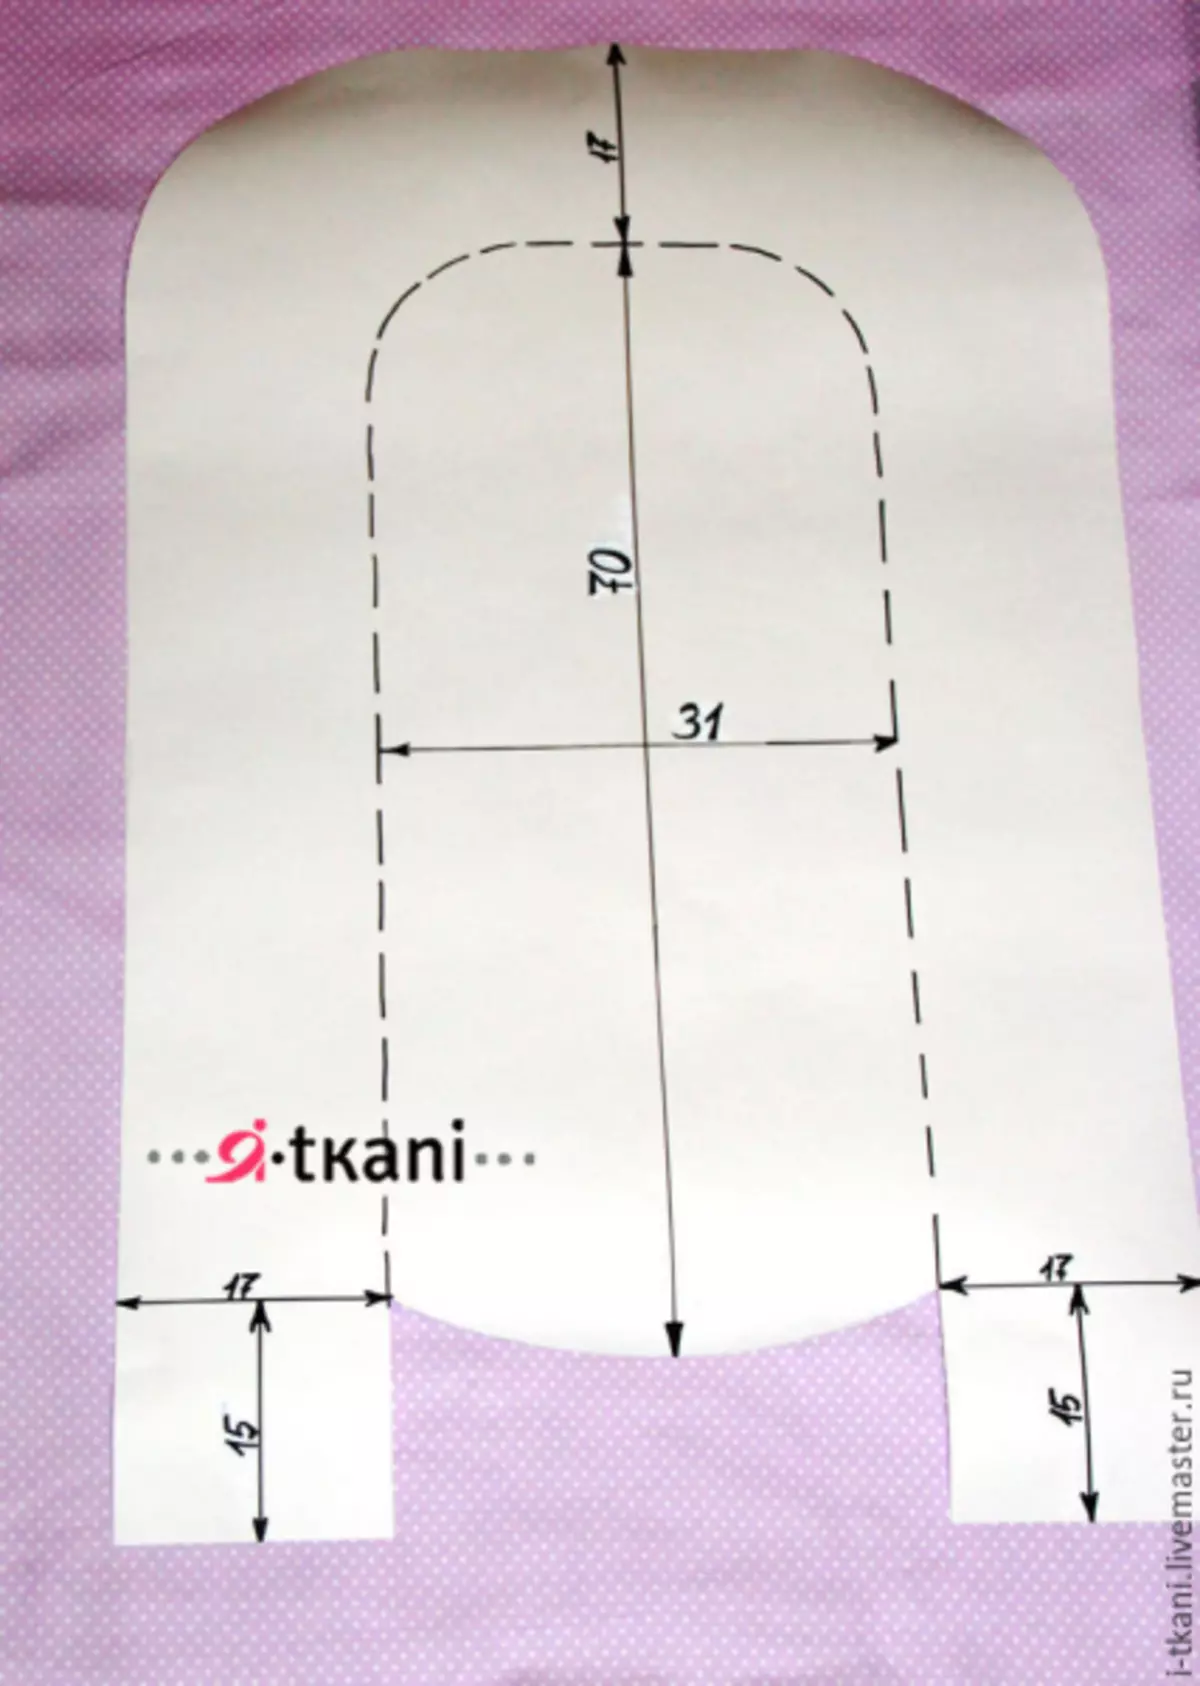

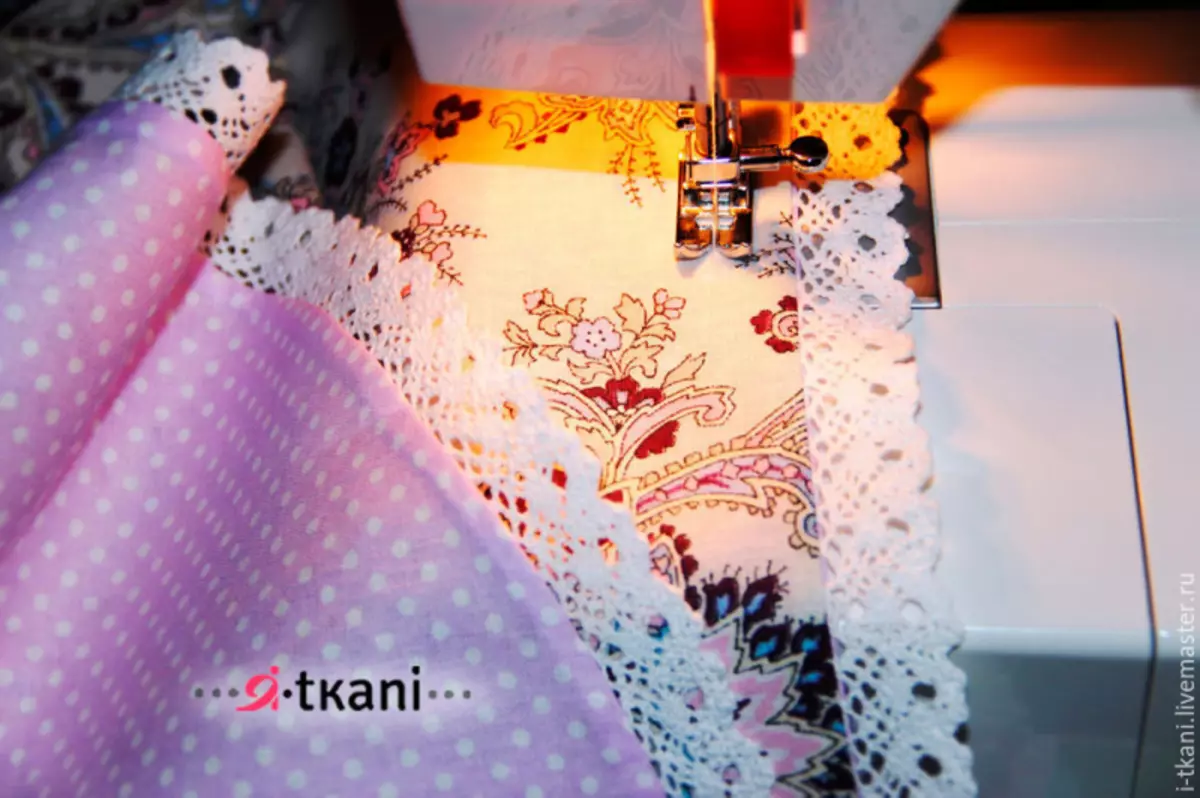
Then sweep the two segments of the fabric and lace. The front side should look inside. We start to flash and coat fabric. It is necessary to make very neat stitches for beautiful edges. Next, turn the nest and steer the edges.
Article on the topic: Sauron Helmet do it yourself
Two cm retreating from the edge, we spend the seam. He will need it a little later.
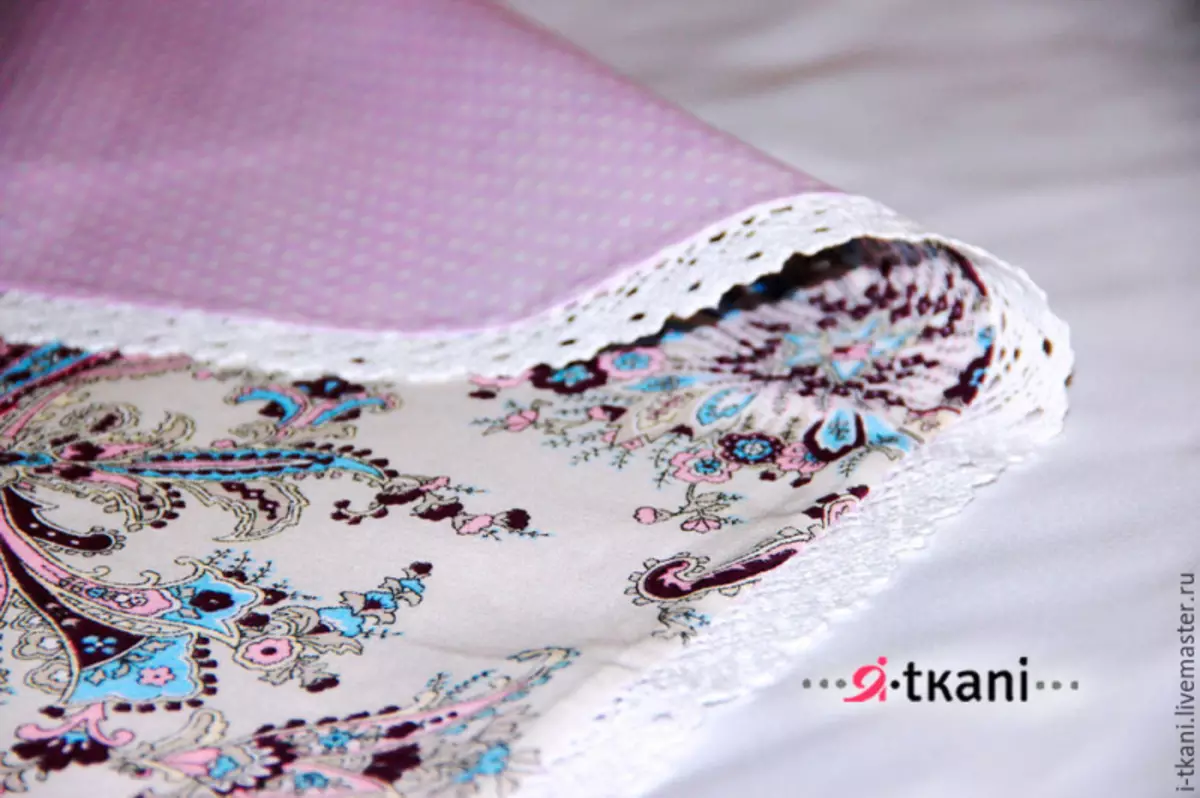
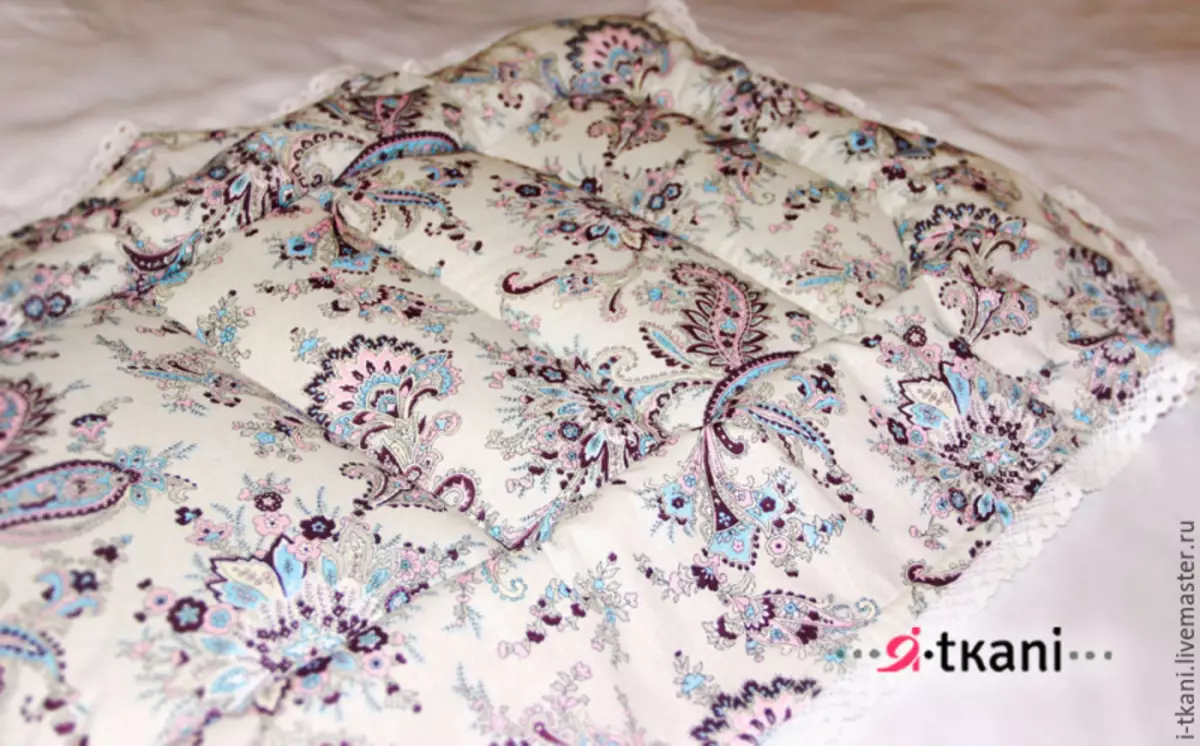
Cut out and spinning around the edges of the hollowubiber size of 70 * 35 or use Sinyppon. Now I fill the nest to them and make a pair of horizontal seams. We also do not forget to see the side of the cocoon.
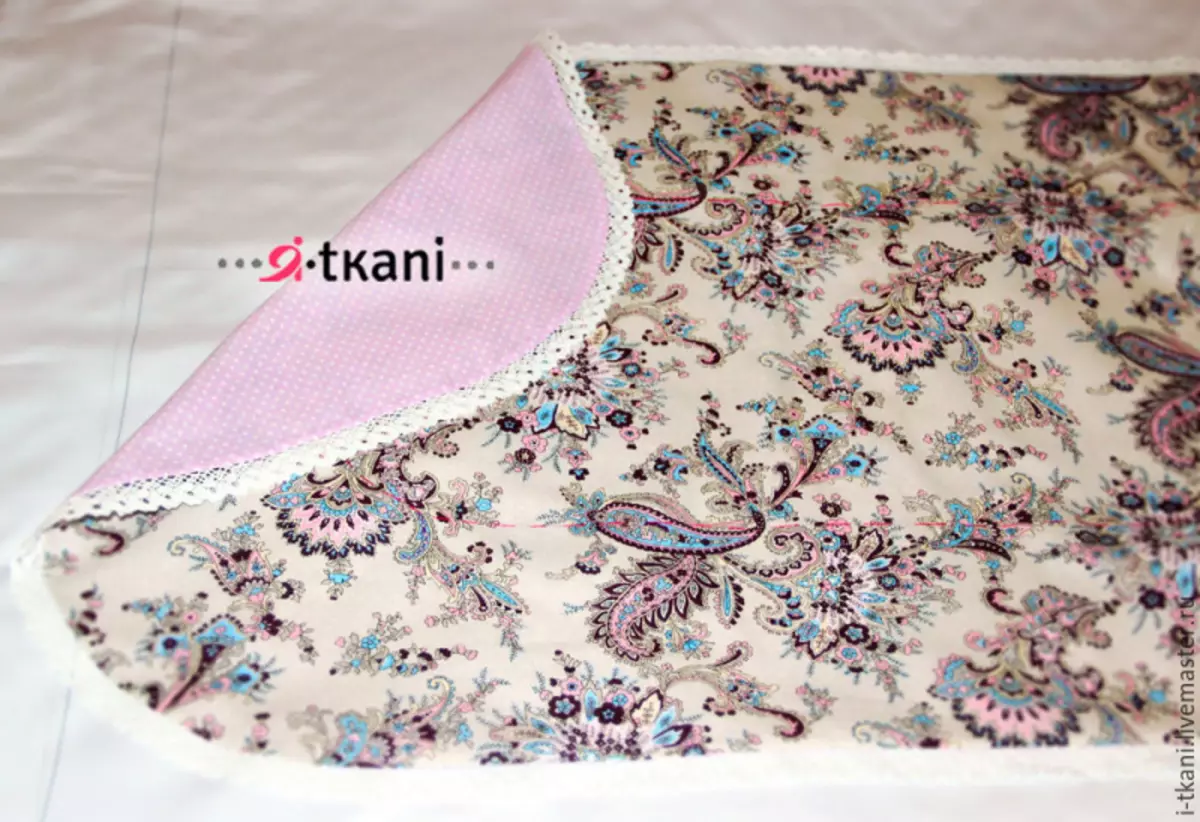
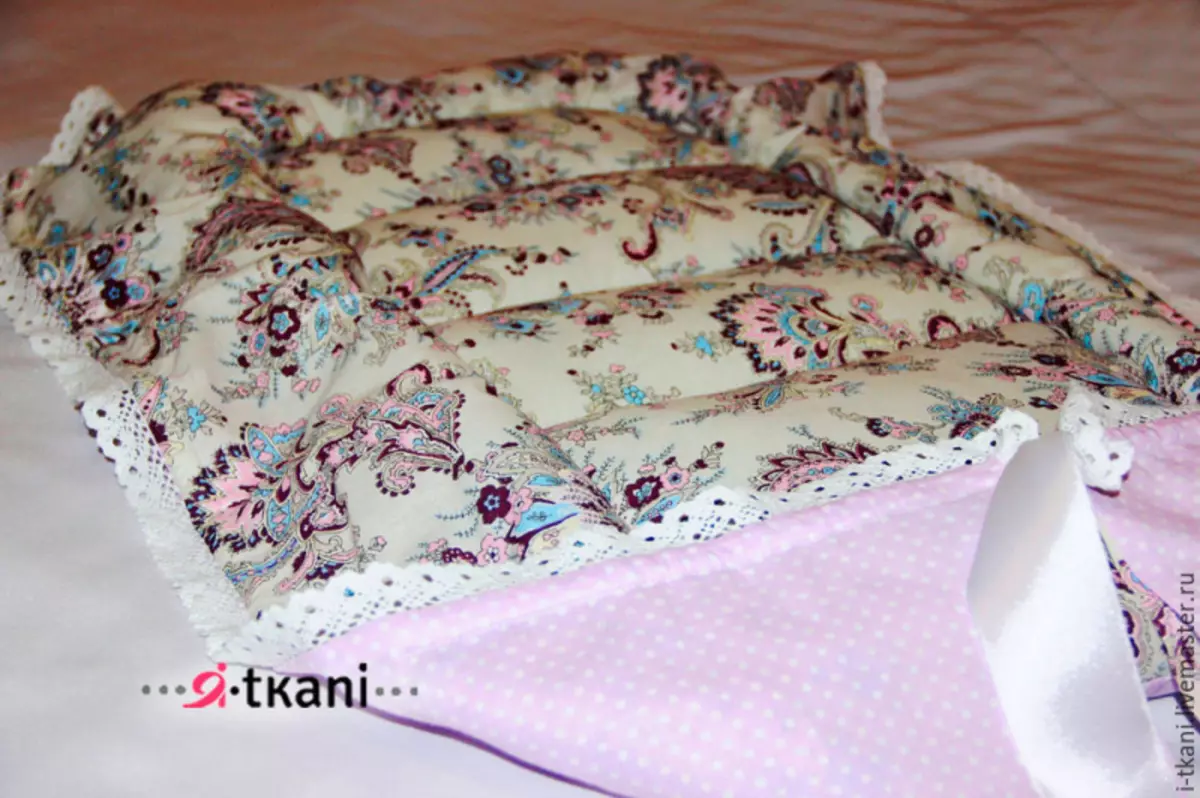
Then stretch the satin tape. In order to make it easier to make this work, use the pin.
Putting flights and sew the open edges with manual seam.

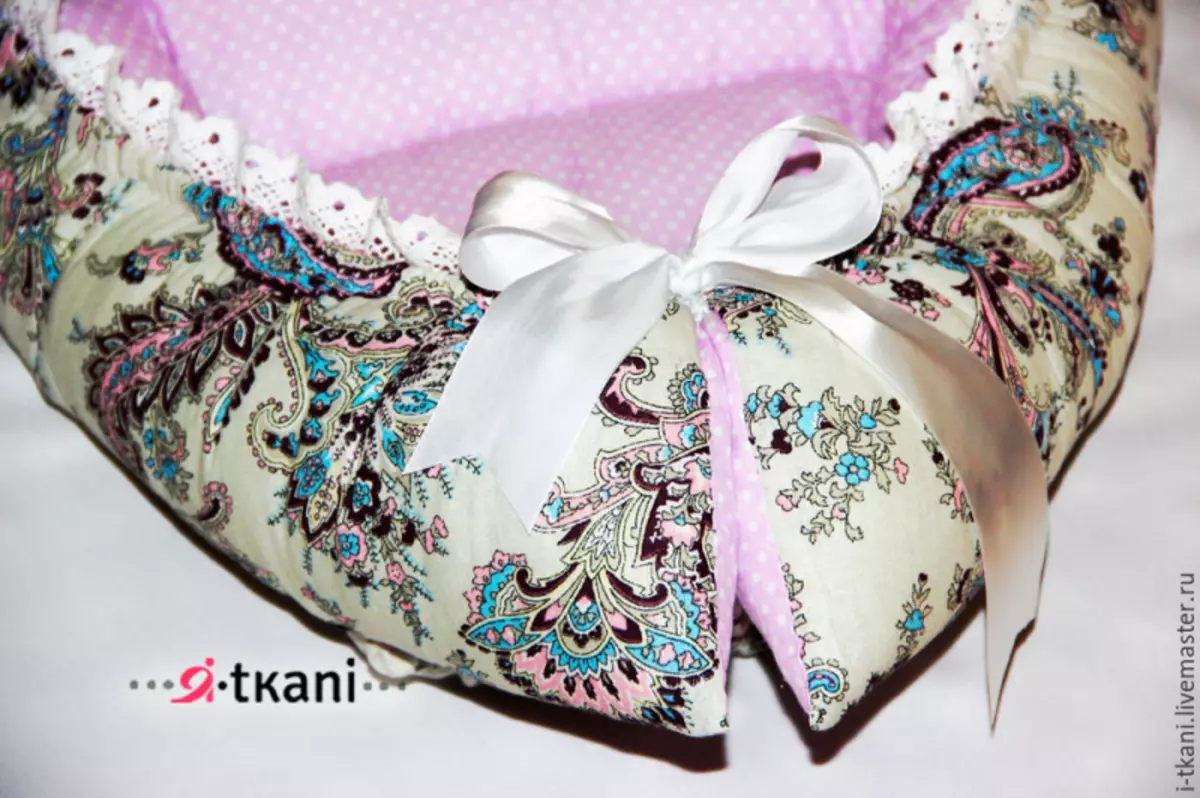
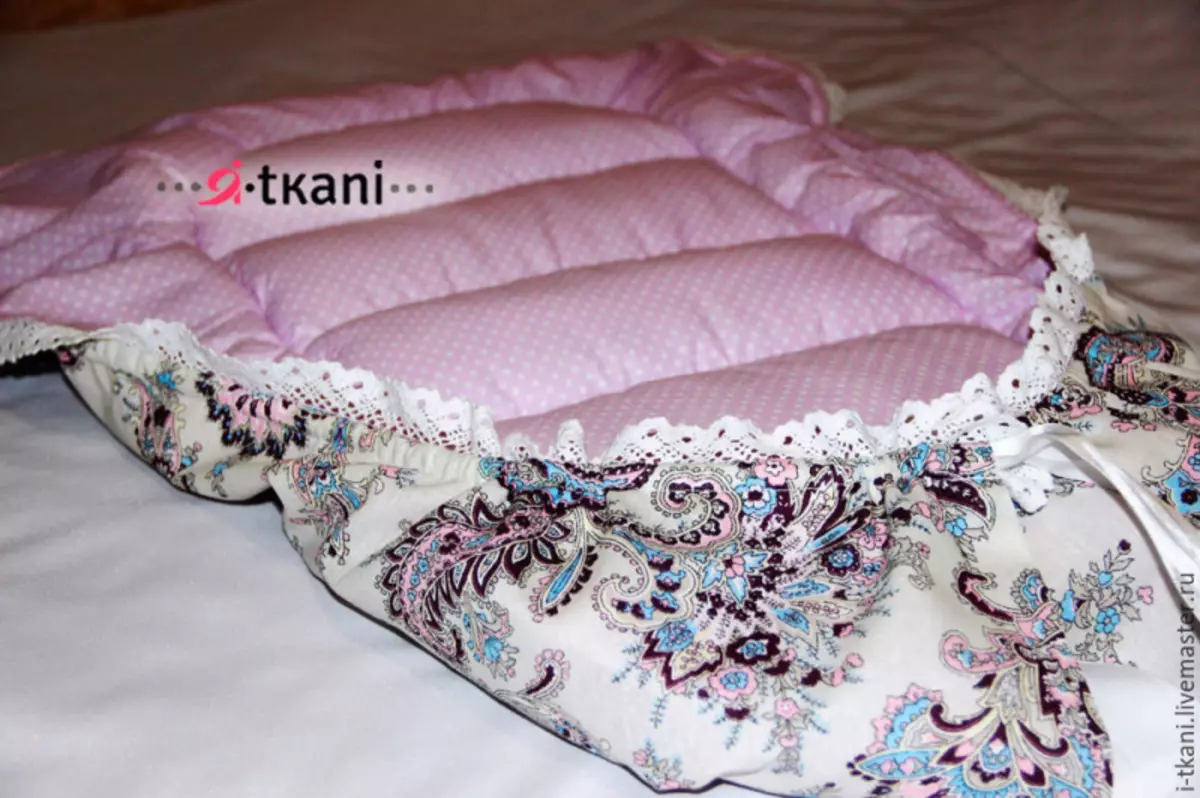
Tie a bow of satin ribbon. The wider you take a ribbon, the more the bow will come out.
Also, do not forget that when large edges remain, you do not need to cut them. Thanks to it, you can adjust the length of the nest.
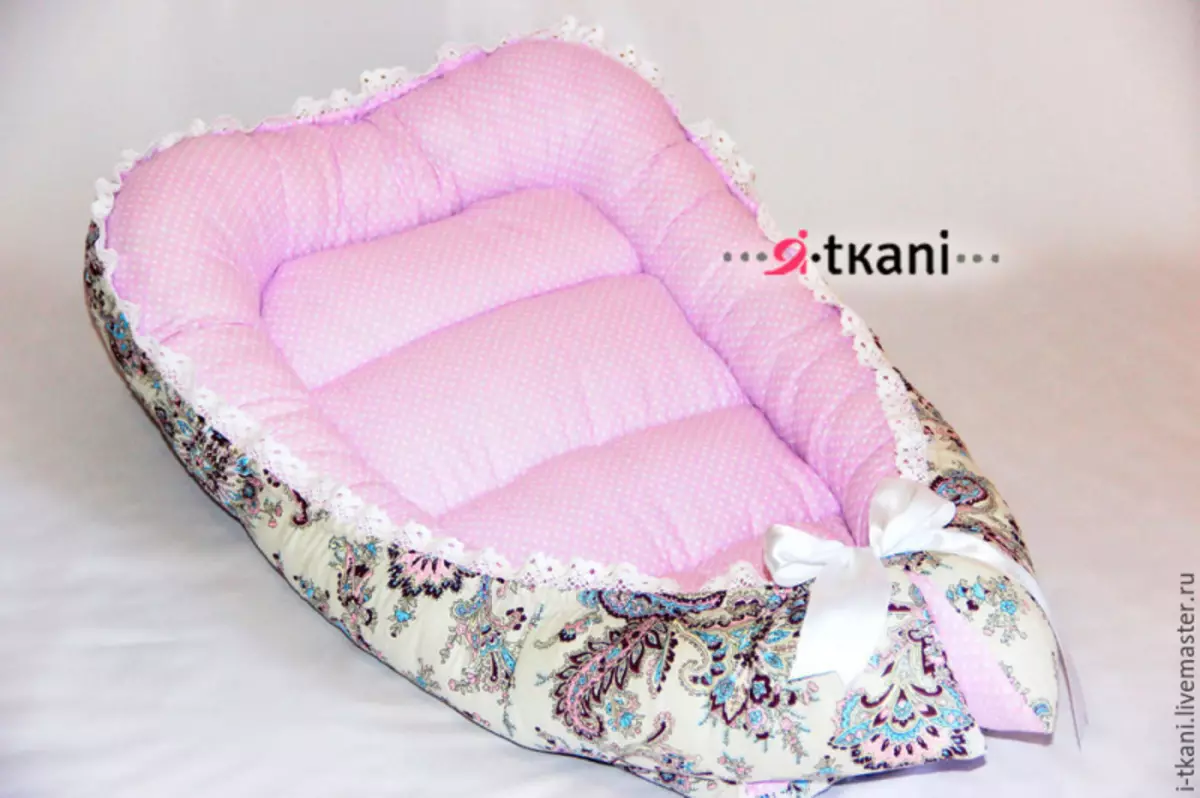
Here is a cute nest for a newborn, we sewed themselves. As you can see, nothing complicated in the sewing process was not. The result is simply impressive! And the edges of the nest can be crocheted.

Video on the topic
We offer to see a selection of video to create cradle with your own hands.