
Money tree painting is one of the most sought-after works made by their own hands. Such a picture is a solid gift for any holiday and just on the joy of close people. The money tree is remarkably suitable for any interior, as it has a neutral color without energetic colors.
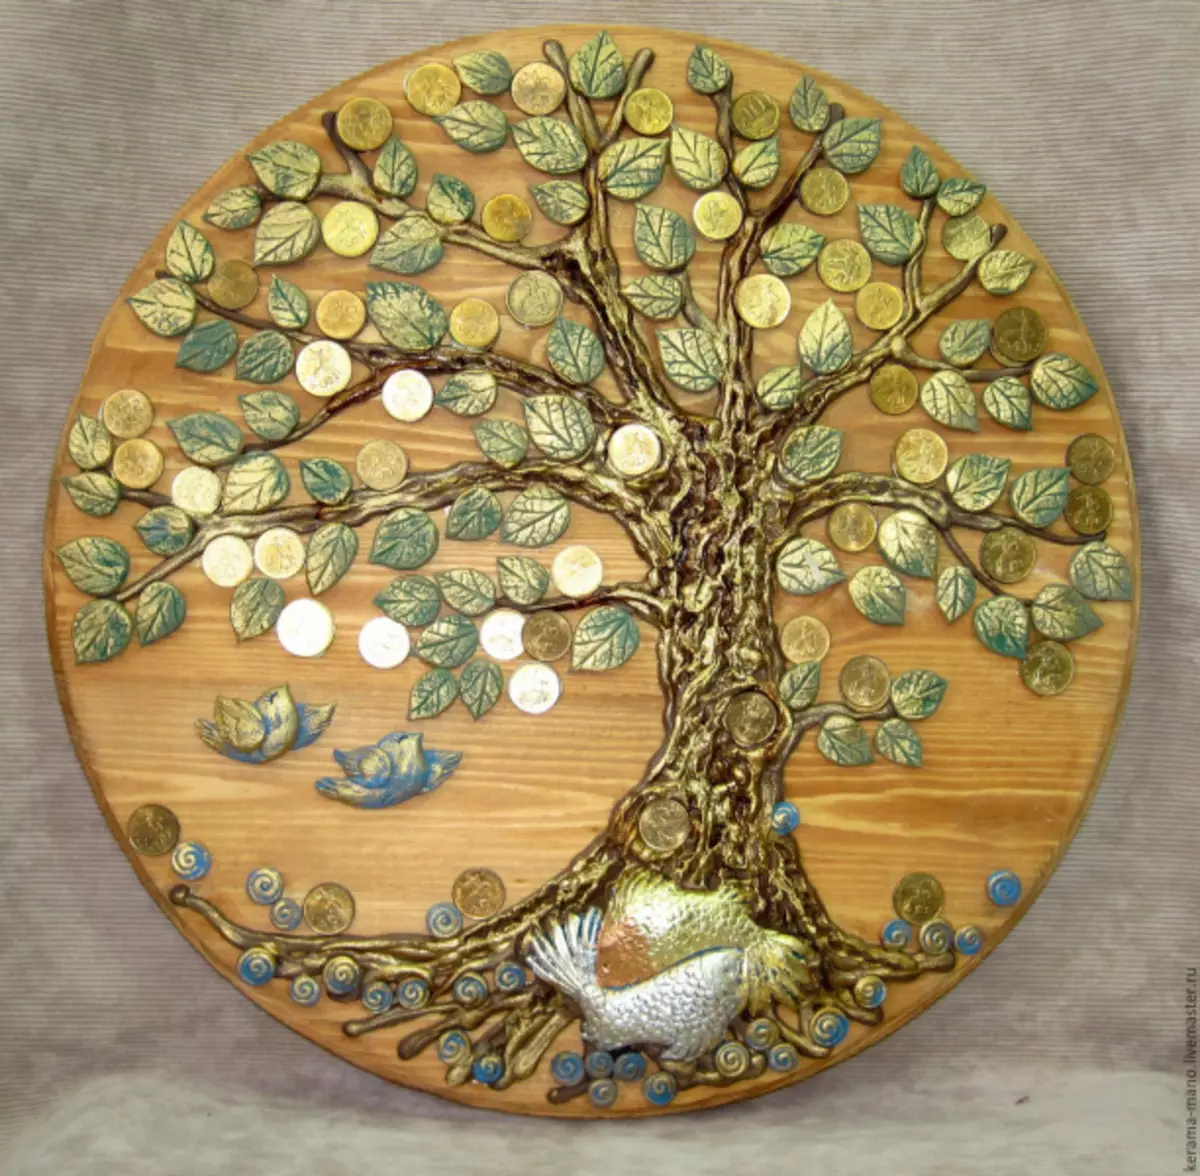
There are various techniques for performing such images. It is believed that the film "Money Tree" with a crown of coins presents welfare in the financial sector to its owners.
Nuances of Technology Collage
What we need in work:
- base for wood, burlap or any other;
- Napkins or toilet paper;
- paints acrylic gold, black, silver color;
- Ordinary water;
- Coins of any dignity;
- foam sponge;
- Pencil and scissors;
- cosmetic shine;
- Without textured damage, the frame from the picture or for photos with plywood;
- Quick-drying glue and plow glue.
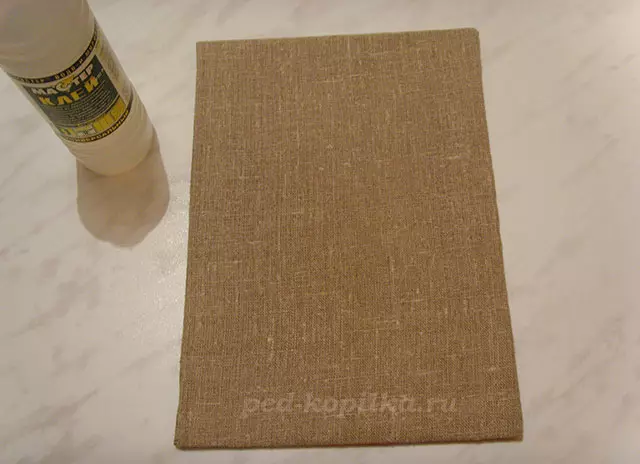
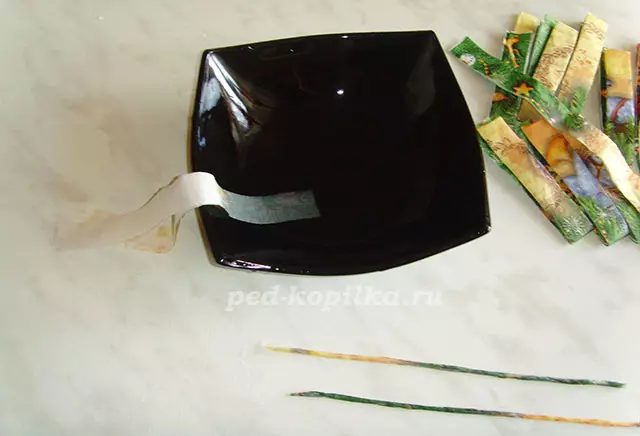
A tissue base for the future canvas is cut out of the prepared material. It must be placed on the plywood from the rear of the photo frame or any other picture. The fabric is cut exactly according to the size of the lined used and is fixed with glue. When the tissue base is no longer lipped and dry, a draft sketch of the tree is depicted.
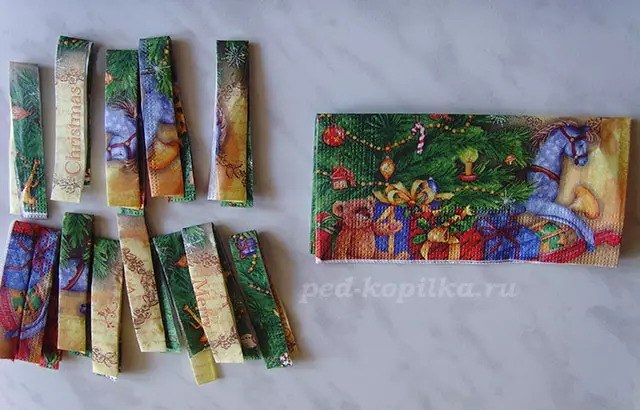
Diluted in the tank of the average size of PVA and ordinary water. Diluted quantity should go 1: 1. Paper napkins of any color are cut into the flaps 2 and 3 cm wide. Ready-made billets on one weakly loose in containers with diluted glue.
On a note! You should not dare using glue on paper, as it can sprawling.
The resulting strips are carefully and tightly twisted in the form of tubes. The skilled strips of different widths will be used for different parts of the tree, thickening - for the crown, the fond - for the twigs. Therefore, when twisting, pay attention to this and not confuse. When a sufficient amount of flavors are ready, leave them until complete drying.
Article on the topic: Knitting on hand and on your fingers
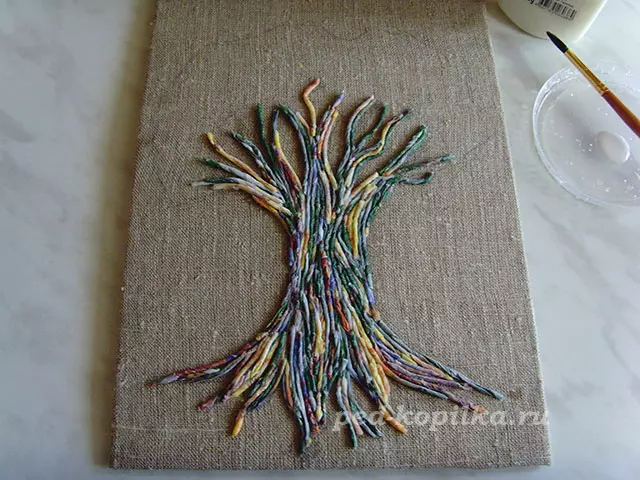
On a tissue basis at the location of the sketch of a tree, a glue is applied to the place of formation of the crown in a small amount. On the layer of glue, the paper harnesses are laid out, forming roots, branches, crown. The work is left until complete drying.
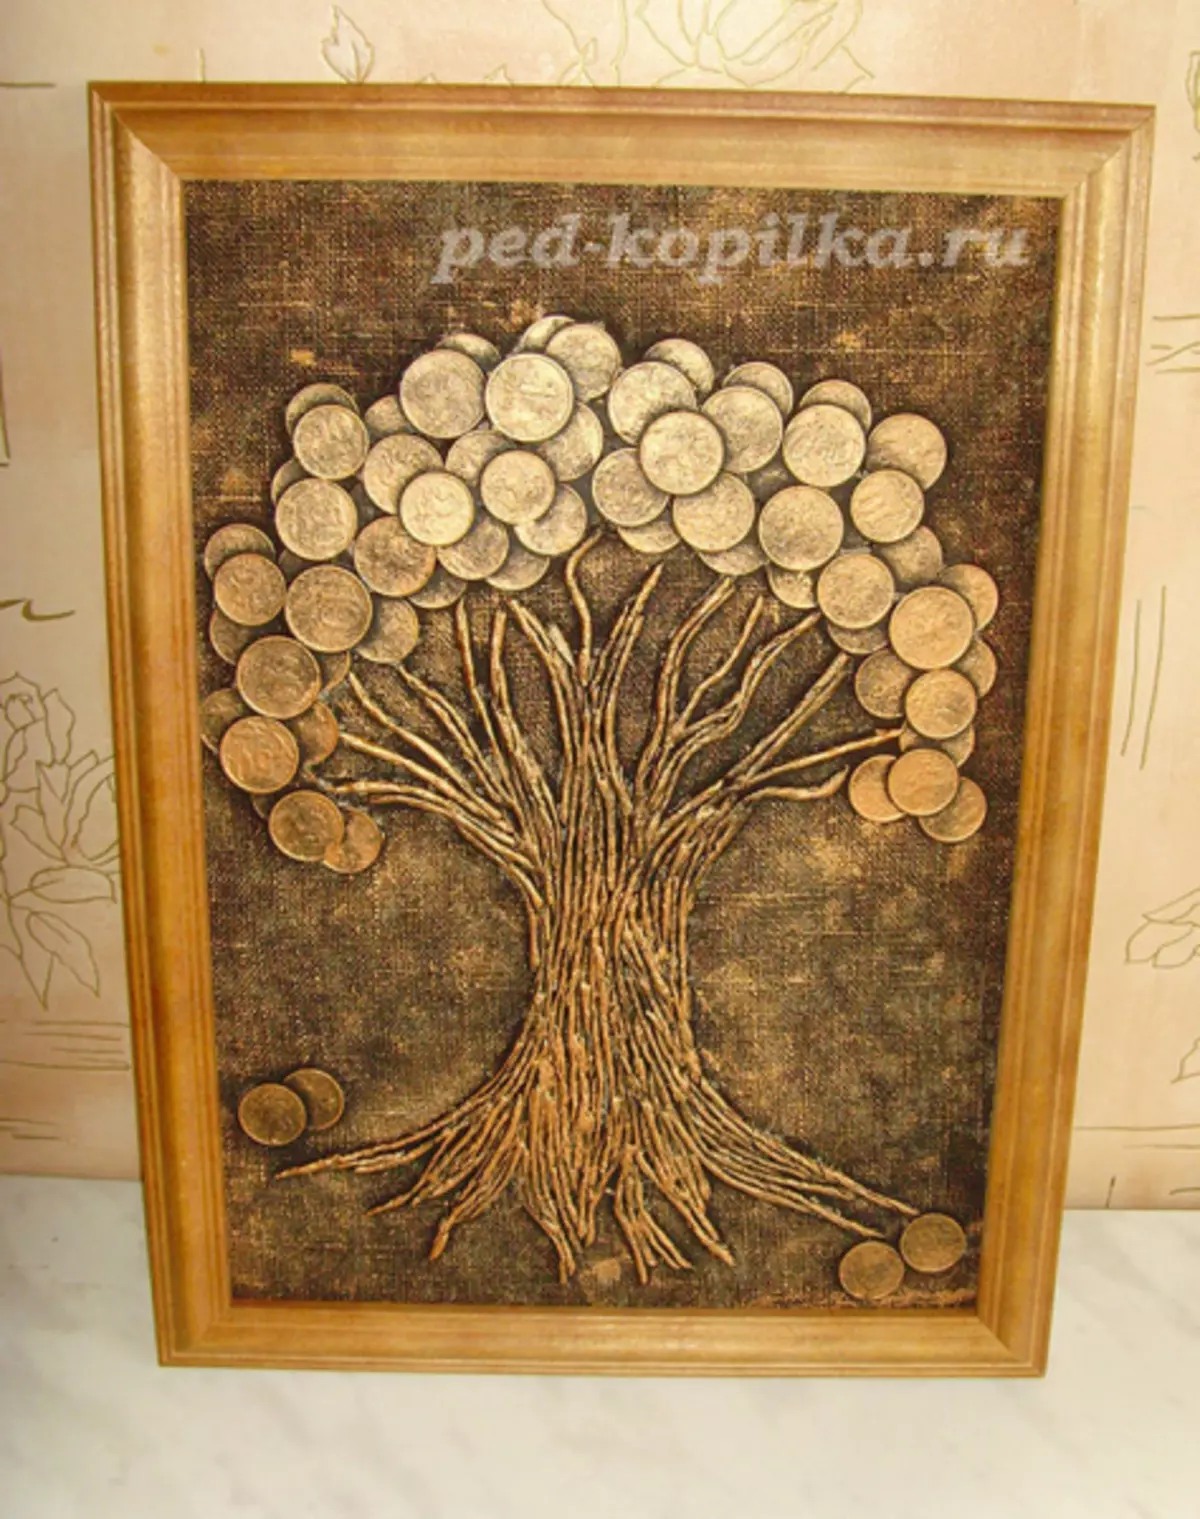
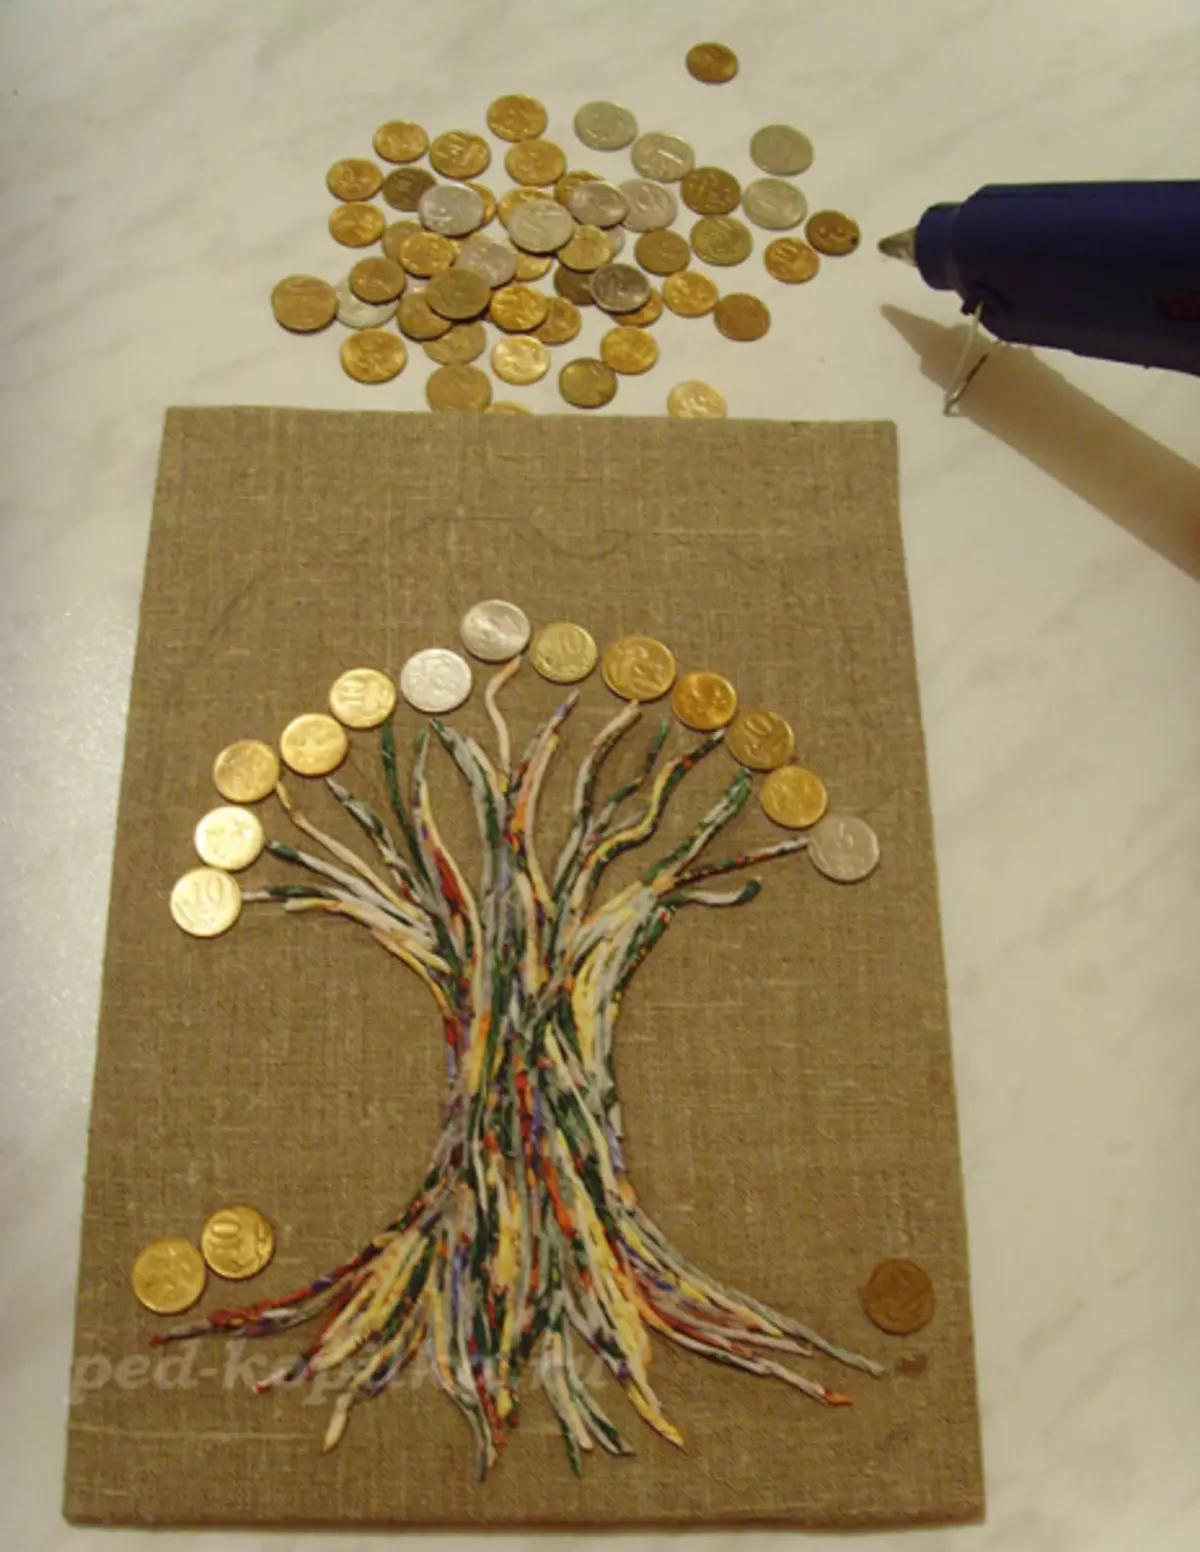
After preparation of the tree, you can enjoy gluing coins. Coins must be pre-cleaned and degreased with alcohol tinctures or by any detergent. For reliable mounting coins, it is better to use quick-drying glue. Monetary signs to glue at their request, but necessarily closing all the end of the branches. Tree is ready.
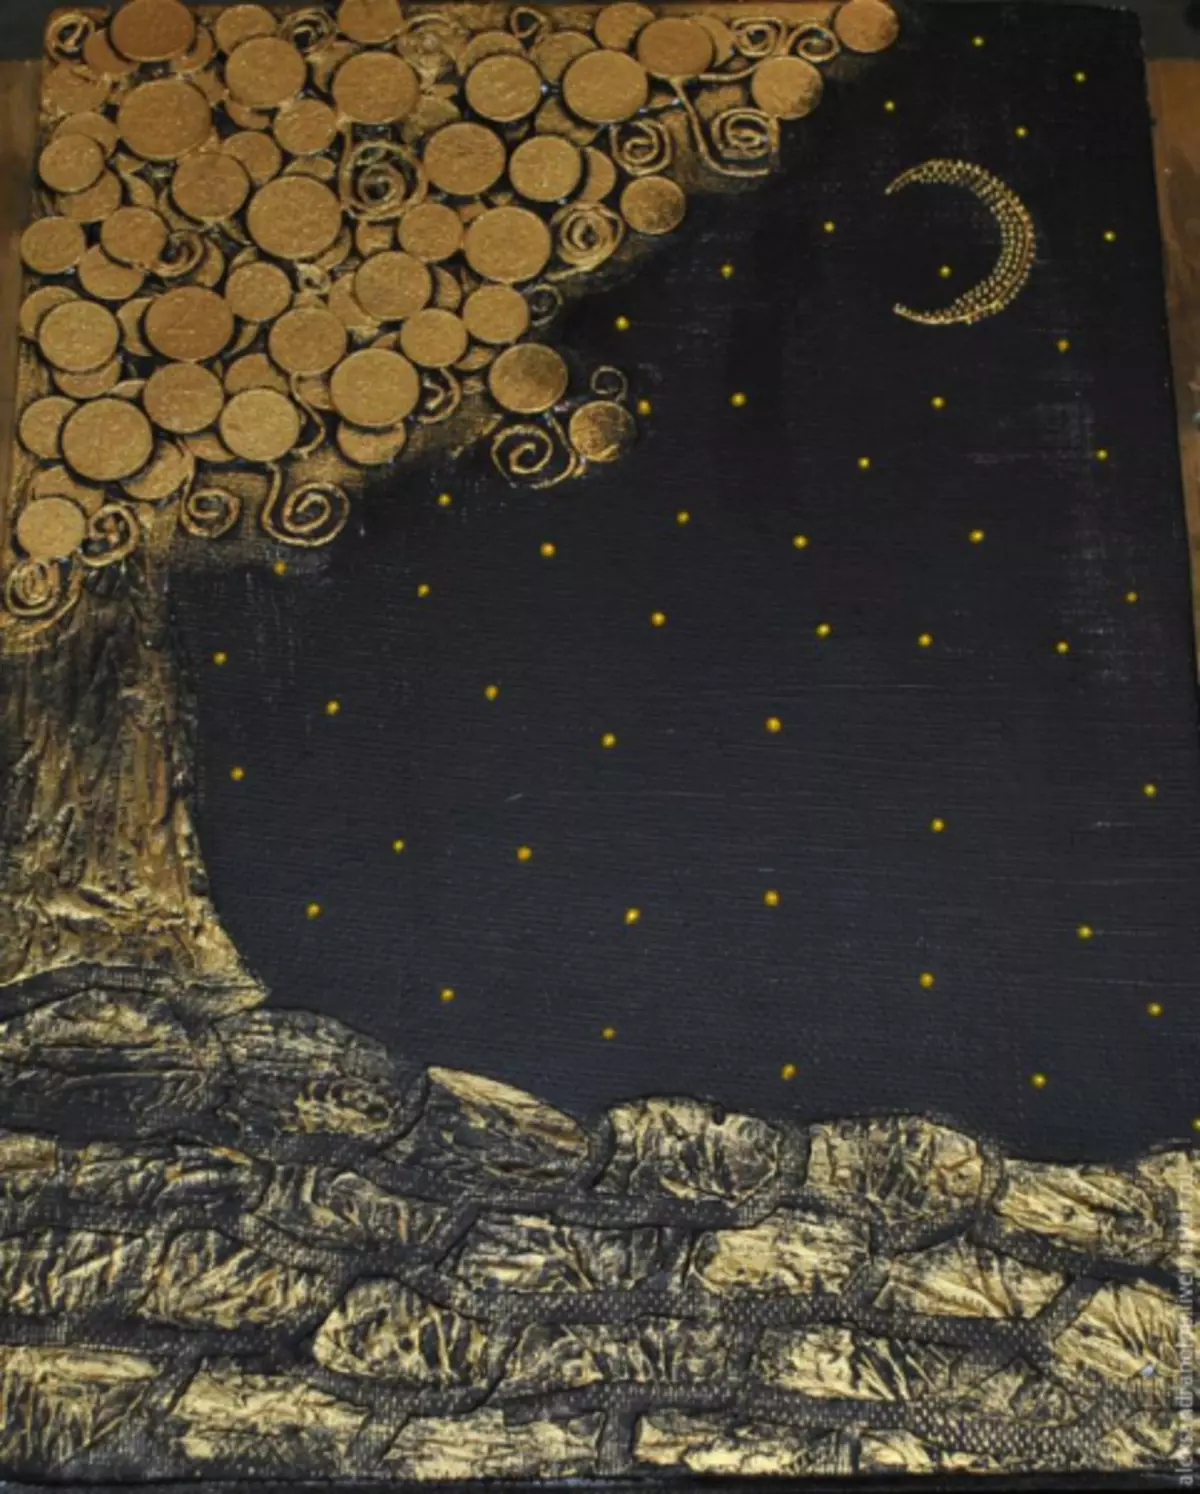
The next step is the design of the type of picture, that is, its painting. To do this, use the aerosol paint of black, sprayed throughout the exposure.
A wonderful combination has a gold paint covered with the upper layer. Mandatory for each stacked layer of paint, it is necessary to dry out time.
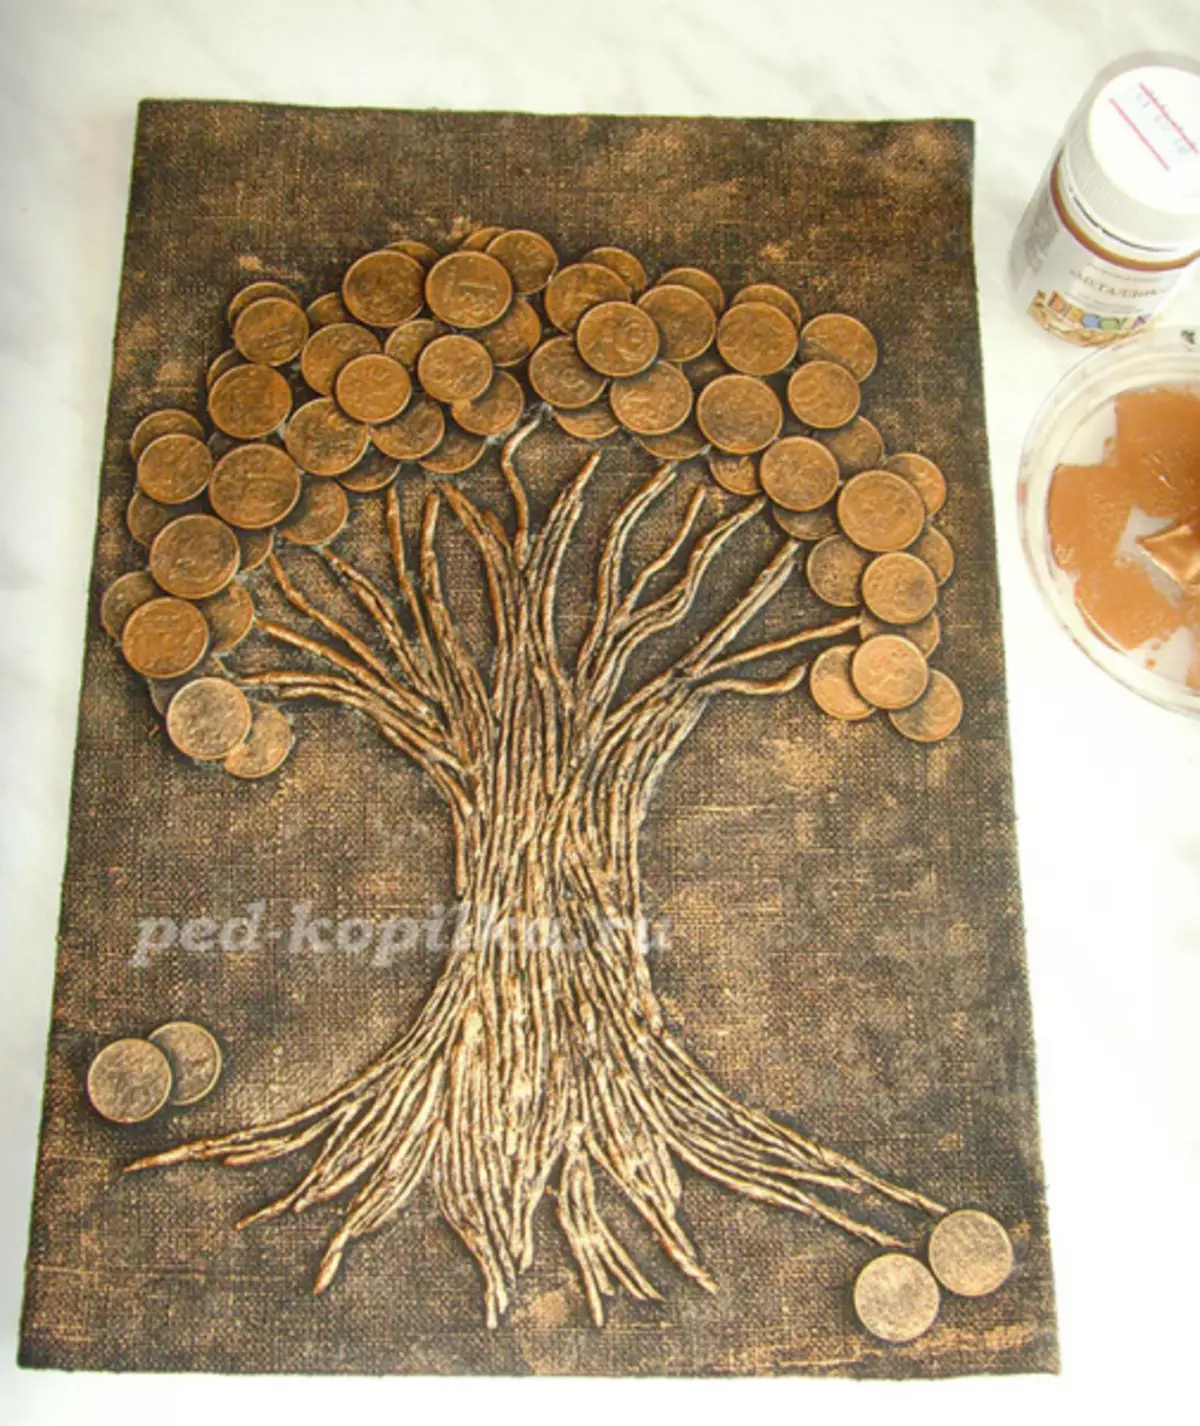
To impart light radiance, it is necessary throughout the entire exposure to walk the foam sponge with the acrylic paint of the silver shade, but not painting, but only fooling work. Withstand the time for drying, the final touch is performed - the decisive of acrylic gold paint, but only on coins. For shine, it is possible on top of all work, to its incomplete drying, apply a cosmetic shine. The product is ready, it remains until complete drying.
The finished tissue blank is already with a fully finished tree of coins to fix in the frame, and you can enjoy your individual work.

We try to create a panel
It will take:
- Dense base from plywood;
- Putty and spatula;
- Malyary Scotch;
- Paper napkins of any color;
- Item for crossing pattern;
- Glue "moment";
- Acrylic paints of black and gold color;
- Thorough sponge.
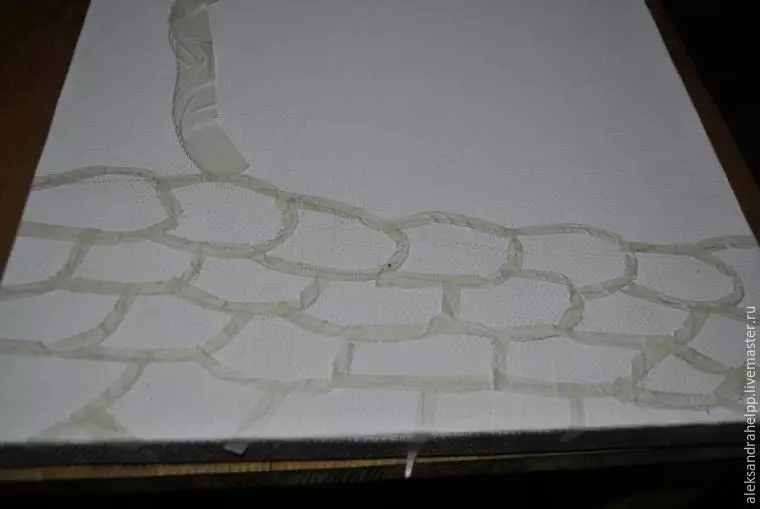
On a prepared basis, a sketch of the tree trunk and pebbles on Earth is depicted. The drawn image lines are stuck with a painted scotch, sliced on narrow and short strips.
To perform the following action, a putty and spatula are required. Putty with the tool is applied to pebbles and on the trunk of the future tree. The material is applied neatly, without bending the malarious tape.
Article on the topic: Kanzashi: New ideas of paintings, master classes with photos and videos
After 20 minutes, until the putty dried completely, the strips of the painting tape are dug away. Work stands to complete drying, it is about two more hours.
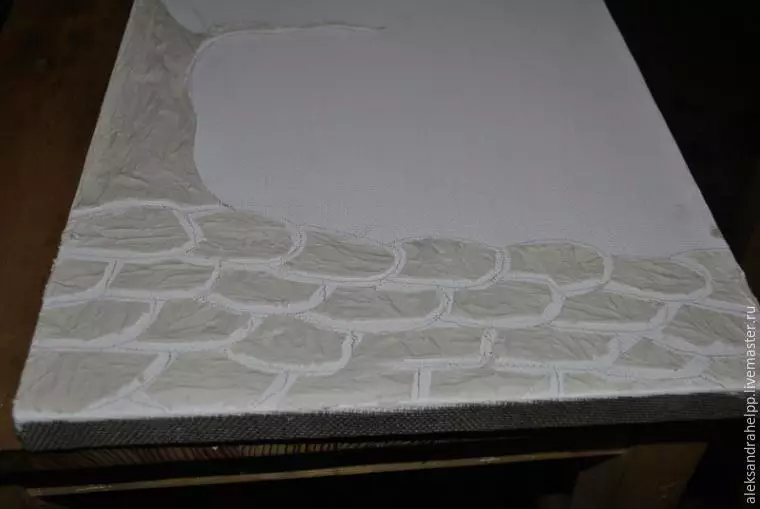
When the work is completely dried, the top layer must be carefully passing the object for the Okurization.
The next step in the work is to stick coins in any order, but preferably at a weathered distance from each other.
Diluted in a small capacity of PVA and ordinary water, diluted quantity should go 1: 1. Napkins of any color are cut into flaps up to 2 cm wide. Ready-made chopped blanks on one weakly dipped into a container with diluted glue, you should not remake with the use of glue on paper, as it can sprawle. The resulting strips are gently and tightly twisted with palms in the form of tubes. Finished harnesses are pasted on one between coins.

After sticking flashes, you can put on top of the coins, which will create the effect of the volume.
After complete drying of the glue over the picture, black acrylic paint is applied. When the paint dries, with the help of a foam sponge and acrylic gold paint, a trunk of a tree, pebbles and coins are covered.

The contour of the tree trunk and stones can be highlighted with a tassel with gold paint.
At the discretion of the wizard you can add additional items. Panel "Money Tree" is ready!
Video on the topic
View also videos that show the stages of manufacturing a pattern of coins.