
In each house you can find a lot of useful trifles, of which, showing a little fantasy, you can make a beautiful craft or subject of interior. From buttons it is possible to create decorative compositions that will perform not only aesthetic function, but also will help in developing a child. Working together with the child over the picture from the buttons with their own hands, you will not only fascinating time, but also help the child to develop the motility of hands, creative abilities.

Preparation for work
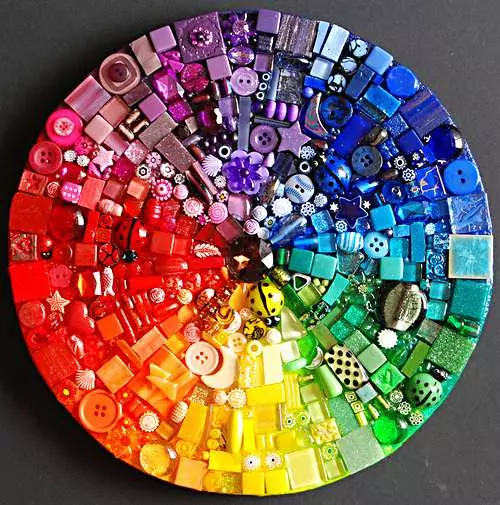
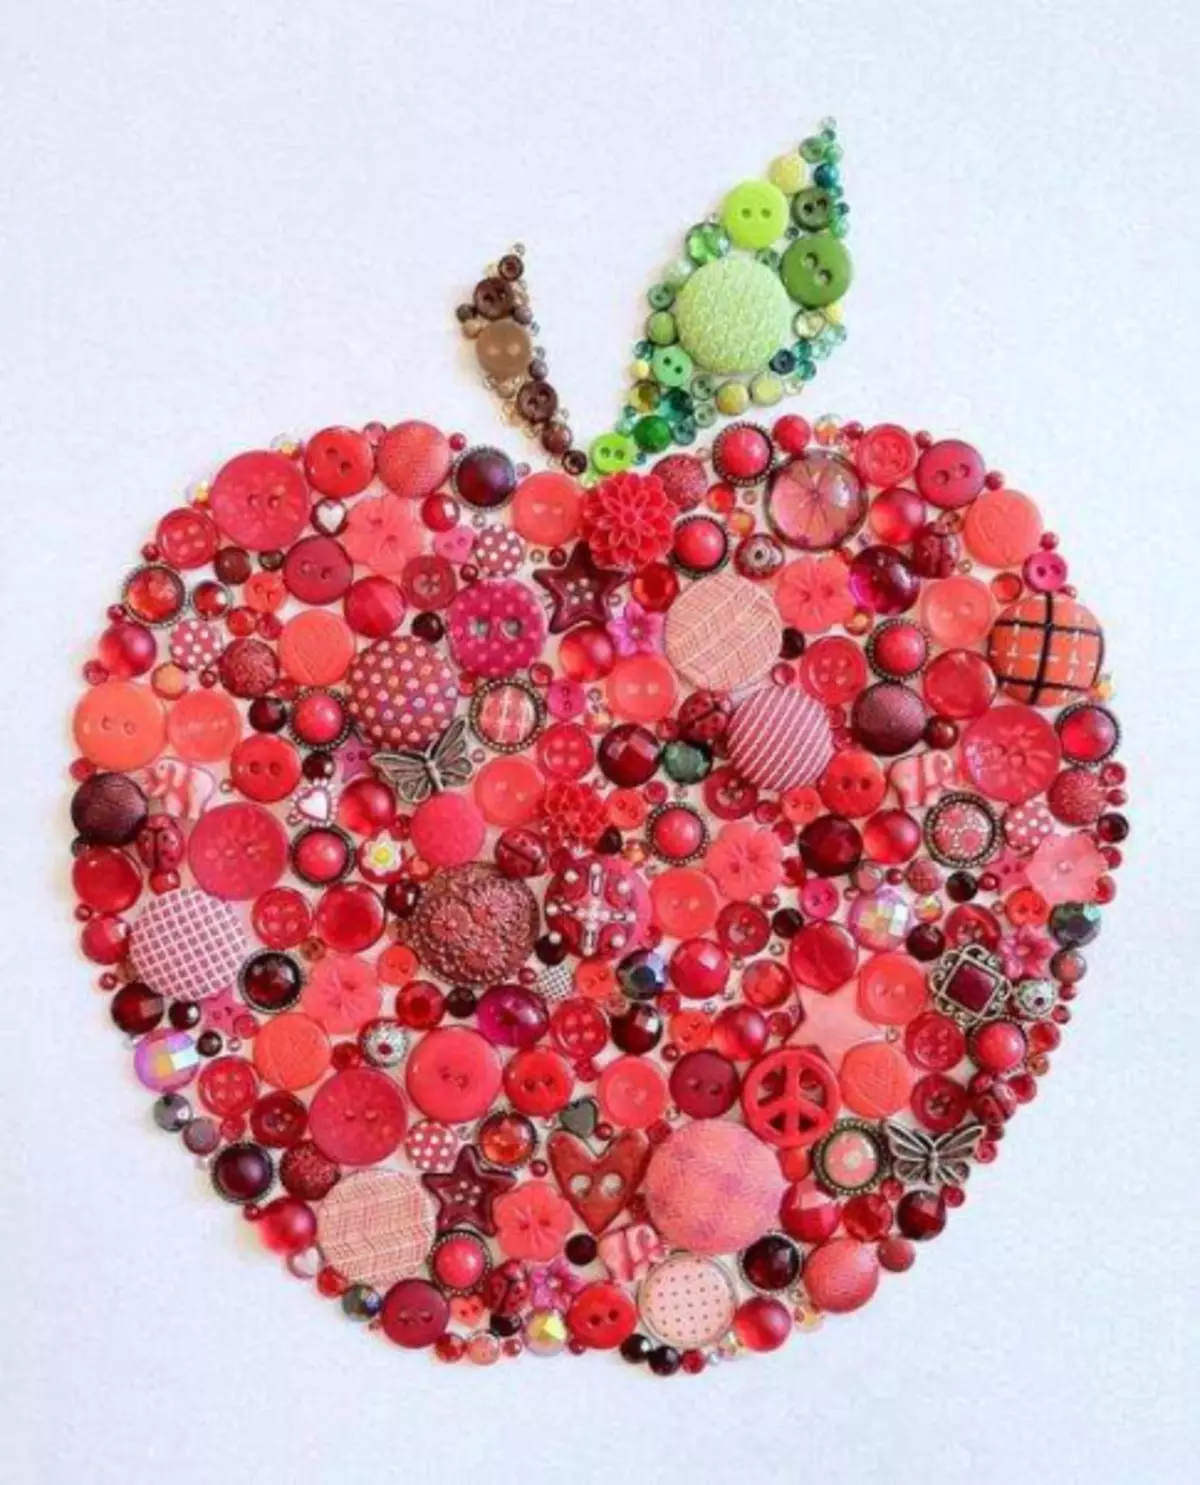
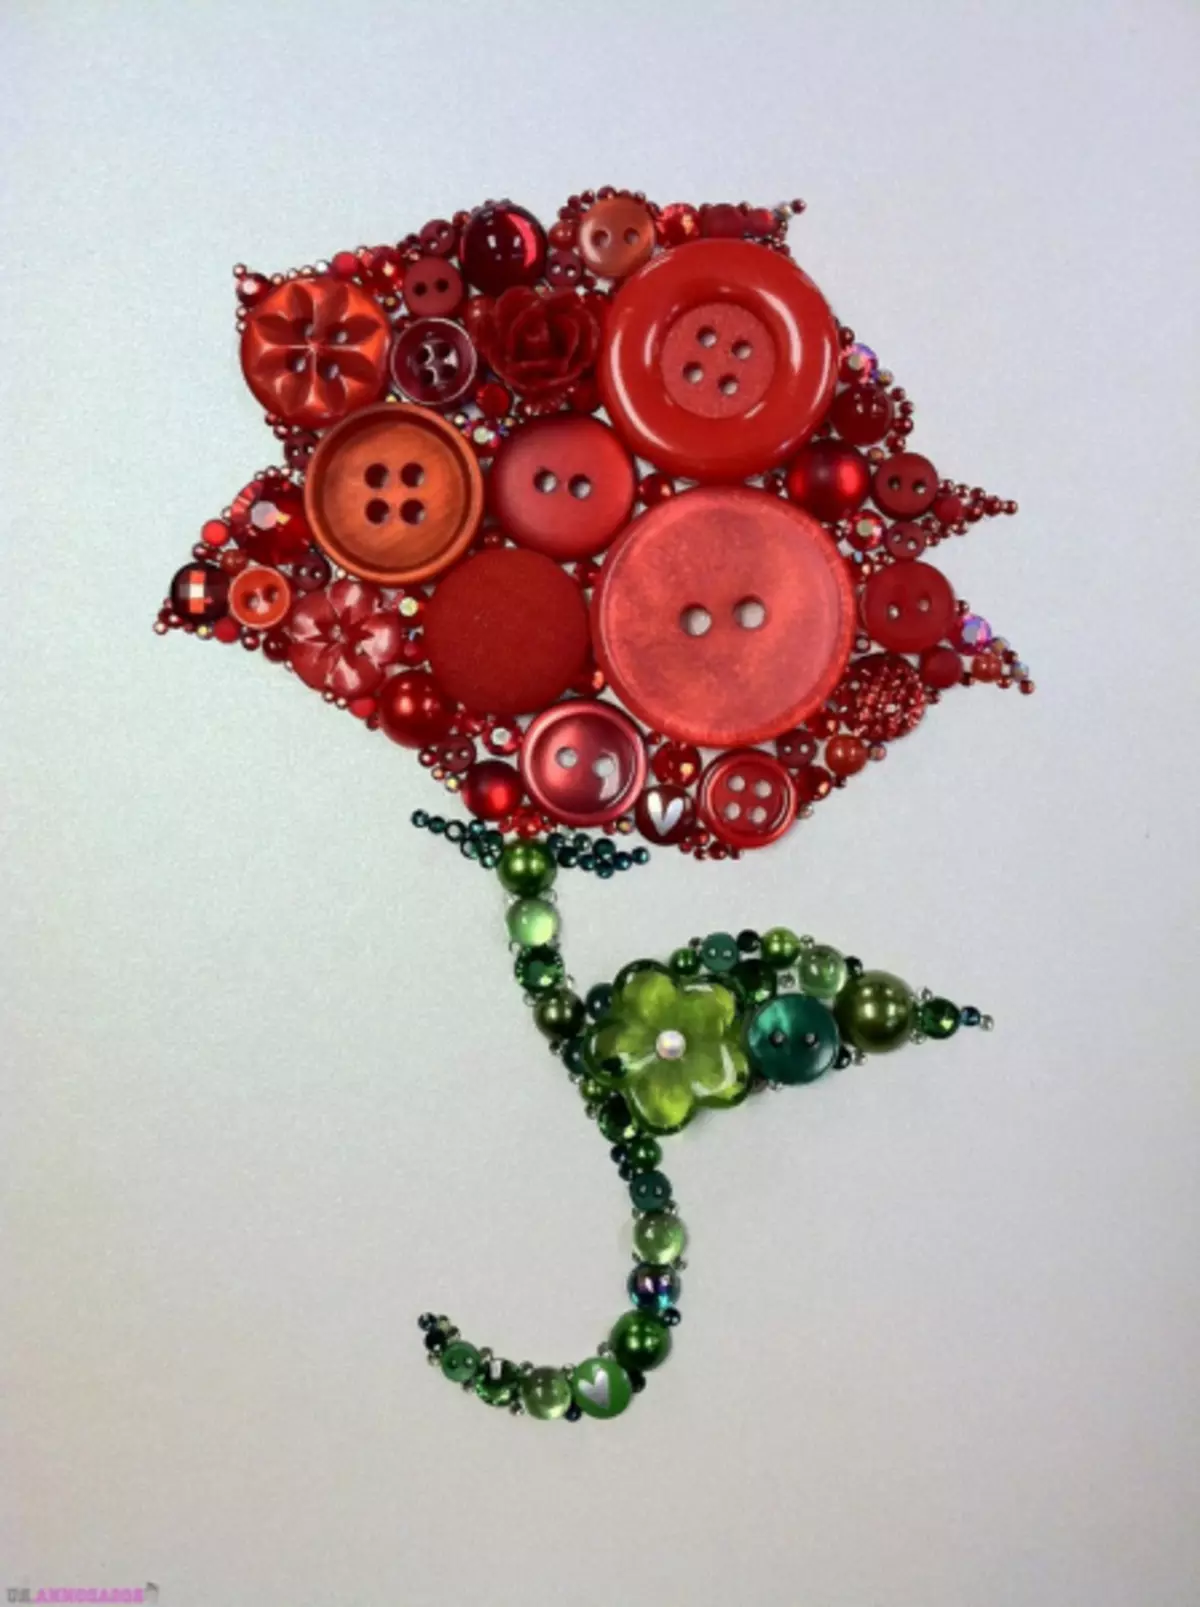
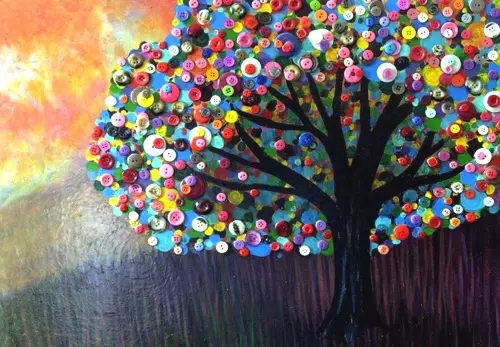
The execution of the paugs from the buttons can be called the creative process. Working with such material allows you to create interesting items and decorations. The material allows you to make a bouquet, beads, bracelet, vase, clock, candlestick, photo frame, bouquet of flowers and much more.
The process of creating such crafts is quite simple, but first it is necessary to study the technology well, and then everything will depend only on the author's imagination. The choice of materials will depend on the decorative element itself.
We need:
- Buttons - It is advisable to choose a different buttons in color, texture, shape, size;
- scissors;
- glue, it is better to choose PVA or transparent;
- Cardboard, white paper, fabric - need to create the basis of the picture;
- threads;
- Small small details for the package supplement - beads, beads, ribbons, lace, colored paper and other;
- marker or pencil for drawing a sketch;
- Paints or markers, to create a background, paint separate parts.
Unusual crafts
Creating a pair of buttons can be for children not only a fascinating occupation, but also will help increase the concentration of attention. Working with small details will increase the perfection and accuracy.
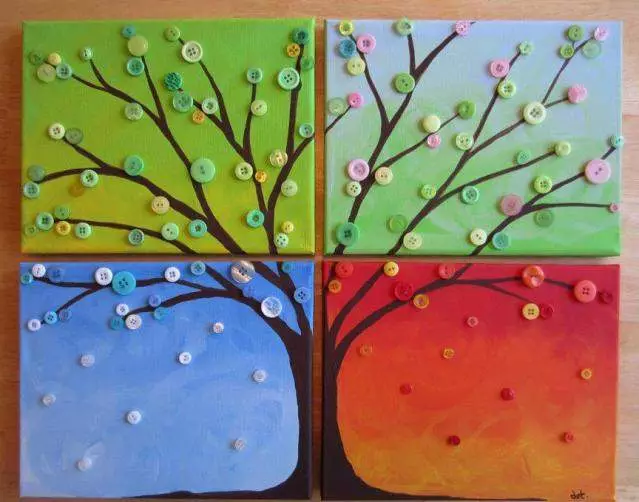
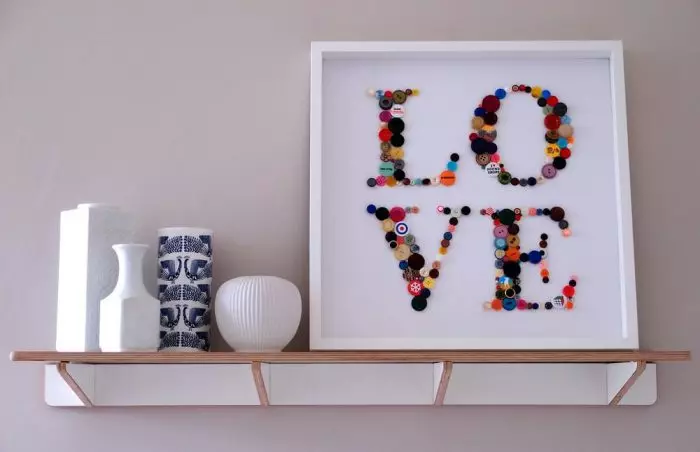
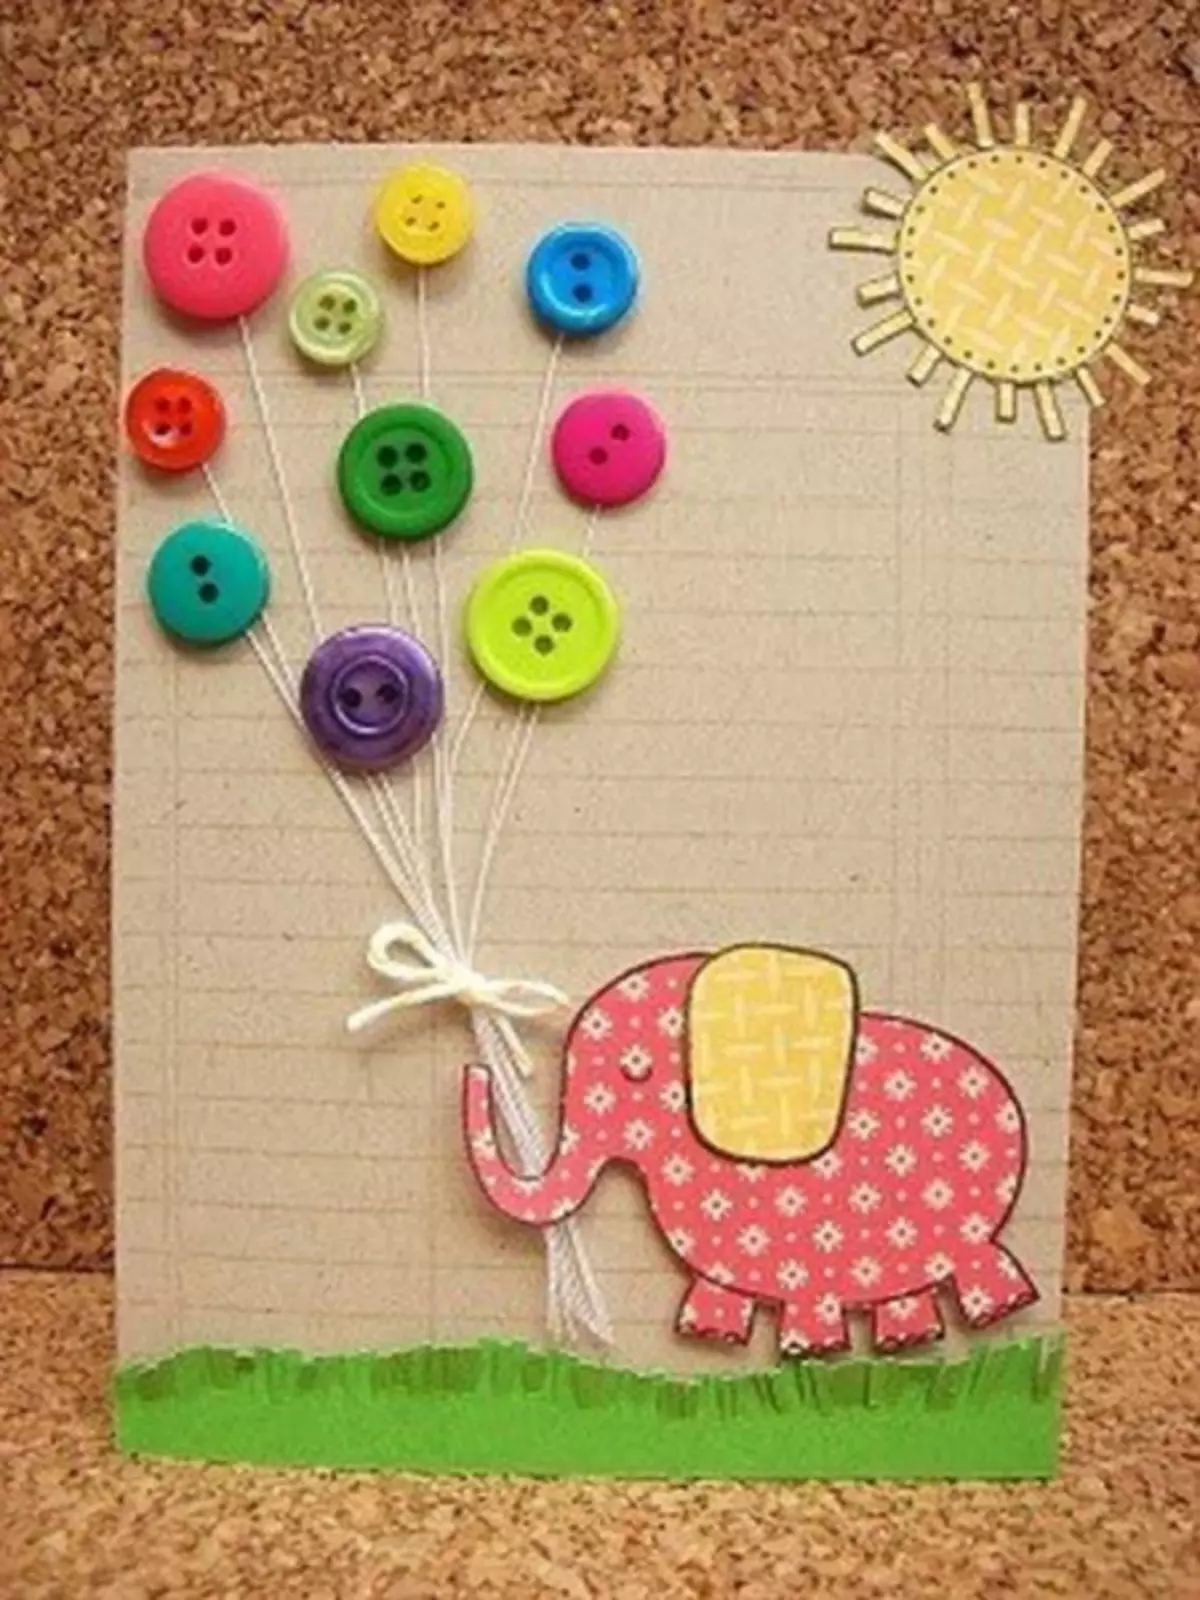
The ideas of creating paintings are a lot. You can make a tree, elephant, typewriter, air balloon, flower, lay out buttons inscription - the number of options is unlimited. When performing your first work, the child will need an adult help to properly apply a sketch. And he will be happy to work on filling out the sketch independently - selects the colors and the size of the buttons. For first work it is desirable to choose a simple drawing. You can propose a tree. The paper will need cardboard, glue and flat buttons. Figure is applied to the basis and filled.
Article on the topic: Decorating an umbrella with their own hands
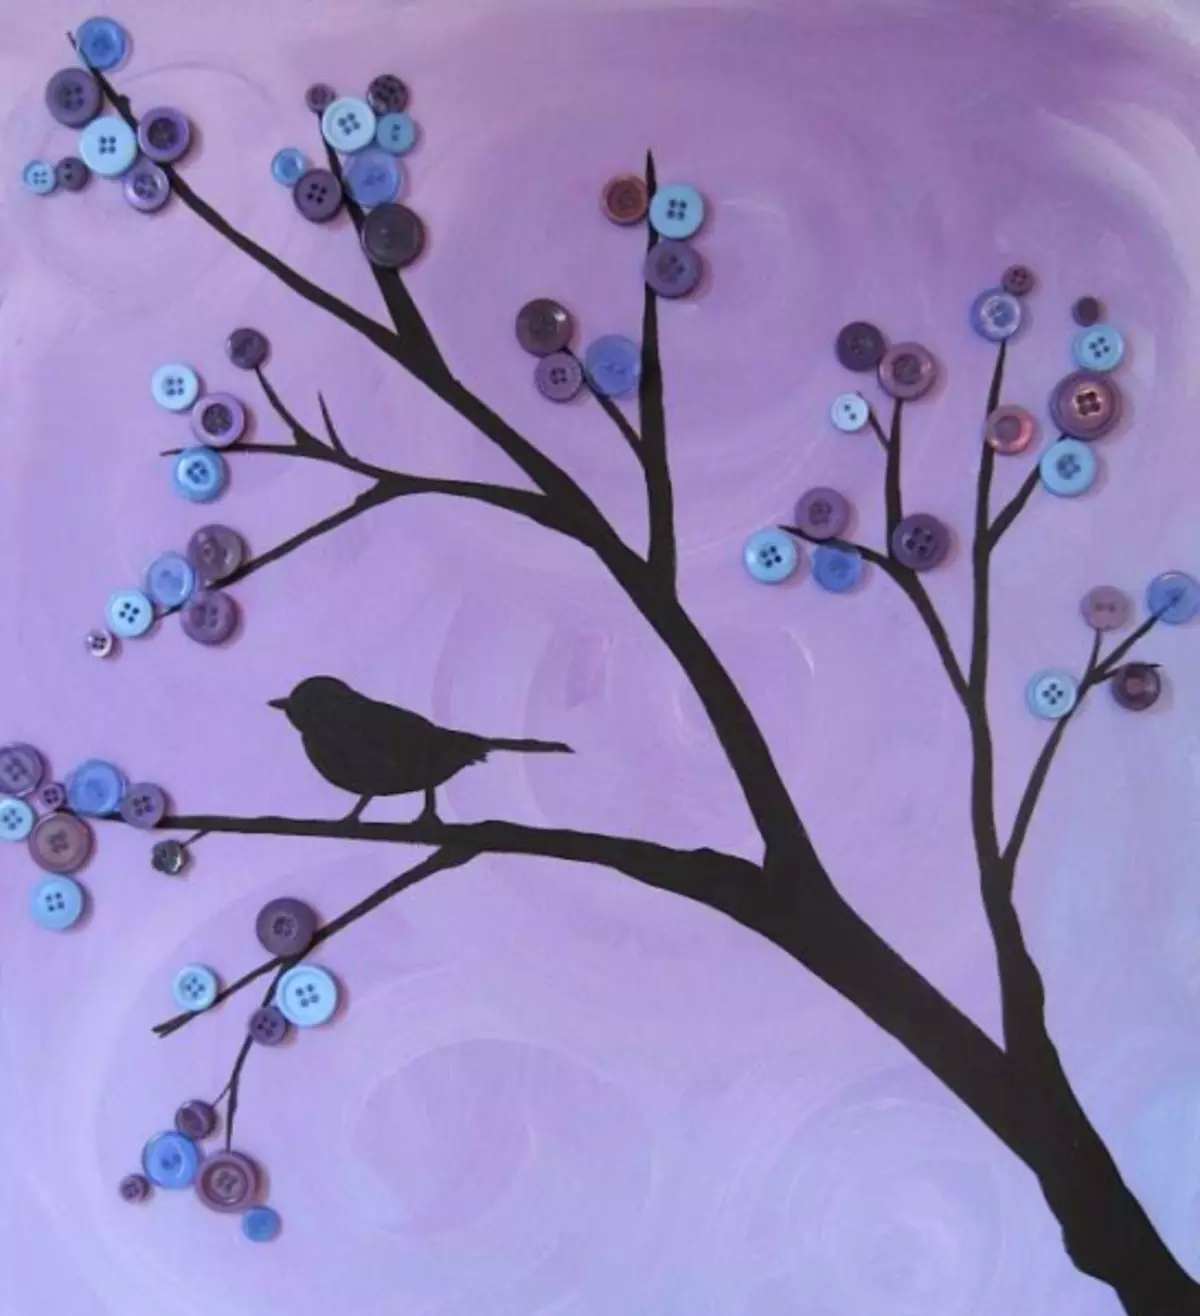
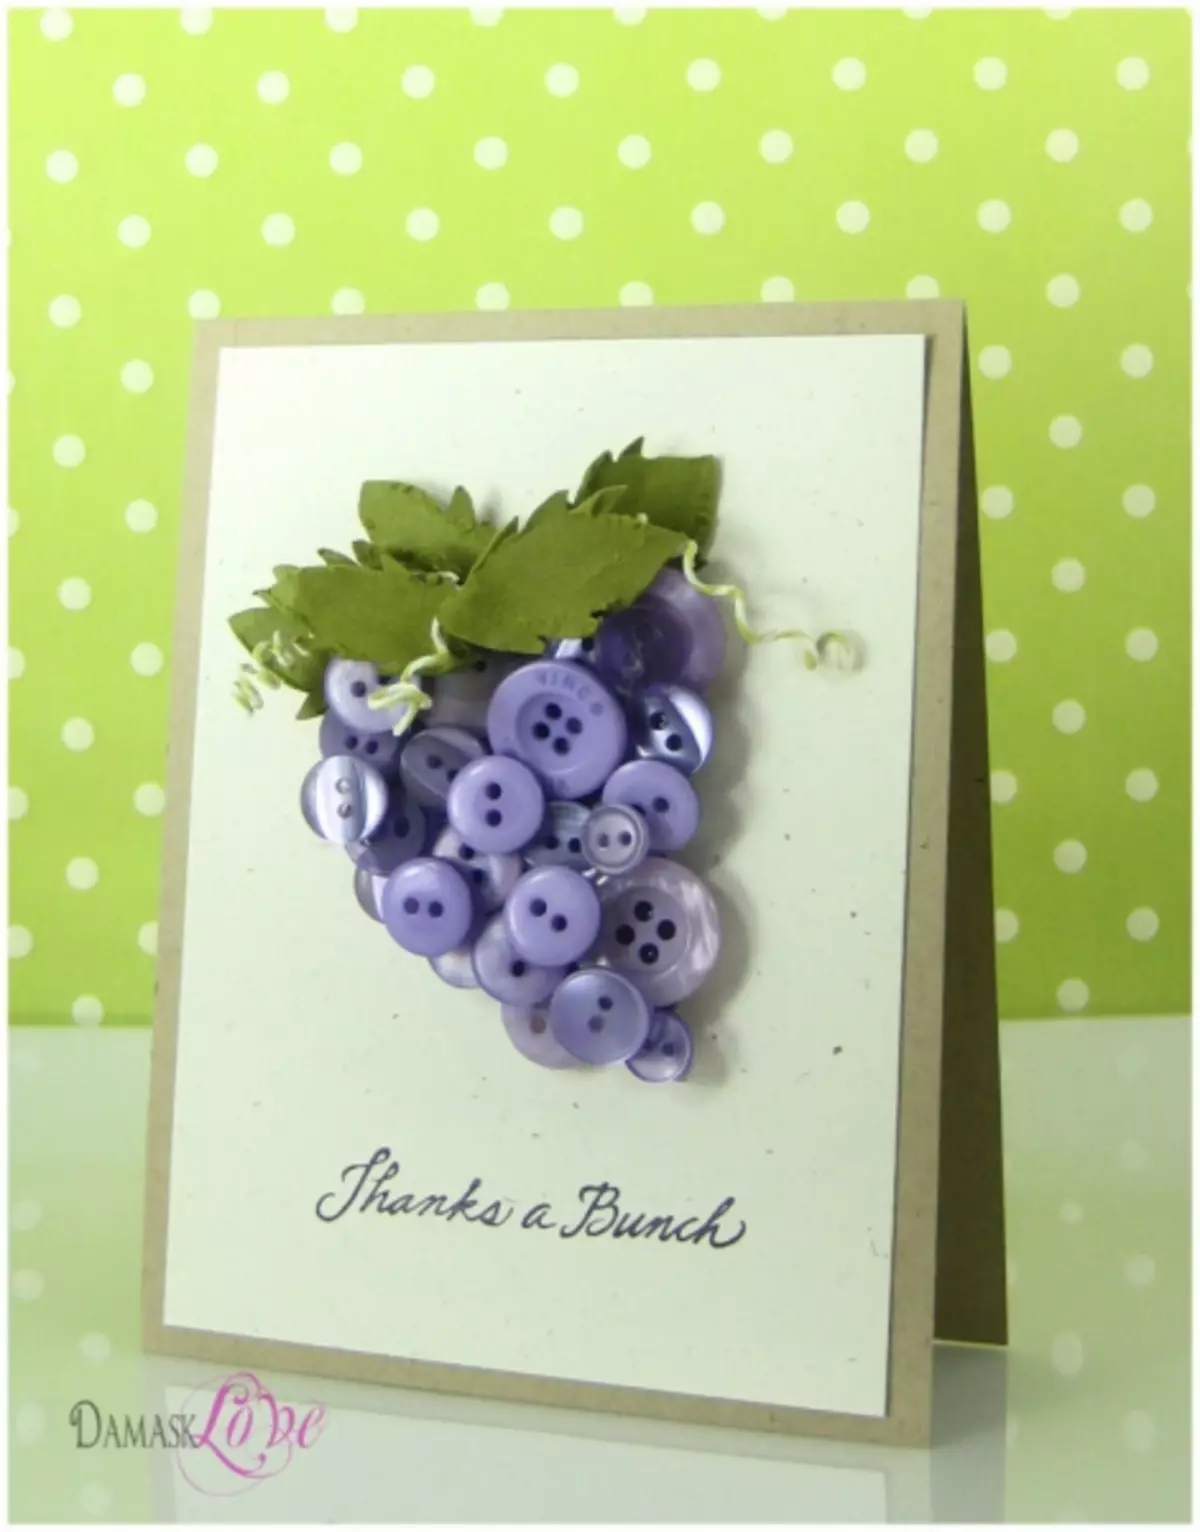
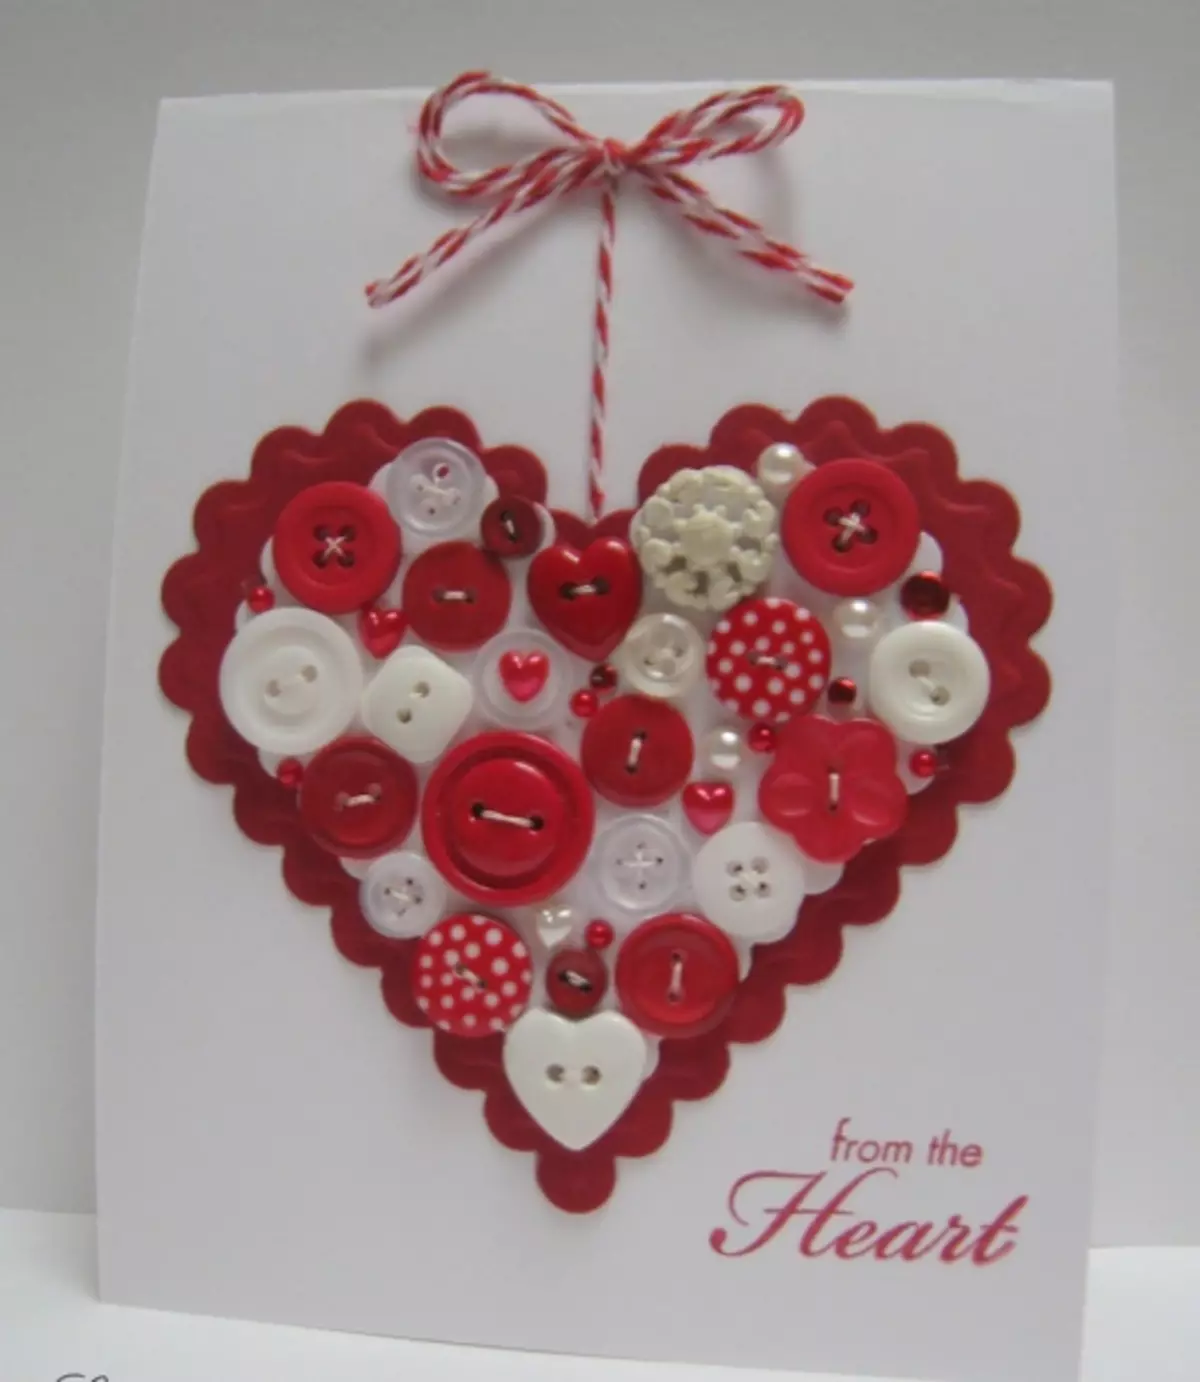
The panel can be more comprehensive on the fabric stretched into the cardboard. The contour of the picture is applied to the fabric, and only buttons are attached with glue. This picture looks more original and beautiful. Similarly, you can perform a postcard as a gift. Draw a green Christmas tree and decorate her toys-buttons. Buttons on the postcard can also be inscription or lay out a name.
Closer to heaven
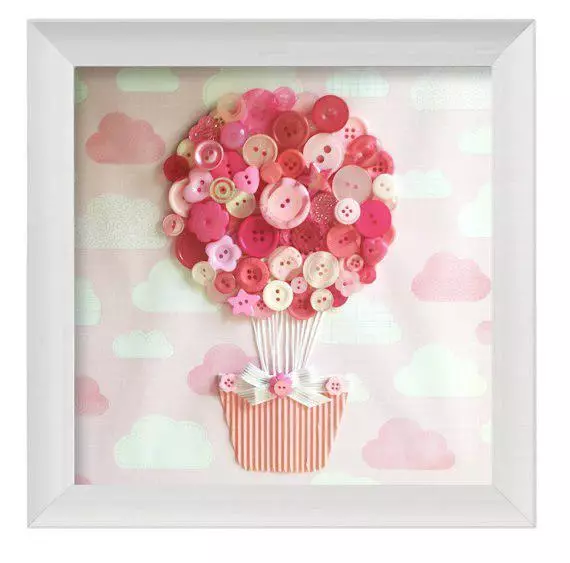
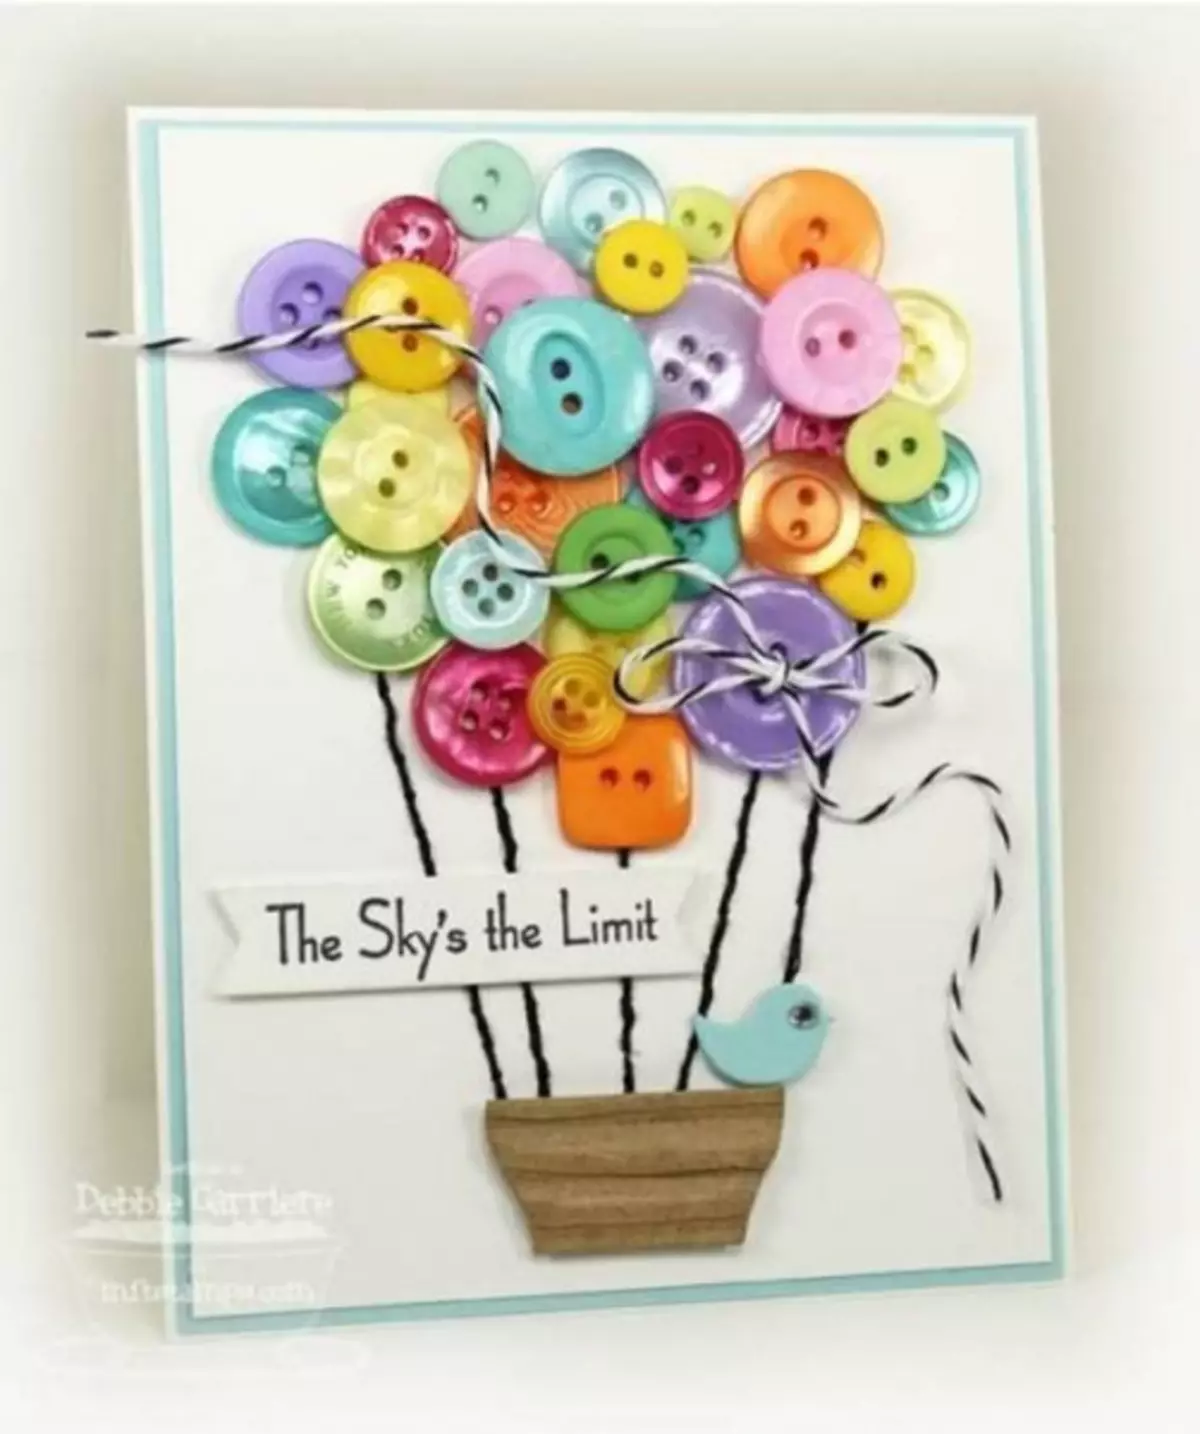
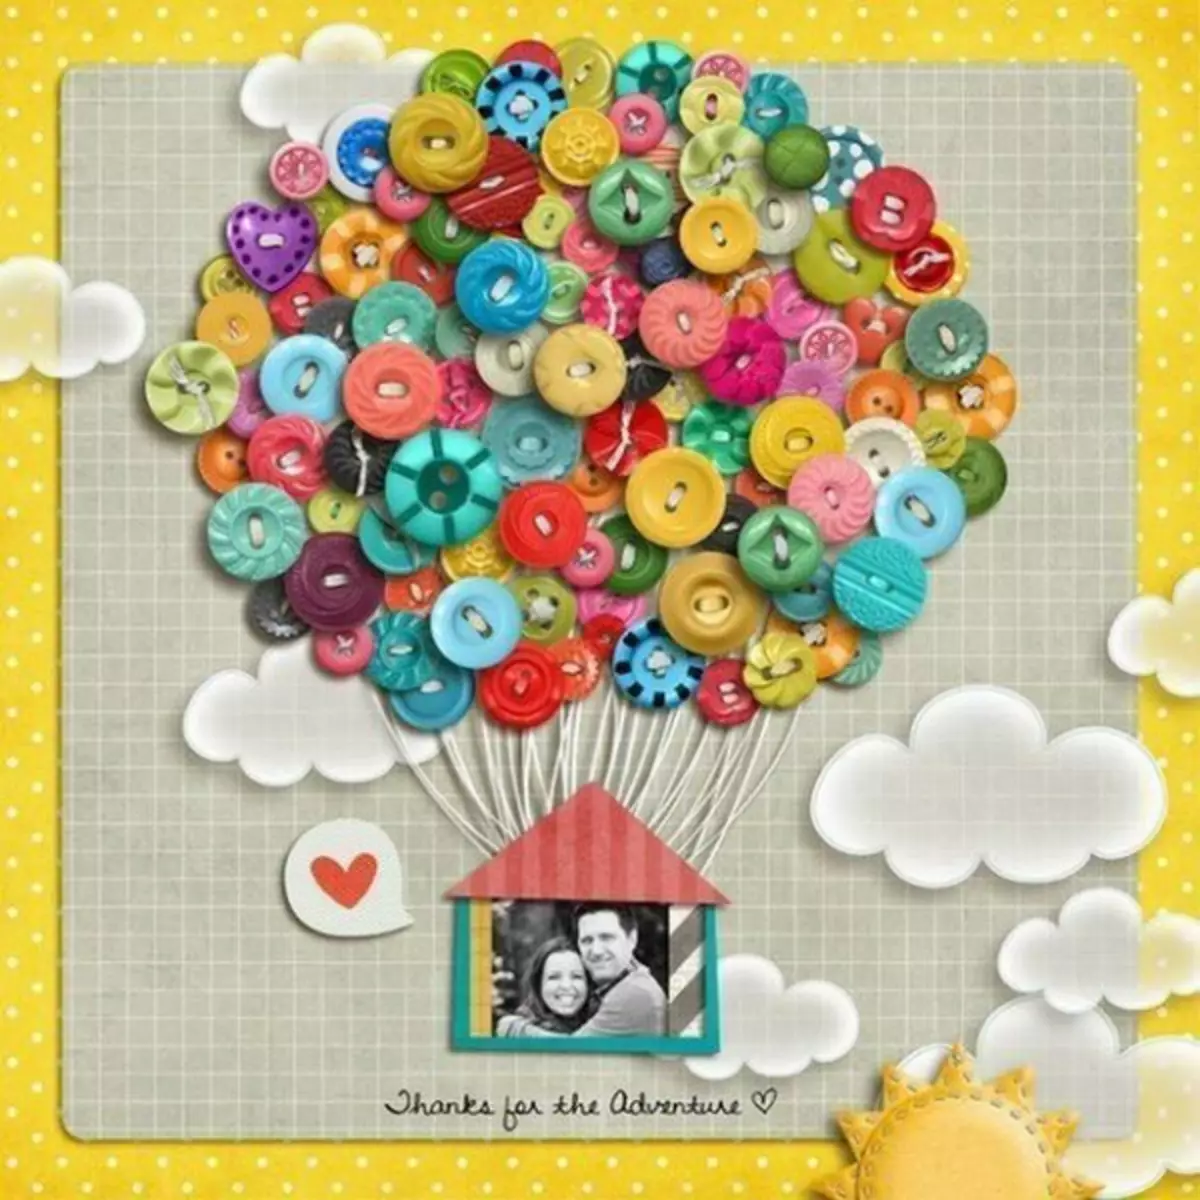
To create the first panel, you can choose the image of the balloon. Consider two options.
In the first case, you will need a sheet of cardboard of blue or blue colors. Or you can glue a sheet of colored paper on a white cardboard. Additionally, you need pencils or paints. First you need a pencil on cardboard to draw the main drawing - clouds, moon, sprockets, flowers, grass, balloon. All drawn items decorate. Asterisks can be made of sequins. Now it remains to fill the balloon buttons. Mine-colored flowers also decorate butchers. Picture ready. It can be placed in the frame or leave in this form.
Consider another option as in the photo, it will need a button in it much more.
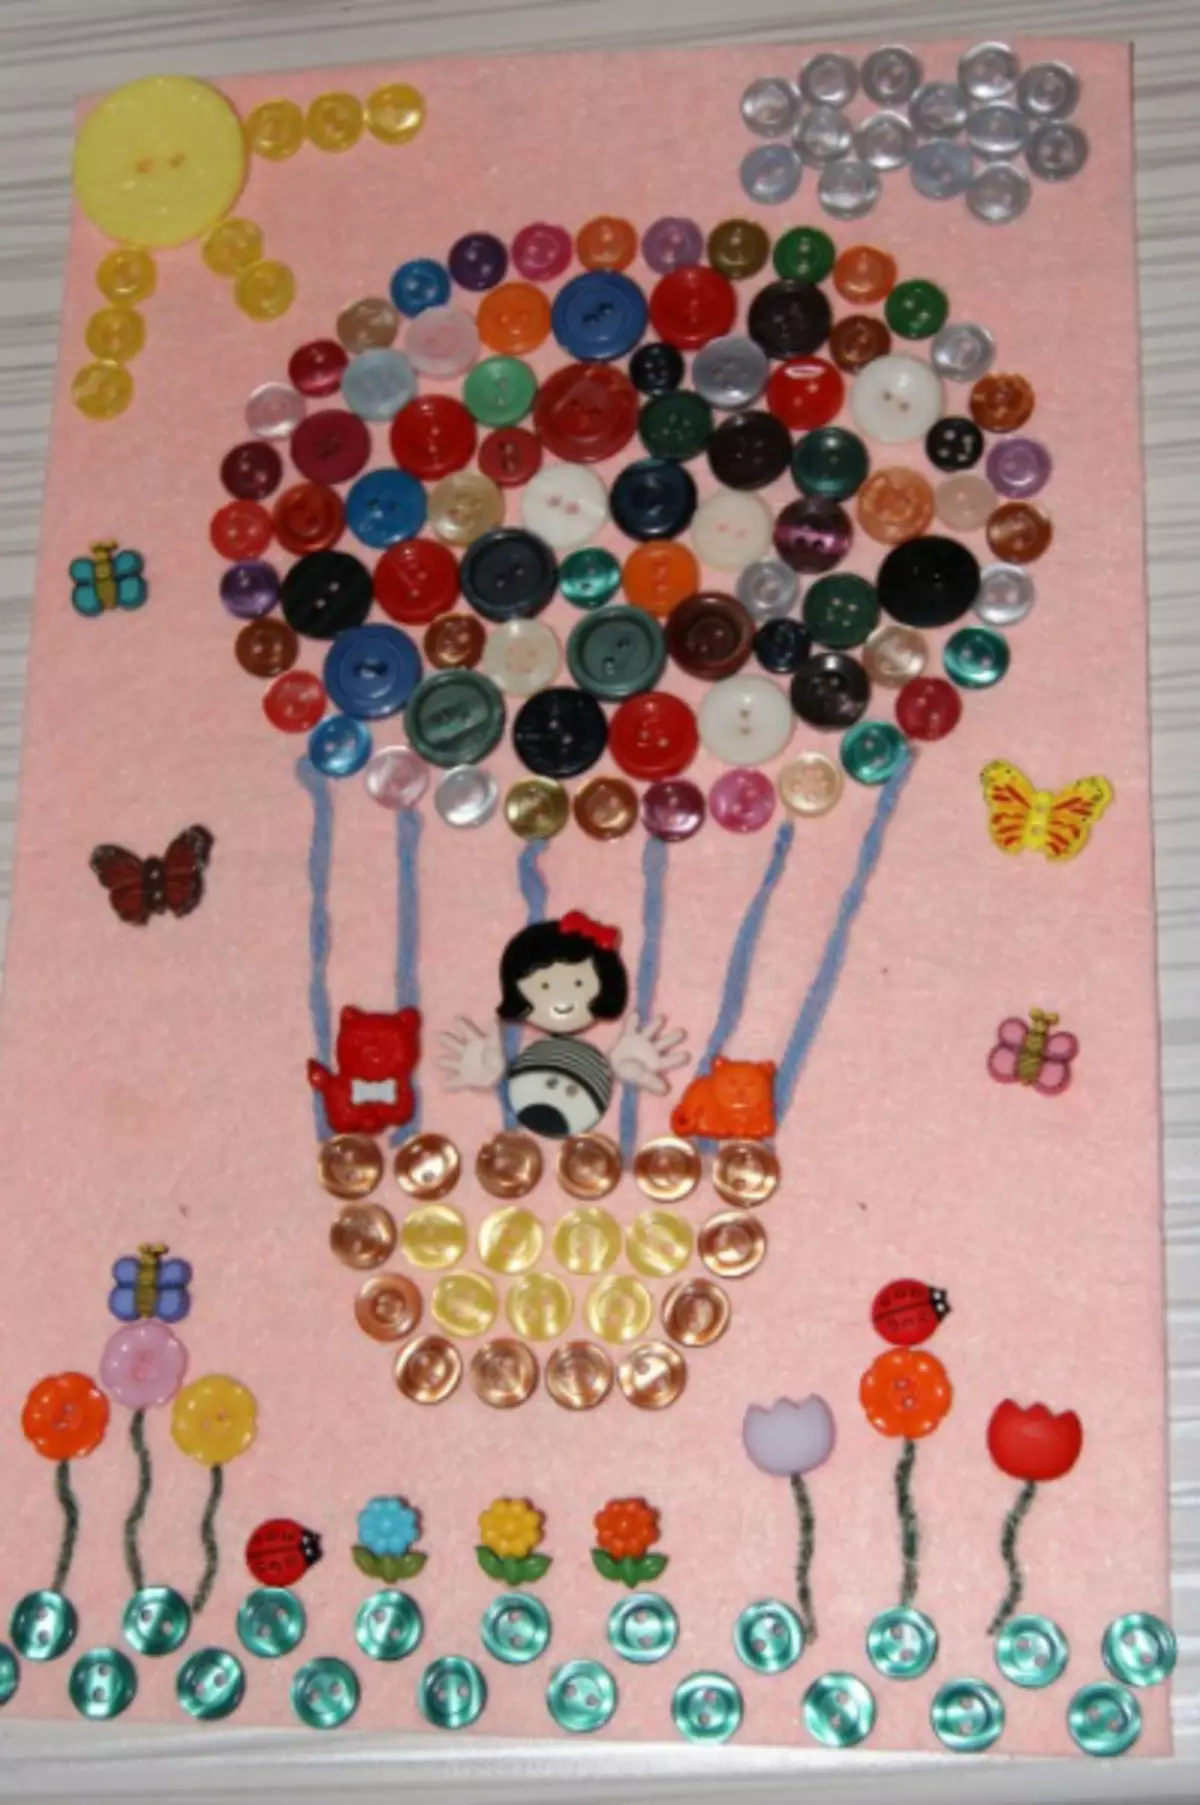
For a start on a sheet of cardboard we apply a drawing - Sun, cloud, balloon. Next, we select suitable and color buttons and glit, trying not to go out for the contours of the sketch. With the help of green buttons "draw" grass. Then, to revive the panel, we use small figures of butterflies, cats, ladybugs and flowerfish.
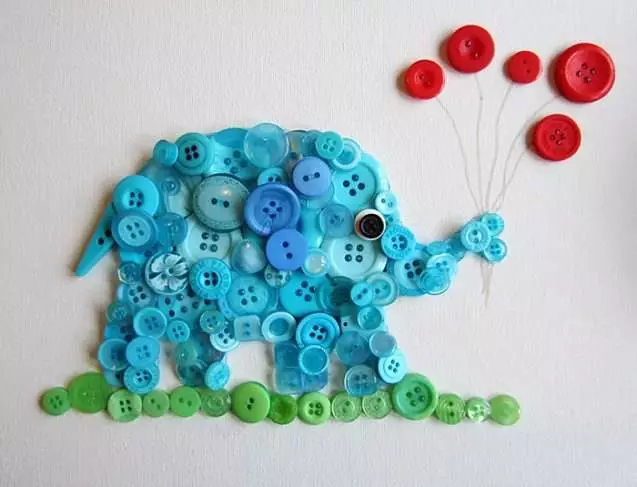
Panel with elephants
Take another master class for creativity with the child. Perform the product with an elephant image. On a sheet of colored paper, we draw one elephant or several, in our case there are two of them. Pain in one green color, and another violet. After drying the paint, you can start filling the elephant buttons. First, it is better to glue large, and then small fill the remaining space. The eyes are best to perform from white and black butchers. Between them, we draw a pencil heart and laid out small pink buttons along the contour.
Article on the topic: Knitted Handmade Bags
Picture from butchers is a pretty simple idea, but allows you to get a chic result that will serve as an interior decoration for a long time.
Video on the topic
For greater clarity, we suggest familiarizing with the video.